Tag Archive: Frosting

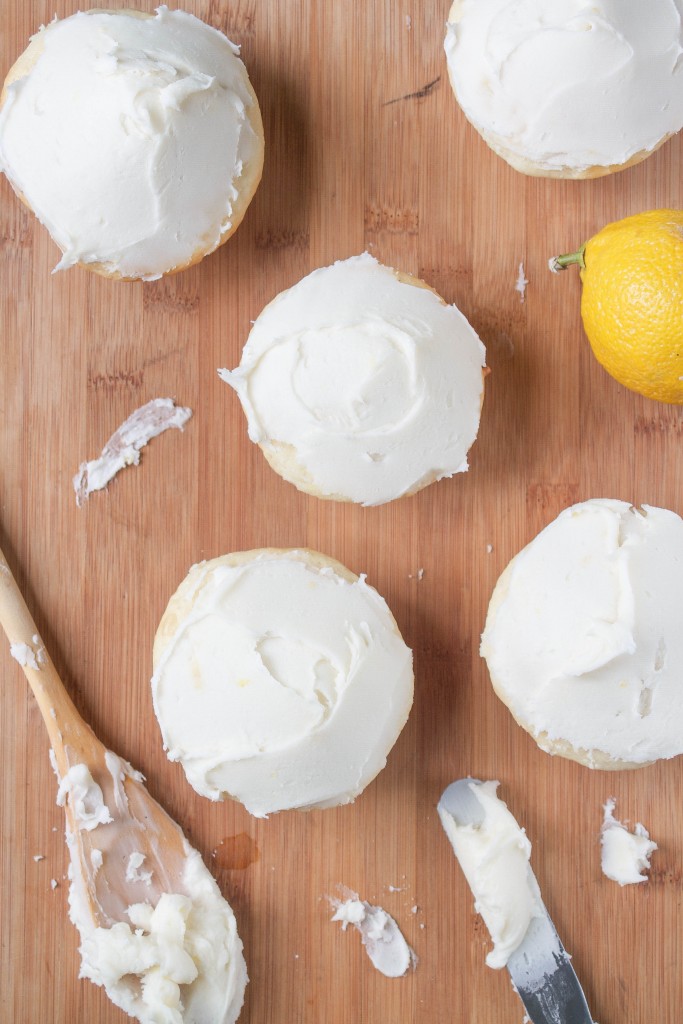
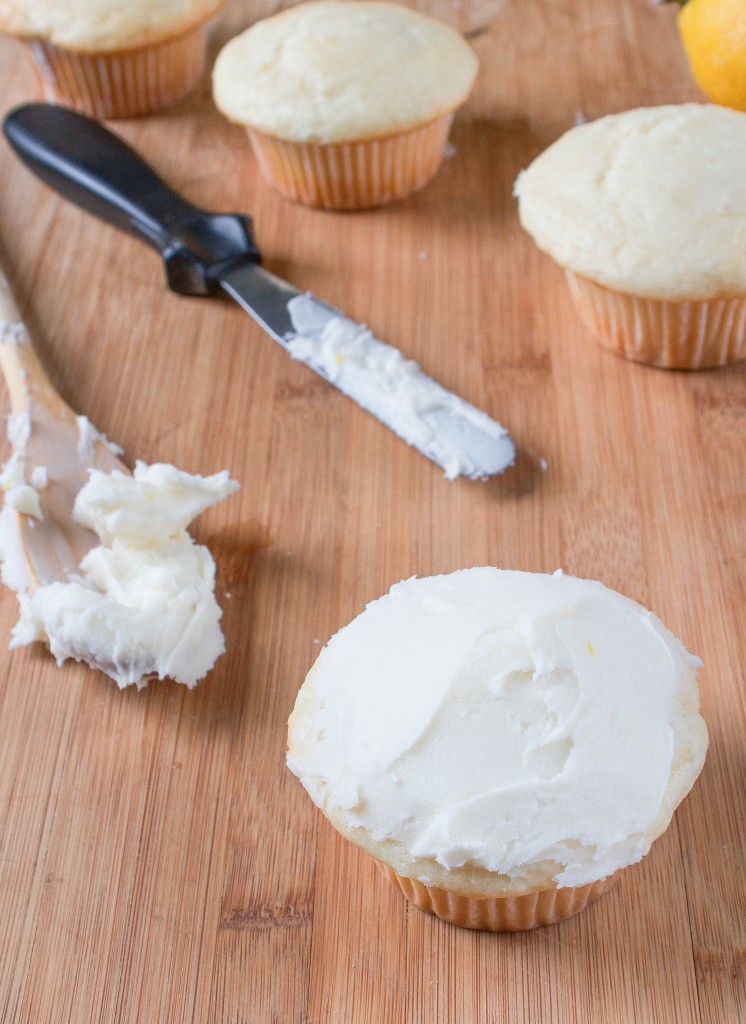
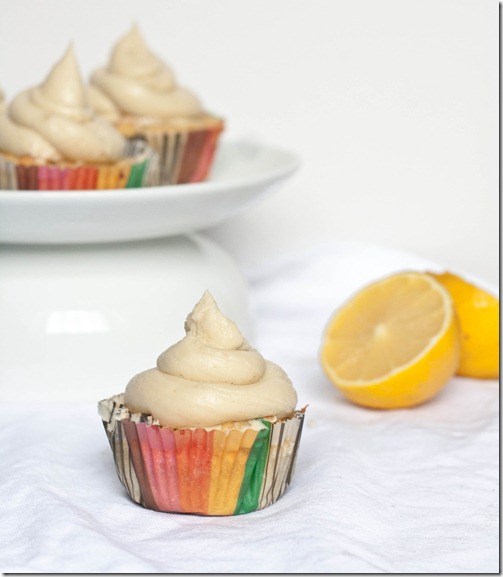
Easy Lemon Buttercream

Easy Lemon Buttercream

One of the best parts about living in NYC is that there are now vending machines where you can get cupcakes. It’s dangerously convenient for anyone. They have 1 gluten-free option, a red velvet with cream cheese frosting, that’s completely delicious. That being said, who can live with just one flavor?

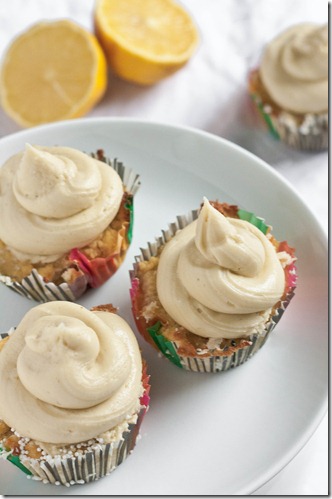
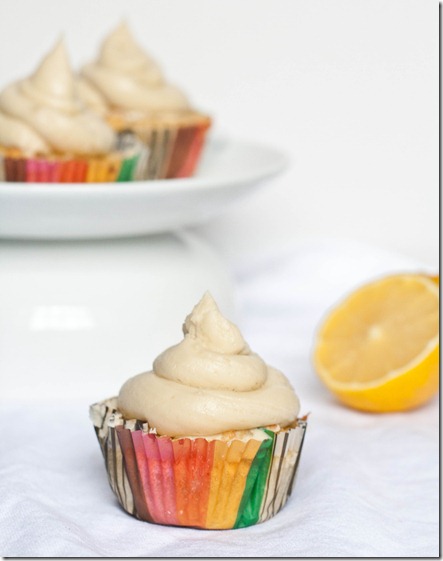
When my birthday rolled around a few weekends ago I made these cupcakes a few days early to bring into work–just a premade vanilla cake mix, coconut milk instead of whole milk, and shredded coconut and lemon zest added in. 

The frosting I made was from scratch but came out just as easy and delicious. Using vanilla extract and lemon zest gives it an extra layer of flavor that you’ll want to lick off the bowl. 

Easy Lemon Buttercream

This frosting works well with any number of lighter-flavored cupcakes. You can try it on cupcakes with vanilla, coconut, berries, or even white chocolate.

Easy Lemon Buttercream

Prep time: 15 minutes

Cook time: 0 minutes

Ingredients(Makes enough for 18 cupcakes):

  • 1 stick butter, room temperature
  • 2 1/4 cup powdered sugar, sifted
  • 1/2 teaspoon vanilla extract
  • 1 1/2 Tablespoons whole milk or half & half
  • 1 teaspoon finely zested lemon

Method:

  1. In a large bowl, combine all of the ingredients. Make sure to use an extra fine zester with the lemons to avoid chunks in the frosting. 
  2. Beat with an electric beater until mixed and the frosting’s smooth and silky. If the powdered sugar stops mixing in, add milk by the teaspoon until it reaches the right consistency.
  3. Frost using a frosting spreader or a pastry bag. If you’re using a pastry bag, add an extra teaspoon of milk before beating to make the frosting smoother and easier to squeeze out. 

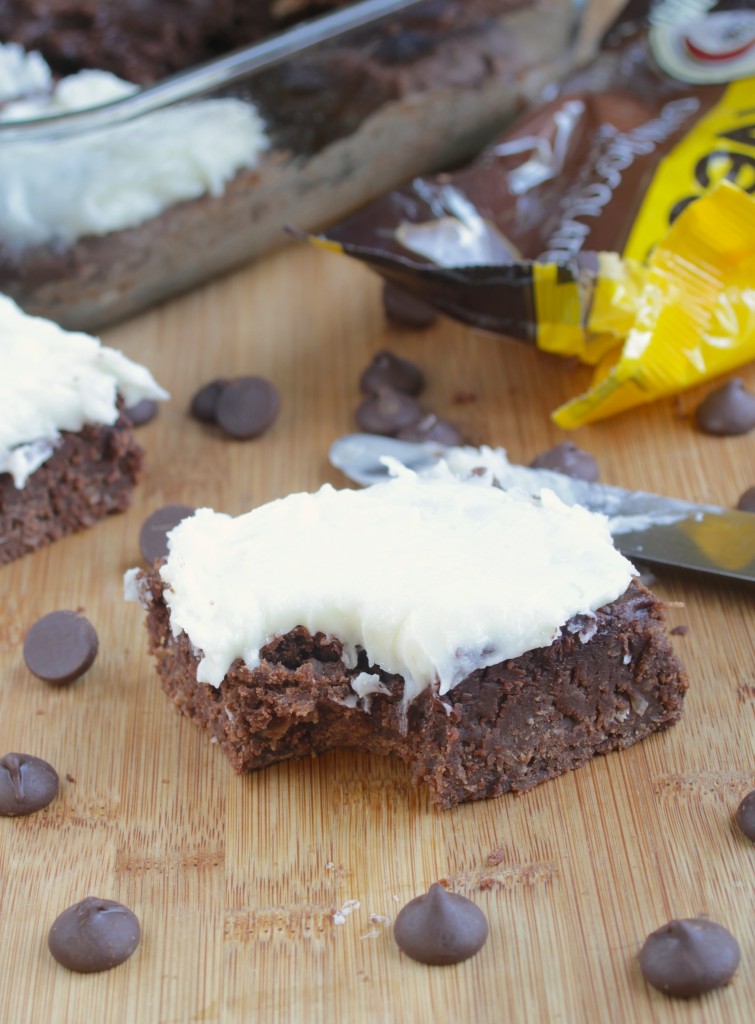
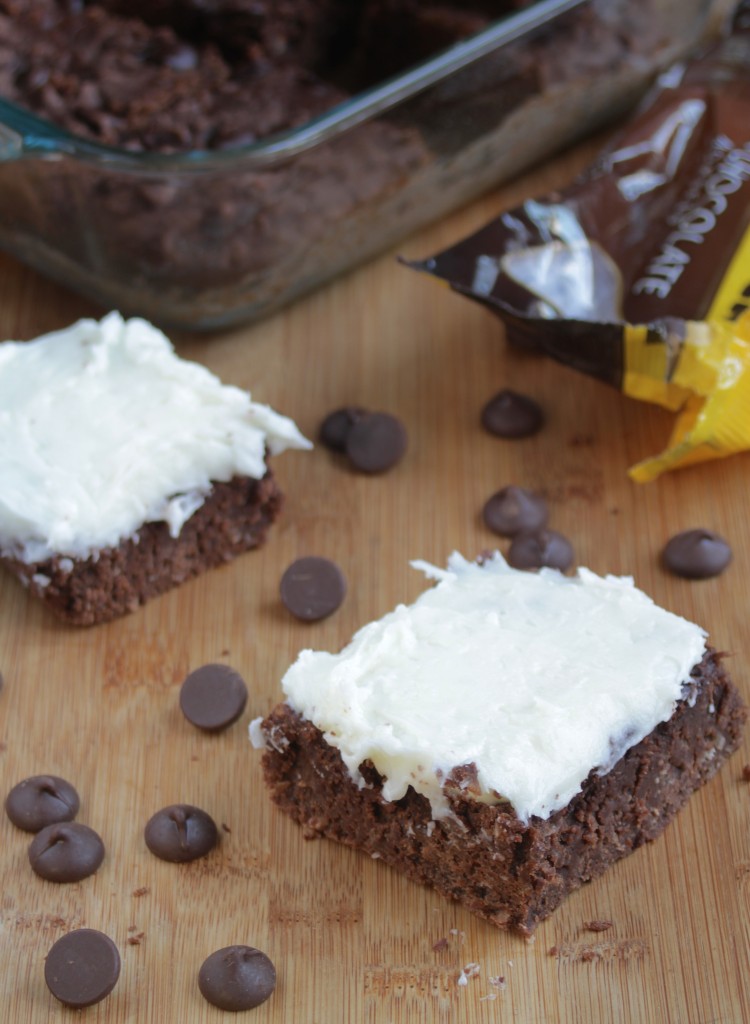
Gluten-Free Coconut Brownies

Gluten-Free Coconut Brownies

I’ll look for excuses to make frosting, and they’re not that hard to find.

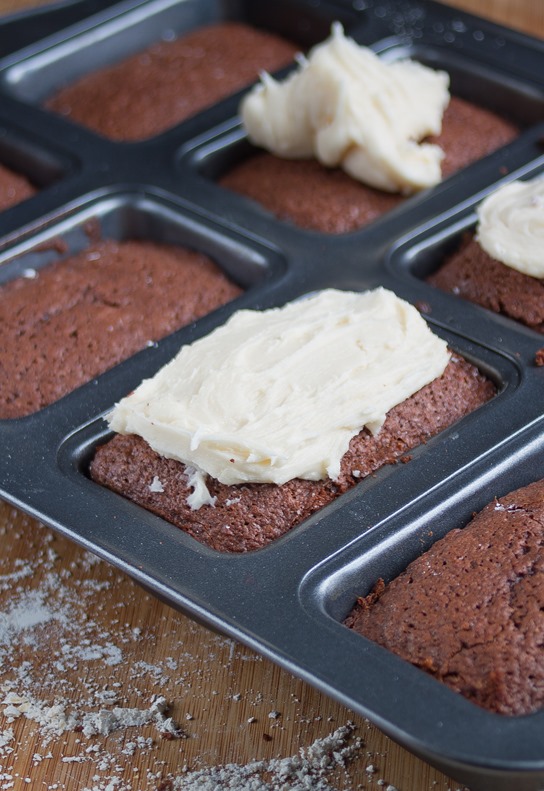
Cakes are great to make and frost when there’s a birthday, a party, or… a birthday party. But when it’s the weekend and you just want something sweet and fast for me, myself, and I, frosted brownies are the best way to go. 

My favorite brownie recipes are always on the traditional side. Forget about expensive olive oil and pine nuts; sweetened shredded coconut is in every grocery store and adds just as interesting a flavor and richness. Finish with some good vanilla and you’re good to go. 

Gluten-Free Coconut Brownies

What makes these brownies special besides the shredded coconut and spoon-licking frosting? Absolutely nothing, so if you want to use a quick gluten-free or regular boxed brownie recipe and fancy it up with shredded coconut and this frosting recipe, go right ahead–everyone will be too busy eating to mind.

Gluten-Free Coconut Brownies

Prep time: 15 minutes

Cook time: 30 minutes

Ingredients(Makes 1 8 x 8 pan):

  • 3/4 cup oat flour
  • 1/4 teaspoon salt
  • 2 tablespoons unsweetened cocoa powder
  • 1/2 teaspoon baking powder
  • 1/2 cup sugar
  • 1/2 cup sweetened shredded coconut
  • 2 large eggs
  • 1 teaspoon vanilla
  • 1/2 cup butter
  • 7 oz bittersweet baking chocolate, divided OR 3/4 cup chocolate chips
  • 1/4 cup water

For the frosting

  • 1/2 cup butter, room temperature
  • 2 1/4 cups powdered sugar
  • 1 Tablespoon milk
  • 1/4 cup sweetened shredded coconut

Method:

  1. Preheat your oven to 350 degrees.
  2. Mix together the oat flour, salt, cocoa powder, and baking powder and set aside.
  3. In a separate bowl, melt together 4 ounces of chocolate or a scant 1/2 cup chocolate chips with the butter.
  4. While the chocolate is melting, beat together the eggs, sugar, shredded coconut, vanilla, and water.
  5. Slowly pour the melted chocolate and butter into the egg/sugar mixture while whisking until fully incorporated. Don’t go too fast so that the raw eggs don’t cook upon contact.
  6. Add the chocolate mixture in with the dry ingredients and mix completely.
  7. Pour the batter in a greased 8 x 8 pan.
  8. Sprinkle the top with the remaining chocolate and gently press it into the batter.
  9. Bake for 30 minutes or until a toothpick poked into the center comes out clean. Let these cool completely before frosting.
  10. With a beater, beat together the butter, sugar, and coconut until smooth.
  11. Spread gently and generously over the pan of brownies.
  12. Slice the brownies into even squares and serve within a couple days of baking. 

Peanut Butter Buttercream

Peanut Butter Buttercream

These are not the best cupcakes I had for my birthday. In fact, the cake part didn’t come out all that well since I made them on the fly without measuring anything(only to be surprised Saturday night with a batch of homemade banana cupcakes with Nutella frosting). But they were entirely edible if only because of the frosting.

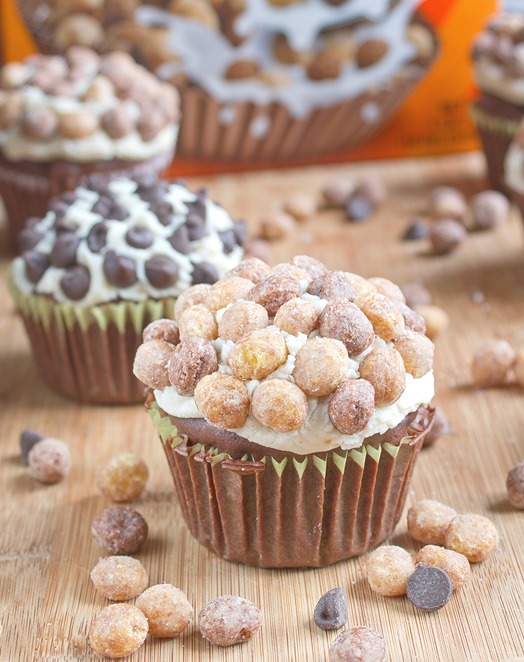
This frosting though was just right. It’s sweet and vanilla at first with a nutty peanut butter finish. It’d be great on just about any cake or cupcake, and it’s easy to decorate with chocolate chips or Reese’s Puffs.

For this recipe, look for natural peanut butter without any added oils or stabilizers. It’ll mix in with the other ingredients the easiest and have a better, stronger flavor.

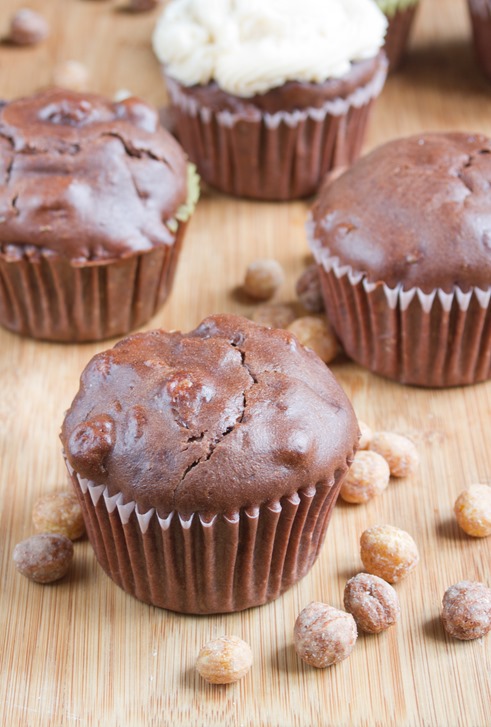
Peanut Butter Buttercream Unfrosted

Peanut Butter Buttercream

Prep time: 10 minutes

Cook time: 0 minutes

Ingredients:

  • 6 Tablespoons butter, room temperature
  • 2 1/4 cups powdered sugar, sifted
  • 2 Tablespoons all natural no oil peanut butter
  • 1/4 teaspoon vanilla
  • 1-2 Tablespoons cream or whole milk

Method:

  1. In a large bowl, mix together the butter, sugar, peanut butter, and vanilla with an electric beater.
  2. Slowly add just enough milk until the ingredients make a thick but smooth buttercream.
  3. Scoop into a pastry bag and use immediately.

Bailey’s Frosted Brownies

Bailey's Frosted Brownies

Some weekends I don’t want to cook a thing.

I want to go out to eat for every meal, forget I have a blog, and never pick my camera up.

Maybe it’s guilt, or maybe it’s sensibility. Maybe it’s something in between. I’ll inevitably find something to make, for myself or a friend, and at the end I’ll be happy I have something delicious that’s homemade, that I can call my own, and that cost a quarter as much as if I got it somewhere else.

I baked these brownies reluctantly, took photos of them frantically, and shared them happily. Sometimes the best push to cook something comes not from doing it for yourself, but from doing it for others. Do yourself a favor and bake some brownies for someone else.

Bailey's Frosted Brownies

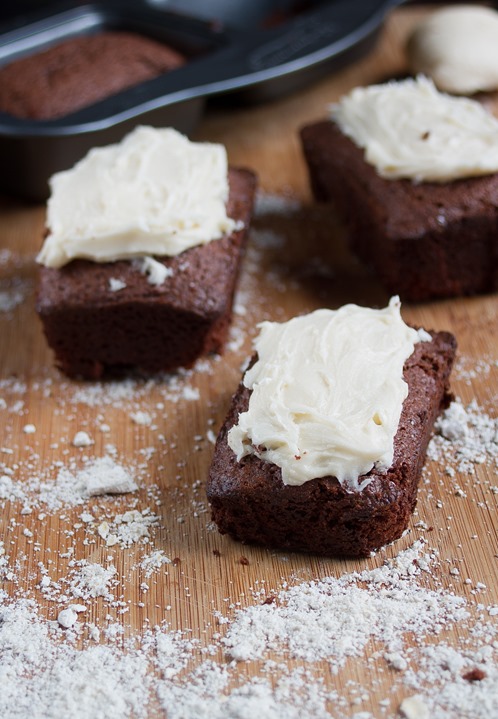
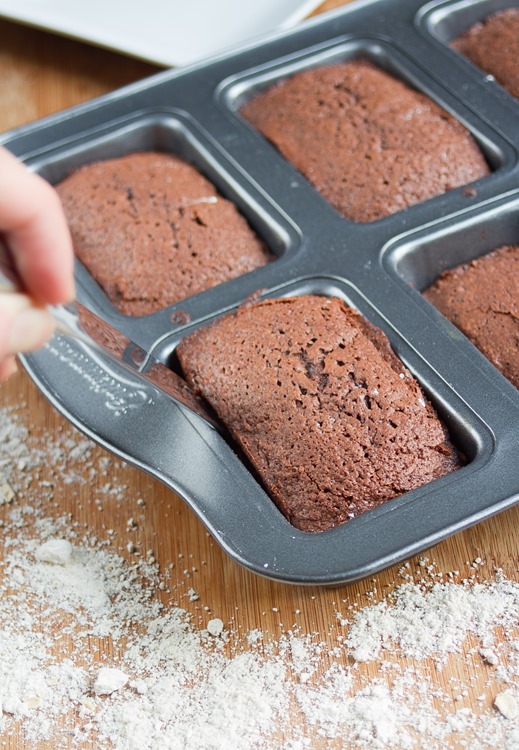
Oat flour is more crumbly than regular flour and even other gluten-free flours. When baking with it, make sure to grease your pans liberally and add a dusting of powdered sugar on top before frosting to keep the top intact.

Bailey’s Frosted Brownies

Prep time: 15 minutes

Cook time: 30 minutes

Ingredients(Makes 1 8 x 8 pan):

For the brownies:

  • 3/4 cup oat flour
  • 1/4 cup cocoa powder
  • 1/4 teaspoon salt
  • 1/2 teaspoon baking powder
  • 1/2 cup + 2 Tablespoons cup sugar
  • 3 large eggs
  • 1 teaspoon vanilla
  • 1/2 cup butter
  • 4oz bittersweet baking chocolate
  • 1/3 cup Irish cream

For the frosting:

  • 6 Tablespoons butter, room temperature
  • 1 1/4 cup powdered sugar
  • 1 1/2 Tablespoons Irish cream

Bailey's Frosted Brownies

Method:

  1. Preheat your oven to 350 degrees.
  2. Mix together the oat flour, salt, cocoa powder, and baking powder and set aside.
  3. In a separate bowl, melt together the chocolate and butter.
  4. While the chocolate is melting, beat together the eggs, sugar, vanilla, and Irish cream.
  5. Slowly pour the melted chocolate and butter into the egg/sugar mixture while whisking until fully incorporated. Don’t go too fast so that the raw eggs don’t cook upon contact.
  6. Add the chocolate mixture in with the dry ingredients and mix completely.
  7. Pour the batter in a greased 8 x 8 pan.
  8. Bake for 30 minutes or until a toothpick poked into the center comes out clean. Let these cool completely before frosting.
  9. To make the buttercream, beat the powdered sugar, butter, and Irish cream heavily until it’s entirely mixed. Add a touch more buttercream if it’s too dry at first.

Dessert Cream Cheese Ball

Dessert Cream Cheese Ball

Most people who love cooking have their “signature recipes” that they get asked to make all the time. At the holidays my mom always makes a savory cream cheese ball with onion, green pepper, pineapple and walnuts. As good as that is, if you follow this blog you’ll know I’m much more into sweet than savory. What could really be better than sweet cream cheese?

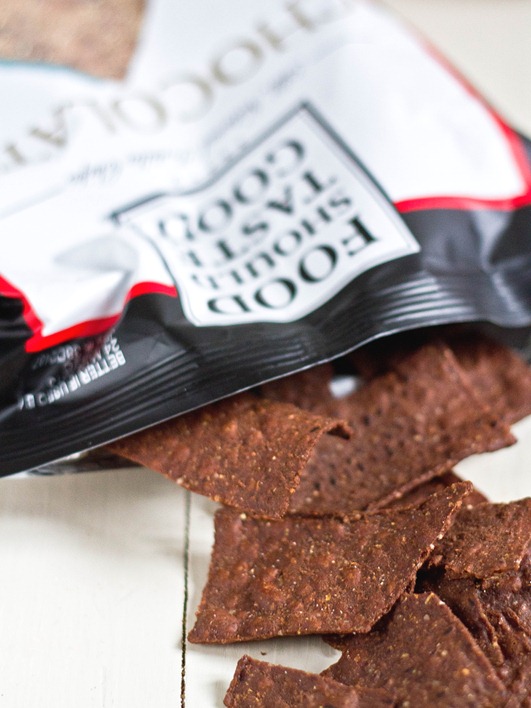
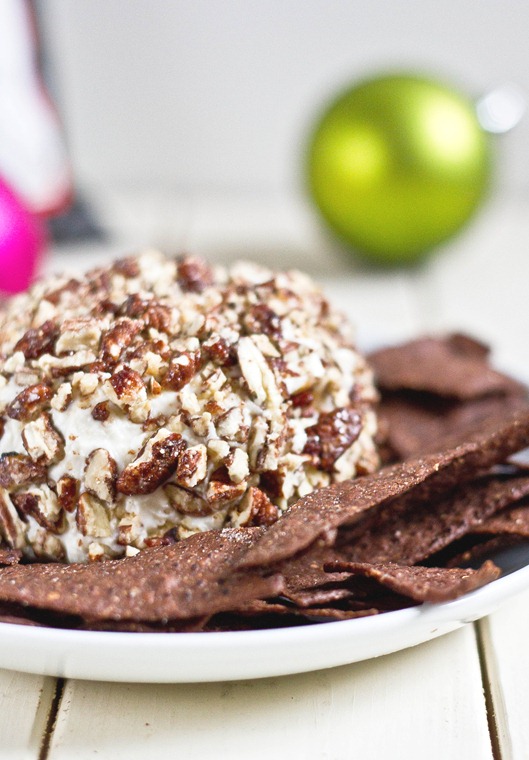
Another thing that prompted me to make this was a bag of Food Should Taste Good chocolate tortillas and wondering what in the world you serve chocolate tortillas with. The crunchy and lightly-sweetened tortillas went perfectly with the smooth cream cheese and powdered sugar. I couldn’t imagine eating this any other way but I’m sure sliced apples or graham crackers would match well, too.

Dessert Cream Cheese Ball Nachos

I used honey glazed roasted pecans from Oh Nuts for the coating. If you don’t have pecans you can use any number of things as a coating. Try sliced almonds or crushed green and red M&Ms, or even holiday-themed sprinkles.

Dessert Cream Cheese Ball

Prep time: 10 minutes

Cook time: 0 minutes

Ingredients(Makes about 12 servings):

  • 1 8oz block cream cheese
  • 1/2 cup + 2 Tablespoons powdered sugar, sifted
  • 1/2 teaspoon vanilla extract
  • 1 Tablespoon half & half
  • pinch of salt
  • 1/2 cup glazed pecans, crushed

Method:

  1. In a large bowl, beat together the cream cheese, powdered sugar, vanilla, half & half and salt.
  2. Scrape the cream cheese mixture onto a sheet of clear plastic wrap. Form the cream cheese mixture into a ball using the wrap to cover your hands and keep it together. Stick the ball in the fridge for 20-30 minutes to set.
  3. Unwrap the cream cheese ball and coat it with the pecans, pressing them in lightly to make sure they stay.
  4. Transfer the cold cream cheese ball to a serving plate. Serve with chocolate nachos, graham crackers, or sliced fruit.

Dessert Cream Cheese Ball Product

We can save worrying about eating healthy for after New Years.

Pumpkin Spice Buttercream

Pumpkin Spice Buttercream

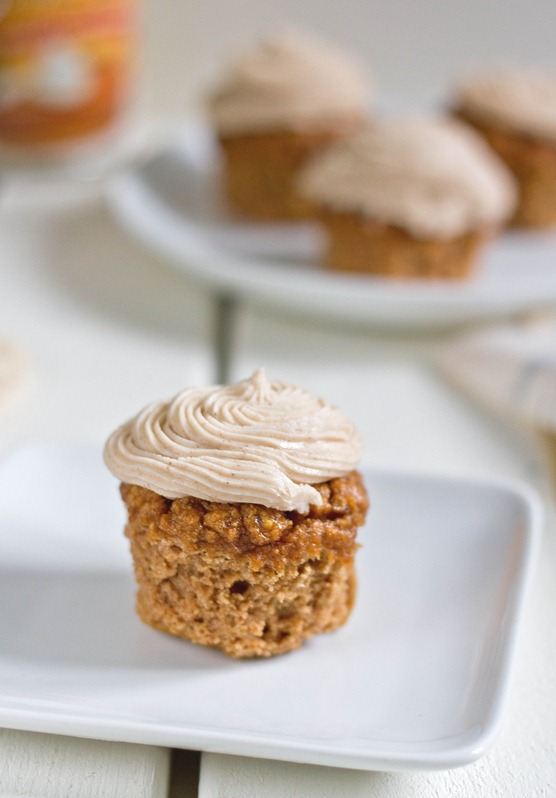
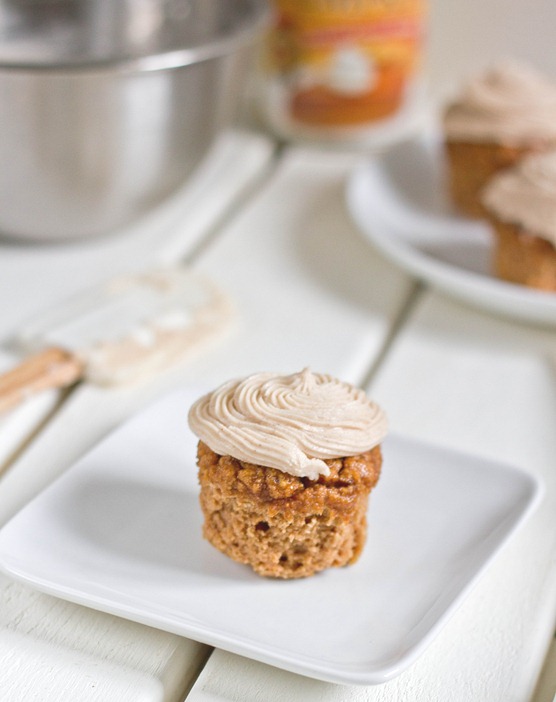
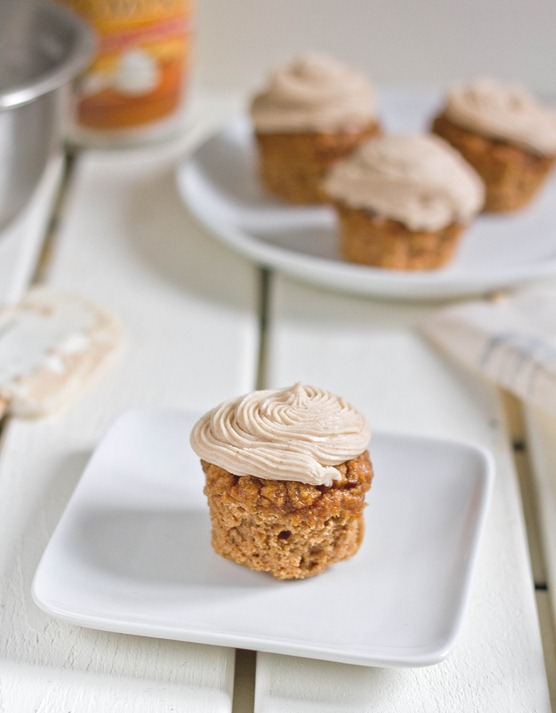
Last weekend I tried to make gluten-free pumpkin cupcakes; the result was a little disappointing and I’ll have to try again to come up with a recipe that isn’t. But what can never disappoint is frosting.

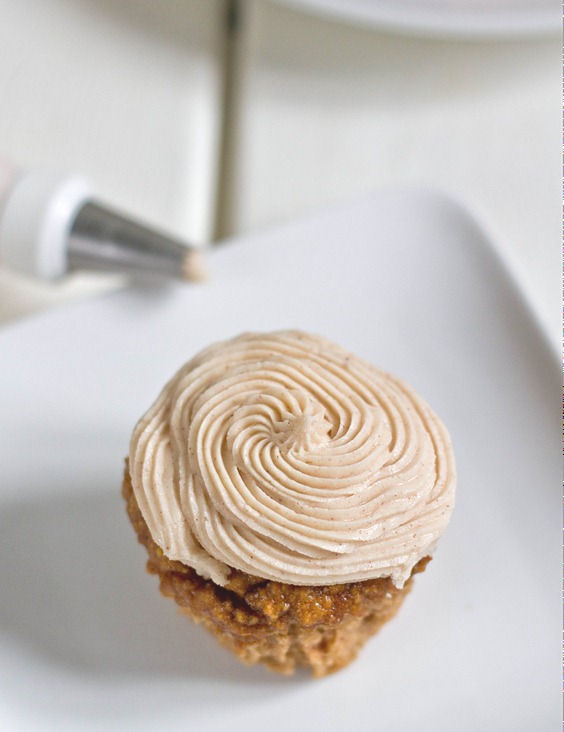
Although there texture was a little rough, the cupcakes still tasted fine so I went ahead and frosted and served them. Frosting can fix just about any cake disaster. Instead of vanilla extract or vanilla bean paste, pumpkin pie spice gives the perfect earthy flavor for Fall. You could easily pair this with a yellow or chocolate cupcake and it’d be just as good.

Pumpkin Spice Buttercream Serving

You can easily make this recipe non-dairy by using a dairy-free margarine and non-dairy milk. Don’t go too heavy-handed with the spice because the sugar really turns up the flavor.

Pumpkin Spice Buttercream

Prep time: 10 minutes

Cook time: 0 minutes

Ingredients(Makes enough for about 10 cupcakes):

  • 1 stick butter, room temperature
  • 2 cups powdered sugar
  • 1/2 teaspoon pumpkin pie spice
  • 1-3 teaspoons milk(optional)

Pumpkin Spice Buttercream Cupcake

Method:

  1. Beat together the room temperature butter, powdered sugar, and pumpkin pie spice until the frosting has an even consistency.
  2. If your frosting is on the thick side, add milk by the teaspoon until it’s at an easier consistency to work with.
  3. Make sure to use the frosting within 2-4 hours of preparing.

Pumpkin Spice Buttercream 2

Hopefully I’ll get the cupcakes right. Eventually. For now eating the frosting is just fine.

Gluten-Free Chocolate Flag Cake

Gluten-Free Chocolate Flag Cake

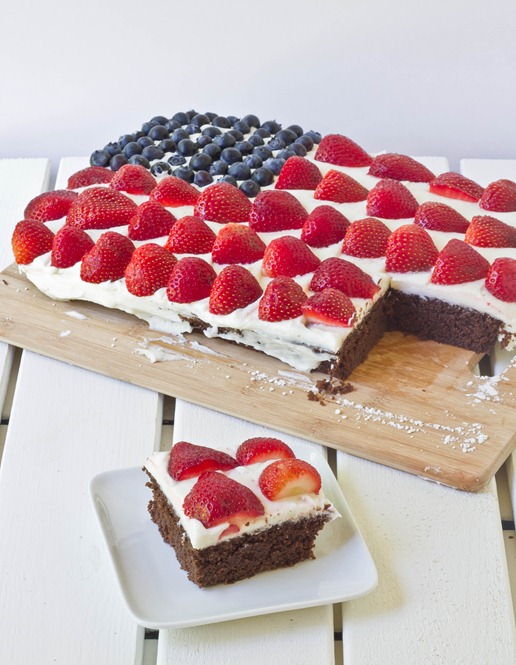
Happy (almost) 4th of July! I know I’m five days early, but consider this my obligatory patriotic post.

A few weeks ago I went to an American citizenship party for some friends who recently passed the citizenship test. There was grilling and beans and red, white, and blue napkins so of course there had to be flag cake.

Gluten-Free Chocolate Flag Cake Collage 2

A family friend at this party recently had to cut gluten out of her diet; one of her favorite foods is chocolate cake so naturally I knew the cake I made had to be chocolate. I’d never experimented with almond flour and coconut flour in the same recipe but I thought I’d give it a shot. The texture was just like any good ol’ fashioned American sponge cake. You’d never guess it was gluten-free and grain-free.

The frosting also got a lot of praise, too. Then again, how can something with butter, cream cheese, and a pound of sugar not be good?

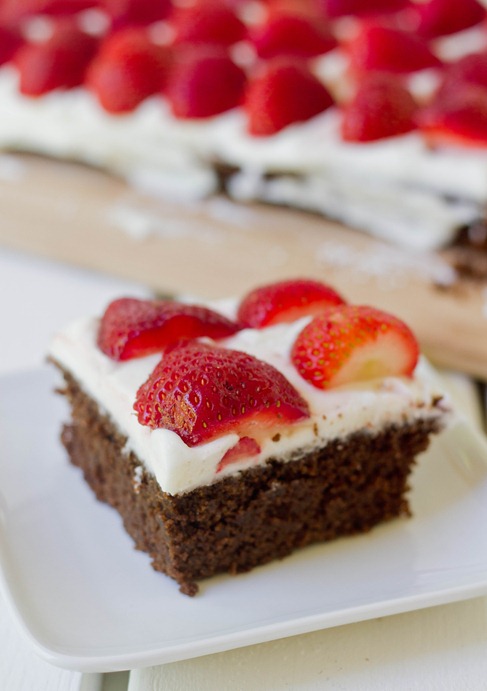
Gluten-Free Chocolate Flag Cake Slice

Make sure to use fresh fruit and to assemble it as close to serving as possible. The more the cake sits out, the more the juices from the strawberries runs into the frosting, and no one wants a runny flag.

Gluten-Free Chocolate Flag Cake

Prep time: 30 minutes

Cook time: 35 minutes

Ingredients(Makes 1 9 x 12 cake):

For the cake:

  • 3/4 cup chocolate chips
  • 1 1/4 cup almond flour
  • 1/2 cup coconut flour
  • 3/4 cup sugar
  • 1/2 cup oil
  • 6 extra large eggs
  • 1 teaspoon vanilla extract
  • 1 teaspoon baking soda
  • 1/2 teaspoon salt
  • 1/2 cup + 2 Tablespoons hot water

For the frosting:

  • 1 4oz stick of butter, room temperature
  • 1 8oz block of cream cheese, room temperature
  • 1 teaspoon vanilla extract
  • 1 1lb box of powdered sugar

 Fruit topping:

  • 1 half pint blueberries
  • 1lb fresh strawberries

Gluten-Free Chocolate Flag Cake Collage 3

Method:

  1. Preheat your oven to 350 degrees.
  2. Melt the chocolate in a double boiler or in the microwave.
  3. While the chocolate is melting, mix together the almond flour, coconut flour, sugar, and oil.
  4. Mix the melted chocolate into the flour mixture completely.
  5. Crack the eggs into the batter and beat each in.
  6. Add in the vanilla, baking soda, and salt.
  7. Add in the hot water and mix until the batter is smooth and slightly runny.
  8. Grease a 9 x 12 baking pan. Pour the batter in in an even layer.
  9. Bake for 35-40 minutes until the center of the cake has set. Remove from the oven and let it cool completely before frosting.
  10. Combine the butter, cream cheese, vanilla extract, and half of the sugar in a large bowl.
  11. With an electric mixer, beat together the ingredients until the sugar is entirely incorporated.
  12. Slowly add more sugar into the mix until all of it is mixed into the frosting.
  13. Spread a few tablespoons of powdered sugar on top of the cake and brush it all around to prevent the frosting from tearing the top of the cake.
  14. Spread the frosting out all over the cake in an even layer and around the sides.
  15. Make a square of blueberries in the top left corner of the cake.
  16. Remove the stem from each strawberry and cut each in half. Lay them out top to bottom in horizontal lines in a flag pattern.
  17. Refrigerate until ready to serve.  

Gluten-Free Chocolate Flag Cake Finished

There were practice American citizenship tests at the party. I scored a 12/20. I think that’s good enough not to be deported, right? Too bad how to make a flag cake isn’t part of the test.

Gluten-Free Carrot Cake with Cream Cheese Frosting

gluten-free-carrot-cake-with-cream-cheese-frosting

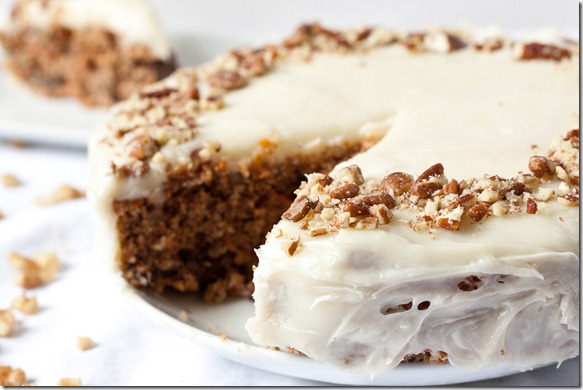
I saw a lot of carrot cake recipes last week leading up to Easter while I was planning to make one for yesterday, too. I’d forgotten it’s sort of an Eastery dessert. Easter is also the time I celebrate my birthday with my extended family and carrot cake has always been one of my favorite cakes. It’s kind of an odd choice(or so I’m told), but I love it. I even asked to have it as my graduation cake after 6th grade when everyone else was choosing chocolate and chocolate fudge; it’s their loss.

I haven’t had carrot cake since eating gluten-free a few years ago and have been meaning to make this for months. Of course, when I did decide to make it things started going wrong. I realized Friday night I only had one cake pan, so a layer cake was out. I also didn’t have a grater so I had to peel and chop the carrots. I completely forgot to add the pineapple I bought just for this, and as I went to add in the walnuts I remembered my aunt’s allergic to walnuts, so I swapped in some pecans at the last minute. Still, this was one of the best carrot cakes I’ve ever had.  
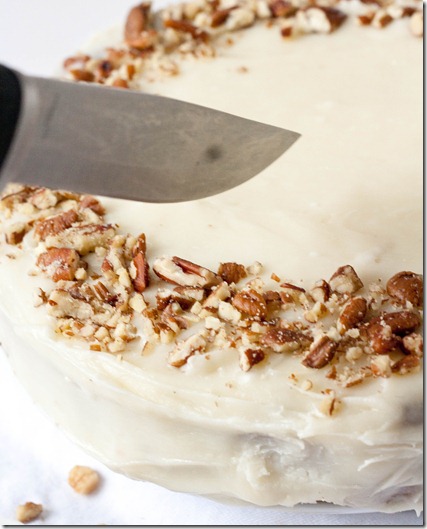
gluten-free-carrot-cake-with-cream-cheese-frosting-slicing

This recipe makes one cake layer. You can double it to make more for a layered cake. To make the cake dairy-free, use a vegan cream cheese substitute. I’d recommend something organic since vegan cream cheeses tend to have odd ingredients.

Gluten-Free Carrot Cake with Cream Cheese Frosting

Prep time: 15 minutes

Cook time: 40 minutes

Ingredients:

  • 1 cup shredded carrots
  • 1/2 cup raisins
  • 1/2 cup chopped walnuts(or any other nut)
  • 1/2 cup shredded coconut
  • 1 1/2 cups almond flour
  • 1/2 cup sugar
  • 1/2 teaspoon baking powder
  • 1/2 teaspoon salt
  • 1 teaspoon cinnamon
  • 1/2 cup maple syrup
  • 4 eggs
  • 6 Tablespoons coconut oil, melted
  • 8oz cream cheese, room temperature
  • 2 cups powdered sugar
  • 1 teaspoon vanilla extract
  • 1-2 Tablespoons milk or cream

gluten-free-carrot-cake-with-cream-cheese-frosting-serving

Method:

  1. Preheat your oven to 375 degrees.
  2. Mix together the carrots, raisins, walnuts, coconut, almond flour, sugar, baking powder, salt and cinnamon.
  3. Mix in the maple syrup, eggs, and coconut oil until the batter is even.
  4. Pour the batter into a 12-inch cake pan and spread out evenly.
  5. Bake for 40 minutes until the cake rises and the center has cooked through.
  6. Remove from the oven and let cool completely before frosting.
  7. To make the frosting, sift the powdered sugar into a bowl with the cream cheese.
  8. Add in the extract and milk and beat until completely mixed.
  9. Spread on top and around the sides of the cake.
  10. Garnish with extra nuts if desired.

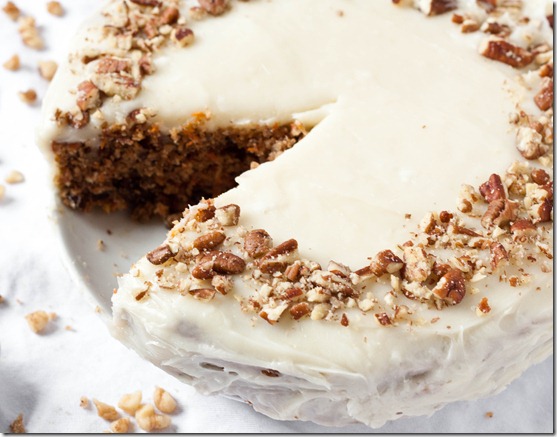
gluten-free-carrot-cake-with-cream-cheese-frosting-2

I’ll always have a soft spot(and empty stomach) for carrot cake. Since there are vegetables and fruit in this I’m going to go ahead and say it’s fine to eat the leftovers for breakfast, too.

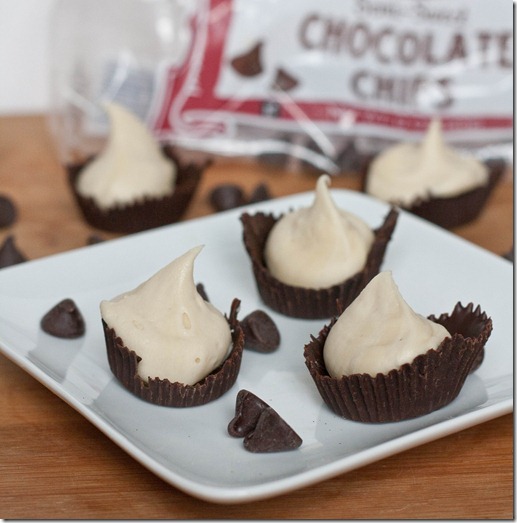
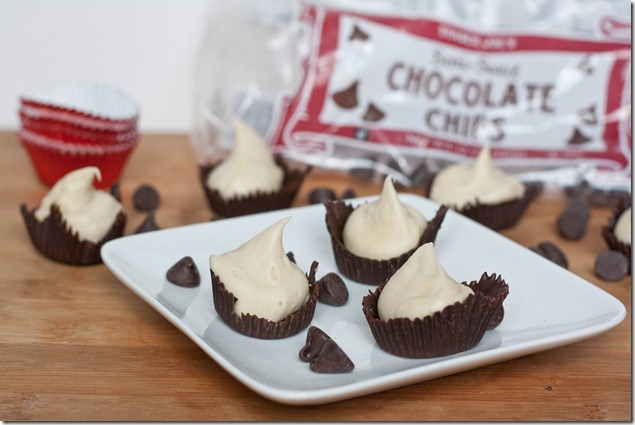
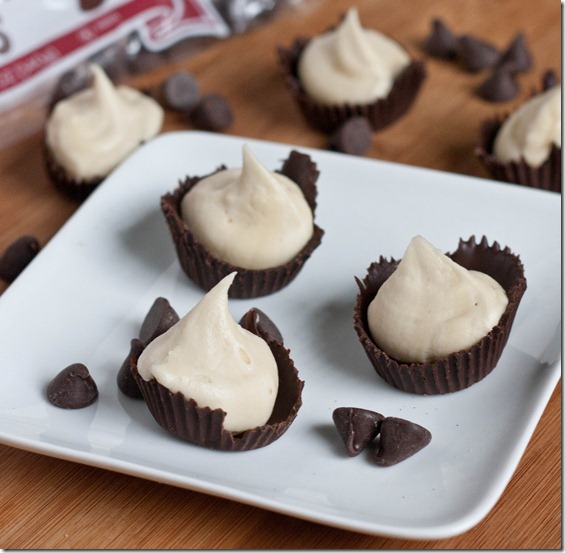
Buttercream Shots In Chocolate Cups

buttercream-shots-in-chocolate-cups

This I know to be true: There are cake people and there are frosting people. And I most definitely am a frosting person. I’m guilty of taking a slice of cake and just eating the frosting. I’m also guilty of running my finger along the edge of the cake before it’s been cut into just to taste the frosting. But don’t worry–I haven’t done that in any recent years… that I’ll admit to.

Today’s my birthday, and on your birthday you shouldn’t have to eat anything you don’t want to. Apples. Broccoli. Even cake. You should be able to just eat your frosting and have it, too.

buttercream-shots-in-chocolate-cups-2

I’ve been wanting to make a recipe like this for a long time and never found an occasion. I suppose now is as best a chance I’ll get; don’t judge me if all of these are gone by the end of the day.

They’re easy enough to make and just need two ingredients. You can use canned frosting but homemade is so much better tasting and just as easy. If you don’t have a favorite recipe, I’d recommend mocha buttercream or vanilla buttercream.

Buttercream Shots In Chocolate Cups

Prep time: 15 minutes(Plus 20 minutes of cooling time)

Cook time: 0 minutes

Ingredients(Makes 2 dozen):

  • 7oz good quality dark chocolate
  • 3/4 cup store-bought or homemade buttercream
  • 24 miniature cupcake holders

buttercream-shots-in-chocolate-cups-3

Method:

  1. Melt the chocolate in the microwave or over a double broiler until it’s smooth.
  2. With a spoon, drop a Tablespoon of chocolate into the cupcake holder and paint it around the sides. Make sure the layer of chocolate isn’t too thin or it will break.
  3. Put the chocolate cup on a tray and repeat until all of the chocolate is used up.
  4. Refrigerate the tray for 20-30 minutes until the chocolate has hardened.
  5. Gently peel off the cupcake holders until just the chocolate cup remains.
  6. Fill the cups with a tablespoon of buttercream each. Store in the refrigerator until ready to eat.

buttercream-shots-in-chocolate-cups-4

If you tried to tell me there’s a better kind of birthday shot, I wouldn’t believe you.

Gluten-Free Lemon Cupcakes

gluten-free-lemon-cupcakes

I really love lemon desserts. Unfortunately they tend to disappear in the winter. Why is that? We still have lemons. I guess their flavor is too bright when it’s cold and you want something warm and comforting. But now it’s Spring and we can eat all the lemons we want.

To make these cupcakes, I took my favorite paleo vanilla cupcake recipe and added lemon. Pretty simple, huh? There’s also a lemon buttercream because—of course—you can’t really have too much lemon. They’re perfect for a lightly flavored dessert, and I would bet even better with some lemoncello.

gluten-free-lemon-cupcakes-plated

This recipe uses coconut flour. There really isn’t any substitute for it. It’s a high-fiber, starchy flour that simulates the binding properties of gluten in wheat really well. I’d consider it a must-have for any gluten-free bakers.

Gluten-Free Lemon Cupcakes

Prep time: 10 minutes

Cook time: 30 minutes

Ingredients(Makes a dozen cupcakes):

  • 1/2 cup plus 2 Tablespoons coconut flour
  • 4 eggs
  • 2 egg whites
  • 1/2 cup cane sugar
  • 1 cup coconut milk
  • 1 Tablespoon lemon juice
  • Zest from one lemon
  • 1/2 teaspoon baking soda

gluten-free-lemon-cupcakes-2

Method:

  1. Preheat your oven to 350 degrees and line a dozen cupcake holders.
  2. Combine all of the ingredients together in a large bowl and mix until it forms an even batter.
  3. Scoop equal amounts of the batter into each cupcake well.
  4. Bake for 25-30 minutes or until the tops are firm to the touch.
  5. Remove from the oven. Let the cupcakes cool completely before frosting them.

Lemon Buttercream

Prep time: 10 minutes

Cook time: 0 minutes

Ingredients:

  • 1/2 cup room temperature butter
  • 2 1/2 cups powdered sugar
  • 1 Tablespoon lemon juice OR 1/2 Tablespoon lemon extract and 1 Tablespoon cream
  • Lemon zest for garnish(optional)

Method:

  1. Beat together the butter, 1 1/2 cups of sugar, and the lemon juice until mix. Slowly sift in the extra sugar until it’s all used up.
  2. Scoop the frosting into a Ziploc bag and snip off one edge. Squeeze the frosting through the cut out corner onto cupcakes in a swirling motion.

gluten-free-lemon-cupcakes-serving

Who else is excited for Spring?