Tag Archive: Chocolate

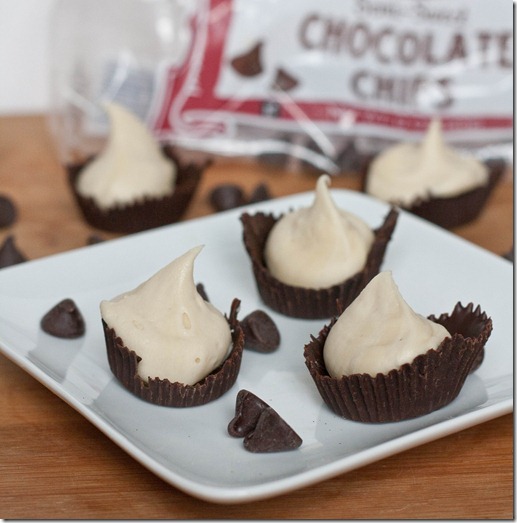
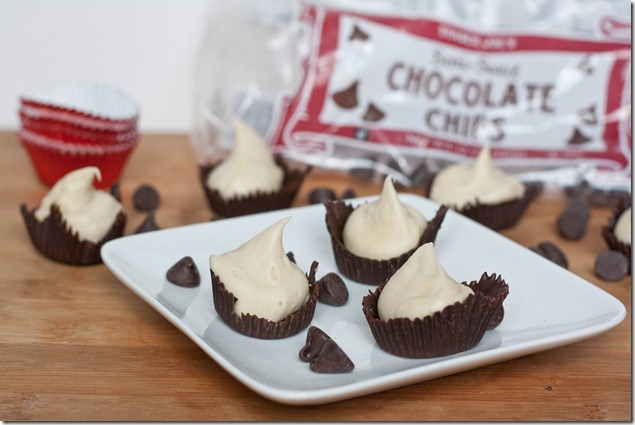
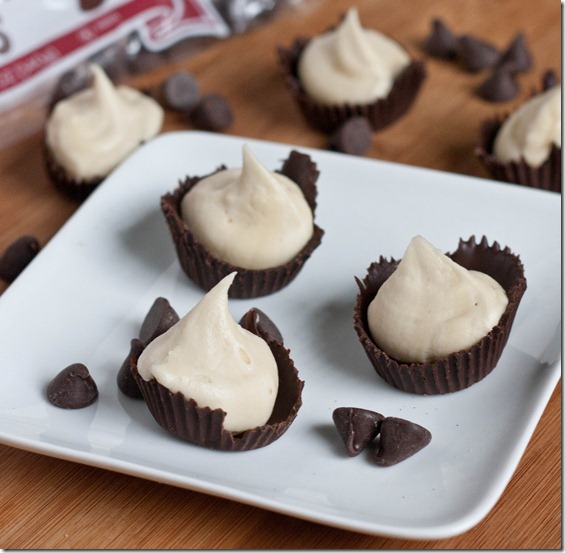
Buttercream Shots In Chocolate Cups

buttercream-shots-in-chocolate-cups

This I know to be true: There are cake people and there are frosting people. And I most definitely am a frosting person. I’m guilty of taking a slice of cake and just eating the frosting. I’m also guilty of running my finger along the edge of the cake before it’s been cut into just to taste the frosting. But don’t worry–I haven’t done that in any recent years… that I’ll admit to.

Today’s my birthday, and on your birthday you shouldn’t have to eat anything you don’t want to. Apples. Broccoli. Even cake. You should be able to just eat your frosting and have it, too.

buttercream-shots-in-chocolate-cups-2

I’ve been wanting to make a recipe like this for a long time and never found an occasion. I suppose now is as best a chance I’ll get; don’t judge me if all of these are gone by the end of the day.

They’re easy enough to make and just need two ingredients. You can use canned frosting but homemade is so much better tasting and just as easy. If you don’t have a favorite recipe, I’d recommend mocha buttercream or vanilla buttercream.

Buttercream Shots In Chocolate Cups

Prep time: 15 minutes(Plus 20 minutes of cooling time)

Cook time: 0 minutes

Ingredients(Makes 2 dozen):

  • 7oz good quality dark chocolate
  • 3/4 cup store-bought or homemade buttercream
  • 24 miniature cupcake holders

buttercream-shots-in-chocolate-cups-3

Method:

  1. Melt the chocolate in the microwave or over a double broiler until it’s smooth.
  2. With a spoon, drop a Tablespoon of chocolate into the cupcake holder and paint it around the sides. Make sure the layer of chocolate isn’t too thin or it will break.
  3. Put the chocolate cup on a tray and repeat until all of the chocolate is used up.
  4. Refrigerate the tray for 20-30 minutes until the chocolate has hardened.
  5. Gently peel off the cupcake holders until just the chocolate cup remains.
  6. Fill the cups with a tablespoon of buttercream each. Store in the refrigerator until ready to eat.

buttercream-shots-in-chocolate-cups-4

If you tried to tell me there’s a better kind of birthday shot, I wouldn’t believe you.

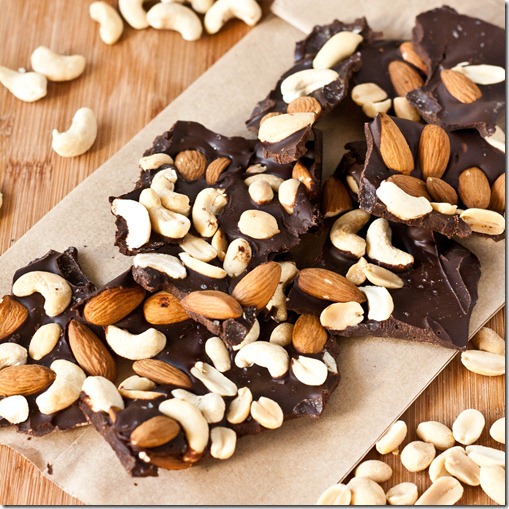
Triple Nut Bark

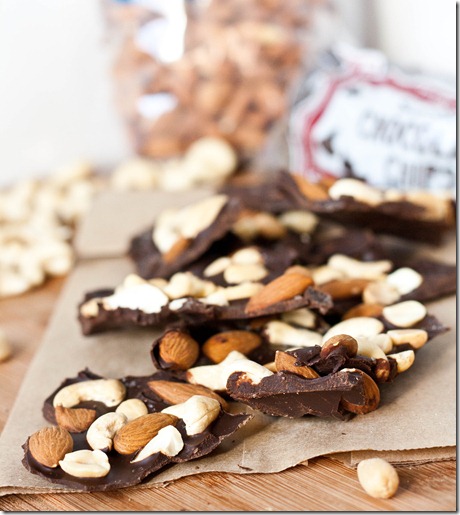
triple-nut-bark

Thanks so much for your feedback on my last post; cover photo #2 was the clear winner. I probably would have picked #3 myself so I’m glad I asked and got different opinions.

On Sunday I wanted to make bark but couldn’t think of what recipe to make. Then I remembered one I made way back at the start of this blog that sounded delicious and decided it’d be a perfect chance to update the recipe and the photos.

triple-nut-bark-2

It’s funny to think the last time I made this I was using a point + shoot and now I have a digital camera with 4 different lenses. It’s definitely an expensive hobby, but so much fun to get into.

Don’t have parchment paper? You can use a brown paper bag as a non-stick surface. It’s saved me from sticking chocolate many many times.

Triple Nut Bark

Prep time: 10 minutes

Cook time: 0 Minutes

Ingredients(Makes 15-20 servings):

  • 12oz semi-sweet chocolate or chocolate chips
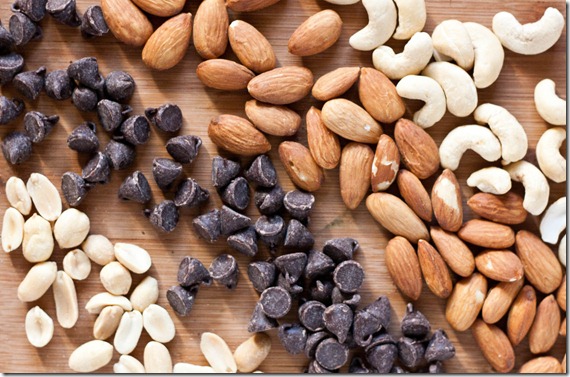
  • 3oz(3/4 cup) peanuts*
  • 3oz(3/4 cup) almonds*
  • 3oz(3/4 cup) cashews*
  • Coarse sea salt(optional)

*Roasted nuts will be more flavorful than raw one, but either will yield a tasty result

triple-nut-bark-ingredients

Method:

  1. Melt the chocolate in a microwave or over a double boiler.
  2. Spread the chocolate out in a thin layer on a non-stick surface.
  3. Evenly distribute the peanuts, almonds, and cashews over the chocolate and press them in lightly.
  4. Sprinkle with coarse sea salt.
  5. Refrigerate for 10-20 minutes until the bark has hardened. Remove it and break the bark into individual servings.
  6. Store refrigerated for up to 2 weeks.

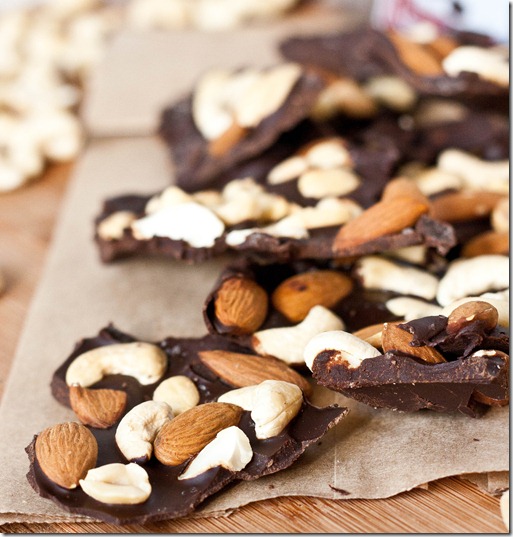
triple-nut-bark-3

The more sea salt on this, the better. It’s totally optional but a must if you love salty-sweet desserts.

Gluten-Free Thin Mints

Gluten-Free Thin Mints

It’s Girl Scout cookie time again. At first I wanted to resist it; but then seeing the flood of tweets and Facebook statuses about them I knew I couldn’t and would have to give in. If the Girl Scouts ever start selling a gluten-free cookie, I’d be happy to support them; until then I guess I’ll be making my own. That feels like dangerous knowledge.

My favorite Girl Scout cookie has always been the Thin Mints. Have you ever eaten one straight out of a freezer? That’s good stuff. I also liked the lemon cream-filled shortbread cookies, but I hear they stopped making those. That doesn’t seem like a smart business plan, Girl Scouts.

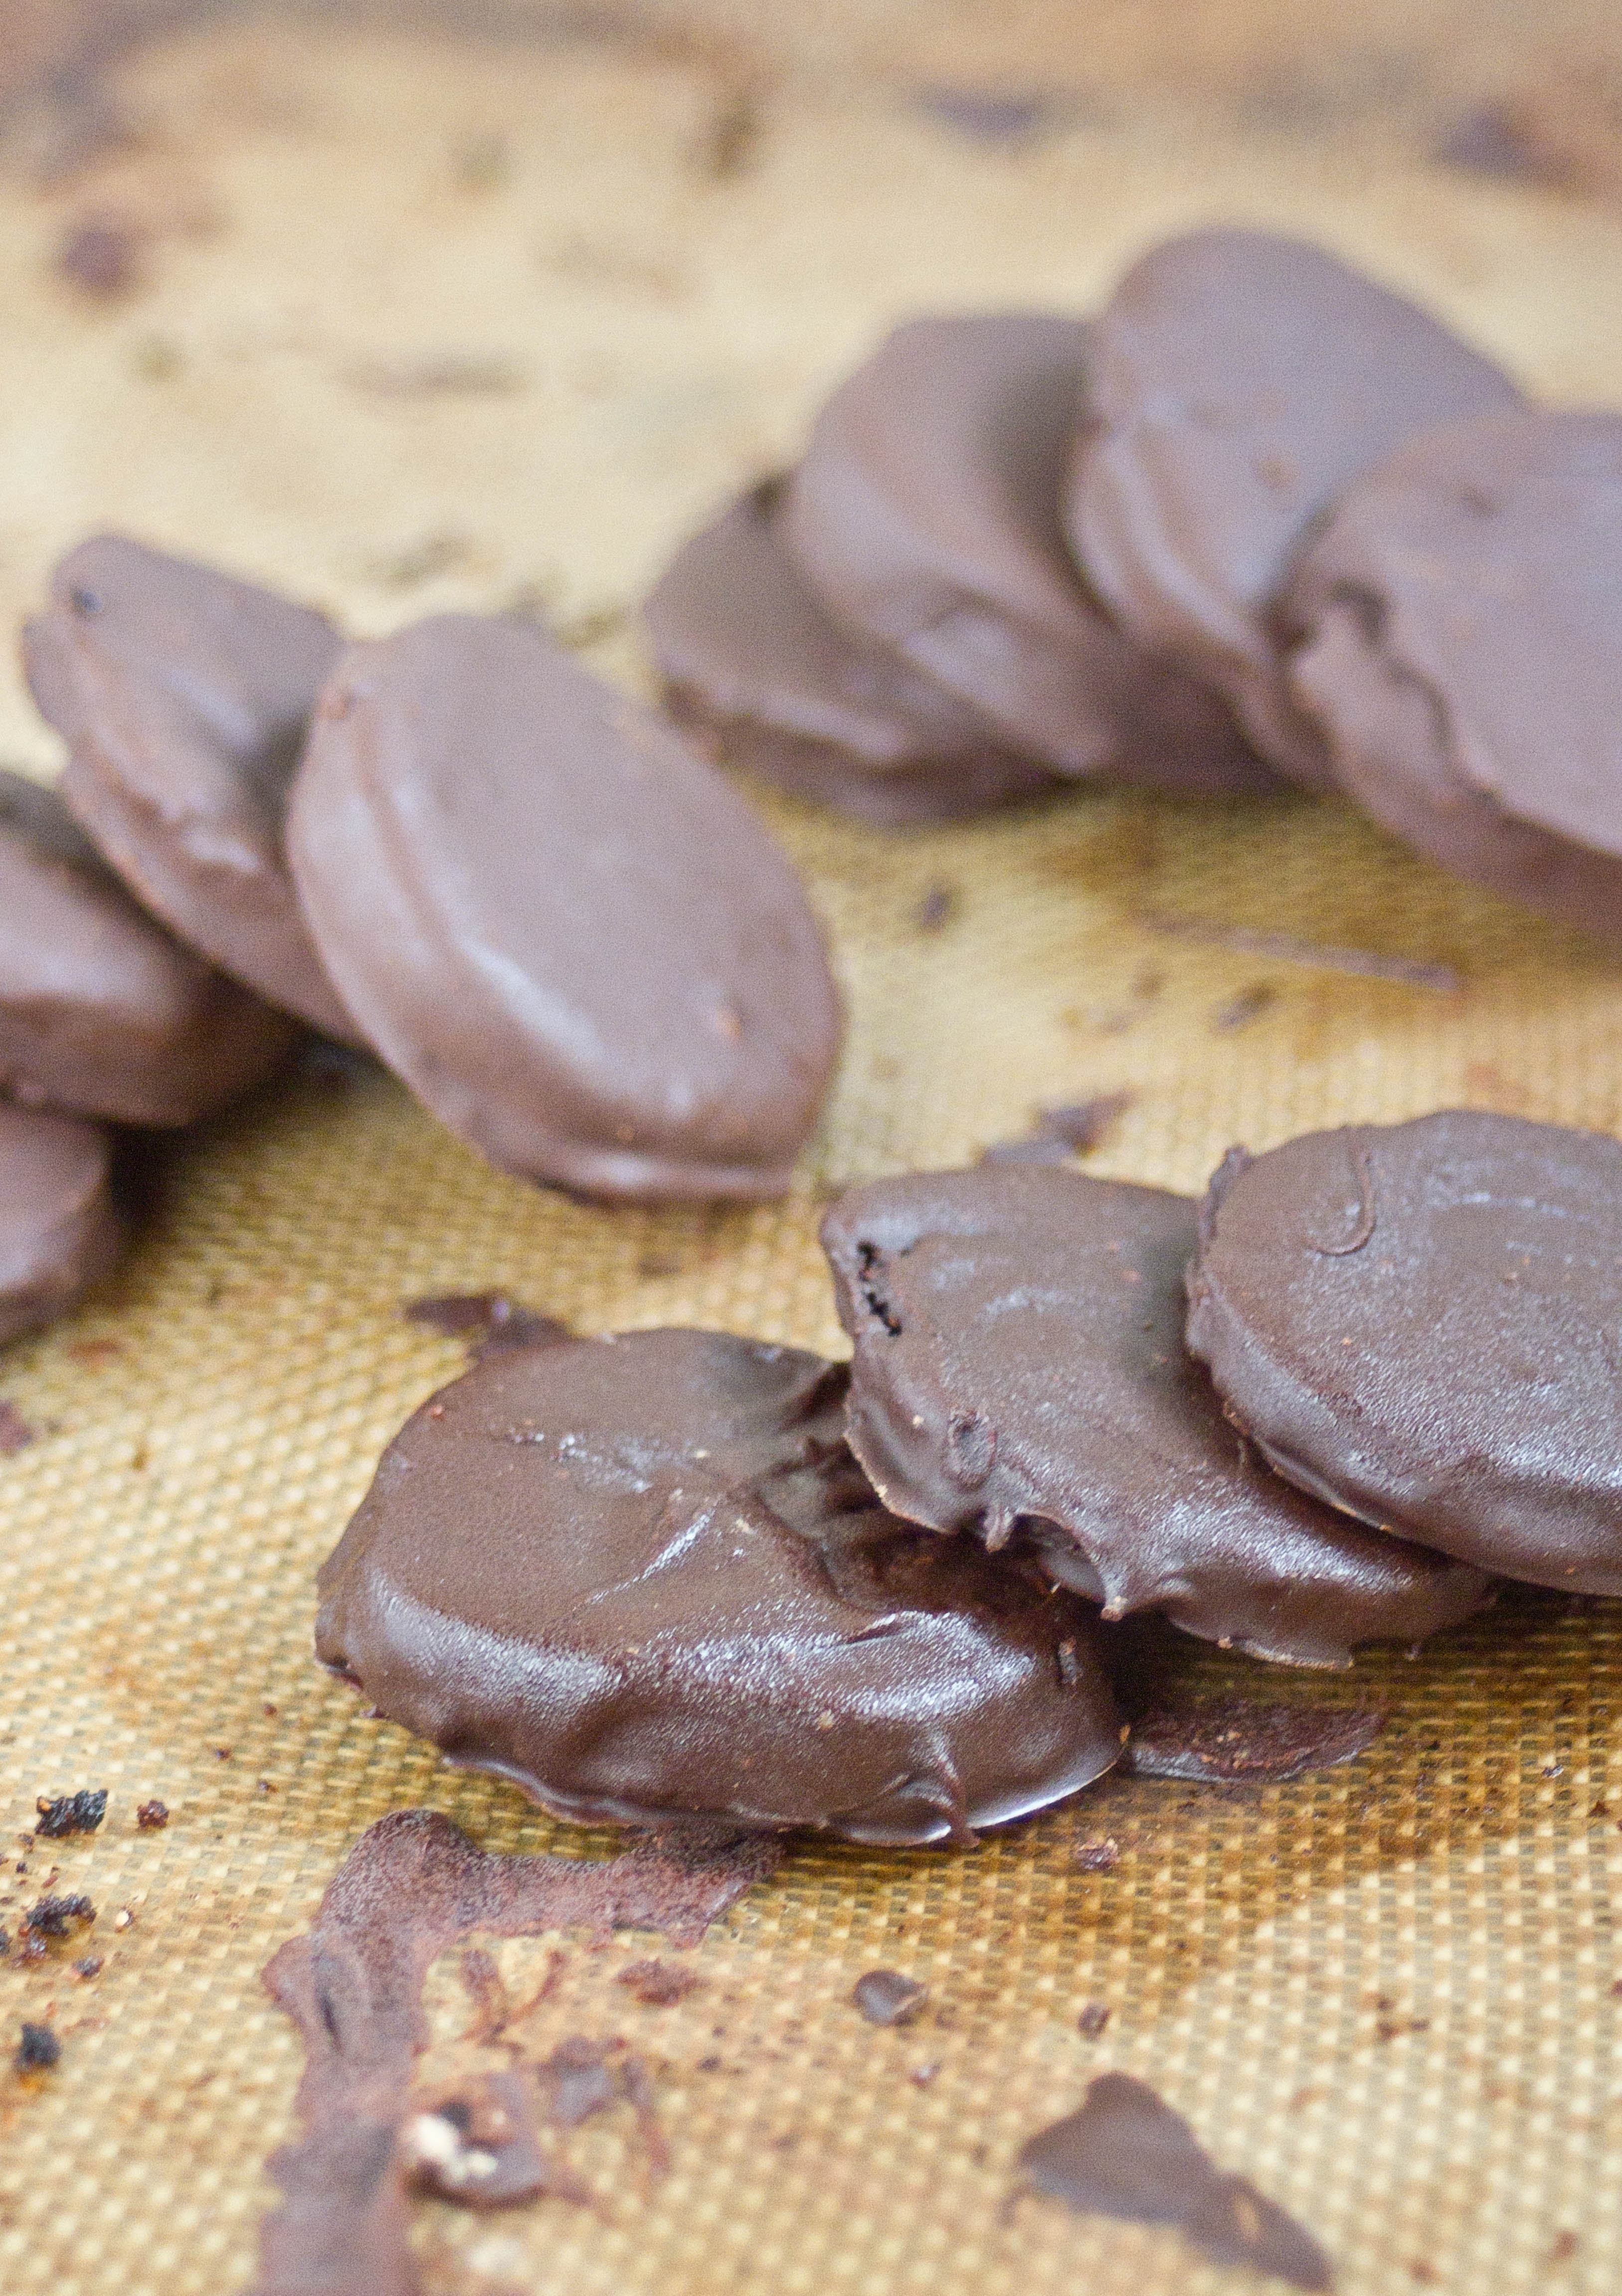
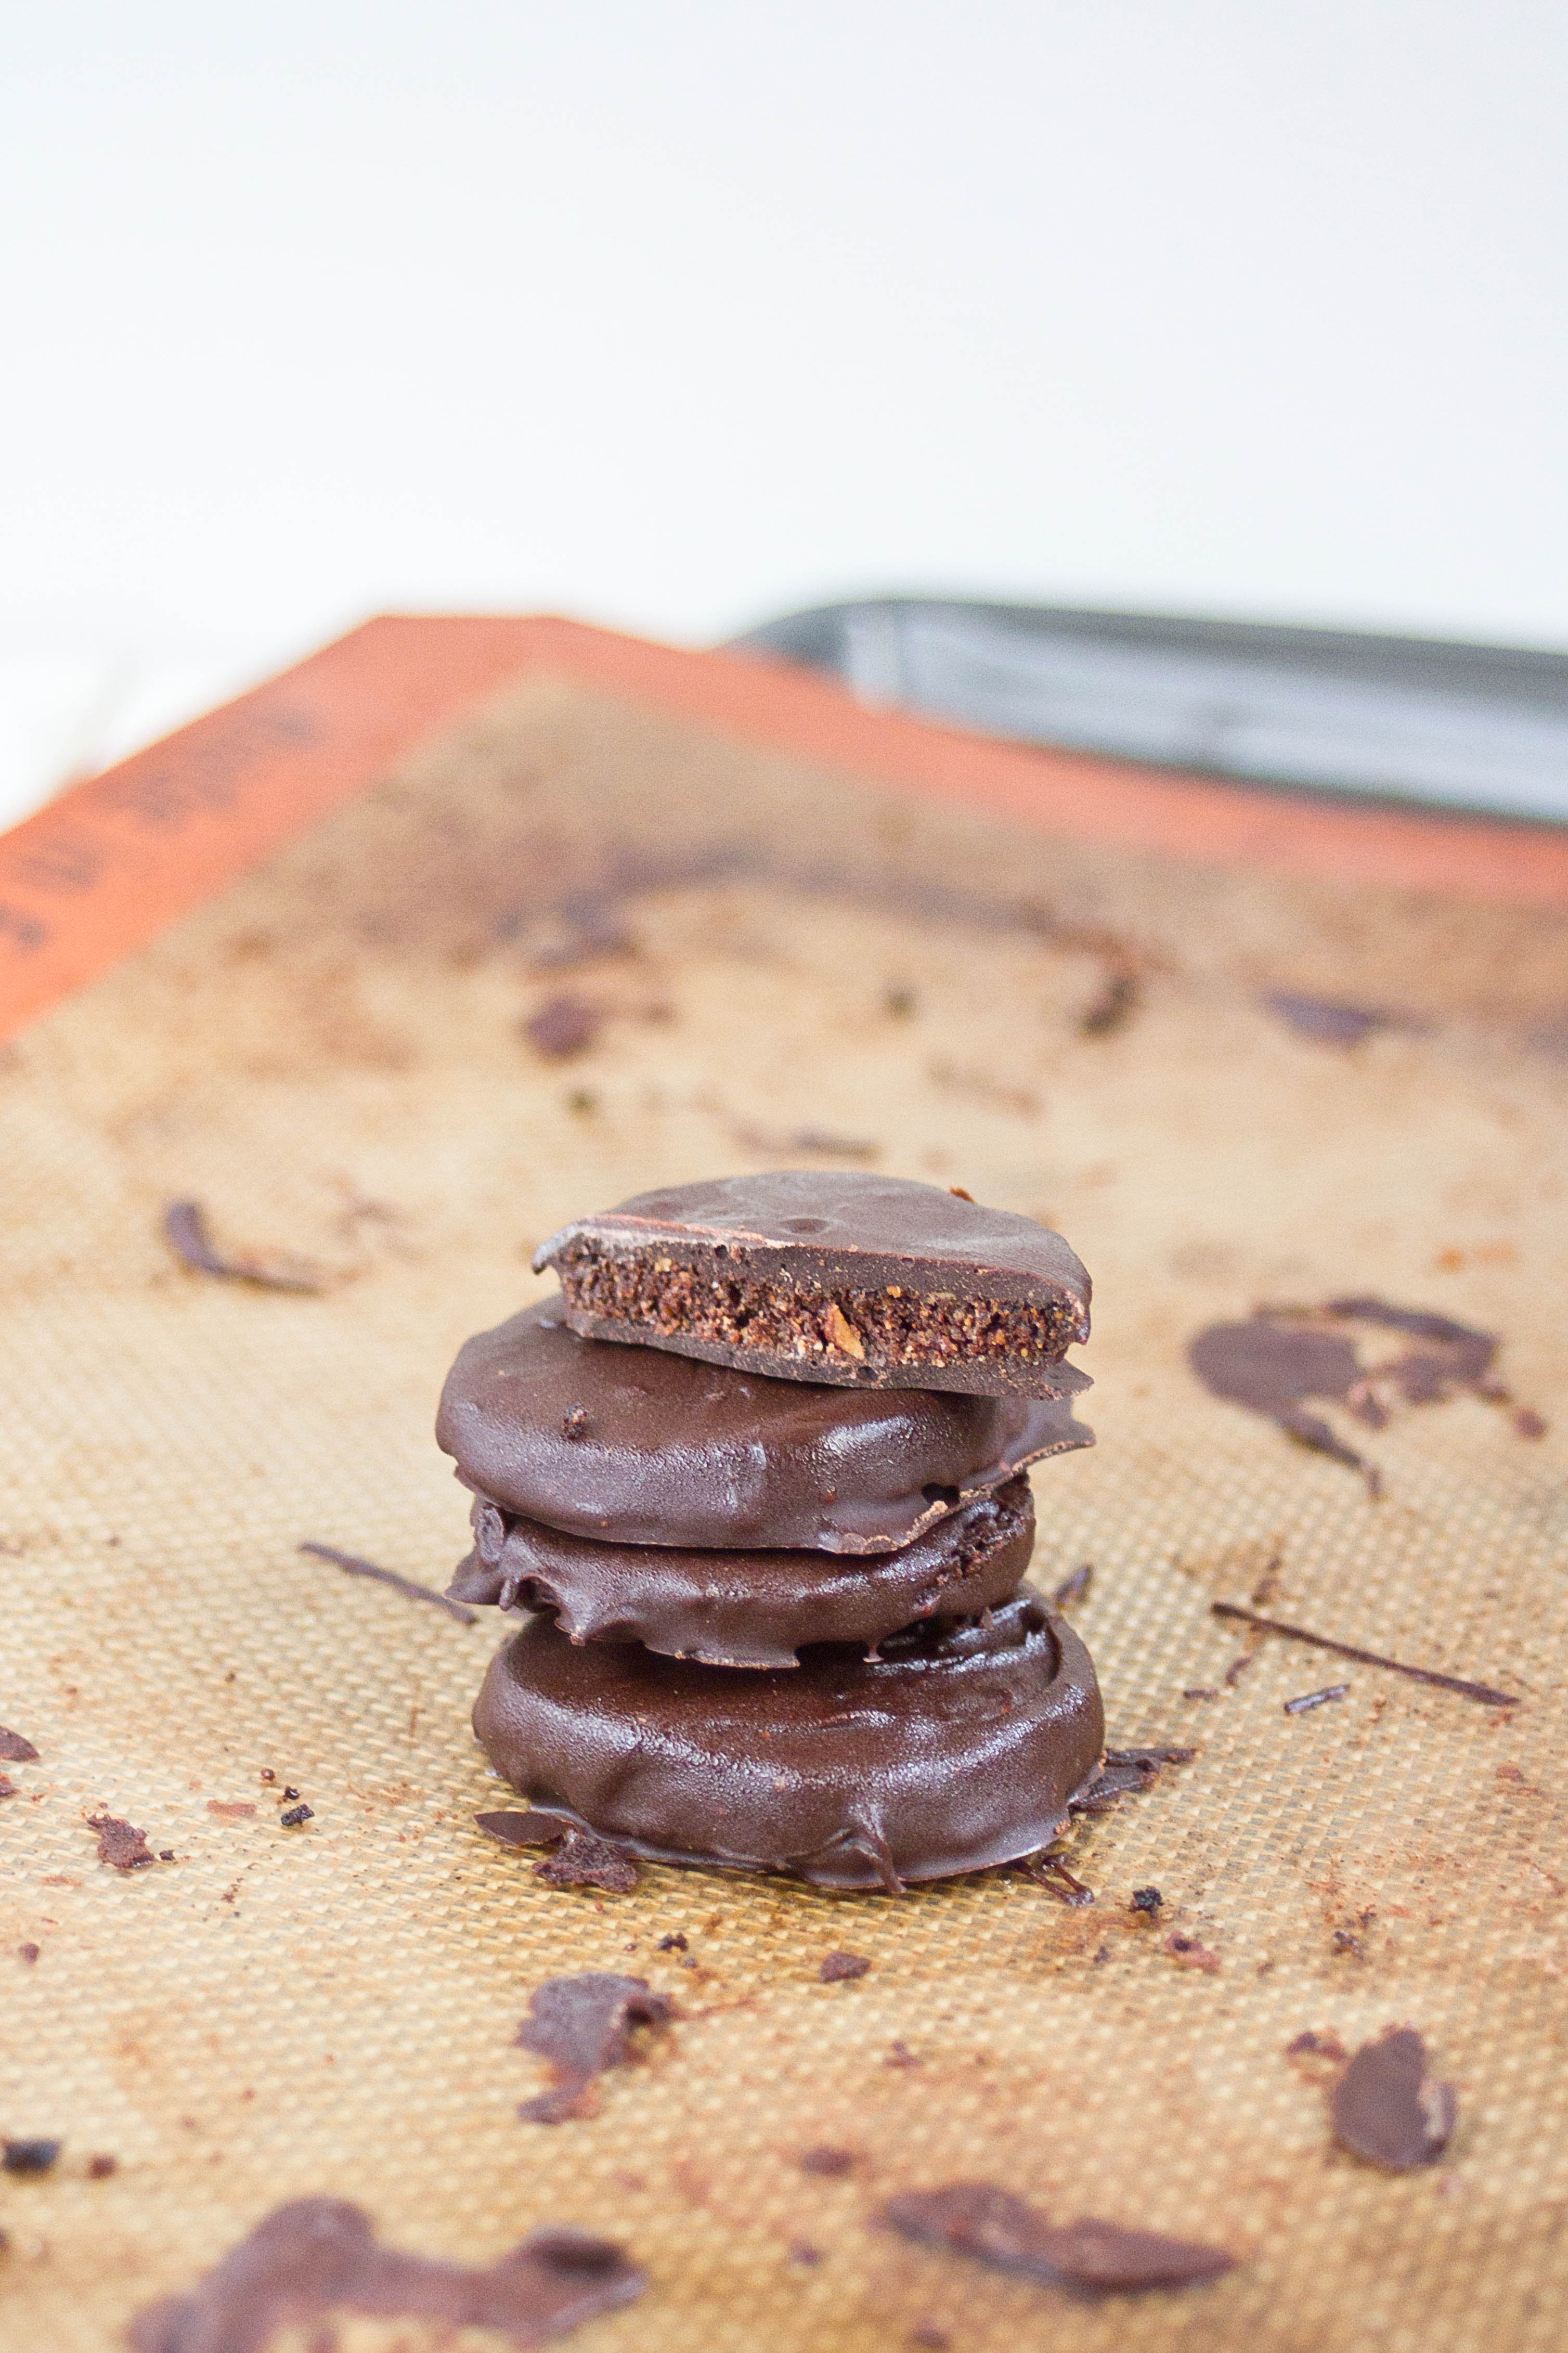
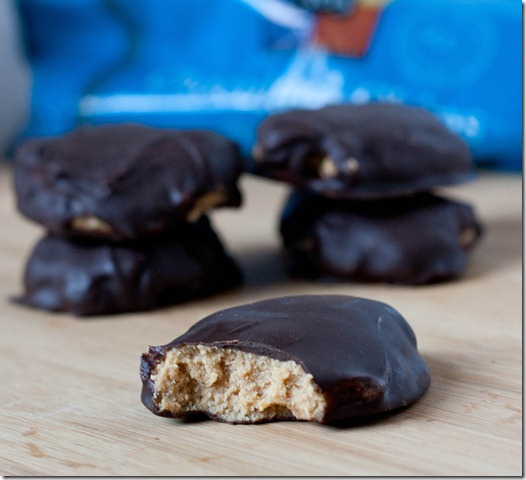
Gluten-Free Thin Mints Piles

 To make these I used coconut and almond flour, which are two of my favorite gluten-free flours to bake with. They also happen to be grain-free and could presumably pass as a “paleo dessert” even though that’s a bit of an oxymoron. Remember to give yourself a little extra time making these because the dough needs to chill before it can be baked.

Gluten-Free Thin Mints

Prep time: 45 minutes

Cook time: 20 minutes + more to coat

Ingredients(Makes 24 cookies):

  • 1 cup almond flour
  • 1/4 cup coconut flour
  • 1/2 cup sugar
  • 1/4 cup cocoa powder
  • 1/4 teaspoon salt
  • 1 egg
  • 1 stick(4oz) butter, melted
  • 1 bag(12oz) semisweet or bittersweet chocolate chips
  • 1 teaspoon peppermint extract, divided

Method:

  1. Sift together the almond flour, coconut flour, cocoa powder, salt, and sugar until it’s all mixed.
  2. Add in the egg, butter, and 1/2 teaspoon of peppermint extract and mix until it forms a dough.
  3. Roll the dough into a log on some parchment paper and put in the refrigerator or freezer to chill.
  4. Preheat your oven to 375 degrees.
  5. When the dough is solid, using a sharp knife, cut out cookies that are roughly 3/8-inch thick. Lay the cookies out on a baking tray(don’t worry if they’re close together since they don’t really really spread)
  6. Bake for 18-20 minutes.
  7. Remove the cookies from the oven. Let them cool until they’ve hardened.
  8. Make the coating by melting the chocolate chips and mixing in the remaining 1/2 teaspoon of extract.
  9. One by one, dip the cookies into the melted chocolate to coat both sides. The chocolate should be fairly runny and only coat in a small layer. If the chocolate is thicker, heat it up until it melts more.
  10. Lay the cookies onto parchment paper and refrigerate to fully harden. These will keep 2 weeks in the refrigerator.

Gluten-Free Thin Mints Stack

What’s your favorite Girl Scout cookie? While I love thin mints, Tagalongs are a close second. I get the sense I might have to try my hand at making those.

Easter Egg Peppermint Patties

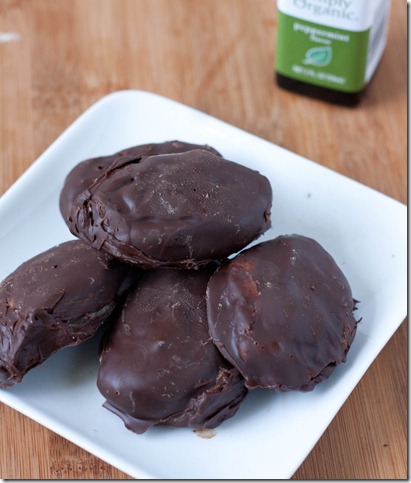
easter-egg-peppermint-patties

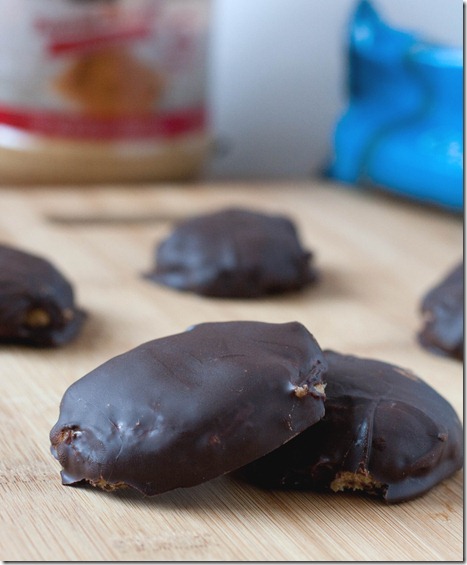
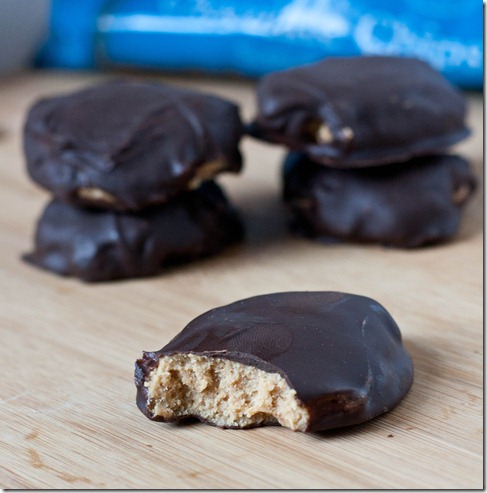
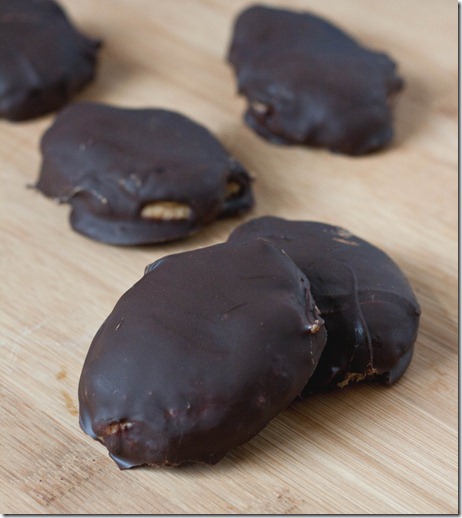
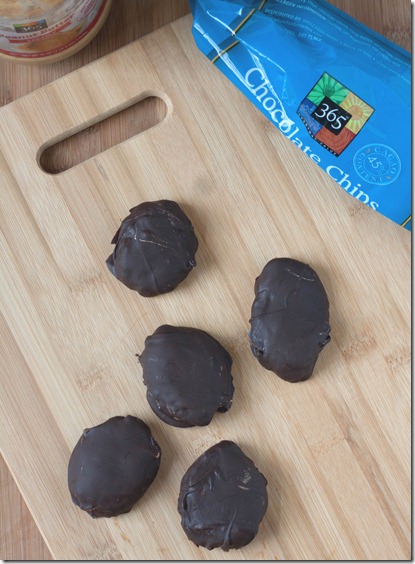
If there’s one candy that can rival my love of chocolate and peanut butter, it’s peppermint patties. As soon as I made my egg-shaped Reese’s cups, I wondered why no one ever does the same with peppermint patties?

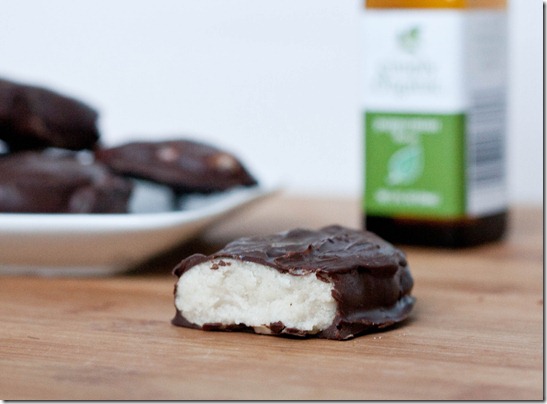
The ratio of filling to chocolate coating is a little ridiculous here; if you’re not a fan of super sweet desserts, this probably isn’t for you. I am, however, so I thought these were great. The chocolate coating certainly could have been prettier but it’s mostly my fault for hastening the process; this works best if you let the patties freeze well before being coated.
Easter Egg Peppermint Patties

Prep time: 30 minutes

Cook time: 0 minutes

Ingredients(Makes a dozen):

  • 2 1/4 cup powdered sugar, sifted
  • 1 1/2 Tablespoons agave nectar(or any liquid sweetener)
  • 1 1/2 Tablespoons water
  • 1 Tablespoon coconut oil, softened or melted
  • 1 teaspoon peppermint extract
  • 8oz bittersweet or semisweet chocolate chips

easter-egg-peppermint-patties-stack

Method:

  1. In a large bowl, mix together the powdered sugar, sweetener, water, coconut oil and extract completely until it forms a dough-like consistency.
  2. Break off pieces of the filling and roll it into a log in your hands. Gently press down until the shape resembles an egg. Lay this on a non-stick surface and repeat with the rest of the filling.
  3. Refrigerate the filling until it’s cold and hard—about 30 minutes.
  4. Meanwhile, melt the chocolate in a microwave or over a double-boiler.
  5. Cover the filling eggs on both sides and all around in the chocolate. Try to work quickly since the filling will soften the longer it’s out and near the chocolate. Lay the eggs on a non-stick surface one by one.
  6. Once you’ve used all the chocolate and filling, refrigerate the eggs until the coating hardens. These will last up to 2 weeks in the refrigerator.

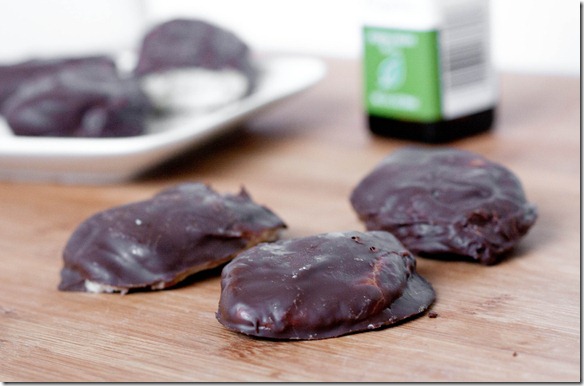
easter-egg-peppermint-patties-triple

These are like after dinner mints on steroids. I could never choose between these and Reese’s cups. Thankfully, we live in a world where no one ever has to.

Homemade Reese’s Peanut Butter Eggs

homemade-reeses-peanut-butter-eggs

I’m a huge fan of Reese’s. I don’t think there’s anything they make which I don’t like. Well, besides the inside out peanut butter cups. And the white chocolate peanut butter cups. Seriously, what were they thinking? Well, we all make bad decisions.

homemade-reeses-peanut-butter-eggs-bite

Anyway, any true Reese’s fan can tell you that the holiday edition items are the crème de la crème. Whether it’s the trees, eggs, or hearts, the peanut butter-to-chocolate ratio is so much more perfect.

homemade-reeses-peanut-butter-eggs-yield

Why make regular peanut butter cups when you can make delicious(and festive!) eggs? You wouldn’t. These were just as easy to make as regular cups, and I think I liked them more. I used peanut butter that was just peanuts and salt, but no-stir peanut butter should work as well. You could even use white chocolate instead of the semi-sweet chocolate, but I will judge you slightly(Just kidding… sort of).

Homemade Reese’s Peanut Butter Eggs

Prep time: 30 minutes

Cook time: 0 minutes

Ingredients(Makes about 7 eggs):

  • 1/2 cup peanut butter
  • 2 tablespoons butter
  • 1/2 cup powdered sugar
  • 4oz semi-sweet chocolate

homemade-reeses-peanut-butter-eggs-overhead

Method:

  1. Melt the butter and mix in the peanut butter and powdered sugar until there are no clumps(If you’re using no-stir peanut butter, you might want to melt that, too, so it’s easier to mix together).
  2. Refrigerate the peanut butter mixture until it’s mostly solid.
  3. While the peanut butter is chilling, melt the chocolate until smooth and silky. Let the chocolate sit at room temperature for 10 minutes once melted to cool slightly, but keep it hot enough so that it doesn’t reharden.
  4. To shape the eggs, take about an ounce of chilled peanut butter dough and roll it in your palm into a log. Then press down slightly on both sides to flatten. If the dough gets too soft during this process, stick it back in the refrigerator or freezer for 10 minutes to make sure that it’s solid before touching the melted chocolate.
  5. Drop the egg into the melted chocolate. Flip it using a spoon or a fork and spread the chocolate around the sides. Move the chocolate-covered egg onto a piece of parchment paper.
  6. Repeat with all of the peanut butter and chocolate.
  7. Refrigerate the eggs until the chocolate coating has hardened. Keep chilled for up to 2 weeks.

homemade-reeses-peanut-butter-eggs-bite-2

Just take my advice and double the recipe. 7 will hardly last a day.

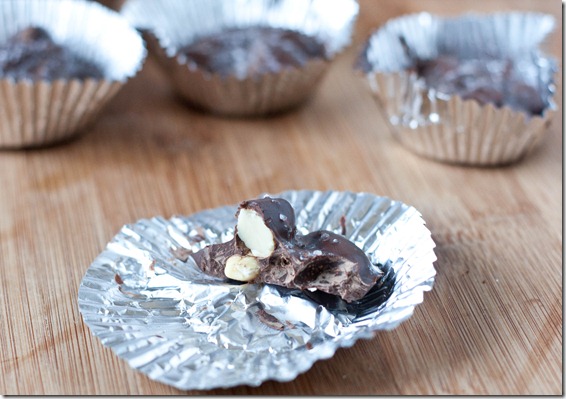
Salted Chocolate Almond Clusters

salted-chocolate-almond-clusters

I have a slight addiction to chocolate covered almonds. Whenever I get a tub from Trader Joe’s, it doesn’t last long. Sure, they’re somewhat healthy with almonds, but I could put them away like they’re their own food group. Besides, they cost way more than chocolate and almonds should.

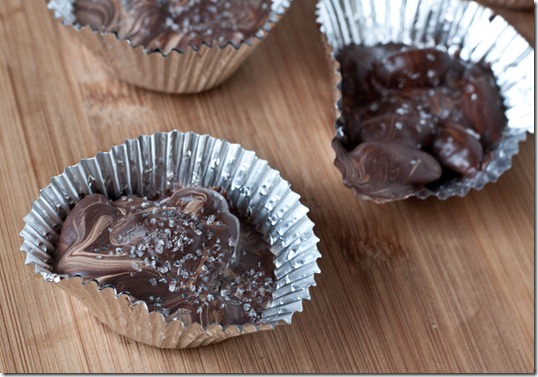
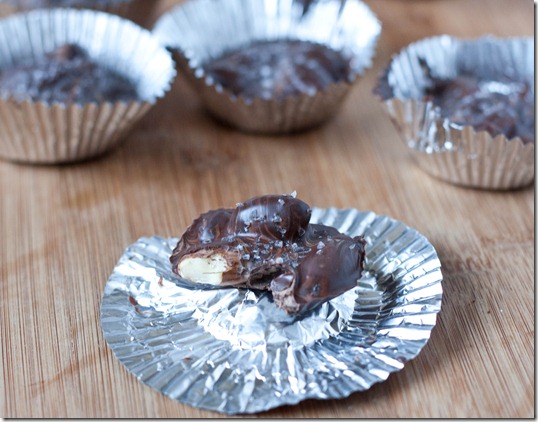
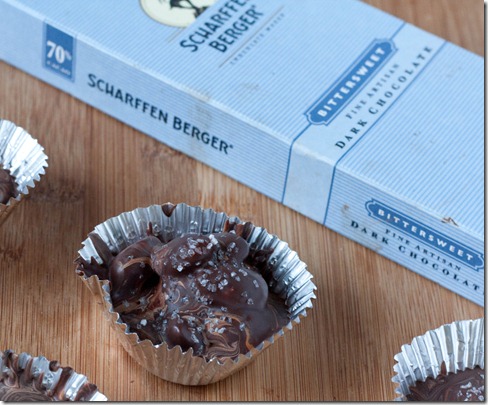
This was my effort at making my own. These clusters were incredibly easy to make and tasted just as good as the store-bought ones. I would recommend using a good tasting, high-quality chocolate like Scharffen Berger of Valrhona since the flavor really matters when there are so few ingredients. The salt on top was the perfect added punch of flavor.

salted-chocolate-almond-clusters-bite

For a different flavor, add coarse turbinado sugar on top, or mix a flavor like cinnamon or chile powder into the melted chocolate.

Salted Chocolate Almond Clusters

Prep time: 10 minutes

Cook time: 0 minutes(allow 30 minutes to cool)

Ingredients(Makes about 10 clusters):

  • 6oz good quality semi-sweet or bitter-sweet baking chocolate
  • 5oz almonds, raw or roasted
  • Coarse sea salt

salted-chocolate-almond-clusters-chocolate

Method:

  1. Carefully melt the chocolate in a microwave or over a double boiler.
  2. Add in the almonds and stir them in.
  3. Drop a tablespoon of chocolate almonds into a small cupcake tin. You could also make these flat like bark by laying it onto non-stick parchment paper.
  4. Sprinkle course sea salt on top of the almonds.
  5. Either let these harden at room temperature or—for a faster method—harden these in the refrigerator.
  6. Store at room temperature for up to 2 weeks.

salted-chocolate-almond-clusters-morsel

Double Take: Microwave Fudge

microwave-fudge

Happy President’s Day weekend to all my American readers. I’m going to admit that until 2 days ago I had no clue it was President’s Day today; in fact, I wished one of my friends a happy Martin Luther King day until I looked that up and realized I’m a month behind. Oops.

I haven’t really been in the holiday mindset since I have 5 hours of class today. Still, I don’t need an excuse to spend all weekend making desserts so that’s what I did.

microwave-fudge-stack

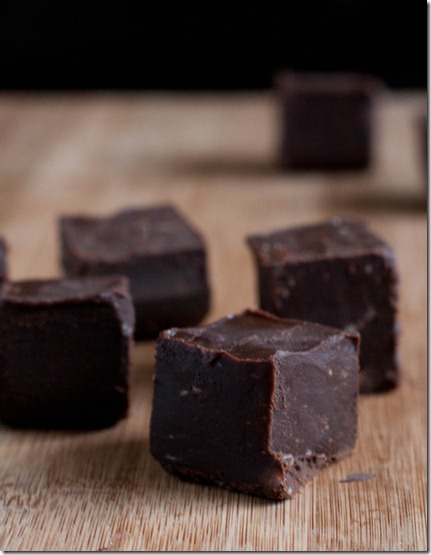
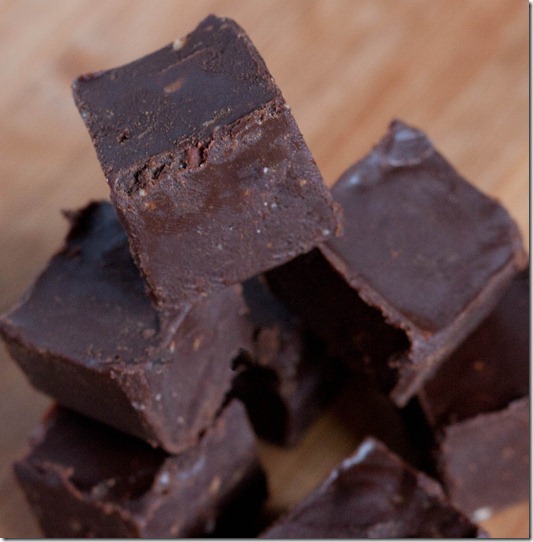
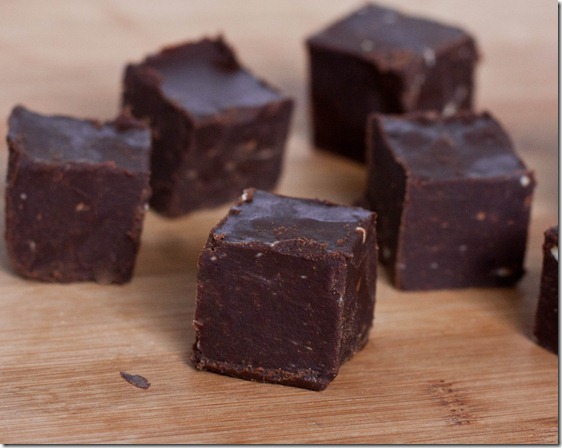
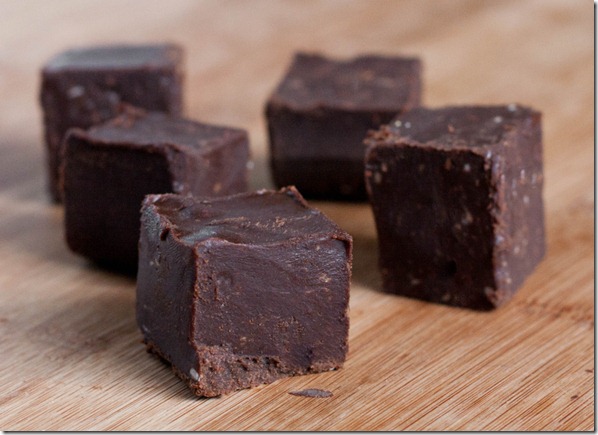
I can’t count the number of times I’ve posted this fudge recipe, so we’re just going to call this a “double take”. It’s one of my favorite desserts to make because it’s easy and delicious; you probably already have all the ingredients.

I’ve had readers make this without the added sugar or substituting coconut oil for the butter and I hear it works great. I haven’t tried either of those substitutions, but I have made it with coconut milk and Earth Balance margarine and it comes out terrific that way, too.

Microwave Fudge

Prep time: 10 minutes

Cook time: 0 minutes

Ingredients(Makes 16 servings):

  • 1 cup semi-sweet chocolate chips
  • 1 4oz stick butter
  • 1/2 cup powdered sugar
  • 1/4 cup milk(or non-dairy substitute)

microwave-fudge-2

Method:

  1. Melt together the chocolate chips and butter.
  2. Sift in the powdered sugar and pour in the milk. Mix until completely uniform.
  3. Pour the hot fudge into a 6 x 6 pan. Refrigerate until the fudge sets.
  4. Cut into 1 1/2 inch squares(this might be easier to do if the fudge has softened a bit) and serve slightly chilled.

microwave-fudge-cubes

I hope you don’t wait for the next holiday to try this one out.

Homemade Chocolate Peanut Butter

homemade-chocolate-peanut-butter

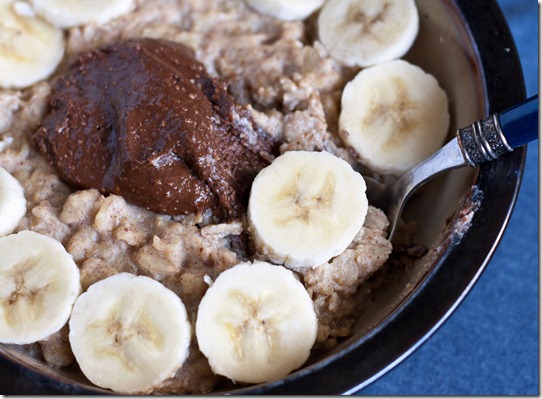
I pretty much eat the same things for breakfast every morning. Either it’s a bowl of gluten-free oats with eggs, banana and peanut butter or a coconut flour breakfast bake topped with peanut butter, unless I’m in a sweets mood in which case I’ll make a paleo mug cake and top it with peanut butter.

Are you seeing a pattern? I really love peanut butter at breakfast time.

The only thing that I enjoy as much as peanut butter at breakfast is chocolate. Naturally, the two can only be better together.

homemade-chocolate-peanut-butter-oatmeal

I actually made this recipe last year around this time and completely forgot about it until I was shopping for ingredients. I figured it was time to remake it and take better photos, anyway. And I could never say no to having chocolate peanut butter on hand.

Homemade Chocolate Peanut Butter

Prep time: 5 minutes

Cook time: 0 minutes

Ingredients(Makes 16oz):

  • 12oz(about 1 1/4 cup) plain peanut butter
  • 6 tablespoons powdered sugar
  • 1/3 cup cocoa powder
  • 1 teaspoon vanilla extract
  • 2 tablespoons coconut oil, melted
  • 1/2 teaspoon salt(omit if you’re using salted peanut butter)

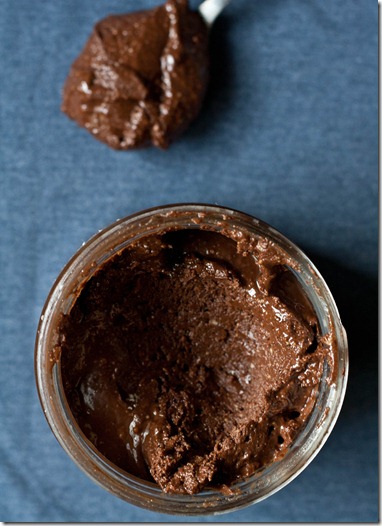
homemade-chocolate-peanut-butter-jar

Method:

  1. Combine all of the ingredients together and mix until smooth
  2. Store at room temperature in a sealed container for up to 2 week.

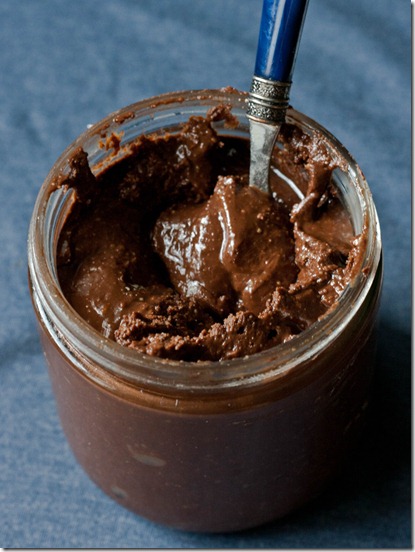
homemade-chocolate-peanut-butter-spoon

I’ll give you a tip: It’s not going to last 2 weeks once you start tasting.

What Makes A Good Brownie Recipe

March 13th 073

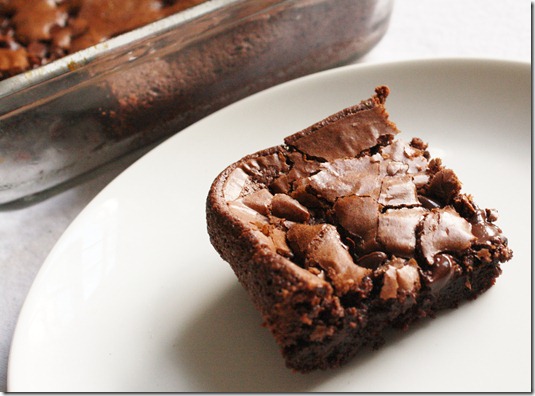
I’ve gotten a name for posting brownie recipes. I don’t think I post them that often, but there are plenty of worse things to be called than “Brownie blogger” so I’ll take it. I do love brownies(I don’t know who wouldn’t). And I’ve made them often enough to know a good brownie recipe from a bad one when I see it.

But first I should probably clarify what I mean by “good”, because with something like brownies that can be very subjective. A good brownie to me is dense and fudgy with a dark and complex flavor—not too sweet—, and not at all cakey. If I wanted something cakey I’d bake a cake. A good recipe could set even a novice baker up to making the best brownies of their life.

gluten-free-raspberry-swirl-brownies

A good brownie recipe should have melted chocolate in the batter. If a recipe only has cocoa powder but no melted chocolate, just keep looking. It’s not going to be as fudgy or dark a flavor without the cocoa butter.

A good brownie recipe should have butter. Real butter. Now, no offense to vegans because I love vegan baking, too. But butter really makes all the difference in the flavor of brownies. I’d stay clear of a recipe that uses all oil, margarine, or even applesauce or yogurt. It’s dessert; it’s not meant to be healthy.

IMG_0677

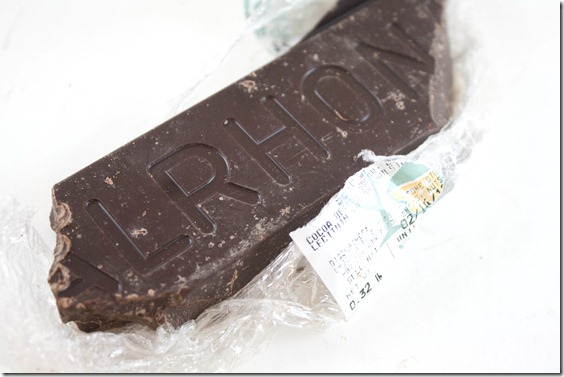
The quality of your chocolate/butter matter. One of the simplest things you can do to elevate any brownie recipe is use really good chocolate. Chocolate chips may work in cookies, but they aren’t really right for melting into brownie batter. A high quality baking chocolate is going to have a much better texture and flavor. I would recommend using whatever you would eat on its own(I say that as someone who regularly eats chocolate chips from the bag but let’s pretend I don’t). Some good brands I’d recommend that would make really impressive brownies are Scharffen Berger, Callebaut, and Valrhona. There are plenty others, too.

The butter also matters and is something often overlooked. A European butter or butter made from grass-fed cows has a much stronger flavor than something like Land O Lakes that comes through in the finished recipe. I suggest Kerrygold or Smor.

almond-flour-brownies

The flour matters. Brownies made with whole wheat flour are going to be tougher and cakier than ones made with cake flour, which is more refined. If you insist on a whole grain flour, look for pastry flour for something a little lighter. Better yet, skip the gluten altogether and bake gluten-free with almond flour, which doesn’t act as a binder and so won’t make your brownies tough. Avoid starchy gluten-free flours like coconut flour or garbanzo bean flour that will also make the brownies tough.

January 19th 050

The little touches matter. Most brownie recipes will be improved with a little vanilla extract, some instant coffee granules, and a pinch of salt. Even if the recipe doesn’t call for any of those, don’t be shy to add them in and boost the flavor; you should always keep these on hand when baking with chocolate. And just because they’re brownies doesn’t mean they couldn’t use a frosting or ganache.

Did I forget anything? What makes your favorite brownie recipe the best brownie recipe?

On a completely separate note, this is the last weekend to vote in the Nutty About Yogurt contest hosted by Stonyfield Farm and Peanut Butter & Co. If you haven’t voted yet, I would really appreciate your vote for my muffin recipe. And you’ll be entered to win a Stonyfield and Peanut Butter & Co. prize pack, too.

Gluten-Free Raspberry Swirl Brownies

gluten-free-raspberry-swirl-brownies

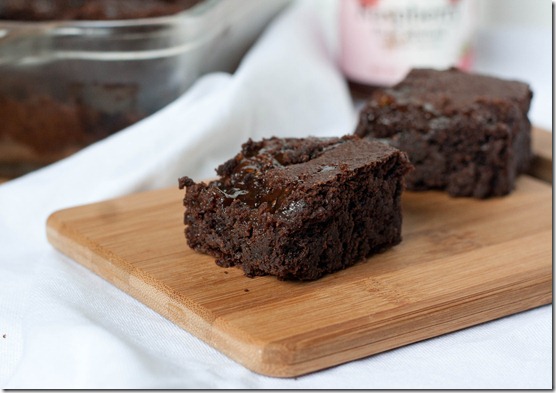
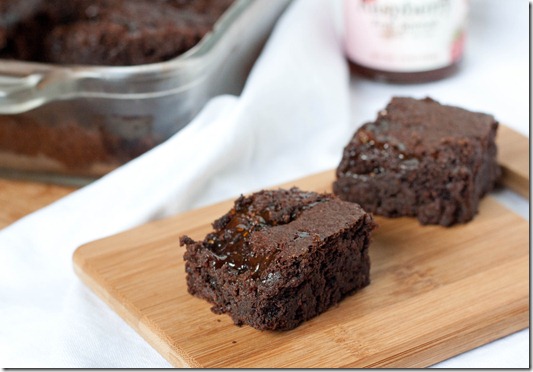
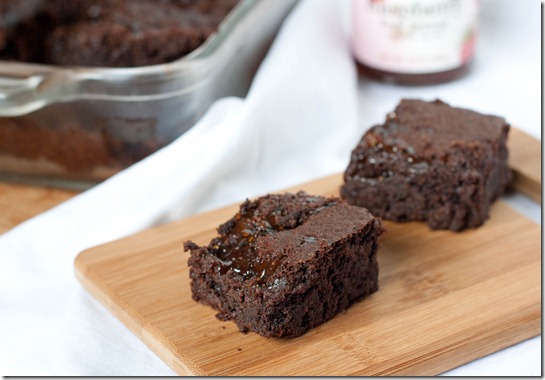
I’m not really a fan of Valentine’s Day. There are so many other holidays I’d rather celebrate, like Arbor Day or the Ides of March. But if celebrating means baking and devouring delicious red and black brownies, then I will reluctantly celebrate.

gluten-free-raspberry-swirl-brownies-stack

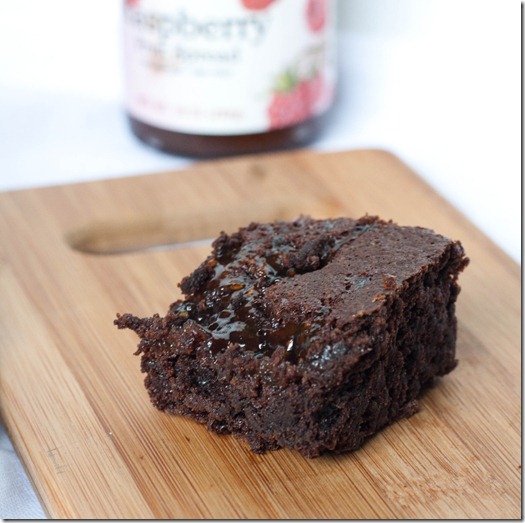
Starbucks used to(or maybe they still do?) sell these terrific fudgy brownies with raspberry sauce artfully swirled in on top and I would get them most days after school. I’d honestly choose raspberries and chocolate over peanut butter and chocolate most days; I think the pairing is that good.

gluten-free-raspberry-swirl-brownies-overhead

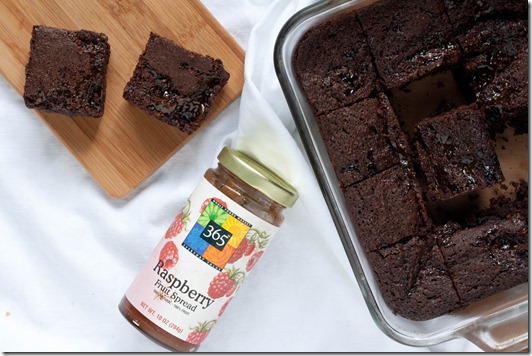
For this recipe, I just used my standard gluten-free brownie recipe and added in the raspberry preserves to elevate it to those Starbucks brownies. If you have a favorite brownie recipe—gluten-free or not—you can always use that and just follow the last couple of steps to add the raspberry in.

Gluten-Free Raspberry Swirl Brownies

Prep time: 15 minutes

Cook time: 30-40 minutes

Ingredients(Makes 1 8 x 8 pan):

  • 3/4 cup almond flour
  • 1/4 teaspoon salt
  • 2 tablespoons unsweetened cocoa powder
  • 1/2 teaspoon baking powder
  • 3/4 cup sugar
  • 3 large eggs
  • 1 teaspoon vanilla
  • 4oz baking chocolate
  • 1/2 cup butter
  • 1/2 cup raspberry preserves

gluten-free-raspberry-swirl-brownies-close-up

Method:

  1. Preheat your oven to 350 degrees.
  2. Mix together the almond flour, salt, cocoa powder, and baking powder.
  3. Beat in the eggs, sugar, and vanilla until mixed.
  4. In a separate bowl, melt together 4 ounces of chocolate along with the butter.
  5. Slowly pour the melted chocolate and butter into the batter while whisking until fully incorporated.
  6. Pour the batter in a greased 8 x 8 pan.
  7. Drop the raspberry preserves on top and swirl around lightly into the batter to cover most but not all of the top(If you want to do this more artfully than I did, put the jam into a plastic bag, cut off one of the corners and squeeze it into lines across the top of the brownies. Then run a knife along the top in lines perpendicular to the jam to create a swirl effect).
  8. Bake for 30-40 minutes or until a toothpick poked into the center comes out clean. Let these cool completely before cutting in.

gluten-free-raspberry-swirl-brownies-serving

OK, maybe Valentine’s Day won’t be so bad. So long as I get to eat all the brownies.