I can’t remembered if I mentioned it here but last month I won Attune Food’s October recipe challenge. They’re hosting another challenge for December which you should look into entering, blogger or not. Anyway, that came with a nice $200 prize, and while at first I wasn’t sure what to do with it it pretty soon became clear.
I took the plunge and finally bought Lightroom. Up until this point I’ve used free photo editing software(Picasa Photo Viewer and Microsoft Live Photo Gallery) but I figured since I’ve gotten more serious as a food blogger and am taking a photography class next semester it would be a good investment. Besides, the student and teacher version is on sale on amazon for only $89 now so I would highly recommend students and teacher readers taking advantage of that.
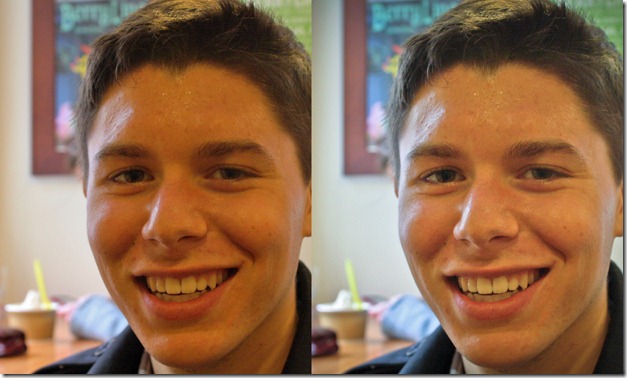
Since it came in the mail on Thursday I’ve been playing around a lot on it. While I’m still far from understanding it all, I must say it’s done a tremendous job at editing photos. With all of the controls, it’s very easy to get the tones and clarity of a picture exactly where you want it to look its best. You can see the Lightroom version on the right is a lot brighter and clearer than the one on the left that was edited with free software.
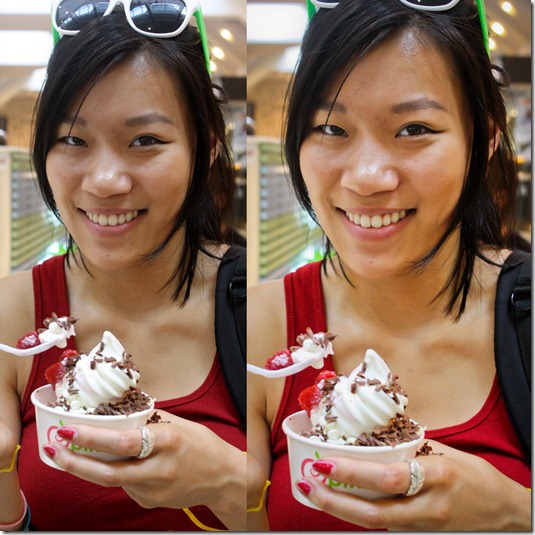
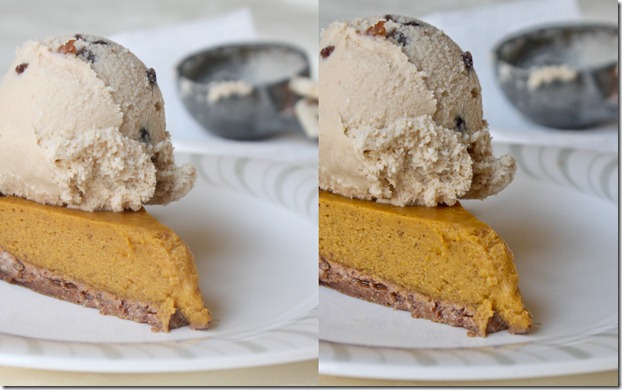
I’ve started to use it on food photos for this week’s post and again it doesn’t disappoint. Look how much better the color and contrast is in the photo on the right!
Lightroom also does a great job at fixing white balance issues, which I apparently have a lot of because my photos always end up being too blue or too red. I love that you can edit each color hue individually to get something more natural looking.
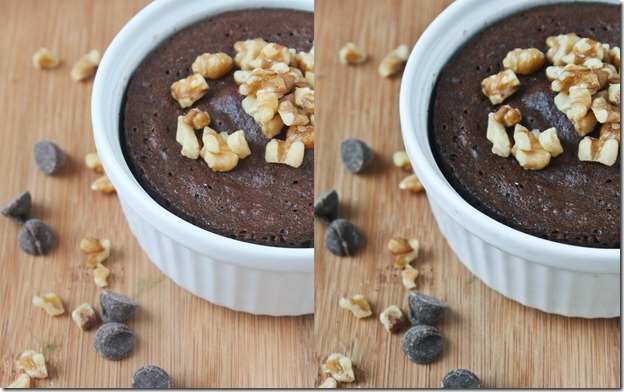
This is the only one where I’m not sure the photo edited with Lightroom looks any better than the other. I like them both very much. The Lightroom photo(on the right) has a more chocolaty look to it, but I like the brightness of the other photo. I wouldn’t say you need anything more than a free photo editor to get good photos but Lightroom makes it a lot easier to recover the nuances of photos that aren’t so great to begin with.
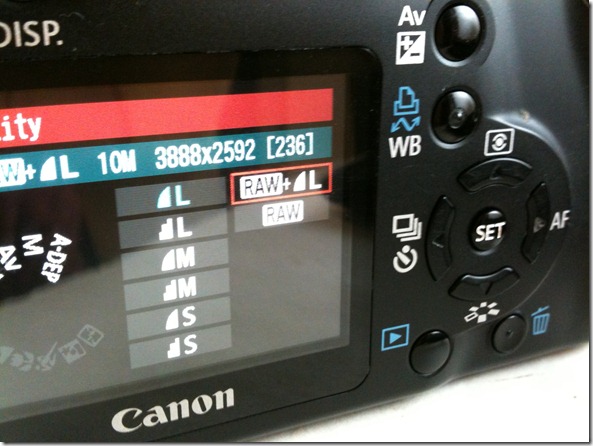
And now that I can edit RAW files I’ve changed my camera settings to shoot with them. I’m certainly no camera expert, but from what I understand the RAW data is a lot less compressed and gives you a wider variety of things in the photo to edit. I find the best way to learn things is by getting your hands dirty with them so I guess I’ll just keep trying new things and seeing which ones work.




I am so glad you love it.
I have been telling you for like a year that you would…and yes, it’s LIFE changing if you are working with the volume of pics that we are as bloggers.
It just makes everything…better.
I feel like I sometimes over-edit and make things too bright but I love a bright, white pic. I don’t care if I have to wear sunglasses to look at the white dishes in my posts sometimes 🙂
I get the sense that foodporn sites won’t even accept photos unless they’re way overexposed. it’s a shame. I always have to tweak them before I submit or else I get a “lighting/photo too dark” message.
Fine line.
There are times I get rejected on an overexposed or lighting issue but when I compare the color to photos they’ve taken of mine in the past, there is often times NO difference, or minute. Or compared against others the same day, there is very little difference.
Some days they just…don’t like the food. Like maybe they hate cranberries and no matter how good my chutney pics are, there is some sort of internal bias. Who knows, but it’s a theory. TS also tends to feature more savory food and/or meat in ‘artsty’ form..IMO only of course!
Super jealous! This is on my Christmas list and it’s the one thing I really want so I’m hoping it makes an appearance 🙂 I currently just use WL photo gallery and Picasa too and I feel like I’m outgrowing them quickly. I also find whitebalance to be the hardest thing to get right too…wonder why?
Speaking of RAW…are you shooting on the RAW + L setting or the RAW? I don’t understand what the difference is and have mine set to the RAW + L right now so if you know, enlighten me please!
RAW + L means you’re saving 2 copies of the photo to the camera: One in RAW and one in L. It takes up more space, but can be useful if you’re not sure how you’ll want to edit it. But if you’re using those editors, you might want to switch to just L for now since it will save a lot of memory space.
damn i have a lot of photo stuff to learn!!