Popular Recipes

Hearty Grain-Free Chocolate Chip Muffins

Hearty Grain-Free Chocolate Chip Muffins

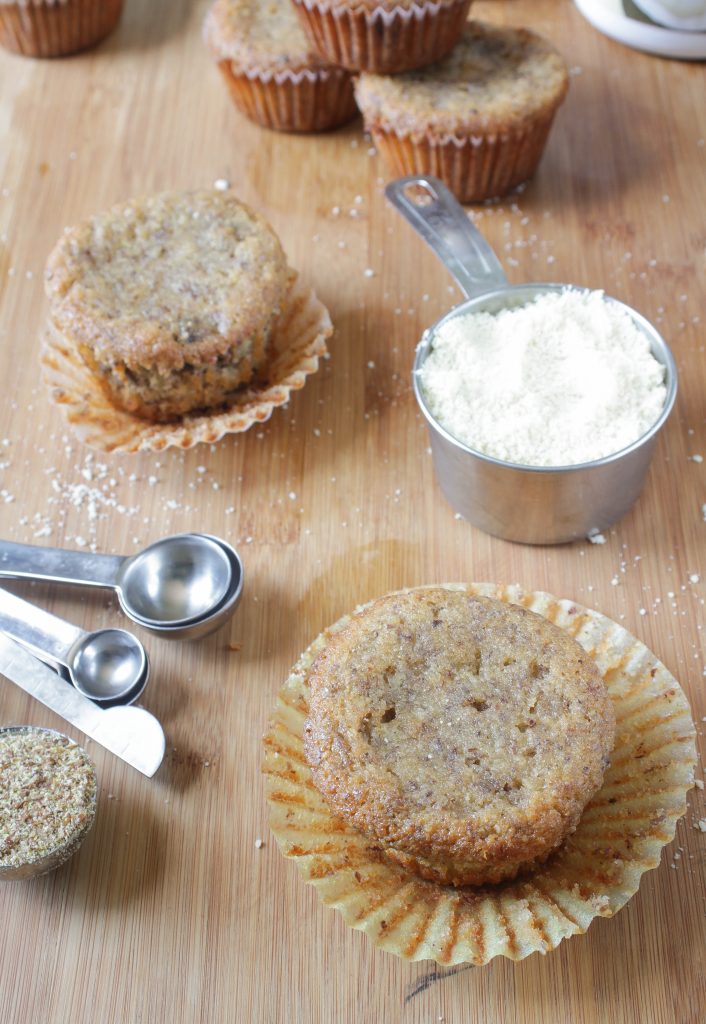
This month Stonyfield asked their Clean Plate Club to get creative with yogurt and some unconventional ingredients. We got some Barlean‘s items included coconut oil and ground flaxseeds. As a gluten-free baker, I like incorporating nut flour in place of regular flour when possible because it’s not just adding structure, it’s adding nutrients. 

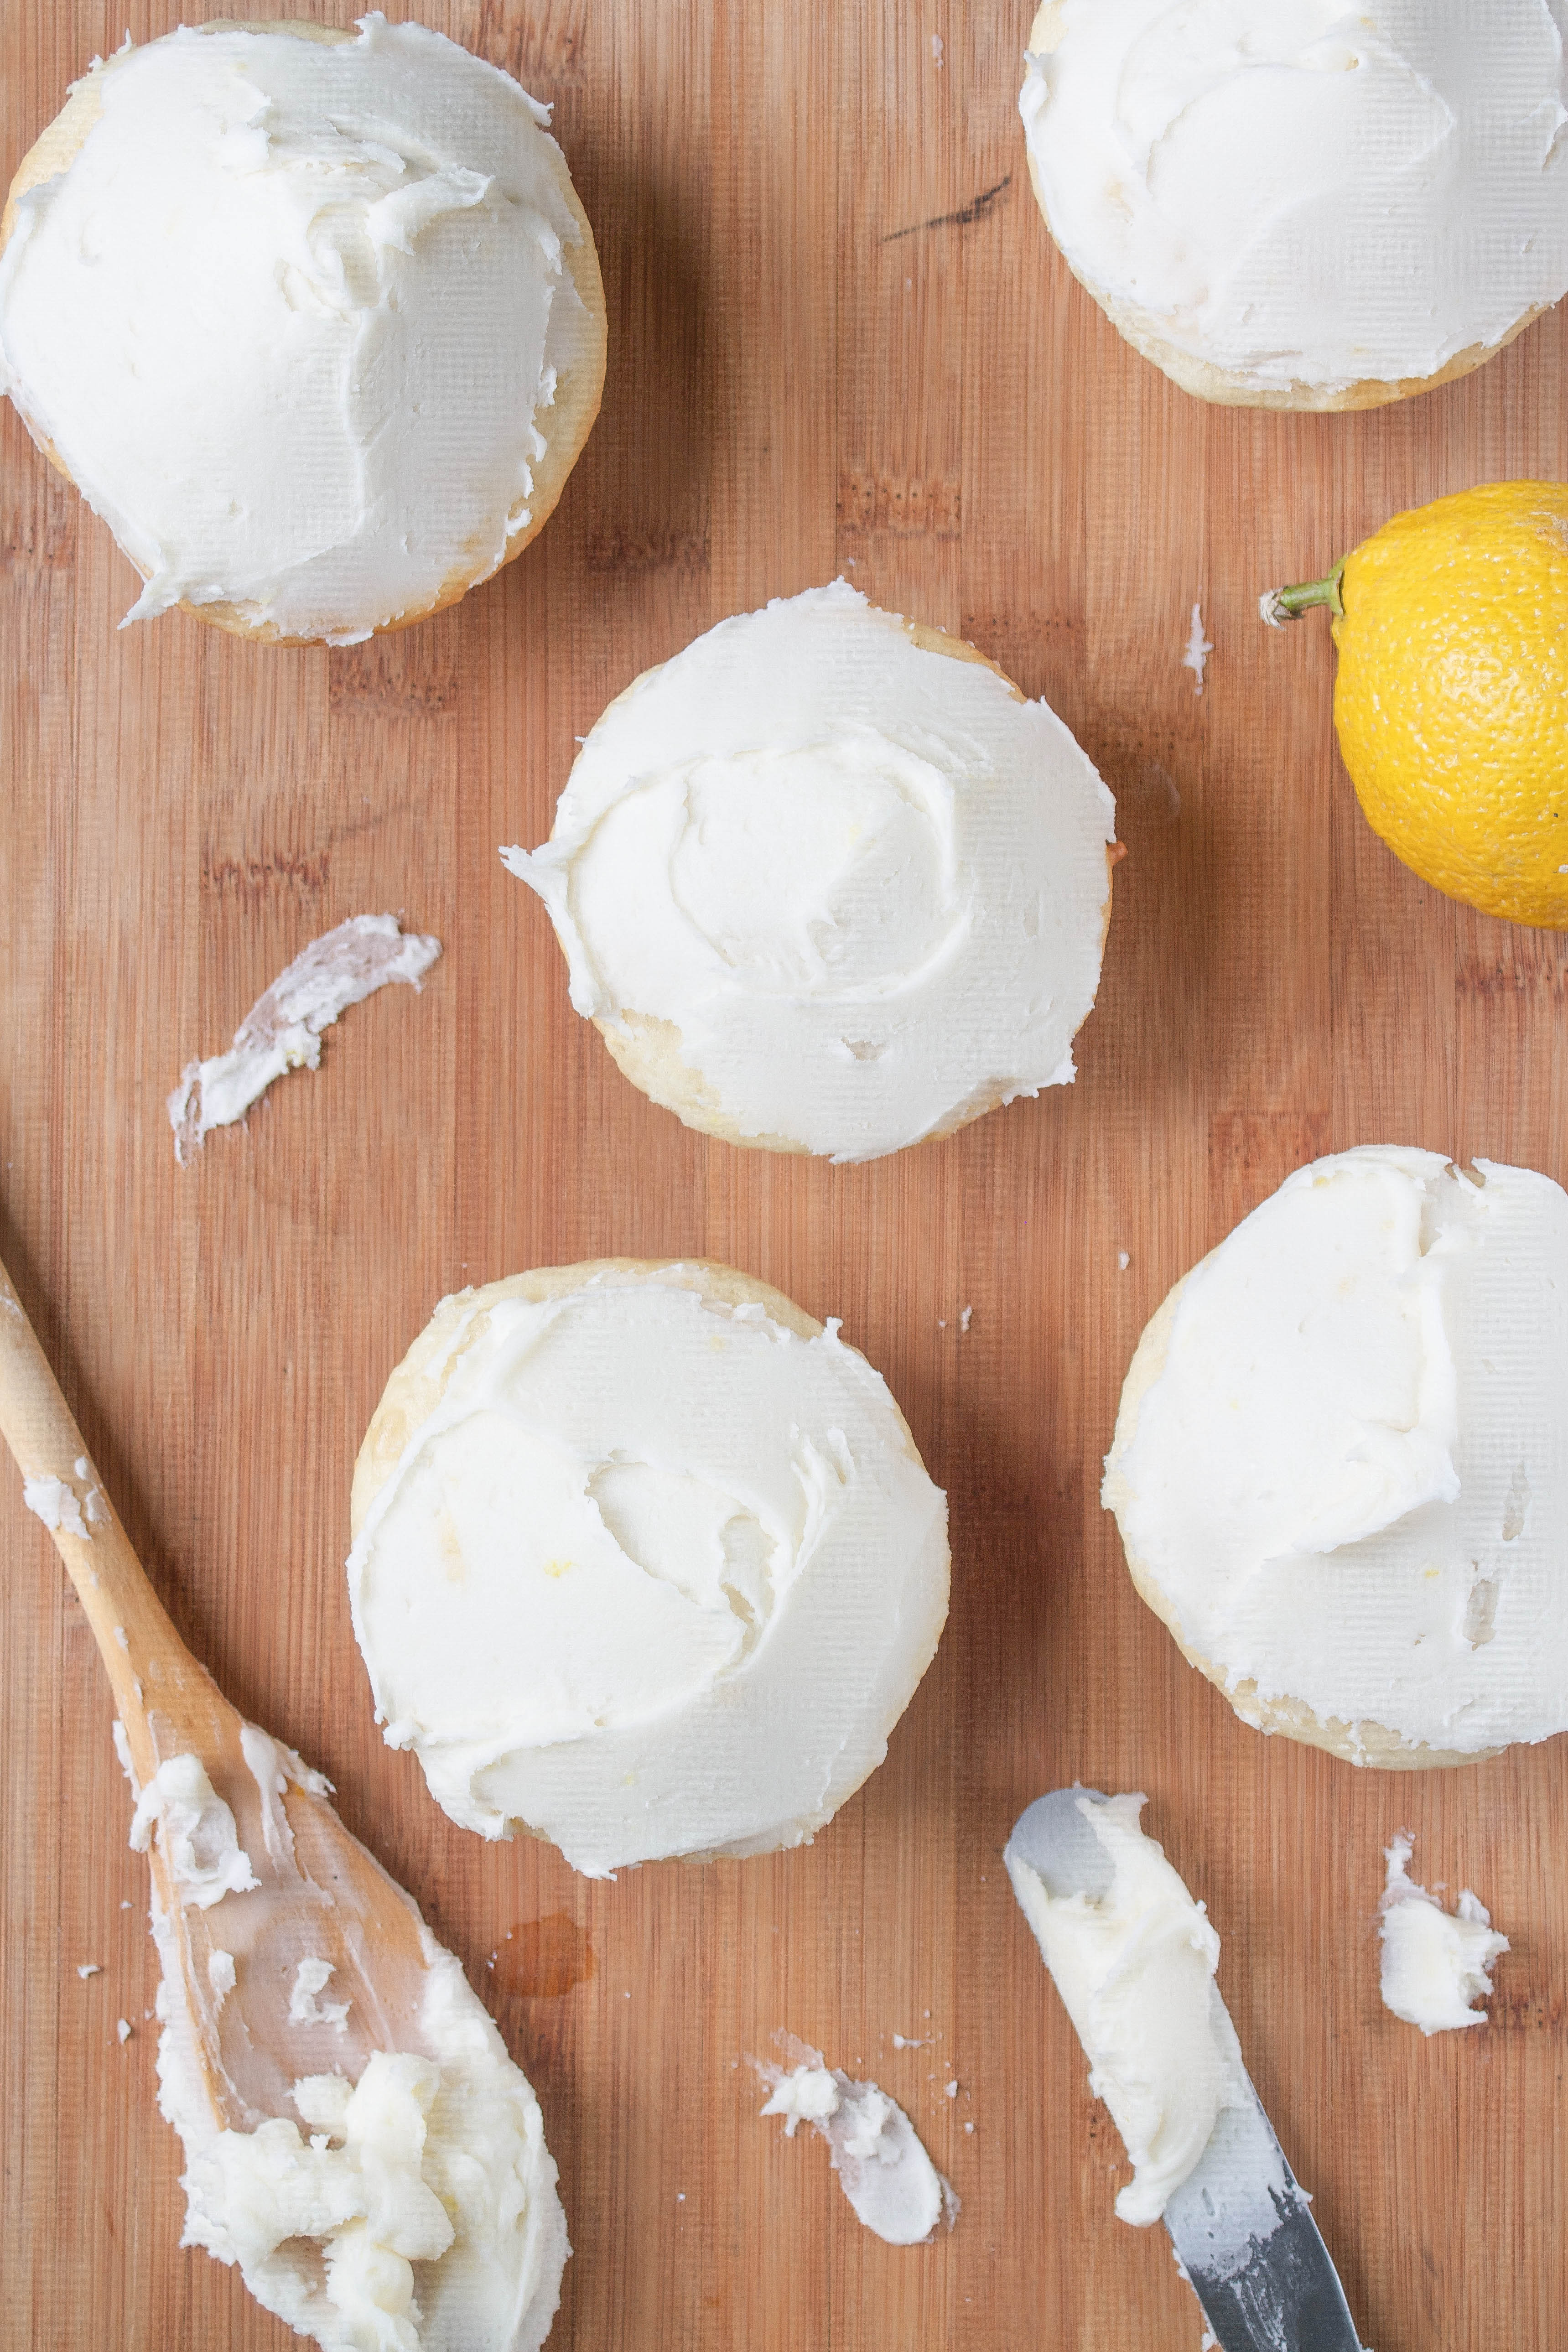
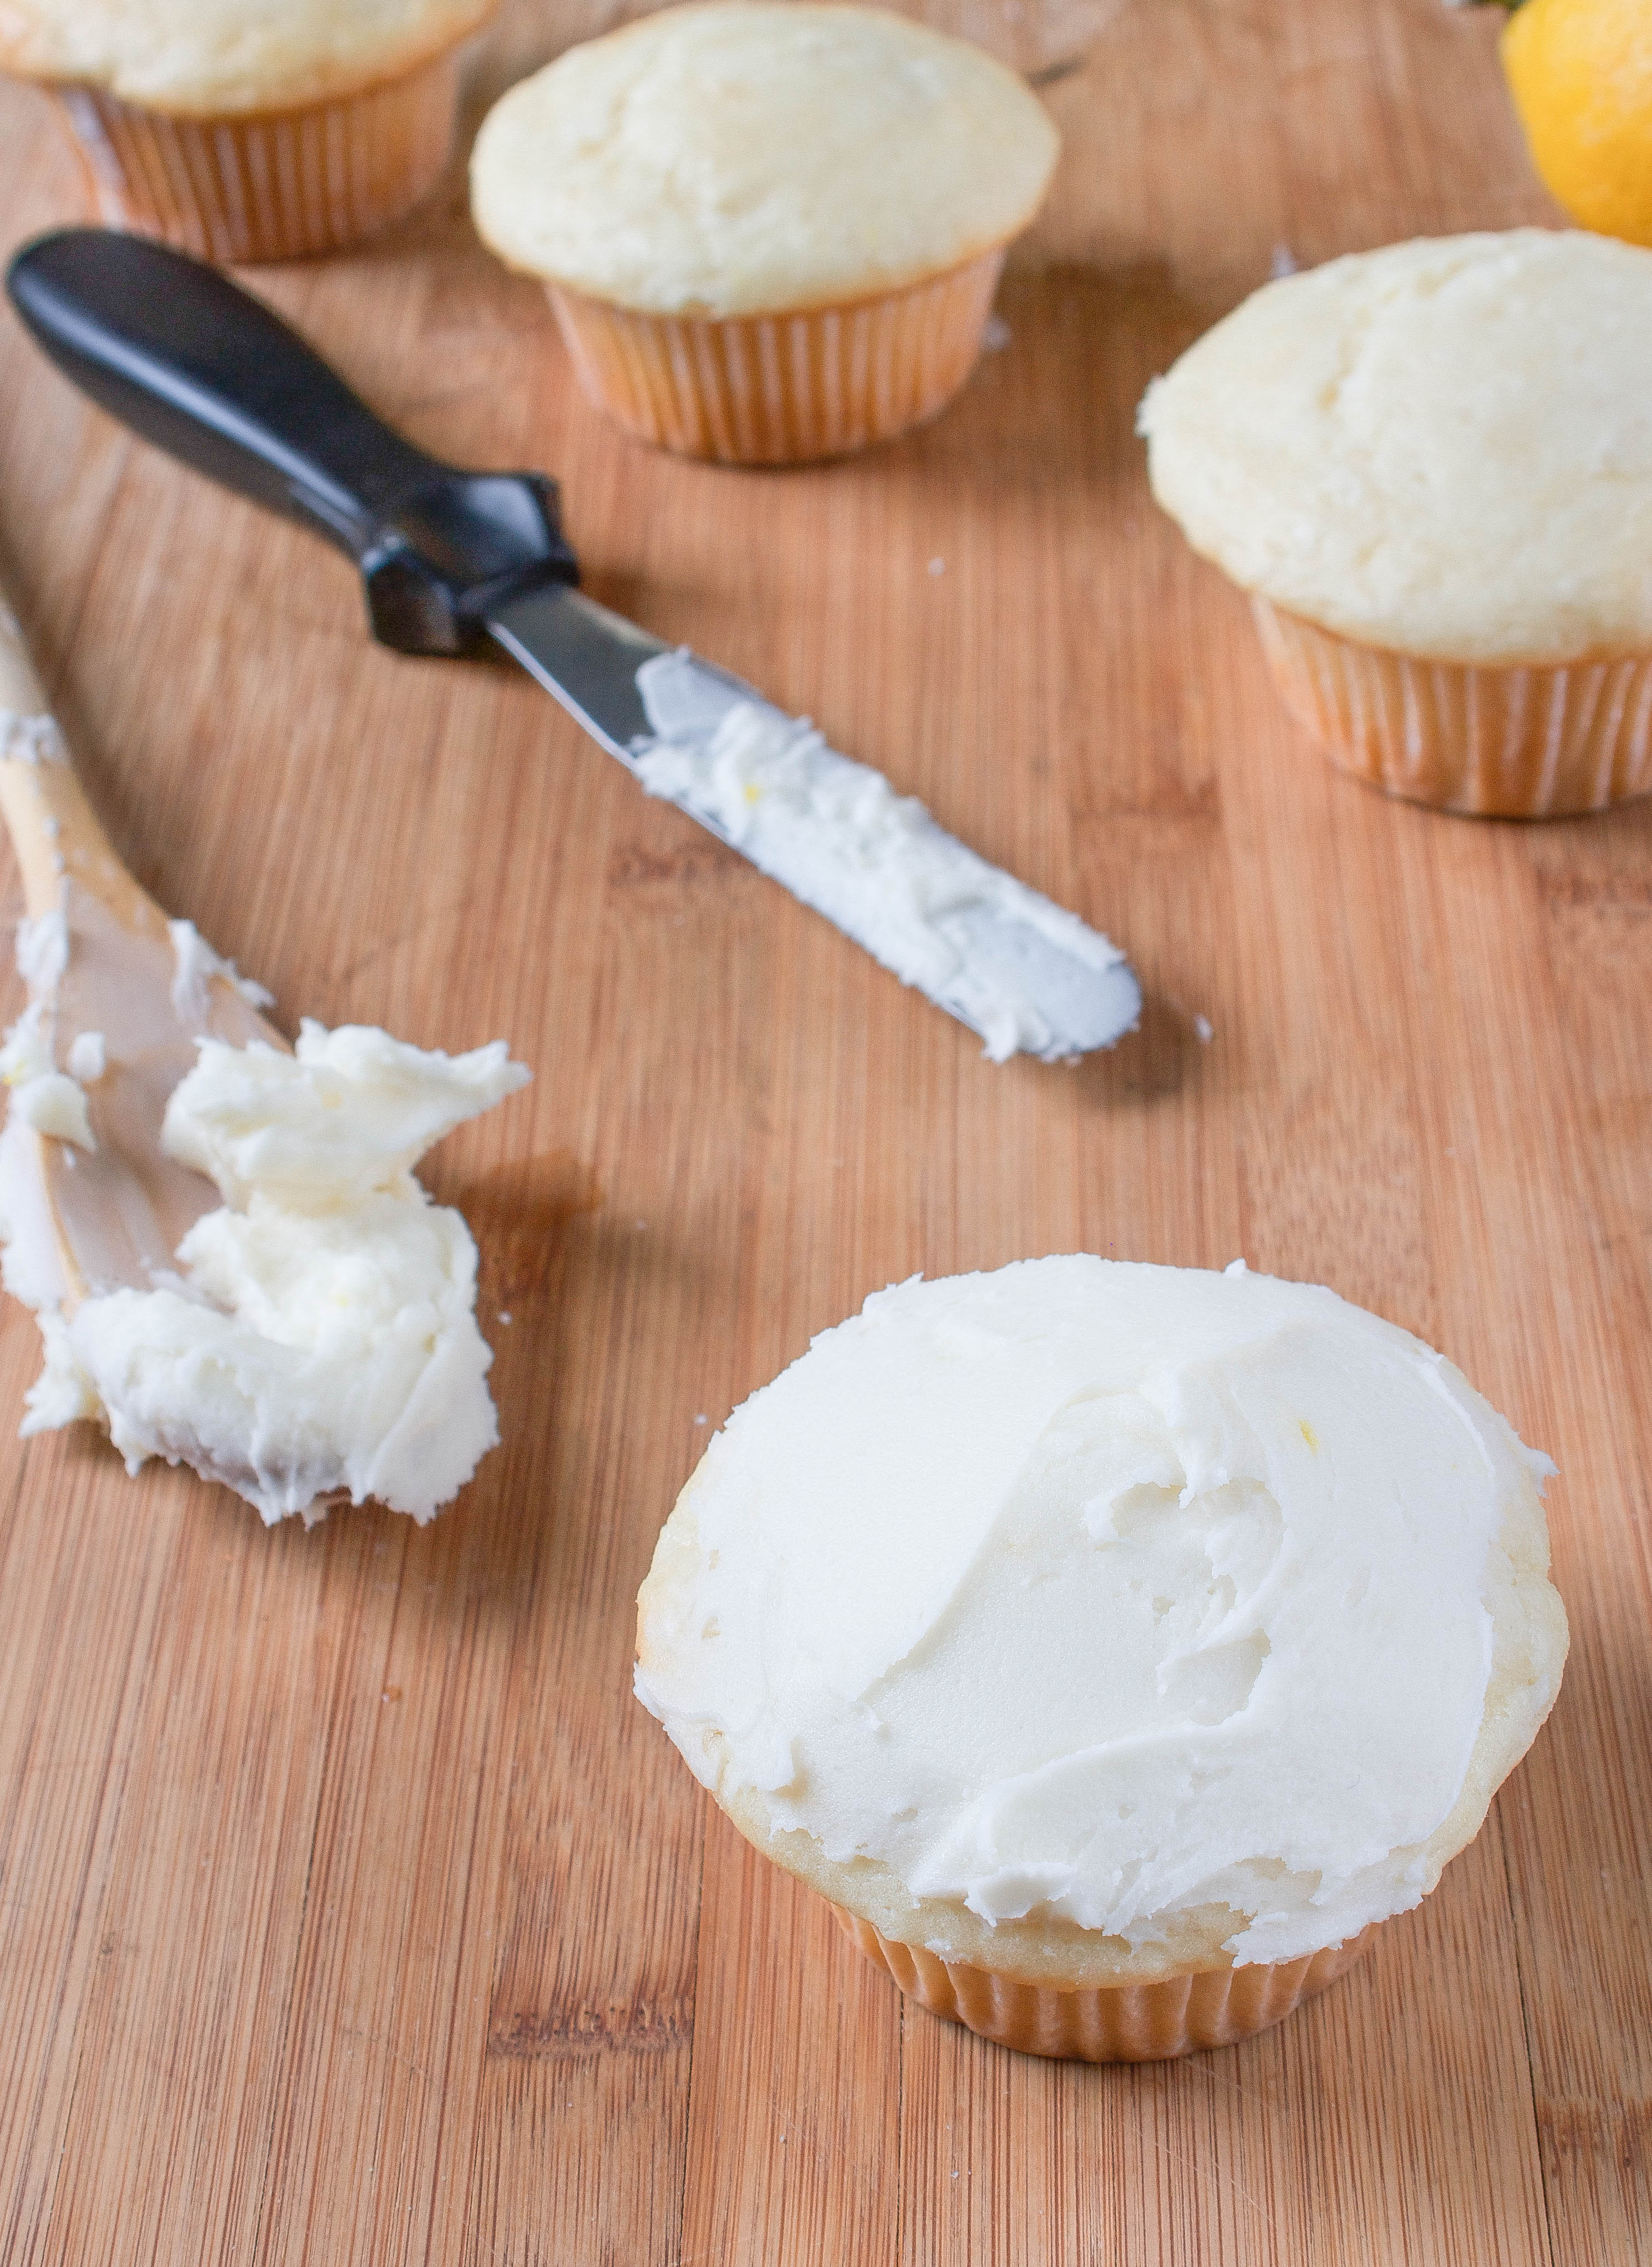
I decided to make these healthy muffins as a grab-and-go breakfast for the week. They didn’t rise very much while in the oven which worried me a little. Still, they had the best texture of a gluten-free muffin I’ve ever had–moist and dense but not too thick or chewy.

While they were undoubtedly best straight from the oven, the flax and coconut oil kept the muffins from drying out even days later. And since it’s full of nuts and seeds instead of grains, it felt like a better breakfast, too. 

IMG_7916-2

In order to make these muffins a little healthier, try swapping out the chocolate chips for chopped walnuts or pecans. You could switch out the french vanilla yogurt for plain yogurt to cut out some of the sugar, but be sure to add a little vanilla extract if you do. 

Hearty Grain-Free Chocolate Chip Muffins

Prep time: 15 minutes

Cook time: 30 minutes

Ingredients(Makes 12 muffins):

Method:

  1. Preheat your oven to 350 degrees.
  2. In a small bowl, mix the Forti-Flax and water and set aside.
  3. In a large bowl, combine the almond flour, sugar, baking powder, and cinnamon and mix until even.
  4. Add in the yogurt, maple syrup, eggs, and flax mixture and stir until it forms a thick batter.
  5. Lastly, add in the culinary coconut oil and mix until it’s fully emulsified in the batter.
  6. Evenly pour out the batter between 12 lined muffin wells.
  7. Bake for 30 minutes or until the top of the muffins are firm.

Divine White Chocolate Raspberry Brownies

Divine White Chocolate Raspberry Brownies

The best part of Valentine’s Day is undoubtedly the chocolate, so I was excited when Stonyfield asked their bloggers to make a dessert that paired yogurt with Divine chocolate. Yogurt’s a great addition in brownies to replace some fat and keep them moist. Like the chocolate, these brownies will melt in your mouth. 

My local grocery store only had Divine’s white chocolate in stock. White chocolate can be difficult to bake with because cheaper brands melt of burn but the chocolate chunks came out smooth and full of flavor. Spreading the jam in a layer in the middle instead of mixing it into the batter adds a little bit in every bite. 

Divine White Chocolate Raspberry Brownies

Divine White Chocolate Raspberry Brownies

Prep time: 15 minutes

Cook time: 35 minutes

Ingredients(Makes 1 8 x 8 pan):

  • 1 1/3 cup all-purpose or gluten-free flour
  • 1/2 cup unsweetened cocoa powder
  • 1/2 teaspoon baking powder
  • 3/4 cup sugar
  • 2 large eggs
  • 1 5.3oz Stonyfield vanilla greek yogurt
  • 1 3.5oz Divine White Chocolate bar, roughly chopped
  • 1/2 cup vegetable oil
  • 1/2 cup raspberry jam
  • 2 Tablespoons water

Method:

  1. Preheat your oven to 350 degrees.
  2. Mix together the flour, cocoa powder, baking powder, and sugar.
  3. Beat in the eggs, Stonyfield yogurt, oil, and 2 Tablespoons of jam.
  4. Add in the chopped chocolate and mix. 
  5. Pour half of the batter in a greased 8 x 8 pan.
  6. Mix the remaining raspberry jam with 2 Tablespoons of water. Spread the jam over the top of the brownie batter covering all parts.
  7. Add the rest of the batter layered on top of the jam. 
  8. Bake for 30 minutes or until a toothpick poked into the center comes out clean. Let these cool completely before cutting in.

A Lighter Holiday Treat

Chocolate Raspberry Pavlova

Happy holidays! If you’ve been feeling stuffed from holiday parties and Reese’s Christmas trees, this recipe is for you.

My latest recipe on Life By Dailyburn is a light dessert that’s sure to be a hit. The Cocoa Raspberry Pavlova is completely fat-free and uses some natural sweeteners and real fruit to make it delicious(along with a healthy dose of powdered sugar). The outside comes out crisp and crunchy while the inside is soft and sweet like a mousse. No one has to know it’s actually easy to make!

Head over to the full recipe and check it out!

Sweet & Spicy Pineapple Cornbread

Sweet & Spicy Pineapple Cornbread

Happy week after Thanksgiving! I don’t have an online sale or coupon code to share this Cyber Monday but I do have a darn good cornbread recipe.

Stonyfield asked their Clean Plate Club to make a side better with yogurt. As a vegetarian, vegetables usually end up in whatever main dish I’m eating, so especially on Thanksgiving my favorite side is gluten-free cornbread and stuffing. 

My favorite cornbread falls in between savory and sweet. The sugar and pineapple help intensify the flavors of the cornmeal and spices. It’s much lighter than most cornbread recipes because of the yogurt so feel free to add a warm square of butter on top. 

Sweet & Spicy Pineapple Cornbread

Prep time: 10 minutes

Cook time: 35 minutes

Ingredients(Makes 12 servings):

  • 1 cup all-purpose regular or gluten-free flour
  • 1 cup ground corn meal
  • 1/3 cup sugar
  • 3/4 tsp baking powder
  • 1/2 teaspoon salt
  • 1/4 teaspoon cayenne
  • 1/4 teaspoon chili powder
  • 1/4 teaspoon paprika
  • 2 eggs
  • 1/2 cup Stonyfield whole milk plain yogurt
  • 1/4 cup milk
  • 1/4 cup vegetable oil
  • 1/2 cup crushed pineapple

Method:

  1. Preheat your oven to 350 degrees.
  2. In a large bowl, sift together the flour, corn meal, sugar, baking powder, and seasonings until completely mixed.
  3. Add in the eggs, yogurt, milk, and oil and stir until it makes an even batter.
  4. Add in the crushed pineapple and mix it in.
  5. Grease an 8×8 pan and pour in the batter.
  6. Bake for 35 minutes or until the center has set and the edges start to brown.
  7. Remove from the oven and let cool before slicing. 

Healthy Pumpkin Lentil Soup

Yogurt and Lentils

This summer I spent very little time cooking and baking. For me Fall squashes and pumpkin spice make much more exciting recipes. When Stonyfield asked their Clean Plate Club bloggers to make a recipe using Bob’s Red Mill‘s lentils, I knew I wanted it to use pumpkin, too. 

I eat beans pretty much every day and it’s almost always the kind from a can. As much as I’d prefer cooking my own, it can take a long time and yield way too much beans for one person. These red lentils were perfect because they only took 15 minutes and you don’t have to cook the whole bag all at once.

I liked this soup a little chunky so I didn’t blend up the lentils. For a thick and creamy soup, you could continue blending until smooth. If you want to turn it into more of a meal than a side add a cup and a half of cooked quinoa at the end.

Healthy Pumpkin Lentil Soup

Healthy Pumpkin Lentil Soup

Prep time: 10 minutes

Cook time: 25 minutes

Ingredients(Makes 5-6 servings):

  • 1 cup uncooked Bob’s Red Mill red lentils
  • 2 cups vegetarian broth
  • 1 can pumpkin purée
  • 1/2 cup Stonyfield lowfat plain yogurt
  • 1/2 teaspoon salt
  • 1/4 teaspoon pepper
  • 1/4 teaspoon paprika

Method:

  1. Cook the Bob’s Red Mill red lentils according to directions on the package.
  2. In a food processor or blender, combine the rest of the ingredients and blend until emulsified.
  3. Add in the cooked lentils and pulse gently until fully mixed. For a smooth soup, continue blending until fully puréed.
  4. Pour the soup into a large pot and heat on top of the stove.
  5. Season with extra salt and pepper to taste. Finish with a dollop of sour cream or plain yogurt.

A Healthier Peaches And Cream

Baked Peaches and Cream

Summer is good for many things like kickball, cookouts, and beach days. It hasn’t been great for posting new recipes. 7 weeks later and I finally have something new to share–a new recipe on Life By Dailyburn all about a peaches and cream that’s actually good for you!

Instead of cream this recipe uses 2% Greek yogurt with fresh chopped mint and honey for a creamy topping. The yogurt is so good I’d recommend making a double-batch and finding different ways to use (and maybe a mojito with any extra mint you have). Enjoy it knowing 2 peaches have just 150 calories and you’ll be looking good for the next Summer party. 

Head over to the full recipe and check it out!

Tazo Thai Iced Tea

Tazo Thai Iced Tea

Some of my favorite food in the Summer comes from street festivals. Why go to one restaurant and sit down when you can pick and choose a meal from different carts on a nice Summer day? 

My favorite drink to pick up is a Thai iced tea, which is usually some part tea concentrate, water, ice, and condensed milk. It’s almost always too sweet, but that makes me like it even more. I wish it were as easy to find year round as a Starbucks iced coffee but this homemade version is the next best thing.

If you have the foresight, you can make the tea in advance and let it chill in the refrigerator over night and save yourself some ice. I wouldn’t have minded adding a little sugar to mine, but keeping it less sweet lets the spices and mint flavors come out. Before adding to the drink, try activating the mint by clapping it between your palms.

Tazo Thai Iced Tea

Prep time: 10 minutes

Cook time: 0 minutes

Ingredients(Makes 2 servings):

  • 1 Tazo sweet cinnamon tea bag
  • 1 Tazo black tea bag(any variety will do)
  • 1 anise clove(plus more for garnish)
  • 10oz boiling water
  • 3 Tablespoons sweetened condensed milk
  • 3 cups ice cubes
  • Fresh mint

Method:

  1. In a large mug, combine the teas, anise, and 10 ounces of boiling water.
  2. Steep the tea for 5-7 minutes.
  3. Put 1 cup of ice into two cups. Pour 5 ounces of tea over each.
  4. Add 1/2 cup of ice to each cup after 30 seconds when the ice melted.
  5. Add 1 1/2 Tablespoons of sweetened condensed milk to each cup and stir well.
  6. Garnish with activated mint and anise clovers.

Raw Brownies With Avocado Frosting

Raw Brownies With Avocado Frosting

As much as I don’t like the cold, Winter and Fall are some of the best baking months because there’s sometimes nothing to do but stay in and sit next to the heater. Now that Spring’s here and the heat waves, too, no-bake recipes are suddenly ten times more appealing. 

I made these “brownies” over the weekend for a sweets fix that wouldn’t involve sifting flours and melting chocolate. It’s pretty much the same recipe I made 3 years ago with an extra avocado frosting on top. Avocados and dates definitely don’t sound like dessert ingredients, but you’d be surprised how rich and chocolaty these come out. 

Raw Brownies With Avocado Frosting

These are easier to stash and store without the frosting, which does go bad about as quickly as guacamole, so if you’re planning on waiting a while to eat these wait until the last minute to make the frosting. It’ll taste better if you do.   

Raw Brownies With Avocado Frosting

Prep time: 15 minutes

Cook time: 0 minutes

Ingredients(Makes 8-12 brownies):

  • 2 cups pitted dates
  • 1 cup walnuts
  • 1/4 cup cocoa powder
  • 1 1/2 Tablespoons coconut butter(optional but recommended)
  • 1-2 Tablespoons water
  • 1/2 a ripe avocado
  • 2 Tablespoons agave or honey

Method:

  1. Blend the dates in a food processor until they are pulverized and start to stick together. The dates don’t have to be fresh but make sure you’re not using dry and stale ones or they won’t stick.
  2. Add the walnuts and coconut butter and continue blending until the dough starts to stick to itself. Add the water as necessary if your ingredients are too dry to clump.
  3. Lastly add 3 Tablespoons of cocoa powder and continue blending until it’s mixed in.
  4. Dump the processed ingredients onto a piece of parchment paper. With your hands, clump them together into a square or rectangle.
  5. Freeze the dough for 5-10 minutes until it’s firm and cut it into even sized squares. Store in the refrigerator for freshness.
  6. To make the “frosting”, mash the avocado into a smooth puree. Add the agave and remaining cocoa powder and mix thoroughly.
  7. Spread an even amount on top of each brownie square. Garnish with any extra walnuts.

Oh My Yog!

Oh My Yog

This month Stonyfield offered everyone in their Clean Plate Club the opportunity to try their new line of yogurts. Since I really loved their last new product, Petite Cremes, I was eager to try this one, too. Being so new, these yogurts were tough to find but after some searching I brought home the Madagascar Vanilla Bean, Gingered Pear, and Wild Quebec Blueberry.

Unlike most yogurts that come pre-blended, the Oh My Yog! line is like fruit on the bottom with an extra kick. The pureed fruits and flavors are covered by whole milk yogurt and a noticeably thick cream top. In a world where Greek yogurt is the new norm, these are definitely lower on protein and higher in sugar, added and natural.

The first thing I noticed when I started trying them was that these didn’t feel like yogurts you’d have alongside breakfast or added to a lunchbox. The cream top and bottom layer of fruit had so many combined flavors and textures going on that it felt like a full-bodied meal compared to other varieties. Add some granola and fruit and you’re good to go.

IMG_7691-2

My favorite of the ones I tried was the Madagascar Vanilla Bean. While it looks syrupy-sweet at first with the vanilla bean-speckled layer at the bottom, the yogurt was more rich than sugary and brought out the better flavors vanilla has to offer. It felt more like a creamy dessert like panna cotta than it did a yogurt.

The one flavor I wished was sweeter was the Wild Quebec Blueberry Oh My Yog!. It fell a little flat as is even with whole blueberries swimming around. Like the cinnamon-y Gingered Pear I had hoped for more sugar or spice.

Lastly, if you’re worried about your daily commute or trip to the store ruining the layers, don’t be. I was really surprised after all the tossing and turning in bags these had how well the yogurt held its shape. Getting a taste of Oh My Yog! definitely made me want to try the rest of their flavors and keep some of these around the house for a healthy cool and creamy fix.

Easy Lemon Buttercream

Easy Lemon Buttercream

One of the best parts about living in NYC is that there are now vending machines where you can get cupcakes. It’s dangerously convenient for anyone. They have 1 gluten-free option, a red velvet with cream cheese frosting, that’s completely delicious. That being said, who can live with just one flavor?

When my birthday rolled around a few weekends ago I made these cupcakes a few days early to bring into work–just a premade vanilla cake mix, coconut milk instead of whole milk, and shredded coconut and lemon zest added in. 

The frosting I made was from scratch but came out just as easy and delicious. Using vanilla extract and lemon zest gives it an extra layer of flavor that you’ll want to lick off the bowl. 

Easy Lemon Buttercream

This frosting works well with any number of lighter-flavored cupcakes. You can try it on cupcakes with vanilla, coconut, berries, or even white chocolate.

Easy Lemon Buttercream

Prep time: 15 minutes

Cook time: 0 minutes

Ingredients(Makes enough for 18 cupcakes):

  • 1 stick butter, room temperature
  • 2 1/4 cup powdered sugar, sifted
  • 1/2 teaspoon vanilla extract
  • 1 1/2 Tablespoons whole milk or half & half
  • 1 teaspoon finely zested lemon

Method:

  1. In a large bowl, combine all of the ingredients. Make sure to use an extra fine zester with the lemons to avoid chunks in the frosting. 
  2. Beat with an electric beater until mixed and the frosting’s smooth and silky. If the powdered sugar stops mixing in, add milk by the teaspoon until it reaches the right consistency.
  3. Frost using a frosting spreader or a pastry bag. If you’re using a pastry bag, add an extra teaspoon of milk before beating to make the frosting smoother and easier to squeeze out.