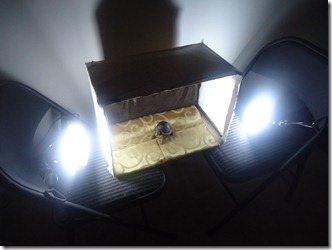
It’s not even Christmas yet and I’ve already spent the past few days playing with my new toy.
After seeing Ashley then Holly and Katie all make one, I decided to jump in. Photography is becoming a fun hobby of mine, and this seemed like the next natural step. It gets dark by 4pm now and good food photos past them have become impossible. I’d be lying if I said I never made dinner at 3pm just to photograph it… Oh, the life of a food blogger.
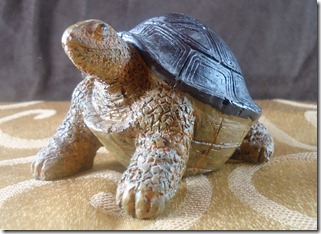
It makes for really well-lit photos like this:
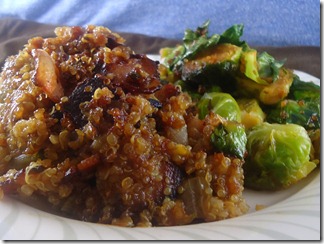
Or this:
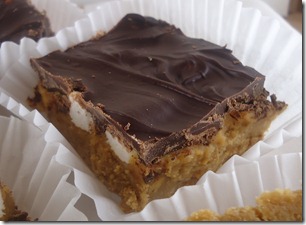
Or this:
Now, I am not a handy person by any means. The craftiest thing I made before this was probably made out of gimp. However, I didn’t have too much trouble throwing this together. I used these instructions. Here are some thoughts about the whole project:
- You only really need 2 lamps: One for each side. Be sure to get daylight or white lights since those will make for the purest lighting.
- The bigger the box you use, the better. You can always focus in on a small plate of food but if your box isn’t very big you can’t step back to see a large plate. I used a box about 18 inches by 2 feet and I wish I had used something bigger.
- I wasn’t sure about what white material to use for the sides. I ended up going with white parchment paper since that’s what we had already. It seems to work just fine and is a very cheap material.
- All-in-all the only things we needed to buy were the clamps and light bulbs, which made the project about $25 in total.
- The toughest part is finding backgrounds/surfaces. So far I’ve taken pictures with t-shirts, pillow covers, poster board, napkins, and full-length table clothes.
I’m totally in love with my light box and determined to bring it back to campus with me next semester even though it’s probably 1/20th the size of my room and I have nowhere to put it. The part I’m still learning about is the background; it’s hard to find material that photographs well, looks natural, and compliments the subject matter. And some of my photos have slip-ups like the visible cardboard behind the peanut butter s’mores bar above. Still, I’m eager to learn and get better.


Evan, thank you so much for this post!
We are on the same wavelength…just the other day I posted about DSLR cameras. And yesterday, I ordered one. For the price of TWO vitamixes, I now have a new camera and lens on order. It will be waiting for me once I get home next week. I am blogging about it tomorrow.
And anything I can do to make my pics look better, i.e. lightboxes, reading about tips/tricks on the internet, I am all about it.
Have seen quite a few lightbox references around and read up on them but thanks for your thoughts.
I started my blog to talk about food. Never in a million years did i think i’d like photography enough to spend a small fortune on cameras or talk lightboxes 🙂 Change is good!
Cool! This looks like a great project for Ryan 🙂
I keep seeing people make these! I’m not handy either… the idea scares me 🙂
Evan, thanks for the idea! This will be my new project.
You are the third or fourth blogger I’ve read who has made one of these and now I want to make one! How much time did it take?
It took me probably 20 minutes not counting the time it took to go buy the lights.
Wow. Very cool. With the rain here, it’s been impossible to photograph food the entire day. It’s kind of depressing, so I just keep eating soup!! This sounds like a great idea.
hey! this looks rather easy to build. the photos really turned out great
YESSSSSSSSSSS for lightboxes! seriously people, they will revolutionize your nighttime photo taking!!!
I’ve always wanted to make one of these, too, but I live in Manhattan and I have a dog. Not sure how that would work…