Tag Archive: Vegetarian

Gluten-Free Apple Crisp

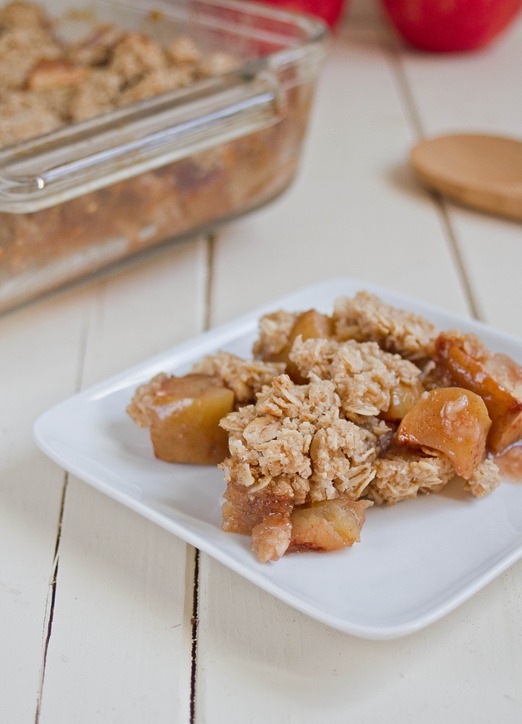
gluten-free apple crisp

It’s almost not Fall in New England if you don’t make an apple crisp. Every year we’d end up with more apples than any one person could eat and end up making a recipe like this; apples just taste better with cinnamon and oats and brown sugar.

A recipe like this is almost too simple to be as good as it is. I never peel the apples but you certainly could put in the extra effort. You can also eyeball the measurements since it’s very forgiving. If you aren’t concerned about gluten, substitute 1/2 cup of flour in for the oat flour.

The crumble layer isn’t very thick for this crisp which I think keeps the textures balanced. If you want a crumble that completely covers the apples, double the amounts of oat flour, oatmeal, sugar and butter that’s listed.

Gluten-Free Apple Crisp

Prep time: 10 minutes

Cook time: 30 minutes

Ingredients(Makes about 6 servings):

  • 4 sweet apples, cored and diced
  • 1 teaspoon cinnamon
  • 1/2 teaspoon salt
  • 1/4 cup water
  • 1/2 cup + 2 Tablespoons oat flour*
  • 1/4 cup oatmeal
  • 1/2 cup brown sugar
  • 1/3 cup butter, melted

*You can make this easily yourself by grinding oats in a food processor.

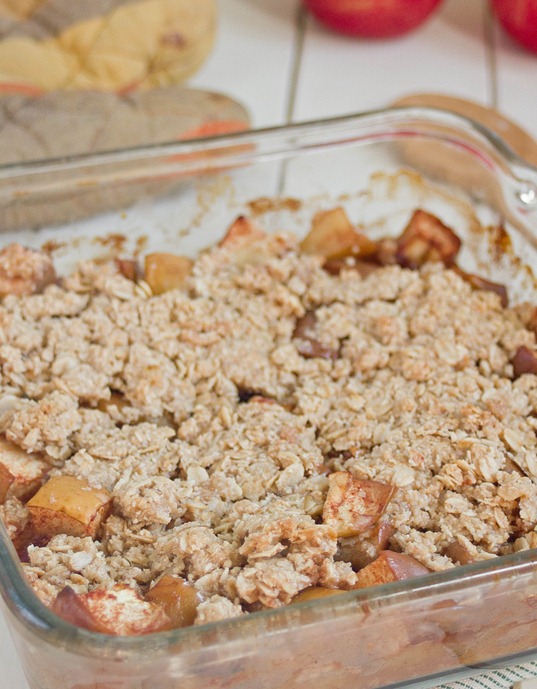
Gluten-free apple

Method:

  1. Preheat your oven to 350 degrees.
  2. In a large bowl, toss together the diced apples, cinnamon, and salt.
  3. Pour the water into an 8 x 8 baking pan and dump in the apple mixture.
  4. In a separate bowl, mix together the oats, oat flour, and brown sugar.
  5. Pour the melted butter into the flour mixture and mix them together completely.
  6. Spread the crumble mixture out evenly on top of the layer of apples.
  7. Bake for 30 minutes or until the crust has hardened and turns golden. Serve hot.

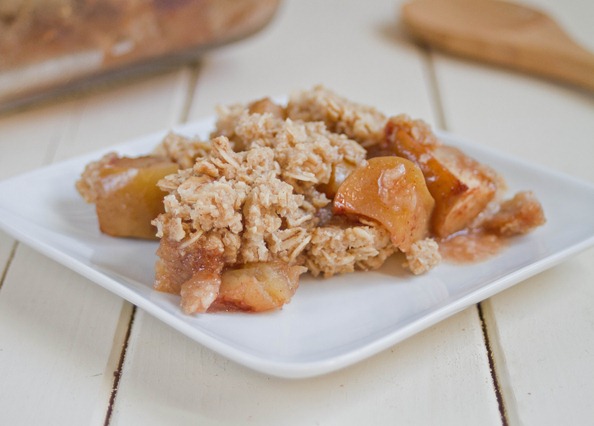
Gluten-Free apple crisp serving

If there are leftovers, always reheat them in the oven and not the microwave to ensure a crispy top coating.

Sautéed Kale with Pecans

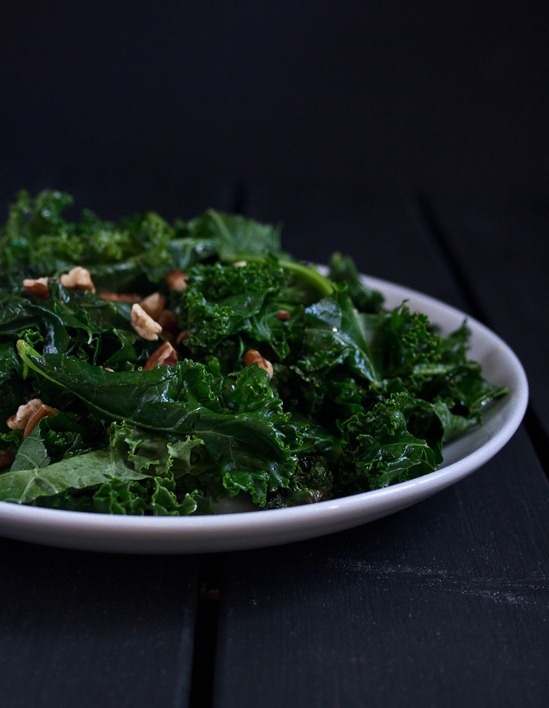
Sautéed Kale with Pecans

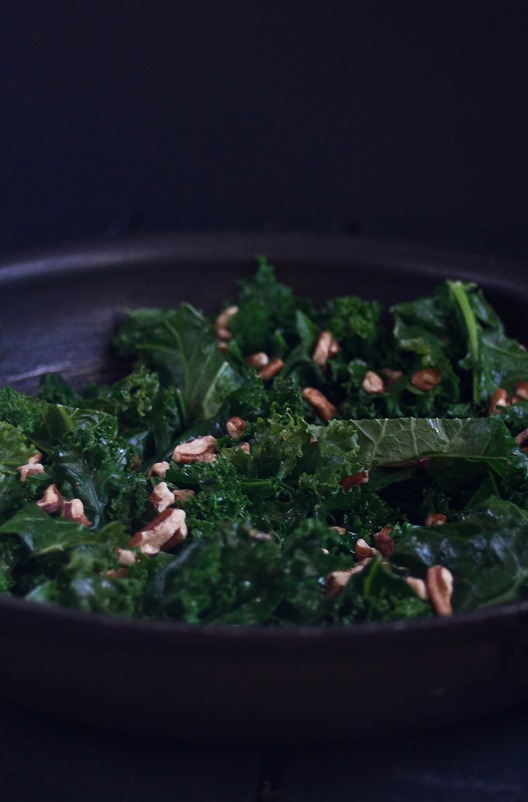
Kale is one of those foods that it takes effort for me to enjoy. I never jumped on the kale chip bandwagon and steamed kale just tastes too bland. Add some butter, maple syrup, and pecans though and now we’re talking.
I like this because it’s a simple, fast and delicious side dish. The less you wilt the kale the more vibrant the flavor and texture of it will be.

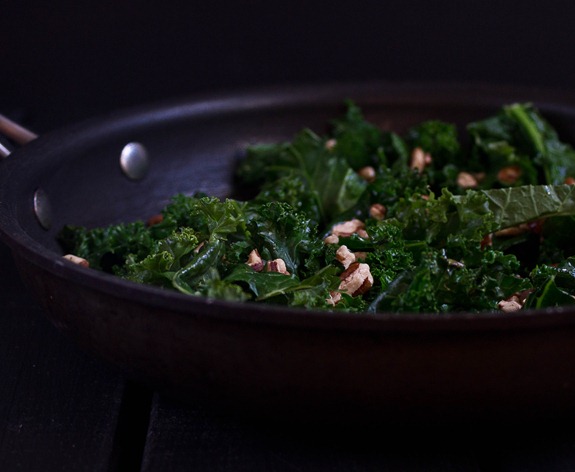
Sautéed Kale with Pecans Pan

I like pecans to add a nice crunch factor but you could really swap in any nuts or even croutons.

Sautéed Kale with Pecans

Prep time: 5 minutes

Cook time: 7 minutes

Ingredients(Makes 2 servings):

  • 1 1/2 Tablespoons butter
  • 2 1/2 cups loose leaf cut kale
  • 1 Tablespoon maple syrup
  • 1/4 teaspoon salt
  • pinch of nutmeg
  • 3 Tablespoons chopped pecans

Sautéed Kale with Pecans pecans

Method:

  1. Heat the butter in a sauté pan over medium heat.
  2. Add in the kale and toss it in the melted butter. Cook for 1-2 minutes until the kale turns a deeper green and begins to wilt.
  3. Add in the salt, nutmeg, maple syrup, and pecans and toss together until mixed.
  4. Return to the stove for 20-30 seconds to heat. Serve hot.

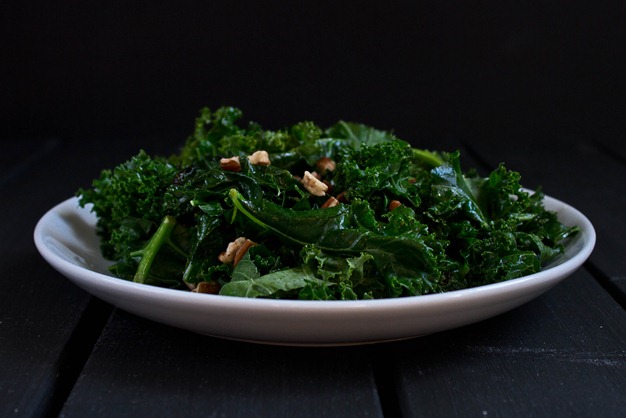
Sautéed Kale with Pecans serving

Suddenly eating your vegetables isn’t so hard.

Homemade Pumpkin Cream Cheese

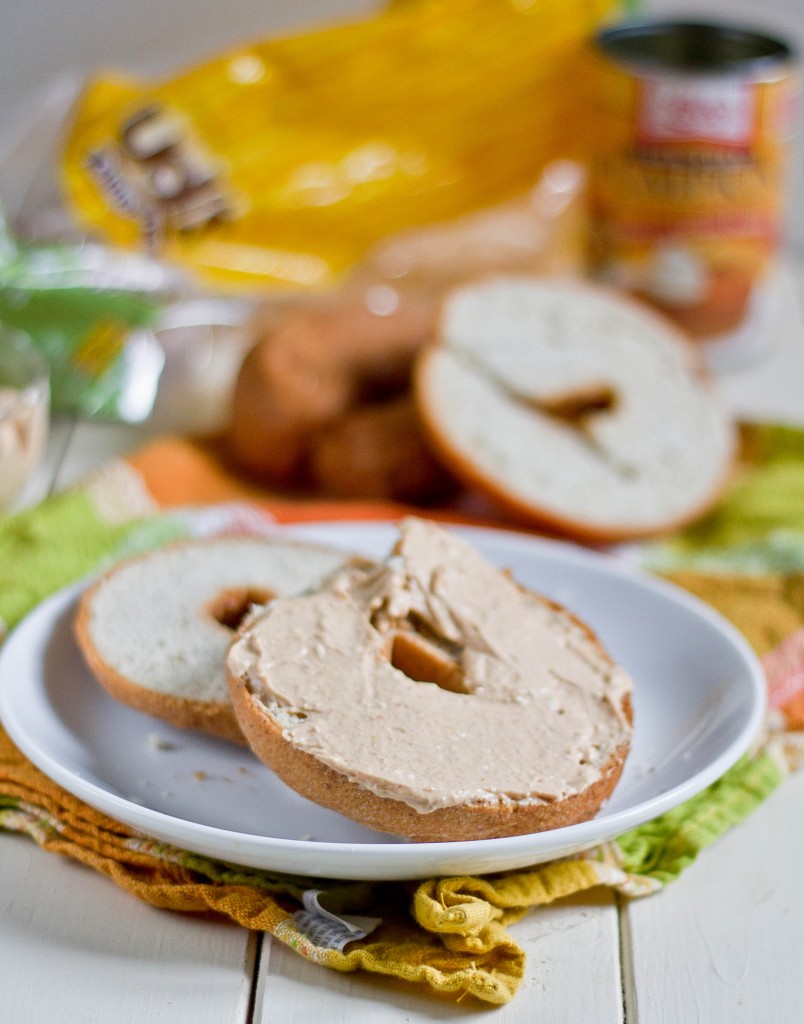
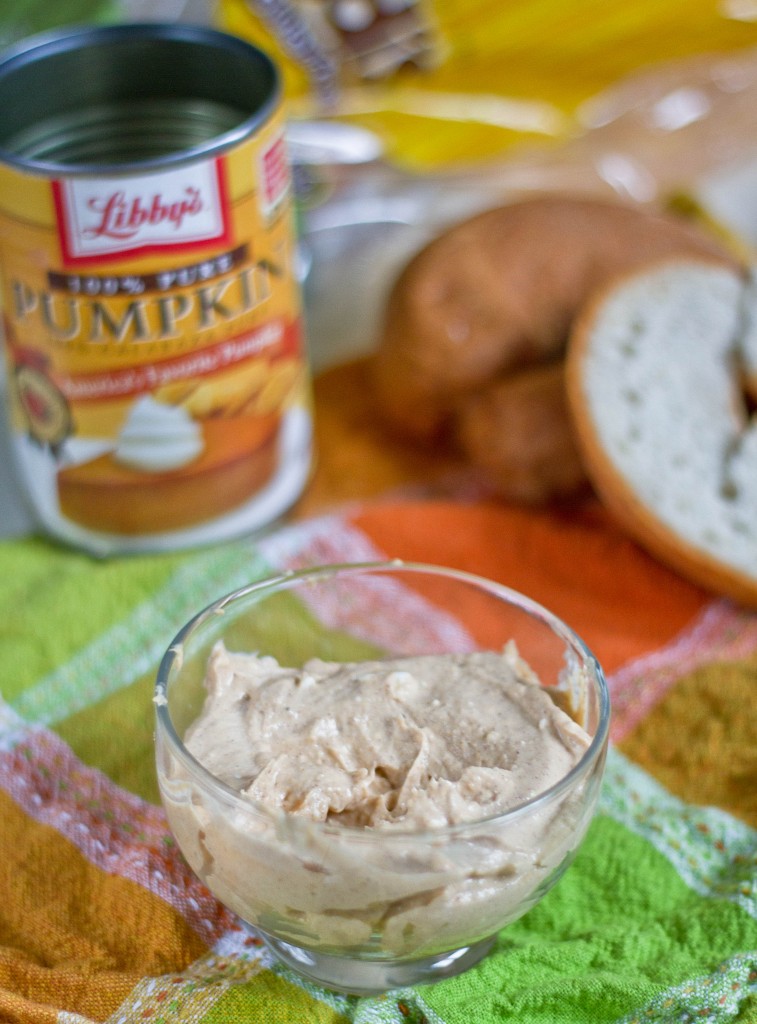
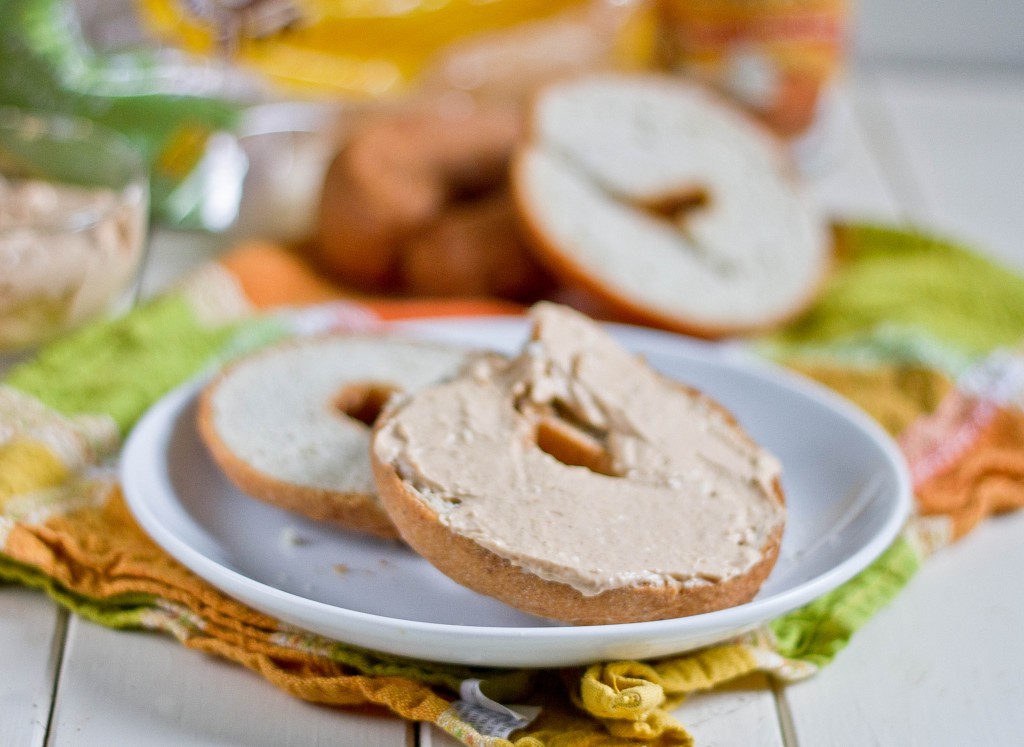
I used to be obsessed with Panera Bread and their cinnamon crunch bagels and fancy cream cheeses; it’s not nearly as much fun to go to when you can’t have gluten so it’s been a while. But this week I had extra cream cheese to use up and a hankering for gluten-free bagels and knew exactly what to make.

This cream cheese is simple and delicious. It has just the right amount of spice to make a plain bagel really taste special. I always catch myself licking the knife clean after I’m done spreading it on because it’s too good not to.

You don’t need to use particularly fancy ingredients for this recipe. If you don’t have maple syrup you can substitute honey or molasses. Use just as much sweetener as you prefer for the flavor.

Homemade Pumpkin Cream Cheese

Prep time: 5 minutes

Cook time: 0 minutes

Ingredients(Makes about 8 servings):

  • 1/2 cup cream cheese
  • 3 Tablespoons pumpkin puree
  • ~2 Tablespoons maple syrup
  • 1 teaspoon pumpkin pie spice

Method:

  1. In a small bowl, beat together all of the ingredients until there are no lumps left.
  2. Store in a sealed container in the refrigerator for up to 2 weeks after making. 

It almost makes you wonder how something so simple can be so good.

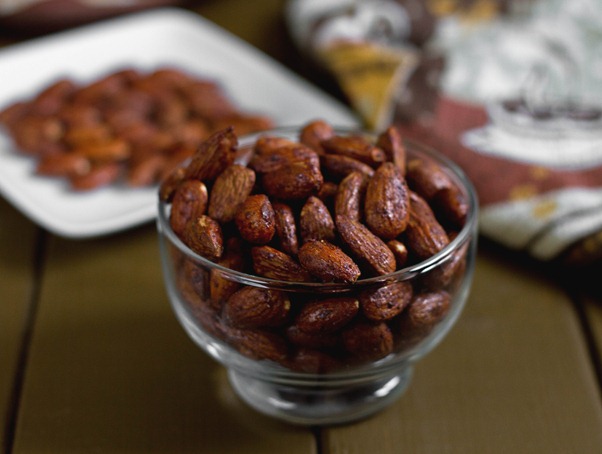
Pumpkin Pie Spice Almonds

Pumpkin Spice Almonds

The nice thing about Fall and cooler temperatures is that it gets me to use the oven more. During the Summer I’d much rather make ice cream than cupcakes but recently I’ve been using my oven more and more. The kitchen is quickly becoming my favorite room again.

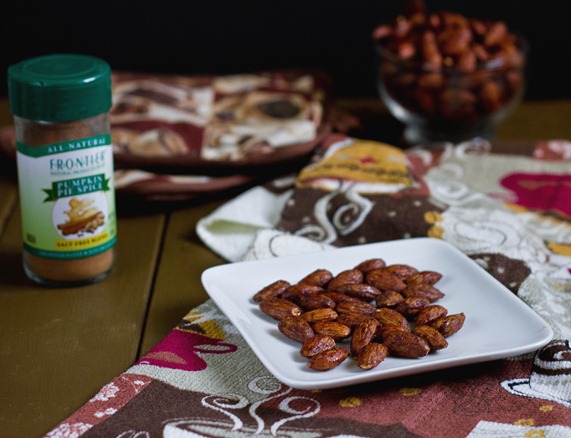
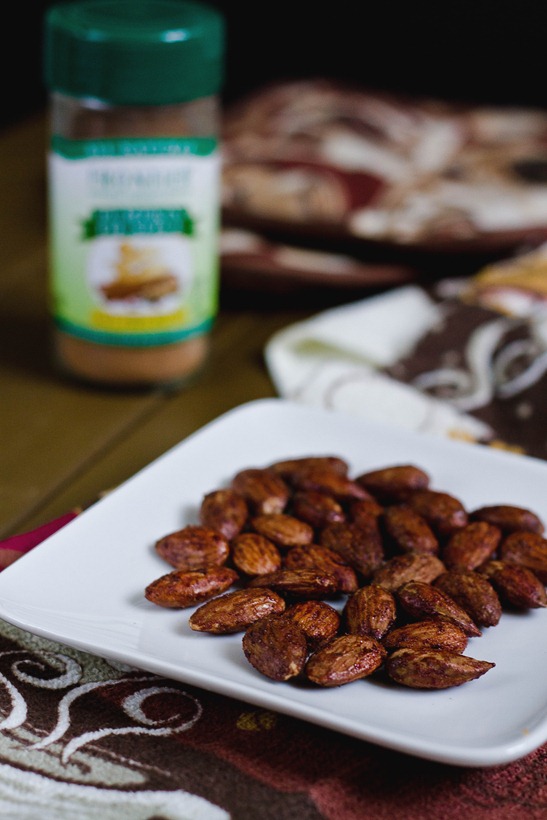
Roasting nuts is something I make time to do every year. You can come up with the most fun flavors using different spices, and they always are a healthier treat, too. A lot of the time I think I like pumpkin pie spice more than pumpkin itself. These almonds have all the right flavors to make you think of Fall in a portable, no-mess snack.

Pumpkin Spice Almonds Serving

If you don’t have pumpkin pie spice, there are plenty of recipes online to make your own. If you don’t feel like looking up a recipe, just toss together cinnamon, ginger, allspice, and nutmeg to get a range of flavors.

Pumpkin Pie Spice Almonds

Prep time: 5 minutes

Cook time: 15 minutes

Ingredients:

  • 1 1/4 cup raw almonds
  • 1/2 Tablespoon pumpkin pie spice
  • 1/4 tablespoon salt
  • 2 Tablespoons maple syrup

Method:

  1. Preheat your oven to 375 degrees.
  2. In a small bowl, combine all of the ingredients until the almonds are coated well.
  3. Lay out the almonds on a non-stick baking tray.
  4. Bake for 15-20 minutes disturbing the almonds halfway through until they’ve roasted to a darker brown. They should still be slightly sticky when you take them out.
  5. Let the almonds cool, break any that are stuck together apart, and store them at room temperature.

Pumpkin Spice Almonds Yield

These are a great snack to leave out at a party. Clean out a mini-pumpkin and serve it in that for something festive.

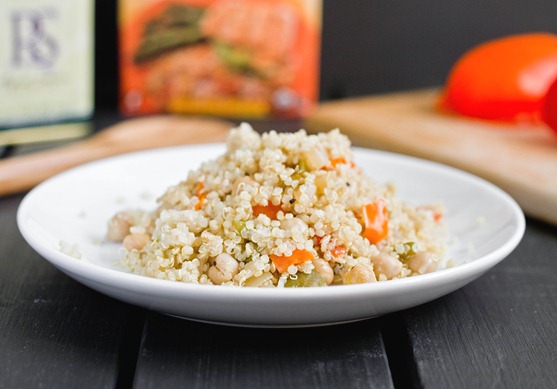
Tri-Pepper Quinoa

Tri-Pepper Quinoa

The easiest place to get inspired for recipes is the grocery store. Just going to the produce section and seeing the huge displays of vibrantly colored fruits and vegetables makes you want to eat that much more. My grocery store had a display of different colored peppers and I knew I wanted to use them for a recipe.

The colors fade from the peppers a little once you sauté them but it brings out a much sweeter flavor, too. They add the perfect touch with some seasoning to quinoa to make it a much more interesting dish.

Tri-Pepper Quinoa Peppers

If you want to dress this up, you can purchase some extra peppers, roast them until they’re cooked, and serve the quinoa inside the cooked peppers.

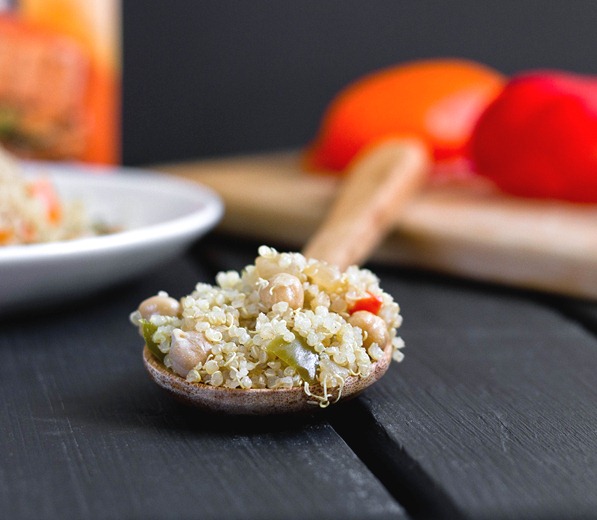
Tri-Pepper Quinoa

Prep time: 10 minutes

Cook time: 15 minutes

Ingredients:

  • 1 1/2 cup quinoa
  • 3 Tablespoons olive oil
  • 1/2 green pepper, diced
  • 1/2 red pepper, diced
  • 1/2 yellow pepper, diced
  • 1 onion, diced
  • 3/4 salt
  • 1/4 tablespoon black pepper
  • 1 Tablespoon honey(optional)
  • 1 15oz can chickpeas

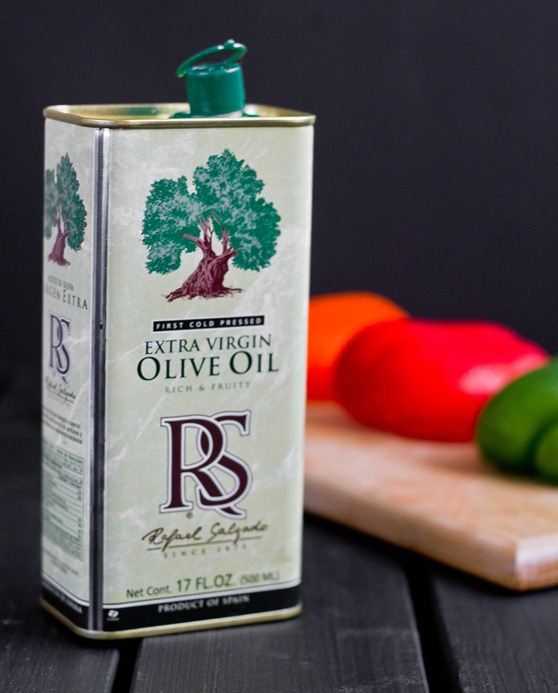
Tri-Pepper Quinoa Olive Oil

Method:

  1. Combine the quinoa with the appropriate amount of water(about 3 cups unless the brand you’re using says otherwise) in a pot over the stove. Bring to a boil, cover, and turn off the heat. Leave undisturbed for 15 minutes.
  2. While the quinoa is cooking, heat the olive oil in a large pan over a separate burner.
  3. Sauté the onion and the peppers until they start to turn color and char a little.
  4. Add the salt and pepper to the vegetables in the pan and remove from the heat.
  5. Remove the lid from the quinoa and add in the chickpeas, honey, and sautéed vegetable. Mix well with a large spoon and serve hot.

Tri-Pepper Quinoa Finished Product

Biting into the peppers and onions reminded me of a meatloaf. If you’re not a vegetarian you can always leave the chickpeas out and serve this with some ground beef and I think it’d be excellent.

Salty-Sweet Halloween Chex Mix

Salty-Sweet Halloween Chex Mix

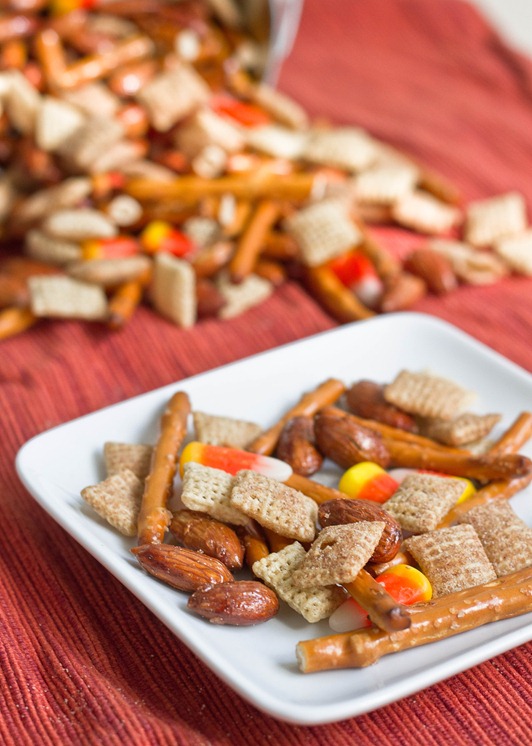
Fall is really a much better season for foodies than Winter. You have your candy corn, your pumpkin spice, fresh apples—what more can you need? Besides, can you ever remember anyone making a recipe with fruitcake or ribbon candy that you just loved? Didn’t think so.

I’m not typically a big snacker but when I do feel like something to nibble on I have the hardest time deciding. Salty or sweet? Nutty or candy? Healthy or… not? There’s a lot to consider.

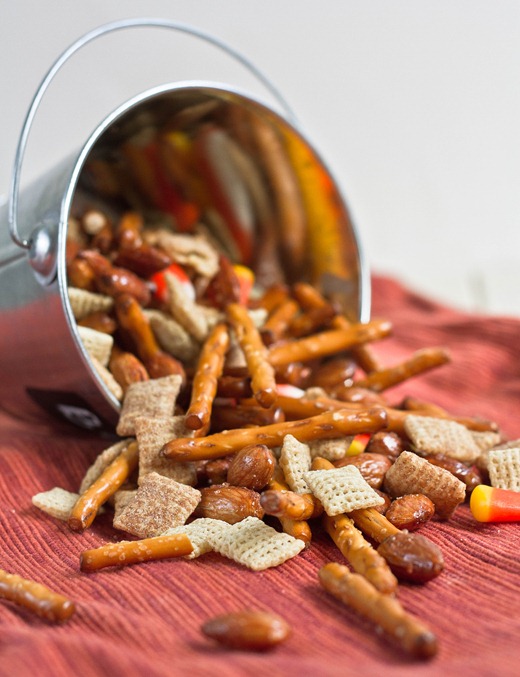
Salty-Sweet Halloween Chex Mix Bucket

Lately I’ve been digging this Chex mix since it hits all the marks. It has candy corn—my all-time favorite candy—, spicy Chex cereal, salty gluten-free pretzels and sweet almonds. It’s a little healthy with whole grains and nuts and a little not. It’s easy enough to make for yourself but also fun enough to bring to a party.

If you don’t feel like making your own almonds, you can buy honey roasted or cinnamon sugar almonds and use those instead.

Salty-Sweet Halloween Chex Mix

Prep time: 5 minutes

Cook time: 0 minutes

Ingredients(Makes about 5 cups)

  • 2 cups cinnamon Chex cereal
  • 1 cup salted-maple almonds(recipe below)
  • 1 1/4 cup pretzel sticks*
  • 3/4 cup candy corn

*I used Snyder’s of Hanover gluten-free pretzel sticks

Method:

  1. Combine all of the ingredients in a large bowl and enjoy.

Salted-Maple Almonds

Prep time: 5 minutes

Cook time: 20 minutes

Ingredients(Makes 1 cup):

  • 1 cup almonds
  • 2 Tablespoons maple syrup
  • 1 teaspoon coarse salt

Method:

  1. Preheat your oven to 375 degrees.
  2. Mix all of the ingredients together in a small bowl.
  3. Pour the almonds on top of a non-stick baking try in a single layer.
  4. Roast for 20 minutes, disturbing the almonds about halfway through. Don’t worry if they still look sticky after 20 minutes; as they cool down they’ll become less wet.
  5. Break the almonds apart while they’re warm. Store in an airtight container for up to 2 weeks at room temperature.

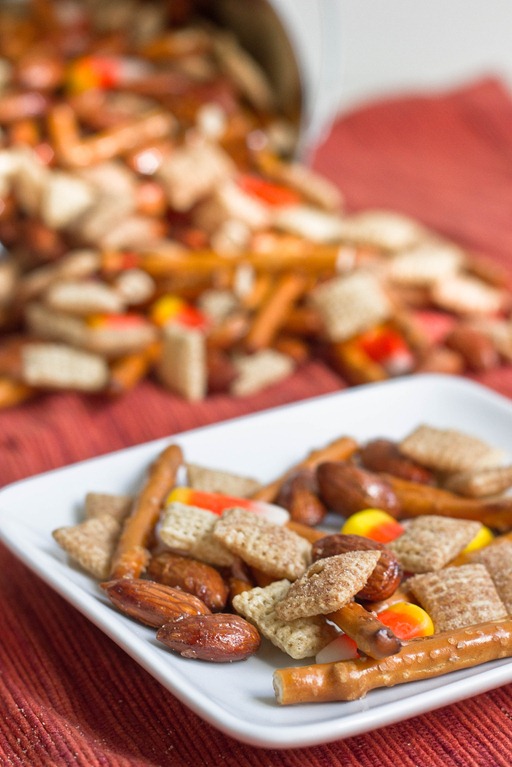
Salty-Sweet Halloween Chex Mix Serving

A note about candy corn: Last year I found out through error that most name brand candy corns are not vegetarian because they have gelatin in them. However, CVS store brand is vegetarian so if that’s a concern you can still go ahead and enjoy this.

White Chocolate Cherry Almond Bark

White Chocolate Cherry Almond Bark

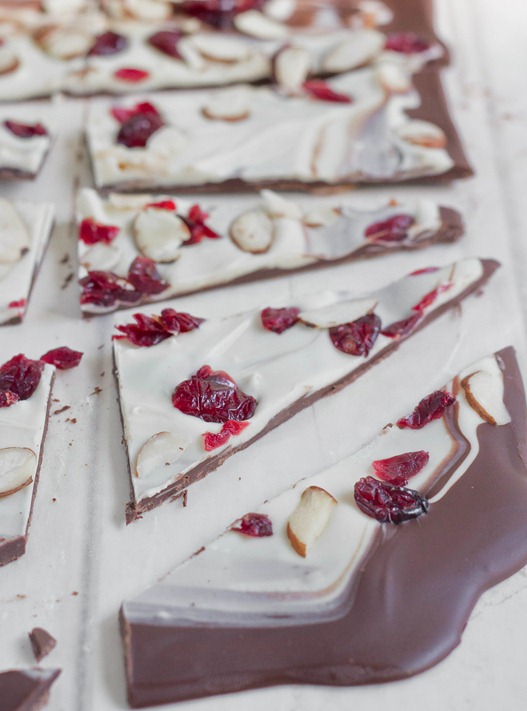
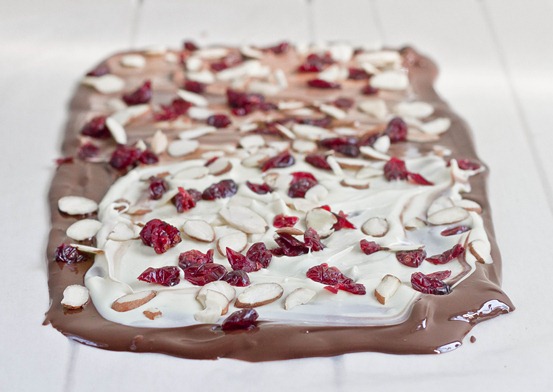
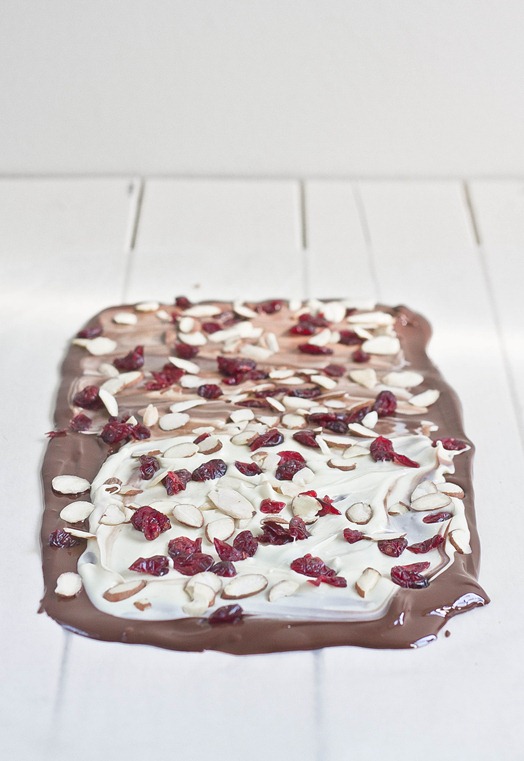
I don’t think bark should be a holiday food. It’s chocolate, nuts, and dried fruit—what’s holiday-like about that?! That sounds like anytime food to me. So feel free to make this whenever you feel like.

This is an actually an old recipe from my archives. Last time I made it I wasn’t happy with the photos so I thought I’d give it another post, not that I need much convincing when chocolate’s involved. I love white chocolate but don’t buy it very often. It’s much better at pairing with other flavors than just on its own.

The tart cherries and unsweet almonds help to curb the sweetness of the white chocolate, and the dark chocolate on the bottom adds a bit of bitterness to the mix. Altogether it’s a winning combination.

White Chocolate Cherry Almond Bark Drying

You can use sliced, crushed, or slivered almonds—whatever you have. Also feel free to swap in cherry flavored craisins if you get to the store and realize you don’t feel like paying more for dried cherries; you’d be in good company.

White Chocolate Cherry Almond Bark

Prep time: 10 minutes

Cook time: 0 minutes

Ingredients:

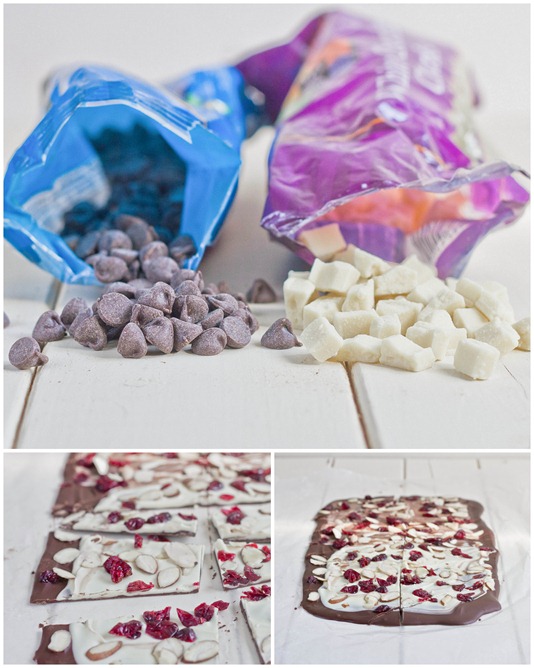
  • 1/2 pound white chocolate
  • 1/2 pound semi-sweet or bitter-sweet chocolate
  • 1/2 cup sweetened or unsweetened dried cherries
  • 1/2 cup shaved almonds

White Chocolate Cherry Almond Bark Collage

Method:

  1. Start by melting either the white or dark chocolate—whichever you want to be the base of the bark(I started with the white)—in a microwave or over a double boiler. Melt until completely smooth.
  2. Lay the chocolate out in a thin layer on a non-stick surface like wax paper.
  3. Melt the other chocolate and carefully spread it on top of the first layer, gently swirling the two together with a utensil.
  4. Sprinkle on the cherries and the almonds all over the chocolate and press them in lightly with your hand.
  5. Freeze the chocolate for about 20 minutes until it has completely hardened.
  6. With a sharp knife, cut the chocolate into unequal pieces. Store for up to 2 weeks.

White Chocolate Cherry Almond Bark Yield

Gluten-Free Baked Falafel

Gluten-Free Baked Falafel

“Are falafels gluten-free?”

It was a good question. I had no idea. To be honest, falafels were one of those foods I’ve wanted to try for a while but I’ve never gotten while out because I’ve heard conflicting answers on whether it’s gluten-free or not.

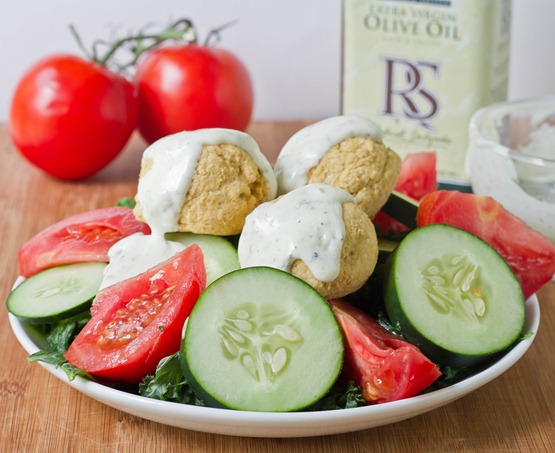
Well, sadly they probably aren’t. Most of the recipes I’ve found online use flour as a binder, and if they’re fried in oil that’s also used for chicken fingers or other breaded items that would make them contaminated. The good thing I learned is that they’re incredibly easy to make gluten-free. I was considering making them with chickpea flour for a while and when I heard that reader Carolyn has had success with that, too, I felt good enough to try it out.

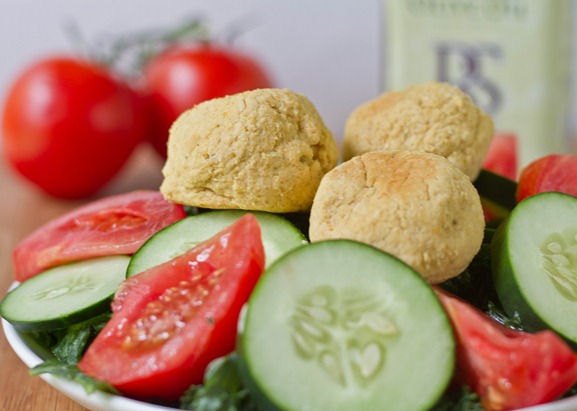
Gluten-Free Baked Falafel Serving

All you really need to make these are a food processor and an oven. I didn’t fry them mostly because that’s messy and I don’t like cleaning surfaces, you know? Also, they end up healthier this way—double plus.

I didn’t know what a falafel was supposed to taste like when I first ate a bite so I wasn’t sure how I’d know if it was a “good falafel”. Well, I don’t have anything to compare it to, but I think the fact that I went back to finish it off at 10pm when I’m usually not a savory person at all says something. I started off with this recipe and went from there. I would gladly make these again and maybe finish them off with a little oil in a pan to give them a brown crust.

Gluten-Free Baked Falafel

Prep time: 10 minutes

Cook time: 40 minutes

Ingredients(Makes about 6 falafels):

  • 1/2 onion, roughly chopped
  • 1 small clove of garlic
  • 1 Tablespoon olive oil
  • 1 15 oz can chickpeas, drained
  • 1 Tablespoon lemon juice
  • 2 Tablespoons fresh parsley, chopped
  • 2 Tablespoons oregano, chopped
  • 1/2 teaspoon salt
  • 1 teaspoon coriander
  • 3/4 teaspoon cumin
  • 2-3 Tablespoons chickpea flour

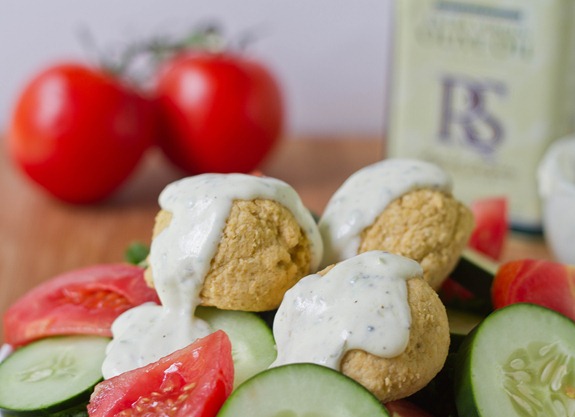
Gluten-Free Baked Falafel Sauced

Method:

  1. Preheat your oven to 350 degrees.
  2. In a food processor, blend the onion, garlic and olive oil until the garlic and onion are minced.
  3. Add in the chickpeas and lemon and blend until the chickpeas are pureed.
  4. Add in the parsley, oregano, salt, cumin, and coriander and continue blending to incorporate them in.
  5. Add the chickpea flour in a tablespoon at a time until the dough thickens enough that it can be shaped and won’t stick to your hands or a utensil.
  6. Form 6 or 7 balls of dough and place them on a lined baking tray. You can flatten them into patties if desired.
  7. Bake for 40 minutes until the outside starts to brown turning them halfway through.
  8. Remove from the oven and serve hot.

Another good question: Is falafel the singular or the plural? or both?

Peanut Butter Cream Cheese

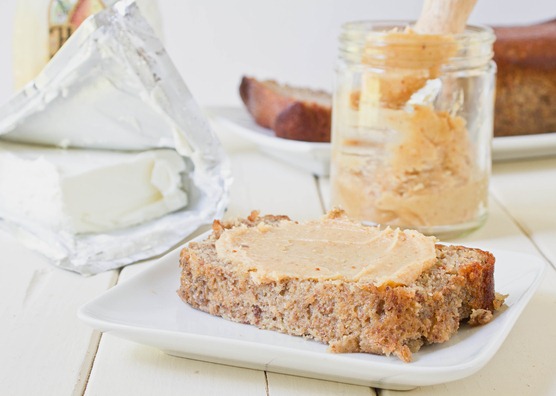
peanut butter cream cheese

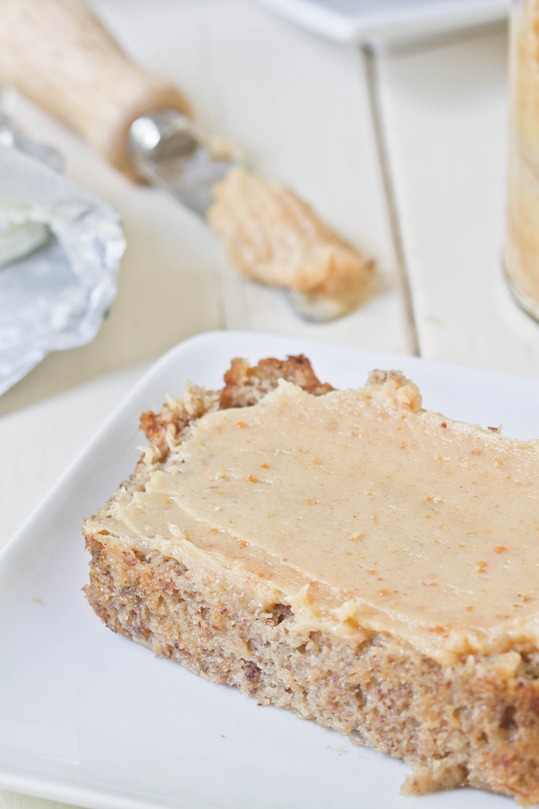
Last week I made another loaf of almond flour banana bread. It didn’t have any chocolate chips or walnuts or Nutella swirls so it definitely needed something to make it more decadent.

I was reminded of when I made a chubby hubby cheesecake last month and finally shared the recipe with the people I served it to: “You mean my whole family has been fighting over peanut butter and cream cheese?” Hey,what can I say? It’s a winning combination.

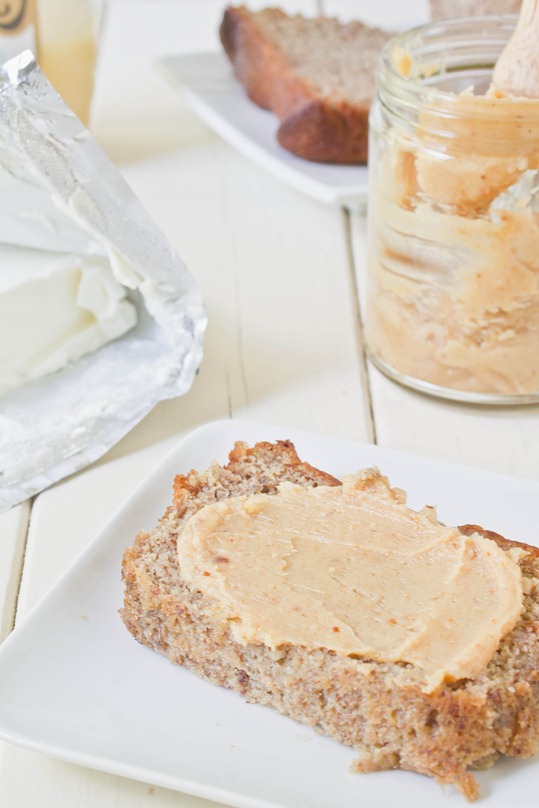
peanut butter cream cheese long

You can easily adjust the sweetness by adding more or less honey. I like it when it’s not too sweet so that you still taste the slight tartness of the cream cheese. Add a sprinkling of raw sugar for a little bit of crunch.

Peanut Butter Cream Cheese

Prep time: 5 minutes

Cook time: 0 minutes

Ingredients:

  • 1/4 cup cream cheese
  • 1/4 cup peanut butter*
  • 2 Tablespoons honey
  • 1/2 teaspoon cinnamon(optional)

*If you’re using no-stir peanut butter, be sure to soften it in the microwave quickly before mixing.

Method:

  1. Mix together all of the ingredients.
  2. Store in a sealed container in the refrigerator when not using. Let it soften at room temperature briefly before spreading because the cream cheese will harden when chilled. 

peanut butter cream cheese serving

I think I need to stock up on gluten-free bagels because this is too good not to eat every morning. It’s creamy and nutty—the perfect combination of the best two breakfast spreads.

Asian Stir-Fry Rice And Veggie Burgers

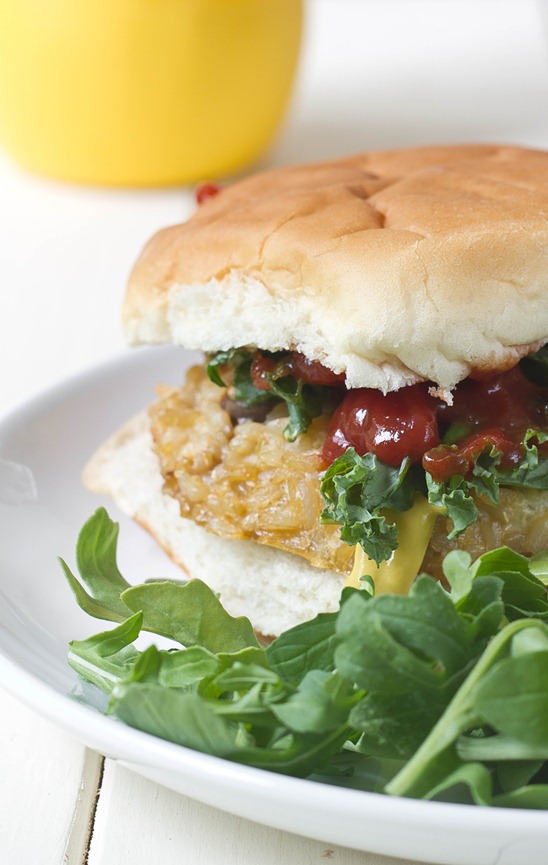
Asian Stir-Fry Rice And Veggie Burgers

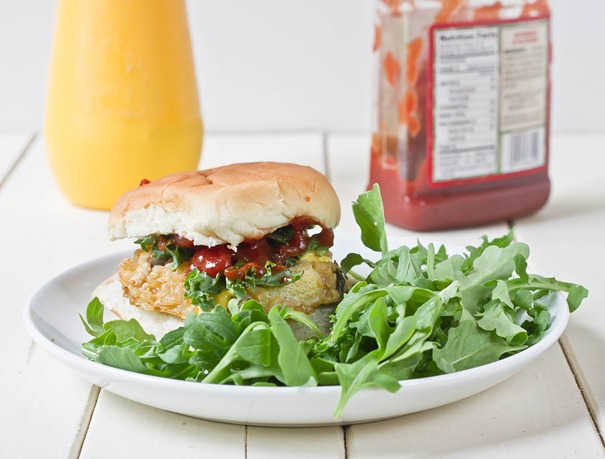
The term “veggie burgers” have become an oxymoron these days; veggie burgers have just about everything but vegetables in them. Soy protein, artificial flavors, and wheat gluten—yes. But veggies? Nope. They hardly live up to the health halo surrounding them.

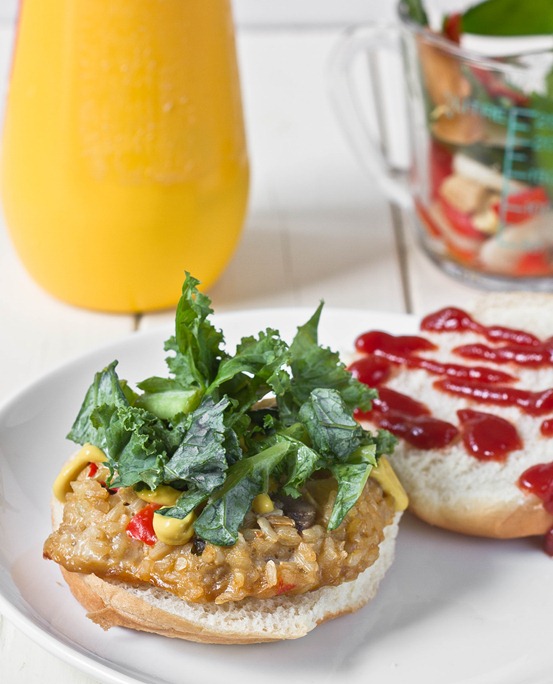
The best thing you can do is make your own. It’s cheaper, healthier, and the possibilities for ingredients are endless. The first time I made these was a complete accident of stir-fry gone wrong. I ended up liking them so much that I made them again. The brown rice makes these filling while the vegetables add a fresh crunch—way better than anything you’ll find in the freezer aisle. 

Asian Stir-Fry Rice And Veggie Burgers Assembling

You can get fresh stir-fry vegetables in a package in the produce department, but I like getting the frozen vegetable packs which are usually cheaper and stay fresh until you use them.

Asian Stir-Fry Rice And Veggie Burgers

Prep time: 10 minutes

Cook time: 50 minutes

Ingredients(Makes 10 burgers):

  • 2 1/2 cups cooked brown rice
  • 1 cup stir-fry vegetables, steamed
  • 2-3 Tablespoons soy sauce
  • 1 Tablespoon sesame oil
  • 2 X-large or 3 medium eggs

Asian Stir-Fry Rice And Veggie Burgers Prepped

Method:

  1. Preheat your oven to 350 degrees.
  2. In a large bowl, mix together all the ingredients until the eggs are well beaten and incorporated.
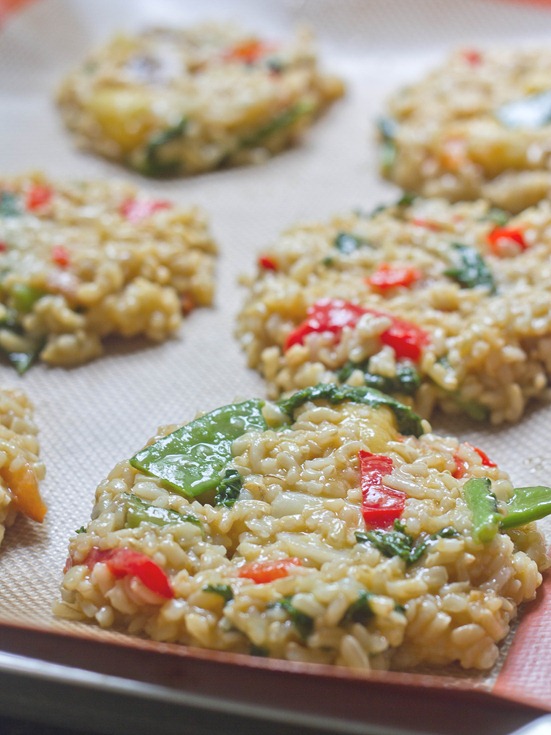
  3. Line or grease a baking tray. With a large utensil, make dense patties on the tray with about 1/3 cup of rice mixture roughly an inch apart from one another.
  4. Bake for 25 minutes on one side, flip, and bake for another 25 minutes. The patties should be cooked enough after 25 minutes that they hold together when you flip them to cook the other side.
  5. Remove from the oven and let the patties cool. When ready to eat, heat them up in a microwave, pan, or on a grill. You can freeze extra patties to thaw later.

Asian Stir-Fry Rice And Veggie Burgers Serving

Since these have an untraditional flavor to begin with, I’d recommend getting untraditional with the condiments, too. Pineapple relish and kimchi, anyone?