Tag Archive: Vegetarian

Salt Roasted Beets

Salt Roasted Beets

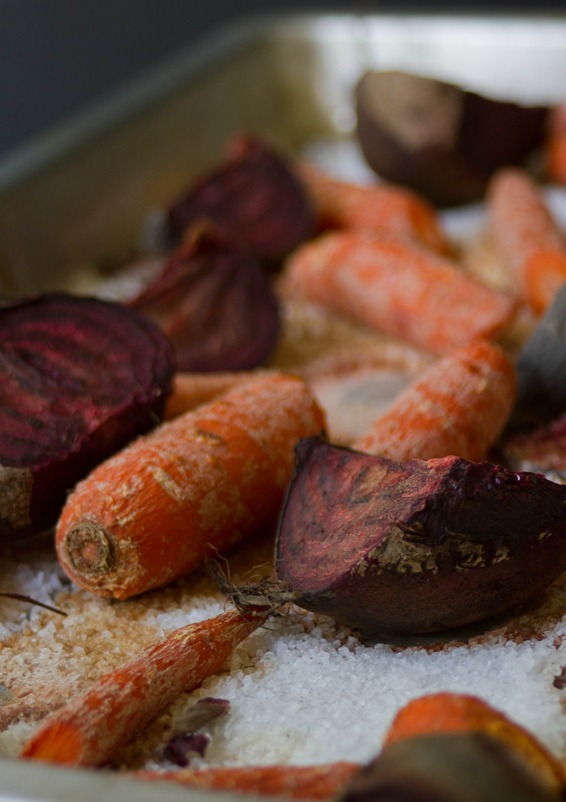
Salt is something that a lot of people don’t understand; too much can make anything a disaster, but just a touch on fruits and vegetables always helps to make them taste sweeter. When you eat something with natural sugars that’s been seasoned right, it touches more taste sensations on your tongue and you’ll enjoy it more.

Salt roasting is a technique I learned last Summer when I was interning in a restaurant. It was something that the lunch crew trusted that I couldn’t possibly screw up so I did it quite a bit whenever we got more beets in. Since then I’ve done it at home whenever I have the chance; you really can’t screw it up! Beyond the ease, I swear it makes the vegetables taste like candy.

Salt Roasted Beets Whole

This may seem like it’d be a hassle to clean up after but it’s really not. Just put the pan with the burnt salt under the sink and run hot water on it until the salt dissolves.

Salt Roasted Beets

Prep time: 10 minutes

Cook time: 1-2 hours

  • 3/4 cup coarse grain salt
  • Beets, tops trimmed and peel on

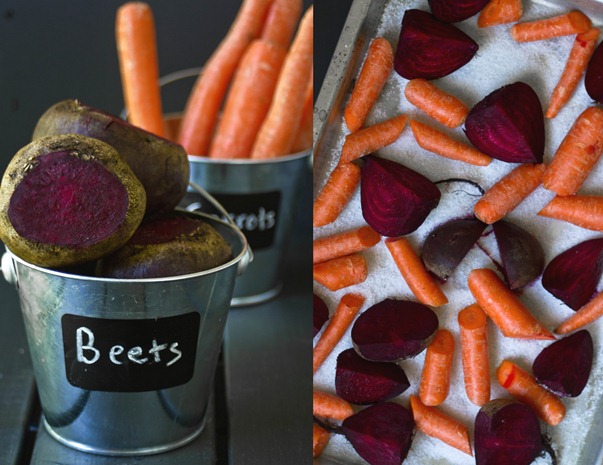
Salt Roasted Beets Collage

Method:

  1. Preheat your oven to 400 degrees.
  2. Lay the salt out in a single layer on a roasting tray.
  3. Wash the outside of the beets. If your beets are large you can cut them into quarters or leave them whole. The larger they are, the longer they’ll take to cook.
  4. Lay the beats on top of the salt and place them in the oven.
  5. Roast for 1-2 hours until you can poke a fork through the skin with some ease.
  6. Remove from the oven and begin peeling off the skin while still hot. You may want to use gloves or a towel to keep the beets from burning your hands. Brush off any remaining salt on the outside.
  7. Serve hot or chilled.

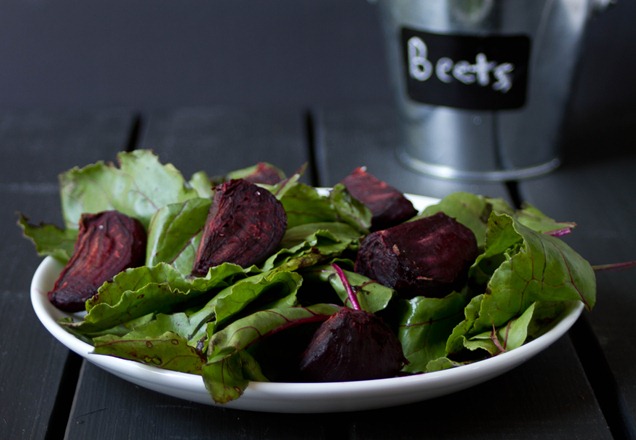
Salt Roared Beets Salad

What do you do with your beets? Well they make a good salad, for one, especially if you keep those beet greens. Vegetables roasted in salt don’t need any further seasoning so you can just pop them in your mouth.

Chobani Frozen Yogurt

Chobani Frozen Yogurt

You’ve probably heard of Chobani, if not from their delicious yogurt then from their recent position as sponsor of the 2012 Olympic games. I hardly managed to do anything but watch TV for those two weeks—well, watch TV and eat yogurt.

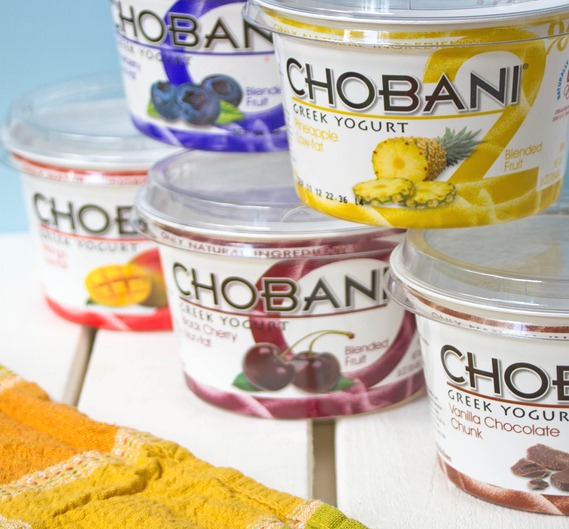
Chobani recently introduced 6 of their most popular flavors in 16oz tub container form including a 2% vanilla chocolate chip variety which easily takes the gold medal for me. Chobani has always been one of my favorite Greek yogurts because of the simple ingredients and consistently low price at my grocery store and I was happy to try them when they sent me a variety pack.

Chobani Frozen YogurtFlavors

I had to resist eating all of the flavors simply with granola and fruit and actually make something with them. I settled on frozen yogurt because few things are as tasty(and easy!) as homemade frozen yogurt. If you don’t have an ice cream maker, put it on your Christmas list; even though it only has one function it’s easily my favorite kitchen gadget I’ve bought over the past few years.

This recipe is as easy as 3 ingredients and is entirely customizable! You can use any flavor of Chobani and add any mix-ins your heart desires. Have fun with it and pretend you’re at a fancy frozen yogurt chain by adding things like chocolate chips, fruity cereal, and chopped fruit on top.

Chobani Frozen Yogurt

Prep time: 5 minutes

Freeze time: 2 hours

Ingredients(Makes about 6 servings):

  • 1 16oz Chobani yogurt container*
  • 1 cup skim or 2% milk
  • 3/4 cup powdered sugar, sifted

*I’ve only tried this with the fruit flavors. If you’re starting with Plain Chobani, you might want to adjust the sweetness by adding more powdered sugar.

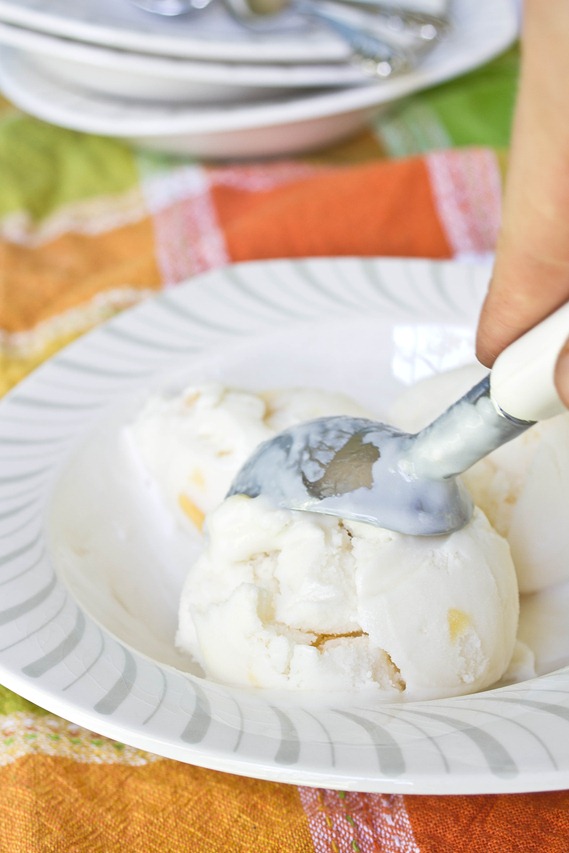
Chobani Frozen Yogurt Scoop

Method:

  1. In a large bowl whisk together all of the ingredients.
  2. Pour the base into an ice cream maker and freeze according to the manufacturer’s directions.
  3. After the ice cream has churned, scoop it into a solid container and freeze for at least two hours.
  4. Before serving, let the yogurt soften at room temperature for 5 minutes.

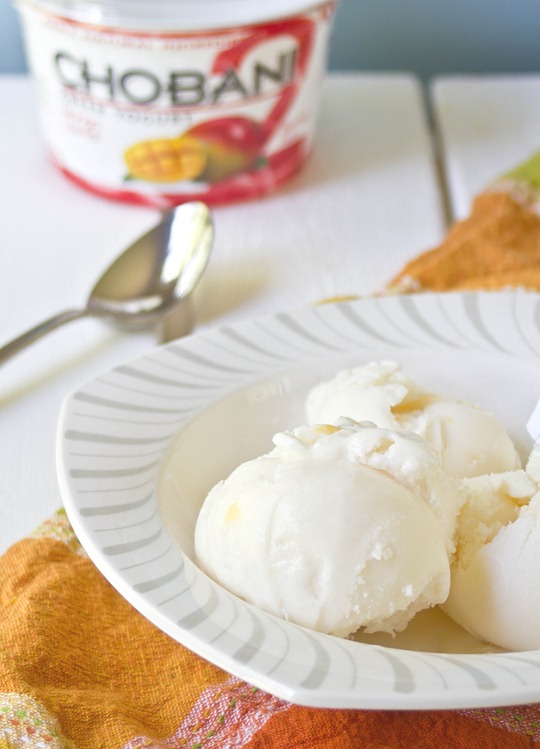
Chobani Frozen Yogurt Bowl

Mango admittedly is not one of my favorite flavor of yogurt. Somehow, turning it into frozen yogurt makes it much more irresistible. It reminded me of something I’d order from Pinkberry. And since this is made with low-fat ingredients and greek yogurt, it’s packed with protein, so feel good about having an extra scoop.

Arepas and Peanut Butter

I don’t typically have exciting breakfasts. Usually I have oatmeal with egg whites and peanut butter or a paleo mug cake with peanut butter on top.

The common denominator? Peanut butter. Naturally, I was excited when Peanut Butter & Co. asked me to make a breakfast recipe for their All Star Recipe Blog, but I knew it’d have to be something more exciting than oatmeal.

As I looked at recipes from all around the world, I saw they all revolved around the same ingredients: eggs and grains. Add some peanut butter and fruit and that sounds like a well-rounded breakfast. I settled on arepas, a popular Columbian breakfast, and added a few American twists.

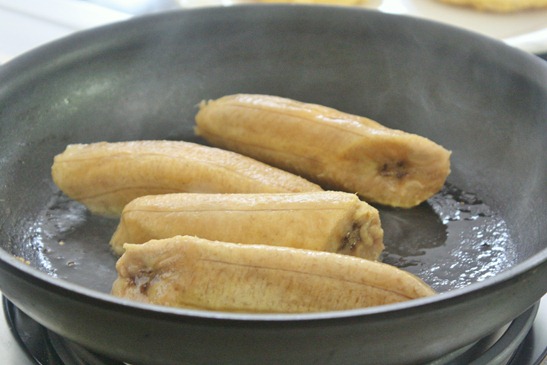
sweet-breakfast-arepas-plantain-frying

This was my first time cooking plantains. This was actually my first time eating plantains. All I knew is that they were like giant bananas… sort of. After trying them I can safely say they’re one of my new favorite foods. It might seem odd pairing them with cinnamon raisin swirl peanut butter but I love bananas and peanut butter so why not?

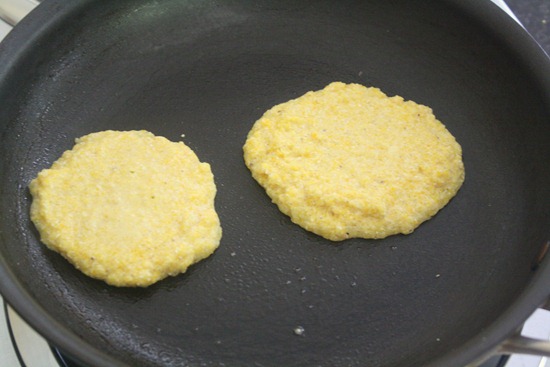
sweet-breakfast-arepas-corn-cakes

The other parts of this are the arepas themselves(think along the lines of unsweetened cornmeal pancakes) and a fried egg to top it all off. What doesn’t a fried egg make better? Since the dough is purely cornmeal, this dish is naturally gluten-free, too. For the full recipe and a chance to win a jar of cinnamon raisin swirl, click here and enjoy!

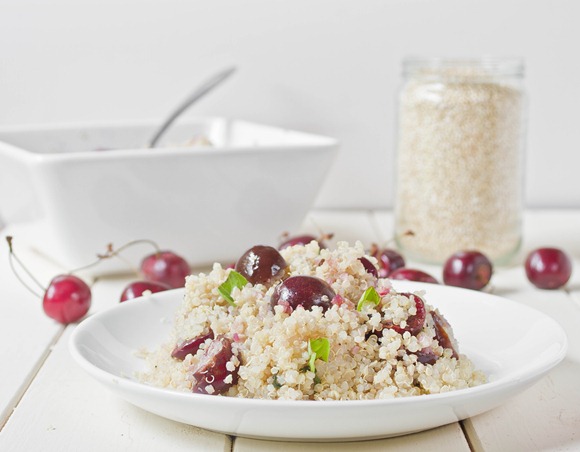
Cherry Basil Quinoa

Cherry Basil Quinoa

One cherry recipe and now another; if you can’t tell I bought a couple pounds of cherries last weekend and had to find ways to eat them. Now that they’re gone, I’m tempted to get more and see what comes out of it.

The great thing about fruits in the Summer is that you don’t really need to do anything to them. I thought about roasting the cherries before adding them in with quinoa(which you certainly can do), but the light and tangy flavors of fresh cherries mixed with herbs and seasoning didn’t need anything more.

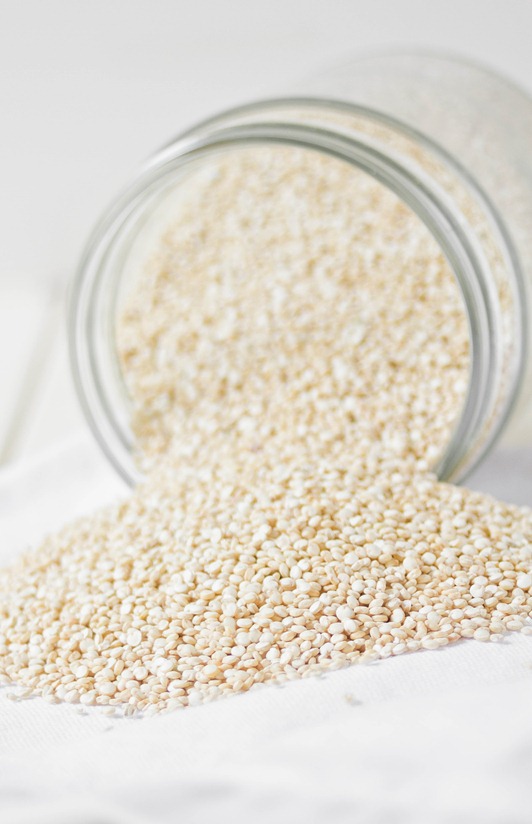
Quinoa

Quinoa’s one of my favorite grains and a pantry-staple in my house. If you’re out of quinoa and still want to try this, you could use couscous or a short-grain rice like Arborio. You could roast the cherries before mixing them in for a different flavor, but when they’re this fresh I think they’re even better as is.

Cherry Basil Quinoa

Prep time: 10 minutes

Cook time: 20 minutes

Ingredients(Makes 4-6 servings):

  • 1 1/2 cups dry quinoa, washed and rinsed
  • 3 cups water*
  • 3/4 cup pitted and halved cherries
  • 2 Tablespoons extra virgin olive oil
  • Small handful of basil, roughly chopped
  • 3/4 teaspoon salt
  • 1/2 teaspoon pepper

*This is the average amount of water I use for cooking quinoa. If you have a different method or the brand you use recommends more or less, by all means you can adjust this.

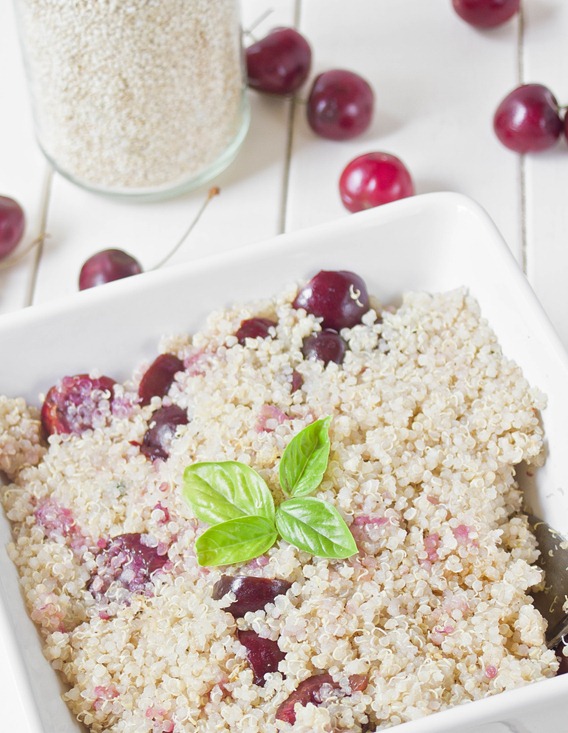
Cherry Basil Quinoa Yield

Method:

  1. Bring the quinoa and water to a boil in a pot and put on the lid.
  2. Turn the burner off and leave the quinoa undisturbed for 15-20 minutes until the water is entirely absorbed.
  3. Toss in the cherries, olive oil, basil, salt, and pepper and mix. Transfer from a pot to a serving dish.
  4. Serve hot or cold. Keep leftovers in the refrigerator for 2-3 days.

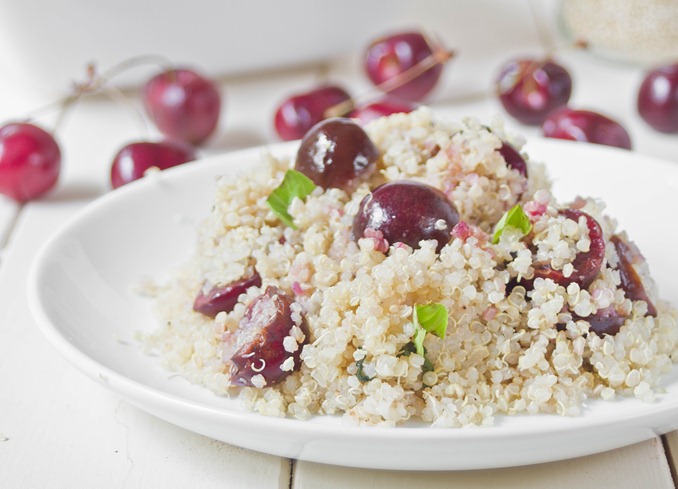
Cherry Basil Quinoa Plated

Who knew simple could be so good? You can add some beans into the mix or add crushed pistachios or almonds on top to make this more of an entrée.

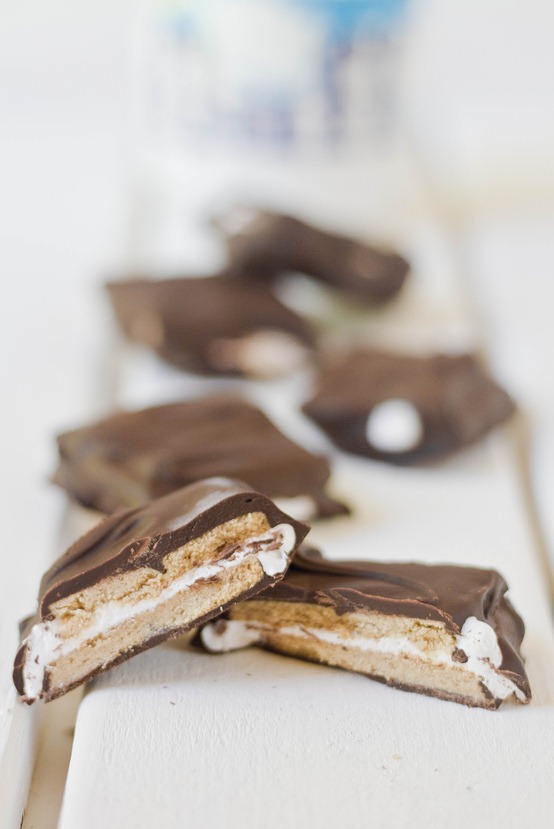
Chocolate Covered S’mores

Chocolate Covered S'mores

I doubt there’s any way you could reinvent s’mores and have it not be delicious. Food bloggers test this theory every Summer and it always holds true. Here’s one more delicious s’mores recipe to throw into the mix.

By the beaches in Maine there are candy shops that sell just about everything covered in chocolate. Graham crackers covered in chocolate? Sure. Marshmallows covered in chocolate? Mhmm. But no s’mores covered in chocolate. Why not? Beats me. Thankfully, you don’t need to travel farther than your kitchen for something as delicious as this.

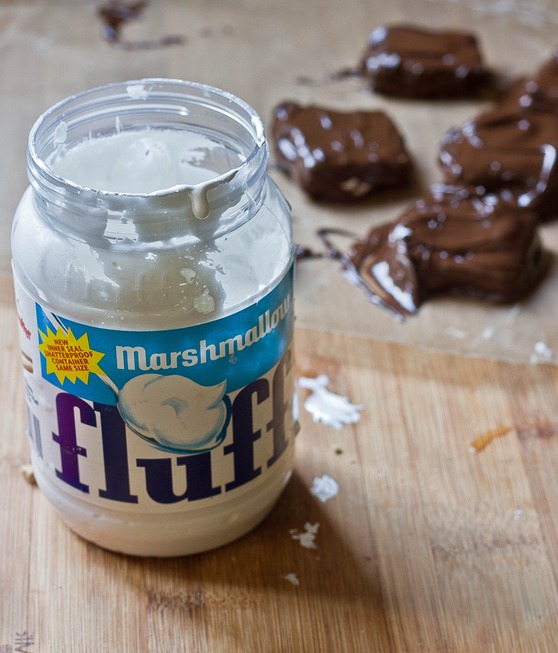
Chocolate Covered S'mores Fluff

Instead of melted marshmallows which would get stale in a refrigerator, this recipe uses marshmallow crème which is soft at room temperature just like a melted marshmallow. My favorite part about this is that Fluff is a naturally vegetarian marshmallow option, so you don’t have to go out and buy a $5 bag of marshmallows to get your s’mores fix.

Chocolate Covered S’mores

Prep time: 15 minutes

Cook time: 0 minutes

Ingredients(Makes 6 squares):

  • 12 graham cracker squares
  • 1/4 cup marshmallow Fluff
  • 6oz chocolate(about 3/4 cup chocolate chips)

Method:

  1. On half of the graham crackers, spread roughly 2 teaspoons of Fluff.
  2. Sandwich each covered graham cracker with an uncovered one and put these aside.
  3. Melt the chocolate in a microwave or over a double boiler until it is smooth and liquid.
  4. One by one, lower the s’mores into the melted chocolate. Flip once and use a utensil to make sure the sides are covered as well as the top and bottom.
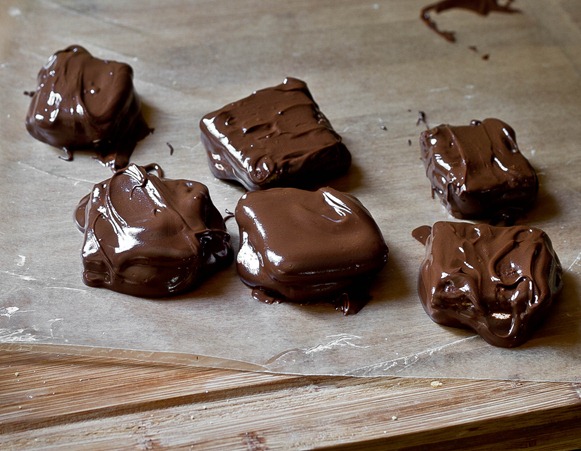
  5. Take the s’mores out of the melted chocolate and put it on a non-stick surface to dry. You can quicken the process by moving them to the refrigerator once you’re done.
  6. Repeat with all the s’mores.
  7. Store in the refrigerator until ready to eat.

Chocolate Covered S'mores Drying

A fun thing to do might be to decorate the outside while the chocolate is melting with graham cracker crumbs and mini-marshmallows. These are the things I think of after I’ve eaten the whole batch. Shame.

Caramelized Onion and Balsamic Vinegar Bean Salad

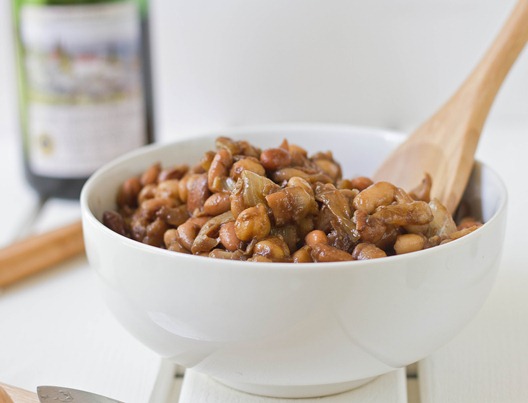
Caramelized Onion and Balsamic Vinegar Bean Salad

I really love baked beans. Who doesn’t? What I don’t love is spending hours cooking them in a hot kitchen when it’s already 80 degrees outside. Why can’t people appreciate baked beans more in the winter when we’re all freezing? It’s a mystery.

Last week on the 4th I needed a vegetarian dish that could sit in a cooler all day. Immediately my mind jumped to baked beans, but as soon as I ruled out cooking those for 4 hours I remembered this old favorite.

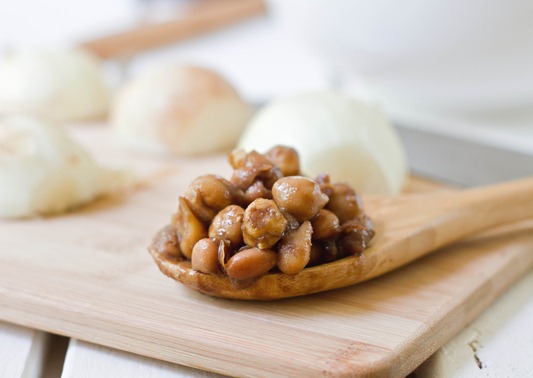
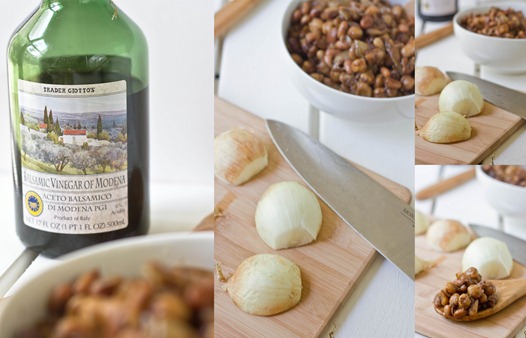
Caramelized Onion and Balsamic Vinegar Bean Salad Collage

I first posted this recipe over a year ago. The photos weren’t that good, the recipe wasn’t very clearly written, and my readership was drastically lower than what it is today, so I figured it’d be best to just give it a whole new post. And it definitely deserves one.

You can use three cans of any type of beans; I think the ones listed have the most neutral flavor so they take on the sauce well. To make this completely vegan, you can substitute maple syrup or agave for the honey.

Caramelized Onion and Balsamic Vinegar Bean Salad

Prep time: 5 minutes

Cook time: 15 minutes

Ingredients(Makes 4-6 servings):

  • 1 15oz can of chickpeas
  • 1 15oz can of pinto bean
  • 1 15oz can of cannellini beans
  • 1 onion, julienned
  • 2 Tablespoons olive oil
  • 1/2 cup balsamic vinegar
  • 1 Tablespoon honey
  • 1/4-1/2 teaspoon salt to taste
  • 2 Tablespoons extra virgin olive oil for finishing(optional)

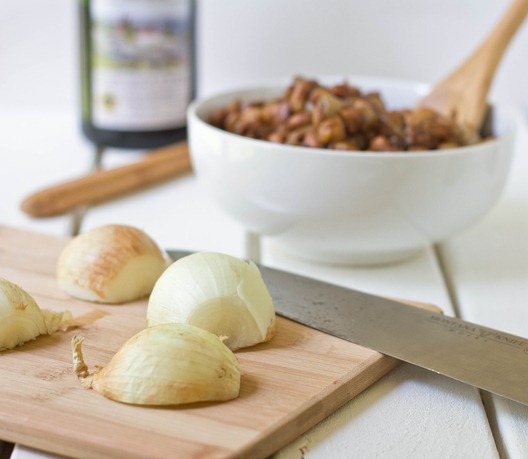
Caramelized Onion and Balsamic Vinegar Bean Salad Onions

Method:

  1. In a large bowl, combine all of the different beans.
  2. Heat the 2 tablespoons of oil in a pan over medium heat.
  3. Add in the julienned onions and sauté for about 10-15 minutes until the onion has turned translucent and slightly crusty.
  4. Remove from the heat and add it in with the beans.
  5. Reduce the balsamic vinegar in a small sauce pan to about half of its original volume by bringing it to a rolling boil for 5 or so minutes. If it over-reduces and starts to harden into a taffy, remove the pan from the heat and stir in some hot water to thin.
  6. Add the reduced vinegar, honey, salt and extra virgin olive oil if using to the beans and onions.
  7. Mix well until the sauce coats all of the beans. Serve hot or cold.

Caramelized Onion and Balsamic Vinegar Bean Salad Yield

20 minutes for a tasty bowl of beans? I’ll take that.

Baked Sesame Tofu

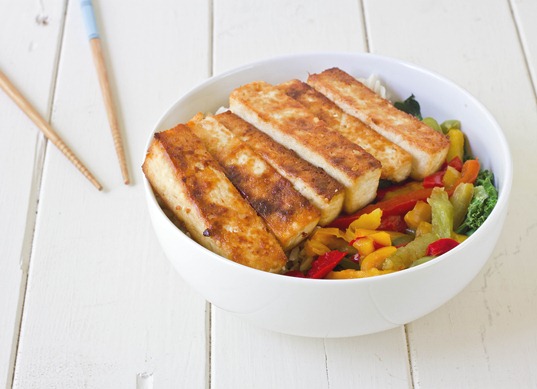
Baked Sesame Tofu

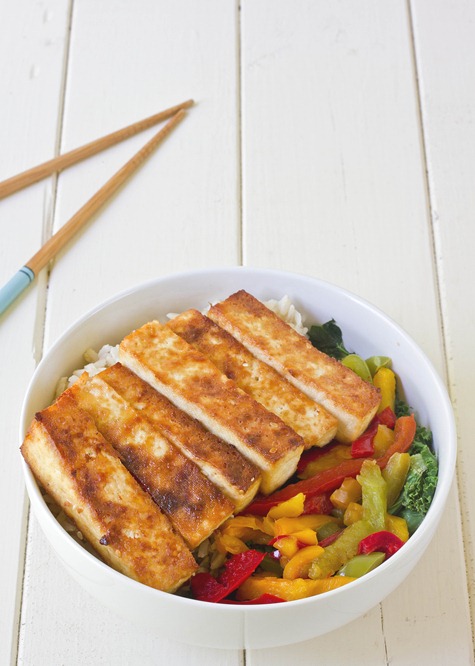
It’s really hard to get good gluten-free vegetarian food at most Asian restaurants. Whenever I do find it, it’s usually in the form of fried tofu. Don’t get me wrong—I do love getting golden and greasy tofu now and again, especially when someone else is making it. But it’s a heavy thing to eat again and again.

This tofu has a texture closure to fried tofu than any baked tofu I’ve ever had thanks to the corn starch while still not being overly salty or heavy. You can cook a big pot of brown rice and stir fry some vegetables and have your own take-out meal at home without the take-out.

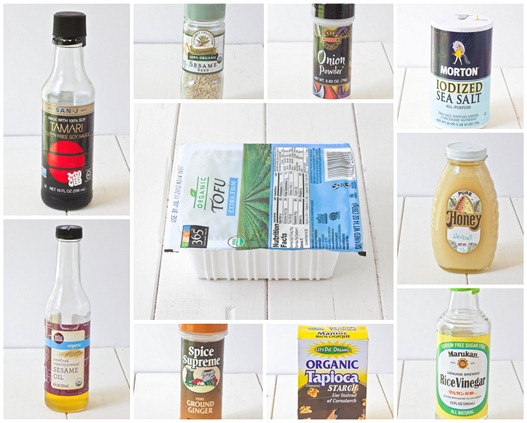
Baked Sesame Tofu Collage

To make this gluten-free, make sure to use a gluten-free tamari in place of the soy sauce. You can also substitute tapioca starch in place of the corn starch and agave for the honey.

Baked Sesame Tofu

Prep time: 10 minutes

Cook time: 40 minutes

Ingredients(Makes 2 servings):

  • 1 block extra firm tofu
  • 3 Tablespoons sesame oil
  • 1 Tablespoon soy sauce
  • 1 Tablespoon honey
  • 1 Tablespoon sesame seeds
  • 1/2 Tablespoon rice vinegar
  • 1/2 Tablespoon corn starch
  • 1/2 teaspoon salt
  • 1/4 teaspoon ground ginger
  • 1/4 teaspoon onion powder

Method:

  1. Preheat your oven to 350 degrees.
  2. Slice the tofu into even segments
  3. Mix the rest of the ingredients together in a small bowl.
  4. One at a time, dip the pieces of tofu in the sauce and lay them out on a non-stick baking surface. Pour any remaining sauce on top of the tofu.
  5. Bake for 40 minutes until the outside is golden and the edges brown. Turn once halfway through baking.
  6. Serve hot with rice and vegetables and extra soy sauce.

Baked Sesame Tofu Long

White Chocolate Peanut Butter Granola Bars

Glad to know I’m not the only one who thinks peanut butter and baked beans are a delicious combination. But I forgot to mention the best part! If you leave a comment on the recipe page on Peanut Butter & Co.’s All Star Recipe Blog you’ll be entered to win a jar of their deliciously sweet Smooth Operator peanut butter.

And speaking of peanut butter…

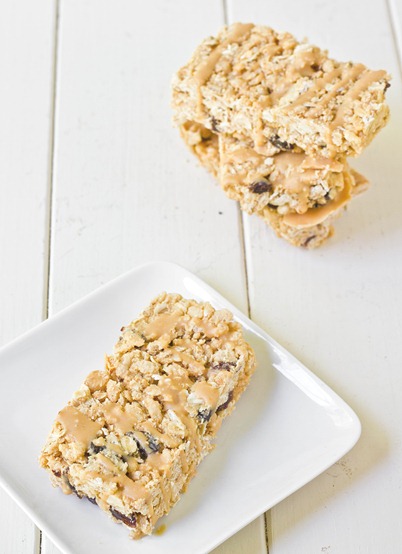
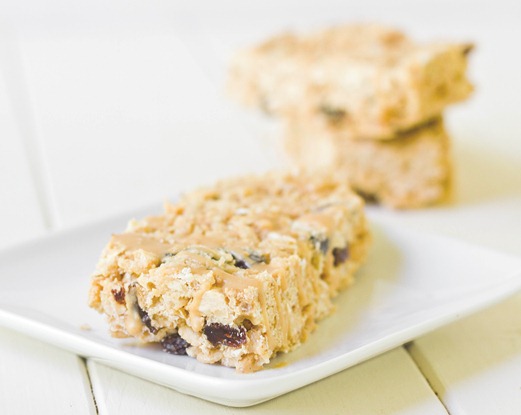
White Chocolate Peanut Butter Granola Bars Sliced

As soon as I made chocolate almond granola bars I knew I wanted to make a version using peanut butter. What goes better together than peanut butter and chocolate? But when I finally got around to making it, I thought of improvising and using white chocolate; if anything beats peanut butter and chocolate, it’s peanut butter and white chocolate.

White chocolate’s one of those things I don’t like so much on its own but goes great with just about anything. It adds a rich, buttery flavor to these granola bars that make them taste like they’re so homemade you grew the oats yourself.

White Chocolate Peanut Butter Granola Bars

Want to take these to the next level? Try using PB&Co.’s white chocolate peanut butter.

White Chocolate Peanut Butter Granola Bars

Prep time: 10 minutes

Cook time: 0 minutes

Ingredients(Makes 8 bars):

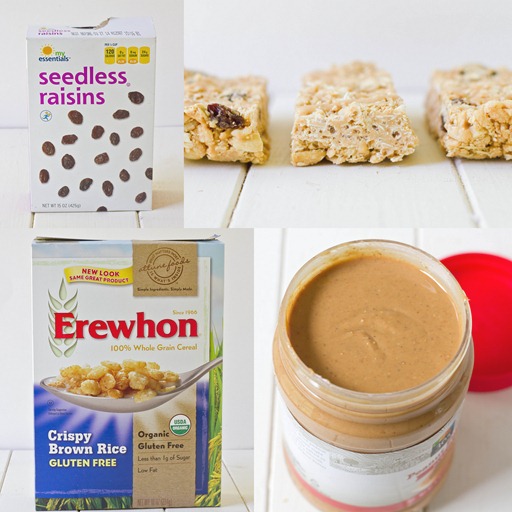
  • 1/2 cup white chocolate chips
  • 1/2 cup no-stir peanut butter
  • 3 Tablespoons honey
  • 1 cup oats*
  • 1 1/2 cups rice crisps cereal*
  • 1/2 cup roasted peanuts
  • 1/2 cup raisins
  • 1/4 teaspoon salt

*To make these granola bars gluten-free, make sure these two ingredients are certified gluten-free.

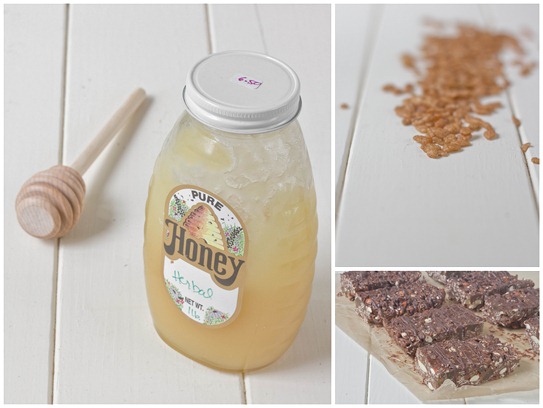
White Chocolate Peanut Butter Granola Bars Collage

Method:

  1. In a microwave or over a double boiler, melt the white chocolate.
  2. Stir in the peanut butter and honey until smooth.
  3. Add in the oats, cereal, peanuts, raisins, and salt and mix until everything is completely covered.
  4. Line an 8 x 8 baking tray with wax paper. Dump the batter into the pan and press down into an even layer.
  5. Refrigerate the bars until they’ve hardened—about 20-30 minutes.
  6. With a sharp knife, cut the bars in half horizontally and into quarters vertically into 8 2 x 4 bars.
  7. Store in the refrigerator for up to 2 weeks.

White Chocolate Peanut Butter Granola Bars(2)

These were a little more crumbly than the other granola bars I made for whatever reason. Make sure when you cut into them they’re extra cold and you use a sharp knife.

Chocolate Almond Granola Bars

Chocolate Almond Granola Bars

I’ve never had much luck making granola bars until now. They usually turn out caky or crumbly and never hold together; I was just about ready to give up on making granola bars. This recipe has completely changed that around for me.

Not only are these delicious and gluten-free, they’re also no-bake and come together in about 10 minutes. I couldn’t think of anything more to ask for. The ingredients are simple, organic, and whole grain. It could easily be made vegan by swapping out the honey.

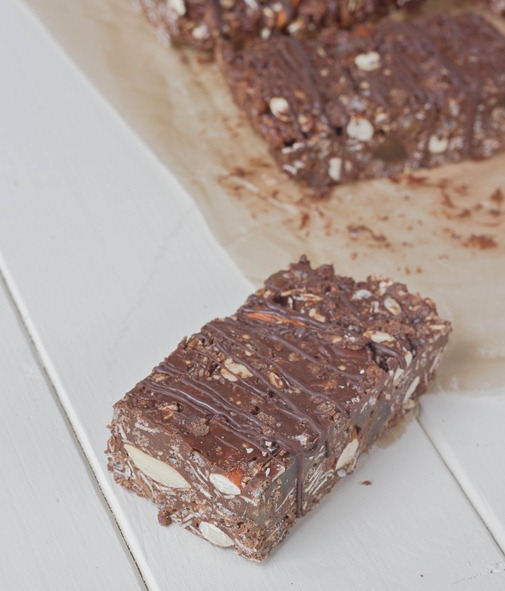
Chocolate Almond Granola Bars Collage

For the “dried fruit” we were out of the standard raisins or craisins, so I improvised and used chopped candied ginger. The flavor could not have been more spectacular. I generally love ginger and chocolate and the added bite held its own to the nuttiness of the bars.

Chocolate Almond Granola Bars

Prep time: 10 minutes

Cook time: 0 minutes

Ingredients(Makes 8 bars):

  • 1/2 cup semi-sweet chocolate chips
  • 1/2 cup almond butter
  • 1/4 cup honey**
  • 1 cup oats*
  • 1 1/2 cups chocolate rice crisps cereal(I used Erewhon Cocoa Crispy Brown Rice Cereal)*
  • 1/2 cup almonds, whole or crushed
  • 1/2 cup dried fruit
  • 1/4 teaspoon salt

*To make these granola bars gluten-free, make sure these two ingredients are certified gluten-free.

**Use 3 Tablespoons of agave to make these vegan.

Method:

  1. In a microwave or over a double boiler, melt the chocolate chips.
  2. Stir in the almond butter and honey until smooth.
  3. Add in the oats, cereal, almonds, dried fruit, and salt and mix until everything is completely covered.
  4. Line an 8 x 8 baking tray with wax paper. Dump the batter into the pan and press down into an even layer.
  5. Refrigerate the bars until they’ve hardened—about 20-30 minutes.
  6. With a sharp knife, cut the bars in half horizontally and into quarters vertically into 8 2 x 4 bars.
  7. Store in the refrigerator for up to 2 weeks.

Chocolate Almond Granola Bars Serving

I don’t see myself ever paying for granola bars again.

Chocolate Covered Strawberries

Chocolate-Covered-Strawberries

Happy Memorial Day weekend!

I’m really horrible at remembering these federal holidays. I had no idea Monday was a holiday until a friend told me it was last weekend. Back in February I told another friend to have a good Martin Luther King day on Presidents’ Day… while he was in another country that celebrates neither of those. I really need to start looking at a calendar more.

Chocolate-Covered-Strawberries-Hands

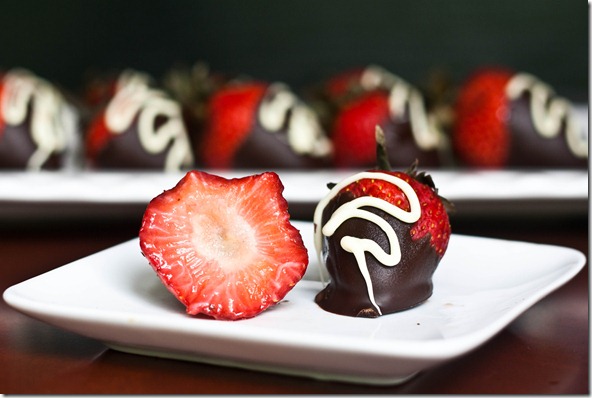
Back to the food—Chocolate covered strawberries are one of those classics that get done again and again but they never get old. They’re so simple you don’t even need a recipe(but you’re getting one). You can make them last minute and they’re near impossible to screw up, so if you’re in a pinch for dessert this Memorial Day then these could be the perfect solution.

Chocolate Covered Strawberries

Prep time: 10 minutes

Cook time: 0 minutes

Ingredients(Makes 2 dozen):

  • 2 dozen large strawberries
  • 10oz semi-sweet chocolate
  • 3oz White chocolate(optional)

Chocolate-Covered-Strawberries-Plated

Method:

  1. Gently melt the chocolate in a small bowl until it’s smooth.
  2. Dip each strawberry into the chocolate and swirl around to cover completely.
  3. Lift the strawberries out of the chocolate and let the excess fall back into the bowl. Place them individually on a non-stick surface.
  4. If using the white chocolate, melt it carefully and put it in a pastry bag or Ziploc with a tiny whole cut out one edge.
  5. Drizzle the white chocolate across each strawberry from side to side.
  6. Refrigerate the strawberries until the chocolate has hardened. Plate and serve still slightly cold.

Chocolate-Covered-Strawberries-Bite

When life gives you lemons, make lemonade. And when life gives you strawberries, cover them in chocolate before eating them.