Tag Archive: Vegan

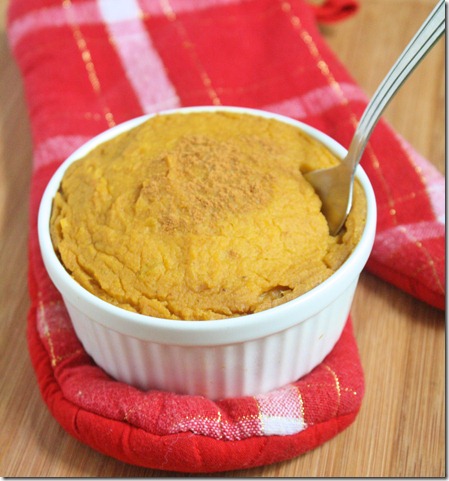
Baked Butternut Squash Mash

Baked-Butternut-Squash-Mash

Now is my favorite time of the year, for food at least. I love pumpkin, squash, mashed potatoes, sweet potatoes—basically anything starchy that looks like baby food. Naturally I was excited to see local squash at the farmers’ market last week and picked out the biggest, most obscene looking butternut squash I could find.

Baked-Butternut-Squash-Mash-spoonful

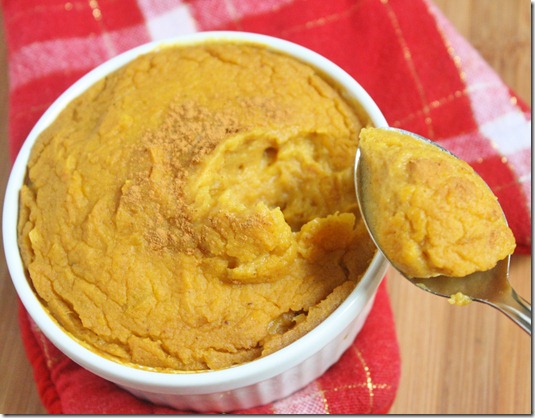
Like I said, this is basically glorified baby food: Smooth squash puree mixed with amber maple syrup, rich cream, and nutty spices. It’s reminiscent of a pie filling but without the overpowering sweetness so you can feel good about eating this with dinner. It’s definitely a new favorite that I’ll probably turn to time and time again the next few months; it’s good enough that I’d invite it to the Thanksgiving table!

Baked Butternut Squash Mash

Prep time: 5 minutes

Cook time: 30 minutes

Ingredients(Makes 4 servings):

  • 3 cups butternut squash puree*
  • 1/2 cup almond cream(recipe below) or regular cream or other non-dairy cream
  • 3 Tablespoons maple syrup
  • 1/2 teaspoon salt
  • 1/2 teaspoon cinnamon
  • 1/4 teaspoon nutmeg

*This is easy to make yourself. Roast a medium-sized butternut squash until the inside is soft. Scoop the flesh out from the skin and puree it in a food processor until smooth.

For the almond cream:

  • 3 Tablespoons smooth almond butter
  • 5 Tablespoons water

Method:

  1. In a small bowl, whisk together the almond butter and water until it forms a rich and smooth liquid.

Baked-Butternut-Squash-Mash-out-of-oven

Method:

  1. Preheat your oven to 375 degrees
  2. Stir together the butternut squash puree, cream, maple syrup, salt, cinnamon, and nutmeg until completely combined.
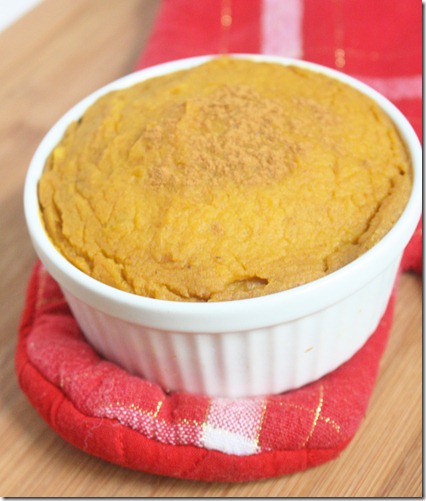
  3. Scoop the squash into a large casserole dish or individual ramekins. Bake for 20-30 minutes until the squash is heated through and the top has goldened slightly and begun to crack.
  4. Garnish with cinnamon and serve hot.

Baked-Butternut-Squash-Mash-bowl

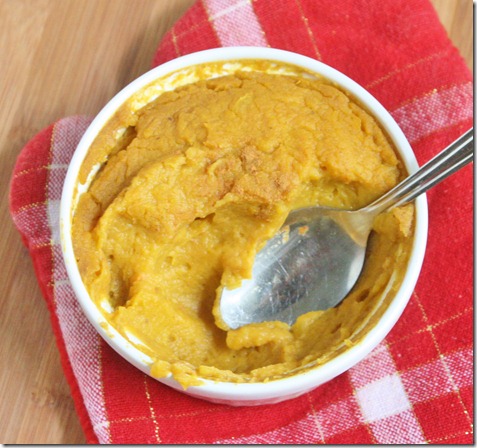
There were no leftovers, but I figured a picture of a half-eaten bowl was better than an empty bowl.

Now what other squash can I find?

Raw Chocolate Ganache Tortes

raw-chocolate-ganache-torte

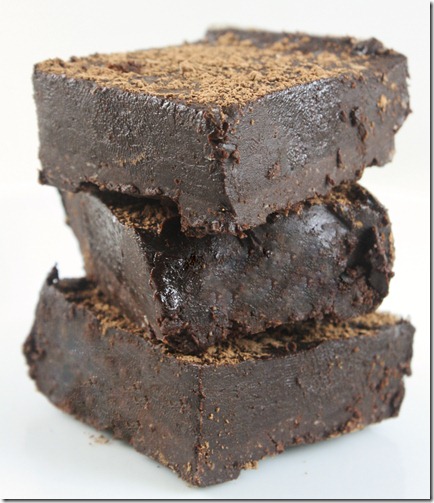
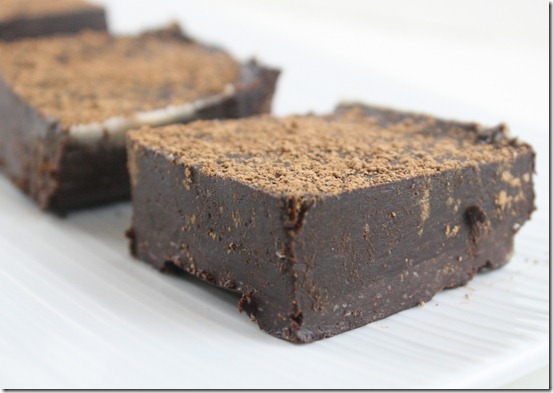
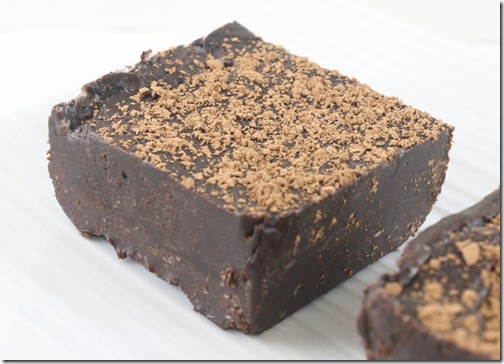
If you’ve been following this blog for any length of time you’d know I’m obsessed with the raw chocolate ganache torte(pictures here) from Wildflour bakery. Time and time again I’ve tried to make my own, but it just never comes out as good as there’s.

Until now.

raw-chocolate-ganache-torte-2

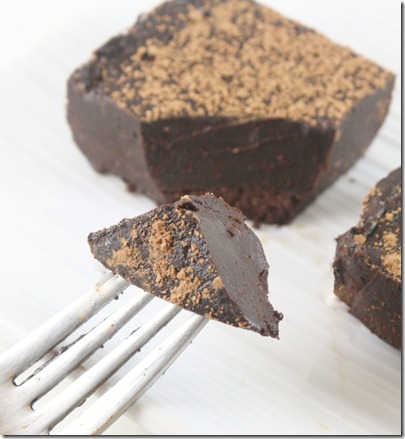
I can honestly say this is one of the best things I’ve ever eaten. The raw chocolate taste so much more intense than anything that comes in a wrapper. And the crust and filling blend seamlessly together for a smooth, nutty bite. It’s perhaps my favorite recipe to share and I hope becomes this site’s most popular, because it truly deserves the attention.

You can use any nut butter in place of the almond butter. Just don’t leave it out. It helps to lower the solidity temperature of the coconut oil so that the dessert is easily cut through straight from the refrigerator.

Raw Chocolate Ganache Tortes(adapted from this recipe and inspired by Wildflour)

Prep time: 15 minutes

(Un)cook time: 2 hours

Ingredients(Makes 8 small tortes):

For the crust:

  • 6 Tablespoons almond flour
  • 1/4 cup cocoa powder
  • 2 Tablespoons coconut oil, softened or melted
  • 2 Tablespoons agave nectar

For the filling:

  • 1/2 cup cocoa powder + more for dusting
  • 1/4 cup coconut oil, melted completely
  • 7 Tablespoons agave nectar
  • 2 Tablespoons almond butter

raw-chocolate-ganache-torte-on-fork

Method:

  1. Combine all of the crust ingredients and mix until a uniform dough forms.
  2. Press the dough in an even layer into the bottom of a small loaf pan. Alternatively, you could make these in a muffin tin and have them be round.
  3. For the filling, beat together all of the ingredients until it makes a soft ganache.
  4. Pour the ganache over the crust base. Refrigerate for 2 hours.
  5. Sift extra cocoa powder over the torte. Cut with a sharp knife into 8 equal-sized tortes.

Sep 21st 019

I will never pay for another raw chocolate ganache torte again. I will, however, still pay for their carrot cake truffles, chocolate pound cake, raw macaroons, raw cheesecake, raw oreos and rum balls, so I wouldn’t worry about them losing much business.

Orange Tempeh

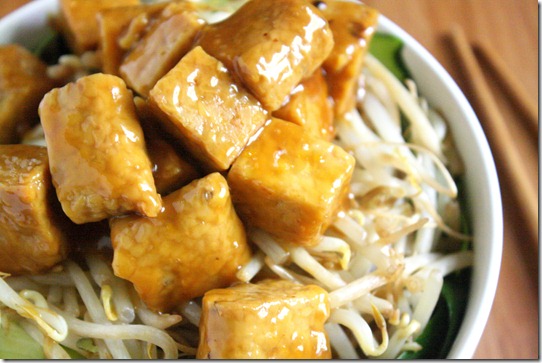
orange-tempeh

When I was in high school, we didn’t really have a traditional cafeteria; instead, we used a college campus’ union where they had tons of food options inside. Between my freshman and sophomore year, Burger King was moved out and in their place came a Panda Express. I wasn’t quite sure how to feel about that, since I loved the Burger King frozen chocolate pies so much. But one taste of Panda Express’ orange chicken and it was love at first bite.

I can’t count how many times I got that order over the next couple of years. Now I sometimes go back and get a little nostalgic just looking at the Panda Express sign. But since gluten and meat are out, Panda Express’ orange chicken is, too. So that inspired me to make my own; if I could make something half as good as their orange chicken without chicken or wheat, I’d be happy. Luckily I think I came upon with something half as good and more.

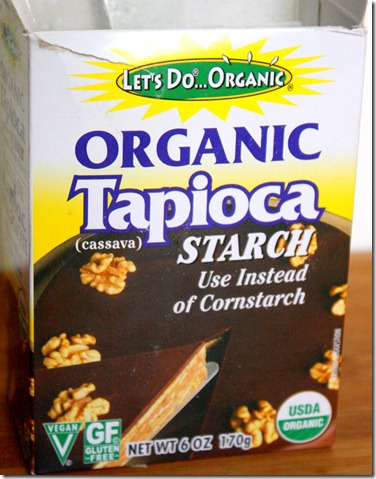
orange-tempeh-ingredient

I used tapioca starch for a corn-free dish I was a little worried it wouldn’t be a good replacement, but it worked exactly the same. It’s something I now keep on hand at all times for gluten-free/grain-free baking and cooking.

Orange Tempeh

Prep time: 5 minutes

Cook time: 10 minutes

Ingredients(for 2 servings):

  • 1 block of tempeh, cubed
  • Juice of 1/2 an orange(about 2 Tablespoons)
  • 2 Tablespoons agave, or any sweetener
  • 1 Tablespoon soy sauce(or wheat-free tamari)
  • 1/2 Tablespoon sesame oil
  • 2 teaspoons rice vinegar
  • 1/4 teaspoon salt
  • 1 teaspoon siracha sauce(optional)
  • 1/2 Tablespoon tapioca or corn starch mixed with 2 Tablespoon water

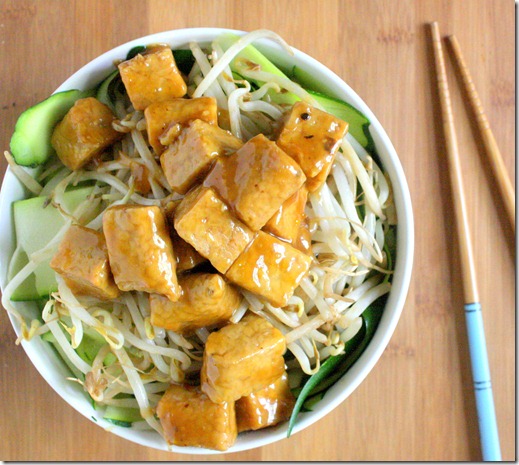
orange-tempeh-bowl

Method

  1. In a small dish, mix together the orange juice, agave, soy sauce, vinegar, salt, sesame oil and siracha if using.
  2. Pour the mixture into a frying pan and heat over a burner set to medium.
  3. When the liquid is hot, add in the tempeh. Brown the tempeh on all sides in the sauce until half the liquid has boiled off, about 5 minutes.
  4. Pour the dissolved starch into the pan and mix it around with the tempeh and sauce to thicken up. If the sauce becomes too thick, add a couple tablespoons of hot water into the pan and mix it in until more of the starch has dissolved and adjust it until it forms a coating over the tempeh.
  5. Remove from the heat. Serve over vegetables or rice.

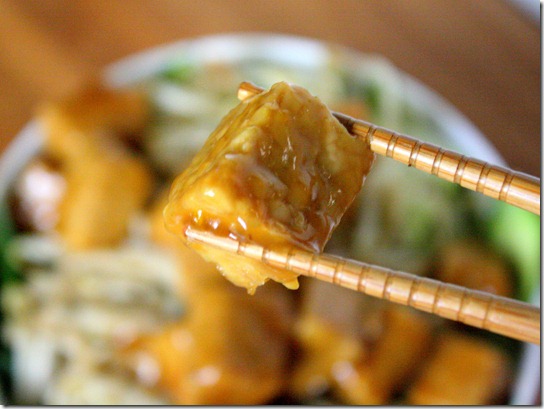
orange-tempeh-cube

This sauce is slightly less sweet and more orange-flavored than Panda Express’, which I like in terms of complexity but not quite fitting for a Chinese take-out craving. You can play with the sweetness and saltiness by adding more sugar or soy sauce and adjust to taste.

Autumn Almond Butter

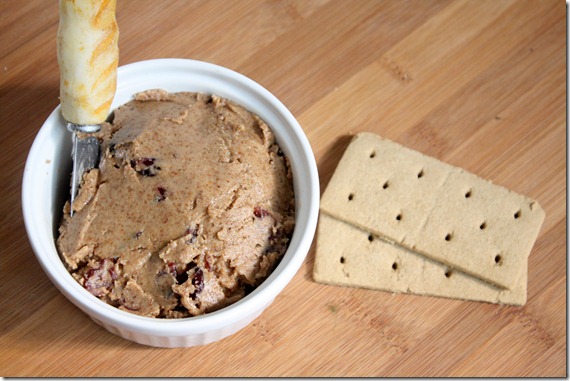
Autumn-almond-butter

I don’t care what the calendar say–Autumn definitely came early this year. The temperature is cold and the leaves are all falling; store shelves are lined with cans of pumpkin pie mix and candy corn; the farmers’ market is back in swing with squashes no one has ever seen before; I’m back to hastily finishing homework and quizzes. Need I say more?

This weekend I was planning on making an almond version of Winnie’s amazing looking walnut butter, but I decided to save it for another time(when I actually have all the ingredients) and went with an Autumn themed one instead. I’m glad I made that decision because the spice from cinnamon and nutmeg paired with sweet cranberries have made cool mornings a little warmer.

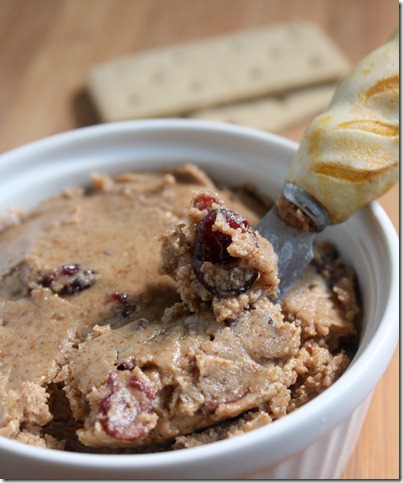
I like my almond and peanut butters on the thicker side, so I didn’t blend this for too long. Taking Ashley’s tip, I’d suggest to keep blending up to 12-15 minutes before adding in the second batch of ingredients for a drippier butter.

Autumn Almond Butter

Prep time: 15 minutes

Cook time: 0 minutes

Ingredients(makes about 20oz):

  • 1lb almonds, raw or roasted, blanched or unblanched
  • 1 1/2 Tablespoons neutral oil(I used coconut oil)
  • 1/4 cup cane sugar
  • 1 1/2 teaspoons pumpkin pie spice
  • 1/2 teaspoon salt
  • 1/2 teaspoon maple extract
  • 1/4 cup dried cranberries

Autumn-almond-butter-lateral

Method:

  1. Combine the almonds and oil in a food processor and blend until the almonds form a thick paste(about 5-10 minutes). Scrape down the sides as necessary to make sure all of the almonds get processed.
  2. Stop the processor and add the sugar, spice, salt, and extract. Continue pulsing until the ingredients have all been mixed evenly.
  3. Turn off your food processor. Add in the cranberries and fold them in throughout the almond butter. Move to an air-tight container for storing.

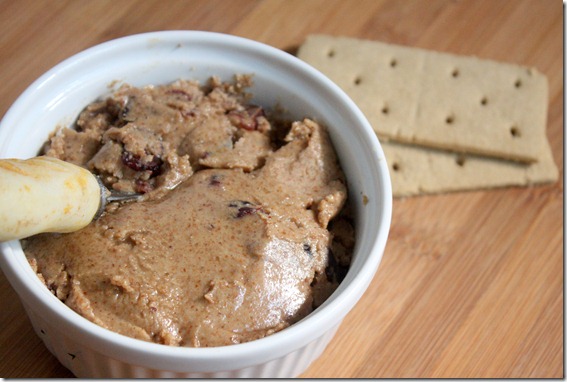
Autumn-almond-butter-side

If your Autumn involves chocolate(and that’s a pretty good Autumn), add 1/4 cup of white chocolate chips at the end and fold them in along with the cranberries.

Nutmeg Roasted Acorn Squash

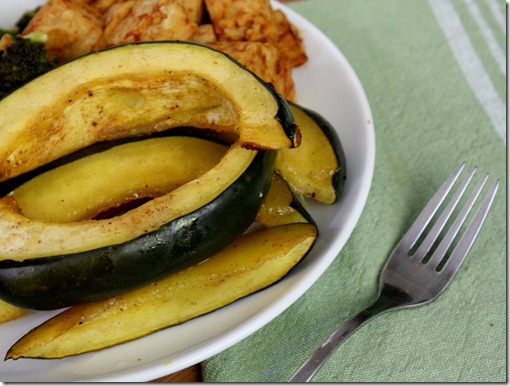
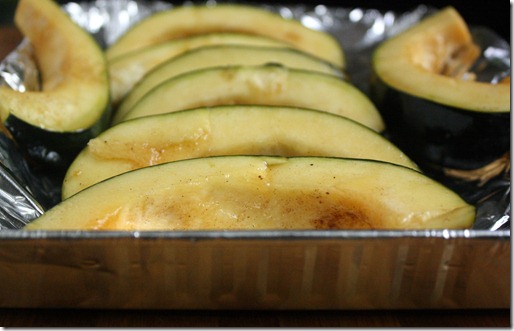
nutmeg-roasted-acorn-squash

I’m already excited for Fall, not because of the weather or anything but because of the food. Roasted squash is comfort food to me. When they come into season there’s suddenly a treasure trove of new food to eat–acorn, pumpkin, butternut, spaghetti. All different and all delicious in their own way.

nutmeg-roasted-acorn-squash-pan

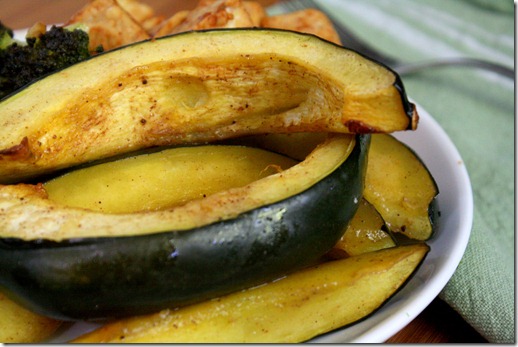
This recipe uses nutmeg, which is one of the more aggressive spices. It’s so aggressive it’s poisonous in large amounts, so you might want to have a light hand when seasoning this. The cinnamon helps to smooth out the flavor. By the end of cooking it smells like someone’s just baked a pie; that’s a smell that’s always welcomed in my house. 

Nutmeg Roasted Acorn Squash

Prep time: 5 minutes

Cook time: 45 minutes

Ingredients:

  • 1 acorn squash
  • 1/4 cup maple syrup
  • 1/2 teaspoon nutmeg
  • 1/4 teaspoon cinnamon
  • 1/2 teaspoon salt

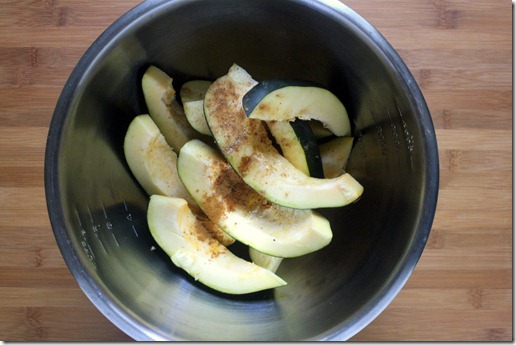
nutmeg-roasted-acorn-squash-bowl

Method:

  1. Preheat your oven to 375 degrees.
  2. Cut the squash in half and remove the stringy inner seeds.
  3. Cut the squash along each ridge into long strips.
  4. In a mixing bowl, toss the squash, maple syrup, nutmeg, cinnamon, and salt until the squash is completely covered.
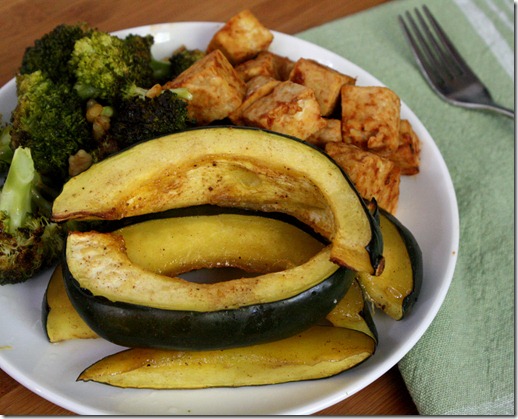
  5. Lay the squash out on a baking tray and roast for 45 minutes. Serve hot.

nutmeg-roasted-acorn-squash-close-up

Despite the maple syrup, this recipe isn’t very sweet; it’s mostly spicy. There’ll be a lot of leftover spiced maple syrup in the mixing bowl. You can either pour it on top of the squash before roasting or reserve it as a finishing touch on the plate.

nutmeg-roasted-acorn-squash-plate

Chocolate Hazelnut Stuffed Figs

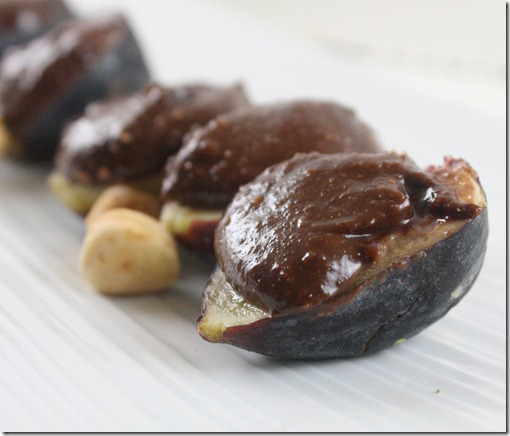
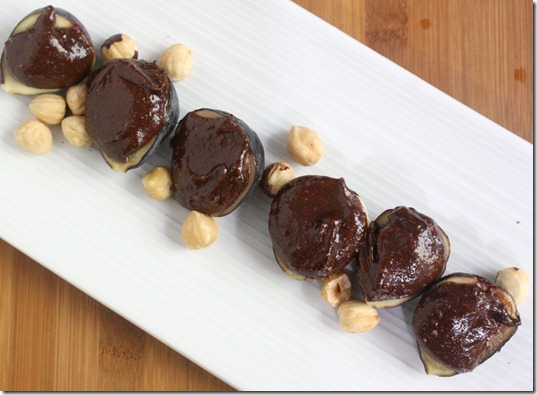
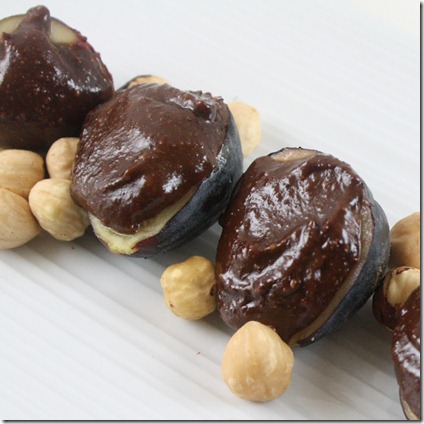
chocolate-hazelnut-stuffed-figs

In the time of the Ancient Greeks(my area of study), figs were considered a food of the Gods. Chocolate meanwhile was considered a food of the Gods by Mayans and Aztecs living thousands of miles away in South and Central America. Now, I’m not saying the Greeks were wrong, but I’d have to side with the Americans on this one.

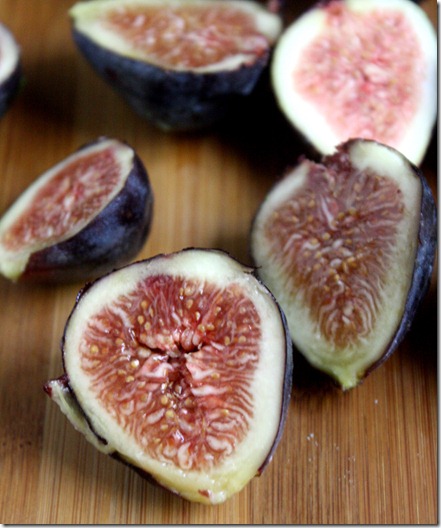
chocolate-hazelnut-stuffed-figs-ingredient

Even still, figs are pretty spectacular. For 2 weeks or so every year they’re at the peak of their season, and I always buy a few cartons when they go on sale. Figs remind me of France which leads me to France’s number 1 export(or at least in the heart of foodies): Nutella. The filling in this recipe is sort of like Nutella in that it uses cocoa powder and hazelnuts, but the raw ingredients produce a much more intense, dark flavor that pairs perfectly with sweet fruit.

Don’t have hazelnuts? This would taste great with almonds instead.

Chocolate Hazelnut Stuffed Figs

Prep time: 10 minutes

Cook time: 0 minutes

Ingredients(makes 16 amuse-bouches):

  • 8 Figs
  • 1/2 cup hazelnuts
  • 2 Tablespoons agave nectar
  • 2 Tablespoons cocoa powder
  • 2-3 Tablespoons water
  • Pinch of salt

chocolate-hazelnut-stuffed-figs-spread

Method:

  1. In a food processor, blend the hazelnuts until they start to form a paste.
  2. Add into the processor the agave, cocoa powder, and salt and continue blending until mixed.
  3. Slowly add the water until the filling is loose and spoonable like a thick mousse. Make sure not to add too much water and make this runny.
  4. Cut each fig lengthwise and lay them out cut side-up on a plate.
  5. Spoon 2 teaspoons of filling onto each fig. Serve at room temperature.

chocolate-hazelnut-stuffed-figs-garnish

I think the Greek Gods would be pleased.

Gluten-Free Banana Pancakes

gluten-free-banana-pancakes

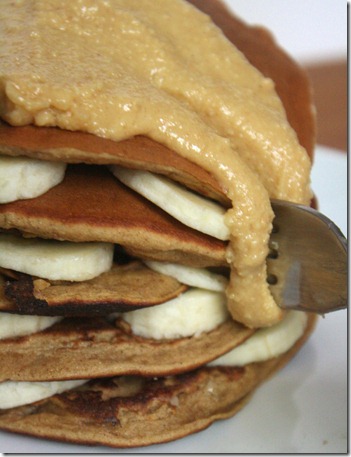
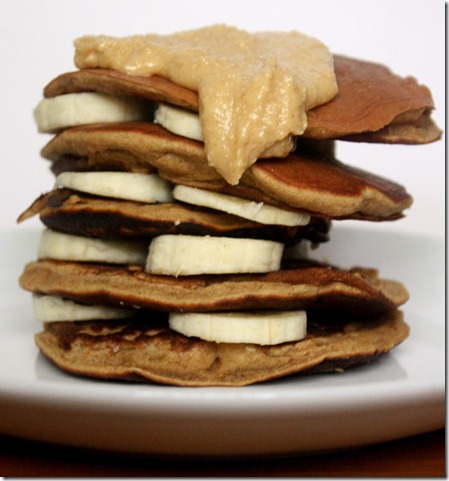
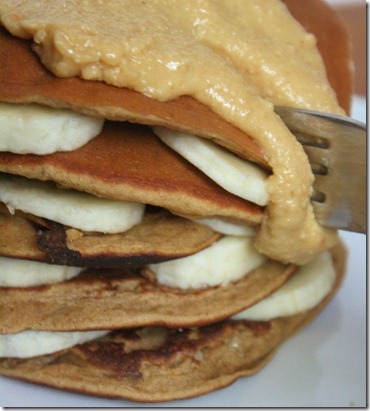
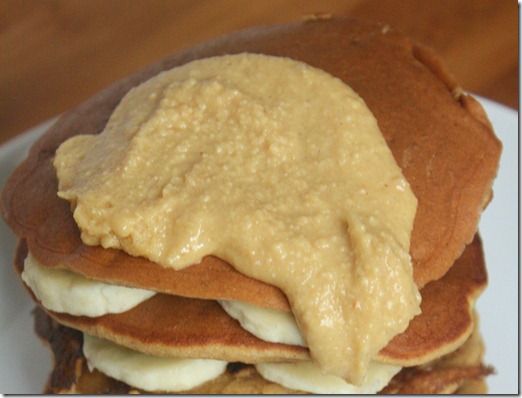
I’ve been waiting all week to share these. They aren’t some of the best gluten-free pancakes I’ve ever had, or vegan or banana. They’re just some of the best pancakes I’ve ever had—period. The banana sweetens these perfectly without added sugar, and the cinnamon adds a nice warm touch. They go especially good with a dollop of melting butter toffee peanut butter.

gluten-free-banana-pancakes-stack

Like my other pancake recipe, these use chickpea flour, which is a great gluten-free alternative to wheat flour. It has high protein and fiber contents making it a healthy breakfast that will fill you up and not have you crashing by 10am. I’m able to find it cheapest in my regular grocery store(Hannafords) in the natural/organic section for less than $4 a bag.

Gluten-Free Banana Pancakes

Prep Time: 5 minutes

Cook Time: 10 minutes

Ingredients(makes 1 serving):

  • 1/3 cup mashed banana(about 3/4 a medium-sized banana)
  • 1/2 cup chickpea flour
  • 1/4 teaspoon cinnamon
  • 1/4 teaspoon baking soda
  • 1/4-1/3 cup water

gluten-free-banana-pancakes-slice

Method:

  1. In a mixing bowl combine the mashed banana, chickpea flour, cinnamon, baking soda and 1/4 cup water and mix.
  2. Add more water if necessary to get the consistency somewhere between thick-runny and runny.
  3. Preheat a non-stick pan over medium heat.
  4. Scoop about 1/4 cup batter into the pan for each pancake. Only cook 1 or 2 at a time to avoid overcrowding.
  5. Cook on one side until the top is bubbly, then flip and cook for about another minute. Repeat until all the batter is used.

gluten-free-banana-pancakes-with-peanut-butter

Serve with maple syrup, peanut butter, bananas, blueberries—whatever, it will all be good.

Tempeh And Broccoli

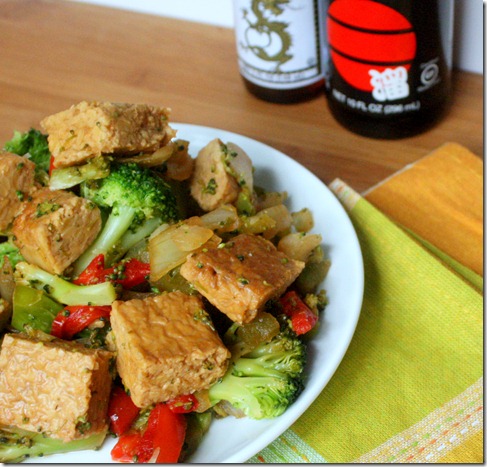
tempeh-and-broccoli

I’ve been getting a lot of questions on tempeh recently. I want to put all my thoughts into a post about it but until then you’ll only get recipes, which is pretty good considering half the time I eat tempeh it’s raw, cold from the fridge. I would not suggest eating it that way if it’s you’re first time; it would be a horrible, bland introduction to something that can be so tasty.

If tofu is soy chicken, tempeh is soy beef. It’s much firmer, earthier and has a chew to it. Naturally it’s a great vegetarian substitute for beef in Asian dishes, like beef and broccoli. Since broccoli was one of the three vegetables I liked growing up(the other being carrots and olives), beef and broccoli was what I always chose on Chinese take-out night. This recipe keeps all those same flavors and textures, but with whole food ingredients anyone can enjoy.

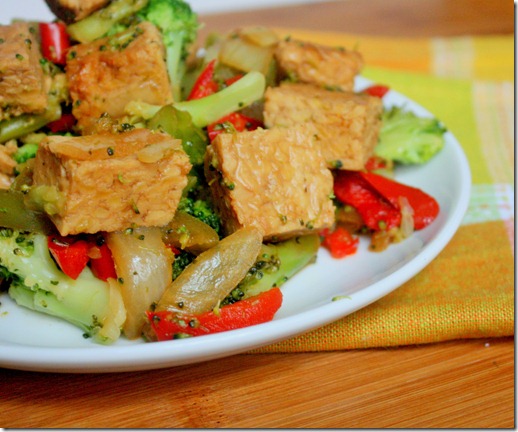
tempeh-and-broccoli-plated

You can substitute rice vinegar in place of apple cider vinegar for a more traditional ingredient list. I like apple cider vinegar here because it replicates the sweet, fruity flavor of plum sauce common in Asian cooking.

Tempeh And Broccoli(inspired by Caitlin)

Prep Time: 5 minutes

Cook Time: 10 minutes

Ingredients(makes 2 servings):

  • 1 block of tempeh, diced
  • 6 Tablespoons apple cider vinegar
  • 1/4 cup plus 1 Tablespoon soy sauce(or wheat-free tamari)
  • 2 Tablespoons agave nectar
  • 1 Tablespoon sesame oil, preferably toasted
  • 1/4 teaspoon chili powder
  • 2 cups broccoli, steamed
  • 1/2 onion, julienned
  • 1 bell pepper, julienned(optional)
  • 1/4 teaspoon garlic powder
  • 1/4 teaspoon salt

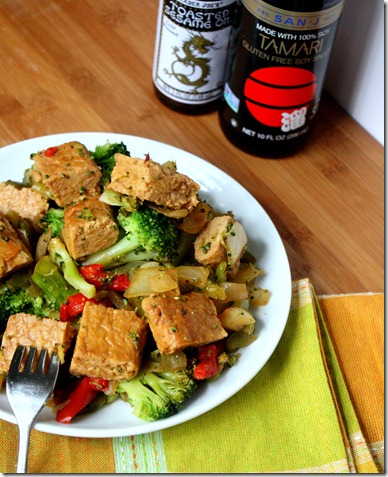
tempeh-and-broccoli-tablescape

  1. Combine the tempeh, apple cider vinegar, soy sauce, sesame oil, agave, and chili powder in a large pan and heat it on a burner set to medium-high.
  2. Cook for about 5 minutes flipping once until the liquid thickens up like a sauce.
  3. Add in the broccoli, onion, pepper, and garlic powder. Continue cooking over medium heat until the moisture has boiled off of the pan and the onions turn soft(about 5 minutes).
  4. Remove from the heat and season with salt. Plate and serve hot.

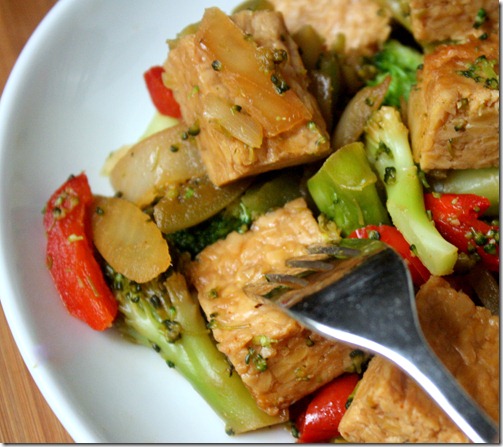
tempeh-and-broccoli-fork

When this is cooked the tempeh should be fork-tender with a sweet, nutty flavor and fall apart in your mouth. It’s a great introduction to a food that could become your best friend.

How To Massage Kale

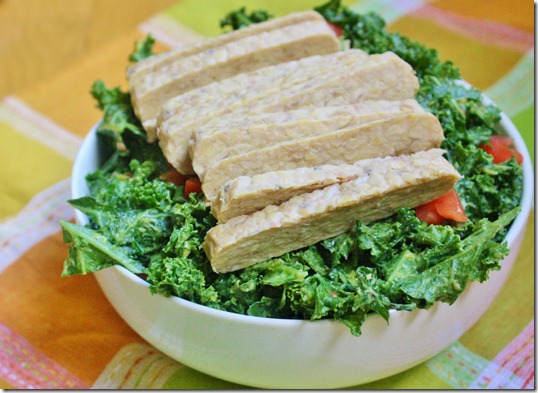
how-to-massage-kale-serve

I know this is the second kale post in 3 days, but bear with me; it’s that good.

The first time I had massaged kale was at Whole Foods from the salad bar. It was so good I ended up getting it every time I went in. But after a while of paying $7.99 per pound for it I figured it had to be cheaper to make at home.

Massaging your own kale takes just a few ingredients and 5 minutes. It breaks down the kale without heating it so the nutrients all remain but the taste is less bitter and bite less sharp. It’s a great nutritious side dish or base for a salad.

how-to-massage-kale-music-candle

It’s totally optional but dimming the lights, lighting a candle, and putting on a slow song really sets the mood. This is a massage after all. 

How To Massage Kale

Prep time: 5 minutes

Cook time: 0 minutes

You’ll need(for 2 side servings)…

  • 2 cups roughly chopped kale
  • 1/2 a large avocado
  • Juice of 1/2 lemon(or lime), about 1 Tablespoon
  • 1 medium tomato, diced
  • 1/4 teaspoon sea salt

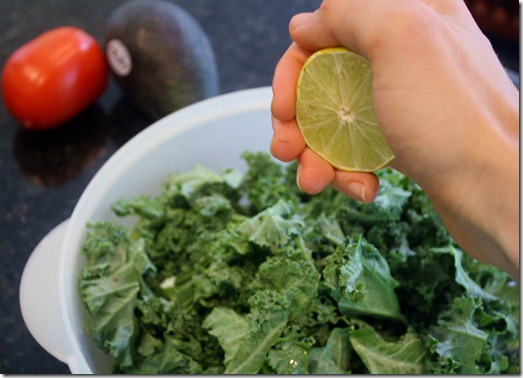
how-to-massage-kale-lime

In a large bowl, mix the greens with the citrus juice.

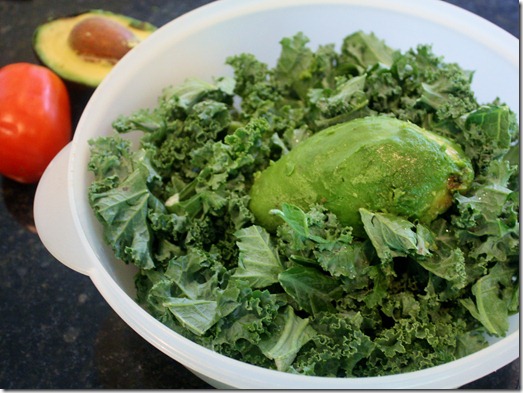
how-to-massage-kale-avocado

Add in your avocado. Then it’s time to gently massage the avocado into the kale…

how-to-massage-kale-technique

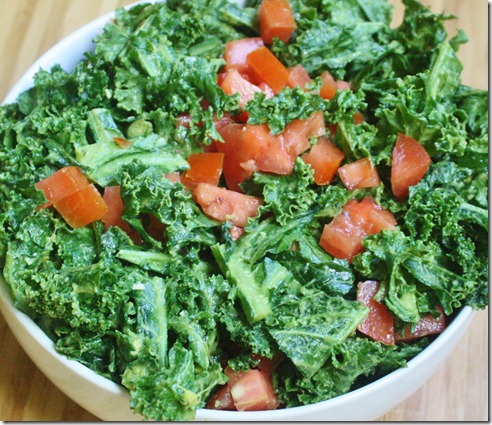
Or, if you’re like me, it’s going to look a lot more like clumsy groping than an actual massage. I guess the two are close enough; one usually leads to the other, right? Anyway, massage the kale by working it with you’re hands, incorporating the avocado and lemon juice. You’ll hear a lot of crunching noise. After about 5 minutes you’ll notice the kale turns from a muted color to a more lively green. That’s when it’s ready.

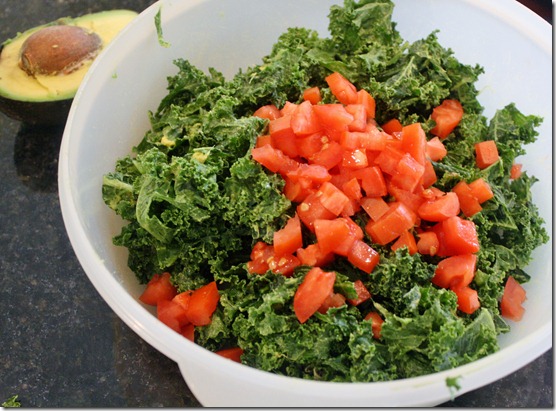
how-to-massage-kale-tomato-dice

Add in the diced tomato and sea salt and gently fold all of the ingredients together. Serve at room temperature.

how-to-massage-kale

This method is so much cheaper than buying it from the salad bar, and much quicker than I expected, too! Whole Foods uses about twice as much avocado for this much kale. That’s probably why it tastes so much better there.

Go-To Hummus Recipe

go-to-Hummus-recipe

This weekend was a rush. When everyone else was loading up on food to brace for Hurricane Irene, we were loading up on food for a neighborhood party. I made a few things including hummus, because what’s a party without hummus? Ain’t no party like a hummus party ‘cause a hummus party don’t stop.

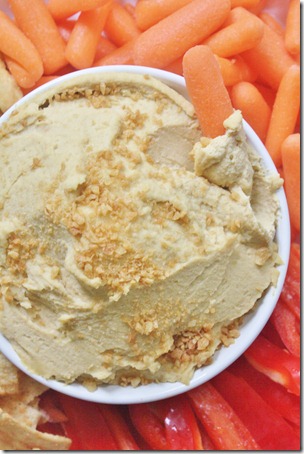
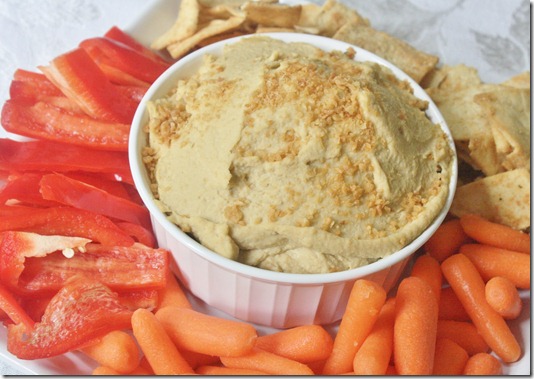
My favorite hummus recipe isn’t very fancy. It doesn’t have red pepper or pine nuts or artichokes or whatever. It’s just a trusty, reliable, go-to garlic hummus. What really helps enhance the flavor is a hefty dose of salt, good olive oil, and peeled chickpeas.

go-to-Hummus-recipe-plate

Peeling chickpeas is a little tip I learned from bloggers for a smoother, creamier hummus. It takes a lot more time and it’s kind of a gross process, but once you taste hummus made with peeled chickpeas it’s hard to justify going back to “regular”. If you don’t have time, don’t worry and skip it.

Go-To Hummus Recipe

Prep Time: 5 minutes(plus way more if you decide to peel the chickpeas)

Cook Time: 0 minutes

Ingredients:

  • 2 (14-ounce) can chickpeas, drained and peeled(optional but recommended)
  • 6 roasted garlic cloves
  • 2 Tablespoons tahini
  • 1/4 cup extra virgin olive oil(preferably Greek)
  • 1 Tablespoon lemon juice
  • 1/2 teaspoon salt

go-to-hummus-recipe-overhead

Method:

  1. Combine all of the ingredients in a food processor and blend until smooth. Add extra water if desired for a slightly thinner consistency.
  2. Serve at room temperature. Store leftovers in a refrigerator. 

go-to-Hummus-recipes-veggies

I added a little bit of Garlic Gold on top for some added crunch and texture. It was a neighborhood party and there was a storm keeping everyone inside; garlic breath was not a big concern.