Tag Archive: Recipe

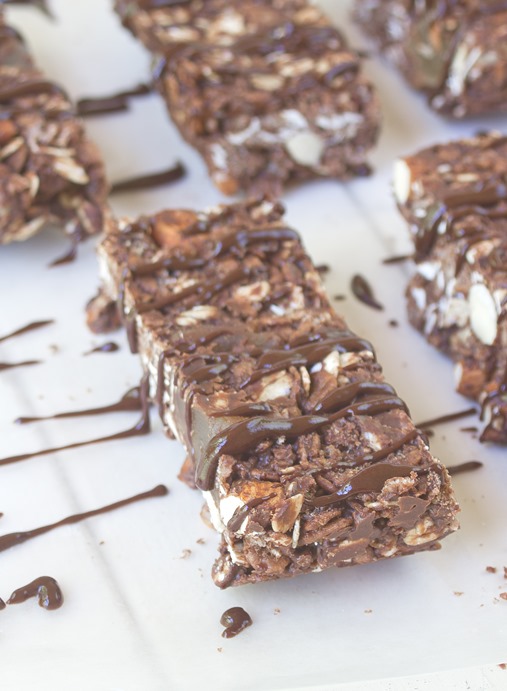
Chocolate Almond Granola Bars

Chocolate Almond Granola Bars

I’m a snacker. I can’t imagine how somebody could go from lunch all the way to dinner time without snacking on something. Seriously, how do they do it? I’m usually reaching for a candy bar or bag of popcorn at 3pm and more often than not know I should be eating something healthier.

I first made these bars last Summer and they disappeared as quickly as they set. They’re unbelievably delicious for something that takes 10 minutes to make with simple ingredients. This time around I used homemade chocolate cashew butter in place of the almond butter because it’s what I had on-hand and they tasted just as good if not better.

Chocolate Almond Granola Bars Drizzled

Just like the first time I made these, I used candied ginger instead of dried fruit. I love a little bit of spice with my chocolate. I’d highly recommend chopping your almonds and fruit before adding them to the batter because the larger portions will make your granola bars harder to cut in the final step.

Chocolate Almond Granola Bars

Prep time: 10 minutes

Cook time: 0 minutes

Ingredients(Makes 8 to 10 bars):

  • 1/2 cup semi-sweet chocolate chips
  • 1/2 cup almond butter
  • 1/4 cup honey**
  • 1 cup oats*
  • 1 1/2 cups chocolate rice crisps cereal*
  • 1/2 cup almonds, crushed or sliced
  • 1/2 cup dried fruit
  • 1/4 teaspoon salt

*To make these granola bars gluten-free, make sure these two ingredients are certified gluten-free.

**Use 3 Tablespoons of agave to make these vegan.
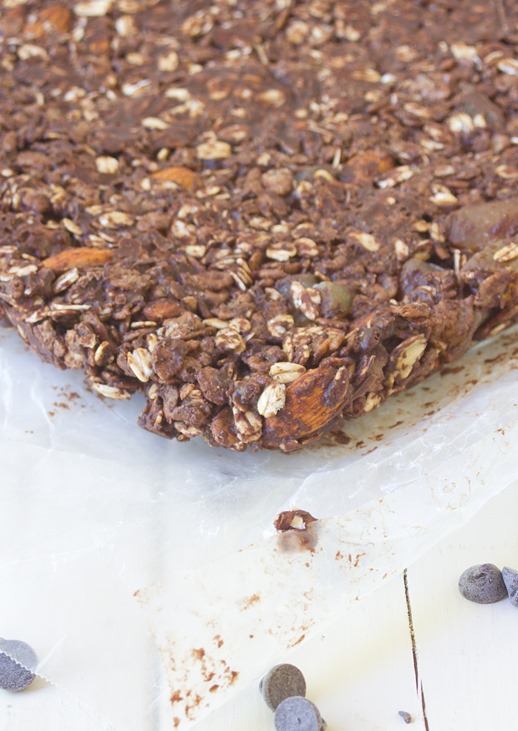
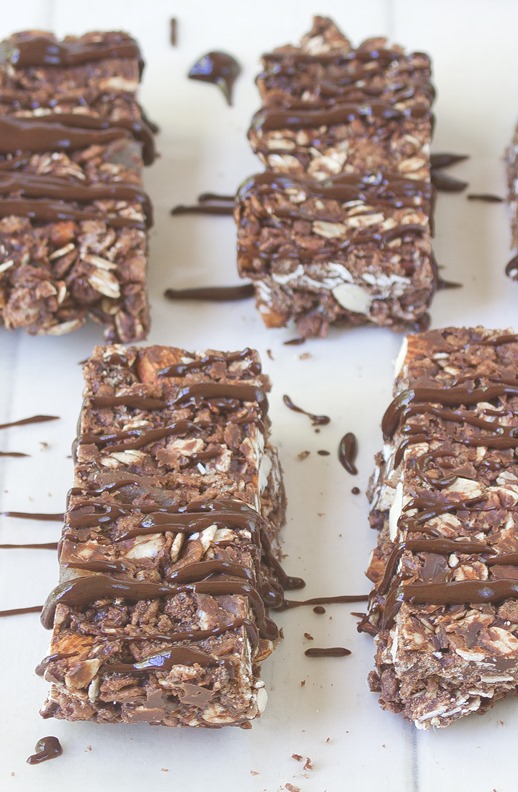
Chocolate Almond Granola Bars Uncut

Method:

  1. In a microwave or over a double boiler, melt the chocolate chips.
  2. Stir in the almond butter and honey until smooth.
  3. Add in the oats, cereal, almonds, dried fruit, and salt and mix until everything is completely covered.
  4. Line an 8 x 8 baking tray with wax paper. Dump the batter into the pan and press down into an even layer.
  5. Refrigerate the bars until they’ve hardened—about 20-30 minutes.
  6. With a sharp knife, cut the bars in half horizontally and into quarters vertically into 8 2 x 4 bars.
  7. Store in the refrigerator for up to 2 weeks.

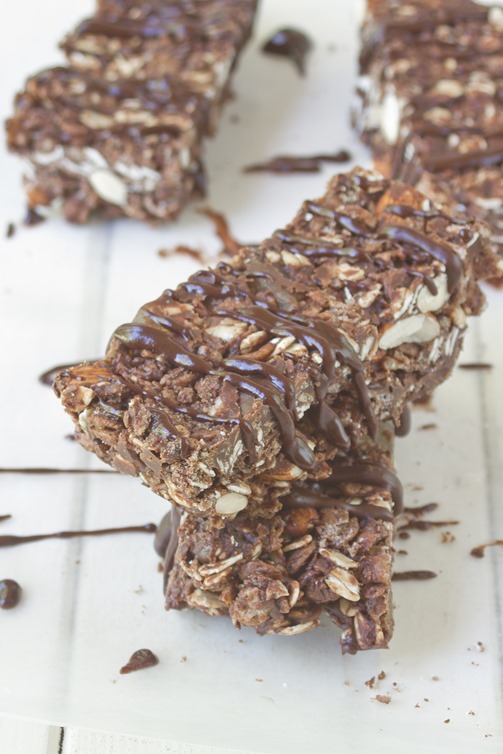
Chocolate Almond Granola Bars Uncut Stacked

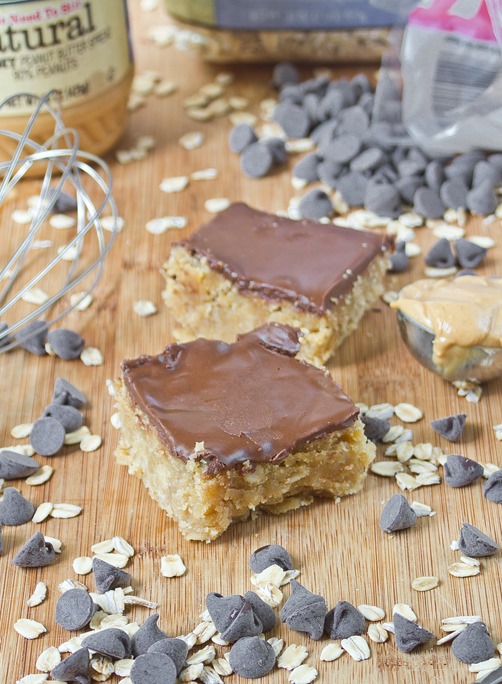
Oatmeal Energy Bars

Oatmeal Energy Bars

These bars were something of a fail, but definitely one worth sharing.

I love granola bars, prepackaged snack—basically anything from the grocery store that calls itself healthy and has too much sugar in it. They’re always delicious and the right portion but usually overpriced. Why not make your own?

Well, these taste much fresher than your typical grocery store splurge and that’s their only flaw. They’re somewhere between a chewy brownie and a granola bar which is a texture that takes some getting used to. Besides that the ingredients are simple and wholesome and full of fiber.

Oatmeal Energy Bars Done

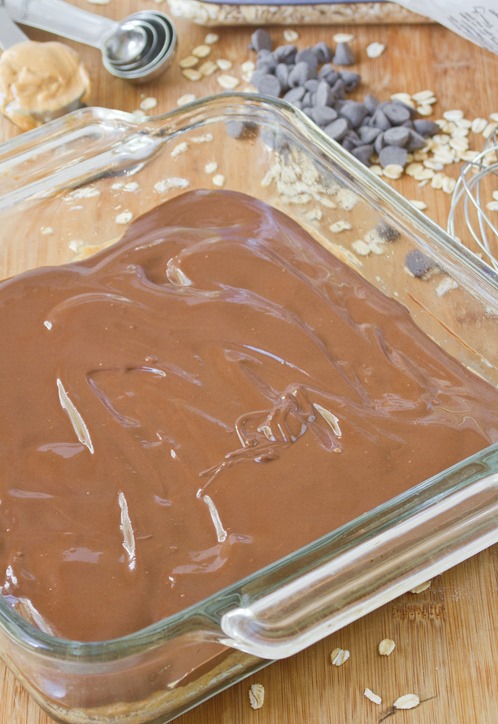
While the chocolate definitely makes this look like a dessert, it’s not that sweet and the texture is more chewy than cakey. It’s a great power snack or something to pack in a lunchbox that’s a little healthier than other desserts.

Oatmeal Energy Bars

Prep time: 10 minutes

Cook time: 30 minutes

Ingredients(Makes 16 squares):

  • 1 1/2 cups all-purpose flour(whole grain or gluten-free are good substitutes)
  • 1 cup rolled oats
  • 3/4 cup peanut butter, separated
  • 1/4 cup oil
  • 1/2 cup brown sugar
  • 1 egg
  • 1 teaspoon vanilla extract
  • 1/4 teaspoon salt
  • 1/2 cup water
  • 1/2 cup chocolate chips

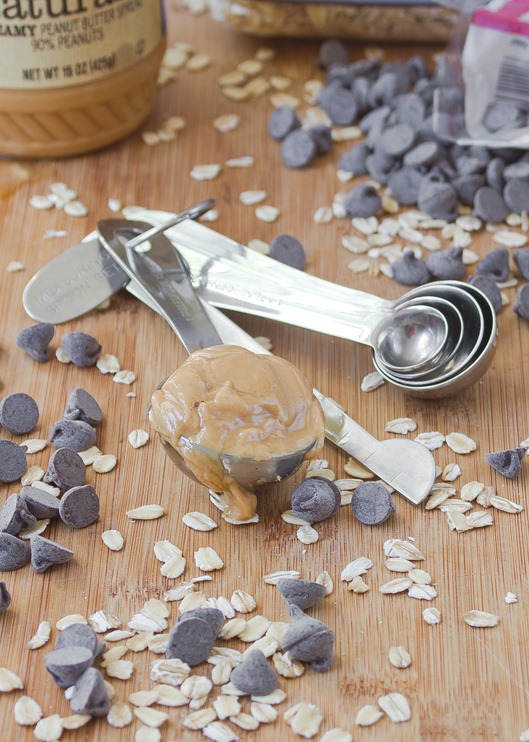
Oatmeal Energy Bars Ingredients

Method:

  1. Preheat your oven to 350 degrees.
  2. In a large bowl mix together the flour and the oats.
  3. In a separate bowl, beat together 1/2 of cup peanut butter, oil, brown sugar, vanilla, salt, egg, and water until smooth.
  4. Mix together the dry and wet ingredients until they form a batter.
  5. Lightly oil an 8 x 8 pan and pour the batter in in an even level.
  6. Bake for 30 minutes or until the center has set.
  7. Melt the chocolate chips and remaining 1/4 cup of peanut butter together and mix until they make a ganache.
  8. Pour the chocolate on top of the baked good and spread it out evenly.
  9. Refrigerate for 30 minutes to an hour until the chocolate has set.
  10. Slice into squares before serving.

Oatmeal Energy Bars Ganache

What Makes A Good Cookbook

What Makes A Good Cookbook

This week #confessyourunpopularopinion was trending on Twitter and here’s mine: On the whole, I hate cookbooks.
For starters they’re clumsier and more limited than looking up recipes online, but that isn’t the real problem. What’s worse is that most don’t actually teach you how to cook. If a cookbook just gives you a long ingredient list followed by an equally long process of steps that keep your nose buried in the book, it’s no good. That’s because you aren’t actually learning how to cook; you’re learning how to follow directions.
A good cookbook shouldn’t just tell you what to make, but also how to make it and why to make it that way. If you start understanding how different ingredients work together in recipes and why to treat them how you do, you can learn to cook just about anything without ever picking up a book over time.

So while I said, “I hate cookbooks,” there are a few I’ve read and swear by that do things the right way. Here are a few of my favorites.

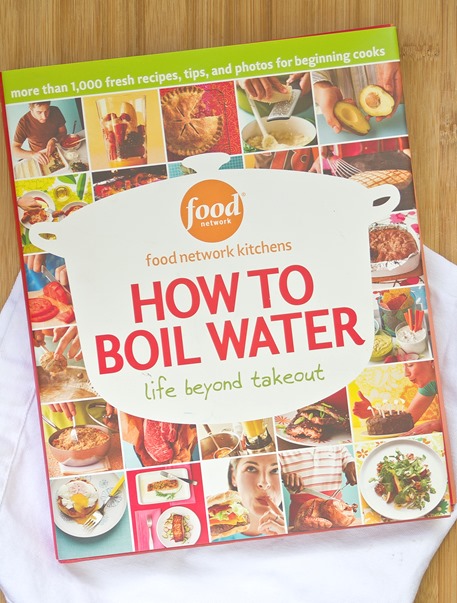
How To Boil Water Cookbook

How To Boil Water is the first cookbook I can remember buying. If you were starting your freshman year of college, this would be Cooking 101. The recipes this book gives are more like tests to make sure you’re reading the words in between and understand  your way around a fully stocked kitchen. It’s a great introduction.

Cooking For Geeks Cookbook

If How To Boil Water is Cooking 101, Cooking For Geeks is the senior honors seminar. It teaches you what to do in the kitchen and explains everything scientifically. There are plenty of recipes but the book’s more about what makes a mousse rather than how to make a mousse so you can go on and feel comfortable creating any recipe you can dream up. It’s a lengthy read, though’; this one’s definitely not for the faint of heart.

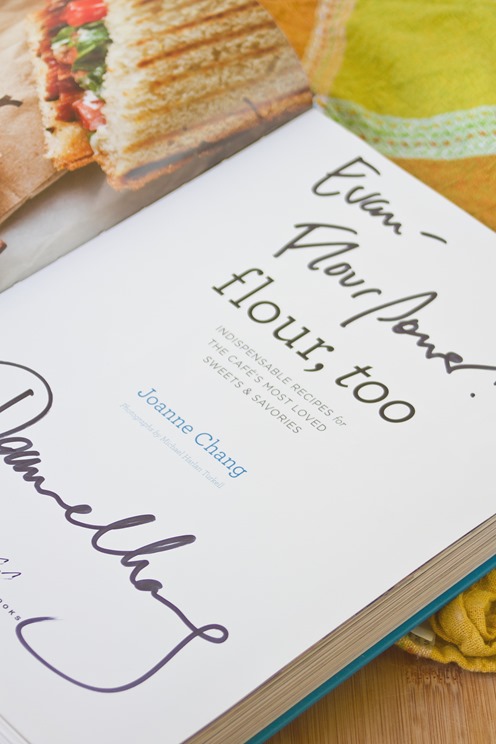
Flour, Too Cookbook

Flour Too is a recent favorite. It’s more like your standard cookbook with long ingredient lists and instructions but it does it the right way. In the front you’ll find a lengthy section breaking down cooking vocabulary and ingredients with descriptions and reasons for their use. Having something like that in any cookbook is a great step to learning the hows and whys of the recipes.

So those are my favorites. If you’re interested in cooking facts, techniques, and tips, be sure to follow @Kitchen 101 on Twitter for some 140-character lessons from Russell and myself.

Italian White Bean Salad

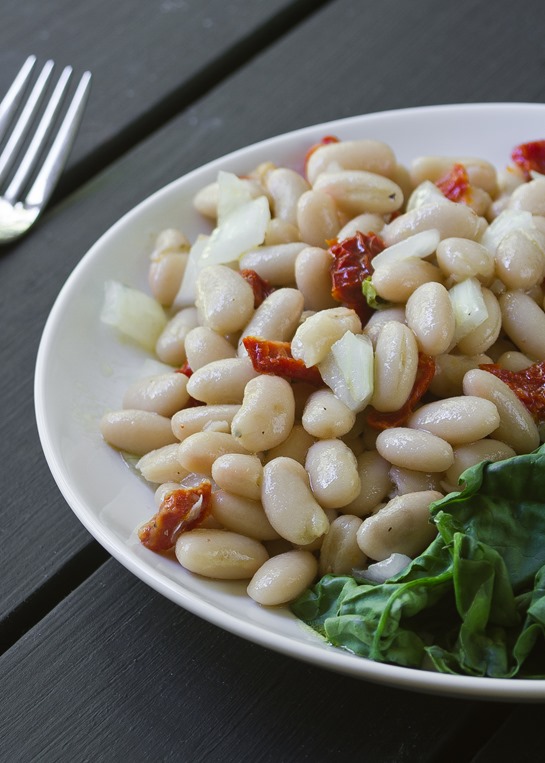
Italian White Bean Salad Yield

This is one of my favorite things I’ve eaten this Summer, which is saying a lot since I love sweets and it’s a savory recipe. It’s just the prefect, refreshing thing to throw together and put on a plate and enjoy without ever turning on the oven.

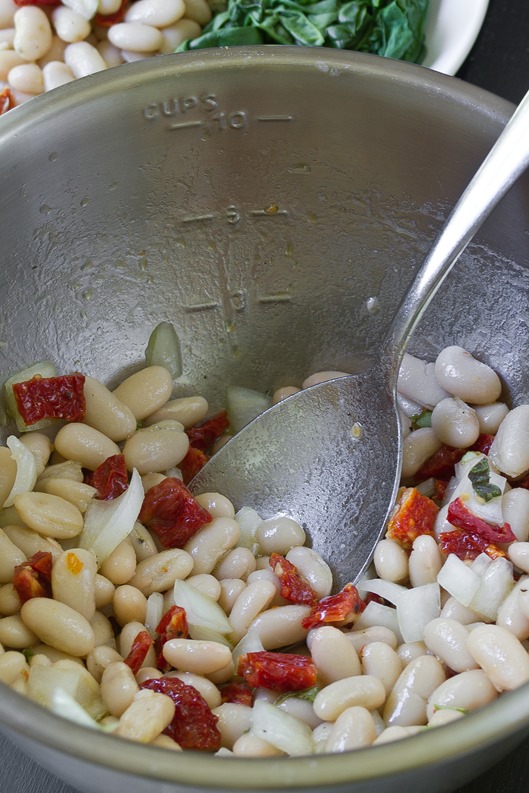
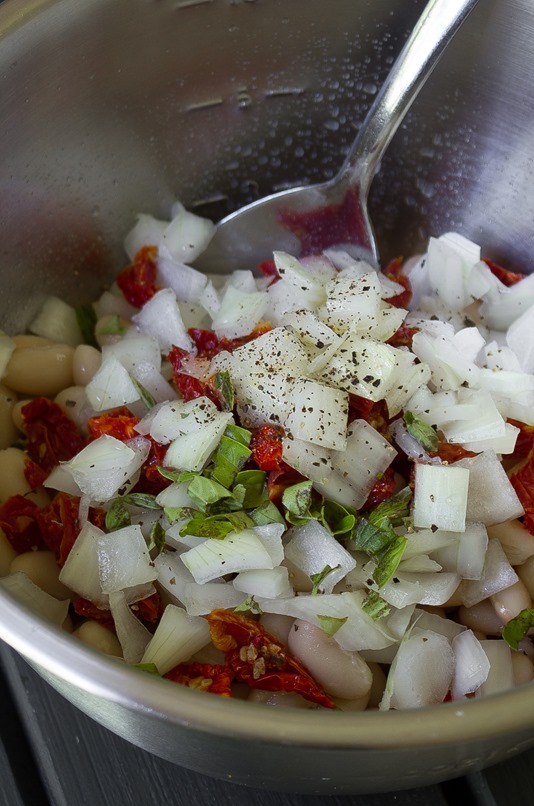
The ingredients here are really simple: White beans, sundried tomatoes, onions, basil, dressing and seasoning. That’s all you need! Don’t let the raw onions scare you; soaking them in a little cold water first takes out the bite in their flavor but leaves them cool and crunchy. You might want to freshen your breath afterwards with a homemade peppermint patty.

Italian White Bean Salad Ingredients

Like all recipes, make sure to season these to taste. If the beans you used were cooked in salt, make sure to use less to keep the flavor light and fresh.

Italian White Bean Salad

Prep time: 10 minutes

Cook time: 0 minutes

Ingredients(Makes 4 servings):

  • 2 cans white beans, drained
  • 1/4 cup chopped sundried tomatoes
  • 1/4 cup chopped onions
  • 3 Tablespoons extra virgin olive oil
  • 1 1/2 Tablespoons lemon juice
  • 2 Tablespoons fresh chopped basil
  • 1/2 teaspoon cracked black pepper
  • 1/4-1/2 teaspoon salt

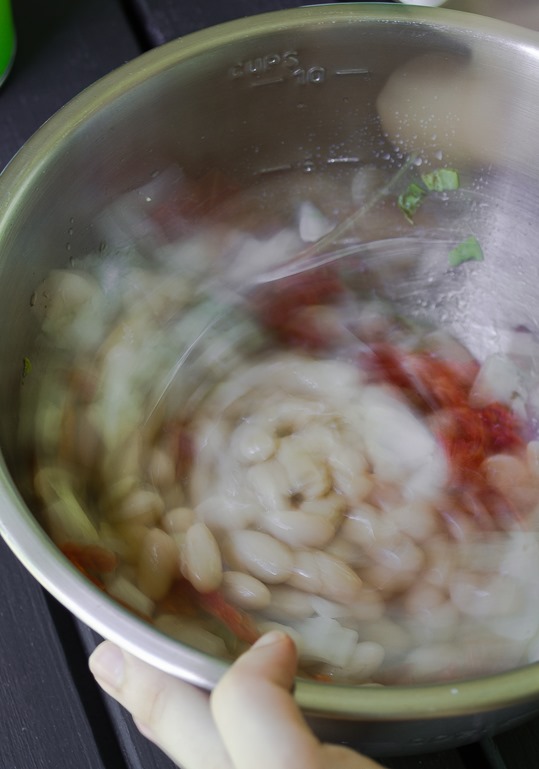
Italian White Bean Salad Mixing

Method:

  1. Let the onions soak in cold water for 5-10 minutes. Drain the water from the onions and lightly pat them dry.
  2. Toss all of the ingredients except for the salt together in a large bowl.
  3. Taste the beans and season with the salt as necessary.
  4. Serve cold or at room temperature.

Italian White Bean Salad

Homemade Peppermint Patties

Homemade Peppermint Patties

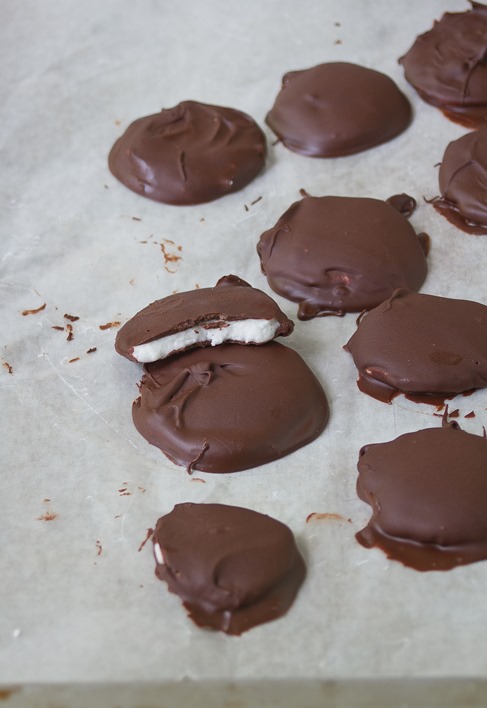
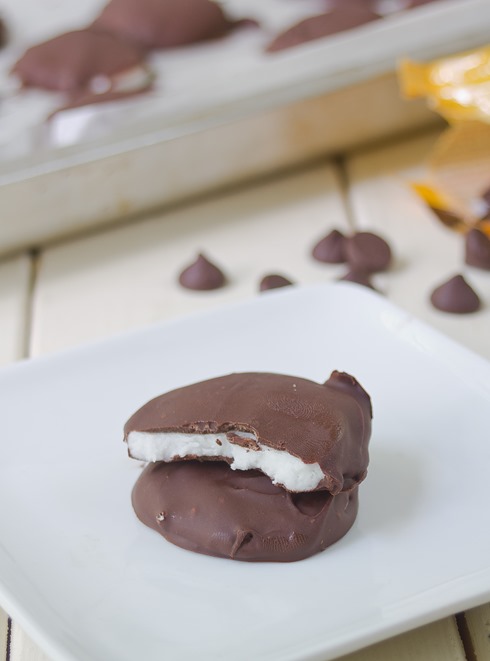
I’m a candy addict. I like having a little after every meal; it just leaves a better taste in your mouth than pasta sauce or vegetables ever could. That’s probably why I’ve blogged this recipe 2 or 3 times in the past couple of years. But it’s so good I have to post it again.

I’ll admit I love the store-bought, corn syrup laden candy you get at grocery stores and movie theaters. Now and again though it’s fun to make your own. And it can be a great way to impress your family and friends.

Homemade Peppermint Patties Filling

I’d recommend looking for dark chocolate chips for this recipe; the bitterness of the chocolate is a nice contrast to the minty sweet filling. You can use butter in place of the coconut oil if that’s what you have on hand.

Homemade Peppermint Patties

Prep time: 30 minutes

Cook time: 0 minutes

Ingredients(Makes 24 patties):

  • 2 1/4 cup powdered sugar, sifted
  • 1 1/2 Tablespoons agave nectar(or any liquid sweetener)
  • 1 1/2 Tablespoons water
  • 1 Tablespoon coconut oil, softened or melted
  • 1 teaspoon peppermint extract
  • 1 bag(12oz) bittersweet or semisweet chocolate chips

Homemade Peppermint Patties Done

Method:

  1. In a large bowl, mix the powdered sugar, agave nectar, coconut oil, peppermint extract, and water. Continue mixing with your hands until it comes together and forms a dough ball.
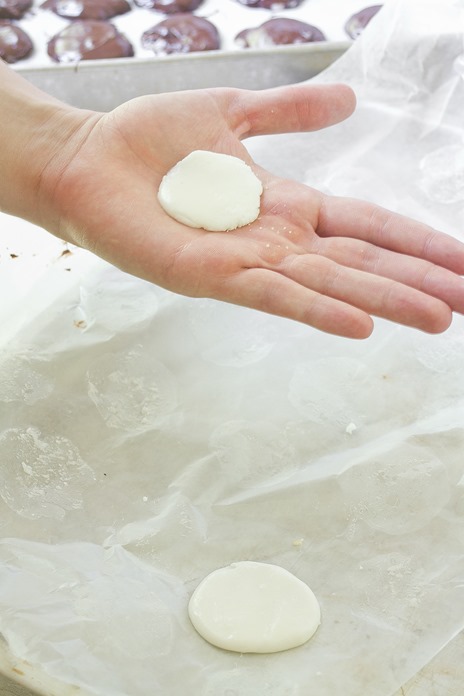
  2. Take off chunks of filling from the dough ball and roll them into 3/4-inch balls. Press the balls down in between your hands and form patties.
  3. Lay the patties out on a baking tray on a non-stick surface and refrigerate or freeze for 20 minutes until firm
  4. Melt the chocolate in a microwave or over a double-boiler. Line a baking tray with parchment paper.
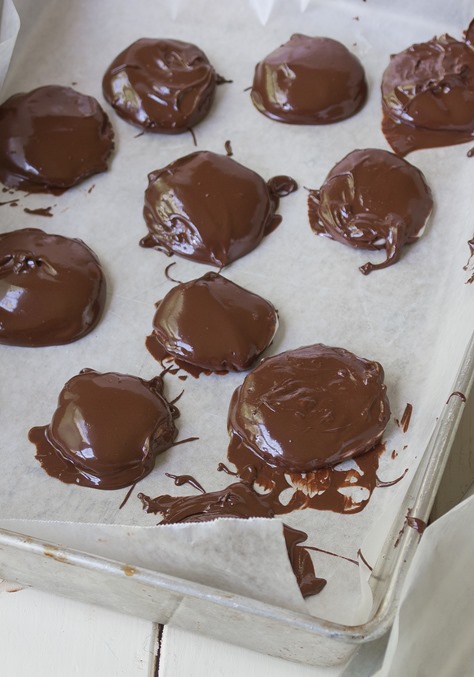
  5. Dip the frozen filling into the melted chocolate with a fork until the top and bottom are covered. Wipe off any excess chocolate from the bottom and lay it on the lined baking tray.
  6. Refrigerate the patties for 10 minutes before removing them from the paper. Keep refrigerated when not eating.

Homemade Peppermint Patties Serving

Caprese Omelet

Caprese Omelet

Fresh mozzarella is something great. It’s just the right amount of creamy and chewy that melts just right. I could eat just about anything with fresh mozzarella and basil on it.

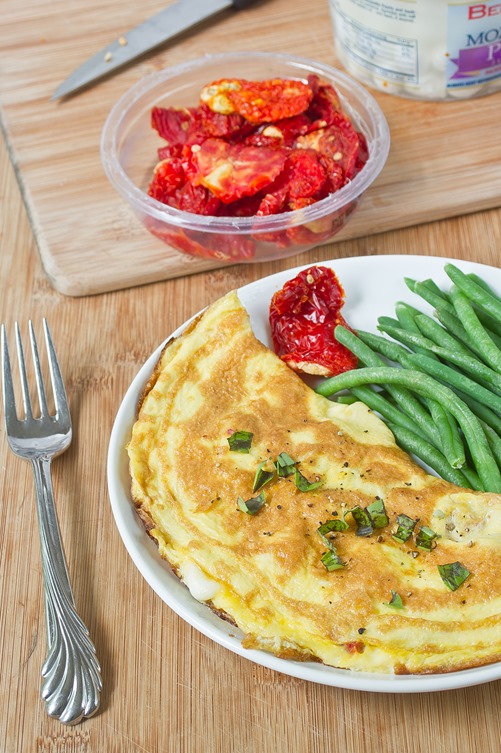
This omelet is just as flavorful as any caprese salad or margarita pizza. The eggs give a blank canvas for sweet sundried tomatoes, creamy mozzarella, a touch of salt and fresh herbs. It’s a good fix for a savory breakfast or a vegetarian dinner.

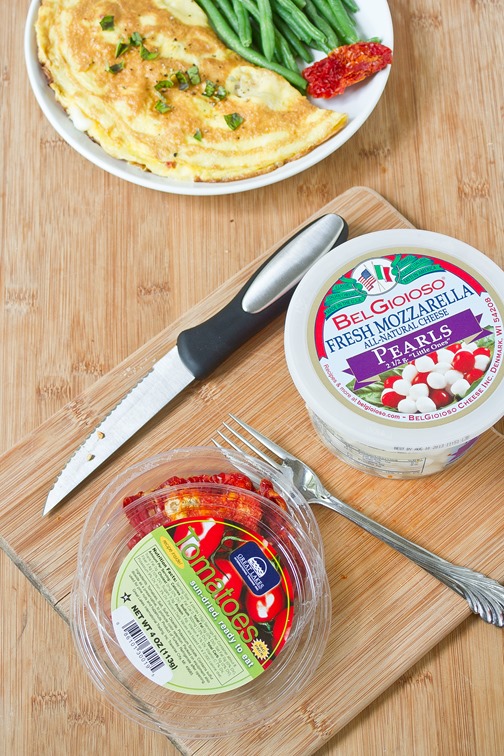
Caprese Omelet Ingredients

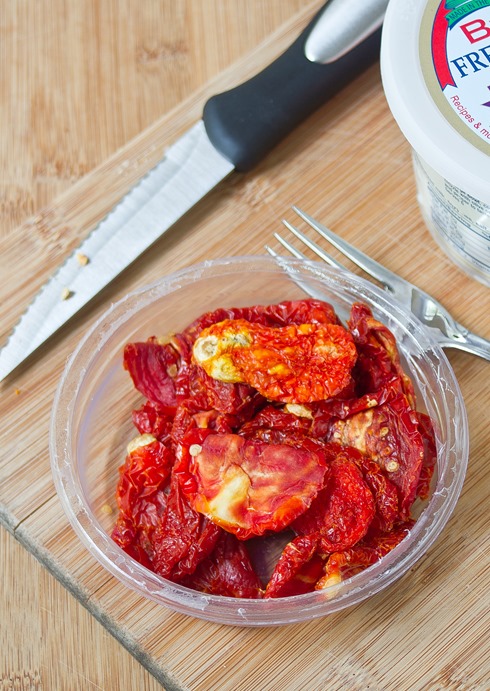
Sundried tomatoes are perfect for this recipe because they add a lot of flavor without adding any moisture. To make this lower in fat, replace 1 or 2 of the eggs with an appropriate amount of egg whites.

Caprese Omelet

Prep time: 5 minutes

Cook time: 10 minutes

Ingredients(Makes 1 serving):

  • 3 eggs
  • 2 Tablespoons chopped sundried tomatoes
  • 1/4 cup chopped or shredded fresh mozzarella
  • 1/4 teaspoon salt
  • 1/4 teaspoon black pepper
  • 1 Tablespoon freshly chopped basil
  • Oil for greasing pan

Caprese Omelet Tomatoes

Method:

  1. Lightly oil a frying pan over a burner set to medium until the pan is hot.
  2. In a bowl, gently whisk together the eggs until they’re beaten.
  3. Pour the eggs into the pan and let them cook for about 30 seconds until the bottom has set.
  4. Add the chopped tomatoes, mozzarella, salt and pepper to one half of the omelet.
  5. Carefully fold the empty side of the omelet onto the filling to make a semi-circle.
  6. Cover the pan and cook on a low-medium heat until the center is cooked. Flip the omelet to make the center cook faster.
  7. Remove from the pan and garnish with freshly chopped basil. Serve hot.

Caprese Omelet Finished 

Black Bean Mole Sauce

Black Bean Mole Sauce

Every now and then I find an old recipe on this  from a couple of years ago, poorly written with even worse photos. Especially when it’s one I loved I’m always tempted to make it again and give it the recognition it should have.

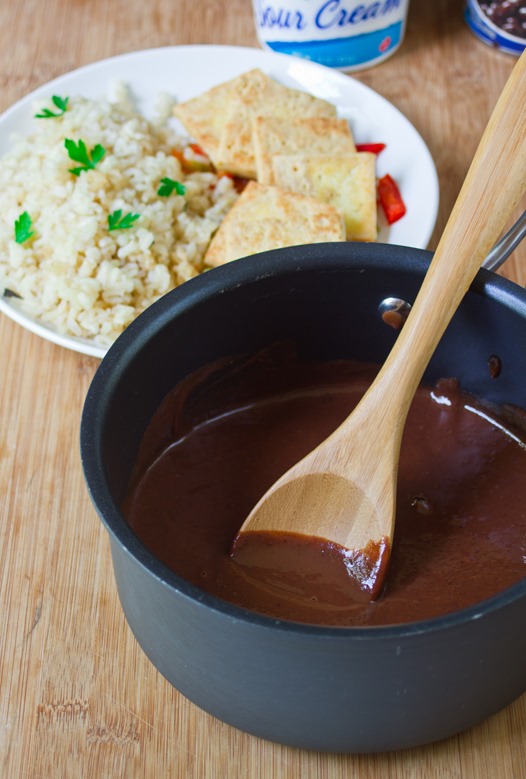
This recipe’s a one food-processor wonder. The ingredient list is a little long, but all you have to do is throw it together, blend it up, and heat to serve—that’s it. It’s also remarkably creamy and flavorful with a sauce for no fat or animal products in it, so it makes a great, healthy crowd-pleaser.

Black Bean Mole Sauce Yield

The finished sauce should be slightly spicy with a cool finish. You can adjust it by adding more or less cayenne and chili powder and as always season it to taste.

Black Bean Mole Sauce

Prep time: 5 minutes

Cook time: 0 minutes

Ingredients(Makes about 1 1/4 cups):

  • 1/2 cup black beans, drained and rinsed
  • 2 Tablespoons tomato paste
  • 1 1/2 Tablespoons white vinegar
  • 5 Tablespoons honey
  • 1/4 cup sugar
  • 1 Tablespoon cocoa powder
  • 1 teaspoon sea salt
  • 1/2 teaspoon chili powder
  • 1/2 teaspoon cayenne pepper
  • 1/2 teaspoon garlic powder
  • 1/4 teaspoon paprika
  • 1/4 teaspoon cinnamon
  • 1/8 teaspoon mustard seed
  • ~1/4 cup water

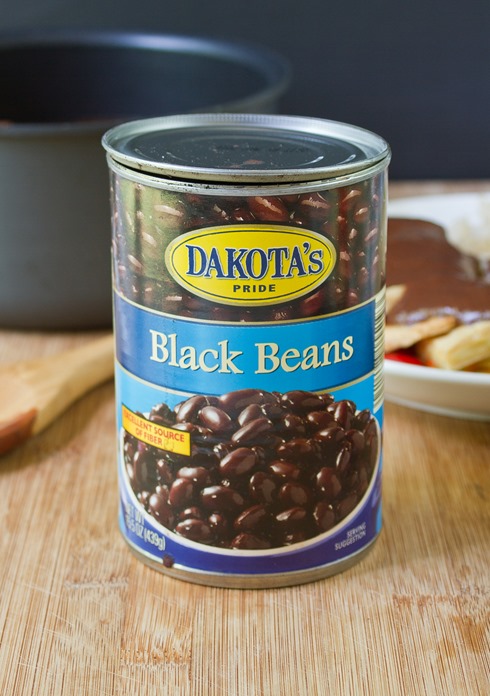
Black Bean Mole Sauce Beans

Method:

  1. Combine all of the ingredients except for the water into a food processor and blend until smooth.
  2. Slowly add the water while blending until the sauce reaches a fluid yet thick consistency.
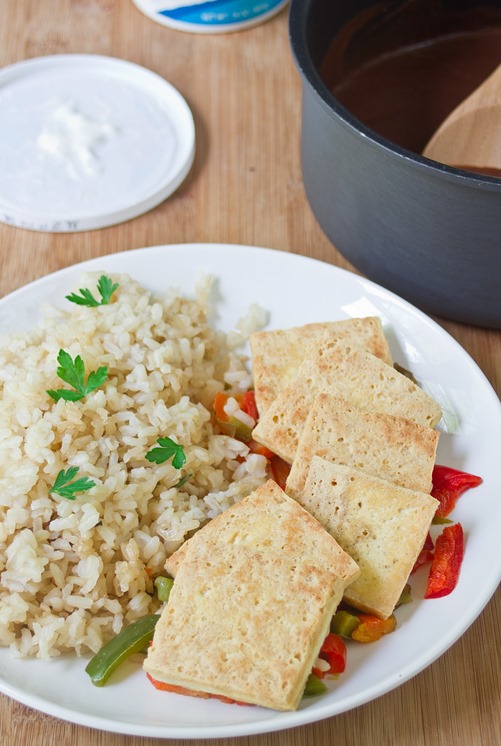
  3. Heat up before serving. Scoop a generous amount over protein like tofu, tempeh, or chicken.

Black Bean Mole Sauce Tofu

Blueberry Pancake Syrup

Blueberry Pancake Syrup

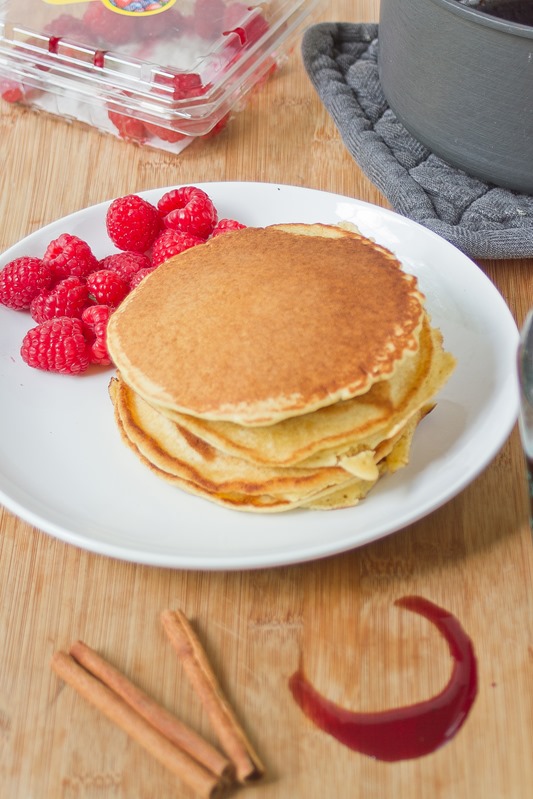
Fresh fruit in the Summer is great. It really is. But turning that fruit into a maple pancake syrup is just a little bit better.

After I made homemade strawberry syrup, I couldn’t eat it fast enough. It’s a great sweetener for pancakes, ice cream, yogurt, oatmeal—just about anything. After giving it a try I can say that making the recipe with blueberries is just as good.

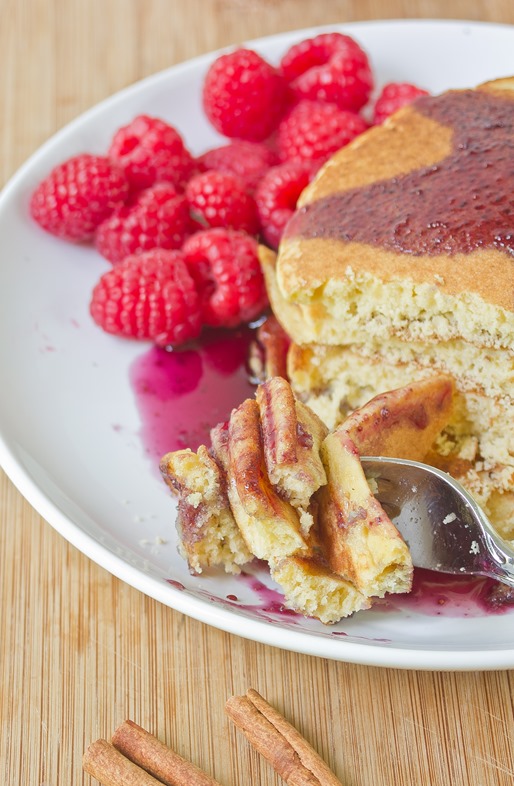
Blueberry Pancake Syrup Serving

You can use fresh or frozen blueberries for this recipe—it doesn’t make a difference. Unlike the strawberry version, you need to strain the syrup once it’s cooked to get the skins out. Don’t waste the solids though! They’re full of sugar and make a great jam-like spread for toast or mixing into yogurt.

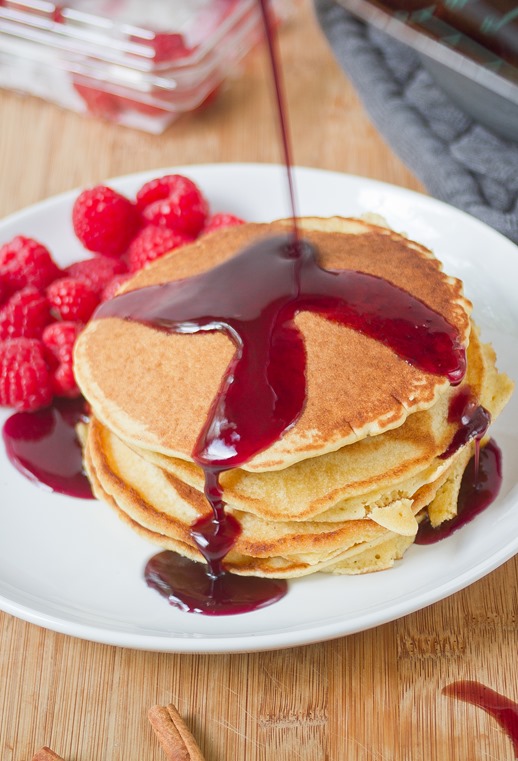
Blueberry Pancake Syrup Pancakes

Blueberry Pancake Syrup

Prep time: 5 minutes

Cook time: 15 minutes

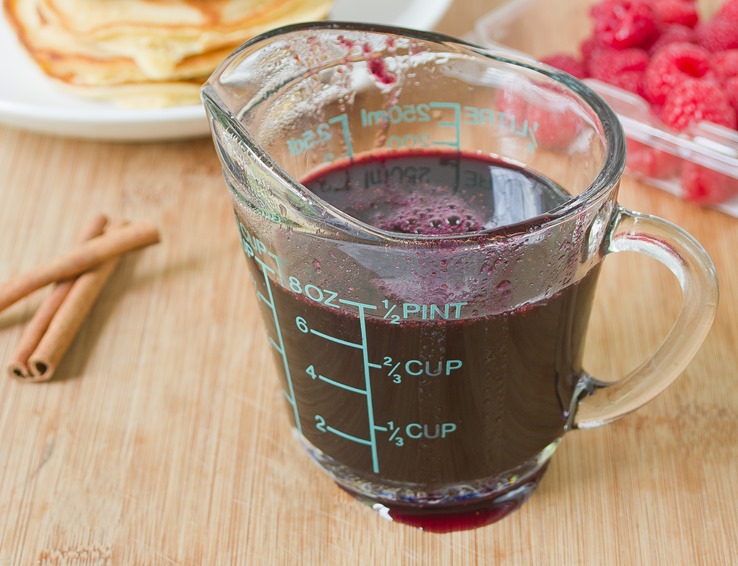
Ingredients(Makes about 1 1/2 cups):

  • 1 cup sugar
  • 1 cup water
  • 2/3 cup blueberries
  • 1/3 cup maple syrup
  • 1/2 teaspoon vanilla extract
  • 1/2 teaspoon cinnamon

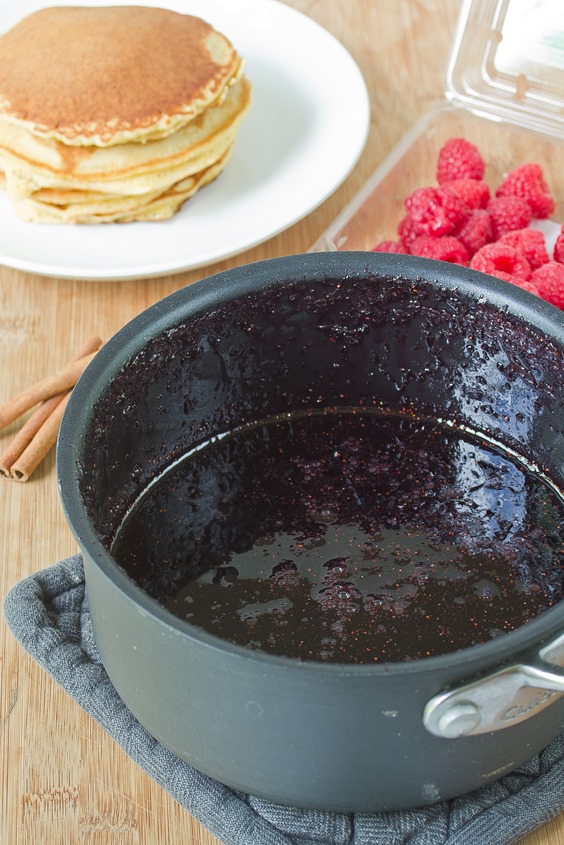
Blueberry Pancake Syrup Boiled

Method:

  1. In a small pot over a burner, combine the sugar and water and heat until the sugar has dissolved.
  2. Boil the water until the simple syrup reduces to about half of its original volume.
  3. While the water is boiling, puree the blueberries and maple syrup in a blender or food processor until they make a smooth sauce.
  4. Off of the heat, combine the blueberry puree and simple syrup and whisk together. Whisk in the vanilla and cinnamon as well.
  5. Put the pot back onto the stove and continue boiling until the syrup reduces to about half of its volume again. Don’t over-reduce the syrup to be quite as thick as maple syrup because once it cools off of the heat it will thicken.
  6. Strain the sauce through a sieve to remove the blueberry skins.
  7. Store any extra sauce in a sealed container in the refrigerator when not enjoying.

Blueberry Pancake Syrup Yield 

How To Make Perfect Home Fries

How To Make Perfect Home Fries

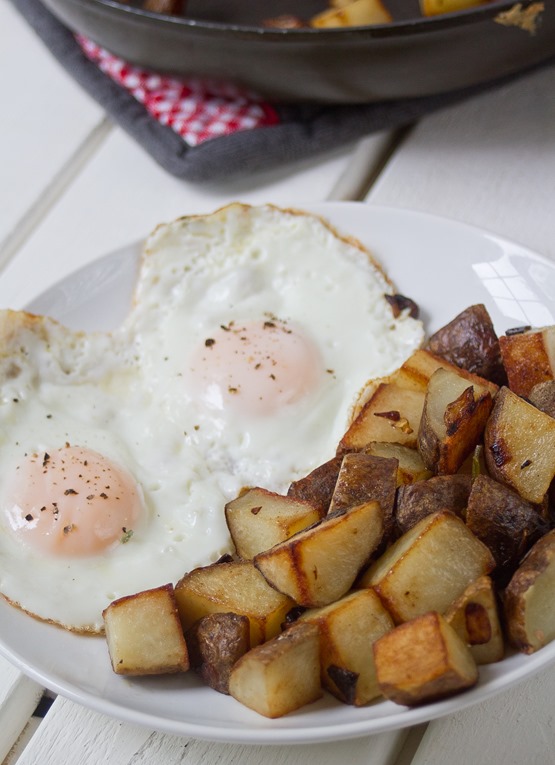
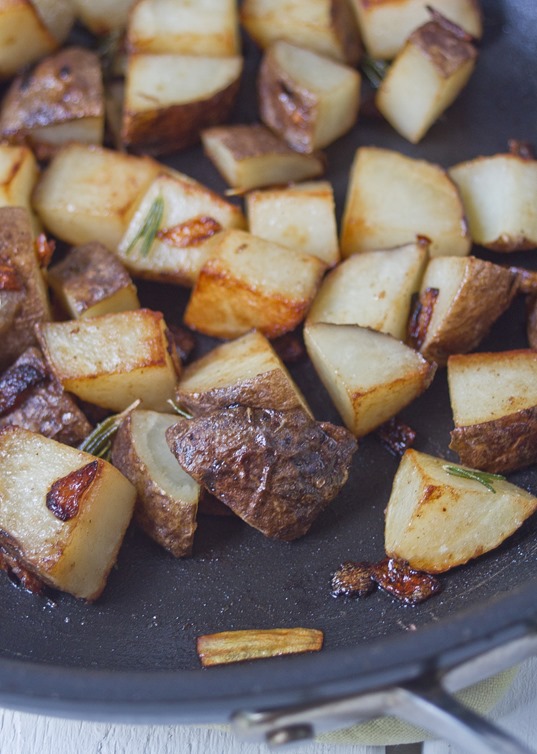
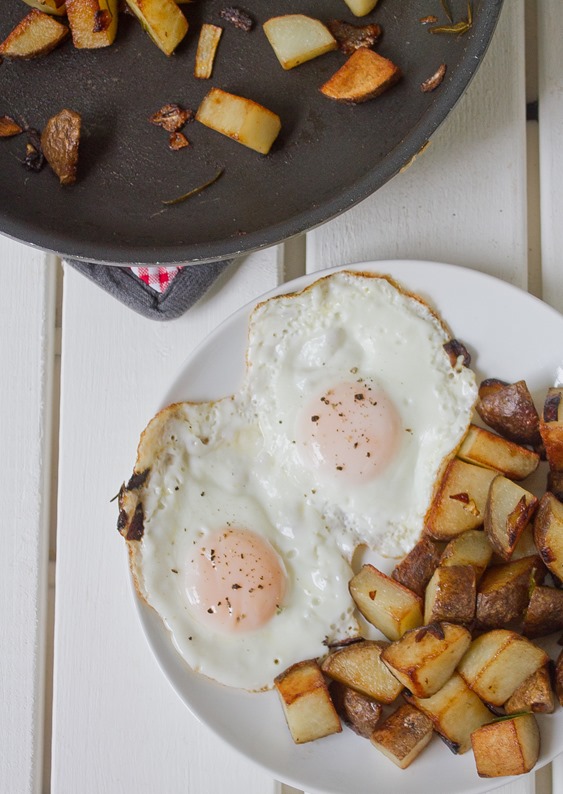
Well cooked home fries are one of my favorite foods. I always look for them on a menu when I’m out to eat(clearly I only choose very classy places that would serve home fries at 6pm); they beat plain old french fries any day.

Years of cooking these spuds have taught me that home fries are all about two things: Seasoning and cooking time. Salt, herbs, and onions all make for a really taste treat once the flavors are absorbed into the home fries. You also can’t rush perfection. The best way to get a golden, crispy outside and a soft starchy inside is to cook these low and slow, giving each side a chance to sizzle on the bottom of the pan.

How To Make Perfect Home Fries Cooking

You’ll definitely want to double or even triple the recipe if you’re cooking for a crowd because these’ll fly off the plate. Season them to taste as always; you can add any number of herbs and spices to make them spicy, garlicky, or even slightly sweet.

How To Make Perfect Home Fries

Prep time:  10 minutes

Cook time: 15 minutes

Ingredients:

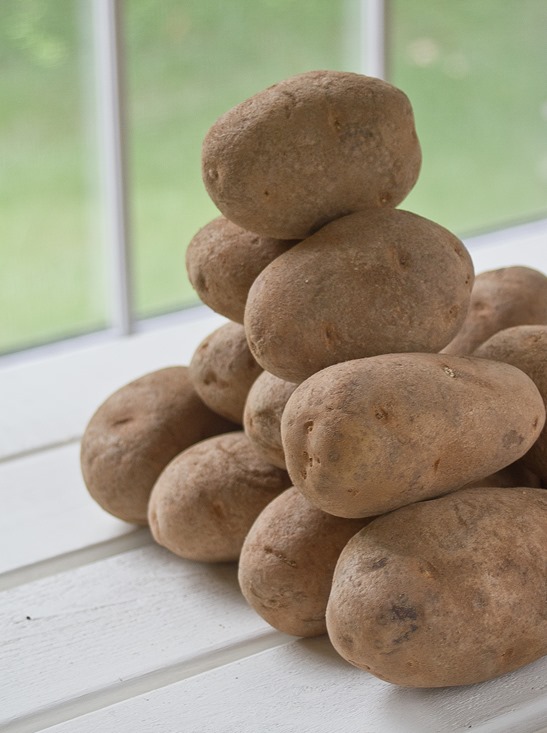
  • 2 par-cooked medium Russet potatoes*
  • 2 Tablespoons chopped onion
  • 3 Tablespoons olive oil, divided
  • 1/2 teaspoon salt
  • Couple sprigs of rosemary
  • 1/4 teaspoon pepper

*I usually bake mine for 40 minutes, let them cool, and then keep them in the refrigerator to have on hand whenever I want to make these. You can also par-cook them in the microwave or by boiling them as long as they’re firm enough to slice when done.

How To Make Perfect Home Fries Potatoes

Method:

  1. Heat 1 Tablespoon of oil in a frying pan. Add in the onions and sauté them until they become translucent.
  2. Dice the potatoes into small bites, about 1/2-inch squares. Leave the skins on for a rustic look and texture.
  3. Add the potatoes into the pan with the onions along with the remaining 2 Tablespoons of oil and salt.
  4. Cook on medium heat, tossing the pan every couple of minutes to flip the potatoes. Cook for 10-15 minutes until most of the sides look browned and crispy and the oil has been soaked up.
  5. Finish by seasoning with pepper.
  6. Serve hot.

How To Make Perfect Home Fries Overhead 

Reese’s Lover’s Bark

Reese’s Lover’s Bark Whole

This is it.

If I stopped blogging tomorrow and this was the last recipe I ever posted, I’d be more than happy with that.

It’s no secret I’m a Reese’s lover. This bark was bound to happen. And it’s one of my favorites—Scratch that. It is my favorite.

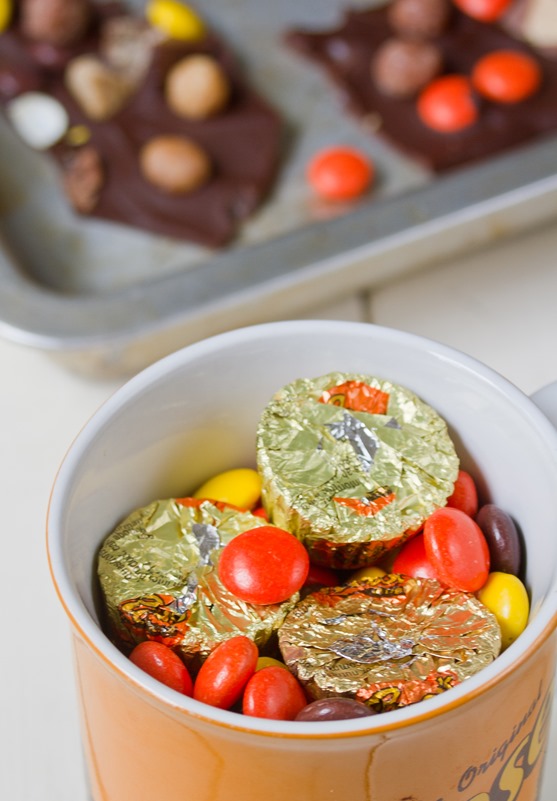
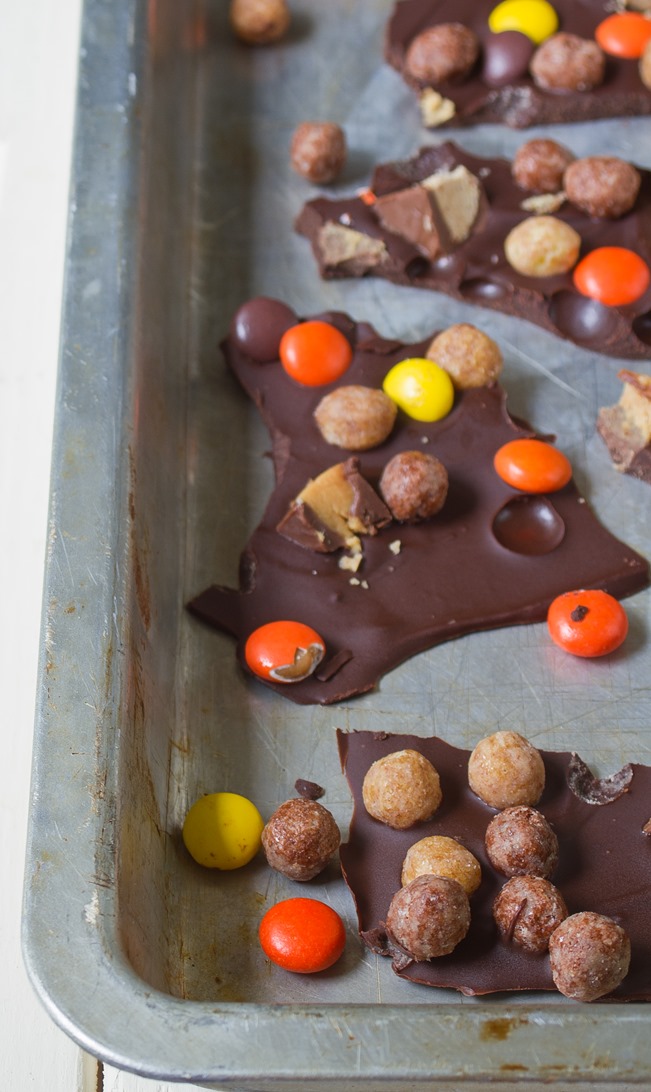
The sweet Reese’s pieces, dark chocolate, and smooth peanut butter cups go perfectly with a little crunch from the Reese’s puffs. You’d be hard-pressed to be disappointed with a bite of this bark.

Reese’s Lover’s Bark

You can use regular-sized Reese’s cups, Reese’s fun-sized candies, or even Reese’s miniatures for the peanut butter cups—whichever you have on hand.

Reese’s is in no way affiliated with this blog post; I’m just a lover.

Reese’s Lover’s Bark

Prep time: 10 minutes

Cook time: 0 minutes

Ingredients(Makes 16-20 servings):

Reese’s Lover’s Bark Ingredients

Method:

  1. In a microwave safe bowl, melt the chocolate chips until they are smooth and liquid.
  2. Spread the chocolate out into a thin layer on a non-stick surface such as wax paper.
  3. One at a time or all together, sprinkle the Reese’s toppings evenly over the melted chocolate.
  4. Gently press the toppings into the chocolate to make sure as many as possible stick into the bark.
  5. Refrigerate for 20-30 minutes until the chocolate is cold and set.
  6. Break the bark into pieces with a knife or your hands while still cold. Keep refrigerated until ready to eat.

Reese’s Lover’s Bark Serving