Tag Archive: Recipe

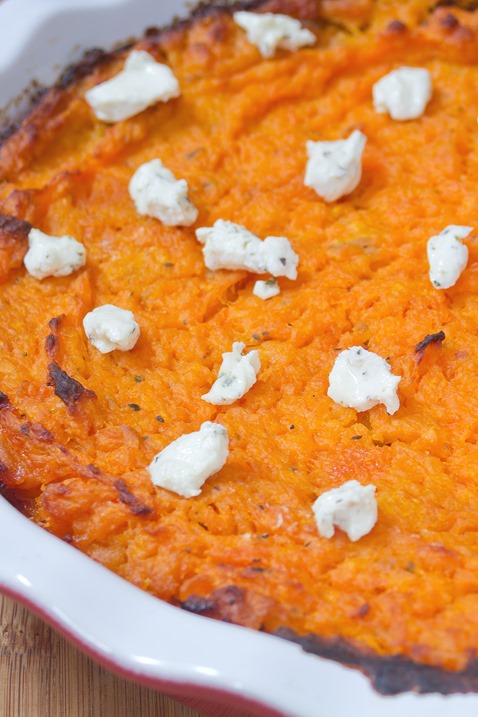
Low-Fat Butternut Squash Casserole

October 13th 013

Stonyfield recently asked their Clean Plate Club members to help them with their latest challenge to squash pesticides out of diets with healthy squash recipes. All of Stonyfield’s yogurts are organic with no GMO or pesticides in the ingredients

Truthfully I don’t buy organic as much as I should, especially organic fruits or vegetables whose skin I usually eat. Living near an organic-only grocery store has gotten me into the habit of buying more organic. Maybe going all organic all the time can be unreasonable in today’s lifestyle, but focusing on making small changes every time you go to the grocery store makes it easy.

October 13th 002

Using greek yogurt in this casserole makes the dish a little lighter but just as creamy and adds a slight tang to the flavor. Use whatever your favorite herbs are whether that’s basil, rosemary, dill or a mix.

Low-Fat Butternut Squash Casserole

Prep time: 15 minutes

Cook time: 90 minutes

Ingredients(Makes 8 servings):

  • 2 medium-sized organic butternut squashes
  • 1 6oz container plain Stonyfield Greek
  • 6 Tablespoons butter
  • 1 Tablespoon dried herbs
  • 3/4 teaspoon salt
  • 1/2 teaspoon pepper
  • 2 ounces herbed goat cheese(optional)

Method:

  1. Preheat your oven to 375 degrees
  2. Prepare the squashes by removing the skin, stem, and seeds or roasting them whole and waiting to do this.
  3. Roast the squash for 45 minutes to an hour until it is soft and easy to poke with a fork.
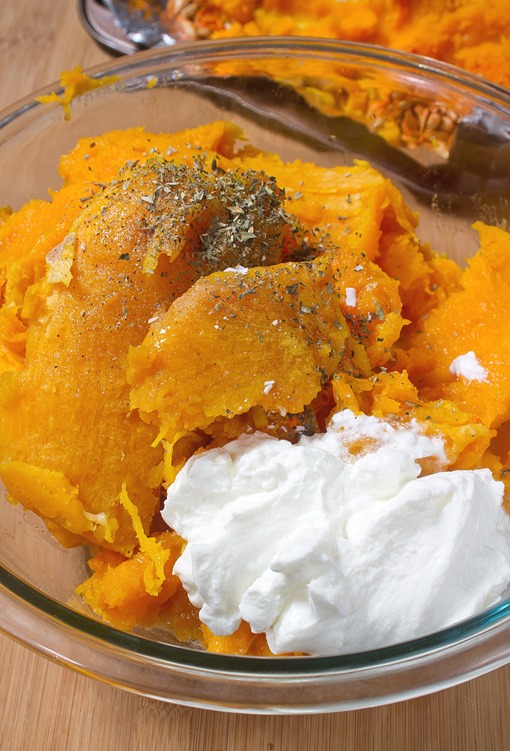
  4. Move the squash to a big bowl. Add in the rest of the ingredients and mix until it forms an even batter.
  5. Pour the squash puree into a casserole dish. Level out the top.
  6. Bake for 30 to 45 minutes until a light crust forms and the squash is baked through.
  7. Remove from the oven and serve hot. Top with goat cheese or fresh herbs if desired.

Gluten-Free Sugar-Free Brownies

Gluten-Free Sugar-Free Brownies

A better title for this recipe might be “My Boss’ Brownies”

Recently my boss, Dave Kerpen, has been on a healthy eating kick. He asked me if I knew any good gluten-free, sugar-free dessert recipes made with stevia. While gluten-free is nothing new for me, I haven’t done much sugar-free baking before, but since I love making food for other people this seemed like a fun challenge to me.

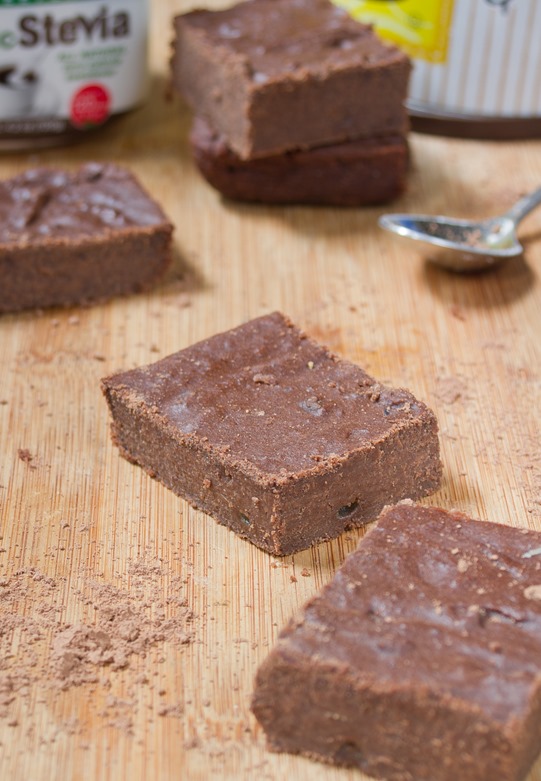
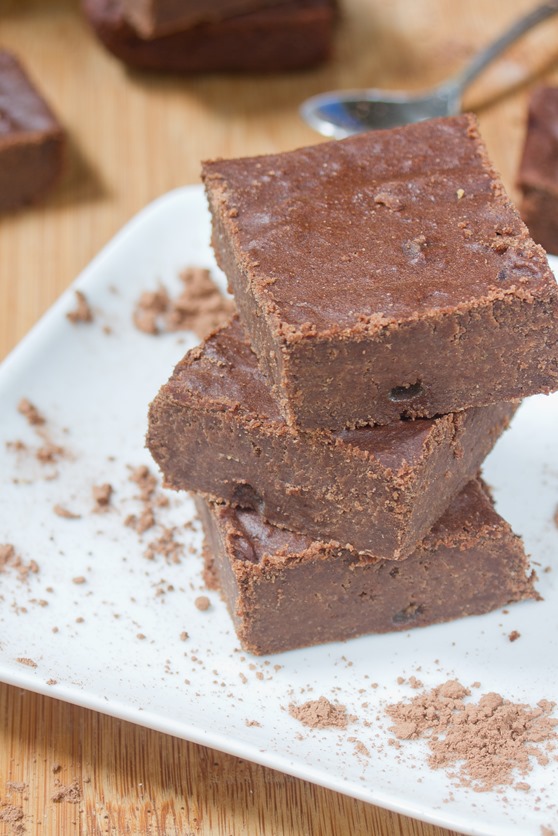
My first attempt at making sugar-free cookies came out edible but hardly servable; those are sitting in my freezer now for when I need a dessert and have nothing else. My second attempt—these brownies—were amazingly a winner. They aren’t my favorite brownies(those would be almond flour brownies), but they taste incredibly fudgy for something that’s low-fat and without added sugars.

Gluten-Free Sugar-Free Brownies Stevia

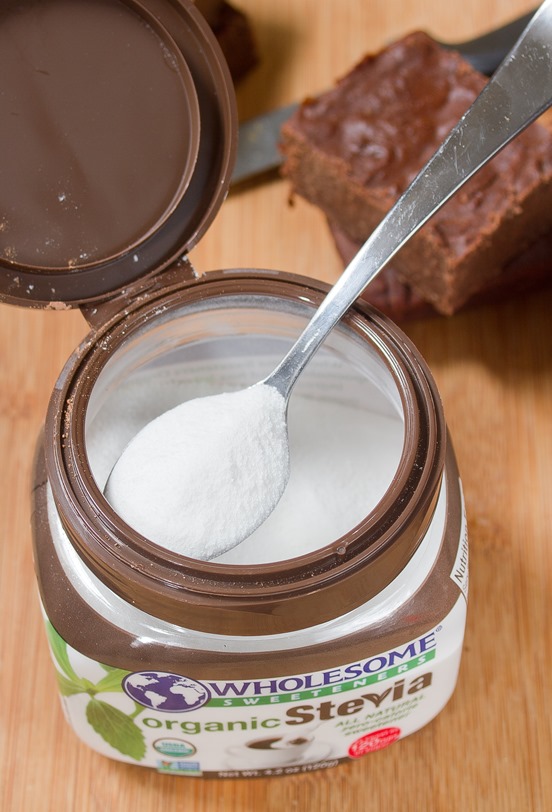
These are sweetened with a combination of date paste and stevia which I find balance out the aftertaste stevia has. There’s also a little added cinnamon to mask the flavors of those. You can buy date paste at some stores or make your own by soaking dates overnight and pureeing them with a food processor and a little water.

Gluten-Free Sugar-Free Brownies

Prep time: 10 minutes

Cook time: 25 minutes

Ingredients(Makes 8 brownies):

  • 1/2 cup + 2 Tablespoons gluten-free all purpose flour
  • 1/2 cup date paste
  • 1 1/2 Tablespoons stevia powder
  • 6 Tablespoons butter, softened
  • 1/4 cup cocoa powder
  • 1 egg
  • 1/2 teaspoon cinnamon
  • 1/2 teaspoon baking soda
  • 1/4 teaspoon salt

Gluten-Free Sugar-Free Brownies Stack

Method:

  1. Preheat your oven to 350 degrees.
  2. Combine all of the ingredients in a medium-sized bowl and mix well until they form a batter.
  3. Grease a small loaf pan and scoop the batter in. Spread it out into an even layer.
  4. Bake for 25 minutes until the brownies are cooked and set.
  5. Remove from the oven and let them cool slightly before slicing.

10 Sweet October Recipes

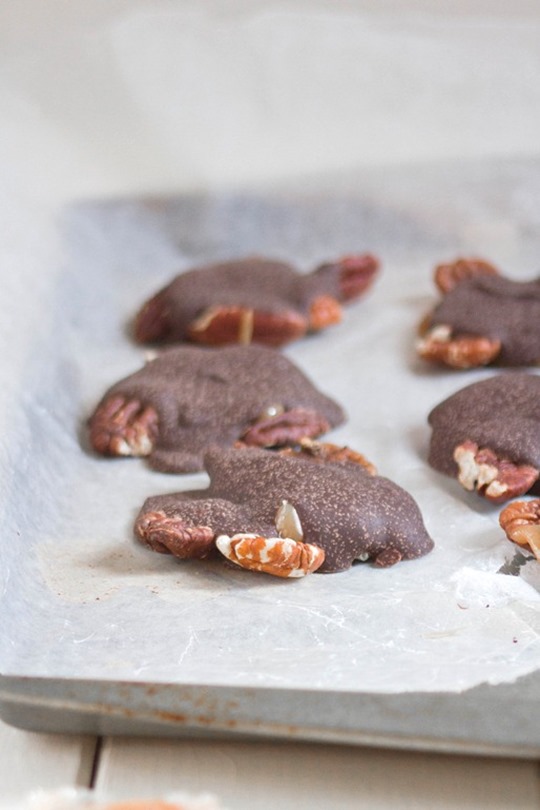
Homemade-Chocolate-Turtles_thumb

October is one of my favorite months because it’s filled with chocolate and candy and unreasonably sugar-filled drinks. November is another favorite month because it has chocolate and candy at 50% off but we’re not quite there yet.

Whether it’s using pumpkin or chocolate or candy corn, there are tons of recipes out there to make October a little sweeter and add a personal touch to the season. Here are a few of my favorites from this blog.

Snacks

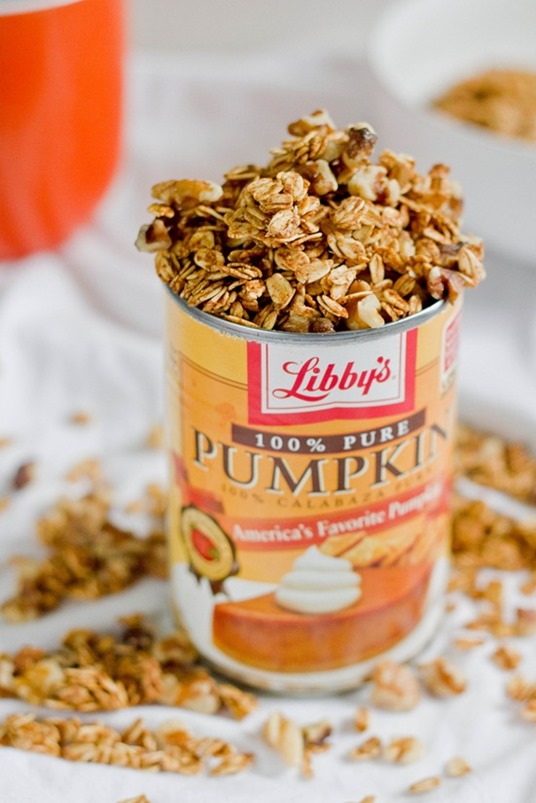
Homemade-Pumpkin-Granola_thumb

Pumpkin granola is full of Autumn flavor without too much added sugar. It’s a great topping to yogurt or smoothies on a Fall morning or even all on its own.

Sweet & salty Halloween Chex mix is the perfect party snack for kids or adults. With pretzel sticks and candy corn, it’s too addictive to have just one handful.

Homemade pumpkin cream cheese beats the flavored cream cheese you get at a bagel store in flavor and price. It’s a great way to spice up breakfast on-the-go in the morning.

Cookies

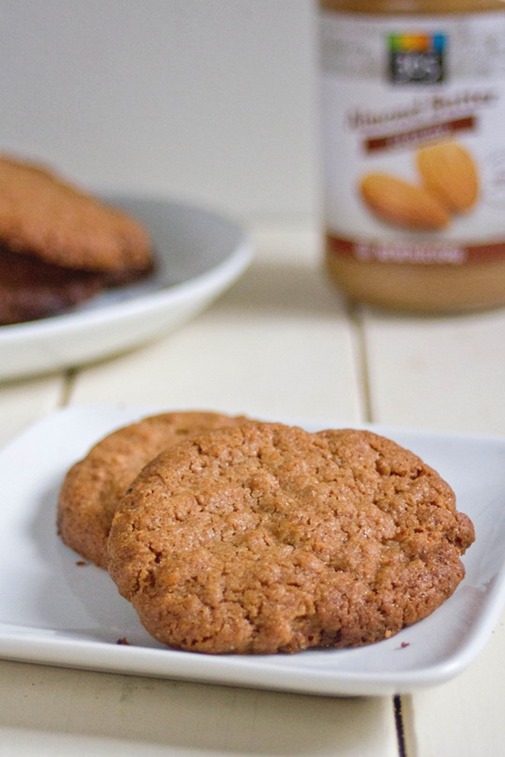
spiced-almond-butter-cookies-serving_thumb1

Spiced almond butter cookies are as good as any 4-ingredient cookie gets. It’s deeply nutty and slightly spicy with cinnamon and nutmeg to round out the flavor. Have a few next to your favorite cup of tea.

Pumpkin chocolate chip cookies are a seasonal way to make a classic cookie recipe. The pumpkin in them makes the softer and puffier so cakey cookie lovers should take note.

Candy

Homemade-Peanut-Butter-Pumpkins_thumb

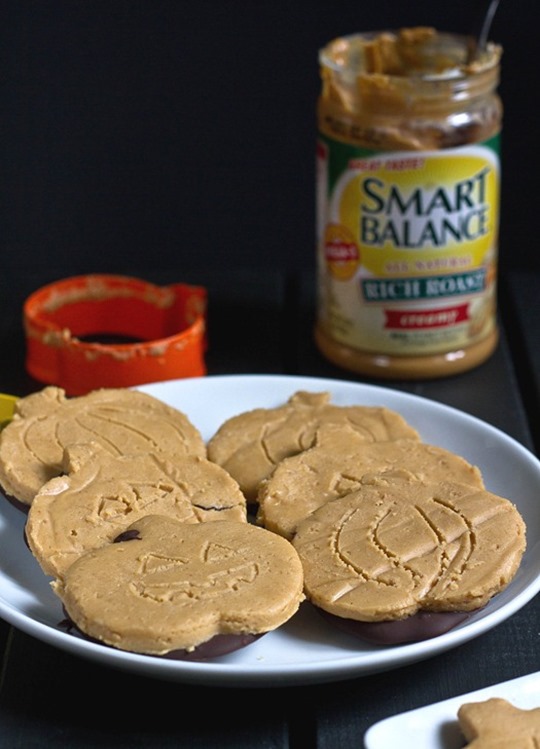
Peanut butter pumpkins are the tastier, homemade counterpart to Reese’s pumpkins. They’re a lot easier to make than you’d imagine and a killer dessert to bring to a party or give out as a Halloween gift.

Homemade chocolate turtles are another crowd-pleasing homemade candy to impress your guests. They’re addictive so definitely make these for a crowd or you’ll be eating one after the other.

White chocolate candy corn bark is a simple, kid-friendly recipes with just a few ingredients but totally fun and seasonal.

Cakes & Bread

GrainFreePumpkinBread_thumb

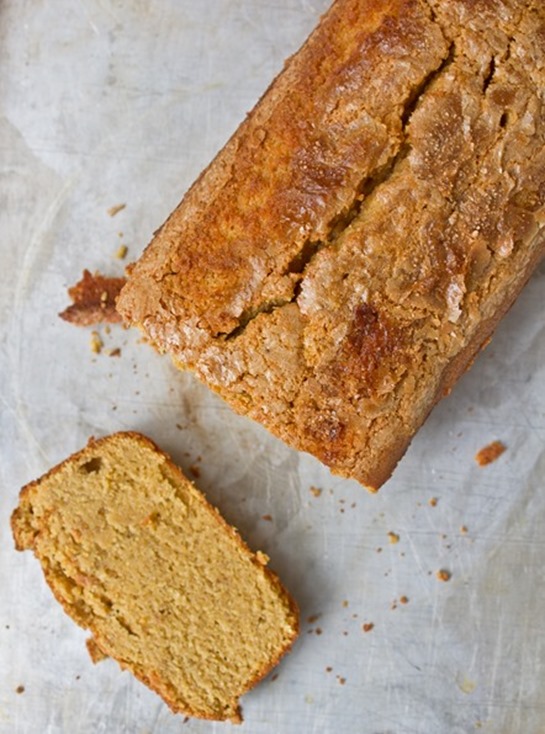
Gluten-free pumpkin bread is good any time of year(obviously, because I made this back in June), but especially good on an Autumn morning with a cup of hot dark roasted coffee.

Chocolate-pumpkin baked custard is not your typical dessert and great to make for a group of people who want something different. It’s reminiscent of a flourless chocolate cake but lightened up a little with the addition of pumpkin.

Hipsterfood’s Easy Lentil Soup

Hipsterfood’s Easy Lentil Soup

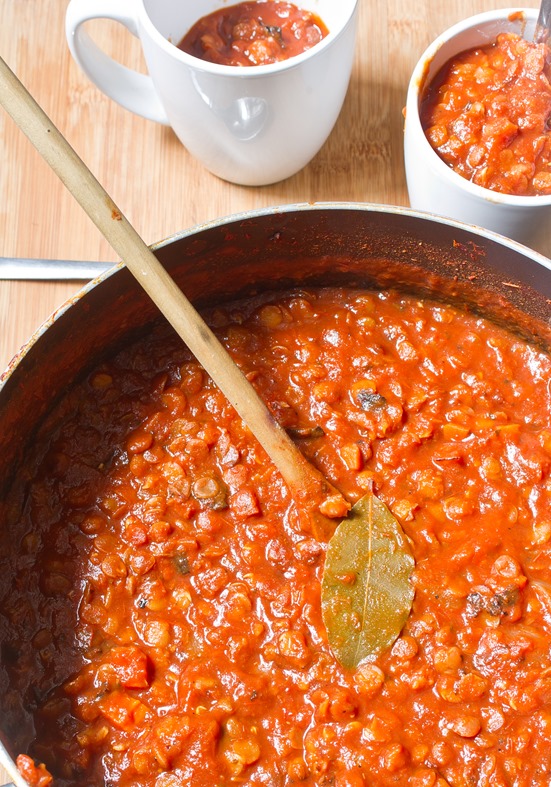
I always imagine soup as being one of those long, time-consuming foods to make. It definitely can be, but now I know it doesn’t have to be. I found this recipe on the blog, hipsterfood, and thought it looked too easy not to try. I’m also a sucker for anything with lentils in it.

Hipsterfood’s Easy Lentil Soup Yield

One thing that they don’t mention in the actual recipe is that you need a lot of water. I’d estimate that I added about 4 cups of water through the whole process and mine still came out thicker than the batch on their blog. I also left out the celery and added whatever herbs/spices I had on hand. A little paprika gave a nice smoky flavor to it all.

Hipsterfood’s Easy Lentil Soup Croutons

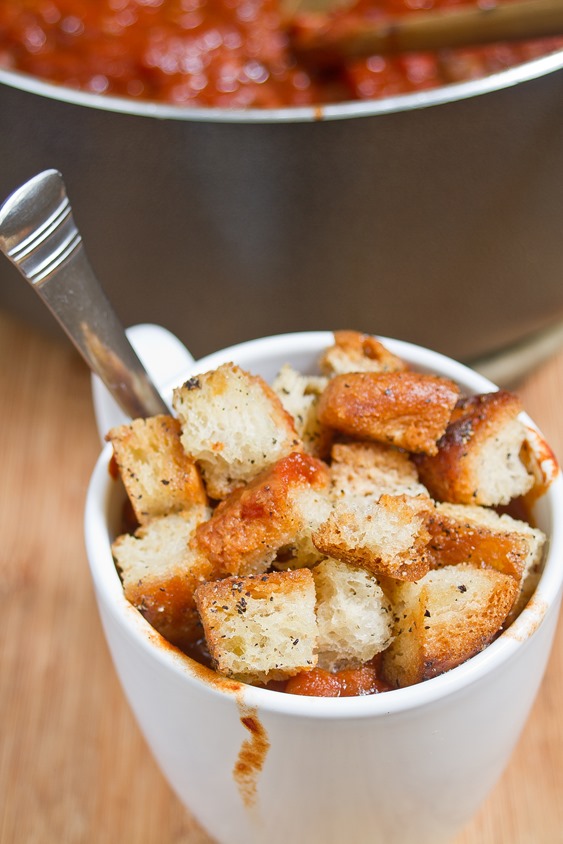
At the end I made “croutons” by chopping up some gluten-free bread, frying it in a little olive oil and seasoning them. Now I know I’ll never have to buy croutons again. It’s also terrific with melted cheese or sour cream on top.

What’s your favorite soup recipes? I’d love ideas for more to make.

Elderflower Cocktail

Eldeflower Cocktail

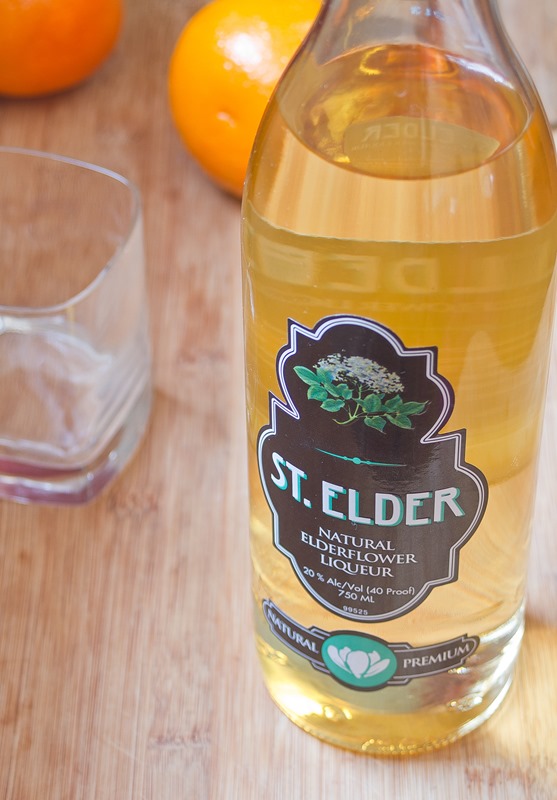
There’s a new favorite bottle in my liquor cabinet and it’s already half gone. Recently I was turned on to St. Elder and haven’t looked back since. The liqueur is very sweet with a natural citrus grapefruit flavor to it. It goes great with just about anything.

Using vodka, simple syrup, and orange juice highlights the St. Elder without overpowering or changing the flavor too much. It’s a great first introduction drink or drink to serve to old fans. Leave out the simple syrup for a less-sweet drink.

St. Elder liqueur

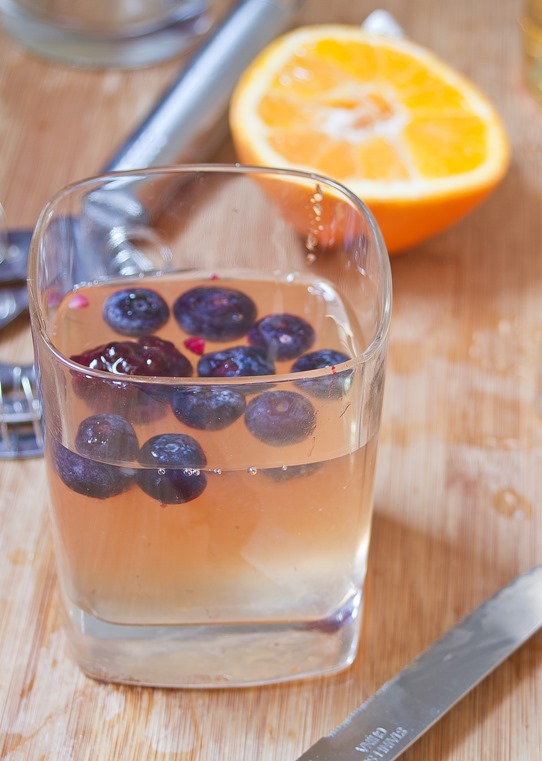
For some reason when I made these I was out of ice, so instead used frozen berries to cool the drink down. I think they also make the presentation better and pair well with the elderflower which tastes fruity on its own. Shake up the recipe by using a flavored vodka.

Elderflower Cocktail

Prep time: 5 minutes

Cook time: 0 minutes

Ingredients(Makes 2 drinks):

  • 1 1/2 shots Elderflower liqueur
  • 2 shots vodka
  • 1 shot simple syrup
  • Juice of 1/2 an orange
  • Ice or frozen berries

Sep 5th 010

Method:

  1. Combine all of the ingredients in a cocktail shaker.
  2. Shake until the drink is well mixed.
  3. Strain and pour into glasses with fresh ice or frozen fruit. Serve immediately.

Sep 5th 013

Peanut Butter Caramel Cookie Sandwiches

Peanut Butter Caramel Cookie Sandwiches

Turns out peanut butter and caramel comes a close second to coconut and caramel.

Since I was moving and needed to use up all that caramel sauce, I needed something portable that it’d be good in. Well, sandwiches are portable. Cookie sandwiches? Even better.

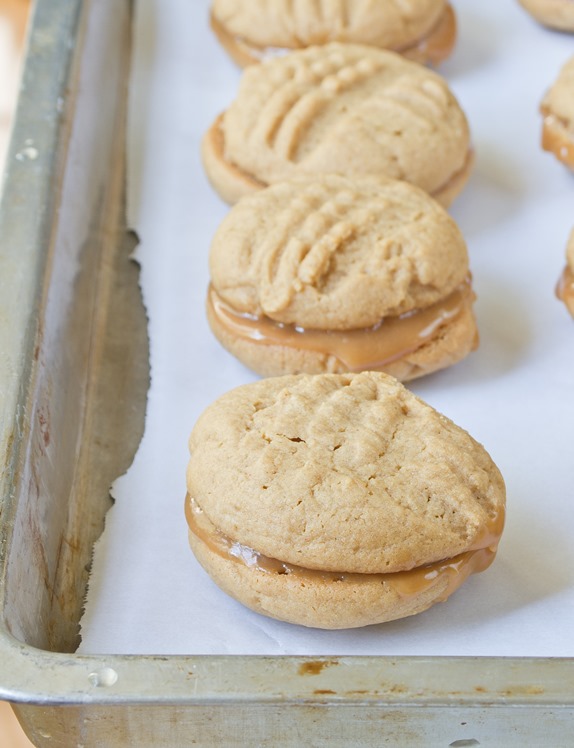
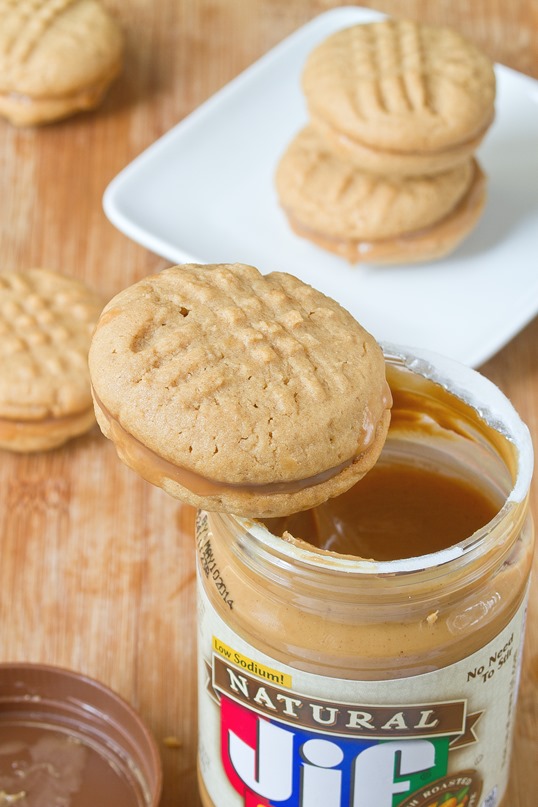
Peanut butter cookies usually fall into two categories: Chewy and flavorful or soft with just a hint of peanut flavor. Using caramel sauce in place of sugar and butter bridges the gap and makes a cookie that’s very peanut butter(is that even a word?) but also soft at the same time—the kind of cookie that’s perfect for filling.

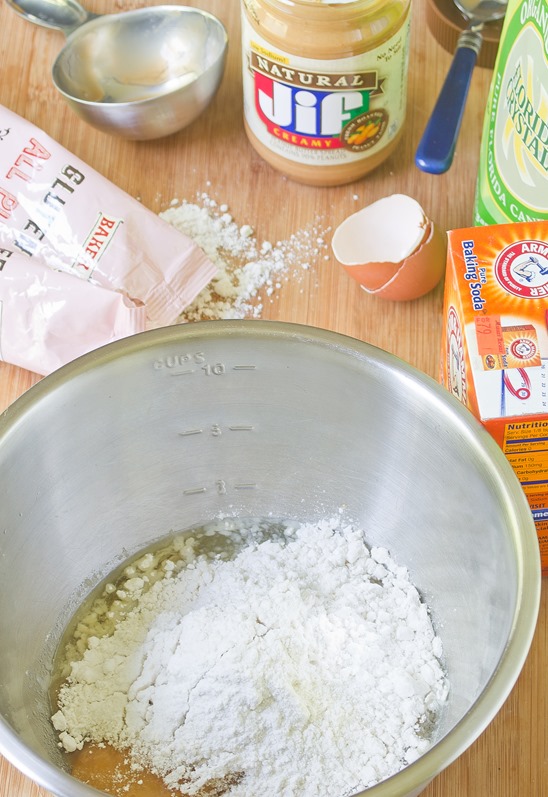
Peanut Butter Caramel Cookie Sandwiches Prep

The ones I filled with straight caramel sauce were a little too loose so the peanut butter acts as a great binder. I’d definitely recommend filling these sandwiches with salted caramel buttercream if you happen to have a recipe for that handy or even vanilla ice cream and an extra drizzle of caramel sauce.

Peanut Butter Caramel Cookie Sandwiches

Prep time: 10 minutes

Cook time: 15 minutes

Ingredients(Makes about 12 sandwiches):

  • 1/2 cup + 1 Tablespoon peanut butter, divided
  • 1/2 cup + 1/3 cup caramel sauce, divided
  • 1/4 cup sugar
  • 1 egg
  • 1 cup + 2 Tablespoons flour
  • 1/2 teaspoon baking soda

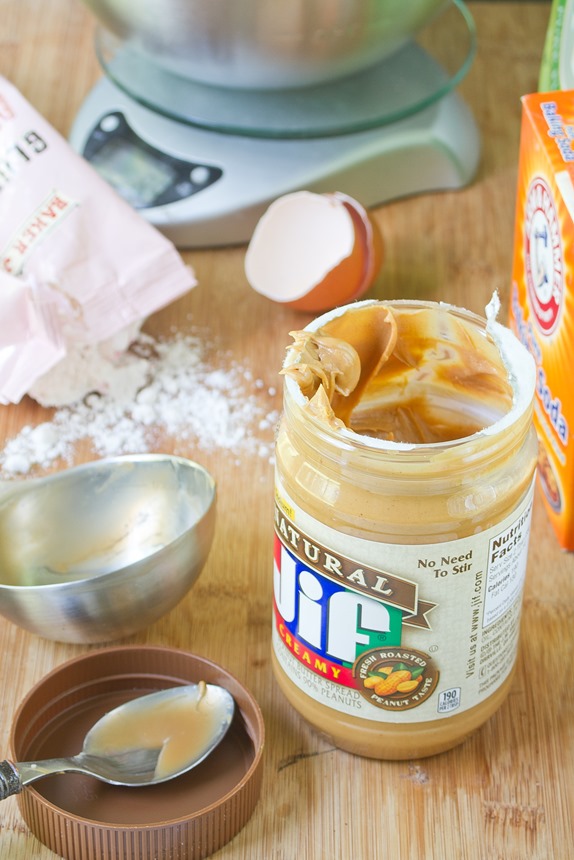
Peanut Butter Caramel Cookie Sandwiches Ingredients

Method:

  1. Preheat your oven to 350 degrees.
  2. In a large bowl, beat together 1/2 cup peanut butter, 1/2 cup of caramel sauce, sugar, flour, egg, and baking soda until it forms a dough. If the dough’s a little loose add flour by the tablespoon until it won’t stick to your hands.
  3. Roll the dough into balls about 1-inch in diameter and place them on a non-stick baking tray.
  4. Using a fork, make a criss-cross pattern on the top of each dough ball.
  5. Bake for 15 minutes until the cookies have risen and spread.
  6. Remove from the oven and let the cookies cool completely.
  7. In a small bowl, beat together the remaining peanut butter and caramel sauce.
  8. Scoop about 2 teaspoons of the peanut caramel sauce onto the bottom of one cookie and sandwich it with the bottom of an equally-sized cookie.
  9. Refrigerate the cookies until the filling has set and it’s time to serve.

Peanut Butter Caramel Cookie Sandwiches (2)

Coconut Caramel Muffins

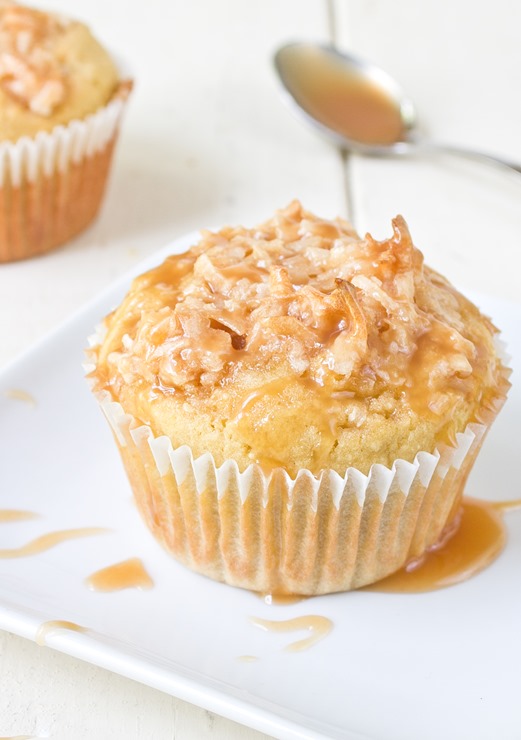
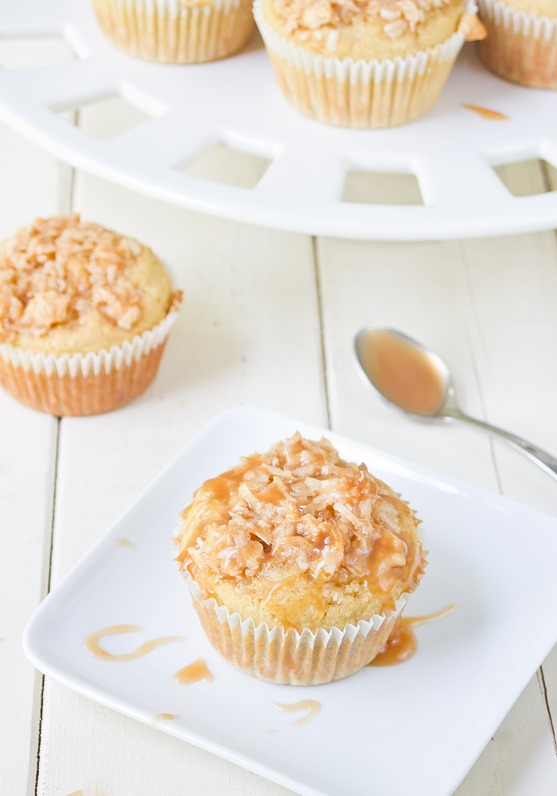
Coconut Caramel Muffins 2

What do you do with a ton of caramel(besides eating it off of your fingers and spoons) other than bake with it? If you know please tell me because I still have a cup left after making these and about 12 new cavities.

The first thing I thought of was coconut and caramel. It’s sweet and meaty and perfect to add textures. Adding it to muffins became a great way to start the day with something flavorful. These had a decent coconut flavor, but if you just love coconut then I’d recommend swapping in coconut oil for the vegetable oil and carton coconut milk for the regular milk.

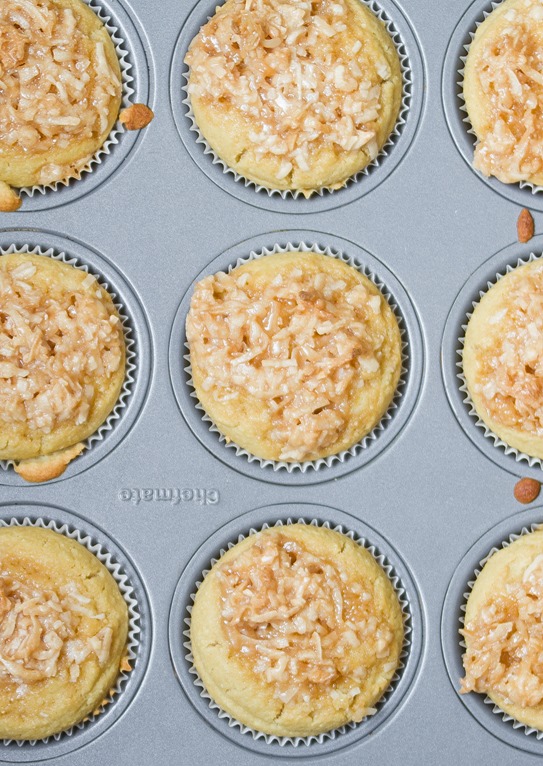
Coconut Caramel Muffins Overhead

These are “muffins”(as opposed to cupcakes) in my mind because they aren’t all that sweet; they’re a perfect breakfast pastry to have next to a cup of coffee or tea. However, if you wanted them to be sweeter and possibly a dessert, I’d recommend adding 1/2 cup of sugar to the batter.

Coconut Caramel Muffins

Prep time: 10 minutes

Cook time: 25 minutes

Ingredients(Makes 9 muffins):

  • 6 Tablespoons coconut flour
  • 1 cup brown rice flour
  • 1/4 cup sugar
  • 1/2 teaspoon baking soda
  • 1/4 teaspoon salt
  • 3 eggs
  • 1 cup milk
  • 1/2 cup caramel sauce, divided
  • 1/4 cup vegetable oil
  • 6 Tablespoons shredded coconut

Coconut Caramel Muffins Serving

Method:

  1. Preheat your oven to 350 degrees. Line 9 muffin wells with paper liners.
  2. In a large bowl, sift together the coconut flour, brown rice flour, sugar, salt, and baking soda.
  3. In a separate bowl, beat together the eggs, milk, 1/4 cup caramel sauce, and oil until mixed well.
  4. Pour the wet ingredients in with the dry and mix until the batter is even.
  5. Scoop an equal amount of batter into each paper liner.
  6. In a small bowl, mix together the remaining caramel sauce and shredded coconut. Scoop roughly a tablespoon of the coconut mixture in the center of each muffin and press down lightly.
  7. Bake for 25 minutes or until the muffins have set. Remove from the oven and let them cool before serving.

Ina Garten’s Caramel Sauce

August 26th 042

I like to think I can make most things without looking up a recipe. I can’t. More than a few first attempts end up in the garbage or down the drain. I don’t think it’s a waste though whenever you try something new and learn from it one way or another. Cooking’s an art, right? Mistakes are meant to be made.

I tried to make caramel sauce with what I had on hand(butter and 1%). That was a mistake. I didn’t really know what I was doing but I figured Ina Garten did and I tried again with her recipe which called for heavy cream and just a few other ingredients.

August 26th 025

I’m sure Ina used pure Costa Rican sugar, organic grass-fed cream and homemade Madagascar vanilla bean extract—none of which I had on hand—but this came out pretty good even with store brand ingredients. It didn’t have as thick a body as store-bought caramel sauce because it doesn’t have any thickeners or stabilizers, but it tastes very simple and fresh.

I added a 1/4 teaspoon of sea salt after it had cooled which made the flavor pop a lot more. Caramel sauce should always be a little salty so you can taste how sweet it really is. Besides that I followed Ina’s original recipe. Oh and when she says “a warm chestnut brown” she just means a light brown for all of us who haven’t toasted fresh chestnuts over a log fire in Vermont. Silly Ina.

Here’s an Instagram video of the different stages:

Gluten-Free Cornbread

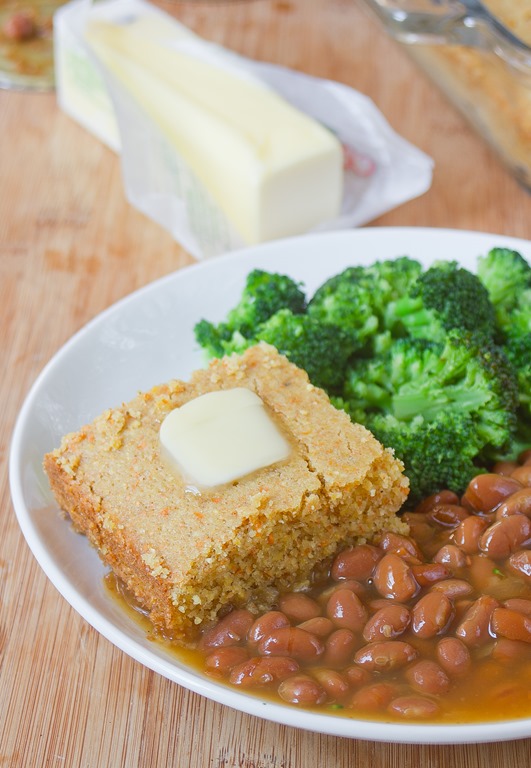
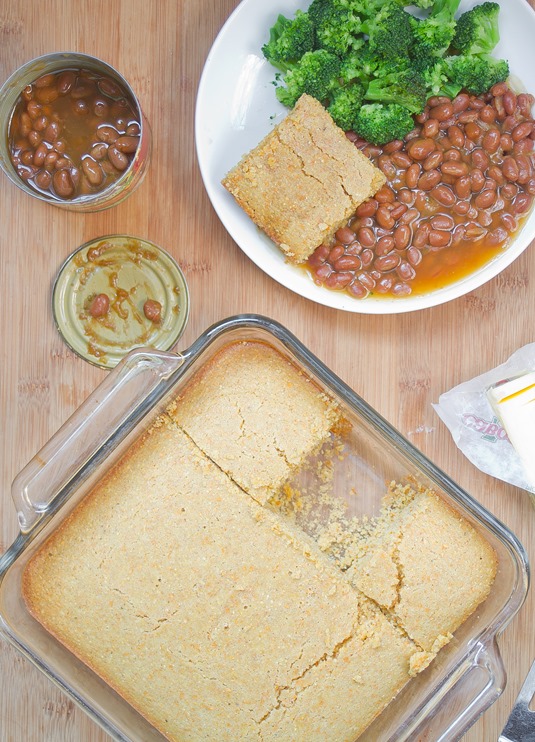
gluten-free cornbread

There are two kinds of cornbread. There’s the dry, stale, bland kind and then there’s the sweet, buttery, melt-in-your-mouth kind. This one is thankfully the latter.

I’ve been wanting to make(and eat) cornbread for a while now. Trader Joe’s recently added their own brand of gluten-free all-purpose flour to their shelves I’ve been meaning to try and this was the perfect way to kill two birds with one stone.

The bread came out sweet and slightly savory—better with a pat of butter. Even with the gluten-free flour it doesn’t crumble until it hits your tongue. 

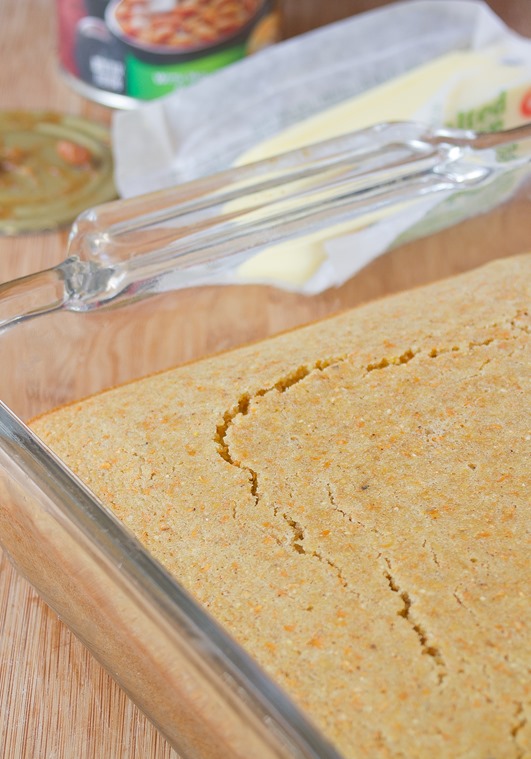
gluten-free cornbread overhead

Adding a little bit of cinnamon and paprika gives the bread a subtle savory smokiness to it. If you want more of a dessert, omit the paprika and double the amount of cinnamon. You could also simply substitute all-purpose flour for the gluten-free all-purpose flour if gluten sensitivities aren’t an issue.

Gluten-Free Cornbread

Prep time: 10 minutes

Cook time: 30 minutes

Ingredients(Makes 9 squares):

  • 1 1/2 cup corn meal
  • 1 cup gluten-free all-purpose flour
  • 1/4 cup sugar
  • 1/2 teaspoon baking soda
  • 1/4 teaspoon salt
  • 3 eggs
  • 3/4 cup milk
  • 1 stick butter, melted
  • 1/4 teaspoon cinnamon
  • 1/8 teaspoon paprika

gluten-free cornbread yield

Method:

  1. Preheat your oven to 350 degrees.
  2. In a large bowl, mix together the corn meal, flour, sugar, baking soda and salt.
  3. Crack the eggs into the ingredients and add the milk and begin whisking.
  4. Slowly add the melted butter in as you’re whisking.
  5. Add in the cinnamon and paprika and beat until the batter is uniform.
  6. Grease an 8 x 8 pan and pour the batter in.
  7. Bake for 30 minutes until the bread has set.
  8. Remove from the oven and let cool slightly before cutting. Serve with butter and honey.

Dairy-Free Coffee Ice Cream

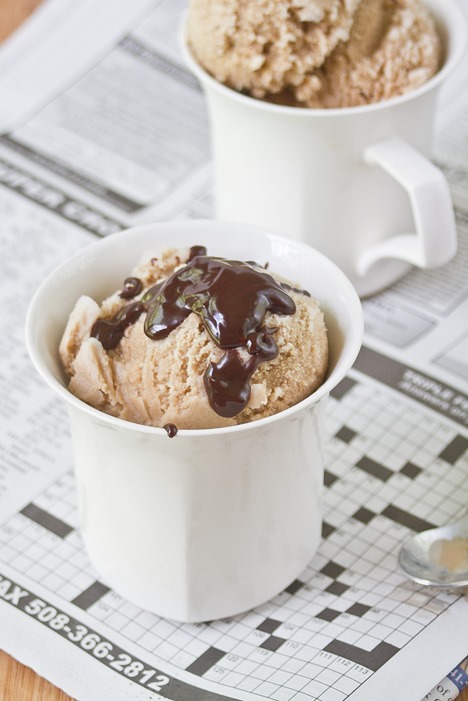
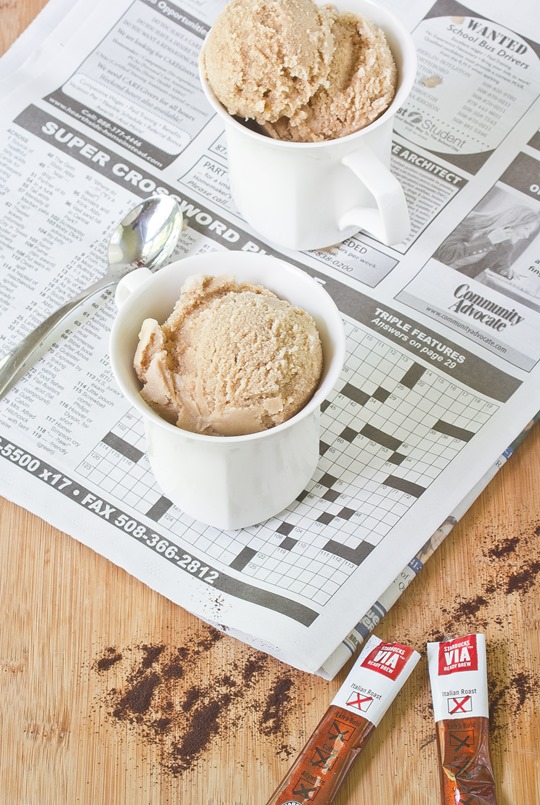
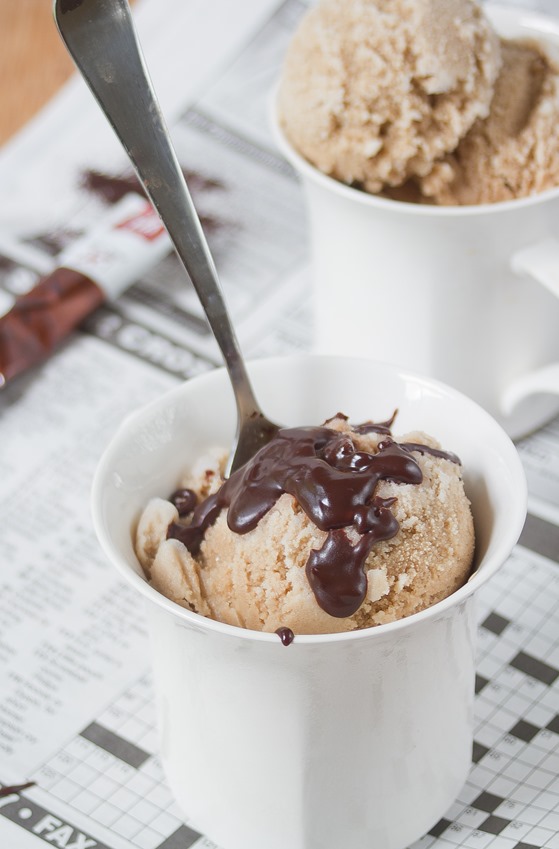
Dairy-Free Coffee Ice Cream

When you go to Starbucks there are almost too many decision. First you have to choose a drink, then a size, then a milk, then any other number of questions—what happened to plain old coffee? I’m just kidding; of course you should go with a tall caramel frappuccino with whipped cream.

I tried making this recipe because a friend told me vanilla soy milk makes the coffee taste better. If I didn’t buy the ingredients and make it myself I probably wouldn’t know this was dairy-free at all. The flavor is rich and dark and sweet.

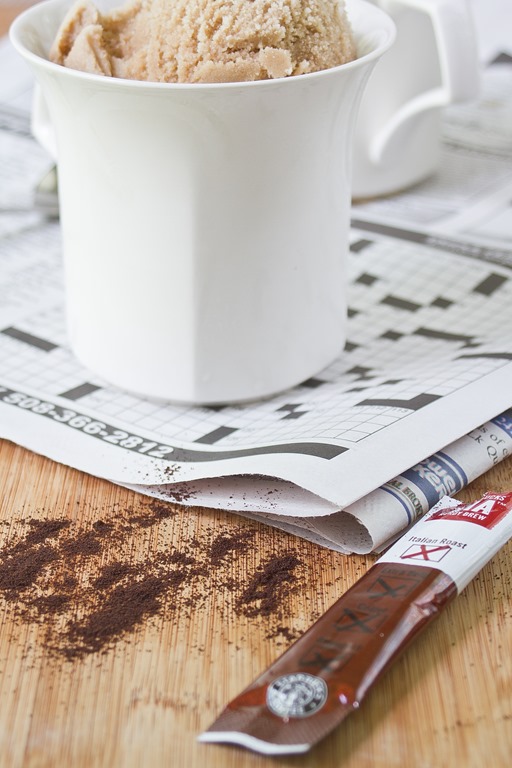
Dairy-Free Coffee Ice Cream Ingredients

I suggest anywhere from 1/4 cup to 3/4 cup of sugar for this recipe because it depends on the other ingredients you use. If you use a flavored creamer and milk, use less sugar than you would if you use unsweetened varieties. At any point you can grab a spoon and taste how sweet the mix is, but keep in mind that the colder it is the less sweet it will taste.

Dairy-Free Coffee Ice Cream

Prep time: 40 minutes

Cook time: 0 minutes

Ingredients(Makes about 8 servings):

  • 2 cups soy milk creamer
  • 2 cups soy milk
  • 3 6oz instant coffee packets
  • 1/4-3/4 cup sugar
  • 1/2 teaspoon vanilla

Dairy-Free Coffee Ice Cream Serving

Method:

  1. Pour 1 cup of soy milk creamer into a large bowl.
  2. Add the contents of the instant coffee packets and whisk until they’ve completely dissolved.
  3. Add in the rest of the ingredients and continue whisking until the sugar has dissolved.
  4. Freeze in an ice cream maker according to the manufacturer’s directions.
  5. Move the ice cream to a safe container and freeze for an additional 2 hours until the ice cream has frozen.
  6. Let the ice cream sit at room temperature for 5 minutes to soften before scooping.

Dairy-Free Coffee Ice Cream Chocolate