Tag Archive: Recipe

Strawberry Cashew Granola

Strawberry Cashew Granola

The best thing about Spring so far has been buying produce that’s not potatoes or shipped from the other side of the country at the supermarket. I even got suckered into buying a plant just because it was on sale and comes from a local town; I’m a marketer’s dream.

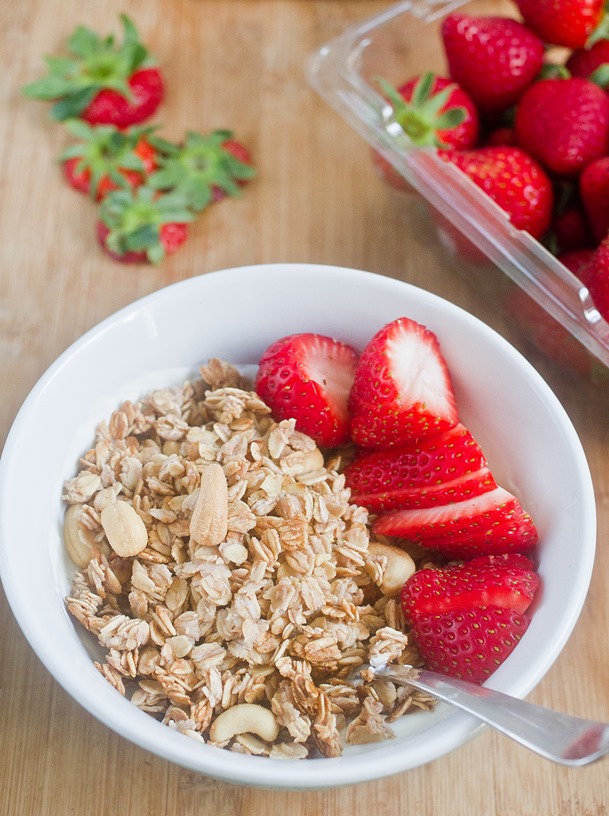
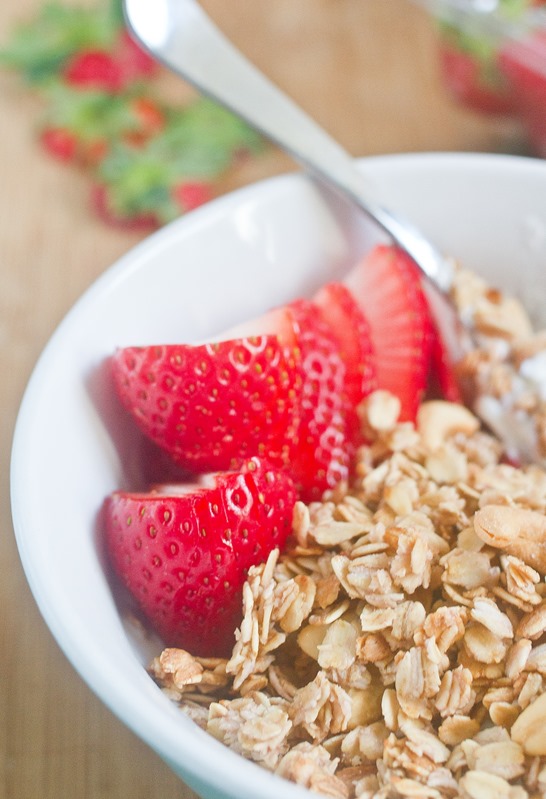
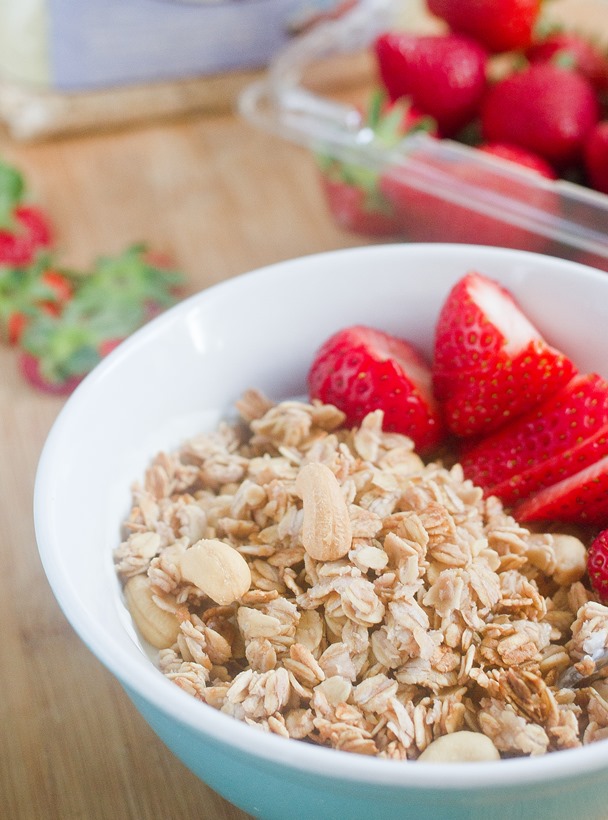
After a long, exciting weekend outdoors I couldn’t bring myself to do much more on Sunday night other than stay in watching TV and making this granola. Thankfully the recipe is simple enough that you can throw it together whenever. The next morning I slept through my alarm for almost an hour and hastily threw together a breakfast of yogurt, fresh strawberries, and this granola. Even on the run it tasted delicious.

Strawberry Cashew Granola Strawberries

The flavor of this granola is very subtle which is great over plain or vanilla yogurt in the morning before your taste buds really wake up. If you don’t feel like making the strawberry syrup you can also mix 6 Tablespoons of maple syrup with 2 Tablespoons of a good strawberry jam and have the same flavor.

Strawberry Cashew Granola

Prep time: 5 minutes

Cook time: 25 minutes

Ingredients(Makes 2 1/2 cups):

  • 2 cups rolled oats
  • 1/2 cup strawberry syrup
  • 1/4 teaspoon salt
  • 2 Tablespoon vegetable oil
  • 1/2 cup roasted salted cashews

Strawberry Cashew Granola Yield

Method:

  1. Preheat your oven to 350 degrees.
  2. In a large bowl mix together the oats, syrup, salt, and oil.
  3. Spread the oat mixture over a non-stick baking surface in a thin layer.
  4. Bake for 20-25 minutes until the oats are toasted.
  5. Remove from the oven and let the granola cool.
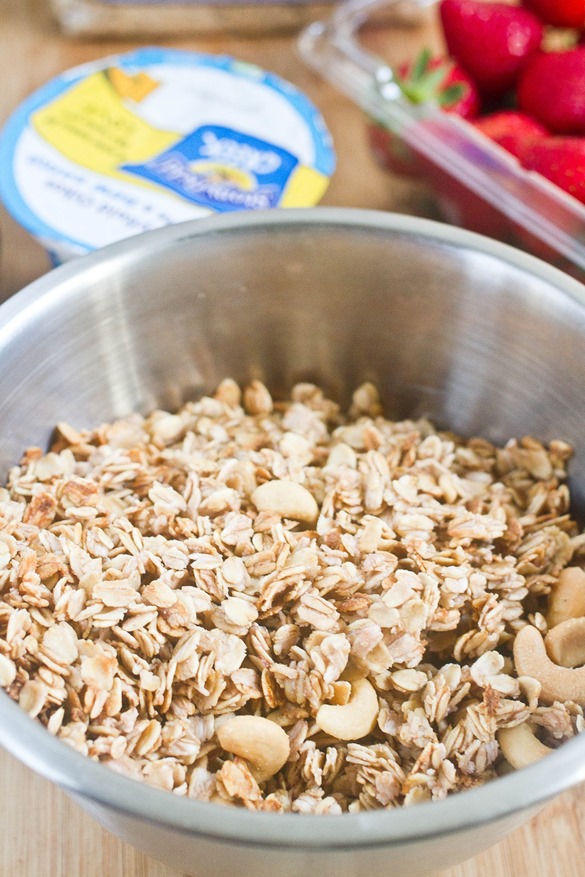
  6. Break the granola apart and toss the clumps with the cashews.
  7. Store in an air-tight container at room temperature.

Strawberry Cashew Granola Serving

Homemade Strawberry Syrup

Homemade Strawberry Syrup

The best part about making anything at home is the flavors. Artificial dyes and ingredients just never taste as good as the real deal. You can buy strawberry flavored maple syrup that vaguely tastes like skittles with absolutely no maple syrup in it, but why do that when you can make something with actual strawberries?

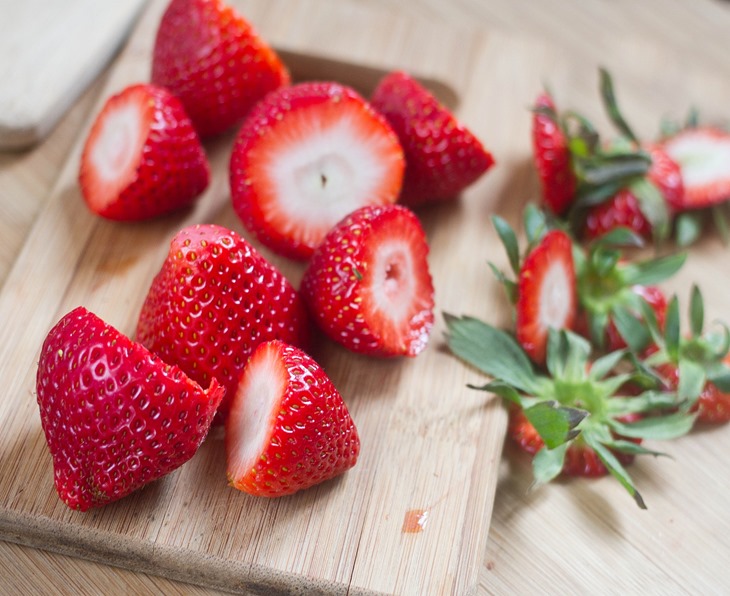
Homemade Strawberry Syrup Strawberries

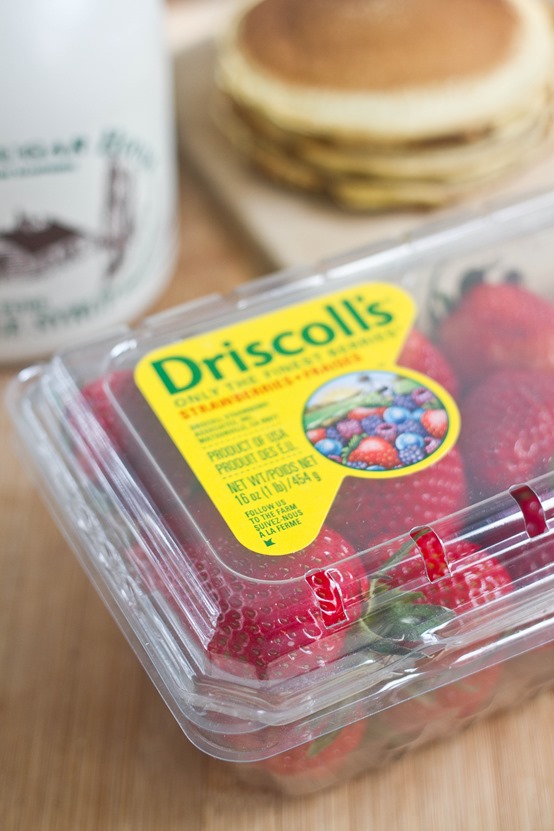
Since Spring is here, Driscolls offered to send me some coupons to use their fresh berries as a recipe ingredient. I was shocked how many recipes they already have on their website including a large section of gluten-free recipes; 106 and they’re still adding more—that’s no joke.

I was inspired to make this syrup because I hadn’t made chickpea flour pancakes in a long time. At first I was just going to cook the berries into the pancakes but that didn’t seem quite as exciting as making a strawberry maple syrup. All you need is the whipped cream and it’s a decadent breakfast.

Homemade Strawberry Syrup Boiled

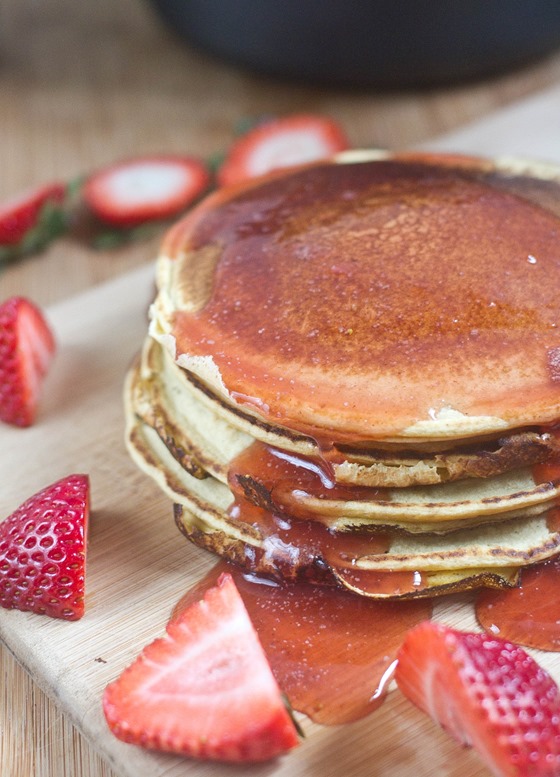
I originally planned to use this for pancakes and waffles, but after tasting it it’s hard to think of a food this wouldn’t be delicious on. I’m already planning to pick up a pint of vanilla ice cream from the store to drizzle this on. You can also use it in any recipe in place of maple syrup.

Homemade Strawberry Syrup

Prep time: 5 minutes

Cook time: 15 minutes

Ingredients(Makes about 1 1/2 cups):

  • 1 cup sugar
  • 1 cup water
  • 2/3 cup hulled strawberries
  • 1/3 cup maple syrup
  • 1/2 teaspoon vanilla extract
  • 1/2 teaspoon cinnamon

Homemade Strawberry Syrup Strawberries 2

Method:

  1. In a small pot over a burner, combine the sugar and water and heat until the sugar has dissolved.
  2. Boil the water until the simple syrup reduces to about half of its original volume.
  3. While the water is boiling, puree the strawberries and maple syrup in a blender or food processor until they make a smooth sauce.
  4. Off of the heat, combine the strawberry puree and simple syrup and whisk together. Whisk in the vanilla and cinnamon as well.
  5. Put the pot back onto the stove and continue boiling until the syrup reduces to about half of its volume again. Don’t over-reduce the syrup to be quite as thick as maple syrup because once it cools off of the heat it will thicken.
  6. Store any extra sauce in a sealed container in the refrigerator when not enjoying.

Homemade Strawberry Syrup Stack

This is also a really delicious topping on plain oatmeal and oatbran for those days you don’t quite feel like making pancakes.

Hazelnut Mocha Trail Mix

Hazelnut Mocha Trail Mix

Surprisingly for all the sweet teeth I have and my love of chocolate I’ve never been a fan of the fancy drinks at Starbucks. I love the occasional bitterness of black coffee but more often than not I’ll choose green or herbal tea, and if you try swirling chocolate syrup and whipped cream into your green tea you’ll get a few odd looks.

Chocolate covered coffee beans and the like, however, are a different story. They’re right up there with chocolate covered almonds, chocolate covered raisins, and chocolate covered everything else. I’ve never found chocolate covered hazelnuts but something tells me if I did I’d love them, too.

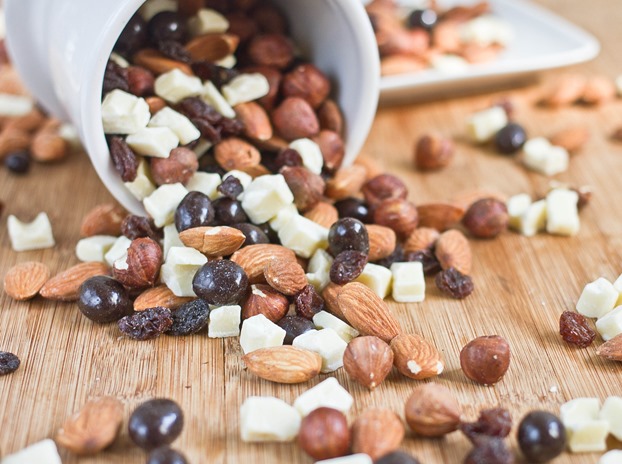
Hazelnut Mocha Trail Mix Yield

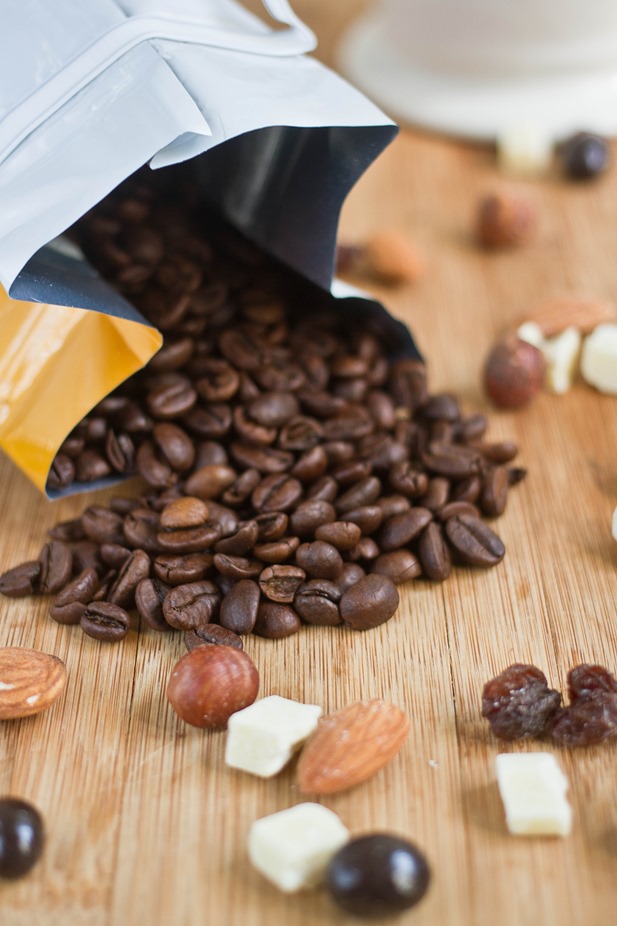
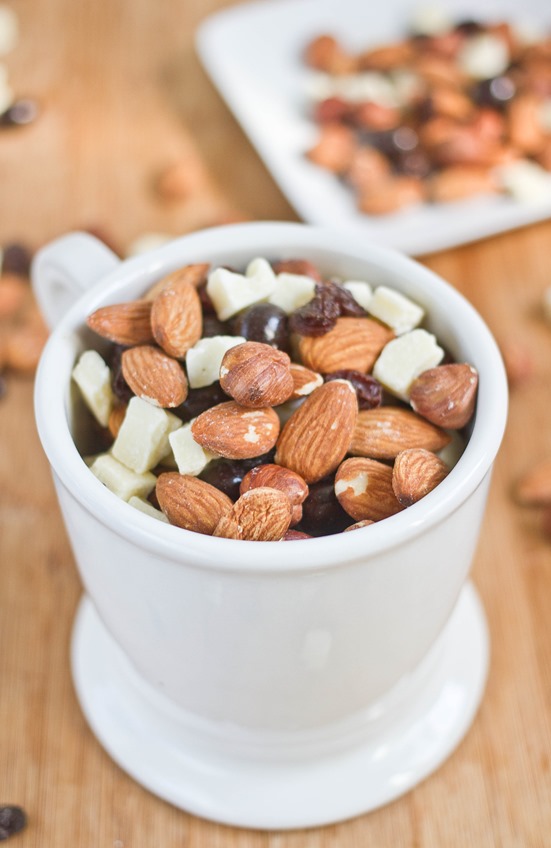
This trail mix hits just about every note that a good cup of coffee should. It has bitterness from the coffee beans, sweetness from the white chocolate and raisins, and a rich nuttiness from the hazelnuts and almonds. I think that hazelnuts pair great with chocolate and coffee but if you find yourself lacking them you can easily double the almonds in the recipe.

Hazelnut Mocha Trail Mix

Prep time: 5 minutes

Cook time: 0 minutes

Ingredients(Makes 3 cups):

  • 3/4 cup hazelnuts
  • 3/4 cup roasted almonds
  • 1/2 cup raisins
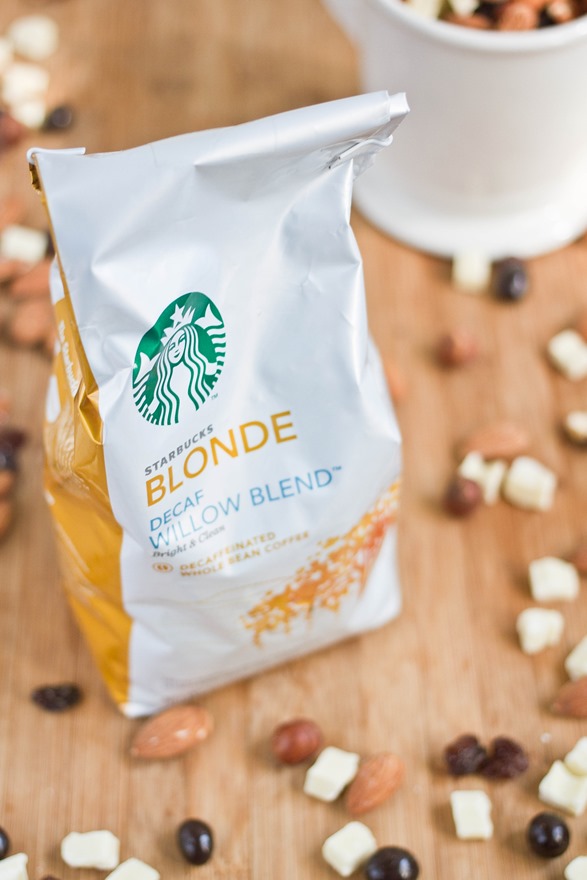
  • 1/2 cup chocolate covered coffee beans
  • 1/2 cup white chocolate chips

Hazelnut Mocha Trail Mix Coffee Bag

Method:

  1. In a large bowl, combine all of the ingredients and mix well.
  2. Store at room temperature when not enjoying.

Hazelnut Mocha Trail Mix Cup

Oat Bran Raisin Cookies

Oat Bran Raisin Cookies

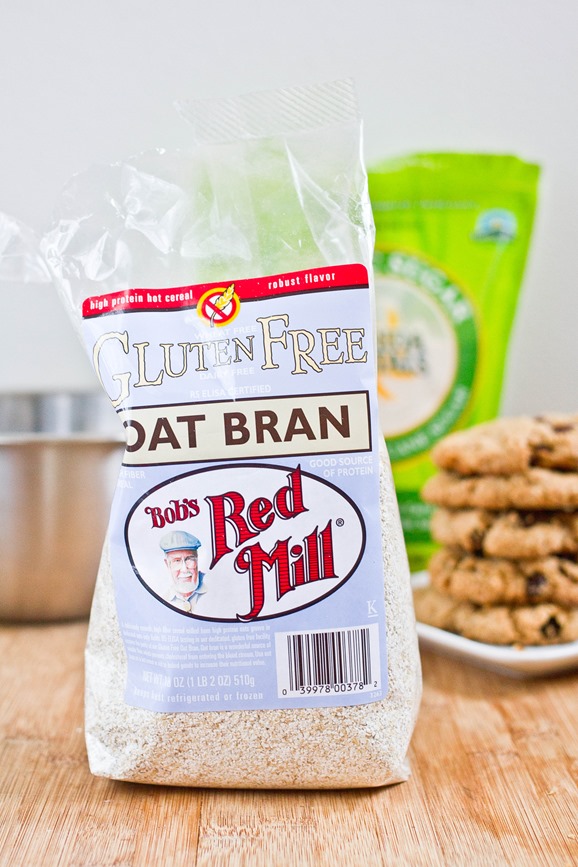
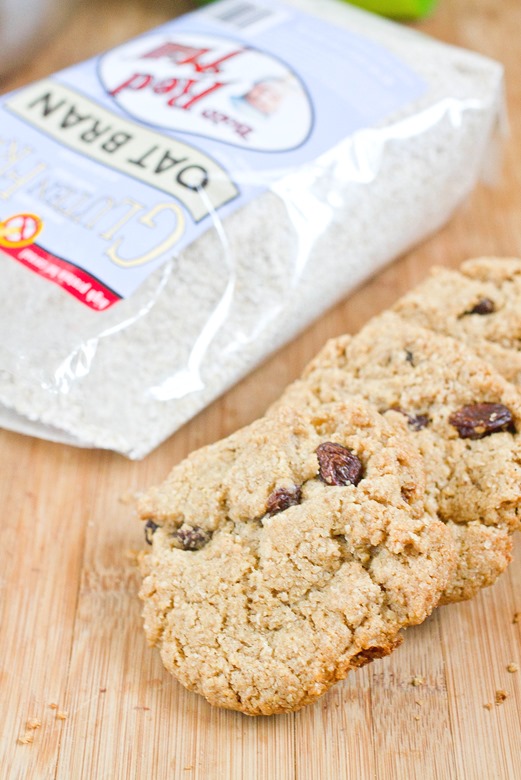
I love that every season there seems to be new gluten-free products on the shelves. I thought I was done with oat bran years ago since gluten-free oats are hard enough on their own to find, but wouldn’t you know Bob’s Red Mill now makes those, too? I was excited to bake with them because oat bran has a finer texture in baked goods not to mention a higher fiber and nutrient content.

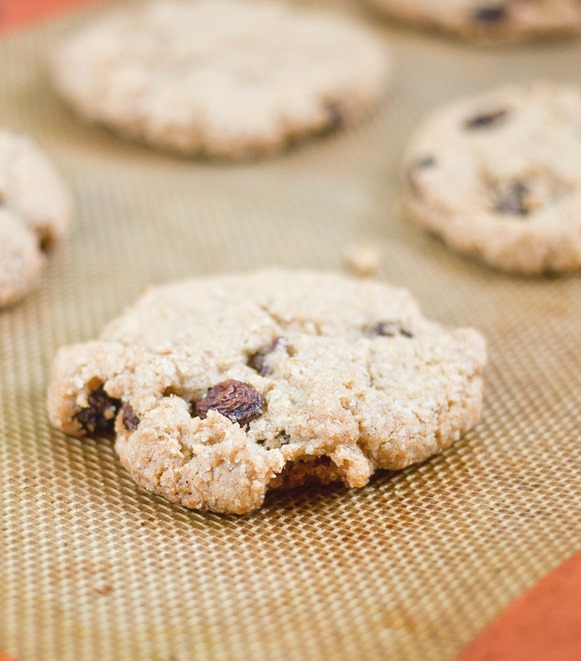
These cookies are just like oatmeal raisin cookies except using oat bran for a different crunch. They aren’t your soft, pillowy oatmeal cookies; since this recipe uses oil and has very little moisture in it, the cookies come out crunchy and chewy. They’re perfect for a dunk in milk or almond milk.

Oat Bran Raisin Cookies Oat Bran

If you don’t have oat bran on hand, you can make oat flour instead by pulsing rolled oats in a food processor or blender. The nutrient contest isn’t quite the same but the textures are very similar. You can add in chocolate chips or any other type of mix-in but make sure not to add too many since they can make it difficult for the dough to stick together.

Oat Bran Raisin Cookies

Prep time: 10 minutes

Cook time: 15 minutes

Ingredients(Makes about 18 cookies):

  • 1 cup oat-bran
  • 1/2 cup all-purpose flour(I used gluten-free all-purpose flour)
  • 3/4 cup sugar
  • 1/2 teaspoon cinnamon
  • 1/2 teaspoon baking soda
  • 1/4 teaspoon salt
  • 1 egg
  • 6 Tablespoons vegetable oil
  • 1/3 cup raisins

Oat Bran Raisin Cookies Cooked

Method:

  1. Preheat your oven to 350 degrees.
  2. In a large bowl, mix together the oat bran, flour, sugar, cinnamon, baking soda and salt.
  3. Beat in the egg and oil until the mixture forms a sticky dough.
  4. Add in the raisins and fold until they’re incorporated.
  5. Roll the dough into roughly 1-inch balls and place them on a non-stick baking tray flattening them slightly.
  6. Bake for 14-16 minutes until the edges turn golden. Remove them from the oven and let them cool for 10-15 minutes before moving to prevent them from crumbling.
  7. Store at room temperature in a sealed container when not eating.

Oat Bran Raisin Cookies Yield


4 Killer Potato Recipes

It’s no secret that I love potatoes. They aren’t the healthiest vegetable for you by any stretch of the imagination but there’s not much you can’t do with some potatoes, oil, salt and pepper. Besides—they’re gluten-free naturally and less than a dollar a pound so there’s a lot to love.

I make potatoes a lot because they fit in as a side dish with just about anything. It helps that there are so many different ways to cook them. If I’m baking some, I’ll throw a few extra in the oven to dice later and turn into home fries. So that’s why I have enough potato recipes on this website to feed a small army; here are four of my favorites that I end up making again and again:

Vegan-Rosemary-Hasselback-Potatoes-Cooked

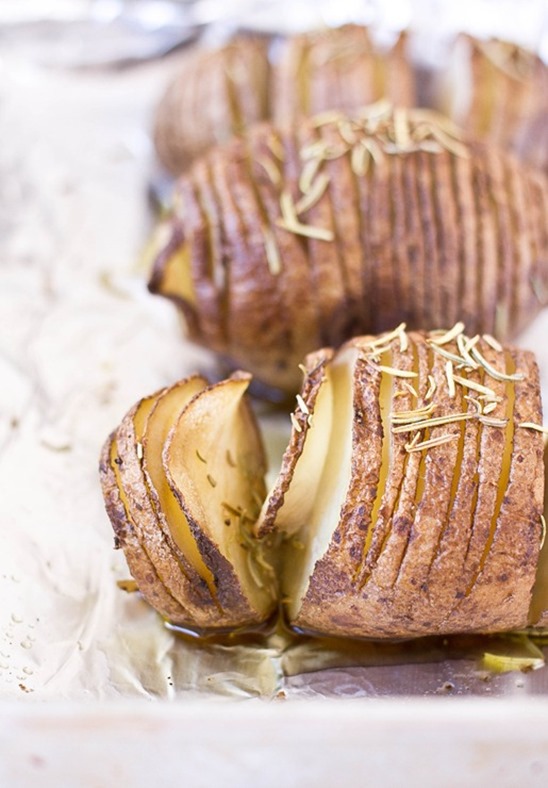
Rosemary Hasselback Potatoes are probably the most impressive to look at out of these recipes. They come out as fun to eat as they are to make. Using olive oil as the fat instead of traditional butter makes them healthier and have a lighter flavor while the slits let more of the potato soak up the oil to cook in. 

Perfect-Grilled-Potatoes-Grilling-Rack

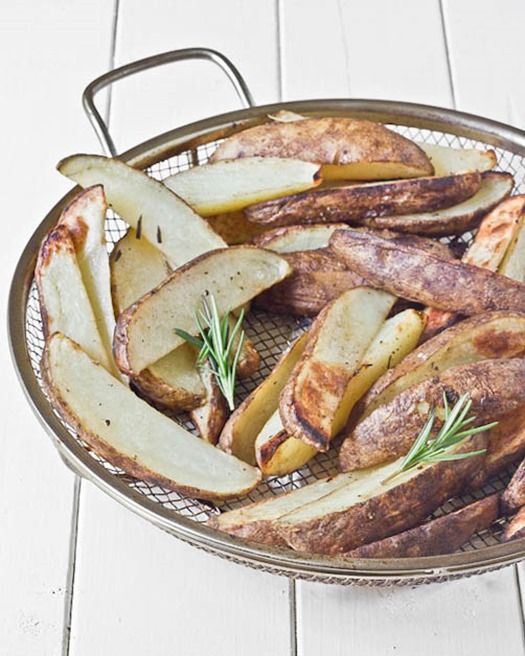
Grilled Potatoes are a lot like thick-cut, deep fried potato wedges except without all the added oils, flour, and fat. They have a smoky, charred flavor that you can’t get in the oven or in a frying pan making them all the more irresistible in the Summer time. They also just look darn impressive coming off of the grill.

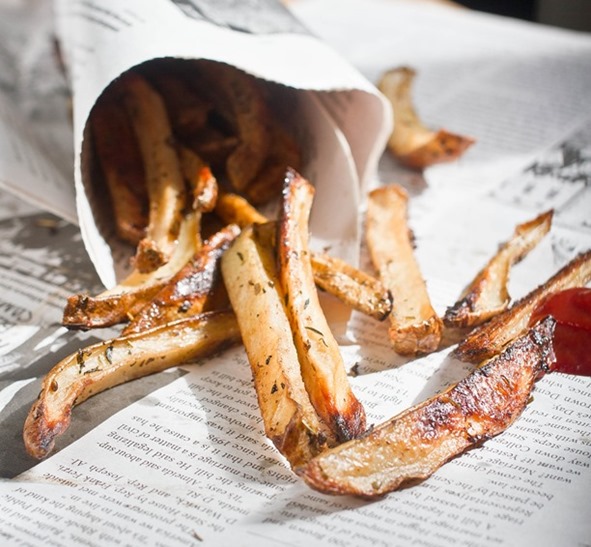
BalsamicHerbOvenFriesServing

Balsamic Herb Oven Fries are a step up from your regular fries because they already have a sweet tanginess baked into them. I’ve gotten into a habit of buying frozen fancy french fries at the store and popping them into the oven before dinner; fortunately recipes like this remind me it’s cheaper and almost easier to make them yourself.

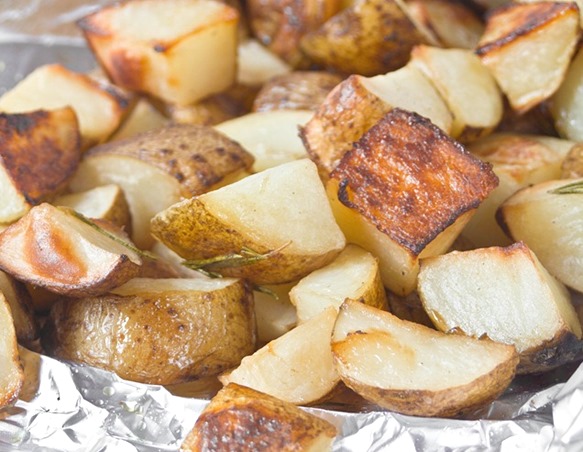
Vanilla-Rosemary-Potatoes-Final-Product

Vanilla Rosemary Potatoes are great if you want to try something new and a little foreign with the same old ingredients you have at home. The vanilla adds a sweet and savory flavor that’s hard to put you finger on if you don’t know it’s there. This is one potato recipe where it’s better to skip the pepper and just enjoy a touch of salt.
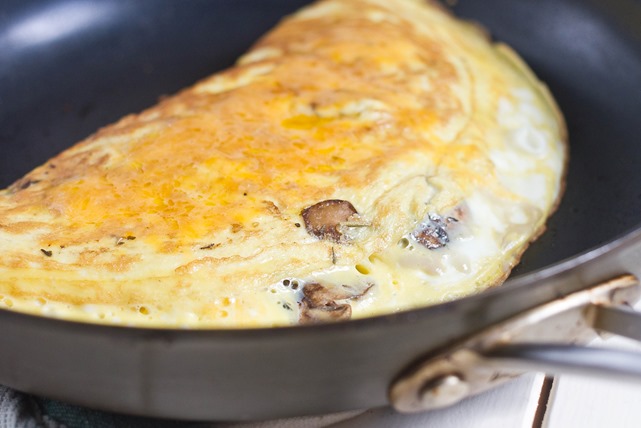
Mushroom and Herb Cheese Omelette

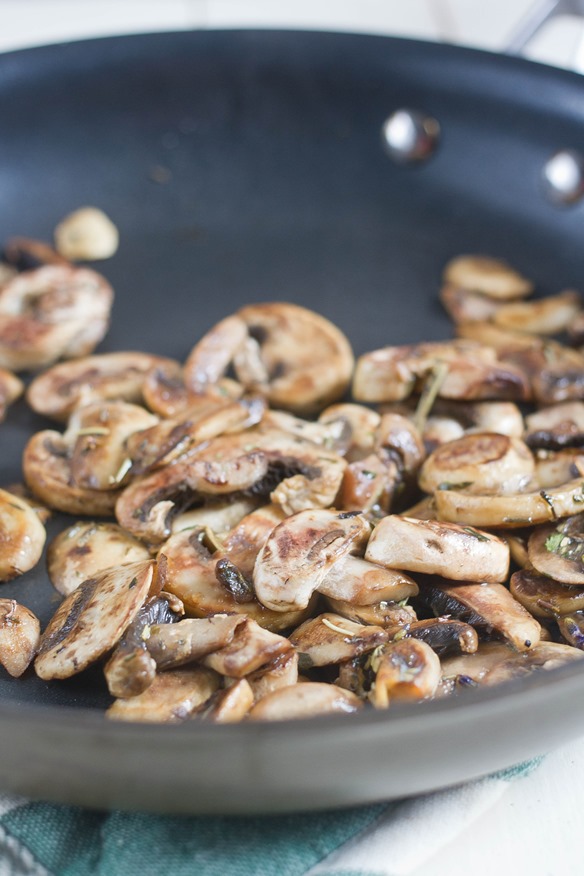
Mushroom and Herb Cheese Omelette Mushrooms

A lot of the best food just isn’t very photogenic. Eggs and melted cheese always taste good without fail, but they don’t come off as pretty on a plate. Still—how could you say no to making anything with melted cheese?
I’m not a big fan of mushrooms on their own but they add a great flavor and texture to just about anything. They also soak up all of the flavors around them so chances are if you don’t like mushrooms you just haven’t made them properly yet. Sautéing them in oil and herbs before adding them to the omelette gives them extra flavor and keeps them from tasting like rubber. 
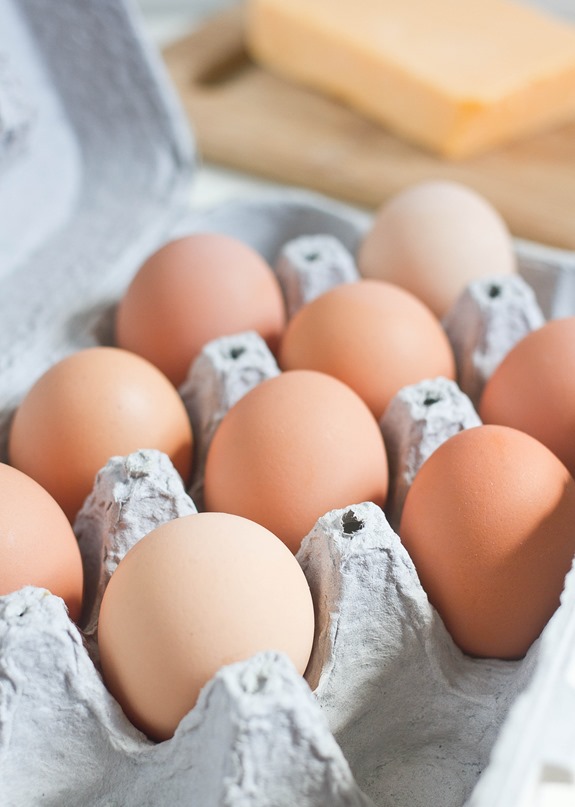
Mushroom and Herb Cheese Omelette Eggs

If you don’t have herbs or want to flavor this differently, you can sauté some garlic and onions or fresh peppers with the mushrooms for something spicy or sweet instead of savory.

Mushroom and Herb Cheese Omelette

Prep time: 5 minutes

Cook time: 10 minutes

Ingredients(For 2 servings):

  • 3/4 cup mushrooms
  • 2 Tablespoons olive oil
  • 1/2 Tablespoon dried herbes de Provence
  • 1/2 teaspoon salt
  • 5 extra large eggs
  • 1/2 cup grated sharp cheddar cheese

Mushroom and Herb Cheese Omelette Finished

Method:

  1. Heat the oil in a pan over a burner set to medium.
  2. Sauté the mushrooms for about 5 minutes until they brown on both sides. Add in the herbs halfway through your cooking.
  3. Remove the mushrooms from the heat and season them with the salt. Set them aside in a separate bowl.
  4. Crack and beat the eggs together. Return the pan to the burner with a little bit of oil on the bottom to prevent the eggs from sticking.
  5. Pour in the beaten eggs and let them cook until the bottom has set.
  6. Spread the mushrooms and half of the cheese out over half of the pan of eggs. Carefully with a spatula lift the other half to fold it over the mushroom and cheese.
  7. Cover the omelette and let it cook through until the egg has set.
  8. Lift the cover and add the remaining cheese on top. Cover again until the cheese has melted.
  9. Move to a plate and serve hot.

Maple Hazelnut Granola

Maple Hazelnut Granola

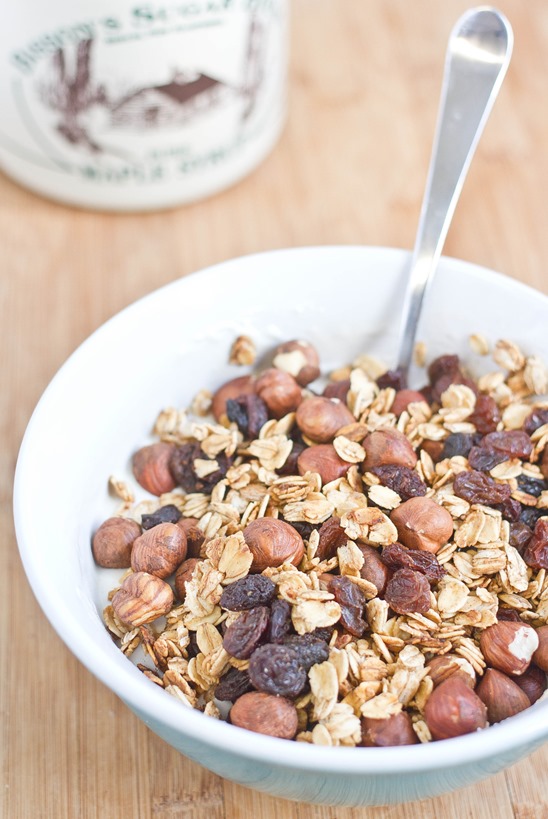
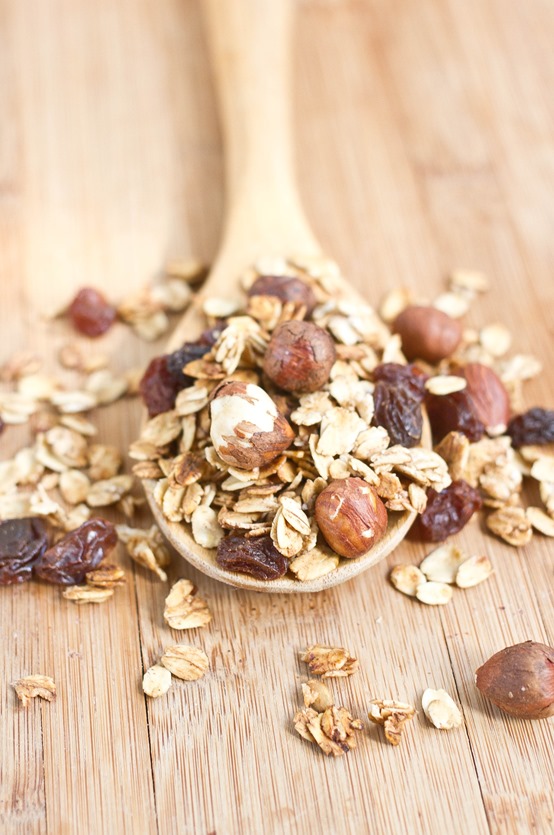
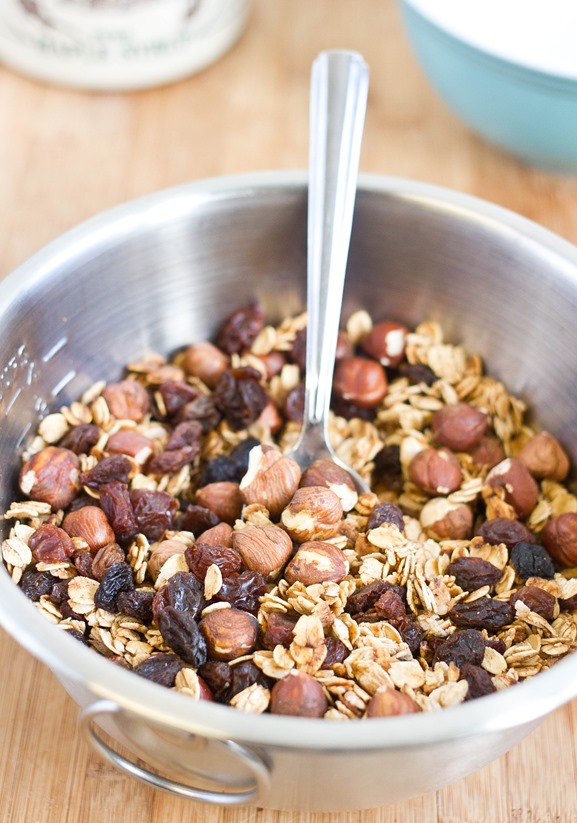
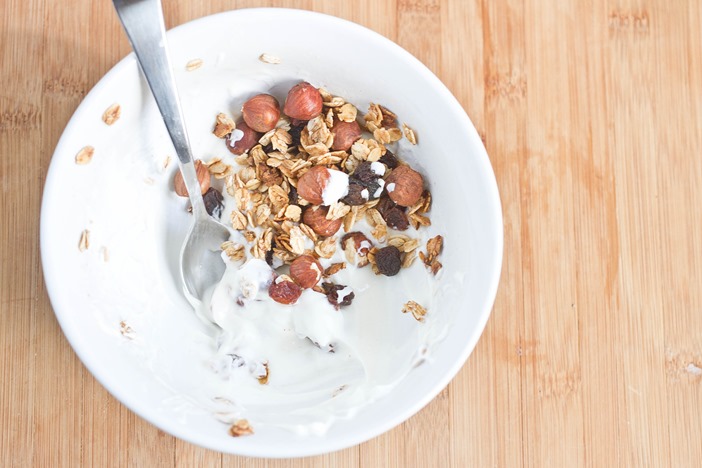
It’s been a while since I’ve posted a recipe for granola. That’s mostly because I’ve been reluctant to pay $7 for a bag of gluten-free rolled oats at the grocery store near me. But this week I finally caved in because I’d missed a bowl of hot, soft oatmeal in the morning and chewy, crunchy granola on my yogurt.

I love the subtle flavor of maple syrup; when I sweeten my yogurt I usually choose maple syrup over honey. It’s even better with a little cinnamon and vanilla mixed in to remind you of warm french toast. This granola is great over some maple yogurt but also by the handful.

Maple Hazelnut Granola Sample

This granola isn’t too sweet on its own. If you prefer a sweeter granola, increase the maple syrup to 1/2 cup. You can also add some chocolate chips once the granola has cooled for a fun flavor.

Maple Hazelnut Granola

Prep time: 10 minutes

Cook time: 20 minutes

Ingredients(Makes about 3 1/2 cups):

  • 2 1/2 cup rolled oats
  • 1/3 cup maple syrup
  • 2 Tablespoons cooking oil
  • 1 teaspoon vanilla extract
  • 1/2 teaspoon cinnamon
  • 1/4 teaspoon salt
  • 1/2 cup hazelnuts
  • 1/2 cup raisins

Maple Hazelnut Granola Yield

Method:

  1. Preheat your oven to 350 degrees.
  2. In a large bowl, mix together the oats, syrup, oil, vanilla, cinnamon and salt thoroughly.
  3. Lay the oats out on a non-stick baking tray in a thin layer.
  4. Bake for 20-25 minutes until the oats are toasted but not burnt.
  5. Remove the granola from the oven and let the oats cool.
  6. Once cool, toss the oats with the hazelnuts and raisins until thoroughly mixed.
  7. Store in an air-tight container at room temperature when not eating.

Maple Hazelnut Granola Serving

Easy Nutella Brownies

Easy Nutella Brownies

A lot of the time when it comes to food blogging there’s usually a pressure to make everything homemade. Homemade cake. Homemade frosting. Homemade powdered sugar. Homemade butter. Everything.

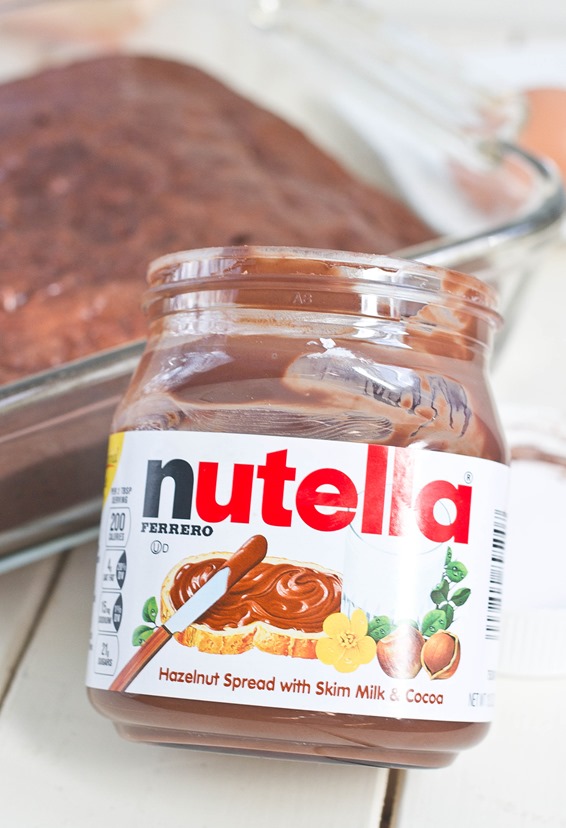
This recipe has just about nothing homemade. If you want to make your own Nutella and brownies from scratch that’s fine; invite me over when you do. But if you’re in a rush or just alone on a Friday night and feel like making brownies this is probably a better choice because it’s more convenient and you can eat Nutella off of a spoon while you’re waiting for the brownies to cook.

Easy Nutella Brownies Nutella

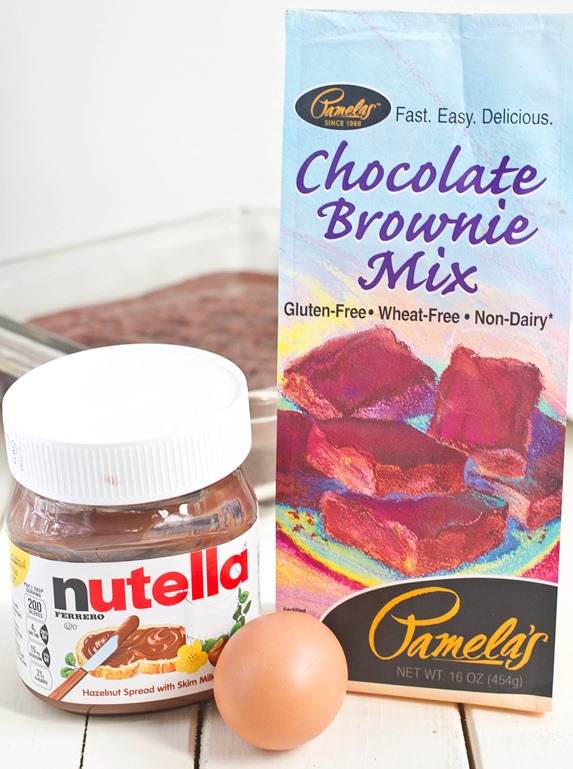
You can use any brownie mix for this recipe as long as it’s for an 8 x 8 baking pan. I used the gluten-free kind pictured below and they came out delicious. Ignore the suggested egg and oil mix-ins and use the amounts listed below.

Easy Nutella Brownies

Prep time: 10 minutes

Cook time: 25 minutes

Ingredients(Makes one 8 x 8 pan):

  • 1 16oz brownie mix
  • 1 egg
  • 1/2 cup Nutella
  • 1/4 cup cooking oil
  • 1/4 cup water

Easy Nutella Brownies Ingredients

Method:

  1. Preheat your oven to 350 degrees.
  2. In a large bowl, combine all of the ingredients and mix well. If the batter is too thick, add an extra 1/4 cup of water to thin it to a brownie batter consistency.
  3. Grease an 8 x 8 baking pan.
  4. Pour the batter into the pan and spread it into an even layer.
  5. Bake for 25-30 minutes until the center of the brownies has set.
  6. Remove from the oven and let the brownies cool before cutting.

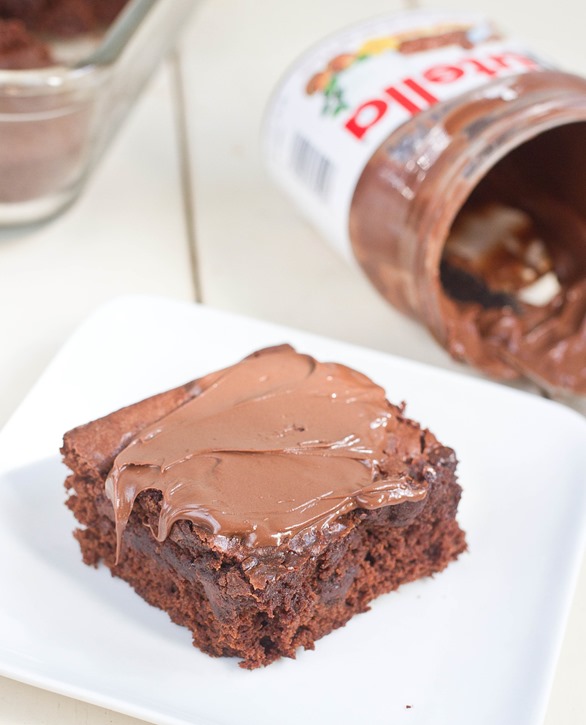
Easy Nutella Brownies Frosted

Frosting choice should be obvious.

Bailey’s Hot Chocolate Truffles

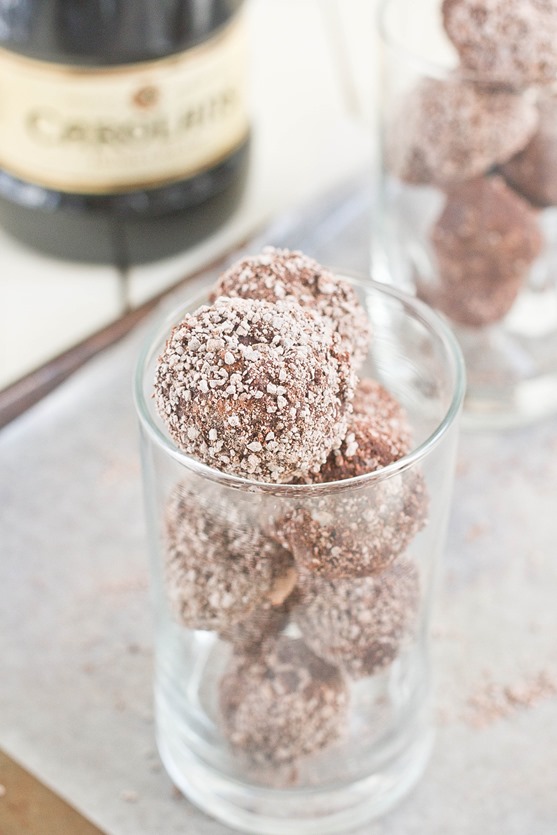
Bailey's Hot Chocolate Truffles

Spring is usually the end of hot chocolate and Bailey’s on the rocks, but with the weather we’ve been having this week I think it’s perfectly alright to keep those on the table for a little while longer.

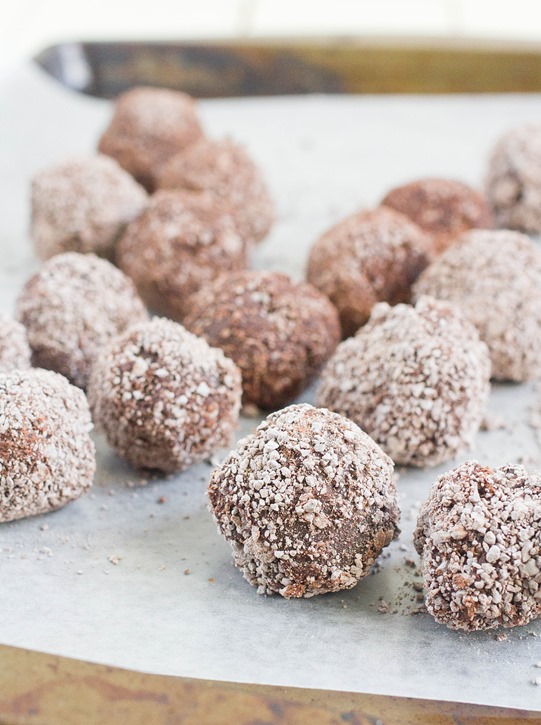
I wanted to make these truffles for a friend and also as an excuse to pick up discounted Irish cream the day after St. Patrick’s day. The alcohol gives them a special warming kick that’s undeniably good. Since I was running low on cocoa powder, I used hot chocolate mix to dust them instead; I think they turned out a lot better than usual because they don’t have that bitter bite that cocoa powder tends to give.

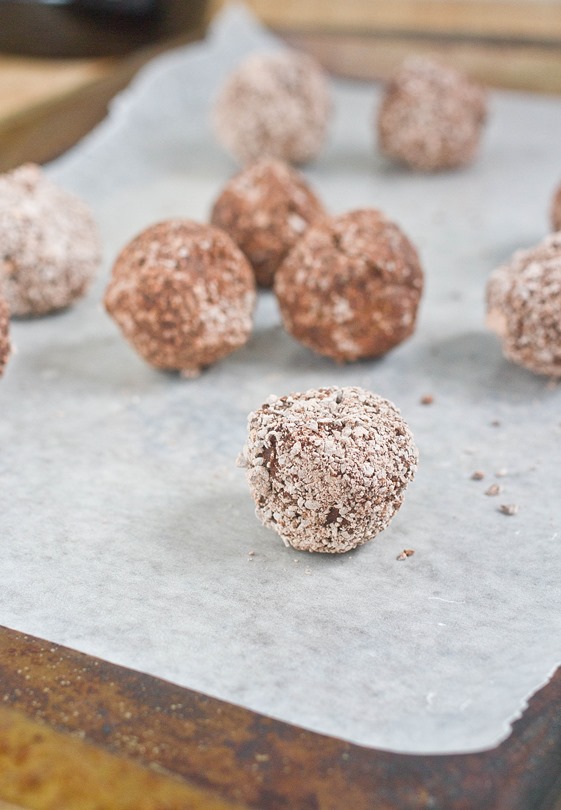
Bailey's Hot Chocolate Truffles Individual

I used American Heritage chocolate drink mix for the coating which was rich and flavorful. I wouldn’t recommend using a mix that is overly processed or full of chemicals. You could also mix 6 Tablespoons of sugar and 2 Tablespoons of cocoa powder for a nearly identical coating.

Bailey’s Hot Chocolate Truffles

Prep time: 25 minutes

Cook time: 0 minutes

Ingredients:

  • 1 cup(8.5oz) semi-sweet chocolate chips
  • 6 Tablespoons Irish cream
  • 2 Tablespoons butter
  • 1/2 cup powdered hot chocolate mix*

*See paragraph above 

Bailey's Hot Chocolate Truffles Yield

Method:

  1. Melt the chocolate chips and butter together in a microwave or over a double boiler.
  2. Mix the Irish cream into the melted chocolate until it’s smooth and shiny.
  3. Refrigerate or freeze the chocolate until it’s semi-soft and doesn’t stick to your hands. You want it to be a little colder than you think it should be since your hands will warm it over time.
  4. Pour the hot chocolate mix into a small bowl or onto a small plate.
  5. With a melon-baller or a spoon, carve out pieces of chocolate about 1-inch in width. Roll the chocolate into as round a ball as you can and drop it into the hot chocolate mix.
  6. Roll the ball around in the hot chocolate mix until the sides are all covered and move it to an air-tight container.
  7. Refrigerate the truffles for 30 minutes for the right consistency before eating.  Keep them refrigerated when not enjoying.

White Chocolate Peanut Butter Cookies

White Chocolate Peanut Butter Cookies

I find it very easy to get addicted to certain ingredients. Lately for me it’s been white chocolate baking chunks from Whole Foods. I try not to eat them straight out of the bag and actually make recipes with them, but these kind of things happen.

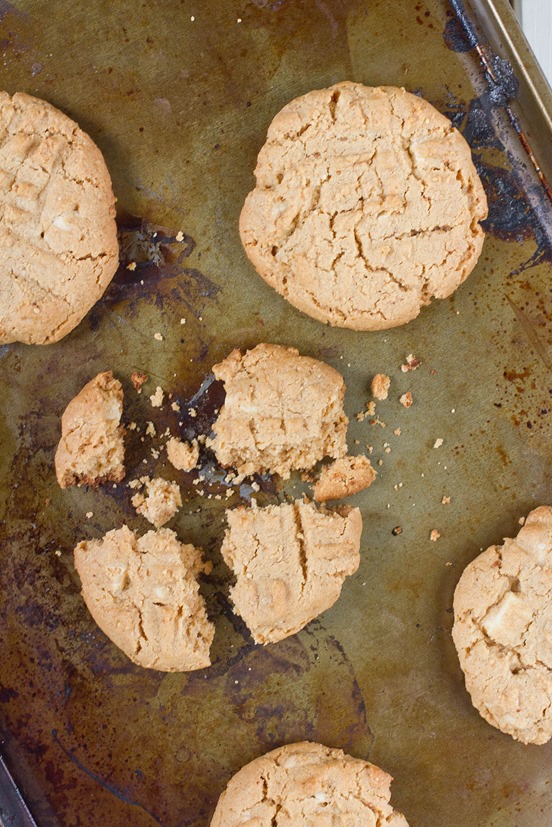
To finish off the bag and keep myself from eating them with spoonfuls of Nutella(highly recommended by the way) I made these cookies with the last 1/2 cup. I didn’t know white chocolate and peanut butter went so well together until I tried Peanut Butter & Co.’s White Chocolate Wonderful and they opened my eyes. These cookies have all the goodness of nutty peanut butter with creamy white chocolate—what more could you ask for?

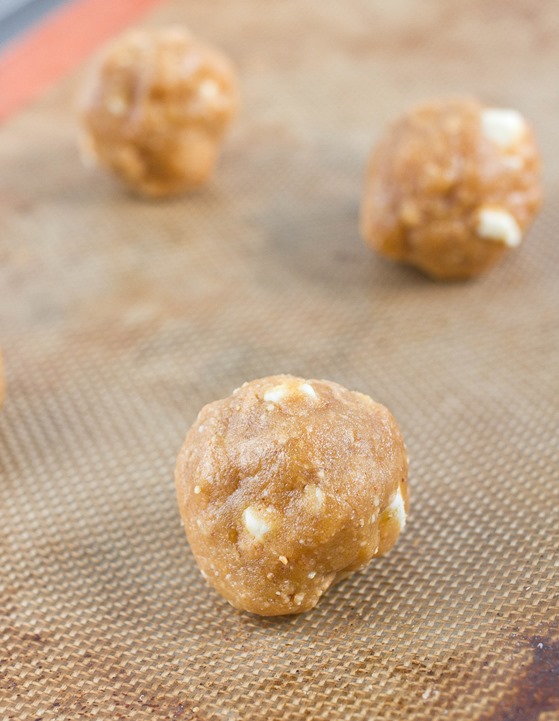
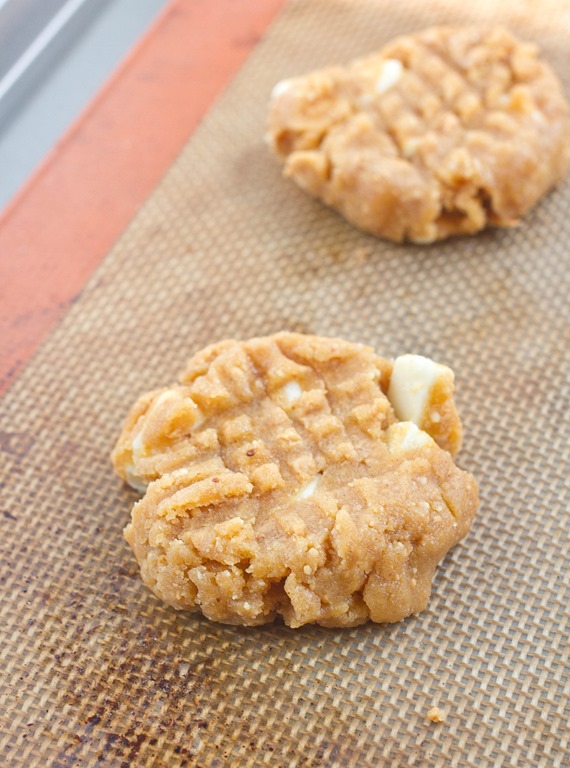
White Chocolate Peanut Butter Cookies Raw

This is basically your grandmother’s easy peanut butter cookie recipe with white chocolate mixed in. You could use white chocolate peanut butter or some earthy spices to mix it up but I think they’re just as addictive when they’re done simple.

White Chocolate Peanut Butter Cookies

Prep time: 10 minutes

Cook time: 12 minutes

Ingredient(Makes a dozen cookies):

  • 3/4 cup creamy peanut butter
  • 1 egg
  • 1/2 cup + 2 Tablespoons sugar
  • 1/2 teaspoon vanilla extract
  • 1/4 teaspoon baking soda
  • 1/2 cup white chocolate chips

White Chocolate Peanut Butter Cookies Dough

Method:

  1. Preheat your oven to 350 degrees.
  2. In a large bowl, beat together the peanut butter, sugar, egg, vanilla and baking soda.
  3. Fold in the white chocolate chips evenly.
  4. Roll the dough into 1-ounce balls. Lightly press down on the balls with a fork in a criss-cross pattern to flatten it to about 3/4-inch thickness.
  5. Bake for 12-14 minutes until the tops are firm to the touch and the edges begin to brown.
  6. Remove the cookies from the oven and let them cool before moving to a separate plate.