Tag Archive: Raw

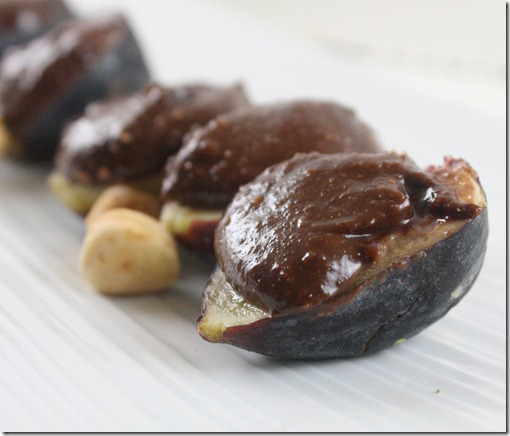
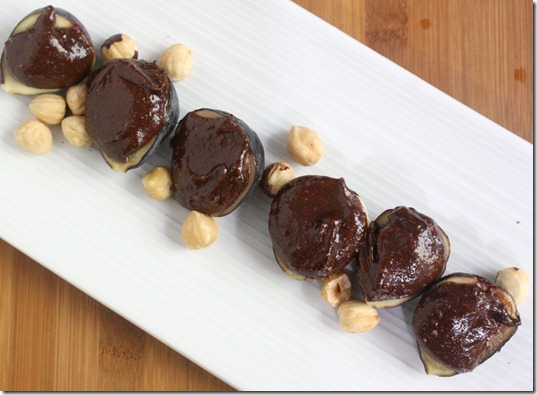
Chocolate Hazelnut Stuffed Figs

chocolate-hazelnut-stuffed-figs

In the time of the Ancient Greeks(my area of study), figs were considered a food of the Gods. Chocolate meanwhile was considered a food of the Gods by Mayans and Aztecs living thousands of miles away in South and Central America. Now, I’m not saying the Greeks were wrong, but I’d have to side with the Americans on this one.

chocolate-hazelnut-stuffed-figs-ingredient

Even still, figs are pretty spectacular. For 2 weeks or so every year they’re at the peak of their season, and I always buy a few cartons when they go on sale. Figs remind me of France which leads me to France’s number 1 export(or at least in the heart of foodies): Nutella. The filling in this recipe is sort of like Nutella in that it uses cocoa powder and hazelnuts, but the raw ingredients produce a much more intense, dark flavor that pairs perfectly with sweet fruit.

Don’t have hazelnuts? This would taste great with almonds instead.

Chocolate Hazelnut Stuffed Figs

Prep time: 10 minutes

Cook time: 0 minutes

Ingredients(makes 16 amuse-bouches):

  • 8 Figs
  • 1/2 cup hazelnuts
  • 2 Tablespoons agave nectar
  • 2 Tablespoons cocoa powder
  • 2-3 Tablespoons water
  • Pinch of salt

chocolate-hazelnut-stuffed-figs-spread

Method:

  1. In a food processor, blend the hazelnuts until they start to form a paste.
  2. Add into the processor the agave, cocoa powder, and salt and continue blending until mixed.
  3. Slowly add the water until the filling is loose and spoonable like a thick mousse. Make sure not to add too much water and make this runny.
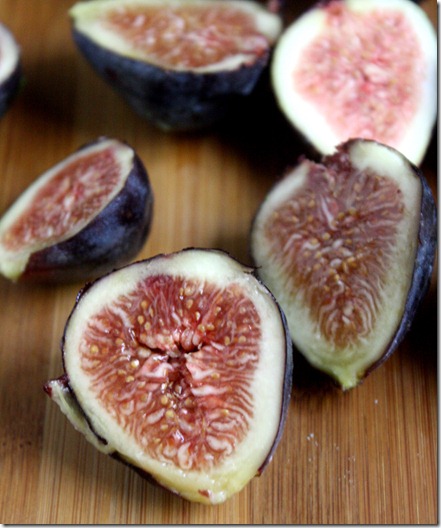
  4. Cut each fig lengthwise and lay them out cut side-up on a plate.
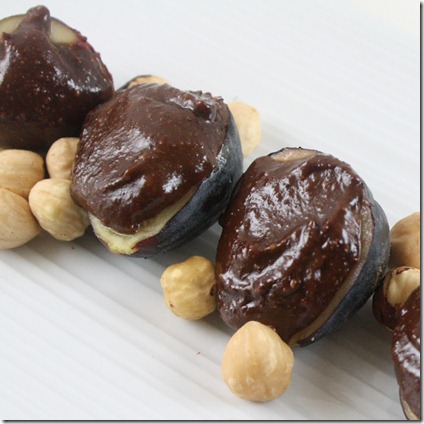
  5. Spoon 2 teaspoons of filling onto each fig. Serve at room temperature.

chocolate-hazelnut-stuffed-figs-garnish

I think the Greek Gods would be pleased.

Eat Your Feelings

Sep. 4th 045

I have the internet to thank for letting me know this past weekend was Labor Day, and all of the tweets and Facebook statuses about having a day off from work. My mind was pretty occupied because it was moving weekend for me. For the third time I moved back to Providence to start another school year. But first was a day of packing, loading, driving, unloading, unpacking and organizing, and for someone who hates change like me that’s pretty much Hell on Earth.

Sep. 4th 056

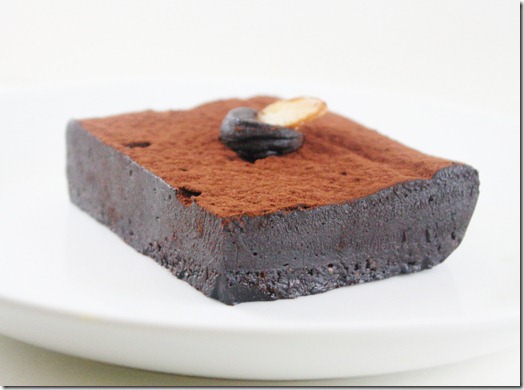
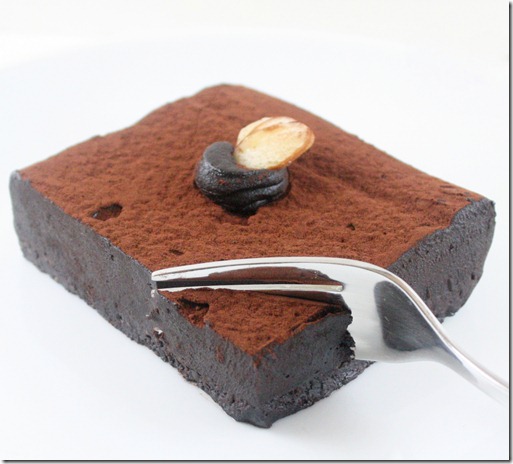
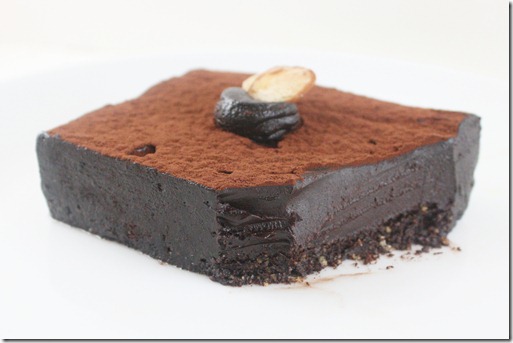
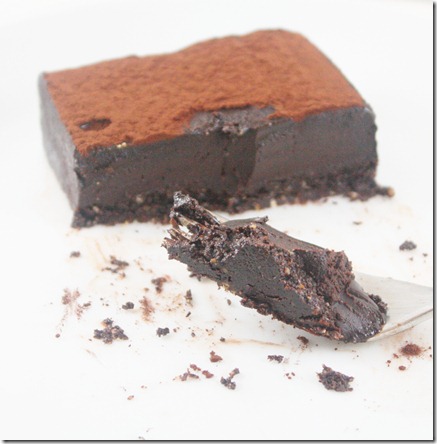
I should say the day wasn’t all bad; what definitely helped was the trip to Wildflour for a smoothie and raw ganache torte to take home for later. Some people like to unwind with a cold beer on a Friday night, or a glass of wine paired with dinner. I am without question a chocolate man. At the end of the day I just want to sit down with something rich, sweet, and—most importantly—chocolaty, and this was one hell of a day.

Sep. 4th 064

I thought I might stop after half. This thing is after all pretty much a block of coconut oil, cocoa powder, cocoa butter(?), sugar, and nuts, and I’ve still got a ways to go before I’ll be in the shape I want to be in for the Philadelphia Marathon. But with each bite I remembered the surprise trip to Bed, Bath & Beyond, the frantic trip through Whole Foods to restock an empty fridge, the plate of raw vegetables, hummus, and plain tempeh that became dinner because I had no energy to cook, and the chocolate made all of that feel better.

Sep. 4th 081

There’s been something going around on Pinterest to the effect of,

“Don’t reward yourself with food. You’re not a dog.”

Excuse me? But I love food, especially the ones that are bad for me. And I love dogs, too. I don’t see the problem here. 

Food has a way of affecting your mood, both good and bad. There are things you can’t control, like a long day at work, or other people’s attitude, or stressful move. But you can control what you put in your body. And sometimes the best thing for your body is filled with sugar, fat, and—of course—chocolate.

Sep. 4th 095

We all saw where that was going, right?

Go ahead; eat your feelings once and a while. You’ll feel better for it.

How To Massage Kale

how-to-massage-kale-serve

I know this is the second kale post in 3 days, but bear with me; it’s that good.

The first time I had massaged kale was at Whole Foods from the salad bar. It was so good I ended up getting it every time I went in. But after a while of paying $7.99 per pound for it I figured it had to be cheaper to make at home.

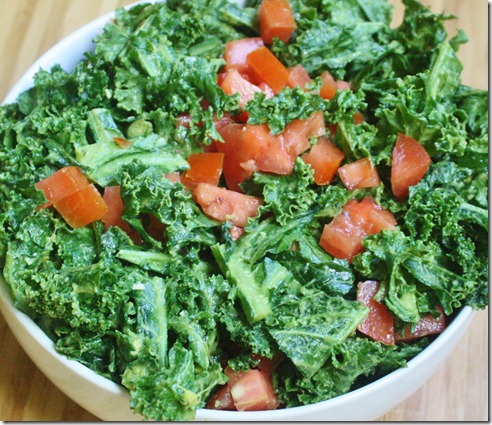
Massaging your own kale takes just a few ingredients and 5 minutes. It breaks down the kale without heating it so the nutrients all remain but the taste is less bitter and bite less sharp. It’s a great nutritious side dish or base for a salad.

how-to-massage-kale-music-candle

It’s totally optional but dimming the lights, lighting a candle, and putting on a slow song really sets the mood. This is a massage after all. 

How To Massage Kale

Prep time: 5 minutes

Cook time: 0 minutes

You’ll need(for 2 side servings)…

  • 2 cups roughly chopped kale
  • 1/2 a large avocado
  • Juice of 1/2 lemon(or lime), about 1 Tablespoon
  • 1 medium tomato, diced
  • 1/4 teaspoon sea salt

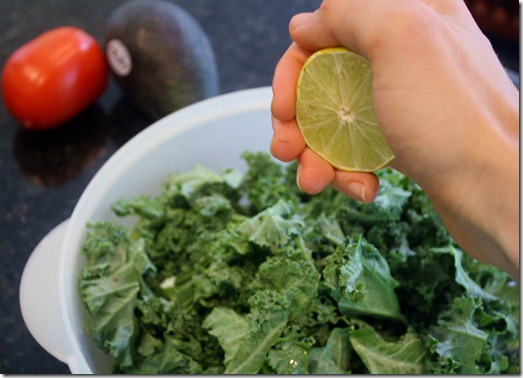
how-to-massage-kale-lime

In a large bowl, mix the greens with the citrus juice.

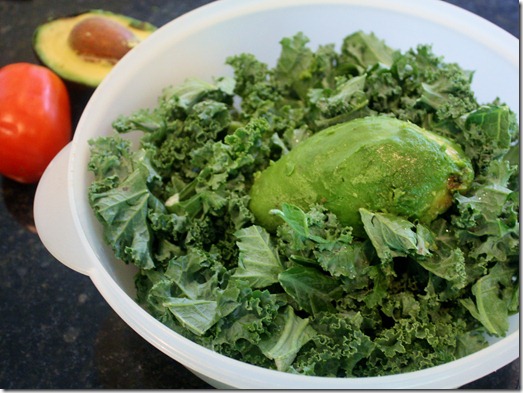
how-to-massage-kale-avocado

Add in your avocado. Then it’s time to gently massage the avocado into the kale…

how-to-massage-kale-technique

Or, if you’re like me, it’s going to look a lot more like clumsy groping than an actual massage. I guess the two are close enough; one usually leads to the other, right? Anyway, massage the kale by working it with you’re hands, incorporating the avocado and lemon juice. You’ll hear a lot of crunching noise. After about 5 minutes you’ll notice the kale turns from a muted color to a more lively green. That’s when it’s ready.

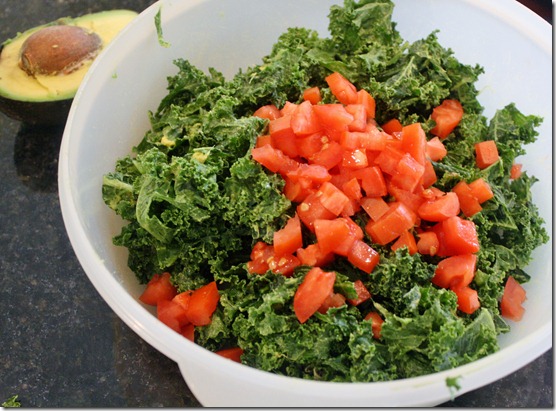
how-to-massage-kale-tomato-dice

Add in the diced tomato and sea salt and gently fold all of the ingredients together. Serve at room temperature.

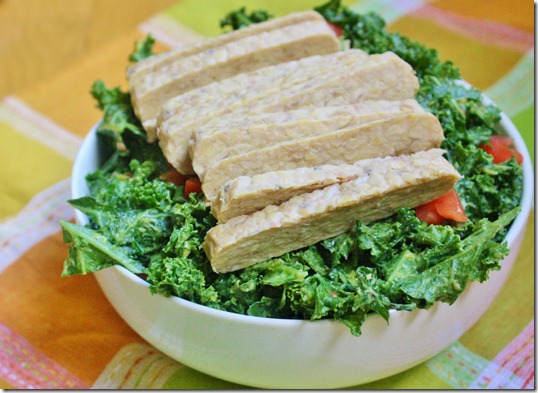
how-to-massage-kale

This method is so much cheaper than buying it from the salad bar, and much quicker than I expected, too! Whole Foods uses about twice as much avocado for this much kale. That’s probably why it tastes so much better there.

Chocolate Hazelnut Balls

Chocolate-hazelnut-balls

Something exciting happened last week: I went viral for the first time. No, that doesn’t mean I need to be put on antibiotics. My post on Raw/Vegan Chocolate Hazelnut Cake got picked up on StumbleUpon and things got a little crazy. In 3 days it obliterated almost every page view record my tiny little site had. Last I checked it had 26,000 views; I guess people like cake? I posted How To Use StumbleUpon To Promote Blog Content last February and had a little success since then but this was ridiculous.

chocolate-hazelnut-balls-serving

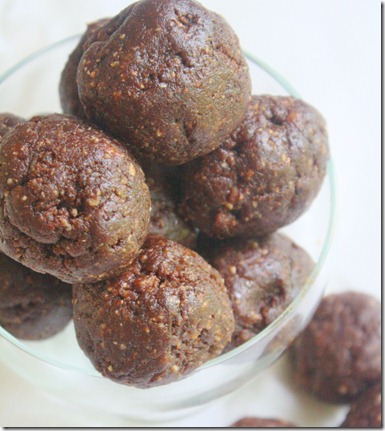
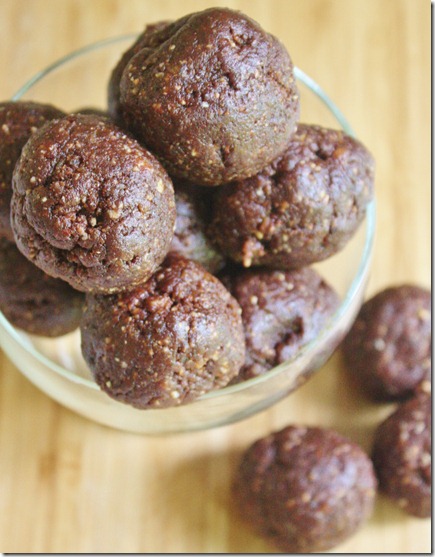
Because of that, I’ve had this cake on my mind pretty much non-stop since. Even though it’s raw and vegan, cake isn’t really a “health food”. I wanted something like it that I could eat any time, any place. These chewy little balls are just that. They’re flavorful, portable, and incredibly delicious. It’s almost like having the real dessert but much more socially acceptable for a mid-afternoon snack… or at 10am when you still haven’t put on clothes for the day.

Make sure when you’re forming the balls that there are no date pits in the final product. Even though store-bought dates are usually pit-free, it’s very likely that one or two slipped by, and those are not nice to bite in to.

Chocolate Hazelnut Balls

Prep Time: 10 minutes

Cook Time: 0 minutes

Ingredients(makes 14 balls):

  • 1 1/4 cup hazelnuts, raw
  • 2 cups pitted dates
  • 3 Tablespoons cocoa powder
  • ~2 Tablespoons water

chocolate-hazelnut-balls-bowl

Method:

  1. Blend the hazelnuts into a fine powder in a food processor
  2. Add in the dates and continue blending until the dates have broken up into smaller pieces
  3. Add the cocoa powder and continue blending
  4. Slowly add water into the processor while blending until the flour starts sticking to itself and becoming a dough. Stop adding water and turn off the food processor as soon as the ingredients hold together and form a giant ball.
  5. Store at room temperature in an airtight container.

These make a perfectly healthy snack…

chocolate-hazelnut-balls-cake

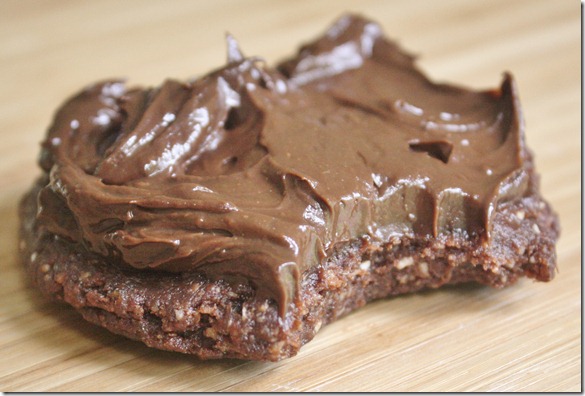
…until you remember you still have leftover frosting and decide to make 2 balls into a cake. Still pretty healthy and incredibly delicious.


Raw Pad Thai

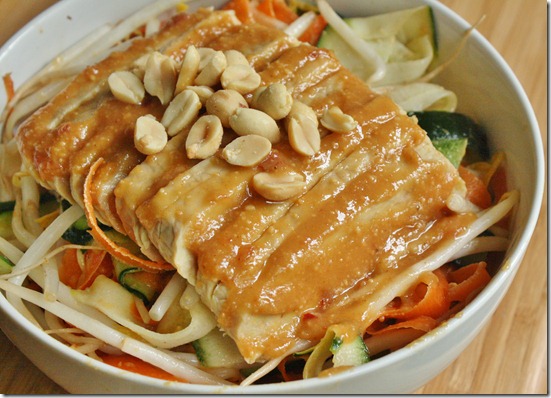
raw-pad-thai

When I shared A Day In The Life Of A Restaurant Intern, a reader wanted to know more about the raw pad Thai bowl I had for lunch. This is something I’ve been making all Summer long and honestly I never blogged about it because I didn’t think it was that exciting. Healthy? Yes. Delicious? No doubt. An excuse to eat peanut butter for every meal? Totally. But not really exciting.

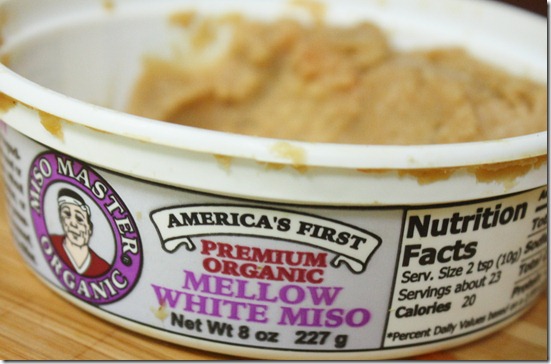
rw-pad-thai-miso

I never really make this the same way, sometimes adding sesame oil, sometimes using chickpeas instead of tempeh—you get the idea. One ingredient I highly recommend investing in is miso paste. I never really knew much about it before a few months ago and certainly never would buy it at the store. Now I wouldn’t keep a refrigerator without it. The salty/savory flavor is truly unique and adds a special depth of flavor that’s crosses cultures. I’ve used this in place of garlic, onions and salt in greens and beans and it tastes just as good. It’s definitely worth the investment.

Raw Pad Thai

Ingredients(For one serving):

  • 1 zucchini
  • 2 carrots
  • 1/2 cup bean sprouts
  • 1/2 block tempeh
  • peanuts to garnish

For the sauce:

  • 2 Tablespoons peanut butter
  • 2 teaspoons maple syrup
  • 1 Tablespoon rice vinegar
  • 1/2 Tablespoon white miso paste
  • 1 teaspoon siracha sauce(optional)

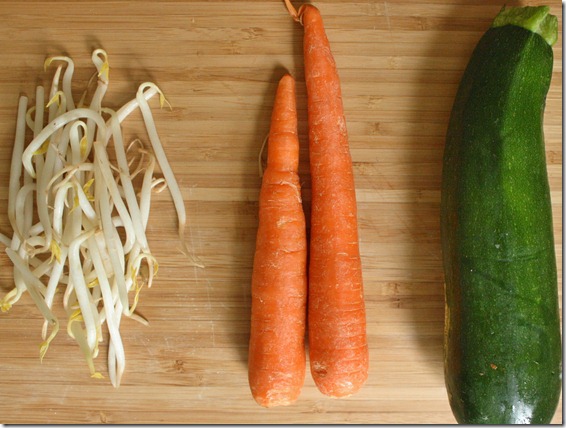
raw-pad-thai-ingredients

Method:

  1. Using a vegetable peeler, peel the zucchini and carrots into long, thin “noodles” using as much of the vegetables as possible.
  2. Make the sauce by mixing together the peanut butter, maple syrup, vinegar, miso, and siracha if using until smooth. If necessary add a few teaspoons of water until the sauce is runny yet thick.
  3. Toss the sauce with the vegetable “noodles” and bean sprouts in a large bowl reserving about a tablespoon of sauce.
  4. Plate the noodles in a bowl.
  5. Slice the tempeh on a bias and plate it on top of the sauced noodles.
  6. Spread the reserved sauce on top of the tempeh. Garnish with peanuts if desired.
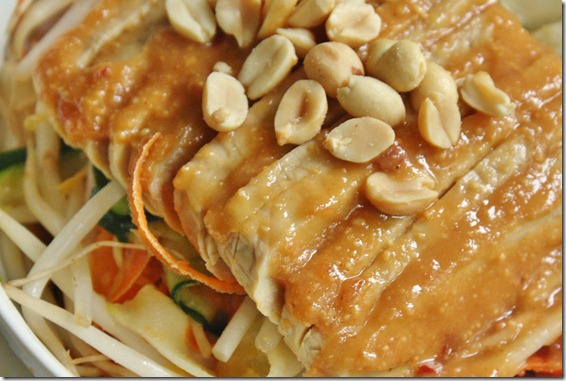
raw-pad-thai-tempeh

Like I said, you can play around with the ingredients to suit what’s in your pantry. I could eat tempeh and peanut butter all day long so this is how I like it best. 

Hazelnut Chocolate Cake {Raw/Vegan}

hazelnut-chocolate-cake

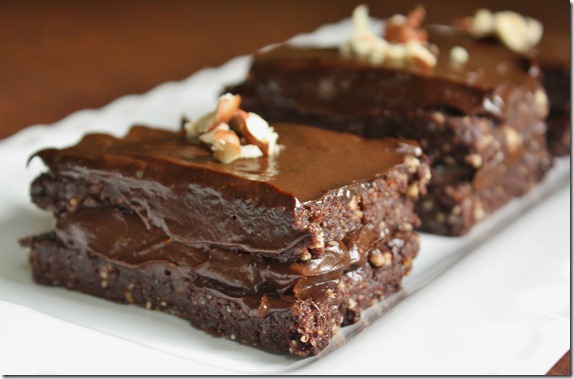
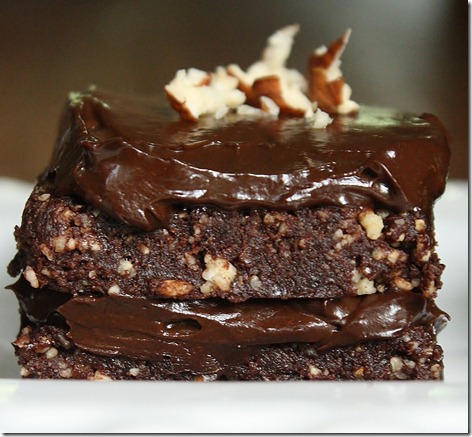
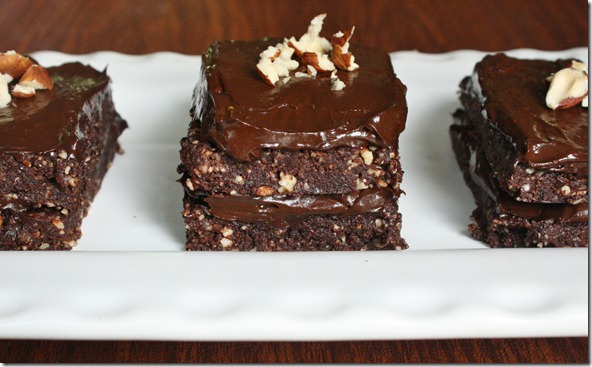
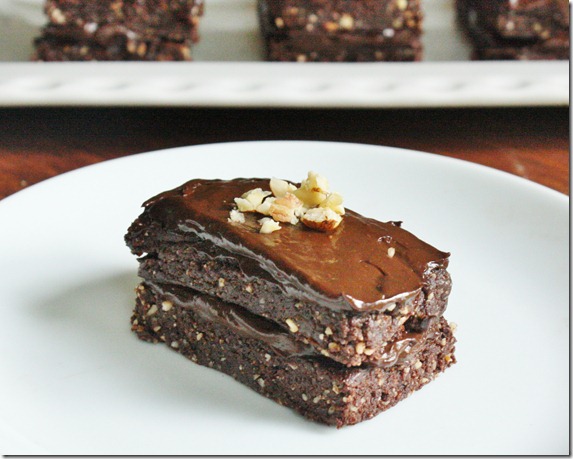
Saturday night we had a special dinner with family friends. For one weekend all 8 of us were around before starting vacations and school again; one of is even spending a year studying at Oxford(no, it’s not me; yes, I’m jealous). That called for cake. I had been wanting to make this recipe for a while and wanted to wait until just the right celebration. Everyone loved it, although when I told them the frosting involved avocado you would have thought I told them my own hair was in it. They started eating it again 2 seconds later when they remembered how good it was and decided you couldn’t taste the avocado.

hazelnut-chocolate-cake-front

I actually made this cake for Father’s Day last year and featured it as a guest post on Gena’s blog. Since then I’d completely forgotten about it and had to go look it up to remember how to make it. Now that I remembered, I kind of wish I could forget again. The ones that we didn’t give away didn’t last long in this house. It’s hard to say no to a piece of cake, and even harder when you can tell yourself it’s “healthy” because it has fruits and nuts in it.

Hazelnut Chocolate Cake {Raw/Vegan}

Prep time: 20 minutes

Cook time: 0 minutes

Ingredients(makes 5 2×3-inch frosted cakes):

  • 2 cups hazelnuts
  • 1 cup pitted dates
  • 3/4 cup cocoa powder, divided
  • 1/2 cup + 2 tablespoons maple syrup, divided
  • 1 medium avocado
  • Crushed hazelnuts for garnish

hazelnut-chocolate-cake-plated

Method:

  1. Pulse the hazelnuts in a food processor until finely ground into a flour
  2. Add in the dates, 1/2 cup cocoa powder, and 1/4 cup maple syrup and process until it forms into a thick dough that sticks together.
  3. Lay the dough out between two sheets of parchment paper and roll to about 3/4-inch thickness.
  4. With a sharp knife, cut the dough into either 8 or 10 equal sized rectangles. If there’s excess dough you can form it into a ball, roll it out, and cut again.
  5. Make the frosting by blending together the remaining maple syrup, cocoa powder, and the meat from the avocado until it’s uniform in color and texture. Taste it and adjust the sweetness if need be.
  6. Spread about 2 tablespoons of frosting over half of the cakes. Layer with another slice and spread an equal amount of frosting on top of that piece.
  7. Garnish with crushed hazelnuts.

hazelnut-chocolate-cake-slice

These took from start to finish about 20 minutes to make, maybe a little more than that because I was distracted. Even so these are much quicker to make than traditional cake and certainly have all the show-stopping qualities.
Chocolate Cheesecake Bars {Raw/Vegan}

Chocolate-Cheesecake-Bars

Reading food blogs constantly sets of food cravings. I could be eating a perfectly healthy lunch or breakfast when all of a sudden a giant slice of German chocolate cake pops up on the screen and I get one of those I-need-chocolate-right-this-moment feelings. They’re awful. I’m sorry even to add to that.

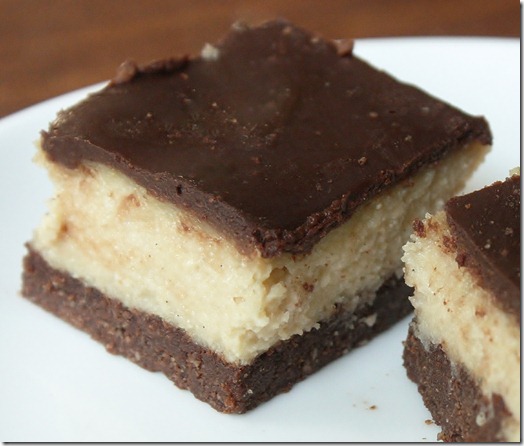
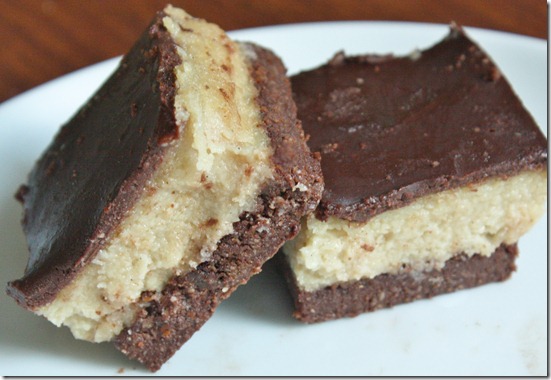
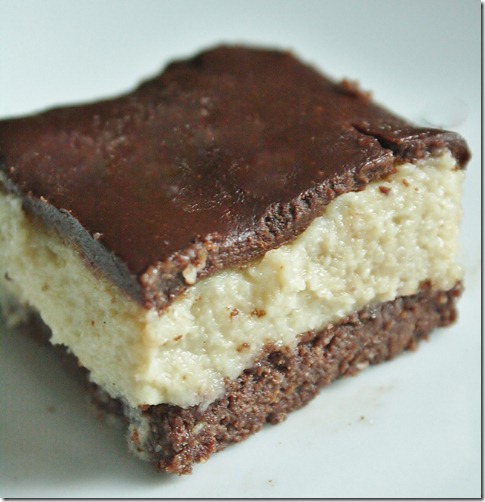
When Caroline posted these cheesecake bars, it set off a craving just like that. Before I knew it I had already begun laying out the ingredients to make a version of them that day. These might be marginally better for you, but they’re still definitely a rich treat. The crust is an almond cookie base, the filling a cashew cream “cheese”, and chocolate a soft coconut oil ganache. All together it makes the perfect blend on richness and sweetness.

Chocolate Cheesecake Bars

Ingredients:

For the crust:

  • 1 1/2 cups almonds
  • 2 Tablespoons almond butter
  • 1/4 cup cocoa powder
  • 2 Tablespoons coconut oil
  • 2 Tablespoons agave nectar

For the filling:

  • 2 1/2 cups cashews, soaked for 3-4 hours
  • 2 Tablespoons coconut oil
  • 5 Tablespoons agave nectar
  • 1 teaspoon vanilla extract or 1 vanilla bean
  • 1 teaspoon nutritional yeast*
  • 1 teaspoon lemon juice*

*These ingredients aren’t entirely necessary but they will add a more authentic tang to the filling to simulate real cream cheese.

For the ganache:

  • 1/4 cup cocoa powder
  • 1/3 cup agave nectar
  • 1/4 cup coconut oil

Chocolate-Cheesecake-Bars-Double

Method:

  1. Combine all of the ingredients for the crust together in a food processor and blend until it forms a clumpy dough.
  2. Press the dough flat into an 8×8 pan.
  3. Make the filling by blending all of the ingredients in a food processor until smooth.
  4. Spread the filling out across the top of the crust into an even layer.
  5. Make the ganache by melting the coconut oil and mixing it with the cocoa powder and agave nectar.
  6. Pour the ganache on top of the cheesecake filling and spread until smooth.
  7. Refrigerate for 2 hours until the ganache and filling have set. Cut into 16 squares and keep refrigerated until ready to serve.

Chocolate-cheesecake-bars-single

The one thing I would do differently next time is add cacao nibs or raw almonds into the filling. The ganache on top is quite soft and doesn’t add the crunch factor I expected it to. Besides that, this is a knock-out dessert.

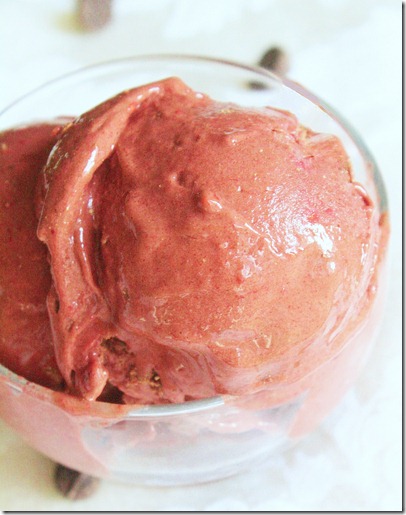
Chocolate Raspberry “Ice Cream”

Chocolate-Raspberry-Ice-Cream

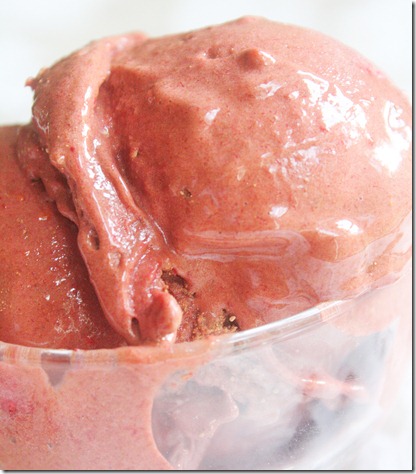
I’ve been going through bananas like crazy lately. Not because I actually like bananas, but because I love the creamy raw “ice cream” they become. I eat this once or twice a day to cut a sweet tooth craving, and this flavor is undoubtedly my new favorite. Cocoa powder and raspberries add the perfect sweet and bitter flavors that make this a true dessert, while the banana keeps it all smooth and creamy so you’d swear you’re eating actually ice cream.

A lot of people ask if these chocolate banana soft serves taste at all like banana. I’ll admit I’m not the most finicky when it comes to banana flavor, but I seriously cannot taste an ounce of banana in this behind the raspberry and chocolate. I’d love for a true banana hater to try it and leave a comment letting others know how it was for them.

Chocolate Raspberry “Ice Cream”

Ingredients:

  • 1 banana, cut into quarters and frozen
  • 1/2 cup raspberries, frozen
  • 2 Tablespoons cocoa powder
  • 1-2 Tablespoons almond milk(optional)

Chocolate-Raspberry-Ice-Cream-Scoop

Method:

  1. In a food processor, blend the bananas and raspberries until creamy. Add the almond milk as necessary if after a while the fruit still clumps together.
  2. Once smooth, add in the cocoa powder and continue blending until entirely mixed.
  3. Scoop and serve immediately.

Chocolate-Raspberry-Ice-Cream-Bowl

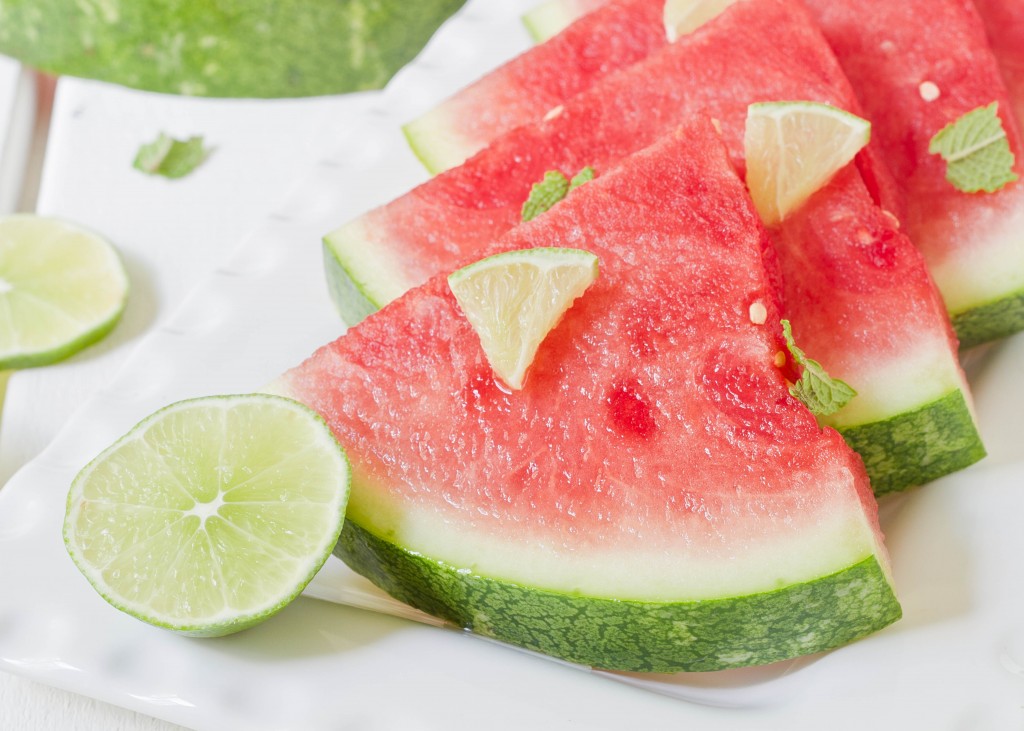
Watermelon With Mint And Lime

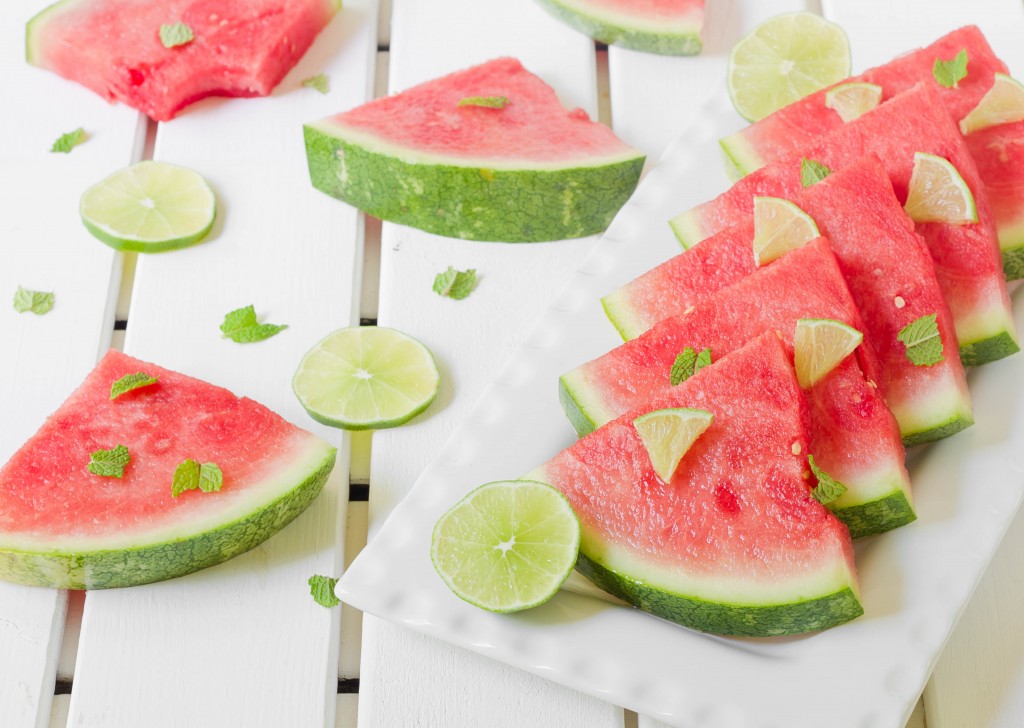
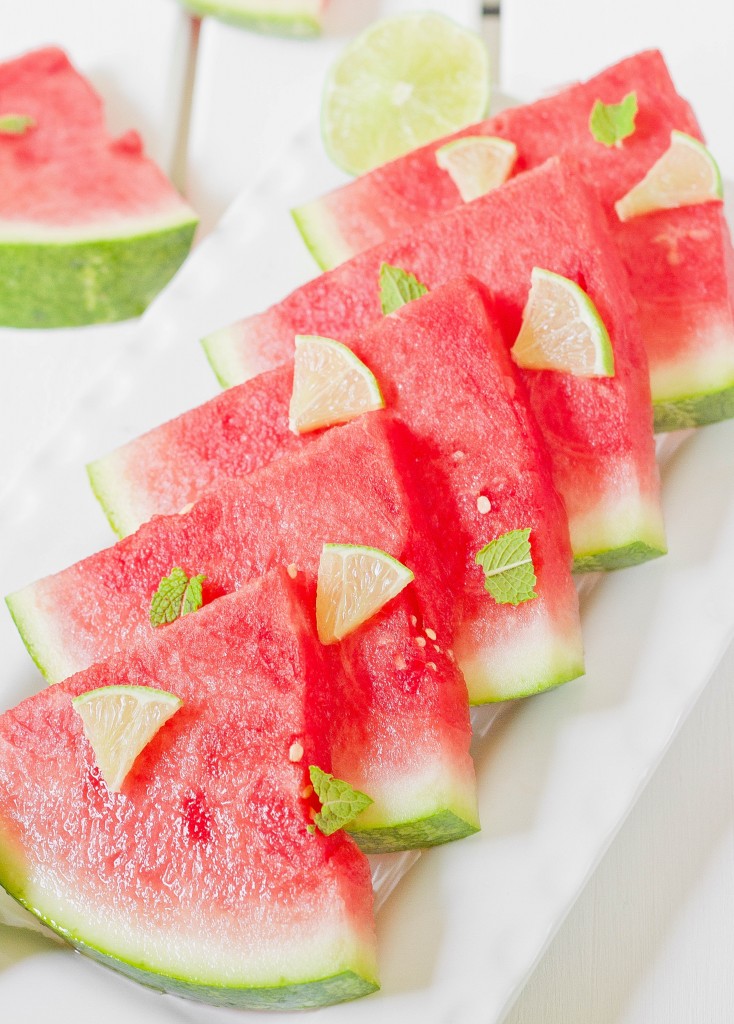
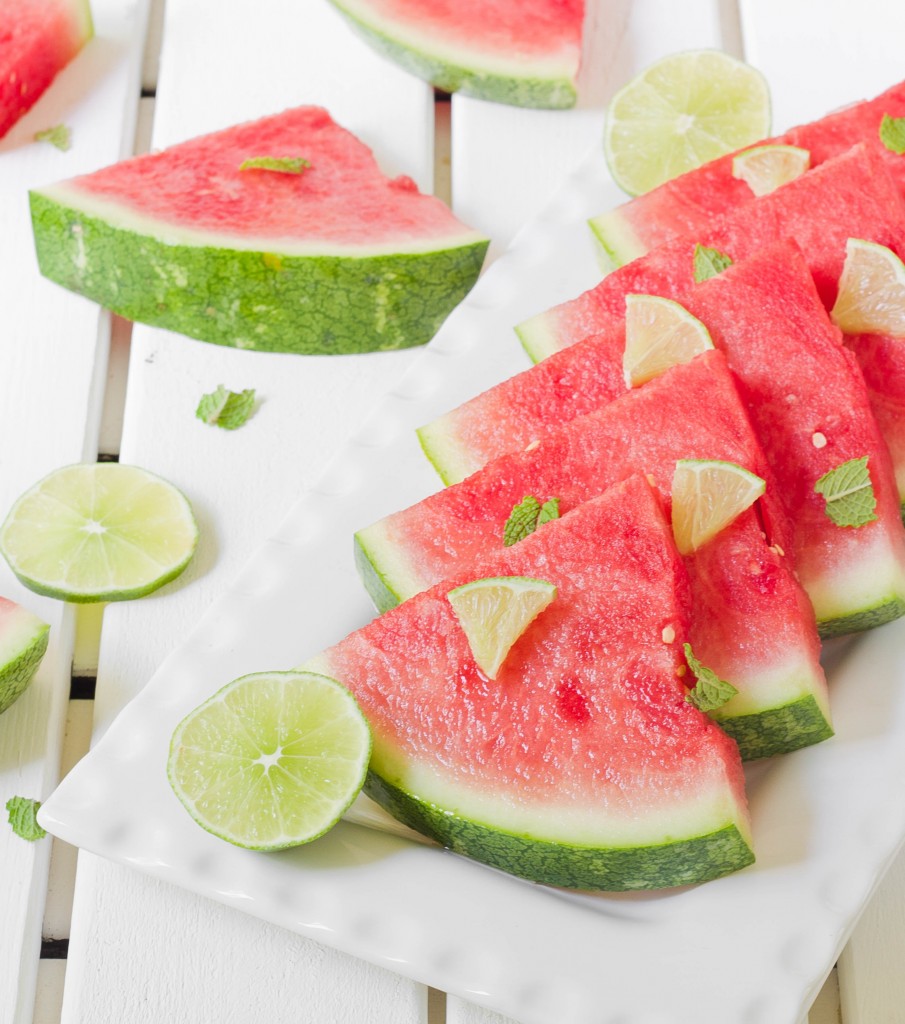
Watermelon is without question my favorite Summer fruit. I go through 2-3 a week and to be honest I don’t remember what I ate instead before the season started. It’s going to be a real problem when Autumn rolls around but I’m trying not think about that.

I could eat plain watermelon all day, but where’s the fun in that? This no-fuss fancified melon packs a big flavor punch. The lime and the mint balance each other out nicely and make the watermelon even more cool and refreshing.

You can use any time of mint in this recipe–wintergreen, peppermint, spearmint. Just use whichever is on hand or whichever you have a preference for. 

Watermelon With Lime And Mint

Ingredients:

  • 1/4 watermelon, cut into wedges
  • Juice of 1 lime(~3 Tablespoons)
  • 2 Tablespoons sugar
  • 7-8 mint leaves, torn

Method:

  1. Mix together the lime juice and sugar until the sugar has completely dissolved.
  2. Toss together the lime mix with the watermelon wedges so that all the sides get layered with the juice.
  3. Plate and garnish with the torn mint leaves.


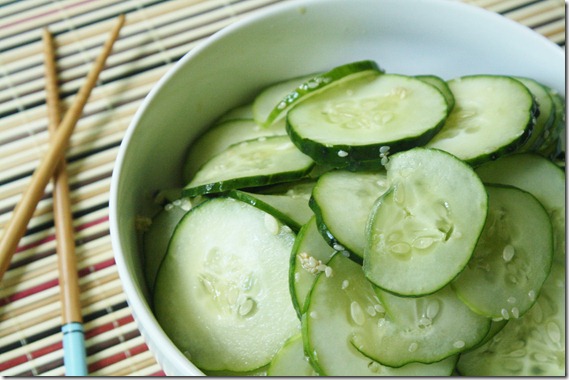
Japanese Sesame Cucumber Salad

Japanese-Sesame-Cucumber-Salad

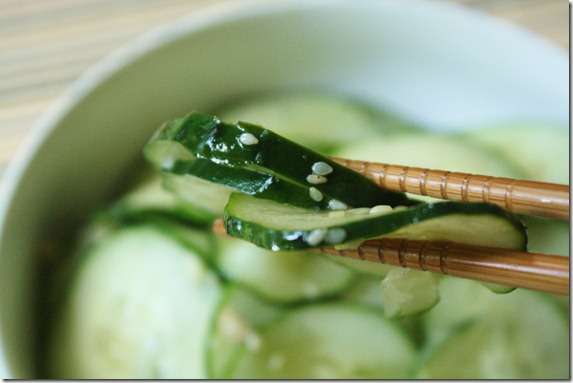
My favorite thing about Japanese food is how little is actually done to it. It might be cut and plated fancily but with hardly any cooking or ingredients they manage to fit in a ton of flavor.

These cucumbers have hardly any ingredients—sesame oil, vinegar, and seasoning—,but they taste better than any cucumbers I’ve ever had. It doesn’t hurt that it’s the Summer and any form of cooking sounds off-putting. All you need to make this refreshing side dish is a sharp knife and a bowl.

Japanese Sesame Cucumber Salad

Ingredients(Makes 4 servings):

  • 2 cucumbers
  • 1 1/2 Tablespoons sesame oil
  • 2 teaspoons rice vinegar
  • 2 Tablespoons sugar
  • 1/4 teaspoon salt
  • 2 Tablespoons sesame seeds

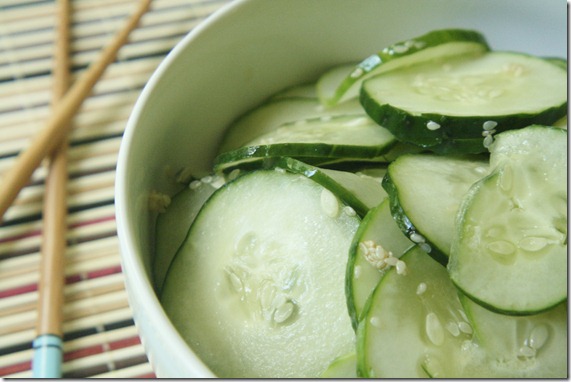
Japanese-Sesame-Cucumber-Salad-bowl

Method:

  1. With a mandolin or sharp knife, slice the cucumbers into circles about 2mm thick.
  2. Combine the cucumbers with the rest of the ingredients in a large bowl and toss together until completely incorporated and the sugar has dissolved.
  3. Serve immediately at room temperature.

Japanese-Sesame-Cucumber-Salad-Slices