Tag Archive: Peanut Butter

Tempting Trail Mix Cookies

tempting-trail-mix-cookies

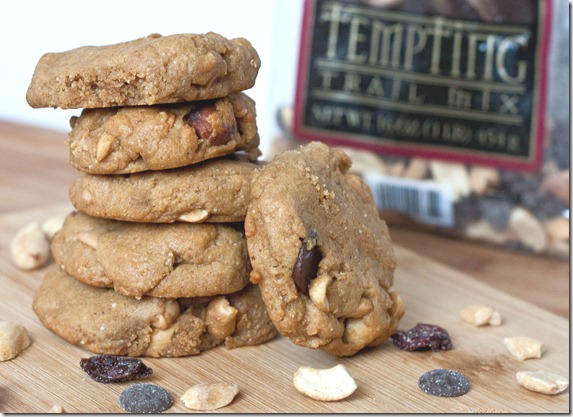
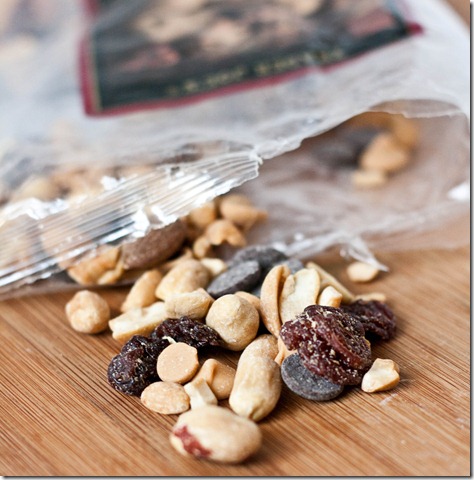
Trader Joe’s makes the best trail mix. It’s called Tempting Trail Mix. The name really doesn’t do it justice; it won’t last long enough in your pantry to be tempting. Normally with trail mix I’ll just pick out the chocolate bits until there’s only fruit and nuts left, but not this one. It has chocolate chips, peanut butter chips, peanuts, cashews, almonds, and dried cherries. What’s not to love?

tempting-trail-mix-cookies-trail-mi

See, nothing but good.

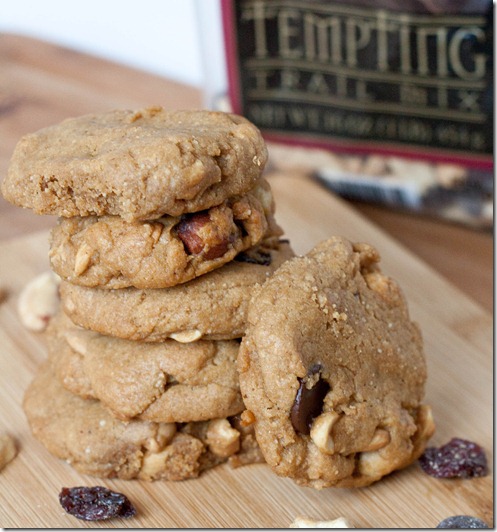
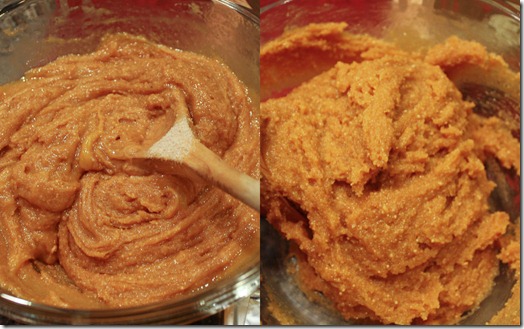
Obviously these needed to be made into cookies to be enjoyed all the time. I mixed some of the trail mix into a super simple gluten-free peanut butter cookie batter; the peanuts and peanut butter chips in the trail mix and peanut butter in the cookie dough make for a delicious triple dose of peanuts.

tempting-trail-mix-cookies-silpat

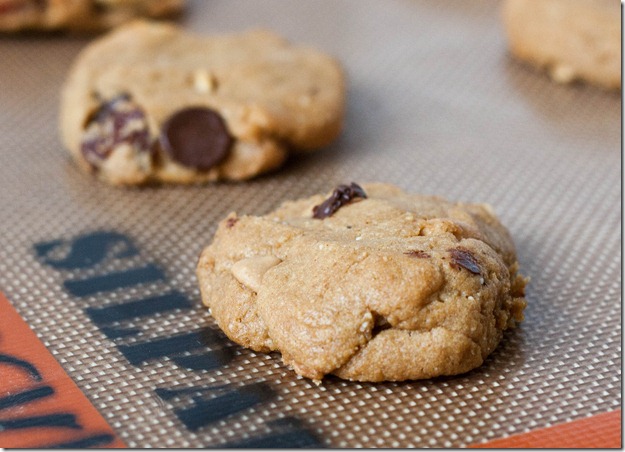
I used 2 egg whites in place of the egg since I wanted to use up a container of egg whites and the cookies were slightly puffier and softer than normal and the batter was also looser to work with. I wouldn’t say one version was better than the other but I would be aware that subtle changes like that can change the end result.

Tempting Trail Mix Cookies

Prep time: 10 minutes

Cook time: 15-20 minutes

Ingredients(Makes 20 cookies):

  • 1 cup peanut butter
  • 2/3 cup cane sugar
  • 1 egg
  • 1 teaspoon vanilla extract
  • 3/4 teaspoon baking soda
  • 1 cup Tempting Trail Mix

tempting-trail-mix-cookies-overhead

Method:

  1. Preheat oven to 350 degrees.
  2. In a large mixing bowl, mix all of the ingredients together.
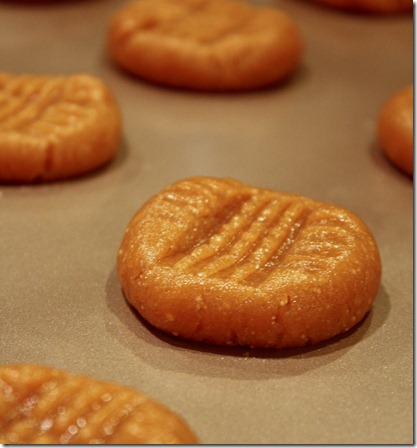
  3. Take off pieces of dough and roll into 1-inch balls. place the balls on a lined baking tray and flatten lightly. Repeat with all of the dough.
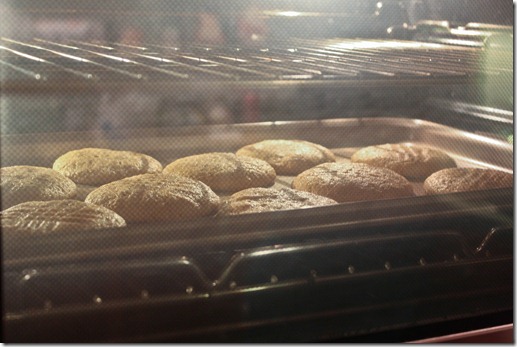
  4. Bake for 15-17 minutes until the tops of the cookie are firm to the touch.
  5. Remove from the oven and let cool slightly before moving.

tempting-trail-mix-cookies-plate

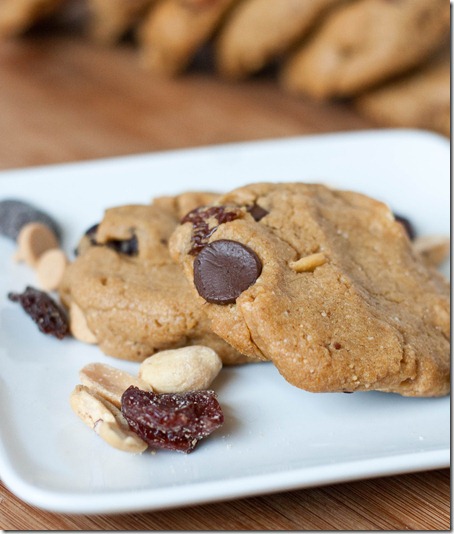
These came out just as good—if not better—than the trail mix. I had trouble not just eating the batter. The chocolate chips melted perfectly in the oven and had just the right bitter flavor for the lightly-sweet dough. I also can’t get enough of how easy a Silpat mat makes baking. I don’t know what took me so long getting with the times.

Homemade Reese’s Peanut Butter Eggs

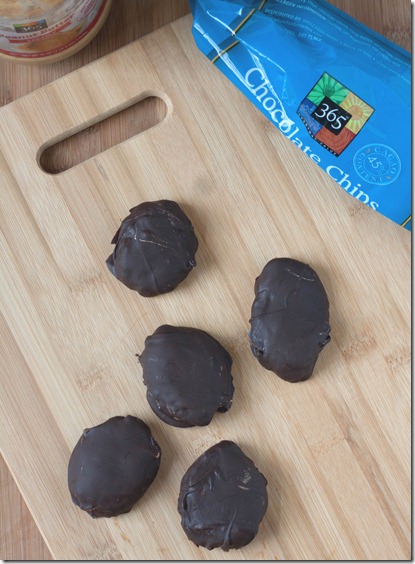
homemade-reeses-peanut-butter-eggs

I’m a huge fan of Reese’s. I don’t think there’s anything they make which I don’t like. Well, besides the inside out peanut butter cups. And the white chocolate peanut butter cups. Seriously, what were they thinking? Well, we all make bad decisions.

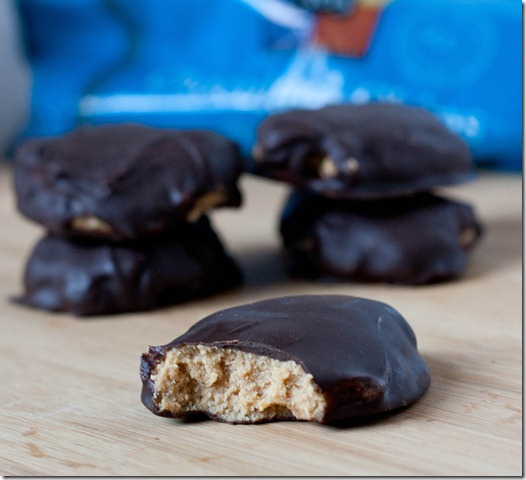
homemade-reeses-peanut-butter-eggs-bite

Anyway, any true Reese’s fan can tell you that the holiday edition items are the crème de la crème. Whether it’s the trees, eggs, or hearts, the peanut butter-to-chocolate ratio is so much more perfect.

homemade-reeses-peanut-butter-eggs-yield

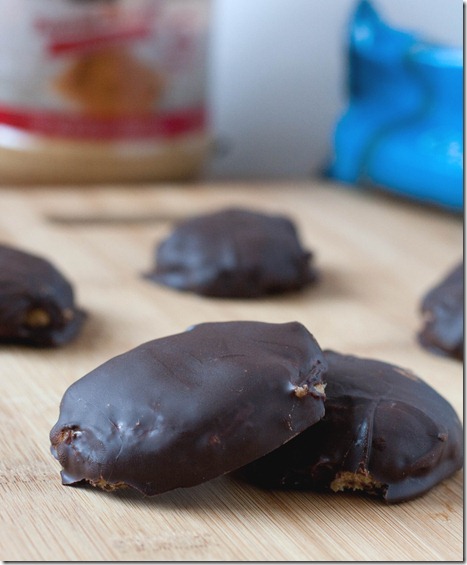
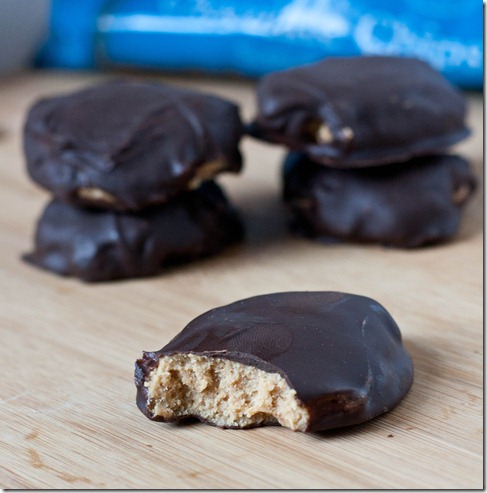
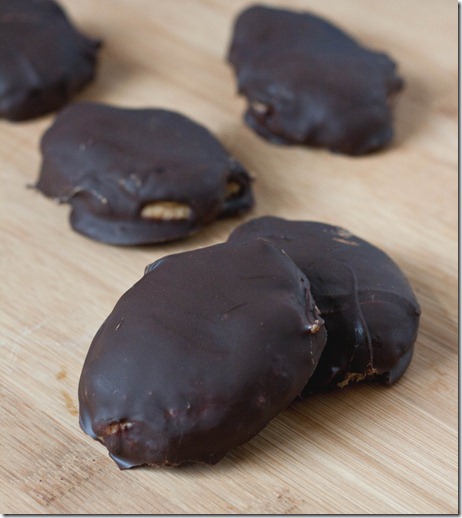
Why make regular peanut butter cups when you can make delicious(and festive!) eggs? You wouldn’t. These were just as easy to make as regular cups, and I think I liked them more. I used peanut butter that was just peanuts and salt, but no-stir peanut butter should work as well. You could even use white chocolate instead of the semi-sweet chocolate, but I will judge you slightly(Just kidding… sort of).

Homemade Reese’s Peanut Butter Eggs

Prep time: 30 minutes

Cook time: 0 minutes

Ingredients(Makes about 7 eggs):

  • 1/2 cup peanut butter
  • 2 tablespoons butter
  • 1/2 cup powdered sugar
  • 4oz semi-sweet chocolate

homemade-reeses-peanut-butter-eggs-overhead

Method:

  1. Melt the butter and mix in the peanut butter and powdered sugar until there are no clumps(If you’re using no-stir peanut butter, you might want to melt that, too, so it’s easier to mix together).
  2. Refrigerate the peanut butter mixture until it’s mostly solid.
  3. While the peanut butter is chilling, melt the chocolate until smooth and silky. Let the chocolate sit at room temperature for 10 minutes once melted to cool slightly, but keep it hot enough so that it doesn’t reharden.
  4. To shape the eggs, take about an ounce of chilled peanut butter dough and roll it in your palm into a log. Then press down slightly on both sides to flatten. If the dough gets too soft during this process, stick it back in the refrigerator or freezer for 10 minutes to make sure that it’s solid before touching the melted chocolate.
  5. Drop the egg into the melted chocolate. Flip it using a spoon or a fork and spread the chocolate around the sides. Move the chocolate-covered egg onto a piece of parchment paper.
  6. Repeat with all of the peanut butter and chocolate.
  7. Refrigerate the eggs until the chocolate coating has hardened. Keep chilled for up to 2 weeks.
homemade-reeses-peanut-butter-eggs-bite-2

Just take my advice and double the recipe. 7 will hardly last a day.
A Nutty Partnership

I’m really excited to finally be able to share my latest blogging partnership. A couple months ago I was invited to be an All-Star recipe blogger with Peanut Butter & Co. I absolutely love their company and their products; peanut butter is something I don’t go a day without eating, and if you’ve been reading this blog for a while, you’ve probably gotten that sense

The All-Star Recipe Blog is where terrific bloggers post recipes with some of the unique and flavorful Peanut Butter & Co. peanut butters. It’s been running for a couple years now so there are already a treasure trove of recipes to look through and be inspired by.

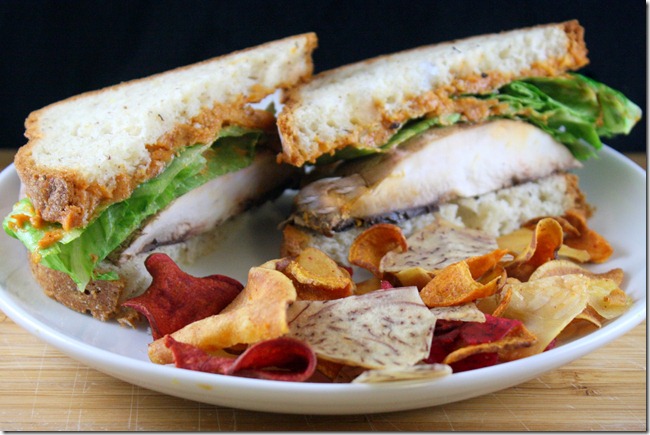
portabella-sandwiches-finished-serving

My first of five recipes is up today for Portabella Sandwiches with Roasted Garlic Red Pepper Peanut Butter Spread. Do check it out and subscribe to the All-Star Recipe Blog for weekly doses of delicious recipes from terrific bloggers. To see my contributions, you can look at my blogger page; I’ll also be posting about it here whenever one of my recipes is up.

And if you really love peanut butter, you’re in luck because there’ll be a peanut buttery recipe coming up later this week on this blog.

Peanut Butter Chocolate Chip Cookie Cake

peanut-butter-chocolate-chip-cookie-cake

Something hit me when I was browsing TasteSpotting a couple weeks ago: I haven’t had a cookie cake in ages. I decided right then I wanted a cookie cake at my birthday party this year, because clearly I’m 20 going on 12. But then I figured why wait? I could bake a cookie cake for any occasion.

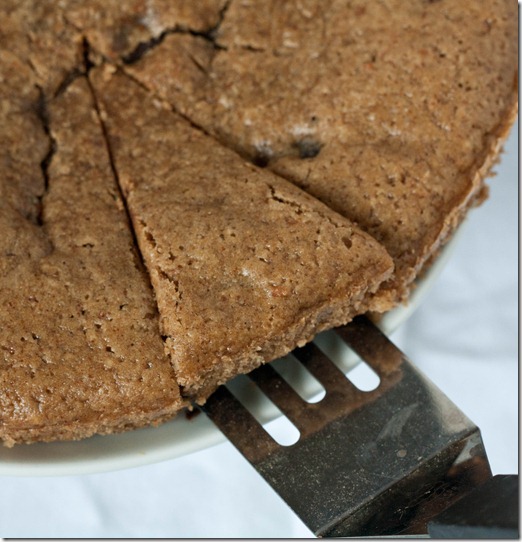
peanut-butter-chocolate-chip-cookie-cake-cutting

Of course I made mine gluten-free using one of my favorite flours: Almond flour. It also just happens to be dairy-free because I was low on butter that day. The peanut butter helps to act as a binder, makes the cake richer and adds a nutty flavor. You could substitute in almond butter to work around a peanut allergy.

peanut-butter-chocolate-chip-cookie-cake-overhead

I liked mine slightly under-baked because it kept the inside moist and gooey almost like eating cookie dough. If you like your cookies a little crustier, I would recommend adding a few minutes onto the baking time and watching it carefully.

Peanut Butter Chocolate Chip Cookie Cake

Prep time: 10 minutes

Cook time: 20 minutes

Ingredients:

  • 1 cup almond flour
  • 6 Tablespoons cane sugar
  • 1/2 teaspoon baking powder
  • 2 eggs
  • 1/2 cup natural peanut butter
  • 1/4 cup oil
  • 1 teaspoon vanilla extract
  • 1/4 cup water
  • 6 Tablespoons chocolate chips

peanut-butter-chocolate-chip-cookie-cake-middle

Method:

  1. Preheat your oven to 350 degrees
  2. Mix together the almond flour, sugar, and baking powder.
  3. Beat in the eggs, peanut butter, oil, vanilla extract, and water.
  4. Gently fold in the chocolate chips.
  5. Grease an 8-inch cake pan. Pour the batter in and spread it around the bottom into an even layer.
  6. Bake for 20 minutes until the outside is firm and bounces back to the touch.
  7. Let cool slightly before cutting in.

peanut-butter-chocolate-chip-cookie-cake-serving

I thought this could have used a little more sugar, but that’s probably because I love things sweet. If you’re making this for adults, it’ll be fine the way the recipe is. If you’re making this for little children or me, I would add a 1/4 cup of sugar to the recipe.

Homemade Chocolate Peanut Butter

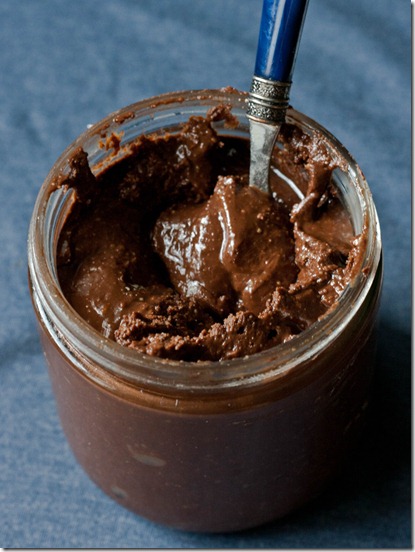
homemade-chocolate-peanut-butter

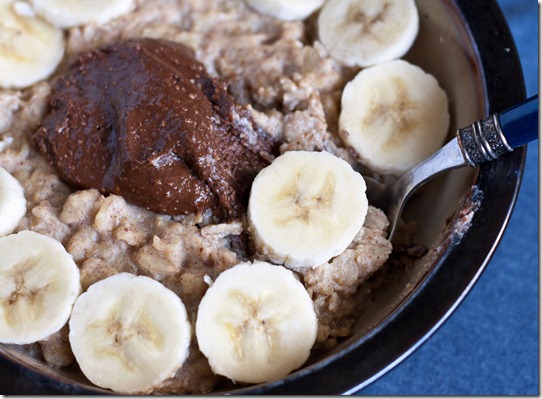
I pretty much eat the same things for breakfast every morning. Either it’s a bowl of gluten-free oats with eggs, banana and peanut butter or a coconut flour breakfast bake topped with peanut butter, unless I’m in a sweets mood in which case I’ll make a paleo mug cake and top it with peanut butter.

Are you seeing a pattern? I really love peanut butter at breakfast time.

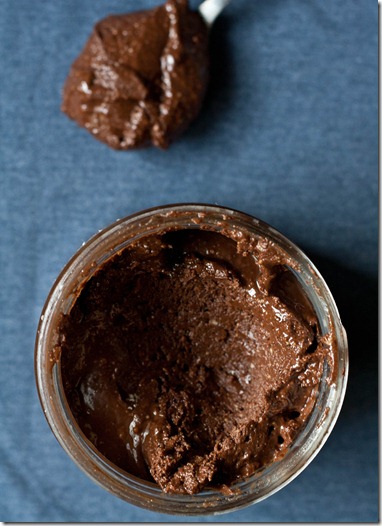
The only thing that I enjoy as much as peanut butter at breakfast is chocolate. Naturally, the two can only be better together.

homemade-chocolate-peanut-butter-oatmeal

I actually made this recipe last year around this time and completely forgot about it until I was shopping for ingredients. I figured it was time to remake it and take better photos, anyway. And I could never say no to having chocolate peanut butter on hand.

Homemade Chocolate Peanut Butter

Prep time: 5 minutes

Cook time: 0 minutes

Ingredients(Makes 16oz):

  • 12oz(about 1 1/4 cup) plain peanut butter
  • 6 tablespoons powdered sugar
  • 1/3 cup cocoa powder
  • 1 teaspoon vanilla extract
  • 2 tablespoons coconut oil, melted
  • 1/2 teaspoon salt(omit if you’re using salted peanut butter)

homemade-chocolate-peanut-butter-jar

Method:

  1. Combine all of the ingredients together and mix until smooth
  2. Store at room temperature in a sealed container for up to 2 week.

homemade-chocolate-peanut-butter-spoon

I’ll give you a tip: It’s not going to last 2 weeks once you start tasting.

Nutty About Yogurt Contest

IMG_9224

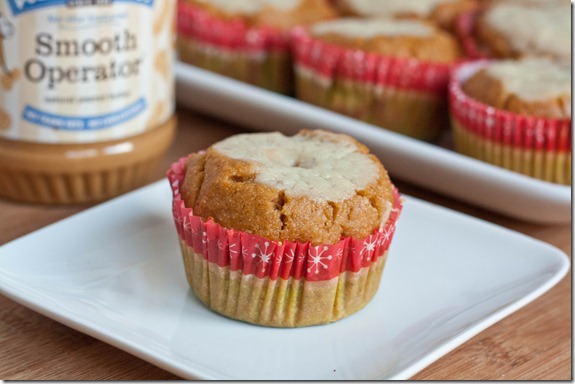
Last month Stonyfield and Peanut Butter & Co. asked me if I’d like to participate in their Nutty About Yogurt recipe contest. I jumped at the opportunity since I love both companies and all that they do with their brands. The contest was to create a healthy breakfast option with Peanut Butter & Co. peanut butter and Stonyfield yogurt. My submission was Gluten-Free Pumpkin Peanut Butter Muffins with yogurt filling.

I chose to make muffins because they’re one of those breakfasts you can just grab and go. Sure, you can buy muffins at any Starbucks, but why do that when it’s cheaper to make your own? Plus, you probably can’t get something as delicious as pumpkin peanut butter or gluten-free.

IMG_9167

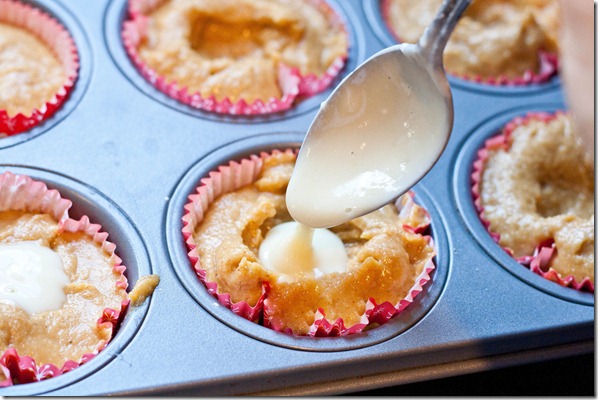
The yogurt filling was inspired by those pastries with cream cheese filling except made lighter and healthier with Stonyfield yogurt. Because the muffins substitute fat-free yogurt, too, most of the fat in the muffins are the healthy fats found in peanut butter.

IMG_9211

Please check out the Nutty About Yogurt Sweepstakes contest page and look through all six entries. As an incentive to vote, Stonyfield and Peanut Butter & Co. are offering $1.00 coupons to the first 20,000 voters and 5 random voters will win a prize pack. The contest is open from now until February 13th. Every vote is highly appreciated; thanks for reading and hopefully I’ve convinced you to vote for me!

Chocolate Peanut Butter Snack Balls

chocolate-peanut-butter-snack-balls

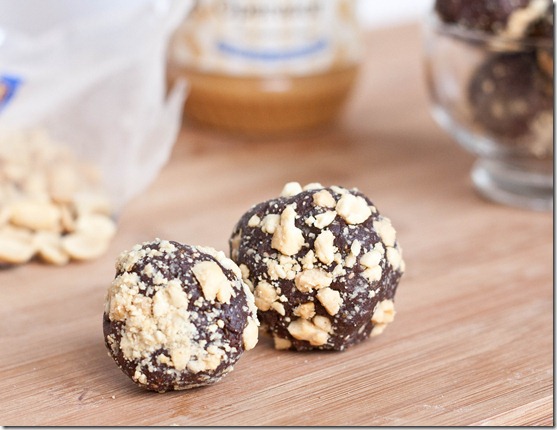
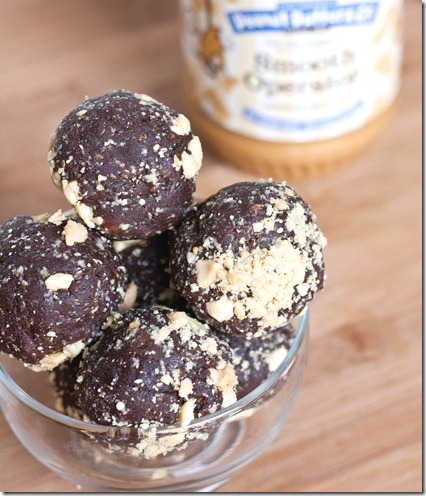
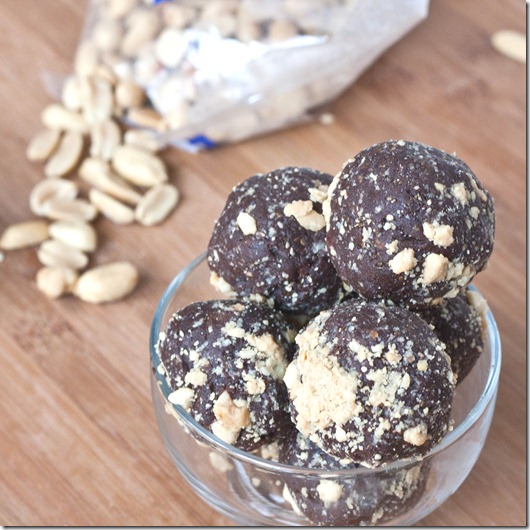
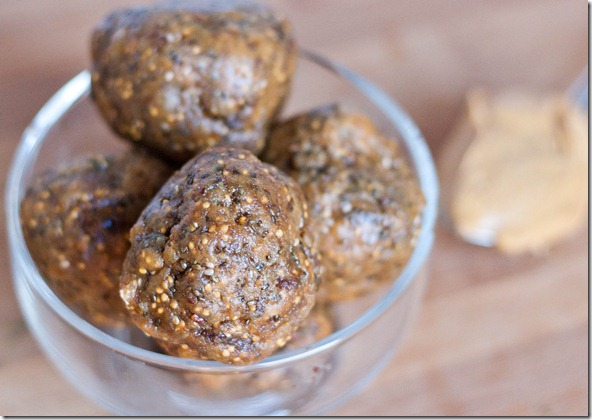
Lately I’ve been obsessed with these raw fruit and nut snacks. And I’m always obsessed with chocolate peanut butter. I can’t understand what took me so long to combine the two.

I’m not going to sugarcoat these and say they taste like Reese’s peanut butter cups; they don’t, and anyone who could get that flavor with just fruit and nuts would be a miracle worker. But these do taste deliciously sweet and salty with a hint of cocoa and silky smooth peanut butter. They’re certainly good enough to satisfy a snack craving. And if you want to take these to the next level, you can always mix some chocolate chips(or peanut butter chips!) into the batter for a real chocolate peanut butter treat.

Chocolate Peanut Butter Snack Balls

Prep time: 10 minutes

Cook time: 0 minutes

Ingredients(makes about 14 balls):

  • 16oz pitted dates
  • 1/2 cup peanut butter
  • 6 Tablespoons cocoa powder
  • 3 Tablespoons chia seeds
  • 1/4 cup peanuts or chocolate chips(optional)

chocolate-peanut-butter-snack-balls-peanut-butter

Method:

  1. Blend the dates in a food processor until they stick together and form a big dough ball.
  2. Add in the peanut butter and cocoa powder and continue mixing until all of the ingredients are blended together.
  3. Stop the processor; move the dough to a separate bowl and add in the chia seeds and any other mix-ins you might want. Knead them in throughout the dough.
  4. Break off 1oz pieces and roll them into 1-inch balls. Store in an airtight container at room temperature for up to a week. 

chocolate-peanut-butter-snack-balls-peanuts

PB&J Balls

PB&J-Balls

One of my favorite lunches growing up was a PB&J sandwich on white Wonderbread. Who doesn’t love peanut butter and jelly? And Wonderbread—that was just great stuff before anyone realized bread shouldn’t be glow-in-the-dark white.

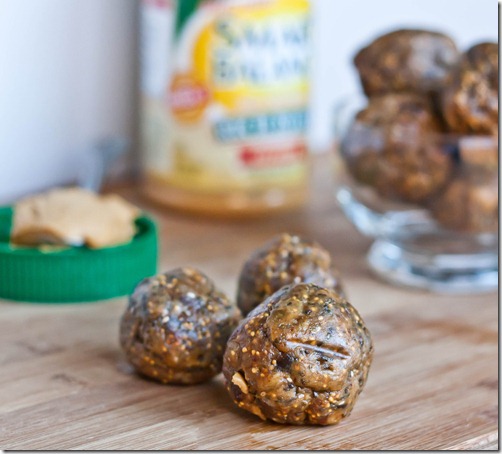
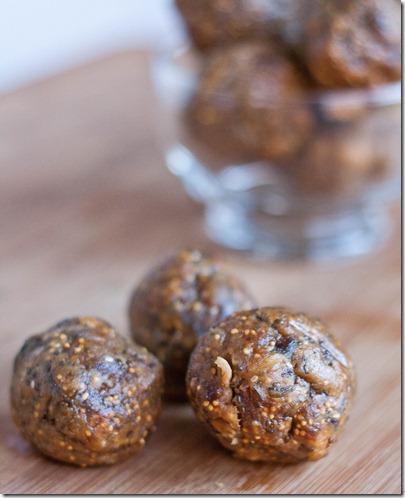
I’m getting sidetracked. What I meant to say was that these taste like the filling of a peanut butter and jelly sandwich, that point where the sweetness of the jelly meets the smooth salty peanut butter. Since I hardly ever buy loaves of gluten-free bread, that’s not a taste I get to experience much; now I can have it whenever in a tasty raw snack.

PB&J-Balls-finished

You can mix in chopped peanuts at the final mixing step for a crunchier texture. For a different “jelly” flavor, use dried raspberries or dried strawberries in place of the raisins.

PB&J Balls

Prep time: 10 minutes

Cook time: 0 minutes

Ingredients(Makes about 18 balls):

  • 1 1/2 cup pitted dates
  • 1/2 cup raisins
  • 1/2 cup creamy peanut butter
  • 3 Tablespoons chia seeds(optional but recommended)

PB&J-Balls-full

Method:

  1. Place the dates and raisins into a food processor and blend until they come together and form a dough ball.
  2. Add in the peanut butter and chia seeds and continue blending until everything has mixed together.
  3. Move the ingredients to a bowl and work them with your hands until it forms one big dough ball.
  4. Break off pieces by the ounce and roll into balls between your palms. Store in an air-tight container at room temperature for up to a week.

PB&J-Balls-serving

I loved these even more after a day when the chia seeds had taken out some of the moisture and made them nice and chewy. It reminded me of a PB&J Larabar, so you could definitely shape these into bar form and have your own homemade ones.

Classic Peanut Butter Cookies

IMG_8377

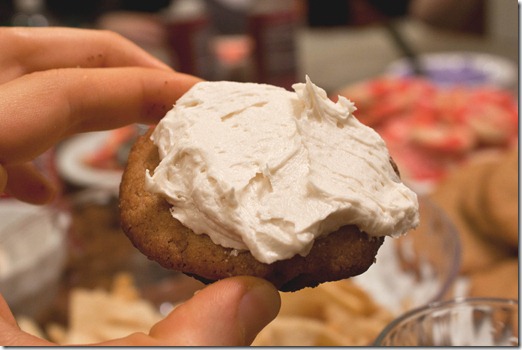
Last week I got together with old friends for an annual cookie baking party. Good company, tons of sugar, and frosting—what’s not to love?

Lightroom Photos2

For my part I offered to bring peanut butter and make peanut butter cookies. The hostess knows I’m allergic to wheat and when she asked what we could make that was gluten-free, this recipe popped into my mind because of how simple and crowd-pleasing it is; who doesn’t love peanut butter cookies?

…Well, probably people who are allergic to peanut butter, but thankfully no one there was. If you are allergic to peanut butter, you can easily substitute almond butter or sunflower seed butter in these for a similar taste and texture.

Classic Peanut Butter Cookies

Prep time: 10 minutes

Cook time: 12 minutes

Ingredients(Makes 24 cookies):

  • 2 cups salted peanut butter
  • 2 eggs
  • 1 1/2 cups sugar
  • 1 teaspoon vanilla extract
  • 1 teaspoon baking powder

IMG_8298

Method:

  1. Preheat your oven to 350 degrees.
  2. Mix together all of the ingredients in a large bowl until the dough is thick and sticks to itself.
  3. Break about an ounce of dough off and roll it into a ball in between your hands. Place on a non-stick cookie tray and press down lightly with a fork in a criss-cross pattern. Repeat with all of the dough.
  4. Bake for 12-15 minutes until the edges begin to darken. Remove from the oven and let them cool on a wire rack until the outside has crisped.
  5. Store at room temperature in a sealed container for up to a week.

IMG_8307

IMG_8314

Mine came out a little flat, probably because I didn’t measure any of the ingredients and only looked at the recipe after the fact. Oh well, they still tasted great, and there was definitely no shortage of cookies that night.

Lightroom Photos

No-Bake Peanut Butter S’mores Bars

I love it when people request certain desserts for parties because it makes it so much easier to decide what to bring. This year my cousin asked for Christmas Eve that I bring the same dessert I brought last year: Peanut Butter S’mores Bars.

These are absolutely one of my favorites, too. I’ve also been meaning to make them all year because I wanted to take better pictures than the old ones I had for this recipe, so it was an all around win. 

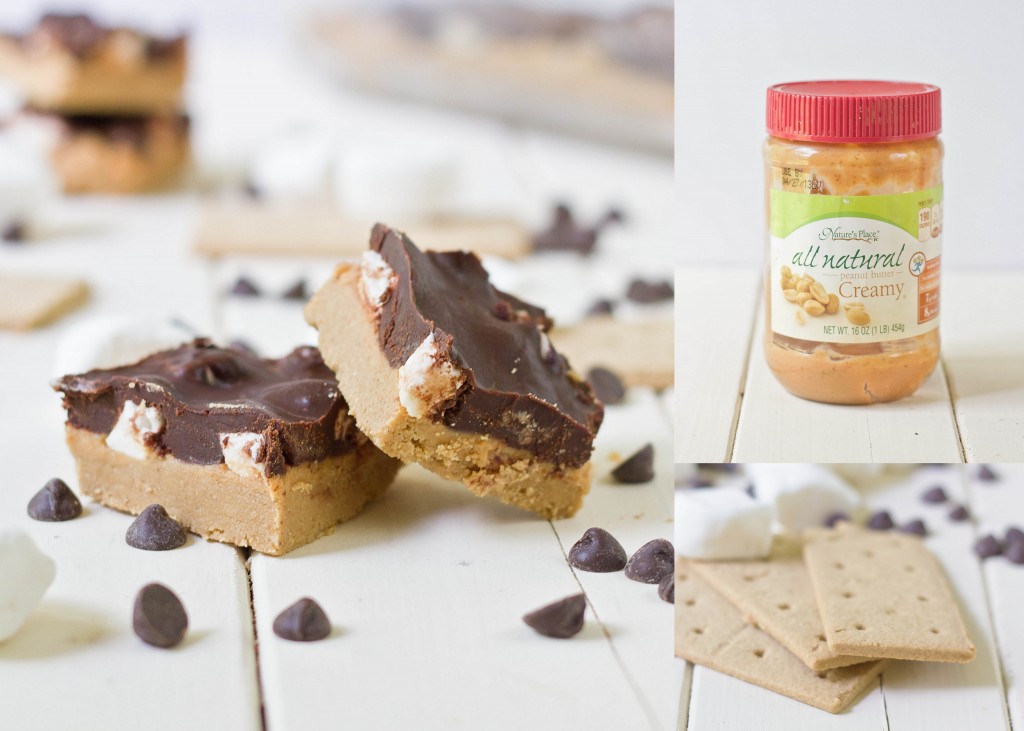
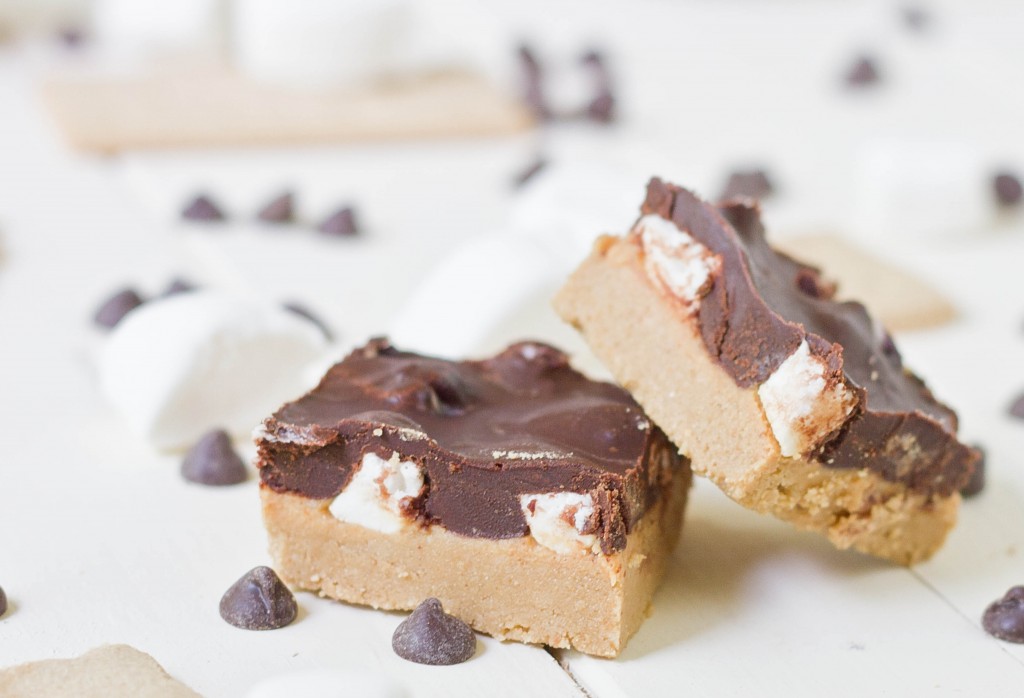
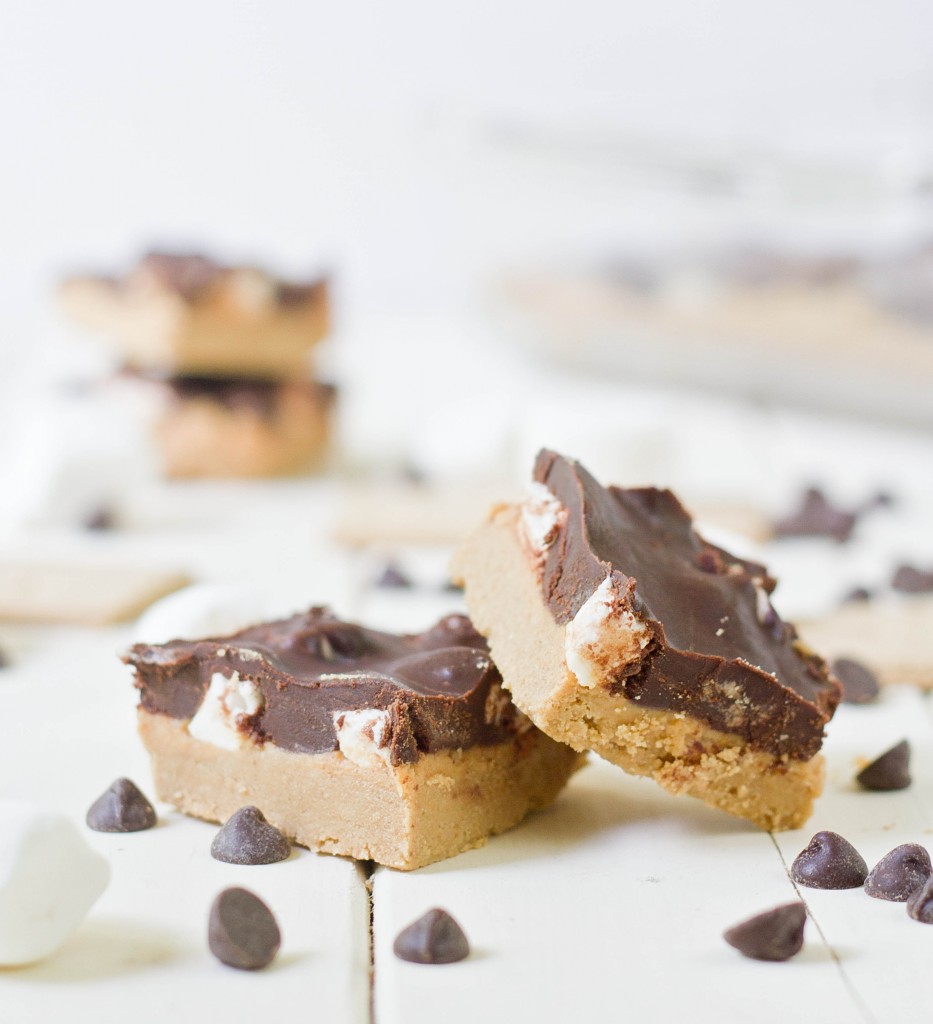
The bars are a layer of peanut butter graham cracker crust with a peanut butter and marshmallow filling topped with soft chocolate ganache. The best thing about them is that they’re no-bake, so you don’t have to turn on your oven to make these; just a microwave will do.

These bars can easily be adjusted for different dietary restrictions. To make them gluten-free, use gluten-free graham crackers. To make them vegan, use vegan graham crackers, vegan marshmallows, a dairy-free margarine and dairy free chocolate chips. I made all of these alterations for this batch and they came out perfectly.

No-Bake Peanut Butter S’mores Bars

Prep time: 15 minutes

Cook time: 0 minutes(allow at least 30 minutes for these to harden in the refrigerator)

Ingredients(Makes 16 bars)

For the crust:

  • 16 individual graham crackers(not full sheets) OR 8oz graham crackers crumbs
  • 3 tablespoons butter
  • 6 tablespoons natural style peanut butter
  • 1/2 cup powdered sugar

For the filling:

  • 1/3 cup natural style peanut butter
  • 2 tablespoons butter
  • 2 tablespoons powdered sugar
  • 1/2 cup mini-marshmallows, or 1 cup regular marshmallows cut into bite-sized pieces

For the top:

  • 6oz(about 3/4 cup) chocolate chips
  • 1 tablespoon butter 

Method:

  1. Melt together 3 Tablespoons of butter and 6 Tablespoons of peanut butter until it’s thin and creamy.
  2. Break the graham crackers into fine crumbs. Running them through a food process for 30 seconds is the best way to do this.
  3. In a large bowl, add the peanut butter mixture to the graham cracker crumbs. Sift in 1/2 cup powdered sugar. Work the dough until the ingredients have come together and press it into an 8×8 pan in an even layer.
  4. Make the filling by melting together 1/3 cup of peanut butter and 2 Tablespoons of butter. Sift in 2 Tablespoons of powdered sugar and beat until smooth.
  5. Pour the mixture over the crust. Spread it out to cover all parts.
  6. Press in the marshmallows on top of the peanut butter layer.
  7. Melt together the chocolate chips and 1 Tablespoon of butter until it’s smooth and runny.
  8. Pour the chocolate on top of the dessert in an even layer. Carefully spread it out to make sure it covers as much of the marshmallows as possible.
  9. Put the dessert in the refrigerator to harden. Remove 10 minutes before serving, cut into 16 pieces and serve.

I have a feeling I know what I’ll be making next Christmas Eve.