Tag Archive: Healthy

Healthy Chocolate Walnut Bread

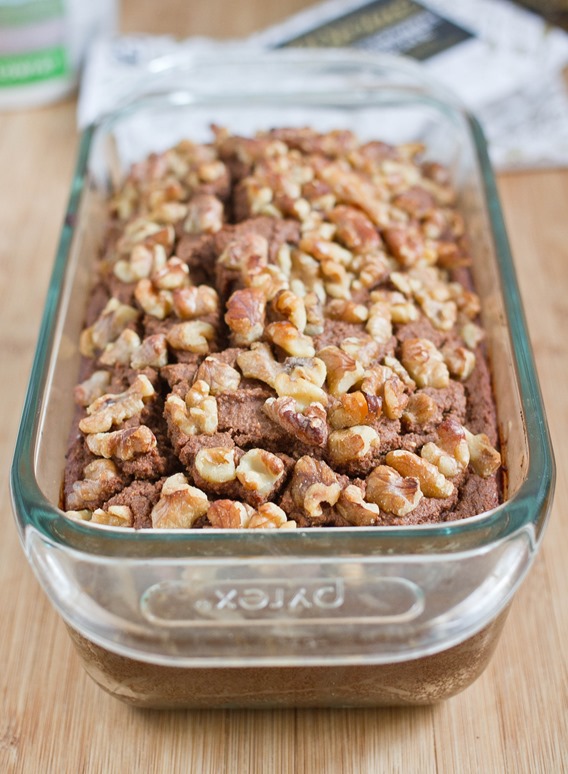
Healthy Chocolate Walnut Bread

If February is the month of chocolate, March is probably the month of dessert detox. I could never give up chocolate cold-turkey, though; I would never want to. There are always ways to lighten up chocolate treats to make them better for your every day.

Stonyfield Farm asked some of their Clean Plate Club bloggers to make a chocolate treat healthier using yogurt and Divine Chocolate. Chocolate quick-breads are always delicious but usually too sugary to eat for any meal except dessert; yogurt and less sugar is an easy fix to make this a lighter food.

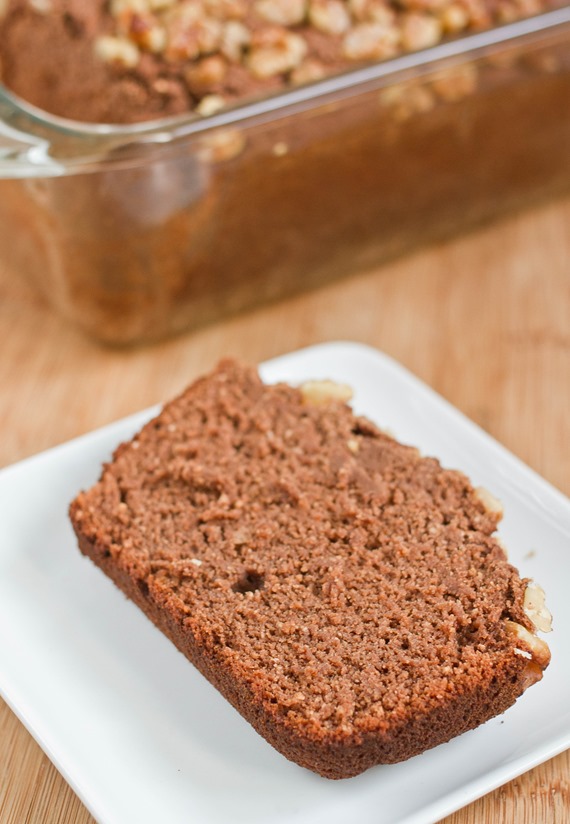
This chocolate loaf looks decadent but has a lot to offer besides fat. It’s only a little sweet—perfect for a quick breakfast with a cup of coffee. The nuts on top offer some healthy fats while using yogurt in place of more oil cuts down the calories. Using a whole-grain flour like brown rice flour also adds nutrients to each slice.

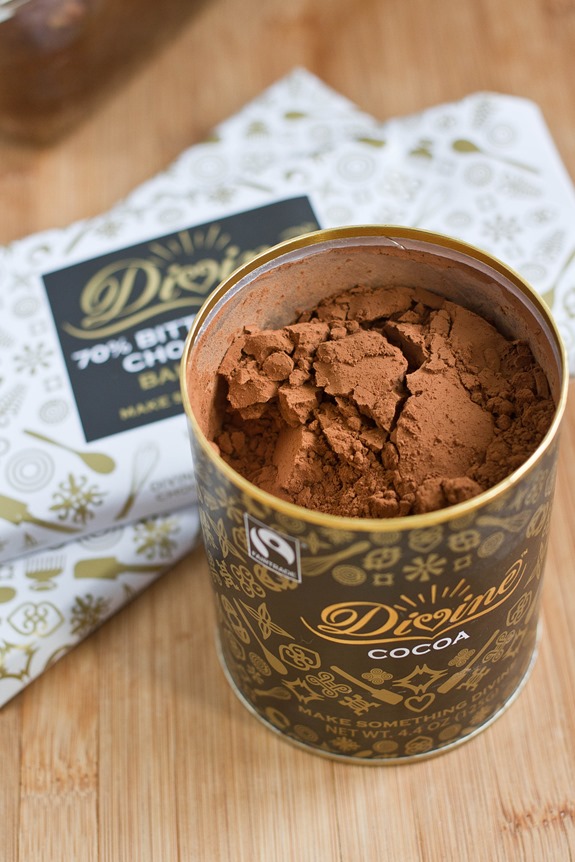
Healthy Chocolate Walnut Bread Cocoa Powder

The Divine Chocolate was incredible to work with. I used the milk chocolate bar to make this recipe but couldn’t stop eating the dark chocolate bar all on its own. It melted incredibly smoothly and evenly; that’s always the benefit of using actual baking chocolate instead of chocolate chips. Instead of plain yogurt you could always use sweetened vanilla yogurt or even one with more flavor to it.

Healthy Chocolate Walnut Bread

Prep time: 15 minutes

Cook time: 45 minutes

Ingredients(Makes 1 loaf):

Healthy Chocolate Walnut Bread Slice

Method:

  1. Preheat your oven to 350 degrees.
  2. In a large bowl sift together the coconut flour, brown rice flour, cocoa powder, and baking soda.
  3. Mix in the eggs, maple syrup, yogurt, water, and oil until the batter is wet and mixed.
  4. Melt the milk chocolate baking bar in a microwave or over the stove top.
  5. Slowly fold the melted chocolate into the batter until entirely mixed.
  6. Grease a 9-inch loaf pan.
  7. Pour the batter into the loaf pan. Add the crushed walnuts on top and press them in gently.
  8. Bake for 40-45 minutes until the center of the loaf is cooked through. Let the bread cool before cutting.

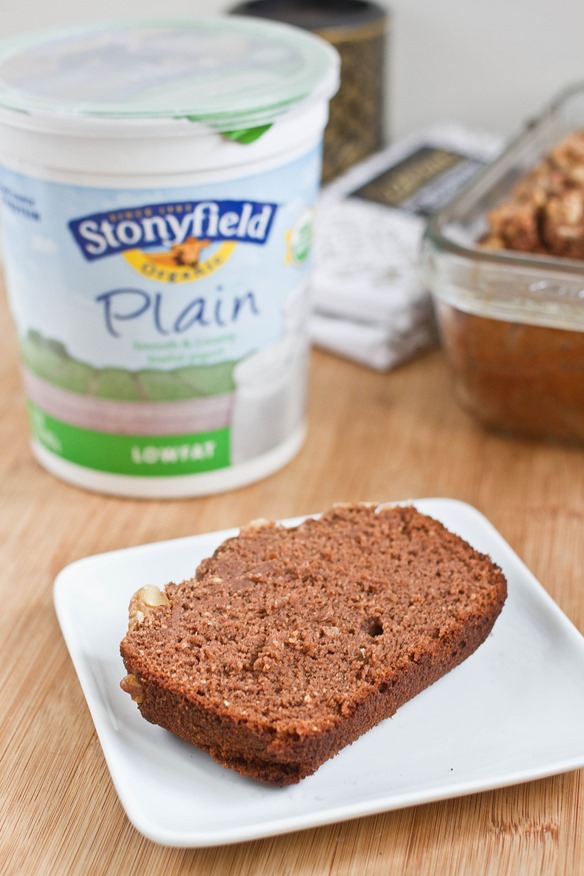
Healthy Chocolate Walnut Bread Slice w Yogurt

You’ll never guess it’s any good for you.

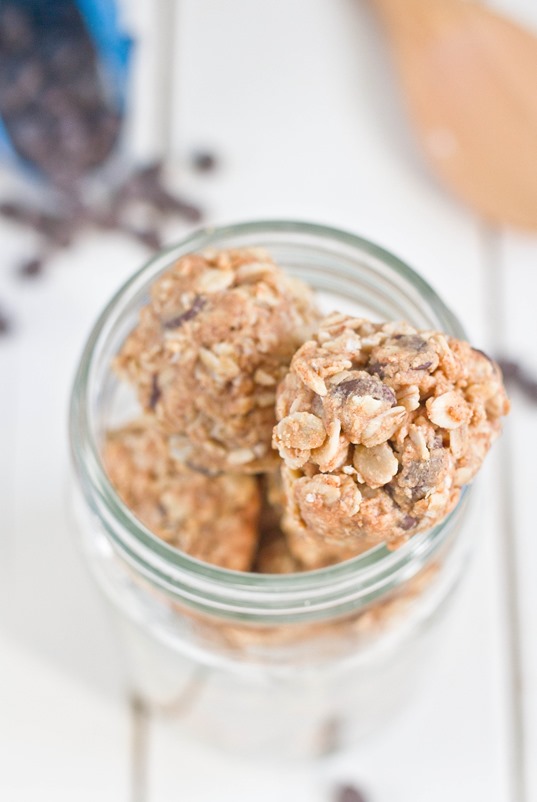
Homemade Granola Bites

Homemade Granola Bite

I don’t believe that things always taste better when they’re homemade; there are plenty of things that I’d rather just buy at the grocery store because it’s easier or tastier that way.

These thankfully are one of those things that taste better made yourself and the recipe couldn’t be easier. They’re slightly soft and chewy—a perfect snack in the afternoon or something to nibble on before a workout. And because you make them yourself you can adjust the flavor to be whatever you like. Personally I’m a fan of almond butter and chocolate chips.

Homemade Granola Bite Yield

To make these gluten-free make sure you’re using oats that are certified gluten-free. Make sure to mix the ingredients evenly and well to prevent them from falling apart in the oven.

Homemade Granola Bites

Prep time: 10 minutes

Cook time: 20 minutes

Ingredients(Makes about 14 bites):

  • 1 1/2 cups oats
  • 1/2 cup natural almond or peanut butter
  • 3 Tablespoons honey or maple syrup
  • 1/4 cup chocolate chips or raisins
  • 1/2 teaspoon cinnamon
  • 1/4 teaspoon nutmeg

Method:

  1. Preheat your oven to 250.
  2. In a large bowl, mix together all of the ingredients until it starts to form a dough. If there isn’t enough moisture to hold the oats together, add almond butter by the tablespoon until there is.
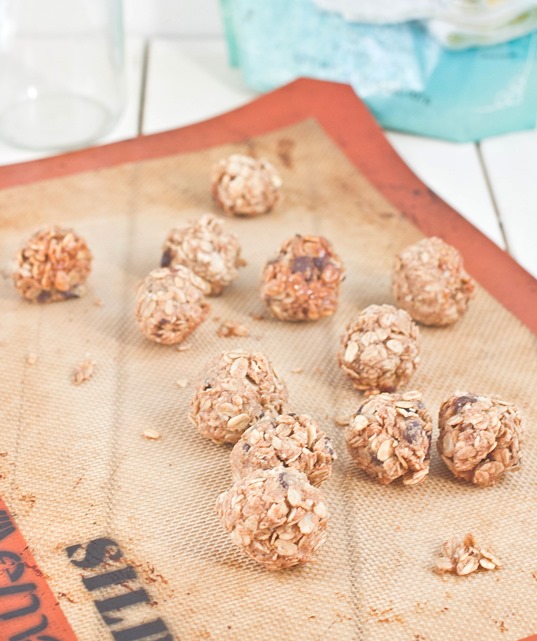
  3. Roll the dough into 1-inch balls and place them on a non-stick baking surface.
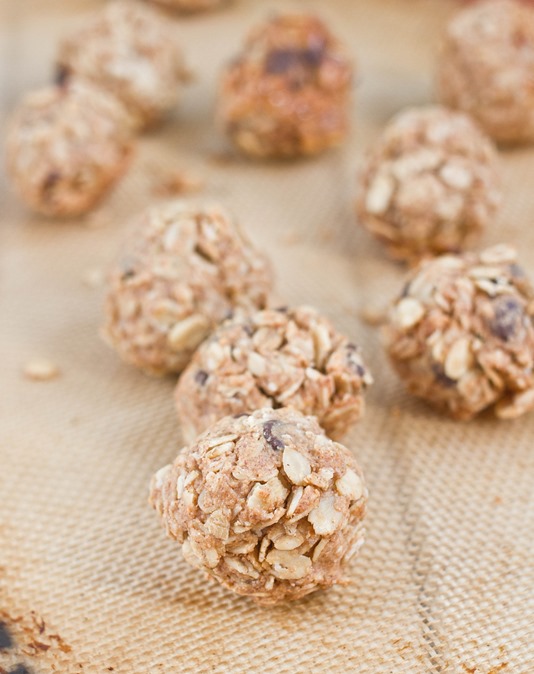
  4. Bake for 20 minutes until the outsides have browned.
  5. Let the granola bites cool and store them at room temperature for up to 2-3 days.

Homemade Granola Bite Baked

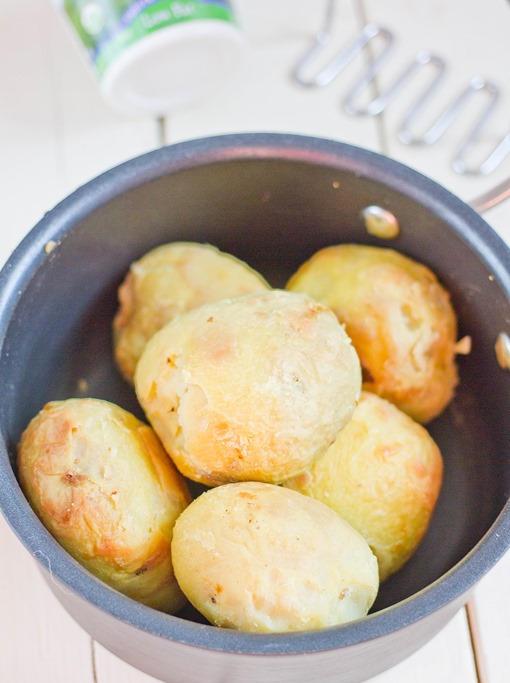
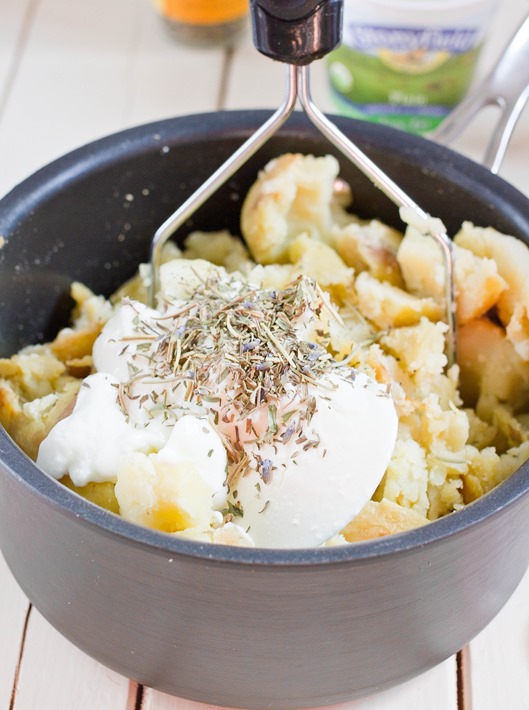
Low-Fat Garlic & Herb Mashed Potatoes

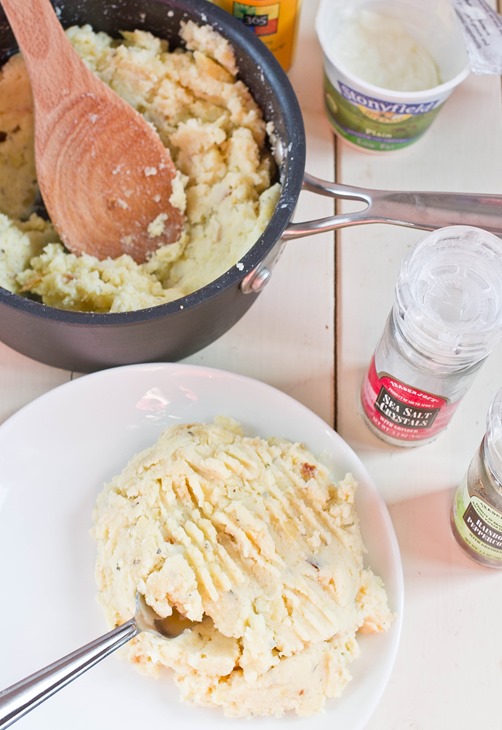
Yogurt Mashed Potatoes

There are two things that you can expect with every new year: A host of people looking for healthy recipes online and about triple the normal crowd at the gym.

When Stonyfield asked their Clean Plate Club members to lighten their favorite comfort food with yogurt, I knew exactly what I wanted to make. Few things are as comforting as mashed potatoes and they’re perfect for lightening up.

Yogurt instead of butter makes these potatoes soft and creamy while garlic and herbs adds a ton of flavor without adding any fat. You’d never guess that they were better for you.

Yogurt Mashed Potatoes Potatoes

Like most cooking, you should work with the ingredients to however you taste the finish dish best. Use 1 garlic clove for a subtle flavor or 3 for a garlic-lover’s helping of potatoes.

Low-Fat Garlic & Herb Mashed Potatoes

Prep time: 10 minutes

Cook time: 60 minutes

Ingredients(Makes 4-6 servings):

  • 1lb yukon gold potatoes
  • 4oz Stonyfield low-fat plain yogurt
  • 1-3 garlic cloves, roasted and grated
  • 1/2 Tablespoon dried herbes de Provence
  • 3/4 teaspoon salt
  • 1/4 teaspoon pepper
  • 1-2 Tablespoons milk

Yogurt Mashed Potatoes Yogurt

Method:

  1. Preheat your oven to 375 degrees.
  2. Roast the potatoes for an hour until the insides are tender. Remove the potatoes from the oven and let them cool until they’re cold enough to handle.
  3. Peel off the skins and collect the rest of the potato in a pot or bowl.
  4. Mash the potatoes along with the yogurt, garlic, herbs, salt, and pepper until smooth. Add a touch of milk depending on how starchy the potatoes are until they’re the right consistency.
  5. Serve hot.

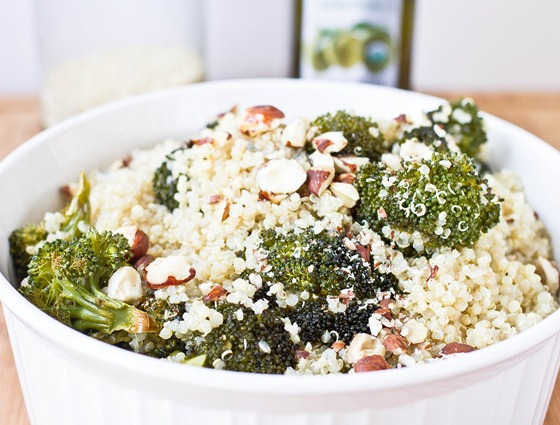
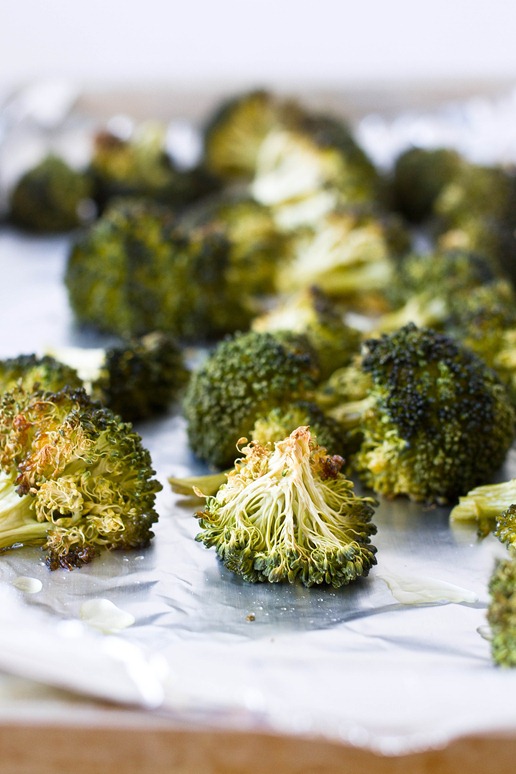
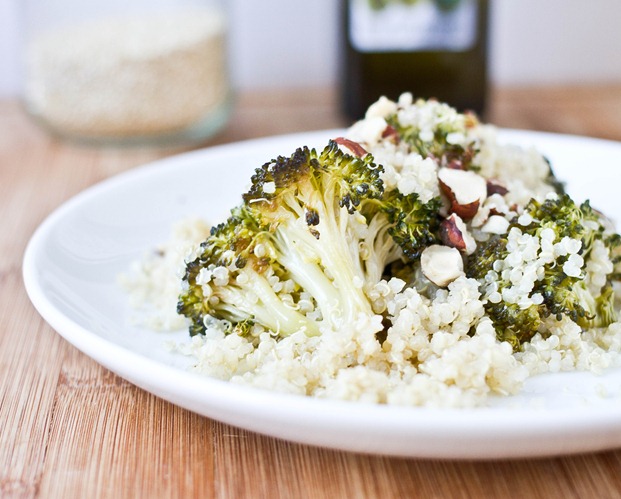
Roasted Broccoli Quinoa

Roasted Broccoli Quinoa

Happy New Year! We’ve survived the holidays and a Mayan apocalypse only to be told we need to lose 10lbs before February again. It’s silly the detox diets that people come up with, like raw green juice only for a week or “The Cookie Diet”(sounds promising but it’s not).

I definitely could use less desserts after last month and will probably try to post more healthy vegetable recipes. But that doesn’t mean you should be stuck on juices. Whole foods like broccoli and quinoa are perfectly good for you.
Roasted Broccoli Quinoa Broccoli

I read on a blog that quinoa was one of those 2012 “food fads” that ought to fade away in 2013. I hope that’s not true because it’s a great way to vary things up in the kitchen like roasted broccoli.

Roasted Broccoli Quinoa

Prep time: 15 minutes

Cook time: 45 minutes

Ingredients(Makes 4-6 servings):

  • 1 cup dry quinoa, washed
  • 2 cups broccoli florets
  • 1/4 cup olive oil, divided
  • 1/2 cup chopped roasted hazelnuts(optional)
  • 1/4 cup craisins(optional)
  • 1/2 teaspoon salt
  • 1/4 teaspoon black pepper

Method:

  1. Preheat your oven to 375 degrees.
  2. Lay the broccoli florets out on a baking tray and drizzle with 3 Tablespoons of olive oil.
  3. Roast for 45 minutes until the broccoli begins to brown.
  4. While the broccoli’s roasting, combine the quinoa with 2 cups of water in a pot and bring it to a boil. Add a lid and turn off the heat and wait for the quinoa to cook.
  5. In a large bowl, toss together the cooked quinoa, roasted broccoli, remaining olive oil, hazelnuts and craisins if using, and salt and pepper.
  6. Add extra seasoning as desired. Serve hot or cold.

Roasted Broccoli Quinoa Serving

Much better than green juice.

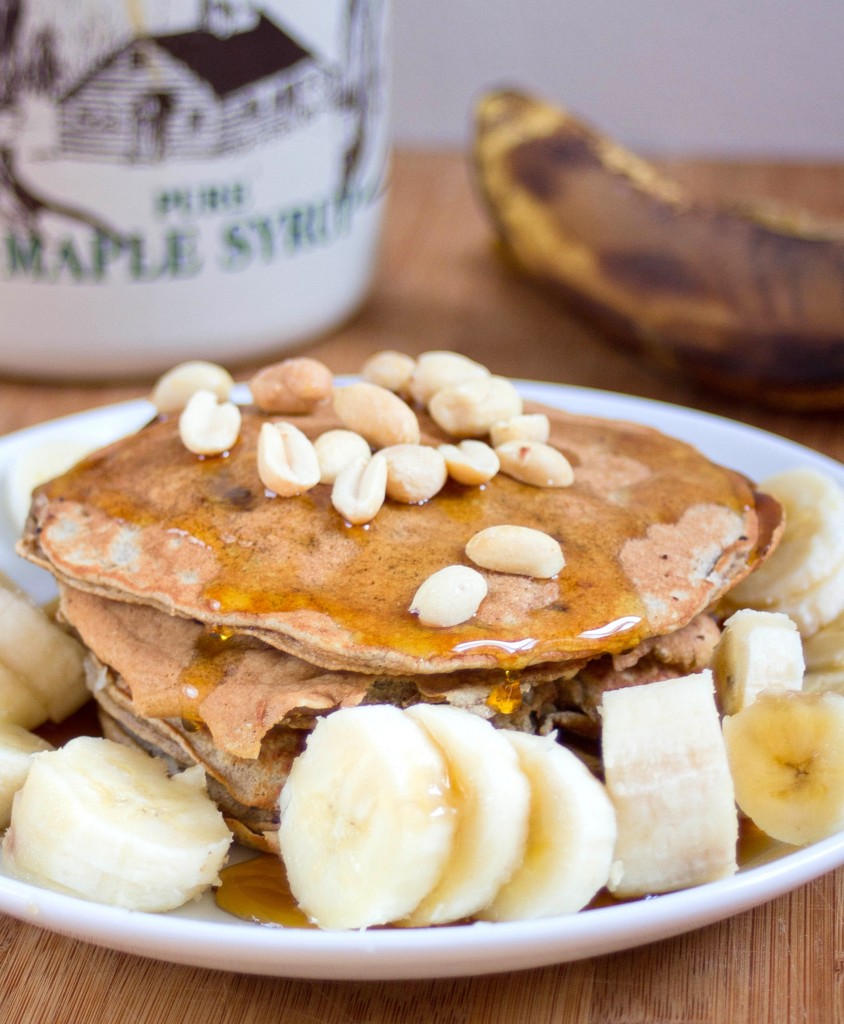
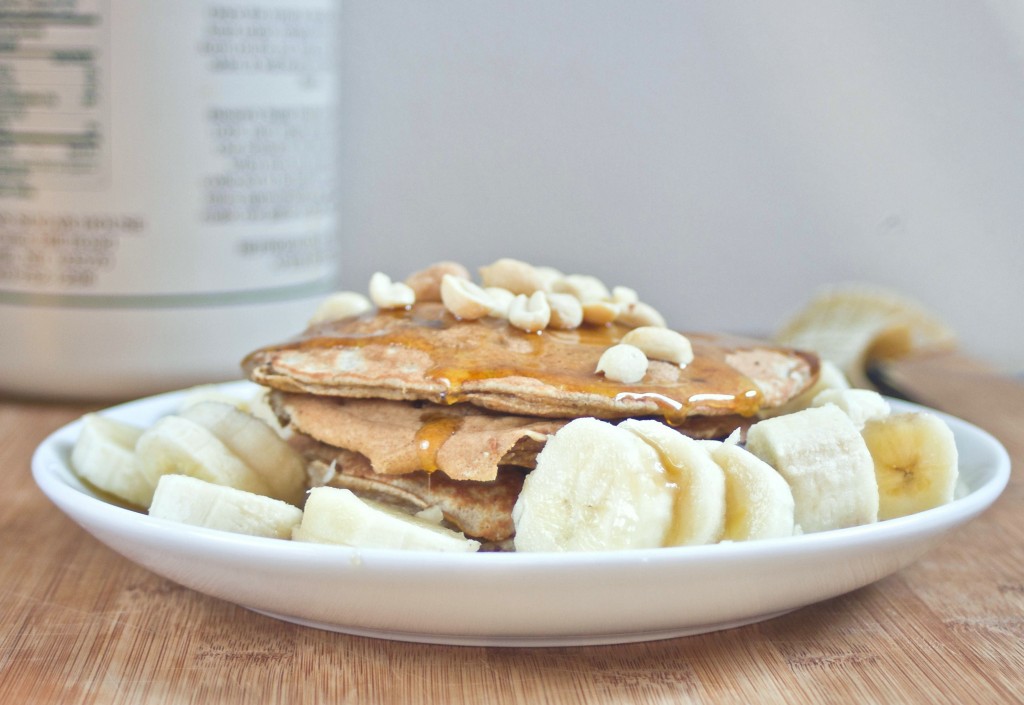
Gluten-Free Banana Pancakes


It’s been getting harder and harder to get out of bed in the morning lately. I’m used to freezing temperatures in New England by now but I’ve never learned to like them and it’s only getting colder from here on out. Blankets are getting thicker, showers are getting longer, and breakfasts are getting tastier because they’re always the best reason to get out of bed.

These pancakes are an older recipe that I wanted to revisit and spend more time on. It’s hard to find good gluten-free pancakes and the more flavors you can get the better. They’re entirely naturally sweetened, too, until you pour the maple syrup on top which is a must. A little pat of cinnamon butter and it’d be heaven.

The recipe only makes about one serving. I would recommend doubling or tripling it and storing the extra pancakes in a Ziploc bag in the refrigerator to have extra for another morning.

Gluten-Free Banana Pancakes

Prep Time: 5 minutes

Cook Time: 10 minutes

Ingredients(makes 1 serving):

  • 1/3 cup mashed banana(about a medium-sized banana)
  • 1/2 cup chickpea flour
  • 1 egg
  • 1/4 teaspoon cinnamon
  • 1/4 teaspoon baking soda
  • 1/4-1/3 cup water

Method:

  1. In a mixing bowl combine the mashed banana, chickpea flour, egg, cinnamon, baking soda and 1/4 cup water and mix.
  2. Add more water if necessary to get the consistency somewhere between thick-runny and runny.
  3. Preheat a non-stick pan over medium heat.
  4. Scoop about 1/4 cup batter into the pan for each pancake. Only cook 1 or 2 at a time to avoid overcrowding.
  5. Cook on one side until the top is bubbly, then flip and cook for about another minute. Repeat until all the batter is used.

Definitely worth waking up for.

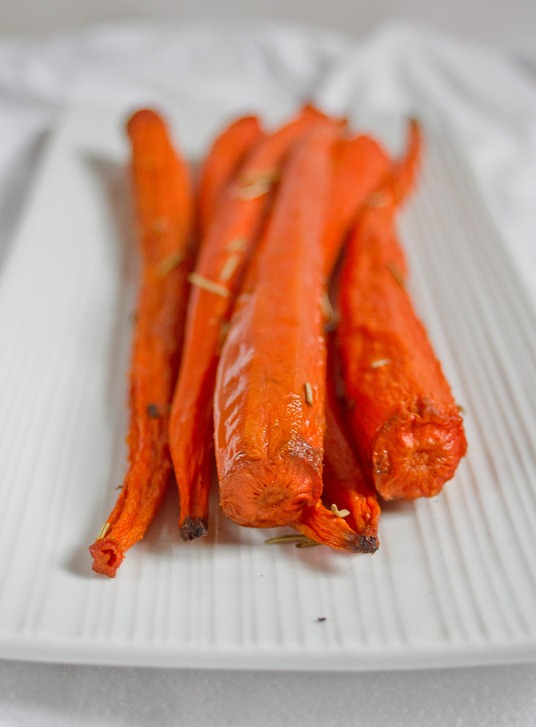
Vanilla Rosemary Carrots

Vanilla Rosemary Carrots

A lot of my meals lately have revolved around roasted vegetables. Some of my meals have been just roasted vegetables on the days I didn’t feel like cooking anything else; that’s healthy, right?

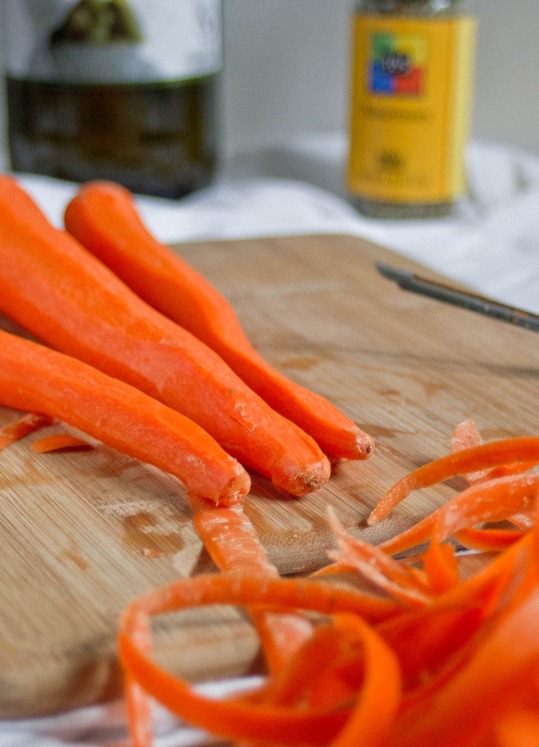
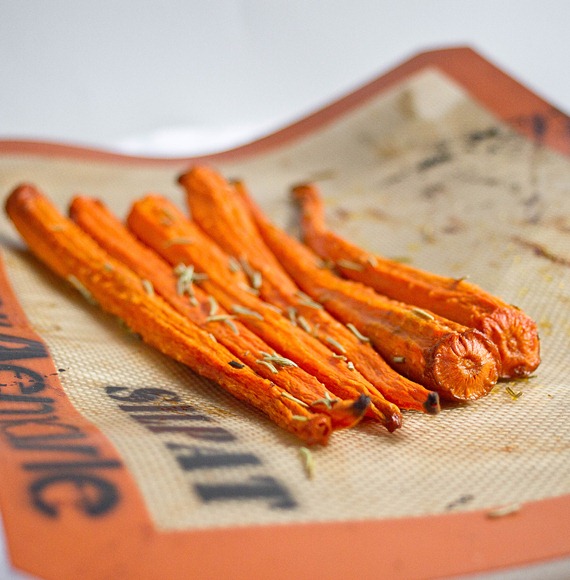
A while ago I saw this recipe for vanilla carrots. The photos on that blog make everything look delicious. I finally got around to making them last week and they did not disappoint at all. These aren’t sweeter than regular roasted carrots, but the vanilla and rosemary add an interesting savory flavor to them.

Vanilla Rosemary Carrots Prep

Don’t use an oil that has a lot of flavor like coconut or peanut oil. Instead use something like vegetable oil or refined olive oil that will let the flavor of the vanilla come through.

Vanilla Rosemary Carrots

Prep time: 10 minutes

Cook time: 50-60 minutes

Ingredients(Makes about 4-6 servings):

  • 1lb carrots
  • 3 Tablespoons oil
  • 1 1/2 teaspoon vanilla extract
  • 1 Tablespoon dried rosemary
  • 1/4 teaspoon salt

Vanilla Rosemary Carrots Roasted

Method:

  1. Preheat your oven to 375 degrees.
  2. Peel, trim, and wash the carrots.
  3. In a large tray, toss the carrots together with the olive oil, vanilla extract, salt and rosemary until they’re covered.
  4. Lay the carrots out in a single layer on a baking tray.
  5. Roast for 50-60 minutes until the carrots are fork-tender and serve hot.

Vanilla Rosemary Carrots Yield

Maple Roasted Brussels Sprouts

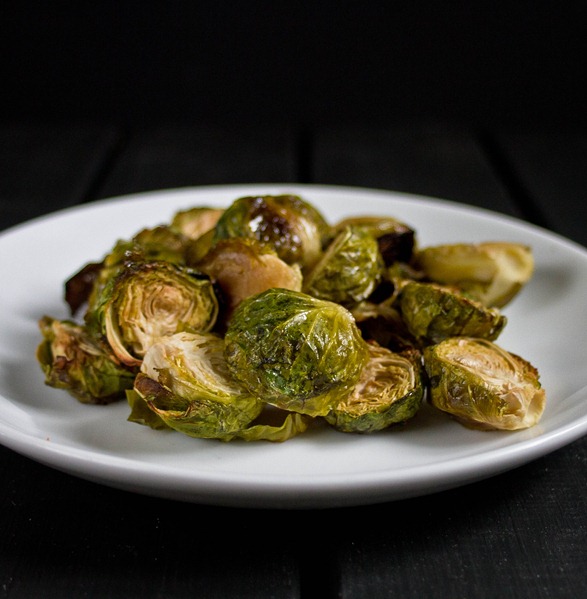
Maple Roasted Brussels Sprouts

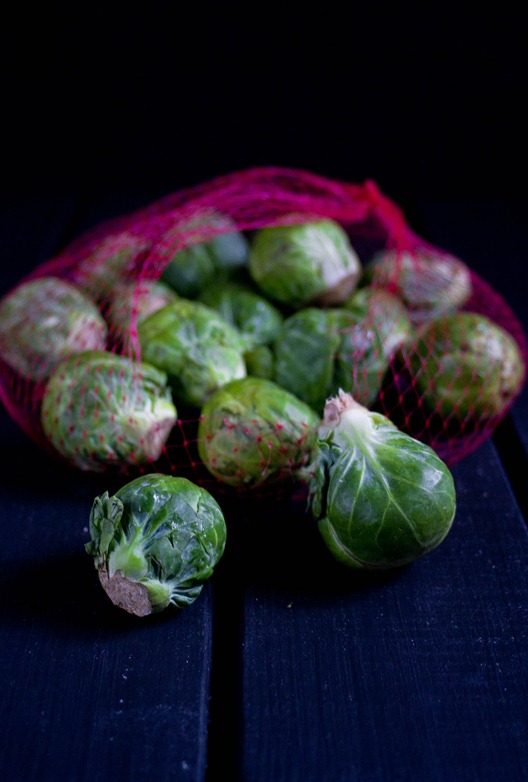
I’m not the best speller. In the past week I’ve learned three different words I’ve been spelling wrong all along. The first was “forcable” instead of forcible. That one could have gone either way, right? Another was “judgement” for judgment. I’m still left wondering what happened to that missing e. And then there’s “brussel sprouts”; to be fair, I don’t know anyone who’s ever taken time to pronounce that extra s.

It’s a good thing I’m better at preparing brussels sprouts than spelling them. They can seem intimidating and bland at first but with the right seasoning you’ll have no problem finishing a plateful.

Maple Roasted Brussels Sprouts

Prep time: 5 minutes

Cook time: 35 minutes

Ingredients(Makes about 4 servings):

  • 1lb fresh brussels sprouts, stems removed and halved
  • 3 Tablespoons maple syrup
  • 3 Tablespoons olive oil
  • 1/2 teaspoon salt

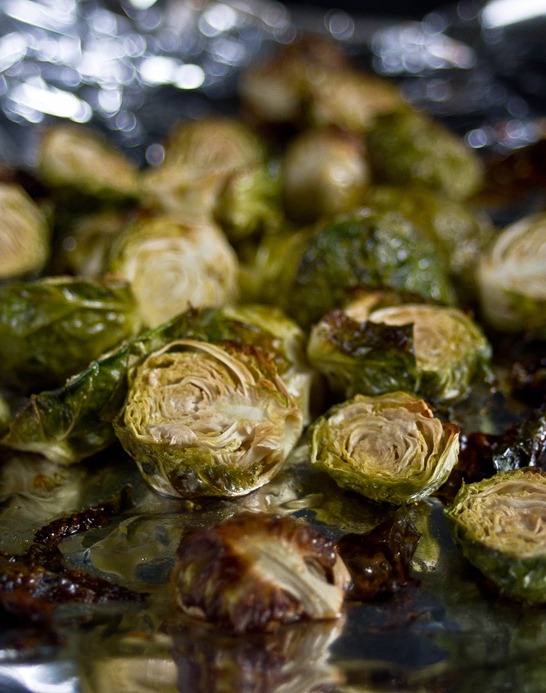
Maple Roasted Brussels Sprouts Roasting

Method:

  1. Preheat your oven to 375 degrees
  2. In a large bowl, toss together all of the ingredients until the brussels sprouts are evenly coated.
  3. Lay the brussels sprouts out in an even layer on a non-stick surface.
  4. Roast for 30-40 minutes until the sprouts begin to brown on the outside and are tender.
  5. Serve immediately.

Maple Roasted Brussels Sprouts Plated

If you don’t have maple syrup, use something like honey to add the sweetness.

Peanut Butter Snack Squares

Peanut Butter Snack Bars

Every afternoon around 3pm I run into the problem of something healthy to snack on. I’d usually just prefer a bag of M&Ms and some Reese’s peanut butter cups and call it a day, but apparently that’s not good for you(who knew?). I went ahead and tried to make a healthy snack since it’s a lot easier and cheaper than finding tasty ones in the grocery store. And wouldn’t you know you can still have your peanut butter and chocolate and eat well, too?

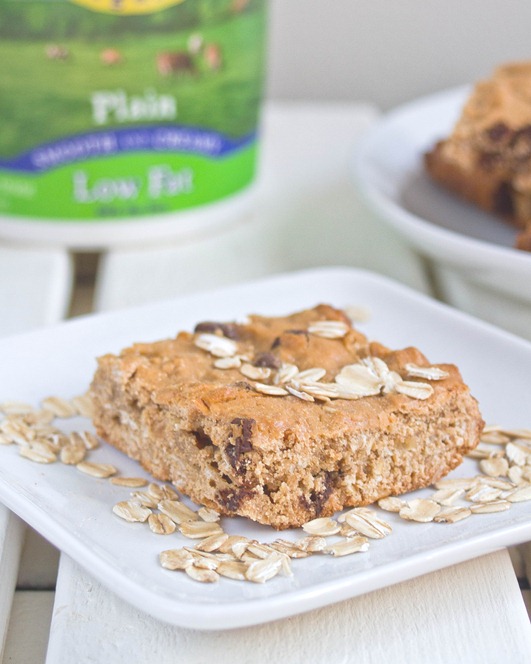
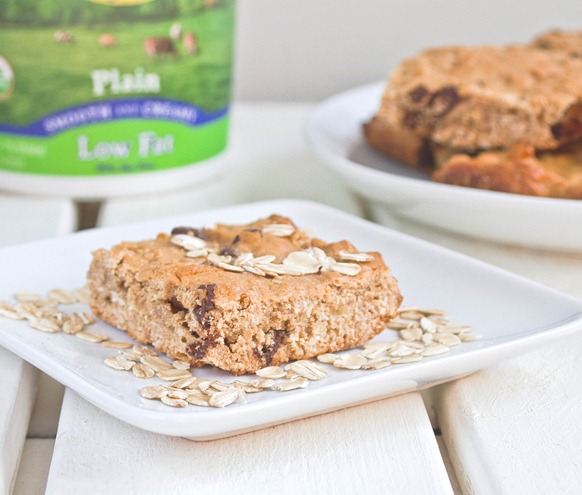
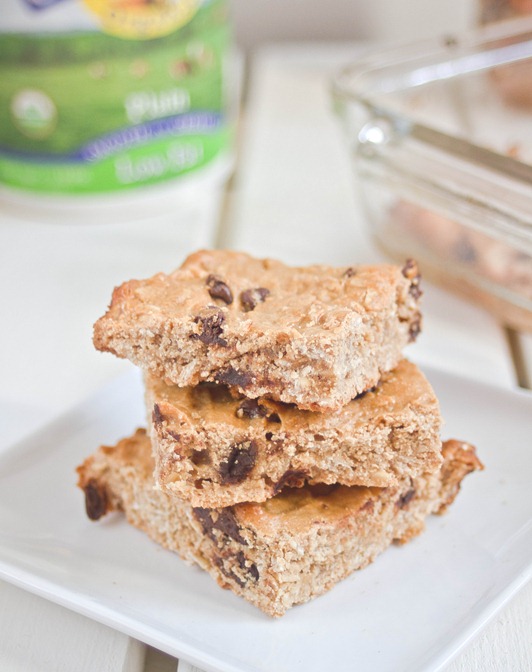
These definitely aren’t fudgy enough to be blondies or airy enough to be cake; that’s why I’d call them “squares” and say they’re the perfect afternoon pick-me-up when you’re not sure what to have. They’re filled with whole grains, peanut butter, and low-fat yogurt so they must be a better choice than anything from the vending machine.

Peanut Butter Snack Bars Healthy

If you want to make these really healthy, swap out the chocolate chips for raisins. Then again if you want to use both I won’t tell anyone.

Peanut Butter Snack Squares

Prep time: 15 minutes

Cook time: 25 minutes

Ingredients(Makes 9 squares):

  • 1 cup all-purpose gluten-free flour(or regular flour)
  • 3/4 cup gluten-free rolled oats
  • 1/2 cup + 2 Tablespoons sugar
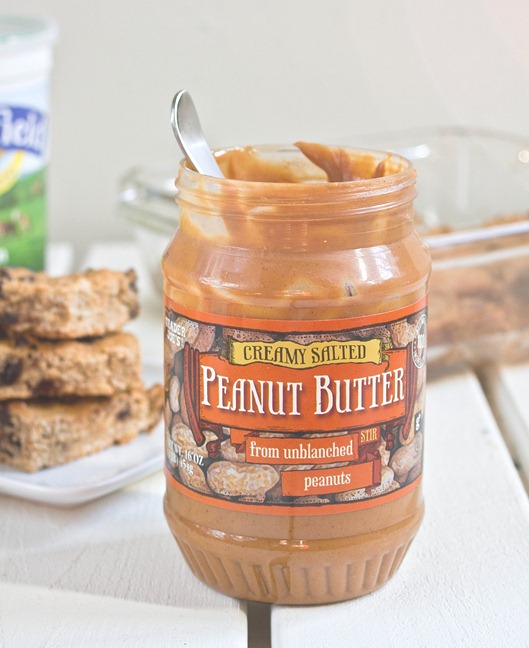
  • 1/2 cup peanut butter
  • 1/2 cup plain low-fat yogurt
  • 1 egg
  • 2-4 Tablespoons water
  • 1/3 cup chocolate chips

Peanut Butter Snack Bars Peanut Butter

Method:

  1. Preheat your oven to 350 degrees and grease an 8×8 baking pan.
  2. In a large bowl, mix together the flour, oats, and sugar.
  3. Add in the peanut butter, yogurt, and egg and beat well.
  4. Slowly add in water just until the batter is wet enough for you to stir with a whisk or spatula to mix it.
  5. Lastly fold in the chocolate chips.
  6. Pour the batter into the greased baking tray. Bake for about 25 minutes until the edges start to brown.
  7. Let the pan cool before cutting it into 9 squares. Store sealed in the refrigerator until ready to eat. 

Peanut Butter Snack Bars Serving

After a few days these start to stiffen up. Just pop them in the microwave for 30 seconds on a low setting and it’ll be just like they came out of the oven again!

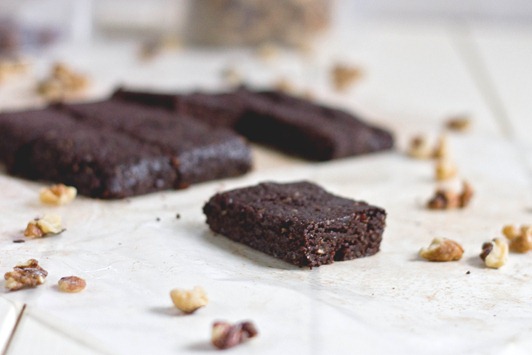
Raw Walnut Brownies

Raw Walnut Brownies

Sometimes the simplest recipes are the best. I don’t think that’s true always, but certainly in this case it is. It’s amazing what you can make with just dates, walnuts, and cocoa powder.

This is something I’ve been making for years now. I think I learned the originally recipe from a food blog that no longer exists; it’s simple enough that you don’t have to write it down or bookmark a page to remember it. The trick to making these well is recognizing what consistency the dough should be; thankfully these are very forgiving and it’s easy to figure out after making a few batches(and you’ll want to make a few batches).

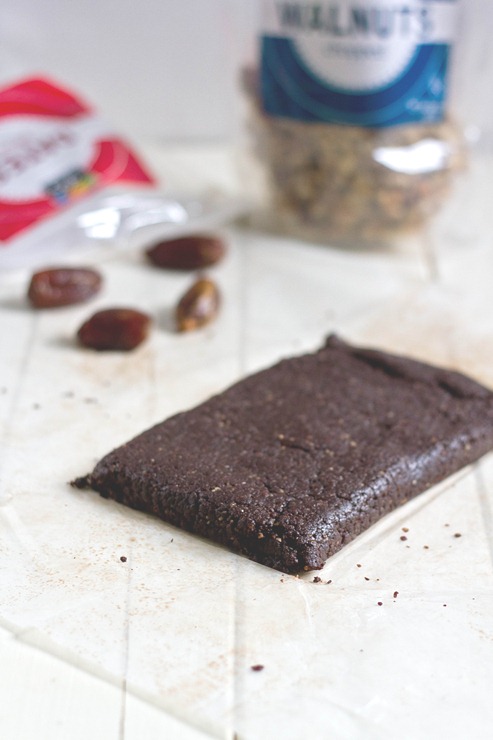
Raw Walnut Brownies Block

You can use any nut for this but I think walnuts are the best both for flavor and texture. They also pack a lot of omega-3s which are great for anyone’s diet. I’d suggest adding crushed walnuts into the batter dough after processing to give these a crunch.

Raw Walnut Brownies

Prep time: 10 minutes

Cook time: 0 minutes

Ingredients(Makes 8 squares):

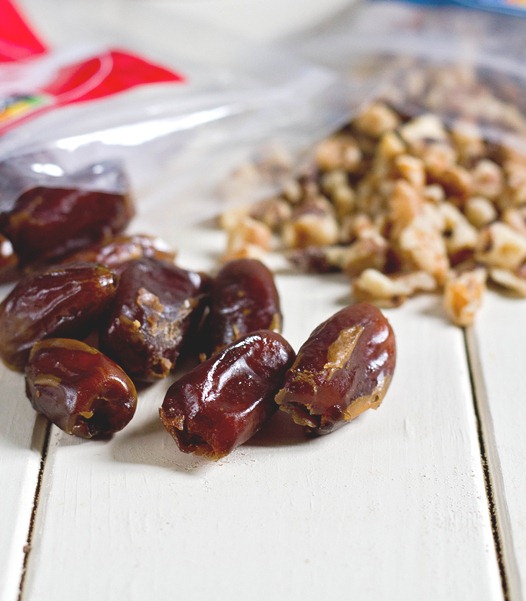
  • 2 cups pitted dates
  • 1 cup walnuts
  • 3 Tablespoons cocoa powder
  • 1-2 Tablespoons water

Raw Walnut Brownies Ingredients

Method:

  1. Blend the dates in a food processor until they are pulverized and start to stick together.
  2. Add the walnuts and continue blending until the dough starts to stick to itself. Add water as necessary if your ingredients are too dry to clump.
  3. Lastly add the cocoa powder and continue blending until it’s mixed in.
  4. Dump the processed ingredients onto a piece of parchment paper. With your hands, clump them together into a square or rectangle.
  5. Freeze the dough for 5-10 minutes until it’s firm and cut it into even sized squares. Store in the refrigerator for freshness.

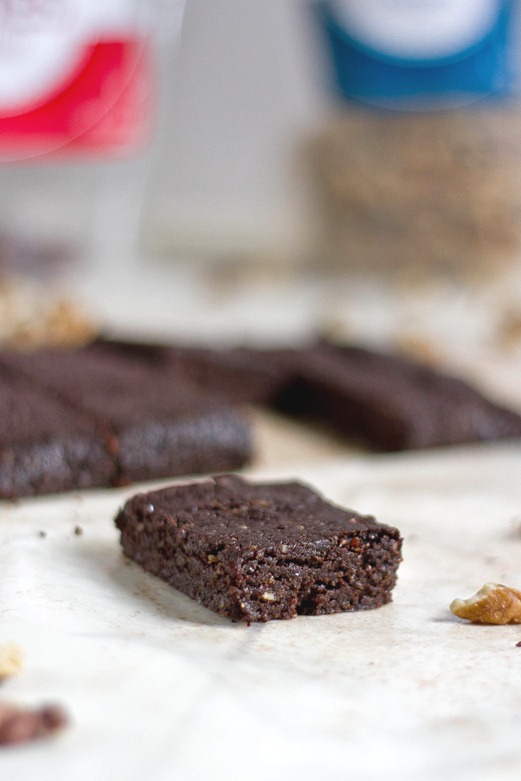
Raw Walnut Brownies Serving

You can add chocolate chips or other dried fruit to make this a little more exciting, but I think this is a perfect snack or pick-me-up for after a meal all on its own.

Grain-Free Pumpkin Muffins

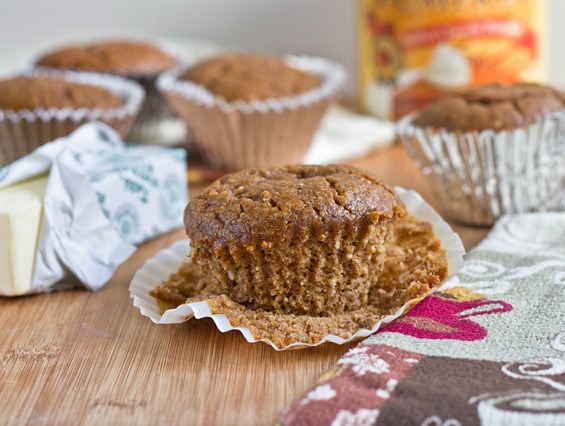
Grain-Free Pumpkin Muffins Serving

A lot of people debate what the difference between a muffin and a cupcake is. Some say it depends on whether it’s frosted or not while for others it’s about the texture. For me it’s about nutrition. Is it healthy enough that you’d want to eat it for breakfast? Then it’s a muffin. If it’s a sugar and fat bomb even without frosting, you’re probably looking at a cupcake. 

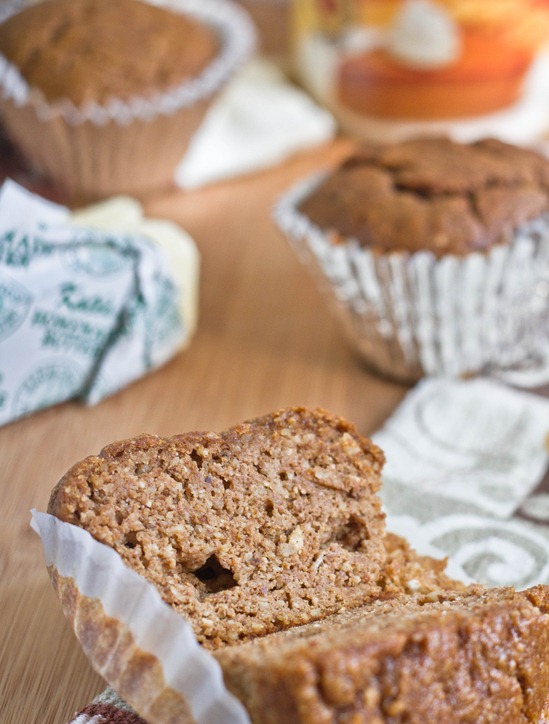
These muffins are dense, chewy, and hearty. The best way to eat one is warm with some peanut butter or cream cheese smeared inside. It’s not incredibly sweet but has a nice flavor from all of the pumpkin spices. It definitely passes the breakfast test.

Grain-Free Pumpkin Muffins Sliced

If you don’t have 3 cups of almond flour, you can make your own by grinding 3 cups of almonds in a food processor like I did. Make sure to run it for a really long time to avoid getting larger pieces of almonds.

Grain-Free Pumpkin Muffins

Prep time: 10 minutes

Cook time: 25 minutes

Ingredients(Makes about 10 muffins):

  • 3 cups almond flour or meal
  • 1 cup pumpkin
  • 1/4 cup vegetable oil
  • 3/4 cup maple syrup
  • 6 eggs
  • 2 Tablespoons tapioca starch
  • 2 teaspoon pumpkin pie spice
  • 1/2 teaspoon salt
  • 1 teaspoon baking soda

Method:

  1. Preheat your oven to 350 degrees.
  2. In a large bowl, mix together the almond flour, pumpkin, vegetable oil, maple syrup, and eggs until there are no clumps left.
  3. Mix in the tapioca starch, spice, salt and baking soda.
  4. Pour the batter into lined muffin tins.
  5. Bake for 25 minutes or until a toothpick inserted in the center comes out clean. Turn the oven off and let the muffins cool in there with the door slightly cracked open.
  6. Store at room temperature for 2-3 days or freeze them to make them last longer.

Grain-Free Pumpkin Muffins

Don’t skimp on the pumpkin spice blend; that’s where all the delicious pumpkin muffin flavor is.