Tag Archive: Gluten-Free

Chocolate Almond Granola Bars

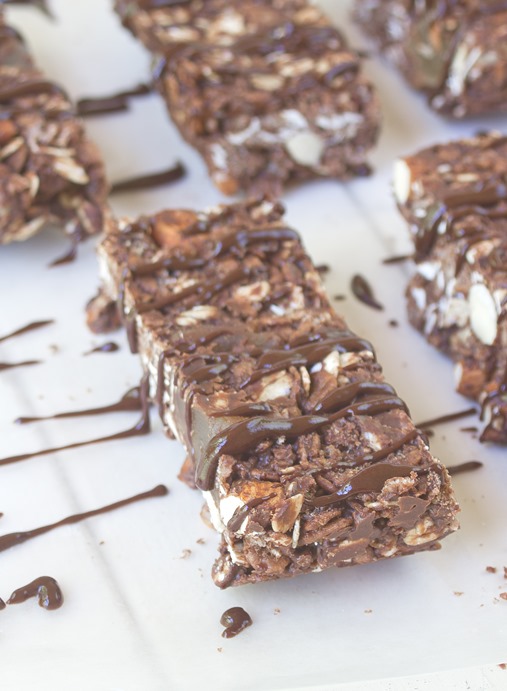
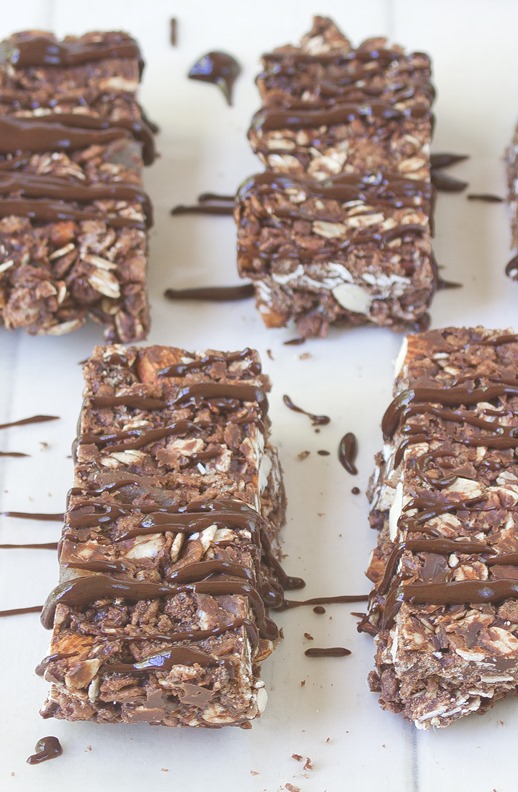
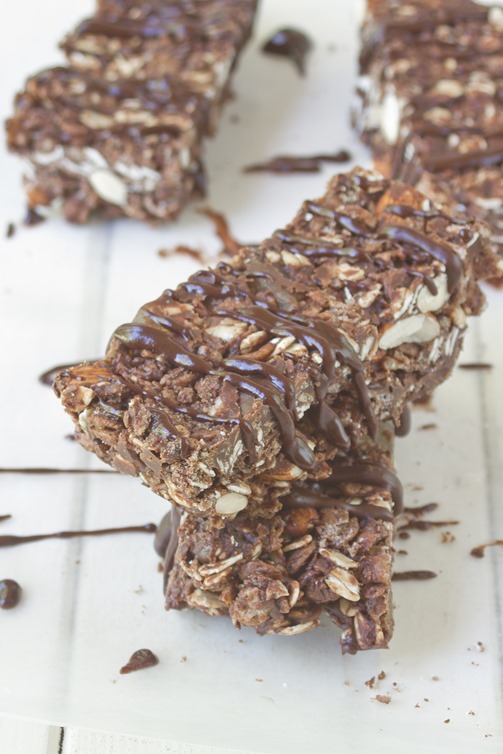
Chocolate Almond Granola Bars

I’m a snacker. I can’t imagine how somebody could go from lunch all the way to dinner time without snacking on something. Seriously, how do they do it? I’m usually reaching for a candy bar or bag of popcorn at 3pm and more often than not know I should be eating something healthier.

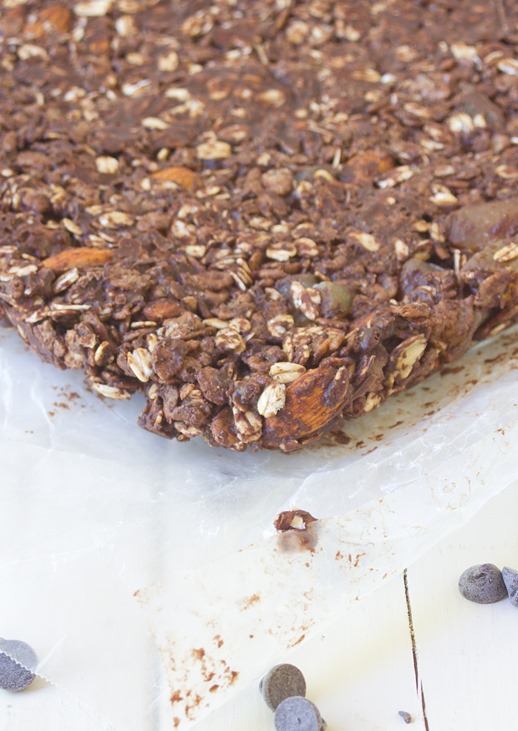
I first made these bars last Summer and they disappeared as quickly as they set. They’re unbelievably delicious for something that takes 10 minutes to make with simple ingredients. This time around I used homemade chocolate cashew butter in place of the almond butter because it’s what I had on-hand and they tasted just as good if not better.

Chocolate Almond Granola Bars Drizzled

Just like the first time I made these, I used candied ginger instead of dried fruit. I love a little bit of spice with my chocolate. I’d highly recommend chopping your almonds and fruit before adding them to the batter because the larger portions will make your granola bars harder to cut in the final step.

Chocolate Almond Granola Bars

Prep time: 10 minutes

Cook time: 0 minutes

Ingredients(Makes 8 to 10 bars):

  • 1/2 cup semi-sweet chocolate chips
  • 1/2 cup almond butter
  • 1/4 cup honey**
  • 1 cup oats*
  • 1 1/2 cups chocolate rice crisps cereal*
  • 1/2 cup almonds, crushed or sliced
  • 1/2 cup dried fruit
  • 1/4 teaspoon salt

*To make these granola bars gluten-free, make sure these two ingredients are certified gluten-free.

**Use 3 Tablespoons of agave to make these vegan.
Chocolate Almond Granola Bars Uncut

Method:

  1. In a microwave or over a double boiler, melt the chocolate chips.
  2. Stir in the almond butter and honey until smooth.
  3. Add in the oats, cereal, almonds, dried fruit, and salt and mix until everything is completely covered.
  4. Line an 8 x 8 baking tray with wax paper. Dump the batter into the pan and press down into an even layer.
  5. Refrigerate the bars until they’ve hardened—about 20-30 minutes.
  6. With a sharp knife, cut the bars in half horizontally and into quarters vertically into 8 2 x 4 bars.
  7. Store in the refrigerator for up to 2 weeks.

Chocolate Almond Granola Bars Uncut Stacked

Italian White Bean Salad

Italian White Bean Salad Yield

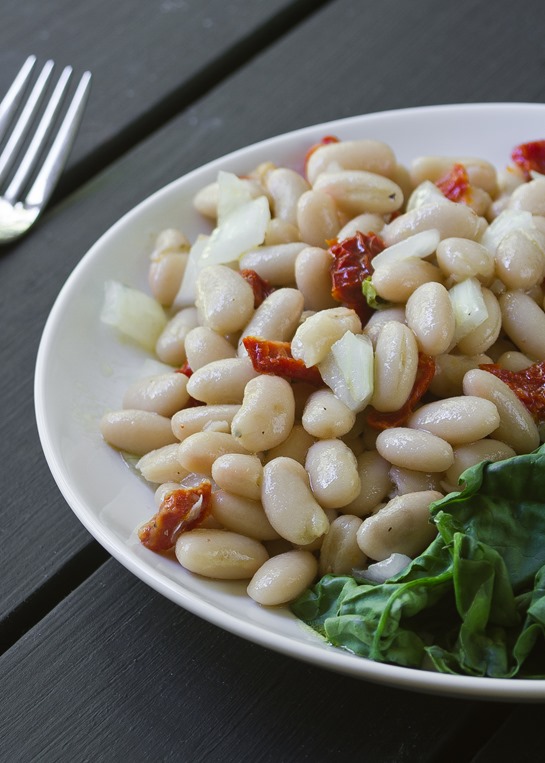
This is one of my favorite things I’ve eaten this Summer, which is saying a lot since I love sweets and it’s a savory recipe. It’s just the prefect, refreshing thing to throw together and put on a plate and enjoy without ever turning on the oven.

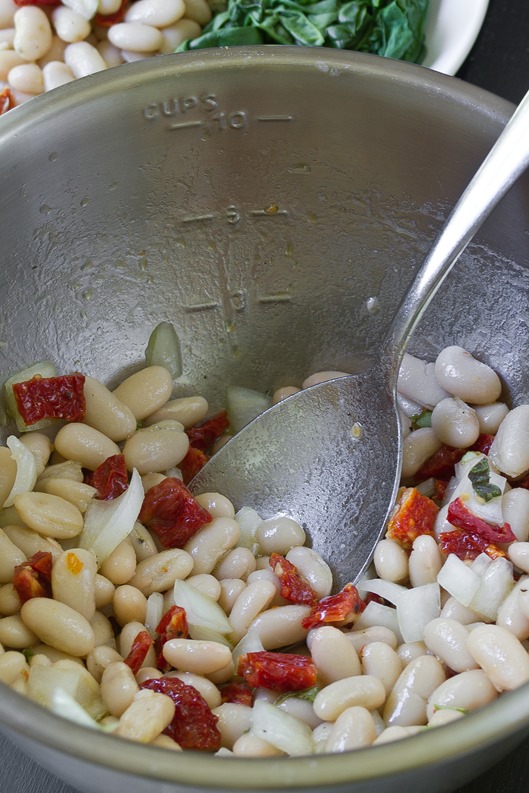
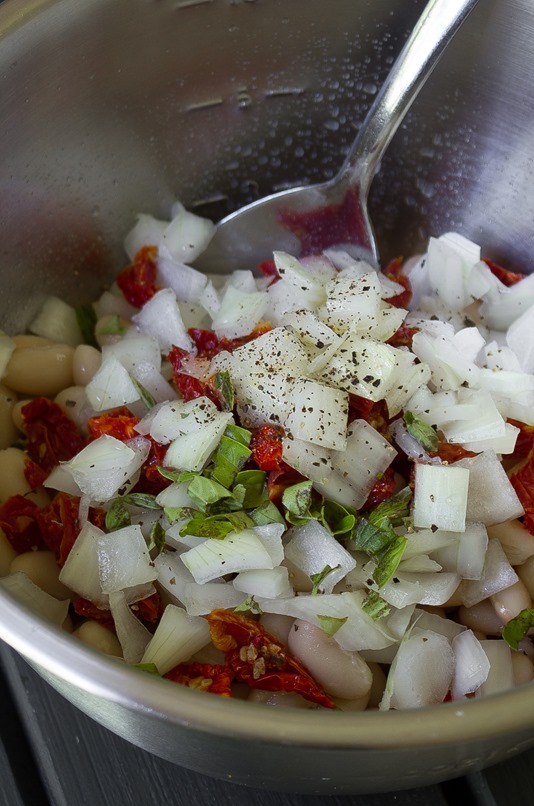
The ingredients here are really simple: White beans, sundried tomatoes, onions, basil, dressing and seasoning. That’s all you need! Don’t let the raw onions scare you; soaking them in a little cold water first takes out the bite in their flavor but leaves them cool and crunchy. You might want to freshen your breath afterwards with a homemade peppermint patty.

Italian White Bean Salad Ingredients

Like all recipes, make sure to season these to taste. If the beans you used were cooked in salt, make sure to use less to keep the flavor light and fresh.

Italian White Bean Salad

Prep time: 10 minutes

Cook time: 0 minutes

Ingredients(Makes 4 servings):

  • 2 cans white beans, drained
  • 1/4 cup chopped sundried tomatoes
  • 1/4 cup chopped onions
  • 3 Tablespoons extra virgin olive oil
  • 1 1/2 Tablespoons lemon juice
  • 2 Tablespoons fresh chopped basil
  • 1/2 teaspoon cracked black pepper
  • 1/4-1/2 teaspoon salt

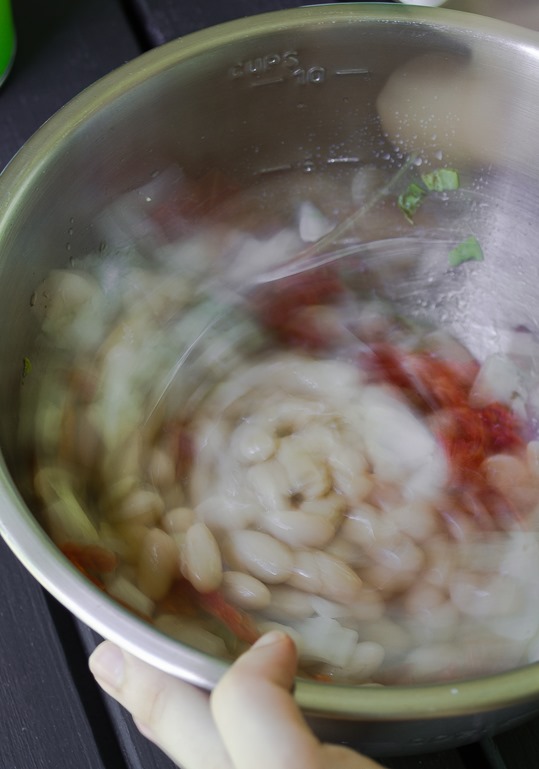
Italian White Bean Salad Mixing

Method:

  1. Let the onions soak in cold water for 5-10 minutes. Drain the water from the onions and lightly pat them dry.
  2. Toss all of the ingredients except for the salt together in a large bowl.
  3. Taste the beans and season with the salt as necessary.
  4. Serve cold or at room temperature.

Italian White Bean Salad

Homemade Peppermint Patties

Homemade Peppermint Patties

I’m a candy addict. I like having a little after every meal; it just leaves a better taste in your mouth than pasta sauce or vegetables ever could. That’s probably why I’ve blogged this recipe 2 or 3 times in the past couple of years. But it’s so good I have to post it again.

I’ll admit I love the store-bought, corn syrup laden candy you get at grocery stores and movie theaters. Now and again though it’s fun to make your own. And it can be a great way to impress your family and friends.

Homemade Peppermint Patties Filling

I’d recommend looking for dark chocolate chips for this recipe; the bitterness of the chocolate is a nice contrast to the minty sweet filling. You can use butter in place of the coconut oil if that’s what you have on hand.

Homemade Peppermint Patties

Prep time: 30 minutes

Cook time: 0 minutes

Ingredients(Makes 24 patties):

  • 2 1/4 cup powdered sugar, sifted
  • 1 1/2 Tablespoons agave nectar(or any liquid sweetener)
  • 1 1/2 Tablespoons water
  • 1 Tablespoon coconut oil, softened or melted
  • 1 teaspoon peppermint extract
  • 1 bag(12oz) bittersweet or semisweet chocolate chips

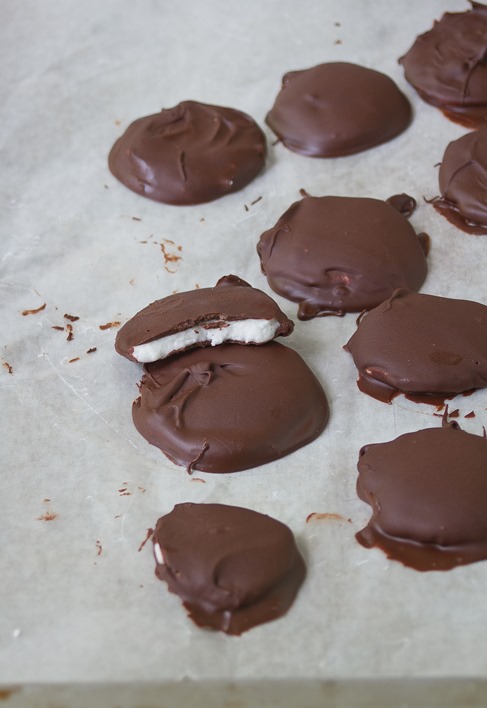
Homemade Peppermint Patties Done

Method:

  1. In a large bowl, mix the powdered sugar, agave nectar, coconut oil, peppermint extract, and water. Continue mixing with your hands until it comes together and forms a dough ball.
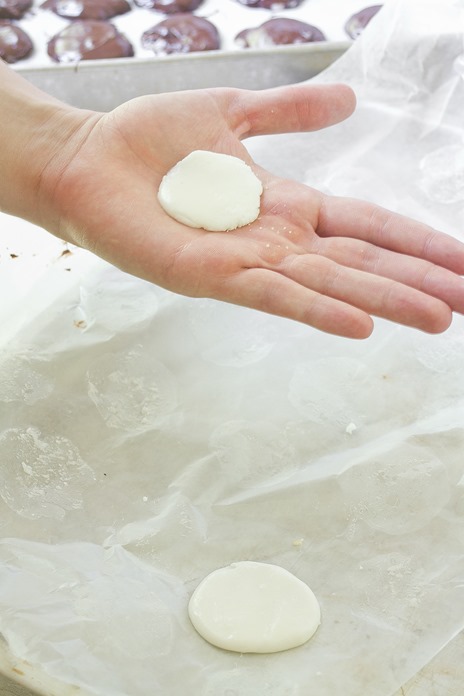
  2. Take off chunks of filling from the dough ball and roll them into 3/4-inch balls. Press the balls down in between your hands and form patties.
  3. Lay the patties out on a baking tray on a non-stick surface and refrigerate or freeze for 20 minutes until firm
  4. Melt the chocolate in a microwave or over a double-boiler. Line a baking tray with parchment paper.
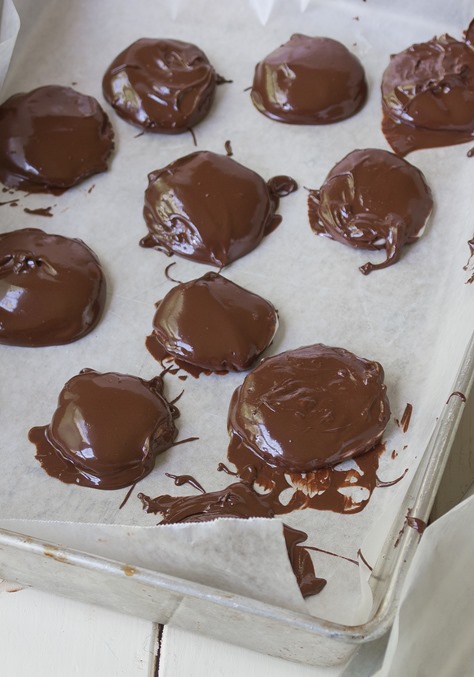
  5. Dip the frozen filling into the melted chocolate with a fork until the top and bottom are covered. Wipe off any excess chocolate from the bottom and lay it on the lined baking tray.
  6. Refrigerate the patties for 10 minutes before removing them from the paper. Keep refrigerated when not eating.

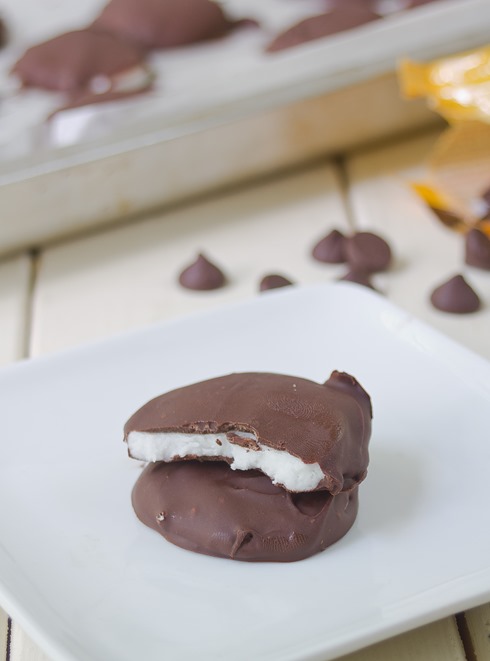
Homemade Peppermint Patties Serving

{Gluten-Free} Flour, Too + Giveaway

{Gluten-Free} Flour, Too   Giveaway

If you’re from the Boston area you’ve probably heard of Joanne Chang-Myer’s Flour. If not, you’re in for a treat.

Flour is a local bakery with 4 cafes in the Boston area. They have all sorts of desserts, pastries, sandwiches, entrees and salads. I went one with a friend who’s also gluten-free and we split one of the most delicious meringues I’ve ever had with huge chunks of dark chocolate inside. Just thinking about it makes me want to go back and get another.

{Gluten-Free} Flour, Too   Giveaway Book

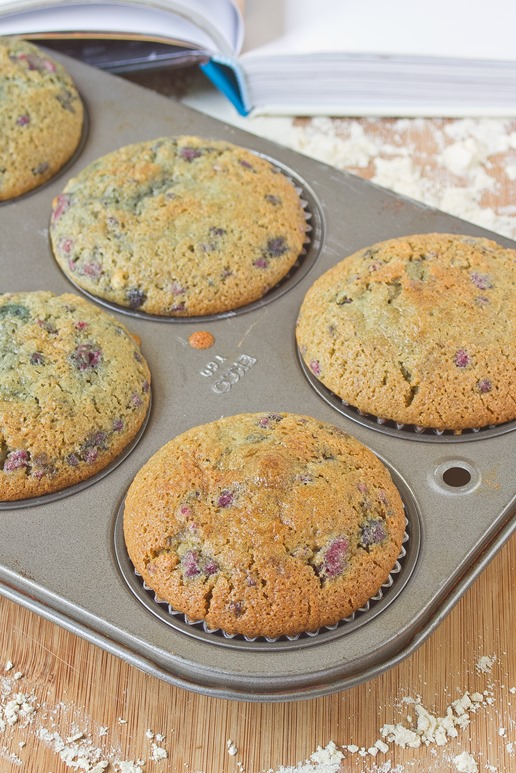
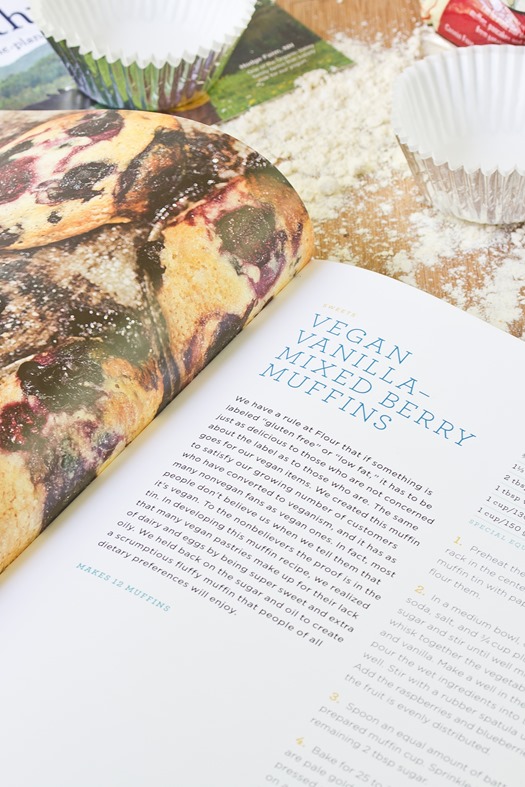
Stonyfield offered to send some of their Clean Plate Club members a signed copy of Joanne’s second book, “Flour, Too”, and an extra copy to give away. Flipping through the cookbook I loved the photos, kitchen tips and tricks, and variety. For a cookbook with “flour” in the title, there are plenty of naturally gluten-free recipes from desserts to salads and entrees. It was hard to pick the first recipe to try but I settled on the Vegan Vanilla-Mixed Berry Muffins because the photo was so enticing and it seemed simple enough for a weekday afternoon.

{Gluten-Free} Flour, Too   Giveaway Flour

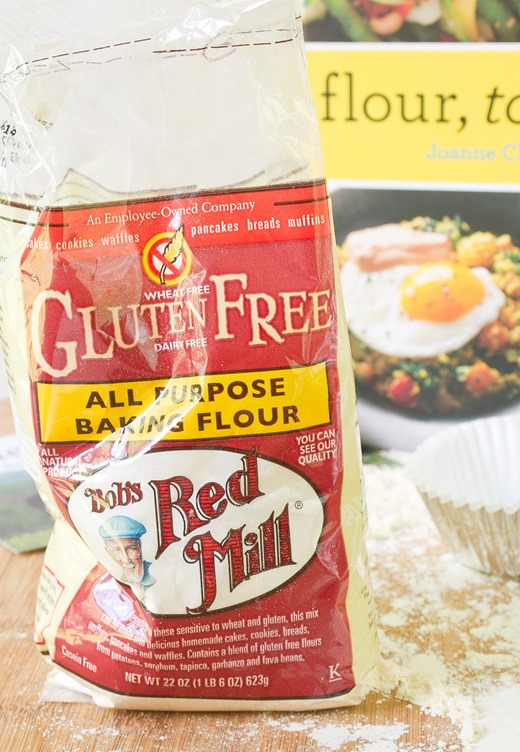
Gluten-free all purpose flour is a great tool for people new to the gluten-free baking scene. Most allow for a 1:1 substitution for all purpose flour in just about any recipe so you can still make all your favorite recipes. I’ve been using the Bob’s Red Mill brand for 3 years now.

I wanted to stick as closely to Joanne’s recipe as possible so I only swapped the regular flour out for gluten-free all purpose flour and soy milk out for fat-free milk(what I had on hand). The muffins came out flavorful and fantastic. Next time I make them, however, I’d probably swap out half of the oil in the recipe(almost 1 cup) for Stonyfield yogurt to lighten them up. 

{Gluten-Free} Flour, Too   Giveaway Raw

Giveaway:

Stonyfield has a second copy of Joanne’s book “Flour, Too” to give to a lucky US reader along with some Stonyfield coupons to get cooking. There are several different ways to enter. Please leave a comment for each entry.

  1. Leave a comment with your favorite kitchen swap. Yogurt for oil? Gluten-free flour for regular? Something else?
  2. Like Stonyfield Farm on Facebook
  3. Like The Wannabe Chef on Facebook
  4. Like Flour Bakery + Cafe on Facebook
  5. Tweet “I want to win a copy of Flour, Too from @Stonyfield and @WannabeChefEvan http://wp.me/p18mer-20y

I’ll leave the contest open for a week and pick a winner on August 8th.


Black Bean Mole Sauce

Black Bean Mole Sauce

Every now and then I find an old recipe on this  from a couple of years ago, poorly written with even worse photos. Especially when it’s one I loved I’m always tempted to make it again and give it the recognition it should have.

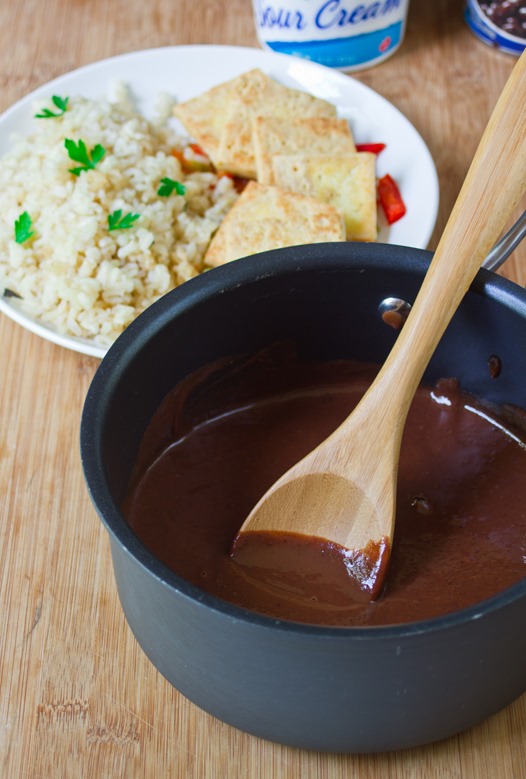
This recipe’s a one food-processor wonder. The ingredient list is a little long, but all you have to do is throw it together, blend it up, and heat to serve—that’s it. It’s also remarkably creamy and flavorful with a sauce for no fat or animal products in it, so it makes a great, healthy crowd-pleaser.

Black Bean Mole Sauce Yield

The finished sauce should be slightly spicy with a cool finish. You can adjust it by adding more or less cayenne and chili powder and as always season it to taste.

Black Bean Mole Sauce

Prep time: 5 minutes

Cook time: 0 minutes

Ingredients(Makes about 1 1/4 cups):

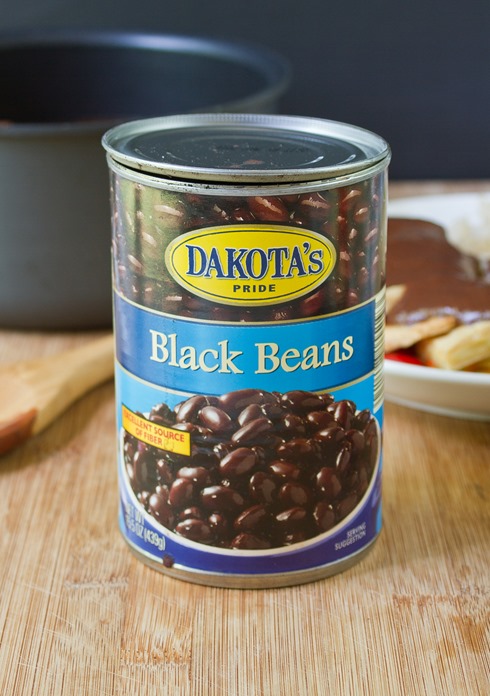
  • 1/2 cup black beans, drained and rinsed
  • 2 Tablespoons tomato paste
  • 1 1/2 Tablespoons white vinegar
  • 5 Tablespoons honey
  • 1/4 cup sugar
  • 1 Tablespoon cocoa powder
  • 1 teaspoon sea salt
  • 1/2 teaspoon chili powder
  • 1/2 teaspoon cayenne pepper
  • 1/2 teaspoon garlic powder
  • 1/4 teaspoon paprika
  • 1/4 teaspoon cinnamon
  • 1/8 teaspoon mustard seed
  • ~1/4 cup water

Black Bean Mole Sauce Beans

Method:

  1. Combine all of the ingredients except for the water into a food processor and blend until smooth.
  2. Slowly add the water while blending until the sauce reaches a fluid yet thick consistency.
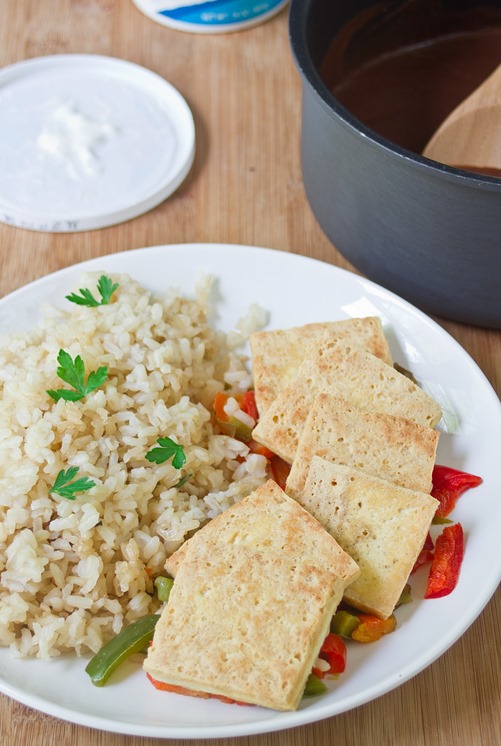
  3. Heat up before serving. Scoop a generous amount over protein like tofu, tempeh, or chicken.

Black Bean Mole Sauce Tofu

How To Make Perfect Home Fries

How To Make Perfect Home Fries

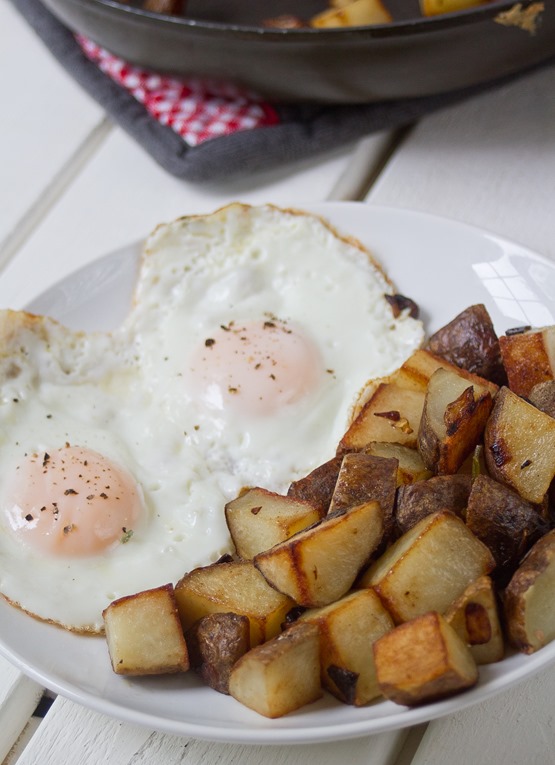
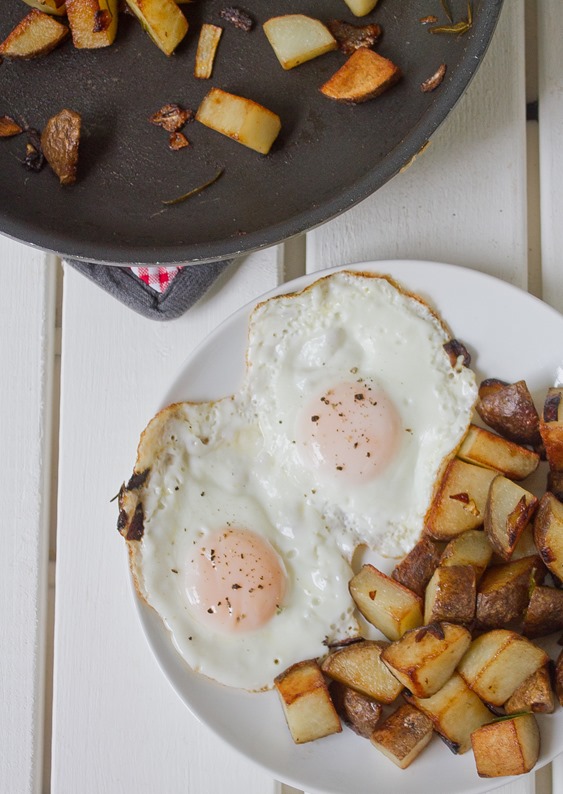
Well cooked home fries are one of my favorite foods. I always look for them on a menu when I’m out to eat(clearly I only choose very classy places that would serve home fries at 6pm); they beat plain old french fries any day.

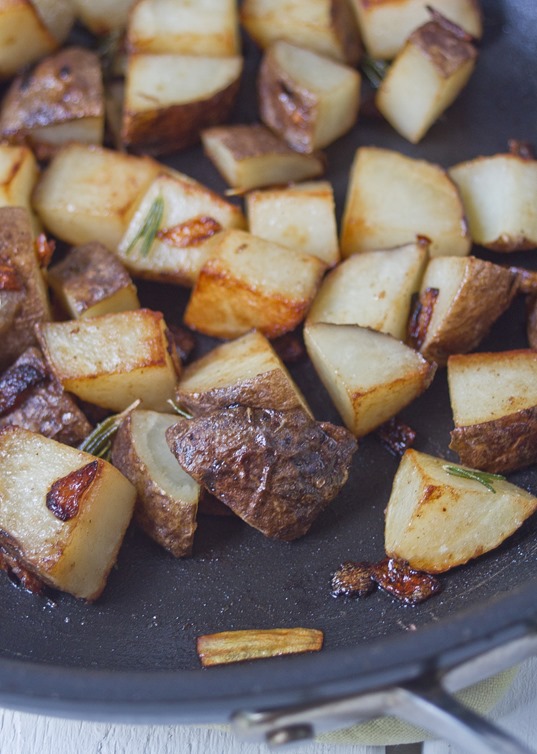
Years of cooking these spuds have taught me that home fries are all about two things: Seasoning and cooking time. Salt, herbs, and onions all make for a really taste treat once the flavors are absorbed into the home fries. You also can’t rush perfection. The best way to get a golden, crispy outside and a soft starchy inside is to cook these low and slow, giving each side a chance to sizzle on the bottom of the pan.

How To Make Perfect Home Fries Cooking

You’ll definitely want to double or even triple the recipe if you’re cooking for a crowd because these’ll fly off the plate. Season them to taste as always; you can add any number of herbs and spices to make them spicy, garlicky, or even slightly sweet.

How To Make Perfect Home Fries

Prep time:  10 minutes

Cook time: 15 minutes

Ingredients:

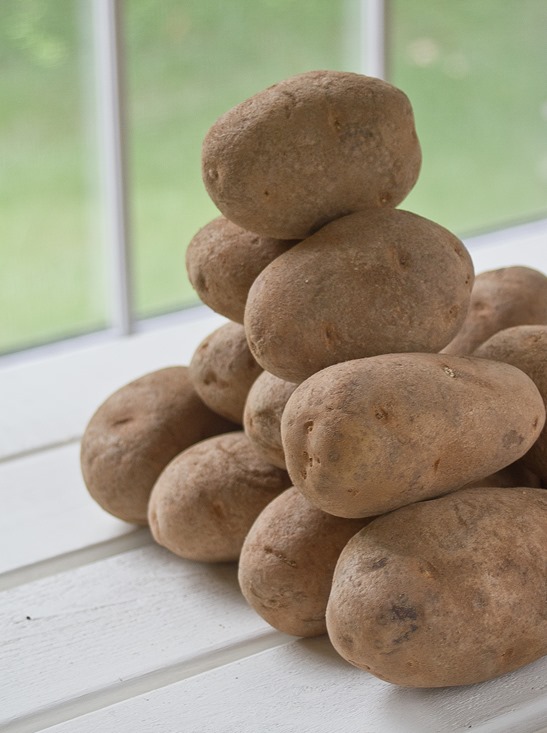
  • 2 par-cooked medium Russet potatoes*
  • 2 Tablespoons chopped onion
  • 3 Tablespoons olive oil, divided
  • 1/2 teaspoon salt
  • Couple sprigs of rosemary
  • 1/4 teaspoon pepper

*I usually bake mine for 40 minutes, let them cool, and then keep them in the refrigerator to have on hand whenever I want to make these. You can also par-cook them in the microwave or by boiling them as long as they’re firm enough to slice when done.

How To Make Perfect Home Fries Potatoes

Method:

  1. Heat 1 Tablespoon of oil in a frying pan. Add in the onions and sauté them until they become translucent.
  2. Dice the potatoes into small bites, about 1/2-inch squares. Leave the skins on for a rustic look and texture.
  3. Add the potatoes into the pan with the onions along with the remaining 2 Tablespoons of oil and salt.
  4. Cook on medium heat, tossing the pan every couple of minutes to flip the potatoes. Cook for 10-15 minutes until most of the sides look browned and crispy and the oil has been soaked up.
  5. Finish by seasoning with pepper.
  6. Serve hot.

How To Make Perfect Home Fries Overhead 

Reese’s Lover’s Bark

Reese’s Lover’s Bark Whole

This is it.

If I stopped blogging tomorrow and this was the last recipe I ever posted, I’d be more than happy with that.

It’s no secret I’m a Reese’s lover. This bark was bound to happen. And it’s one of my favorites—Scratch that. It is my favorite.

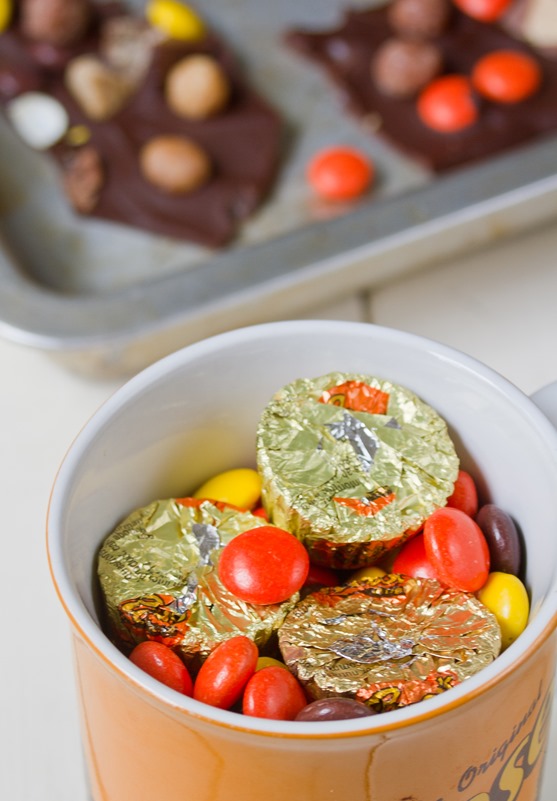
The sweet Reese’s pieces, dark chocolate, and smooth peanut butter cups go perfectly with a little crunch from the Reese’s puffs. You’d be hard-pressed to be disappointed with a bite of this bark.

Reese’s Lover’s Bark

You can use regular-sized Reese’s cups, Reese’s fun-sized candies, or even Reese’s miniatures for the peanut butter cups—whichever you have on hand.

Reese’s is in no way affiliated with this blog post; I’m just a lover.

Reese’s Lover’s Bark

Prep time: 10 minutes

Cook time: 0 minutes

Ingredients(Makes 16-20 servings):

Reese’s Lover’s Bark Ingredients

Method:

  1. In a microwave safe bowl, melt the chocolate chips until they are smooth and liquid.
  2. Spread the chocolate out into a thin layer on a non-stick surface such as wax paper.
  3. One at a time or all together, sprinkle the Reese’s toppings evenly over the melted chocolate.
  4. Gently press the toppings into the chocolate to make sure as many as possible stick into the bark.
  5. Refrigerate for 20-30 minutes until the chocolate is cold and set.
  6. Break the bark into pieces with a knife or your hands while still cold. Keep refrigerated until ready to eat.

Reese’s Lover’s Bark Serving

Easy Broccoli Frittata

Easy Broccoli Frittata

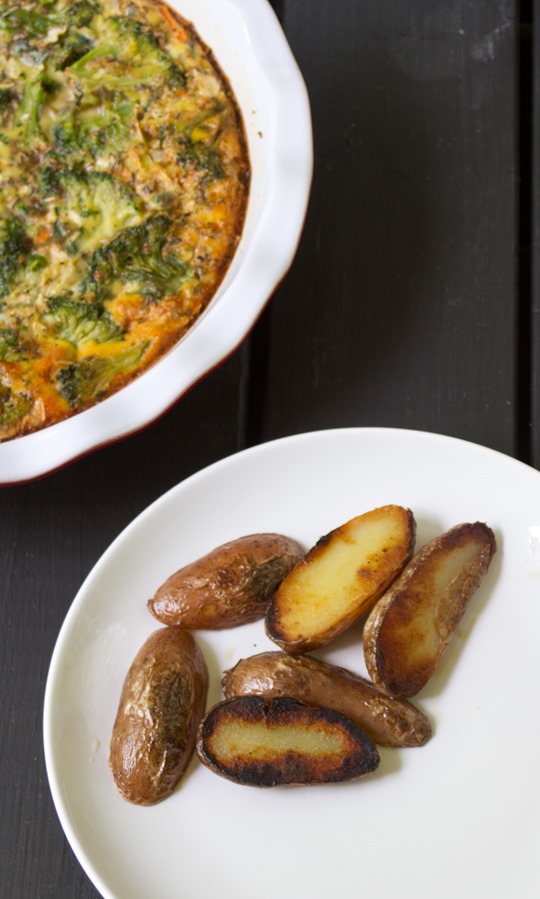
On an average day I eat more eggs than anybody I know. I wish they were always this intricately flavored and delicious but more often than not they’re just scrambled. But once in a while—once in a while it’s refreshing to put time and thought into the simple egg and make something with a little more wow-factor for yourself or others.

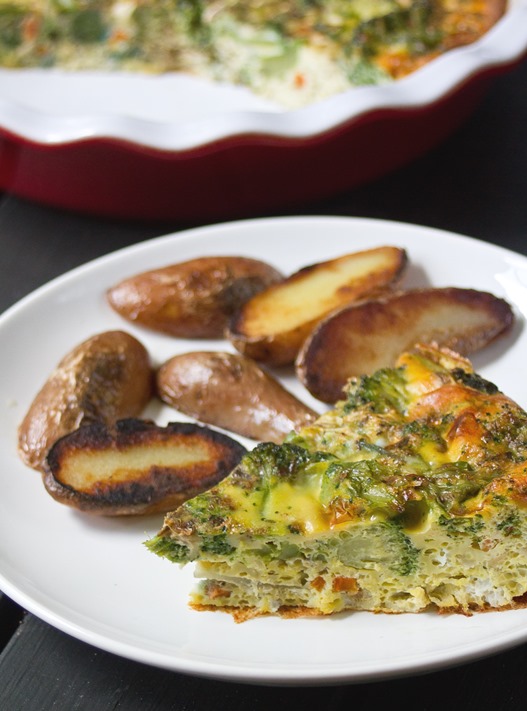
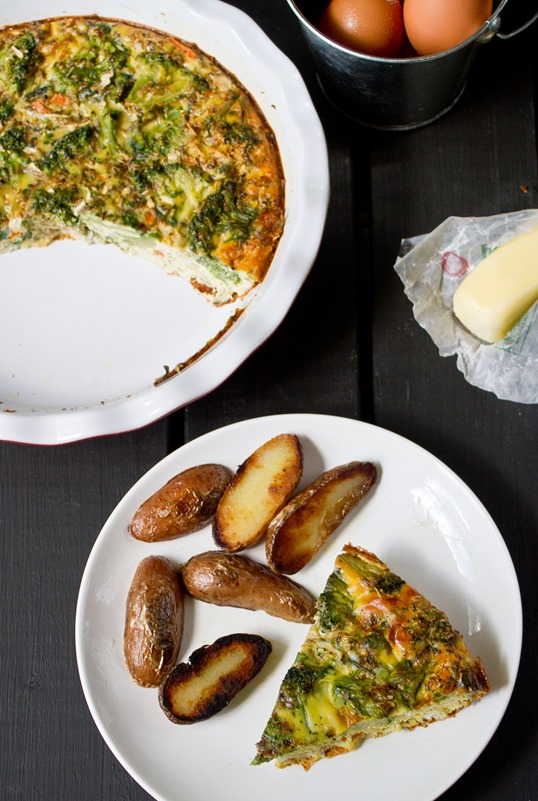
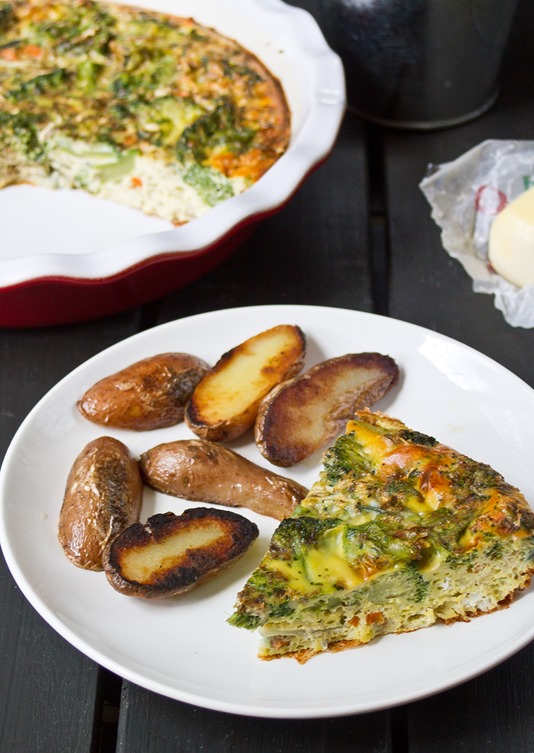
The broccoli and herbs help to flavor the eggs and give a bit of texture, since frittatas don’t have a crust like quiches to give them a little crunch. This recipe is called easy because you can put it in the oven and forget about it until dinner. You can also make it at night and have it reheated the next morning for breakfast. It’s just easy and easy to love.

Easy Broccoli Frittata Overhead

I didn’t add any cheese to mine but it would definitely boost the flavor. If you’re thinking about it, I’d recommend 4oz of a sharp cheddar grated finely and added into the batter before baking. Otherwise if you’re making this for a crowd you can leave the cheese out and have some freshly grated cheese to serve on the side.

Easy Broccoli Frittata

Prep time: 10 minutes

Cook time: 50 minutes

Ingredients(Makes 4-6 servings):

  • 1 dozen eggs
  • 1 1/2 cups steamed broccoli
  • 1/4 cup + 1 Tablespoon milk(eyeball it)
  • 1 Tablespoon herb mix(use whichever’s your favorite)
  • 1/2 teaspoon onion powder
  • 1/2 teaspoon salt(reduce if using cheese)
  • 1/4 teaspoon garlic powder(optional)
  • 4oz sharp cheddar(optional)
  • Butter for greasing

Easy Broccoli Frittata Potatoes

Method:

  1. Preheat your oven to 350 degrees.
  2. Crack all of the eggs into a large bowl making sure not to get any shells into the batter.
  3. Add in the milk, herbs, seasonings and cheese if using and whisk until the eggs are a pale yellow.
  4. Grease an 8-inch baking pan on the bottom and around the sides.
  5. Pour the egg batter into the baking pan.
  6. Add the steamed broccoli evenly around the pan and gently press it into the batter with a fork to cover the tops of the florets.
  7. Bake for 40-50 minutes until the sides turn golden brown and the center is firm. Remove from the oven and let stand at room temperature for about 10 minutes to cool before serving.

Easy Broccoli Frittata Serving

Easy Reese’s Fudge

Easy Reese's Fudge Serving

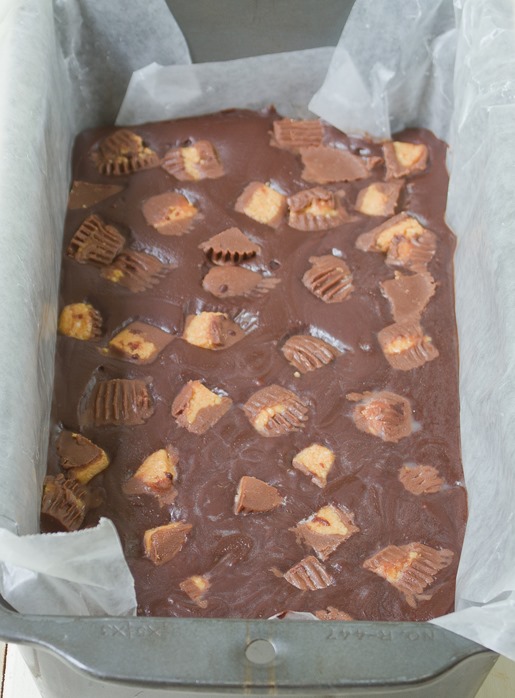
On a trip to New York a couple weeks ago, I had an hour to kill in Times Square. It’s probably no surprise I made a beeline for the M&M store and then quickly followed over to the Hershey’s store. Anywhere that sells that much chocolate should be a tourist destination in itself.

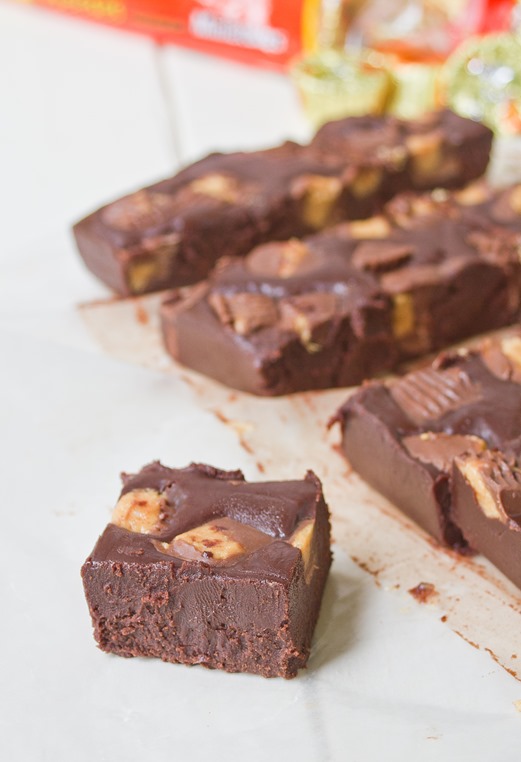
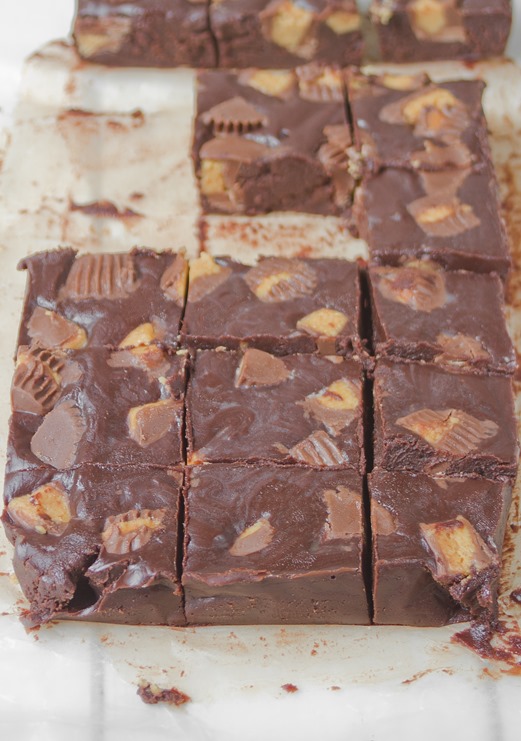
I still had chocolate on the brain after getting home from that trip and had to make this fudge. Surprisingly I hadn’t made microwave fudge in about a year so this was long overdue. Adding a little bit of Reese’s peanut butter cups was the perfect touch to these; if anything deserves a pairing with chocolate it’s peanut butter.

Easy Reese's Fudge Candies

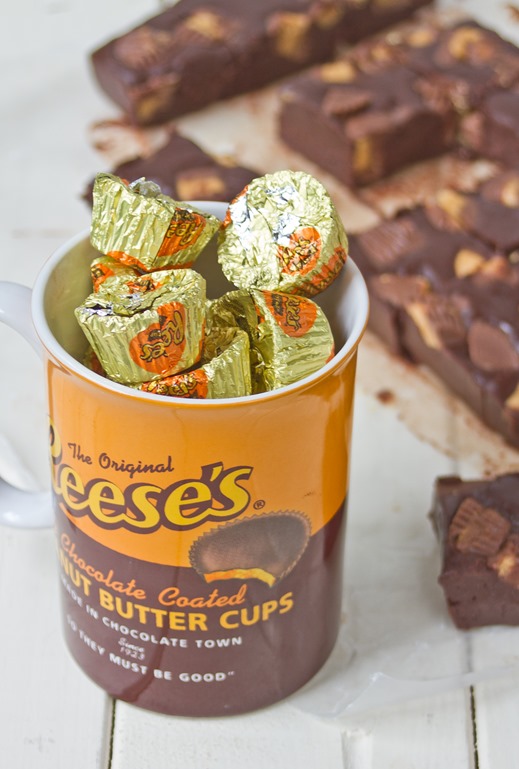
I used dark chocolate chips which made the fudge a little less sweet but gave a good contrast to the peanut butter cups. Instead of the fun-sized Reese’s cups you could use full-sized ones cut into more pieces or the new unwrapped miniatures.

Easy Reese’s Fudge

Prep time: 15 minutes

Cook time: 0 minutes

Ingredients(Makes about 20 servings):

  • 1 10oz bag chocolate chips
  • 1 4oz stick unsalted butter
  • 1/2 cup powdered sugar
  • 1/4 cup milk
  • 10 fun-sized Reese’s, chopped into fourths

Easy Reese's Fudge Yield

Method:

  1. Melt together the chocolate chips and butter in a bowl.
  2. In a separate bowl, mix together the milk and powdered sugar until the sugar dissolves.
  3. Mix the milk in with the melted chocolate and butter and beat until smooth.
  4. Pour the hot fudge into a greased 8-inch loaf pan. You can add wax paper as a liner to make the removal and clean up easier.
  5. Sprinkle the chopped up Reese’s on top of the fudge and press it in gently with your hand.
  6. Refrigerate the fudge until it hardens, about 2 hours.
  7. With a sharp knife, slice the fudge into 1-inch squares. Keep it in the refrigerator when not enjoying.

Easy Reese's Fudge2

Lunch Box Trail Mix

Lunch Box Trail Mix

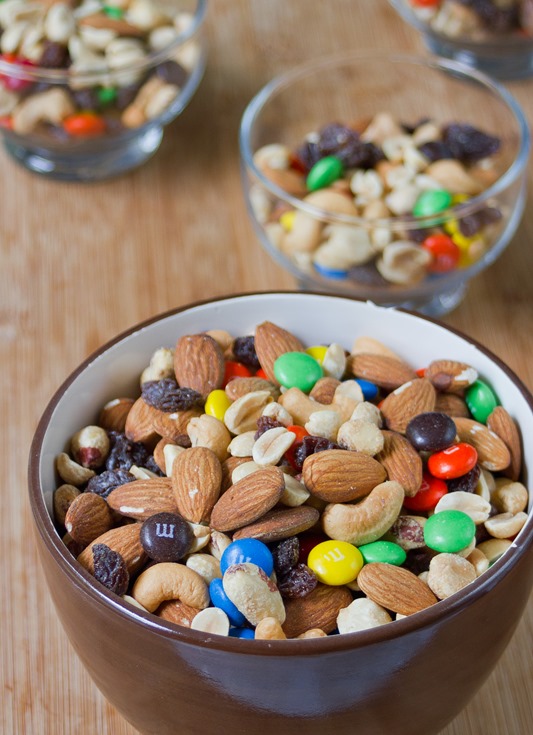
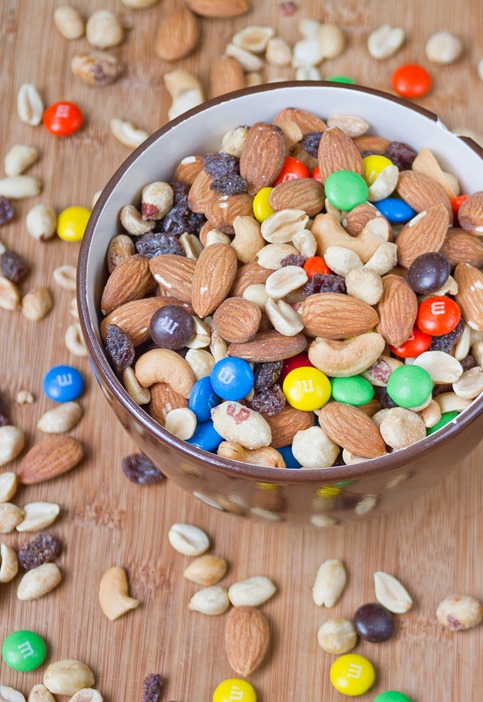
I’m a conservative when it comes to trail mix politics. I won’t go near one at the store if it has dried pineapples or brazil nuts; I would say that even pumpkin seeds are pushing it for me. The best trail mix is the simple kind you grew up with.

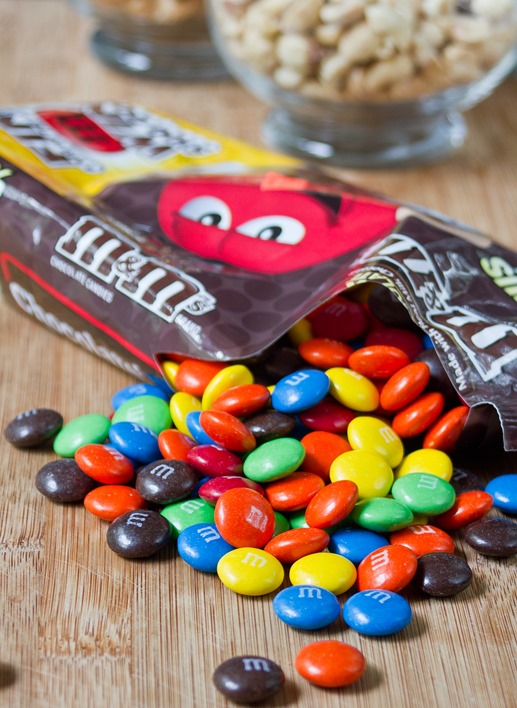
This is a classic mix with a few different nuts, chocolate M&Ms and of course lots of peanuts. My 5-year old self would probably pick out the chocolate first and leave the raisins behind but I’ve come to appreciate them more and more.

Lunch Box Trail Mix Candies

Pay attention to whether the nuts you use are salted or unsalted. I’d recommend only using salted peanuts and unsalted cashews and almonds for the best flavor. Roasted nuts are more traditional but use whichever you think have the best flavor.

Lunch Box Trail Mix

Prep time: 5 minutes

Cook time: 0 minutes

Ingredients(Makes 5 cups or 20 servings):

  • 1 1/2 cups roasted salted peanuts
  • 1 1/2 cups whole almonds
  • 1 cup whole cashews
  • 1 cup M&Ms
  • 1 cup Raisins

Lunch Box Trail Mix Yield

Method:

  1. Combine all of the ingredients in a large bowl and mix well.
  2. Store in an airtight container and keep in a cool place when not eating.