Tag Archive: Gluten-Free

Maple Peanut Butter Oatmeal Bread

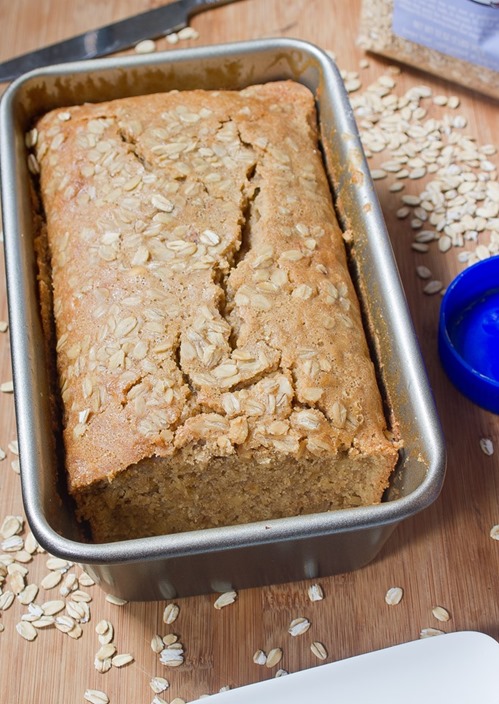
Maple Peanut Butter Quickbread

Do you know what November is? Besides depressingly cold. It’s national peanut butter month! And to stir things up, the National Peanut Board invited bloggers to come up with a new peanut butter recipe to post and spread the love.

At this point, there are few recipes that I haven’t made with peanut butter. It’s something I eat daily—usually in the morning with oatmeal and a sweetener like maple syrup. But oatmeal can be messy and hard to have on the go, so there had to be an easy, portable way to have that delicious flavor combination.

Vote_For_Me

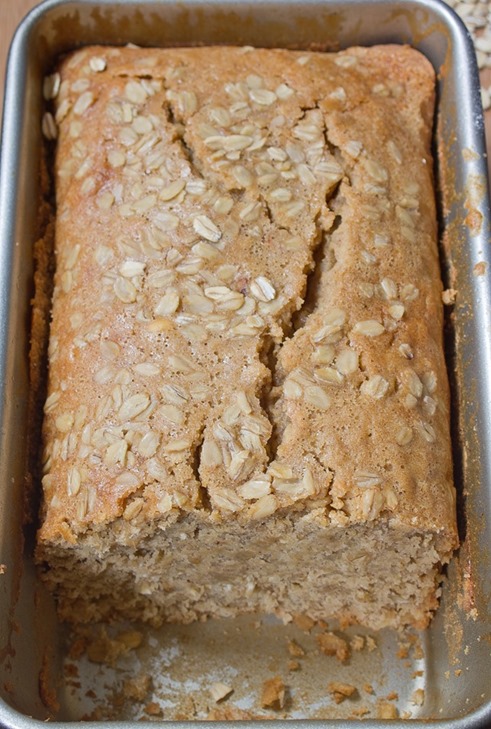
For my entry I made a peanut butter quick bread sweetened with maple syrup. It’s healthy and amazingly delicious warmed up on a cold November morning.

To vote in the recipe, you can go to the Peanut Board’s Facebook page after 12pm on November 1st and use the contest’s tab app to vote before November 30th. Besides a prize for the winning blogger, they’re giving away 15 peanut butter prize packs with $25 gift cards to voters, so vote!

Maple Peanut Butter Oatmeal Bread

Prep time: 10 minutes

Cook time: 50 minutes

Ingredients(Makes one loaf):

  • 2 1/4 cups all-purpose flour or gluten-free all purpose flour
  • 1 1/2 cups rolled oats
  • 3/4 cup maple syrup
  • 1 cup peanut butter, gently melted
  • 1/2 cup vegetable oil
  • 4 eggs
  • 1/4 cup water
  • 1 Tablespoon vanilla extract
  • 1/2 Tablespoon cinnamon
  • 1 teaspoon baking powder
  • 1/4 teaspoon salt

Maple Peanut Butter Quickbread Loaf

Method:

  1. Preheat your oven to 350 degrees.
  2. In a large bowl mix together the oats and flour.
  3. Add in the syrup, peanut butter, oil, eggs, and water and beat well.
  4. Add in the rest of the ingredients and continue mixing until it forms a batter.
  5. Lightly grease a 9-inch loaf pan with oil.
  6. Pour the batter into the pan and sprinkle some extra oats on the top.
  7. Bake for 50 minutes or until the bread rises and sets.
  8. Remove from the oven and let cool before slicing. Store in a cool place when not enjoying.
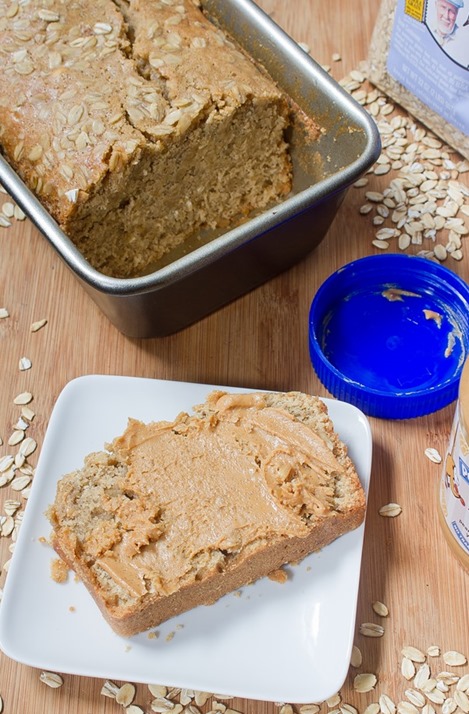
Maple Peanut Butter Quickbread Loaf 2

Be sure to check out the other bloggers’ recipes as well! Jennifer, Laurie, Nick, Tina, and Rachel all cooked up something delicious, too.

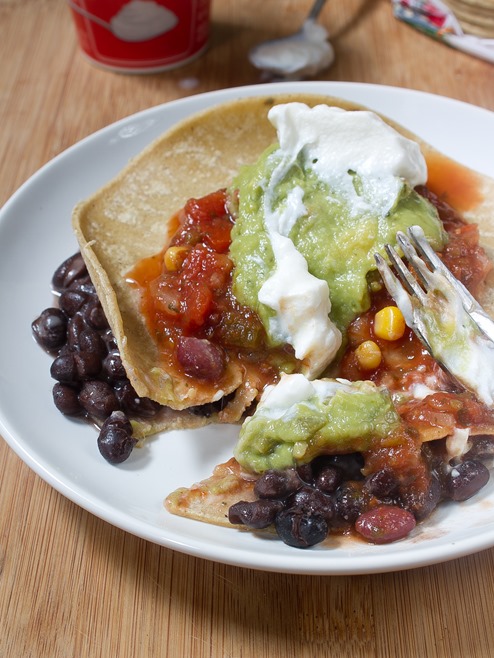
Healthy Black Bean Quesadilla

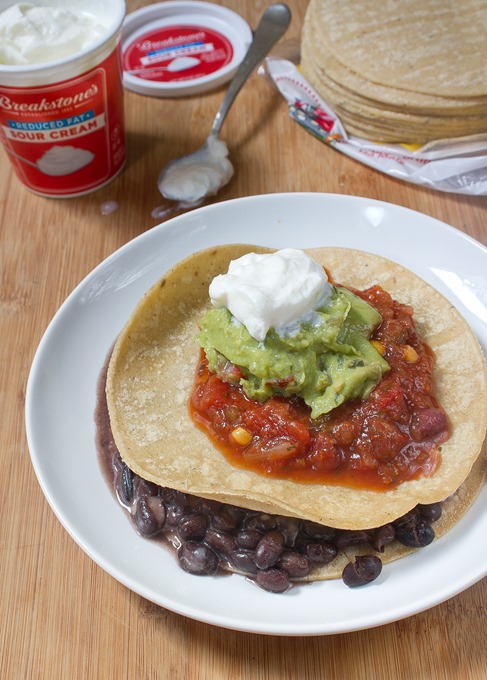
October 13th 003

The saddest thing about moving to a new city besides leaving behind friends and family is always leaving behind good restaurants. There are always a few dished you just can’t find anywhere else and you don’t know what to do about it.

Last time I was in Providence I had huevos rancheros with a black bean quesadilla, ancho-chili sauce and home fries for brunch. It was delicious and something I probably won’t find anytime soon, so this has been the closest I’ve come to tasting it again. If you’re staying in on a weekend morning and need something to hit the spot this might be as good as you’ll get without ordering takeout.

October 13th 010

This recipe for quesadillas is a little different from what you’d normally get since it uses corn tortillas instead of flour ones keeping it gluten-free. The ingredients are also a little healthier than others; for a more traditional recipe use twice as much cheese and half as much beans.

Black Bean Corn Quesadilla

Prep time: 5 minutes

Cook time: 5 minutes

Ingredients(Makes 1 serving):

  • 2 corn tortillas
  • 1/2 cup black beans, drained and rinsed
  • 1/4 cup pepper jack cheese
  • Salsa
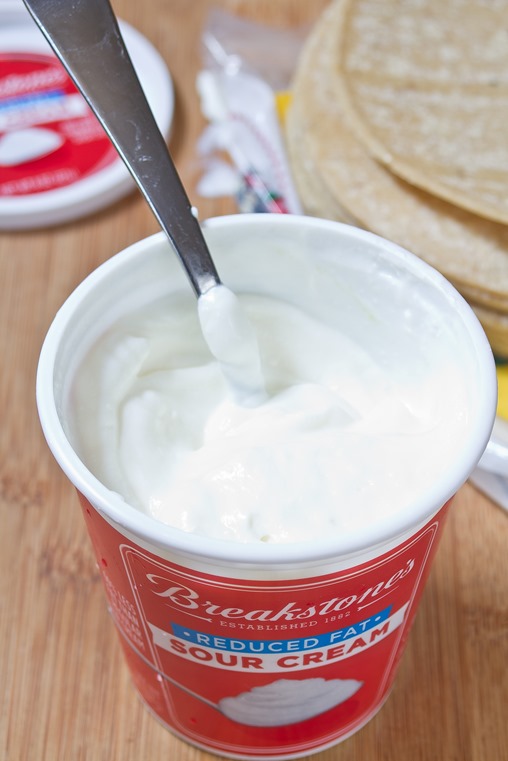
  • Sour cream
  • Guacamole

October 13th 007

Method:

  1. Heat a frying pan over medium heat.
  2. Warm the tortillas in the frying pan in a little oil to keep them from sticking.
  3. Move the tortillas to a plate.
  4. Heat the black beans in the pan with a little oil to take out some of the moisture. Season them with salt or spices if desired.
  5. Add the cheese in with the black beans and keep moving them to prevent them from sticking to the pan.
  6. When the cheese starts melting, move the black beans onto one of the tortillas. Place the other one on top.
  7. Serve with salsa, sour cream, guacamole, and any other toppings you’d like.

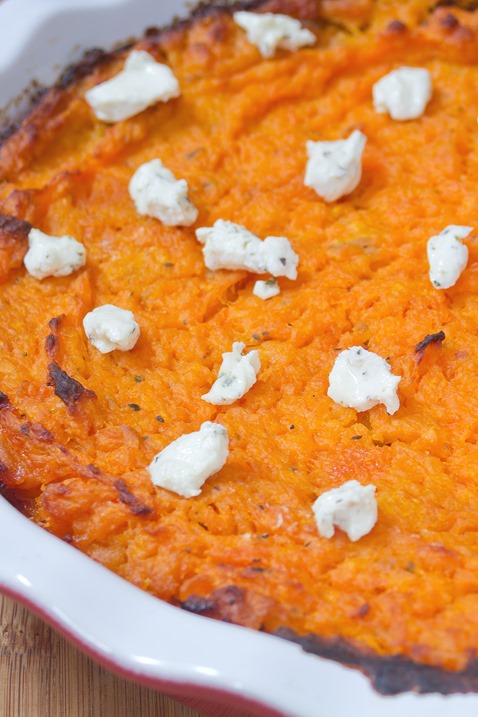
Low-Fat Butternut Squash Casserole

October 13th 013

Stonyfield recently asked their Clean Plate Club members to help them with their latest challenge to squash pesticides out of diets with healthy squash recipes. All of Stonyfield’s yogurts are organic with no GMO or pesticides in the ingredients

Truthfully I don’t buy organic as much as I should, especially organic fruits or vegetables whose skin I usually eat. Living near an organic-only grocery store has gotten me into the habit of buying more organic. Maybe going all organic all the time can be unreasonable in today’s lifestyle, but focusing on making small changes every time you go to the grocery store makes it easy.

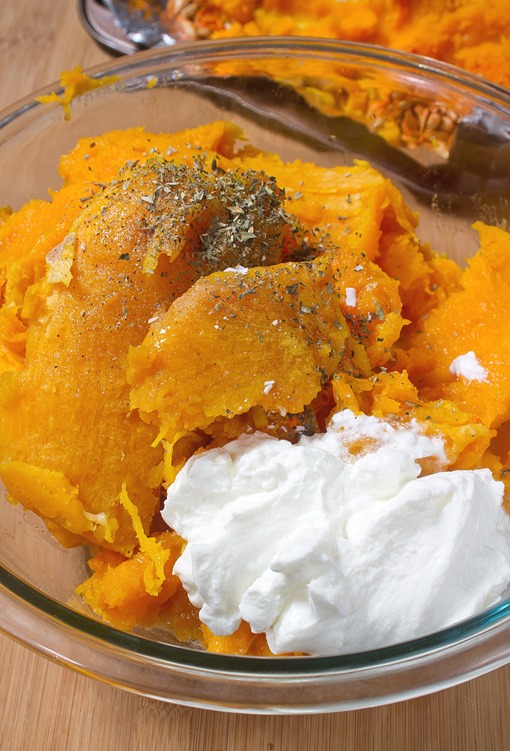
October 13th 002

Using greek yogurt in this casserole makes the dish a little lighter but just as creamy and adds a slight tang to the flavor. Use whatever your favorite herbs are whether that’s basil, rosemary, dill or a mix.

Low-Fat Butternut Squash Casserole

Prep time: 15 minutes

Cook time: 90 minutes

Ingredients(Makes 8 servings):

  • 2 medium-sized organic butternut squashes
  • 1 6oz container plain Stonyfield Greek
  • 6 Tablespoons butter
  • 1 Tablespoon dried herbs
  • 3/4 teaspoon salt
  • 1/2 teaspoon pepper
  • 2 ounces herbed goat cheese(optional)

Method:

  1. Preheat your oven to 375 degrees
  2. Prepare the squashes by removing the skin, stem, and seeds or roasting them whole and waiting to do this.
  3. Roast the squash for 45 minutes to an hour until it is soft and easy to poke with a fork.
  4. Move the squash to a big bowl. Add in the rest of the ingredients and mix until it forms an even batter.
  5. Pour the squash puree into a casserole dish. Level out the top.
  6. Bake for 30 to 45 minutes until a light crust forms and the squash is baked through.
  7. Remove from the oven and serve hot. Top with goat cheese or fresh herbs if desired.

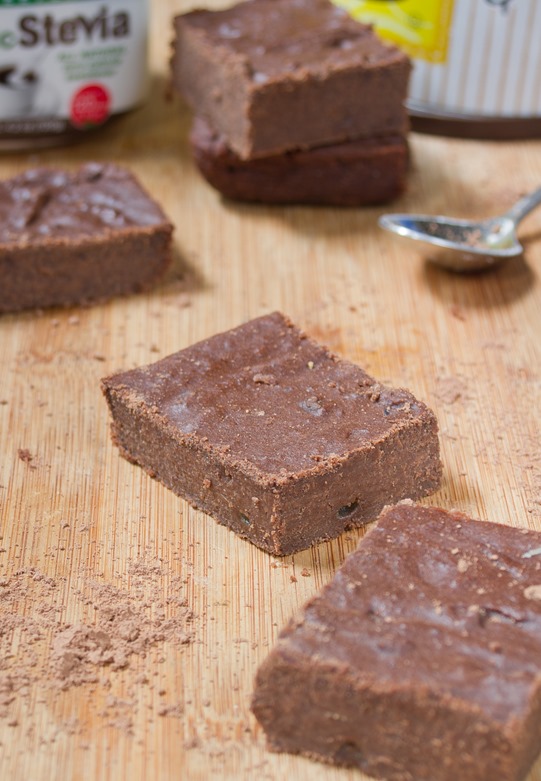
Gluten-Free Sugar-Free Brownies

Gluten-Free Sugar-Free Brownies

A better title for this recipe might be “My Boss’ Brownies”

Recently my boss, Dave Kerpen, has been on a healthy eating kick. He asked me if I knew any good gluten-free, sugar-free dessert recipes made with stevia. While gluten-free is nothing new for me, I haven’t done much sugar-free baking before, but since I love making food for other people this seemed like a fun challenge to me.

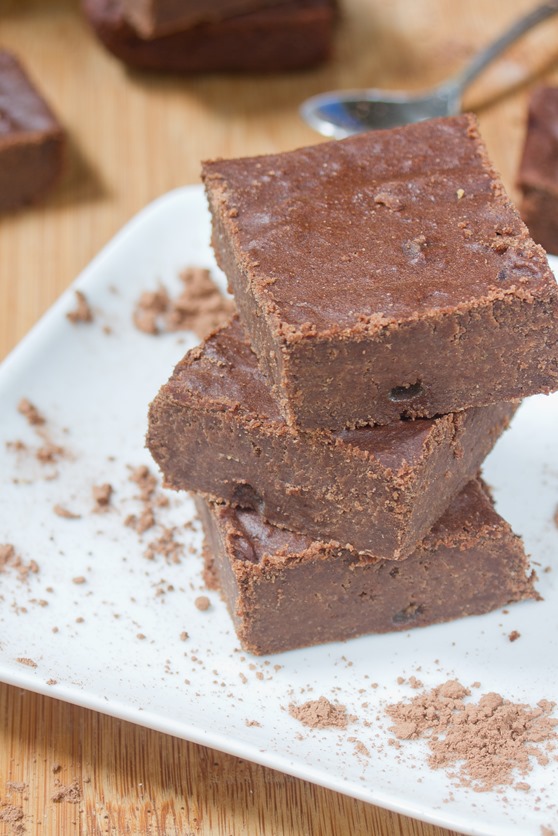
My first attempt at making sugar-free cookies came out edible but hardly servable; those are sitting in my freezer now for when I need a dessert and have nothing else. My second attempt—these brownies—were amazingly a winner. They aren’t my favorite brownies(those would be almond flour brownies), but they taste incredibly fudgy for something that’s low-fat and without added sugars.

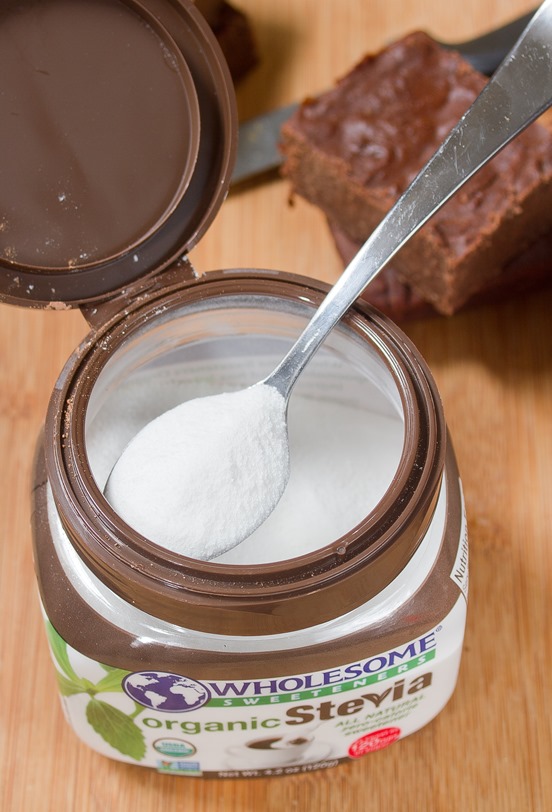
Gluten-Free Sugar-Free Brownies Stevia

These are sweetened with a combination of date paste and stevia which I find balance out the aftertaste stevia has. There’s also a little added cinnamon to mask the flavors of those. You can buy date paste at some stores or make your own by soaking dates overnight and pureeing them with a food processor and a little water.

Gluten-Free Sugar-Free Brownies

Prep time: 10 minutes

Cook time: 25 minutes

Ingredients(Makes 8 brownies):

  • 1/2 cup + 2 Tablespoons gluten-free all purpose flour
  • 1/2 cup date paste
  • 1 1/2 Tablespoons stevia powder
  • 6 Tablespoons butter, softened
  • 1/4 cup cocoa powder
  • 1 egg
  • 1/2 teaspoon cinnamon
  • 1/2 teaspoon baking soda
  • 1/4 teaspoon salt

Gluten-Free Sugar-Free Brownies Stack

Method:

  1. Preheat your oven to 350 degrees.
  2. Combine all of the ingredients in a medium-sized bowl and mix well until they form a batter.
  3. Grease a small loaf pan and scoop the batter in. Spread it out into an even layer.
  4. Bake for 25 minutes until the brownies are cooked and set.
  5. Remove from the oven and let them cool slightly before slicing.

Warm Grape and Goat Cheese Salad

Sep 22nd 009

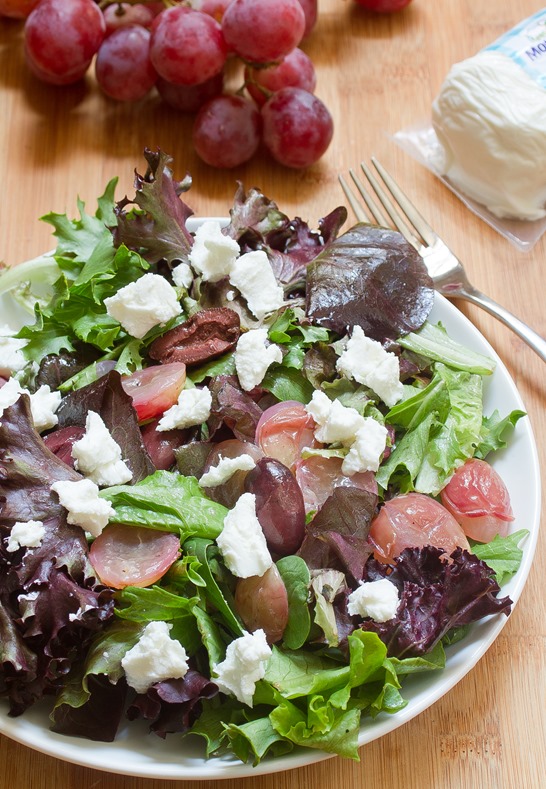
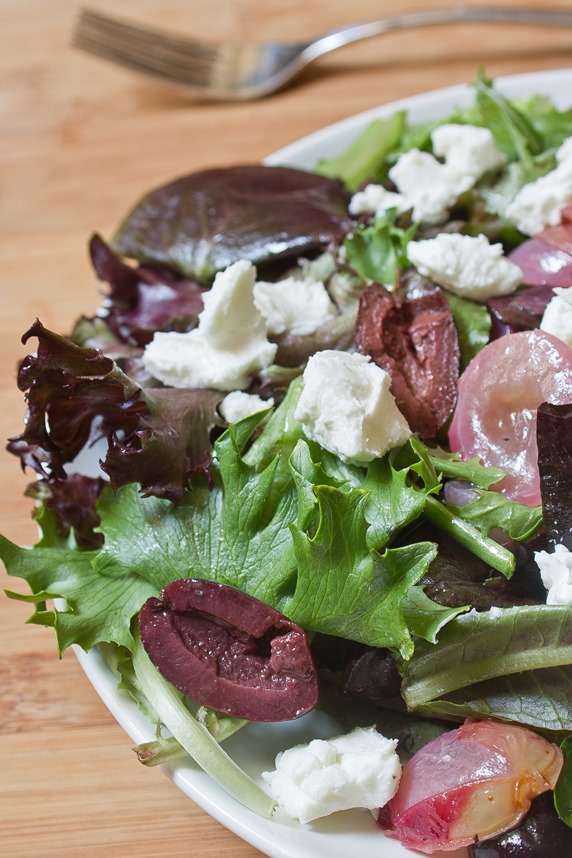
Sometimes I forget that I can make dishes with goat cheese in them. Whenever I’m at a restaurant I tend to order something—anything—with goat cheese on it; it escapes me that I can buy that at the store(for a lot cheaper) and use it myself.

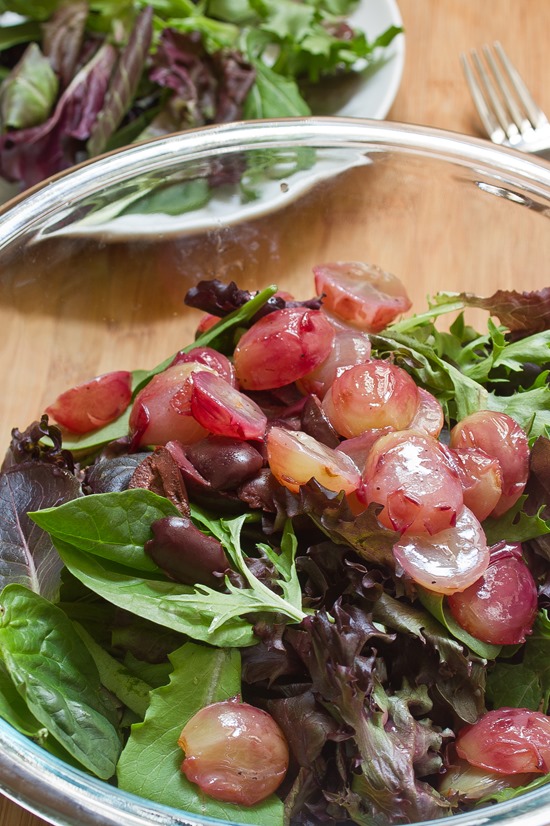
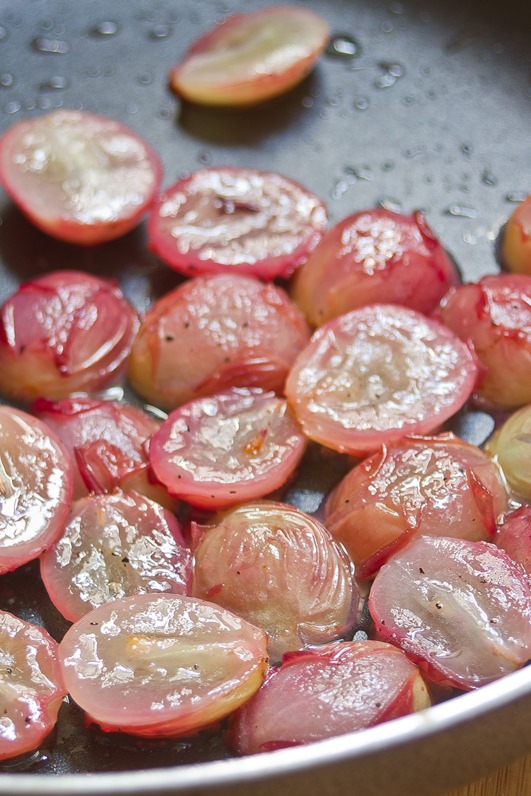
I’ve heard of roasting grapes before but frankly that’s more work then I’d like to put into a grape. Instead this salad utilizes a quick pan fry to turn the grapes from sweet to savory and bring out a unique flavor in them that pairs perfectly with salty olives and tangy goat cheese.

Sep 22nd 007

There should be enough liquid from the ingredients to “dress” the salad but if you want it a little wetter add a tablespoon of olive oil and a little bit of the briny olive juice. Use a marinated or herb goat cheese for some added flavor.

Warm Grape and Goat Cheese Salad

Prep time: 5 minutes

Cook time: 5 minutes

Ingredients(Makes 1 serving):

  • 1/2 cup grapes, halved and seeded
  • 2 Tablespoons olive oil
  • 1/2 teaspoon salt
  • 1/4 teaspoon black pepper
  • 2 cups mixed greens
  • 1/4 cup kalamata olives, halved and pitted
  • 1/4 cup crumbled goat cheese

Sep 22nd 004

Method:

  1. Heat the olive oil in a frying pan over medium heat.
  2. Lightly fry the grapes in the oil and season them as they cook until the skin peels and the grapes are hot.
  3. Remove the grapes from the burner and let them rest.
  4. In a large bowl, toss together the greens, olives, and goat cheese.
  5. Add in the grapes and continue tossing.
  6. Plate and serve immediately. Add some toasted walnuts or pine nuts for an extra crunch.

Sep 22nd 021

Hipsterfood’s Easy Lentil Soup

Hipsterfood’s Easy Lentil Soup

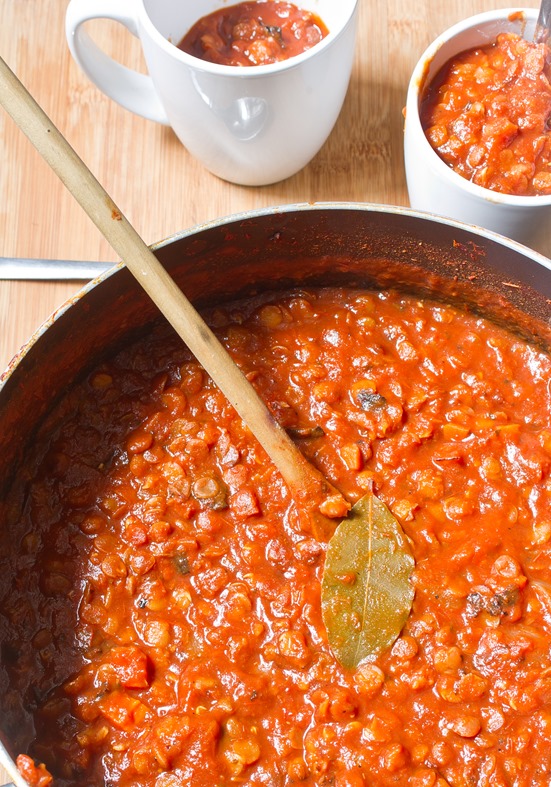
I always imagine soup as being one of those long, time-consuming foods to make. It definitely can be, but now I know it doesn’t have to be. I found this recipe on the blog, hipsterfood, and thought it looked too easy not to try. I’m also a sucker for anything with lentils in it.

Hipsterfood’s Easy Lentil Soup Yield

One thing that they don’t mention in the actual recipe is that you need a lot of water. I’d estimate that I added about 4 cups of water through the whole process and mine still came out thicker than the batch on their blog. I also left out the celery and added whatever herbs/spices I had on hand. A little paprika gave a nice smoky flavor to it all.

Hipsterfood’s Easy Lentil Soup Croutons

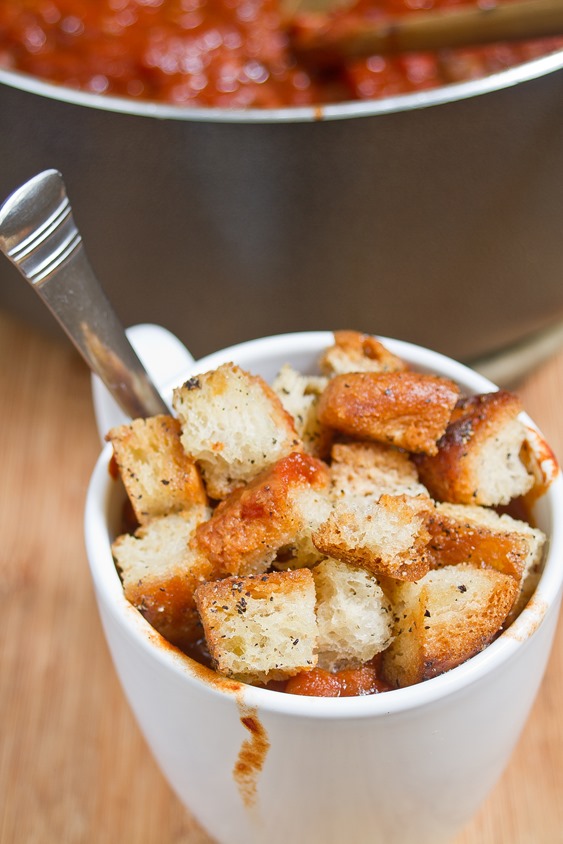
At the end I made “croutons” by chopping up some gluten-free bread, frying it in a little olive oil and seasoning them. Now I know I’ll never have to buy croutons again. It’s also terrific with melted cheese or sour cream on top.

What’s your favorite soup recipes? I’d love ideas for more to make.

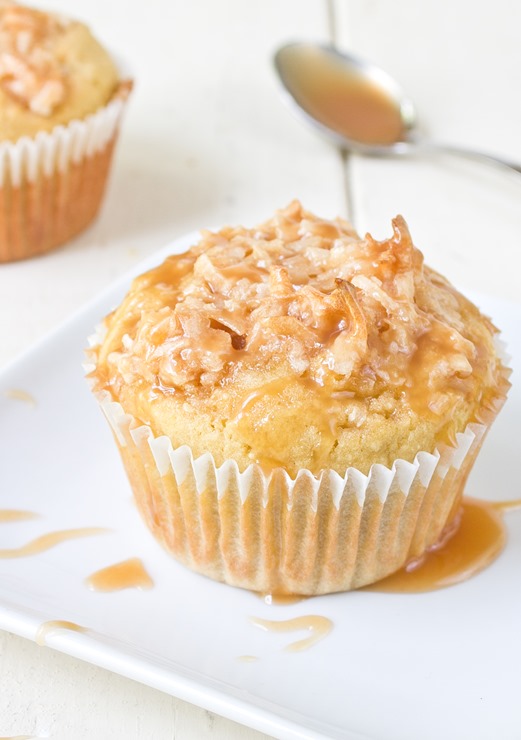
Coconut Caramel Muffins

Coconut Caramel Muffins 2

What do you do with a ton of caramel(besides eating it off of your fingers and spoons) other than bake with it? If you know please tell me because I still have a cup left after making these and about 12 new cavities.

The first thing I thought of was coconut and caramel. It’s sweet and meaty and perfect to add textures. Adding it to muffins became a great way to start the day with something flavorful. These had a decent coconut flavor, but if you just love coconut then I’d recommend swapping in coconut oil for the vegetable oil and carton coconut milk for the regular milk.

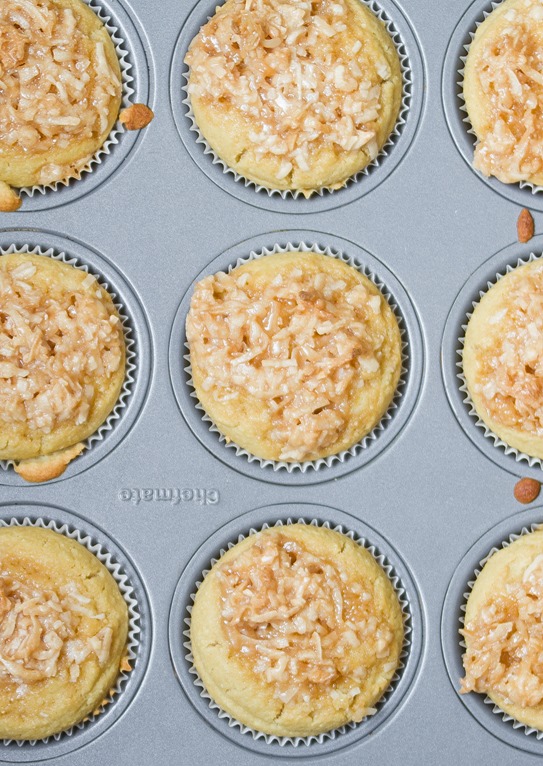
Coconut Caramel Muffins Overhead

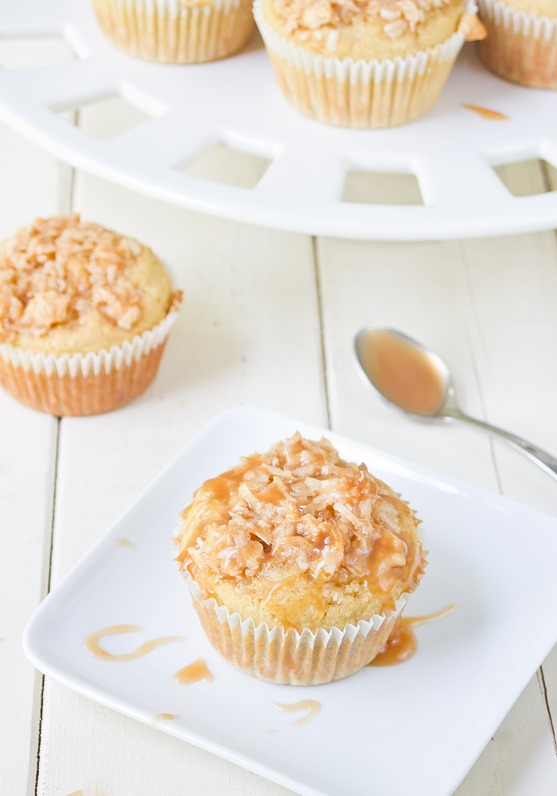
These are “muffins”(as opposed to cupcakes) in my mind because they aren’t all that sweet; they’re a perfect breakfast pastry to have next to a cup of coffee or tea. However, if you wanted them to be sweeter and possibly a dessert, I’d recommend adding 1/2 cup of sugar to the batter.

Coconut Caramel Muffins

Prep time: 10 minutes

Cook time: 25 minutes

Ingredients(Makes 9 muffins):

  • 6 Tablespoons coconut flour
  • 1 cup brown rice flour
  • 1/4 cup sugar
  • 1/2 teaspoon baking soda
  • 1/4 teaspoon salt
  • 3 eggs
  • 1 cup milk
  • 1/2 cup caramel sauce, divided
  • 1/4 cup vegetable oil
  • 6 Tablespoons shredded coconut

Coconut Caramel Muffins Serving

Method:

  1. Preheat your oven to 350 degrees. Line 9 muffin wells with paper liners.
  2. In a large bowl, sift together the coconut flour, brown rice flour, sugar, salt, and baking soda.
  3. In a separate bowl, beat together the eggs, milk, 1/4 cup caramel sauce, and oil until mixed well.
  4. Pour the wet ingredients in with the dry and mix until the batter is even.
  5. Scoop an equal amount of batter into each paper liner.
  6. In a small bowl, mix together the remaining caramel sauce and shredded coconut. Scoop roughly a tablespoon of the coconut mixture in the center of each muffin and press down lightly.
  7. Bake for 25 minutes or until the muffins have set. Remove from the oven and let them cool before serving.

Vegetarian Labor Day Recipes

Labor Day is a week from today. As someone who usually whips something up last minute and thinks to make holiday posts only in hindsight I’m amazed I’m posting this a week early; and I hope someone out there finds a useful recipe from the bunch.

Whether you’re a vegetarian yourself, entertaining vegetarian friends or just need some Labor Day recipe ideas, I picked out a few of my favorites that would be perfect for an outdoor barbeque. Most of these recipes don’t scream “vegetarian” and won’t have you running to the store to pick up new ingredients; they’re just darn good recipes that happen to be vegetarian.

Vegetarian-Buffalo-Chicken-Dip_thumb

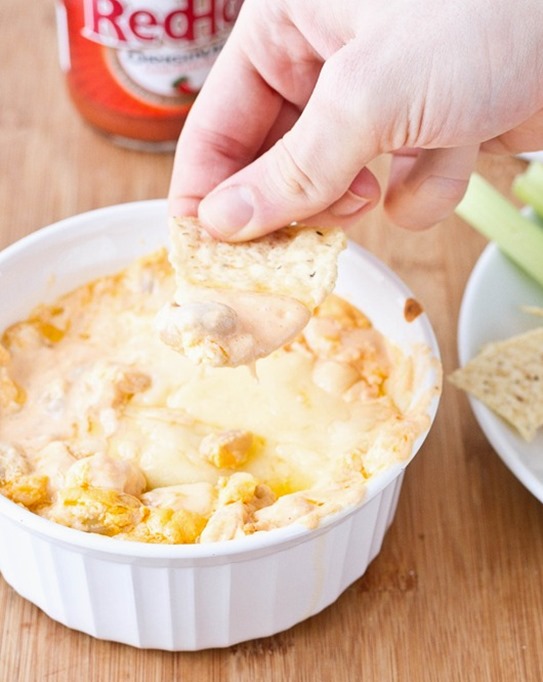
Vegetarian buffalo “chicken” dip is still one of my favorite things to eat. If you love buffalo dip you won’t even notice the simple substitution of beans for chicken. Just buy some tortilla chips and you’re good to go for a party.

Grilled tofu is surprisingly simple whether you’re a longtime vegetarian or just hosting some. All you need is a 3-ingredient marinade and a spot on the grill. This recipe has enough flavor to make anyone happy.


glutenfreecornbread_thumb

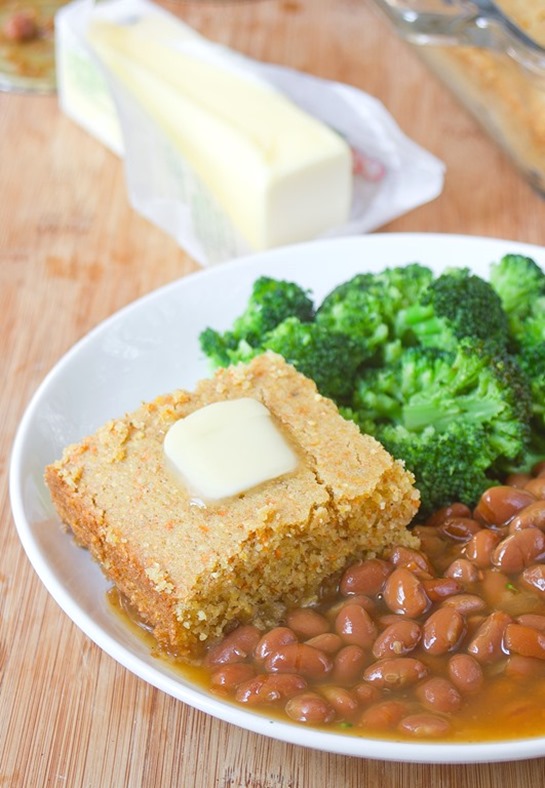
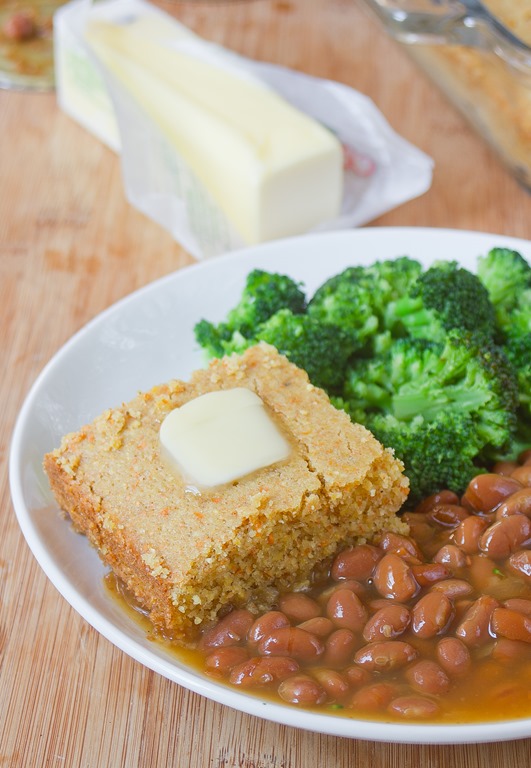
Gluten-free cornbread is essential for any cookout. The cornbread is delicious on its own but even better next to some sloppy sides. Remember to leave out some extra butter and honey and serve it hot!

Spicy maple baked beans taste better than any beans you’ll get from a can. They’re spicy, smoky, sweet, salty and savory all in one. Making your own vegetarian worcstershire sauce is ten times easier than it sounds and adds a whole new dimension of flavor to the dish. Everyone will love these.

RedWhiteandBlueStuffedStrawberries_thumb

Gluten-free flag cake definitely would steal the show. A rich chocolate sheet cake with smooth vanilla buttercream and decorative berries is a perfect way to celebrate the end of Summer and please some hungry mouths.

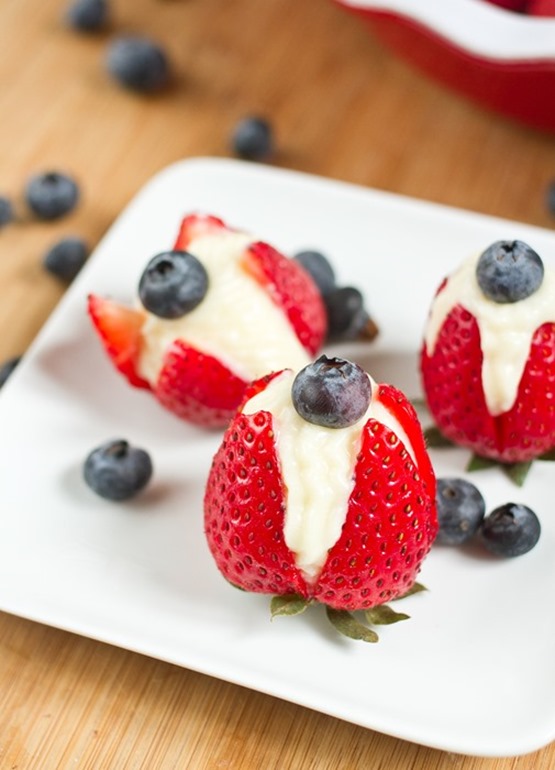
Stuffed strawberries is another great patriotic dessert, and it comes already portioned! Slicing and stuffing fresh strawberries might take a little extra time but you’ll definitely get asked for the recipe. And this recipe naturally avoids most of the common food allergies(except dairy).


Gluten-Free Cornbread

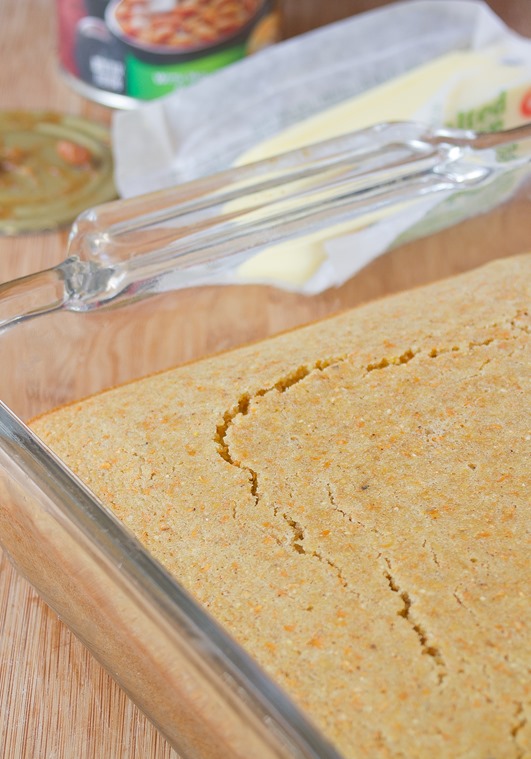
gluten-free cornbread

There are two kinds of cornbread. There’s the dry, stale, bland kind and then there’s the sweet, buttery, melt-in-your-mouth kind. This one is thankfully the latter.

I’ve been wanting to make(and eat) cornbread for a while now. Trader Joe’s recently added their own brand of gluten-free all-purpose flour to their shelves I’ve been meaning to try and this was the perfect way to kill two birds with one stone.

The bread came out sweet and slightly savory—better with a pat of butter. Even with the gluten-free flour it doesn’t crumble until it hits your tongue. 

gluten-free cornbread overhead

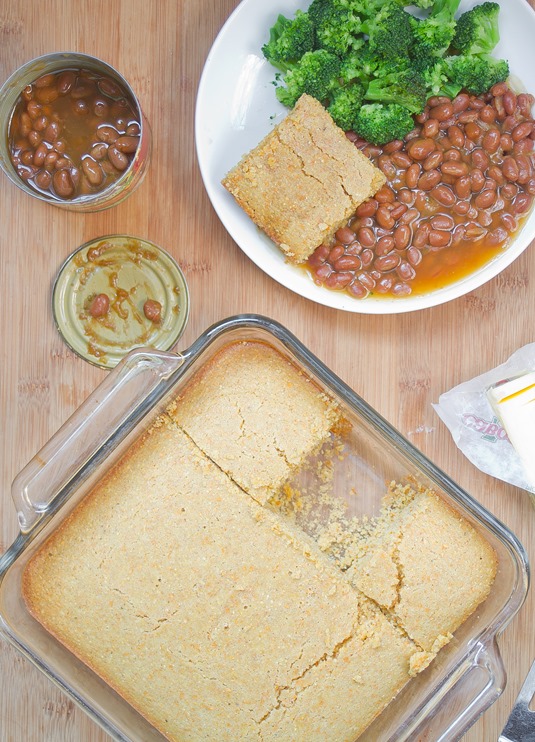
Adding a little bit of cinnamon and paprika gives the bread a subtle savory smokiness to it. If you want more of a dessert, omit the paprika and double the amount of cinnamon. You could also simply substitute all-purpose flour for the gluten-free all-purpose flour if gluten sensitivities aren’t an issue.

Gluten-Free Cornbread

Prep time: 10 minutes

Cook time: 30 minutes

Ingredients(Makes 9 squares):

  • 1 1/2 cup corn meal
  • 1 cup gluten-free all-purpose flour
  • 1/4 cup sugar
  • 1/2 teaspoon baking soda
  • 1/4 teaspoon salt
  • 3 eggs
  • 3/4 cup milk
  • 1 stick butter, melted
  • 1/4 teaspoon cinnamon
  • 1/8 teaspoon paprika

gluten-free cornbread yield

Method:

  1. Preheat your oven to 350 degrees.
  2. In a large bowl, mix together the corn meal, flour, sugar, baking soda and salt.
  3. Crack the eggs into the ingredients and add the milk and begin whisking.
  4. Slowly add the melted butter in as you’re whisking.
  5. Add in the cinnamon and paprika and beat until the batter is uniform.
  6. Grease an 8 x 8 pan and pour the batter in.
  7. Bake for 30 minutes until the bread has set.
  8. Remove from the oven and let cool slightly before cutting. Serve with butter and honey.

Dairy-Free Coffee Ice Cream

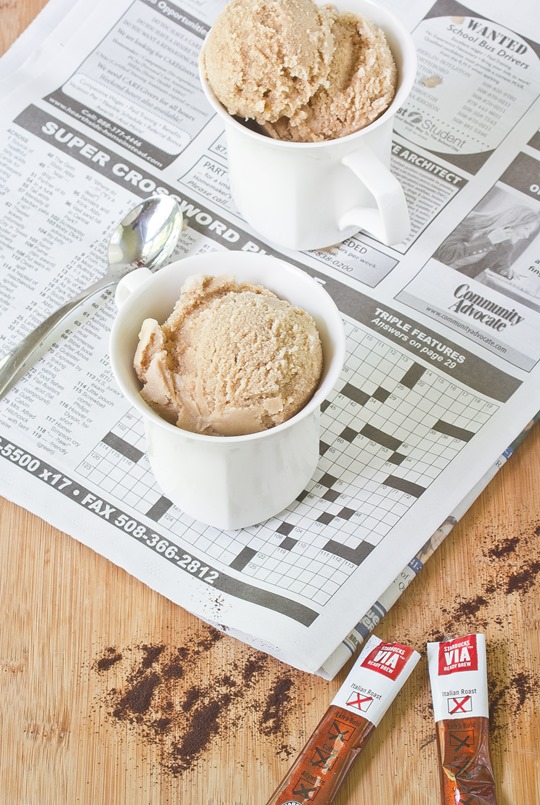
Dairy-Free Coffee Ice Cream

When you go to Starbucks there are almost too many decision. First you have to choose a drink, then a size, then a milk, then any other number of questions—what happened to plain old coffee? I’m just kidding; of course you should go with a tall caramel frappuccino with whipped cream.

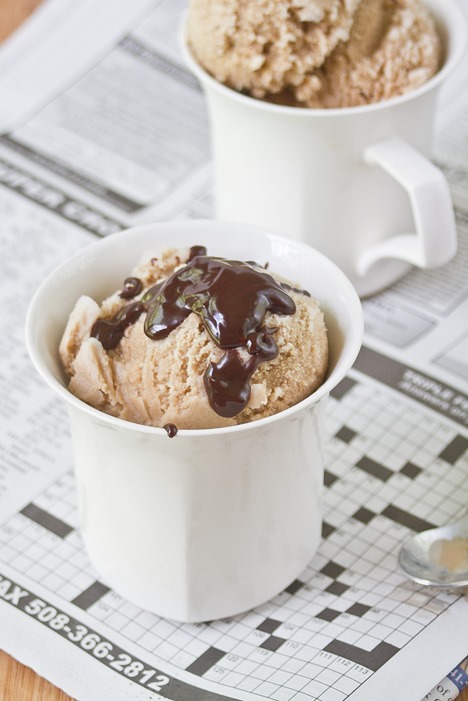
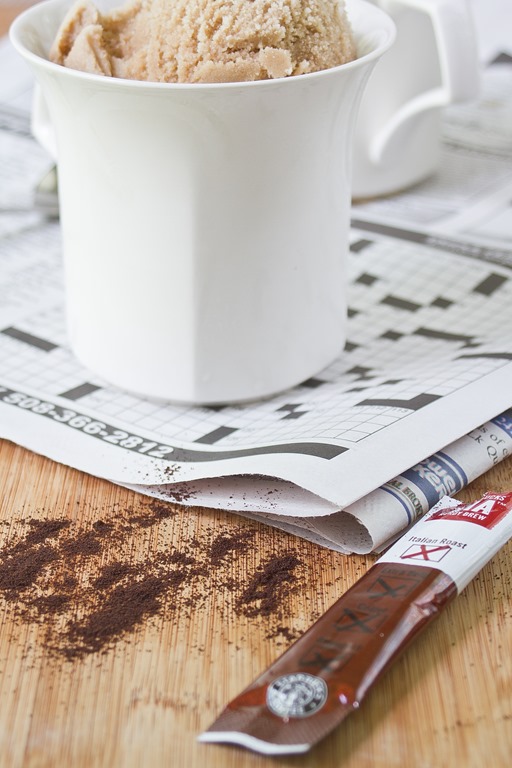
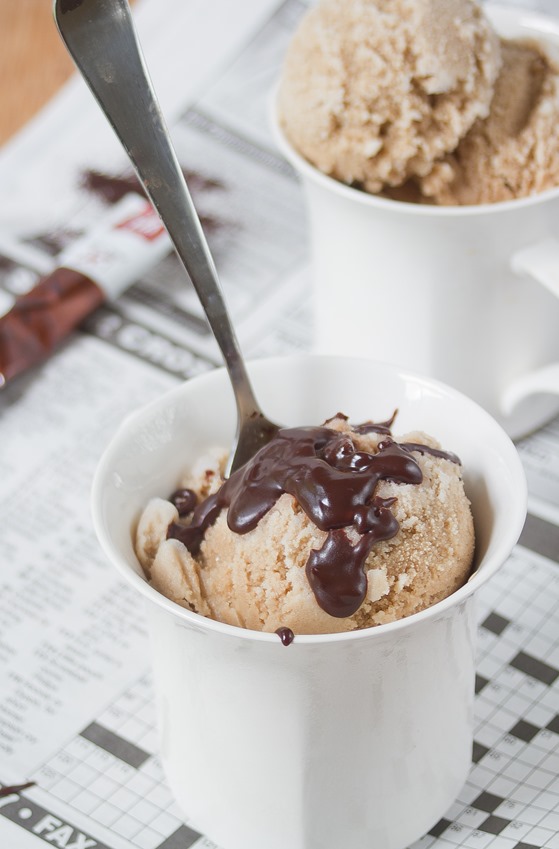
I tried making this recipe because a friend told me vanilla soy milk makes the coffee taste better. If I didn’t buy the ingredients and make it myself I probably wouldn’t know this was dairy-free at all. The flavor is rich and dark and sweet.

Dairy-Free Coffee Ice Cream Ingredients

I suggest anywhere from 1/4 cup to 3/4 cup of sugar for this recipe because it depends on the other ingredients you use. If you use a flavored creamer and milk, use less sugar than you would if you use unsweetened varieties. At any point you can grab a spoon and taste how sweet the mix is, but keep in mind that the colder it is the less sweet it will taste.

Dairy-Free Coffee Ice Cream

Prep time: 40 minutes

Cook time: 0 minutes

Ingredients(Makes about 8 servings):

  • 2 cups soy milk creamer
  • 2 cups soy milk
  • 3 6oz instant coffee packets
  • 1/4-3/4 cup sugar
  • 1/2 teaspoon vanilla

Dairy-Free Coffee Ice Cream Serving

Method:

  1. Pour 1 cup of soy milk creamer into a large bowl.
  2. Add the contents of the instant coffee packets and whisk until they’ve completely dissolved.
  3. Add in the rest of the ingredients and continue whisking until the sugar has dissolved.
  4. Freeze in an ice cream maker according to the manufacturer’s directions.
  5. Move the ice cream to a safe container and freeze for an additional 2 hours until the ice cream has frozen.
  6. Let the ice cream sit at room temperature for 5 minutes to soften before scooping.

Dairy-Free Coffee Ice Cream Chocolate