Tag Archive: Gluten-Free

Butter Toffee Peanut Butter

butter-toffee-peanut-butter

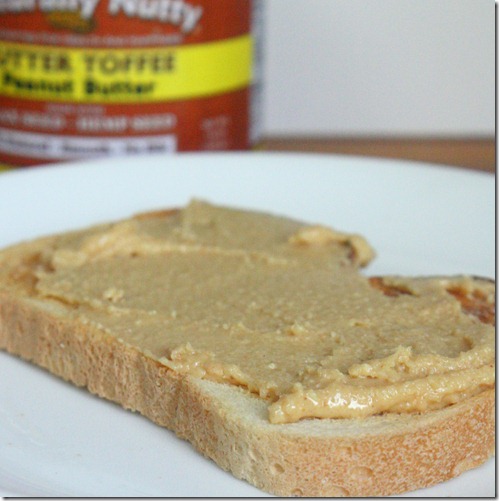
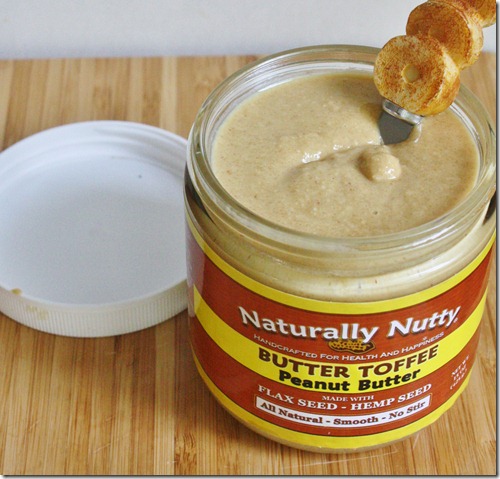
I’ve tried a lot of different peanut butters, but Naturally Nutty’s Butter Toffee Peanut Butter really takes the cake toast, with a sweet, buttery flavor combined with crunchy sugar granules. You can buy this peanut butter from their online store, or in stores if you’re lucky enough to live in Michigan. I, however, am cheap and a New Englander and so decided to make my own. 

butter-toffee-peanut-butter-drippy

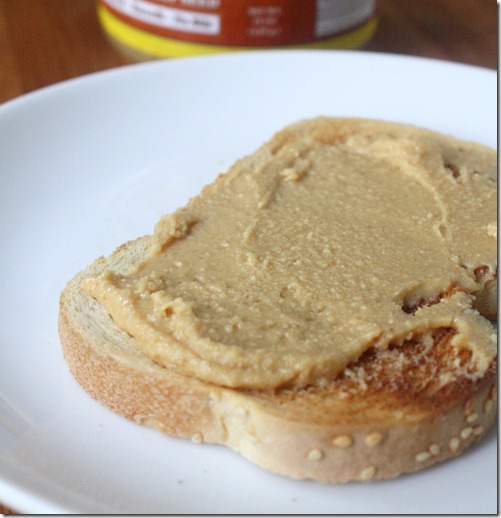
I would take the real deal brand name any day over mine, but this homemade version isn’t half bad, or a quarter bad, or bad at all. It’s great, in fact, slightly melted onto toast first thing in the morning or a square of chocolate at night.

Don’t have the time to make your own butter toffee peanuts? Buy your own and blend them up and you can have this in 5 minutes.

Butter Toffee Peanut Butter

Prep Time: 20 minutes

Cook Time: 30 minutes

Ingredients(makes about 24 ounces):

  • 1lb unsalted peanuts, skin-off
  • 1/2 cup butter
  • 1/2 cup sugar
  • 1/2 teaspoon salt

butter-toffee-peanut-butter-refrigerated

Method:

  1. Preheat your oven to 300 degrees and line a baking tray with non-stick foil or parchment paper.
  2. In a small pot over low heat, melt the butter, sugar, and salt together.
  3. Toss the peanuts in the melted butter and sugar until fully coated and lay them out on the baking tray in an even layer.
  4. Bake for about 30-35 minutes, until the butter and sugar start to bubble and coagulate, but making sure not to burn any of it.
  5. Remove the peanuts from the oven and let them cool completely.
  6. Move the peanuts into a food processor and blend until completely smooth.
  7. Store in sealed containers in a refrigerator for up to a month.

butter-toffee-peanut-butter-Toast

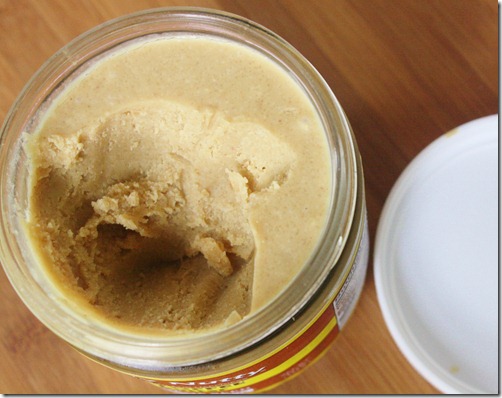
When cold, the consistency is solid yet still creamy and spreadable. You can let it sit out for 5 minutes to get even softer or microwave the jar for about 30 seconds to get it warm and drippy.

How To Massage Kale

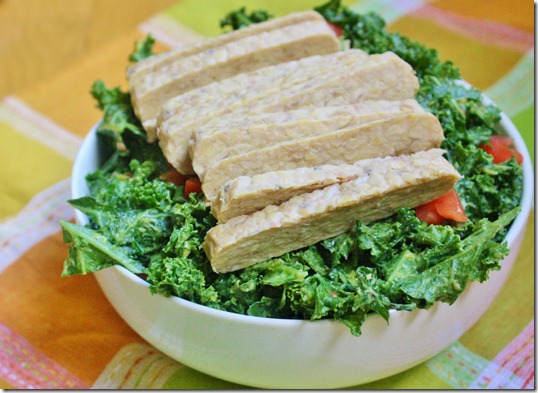
how-to-massage-kale-serve

I know this is the second kale post in 3 days, but bear with me; it’s that good.

The first time I had massaged kale was at Whole Foods from the salad bar. It was so good I ended up getting it every time I went in. But after a while of paying $7.99 per pound for it I figured it had to be cheaper to make at home.

Massaging your own kale takes just a few ingredients and 5 minutes. It breaks down the kale without heating it so the nutrients all remain but the taste is less bitter and bite less sharp. It’s a great nutritious side dish or base for a salad.

how-to-massage-kale-music-candle

It’s totally optional but dimming the lights, lighting a candle, and putting on a slow song really sets the mood. This is a massage after all. 

How To Massage Kale

Prep time: 5 minutes

Cook time: 0 minutes

You’ll need(for 2 side servings)…

  • 2 cups roughly chopped kale
  • 1/2 a large avocado
  • Juice of 1/2 lemon(or lime), about 1 Tablespoon
  • 1 medium tomato, diced
  • 1/4 teaspoon sea salt

how-to-massage-kale-lime

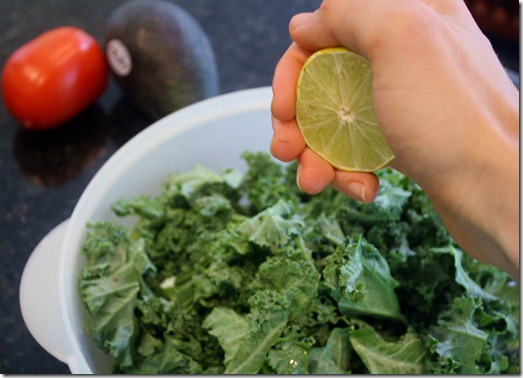
In a large bowl, mix the greens with the citrus juice.

how-to-massage-kale-avocado

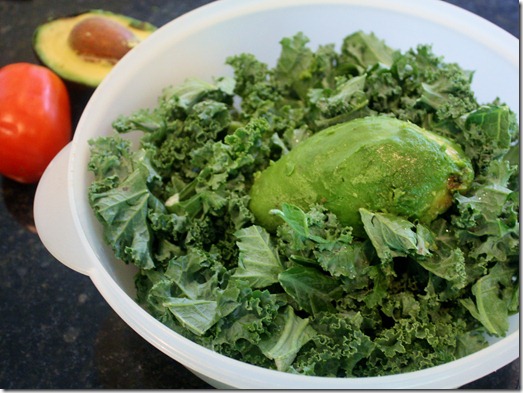
Add in your avocado. Then it’s time to gently massage the avocado into the kale…

how-to-massage-kale-technique

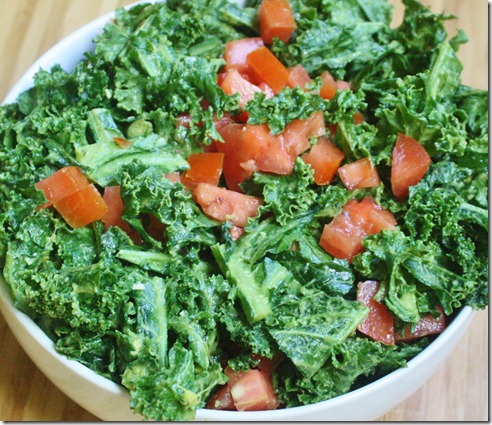
Or, if you’re like me, it’s going to look a lot more like clumsy groping than an actual massage. I guess the two are close enough; one usually leads to the other, right? Anyway, massage the kale by working it with you’re hands, incorporating the avocado and lemon juice. You’ll hear a lot of crunching noise. After about 5 minutes you’ll notice the kale turns from a muted color to a more lively green. That’s when it’s ready.
how-to-massage-kale-tomato-dice

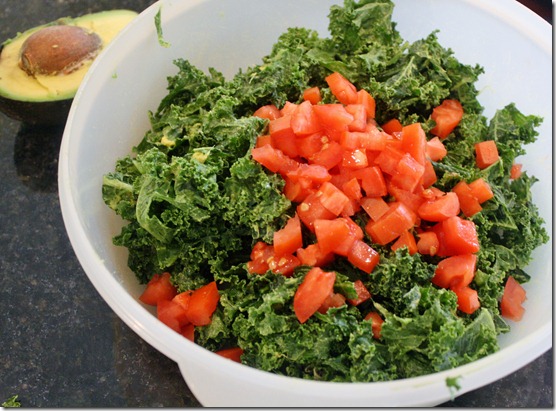
Add in the diced tomato and sea salt and gently fold all of the ingredients together. Serve at room temperature.
how-to-massage-kale

This method is so much cheaper than buying it from the salad bar, and much quicker than I expected, too! Whole Foods uses about twice as much avocado for this much kale. That’s probably why it tastes so much better there.

Go-To Hummus Recipe

go-to-Hummus-recipe

This weekend was a rush. When everyone else was loading up on food to brace for Hurricane Irene, we were loading up on food for a neighborhood party. I made a few things including hummus, because what’s a party without hummus? Ain’t no party like a hummus party ‘cause a hummus party don’t stop.

My favorite hummus recipe isn’t very fancy. It doesn’t have red pepper or pine nuts or artichokes or whatever. It’s just a trusty, reliable, go-to garlic hummus. What really helps enhance the flavor is a hefty dose of salt, good olive oil, and peeled chickpeas.

go-to-Hummus-recipe-plate

Peeling chickpeas is a little tip I learned from bloggers for a smoother, creamier hummus. It takes a lot more time and it’s kind of a gross process, but once you taste hummus made with peeled chickpeas it’s hard to justify going back to “regular”. If you don’t have time, don’t worry and skip it.

Go-To Hummus Recipe

Prep Time: 5 minutes(plus way more if you decide to peel the chickpeas)

Cook Time: 0 minutes

Ingredients:

  • 2 (14-ounce) can chickpeas, drained and peeled(optional but recommended)
  • 6 roasted garlic cloves
  • 2 Tablespoons tahini
  • 1/4 cup extra virgin olive oil(preferably Greek)
  • 1 Tablespoon lemon juice
  • 1/2 teaspoon salt

go-to-hummus-recipe-overhead

Method:

  1. Combine all of the ingredients in a food processor and blend until smooth. Add extra water if desired for a slightly thinner consistency.
  2. Serve at room temperature. Store leftovers in a refrigerator. 

go-to-Hummus-recipes-veggies

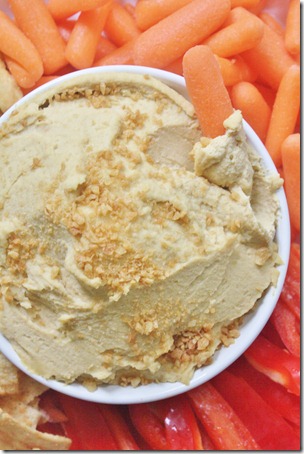
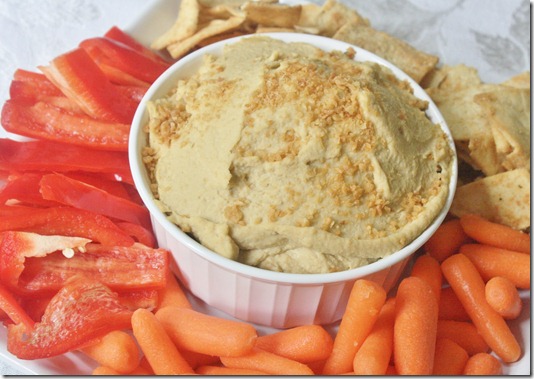
I added a little bit of Garlic Gold on top for some added crunch and texture. It was a neighborhood party and there was a storm keeping everyone inside; garlic breath was not a big concern.

Quick Fruit Sauce

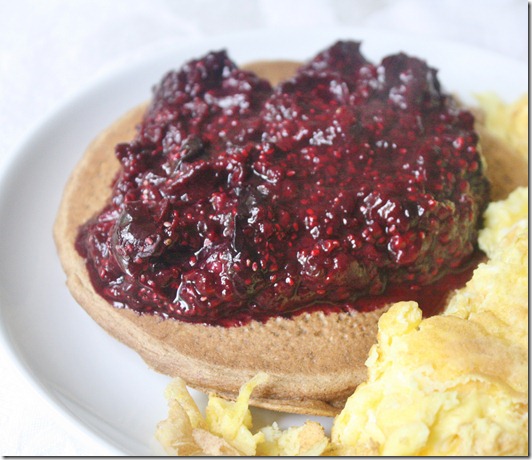
quick-fruit-sauce

This Summer I’ve been obsessed with these pancakes. Maybe it’s because I hadn’t had good gluten-free pancakes before them. Or because I’m just relishing having a stove that’s not 3 floors down(oh, the life of a student).

As much as I loved having them with a dredge of maple syrup, I figured that couldn’t be good day after day. Instead I wanted to sweeten them the natural way with some fruit. By using chia seeds to thicken the sauce, it comes together literally in minutes but has the texture of a sauce that’s been cooking for much longer.

quick-fruit-sauce-bite

Look how thick it is(that’s what she said)! It’s hearty, warm, and the perfect pancake companion. The chia seeds not only thicken but also add a healthy dose of omega-3s.

You can use almost any fruit for this—strawberries, blueberries, cherries, grapes, mango. The one exception I’ve found is that using all raspberries creates a very tart sauce. If you want to make a raspberry version, switch out half with a sweeter fruit like strawberries or add a tablespoon of sweetener.

Quick Fruit Sauce

Prep Time: 0 minutes

Cook Time: 5 minutes

Ingredients(makes 1-2 servings):

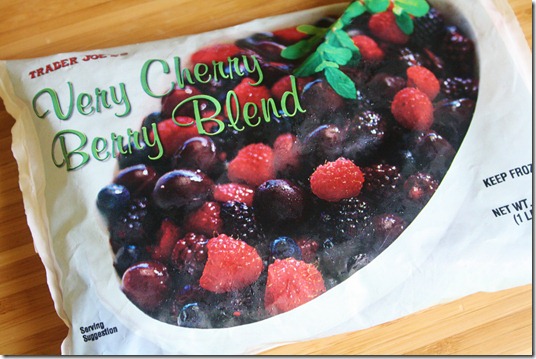
  • 3/4 cup fruit, fresh or frozen
  • 1 Tablespoon chia seeds

quick-fruit-sauce-ingredients

Method:

  1. Pour the fruit into a microwavable bowl and microwave on high for 1 minute for fresh fruit or 3 minute for frozen fruit until hot and bubbly.
  2. Mash the fruit into a puree and mix in the chia seeds.
  3. Let the sauce sit for 5 minutes to thicken. Pour hot onto pancakes, waffles, French toast, or a dessert.

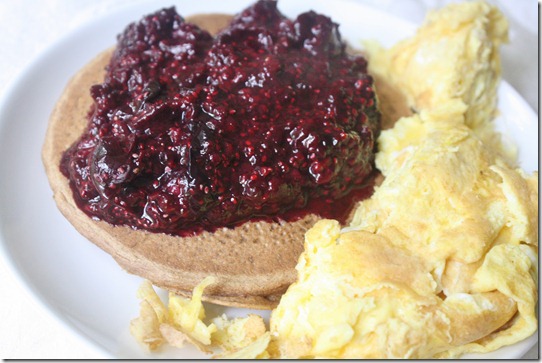
quick-fruit-sauce-plate

This is so easy to make, I throw it together in between mixing and pouring the pancake batter. If it gets better than that, I don’t know how.

Chocolate Rum Truffles

chocolate-rum-truffles-bowl

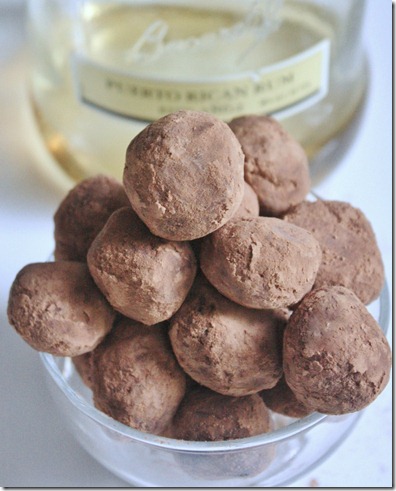
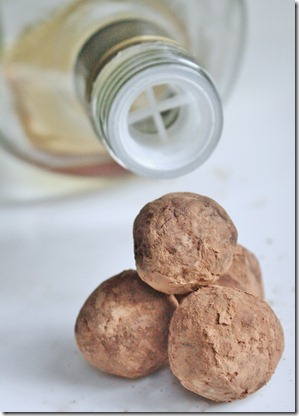
If you’ve been reading for a long time, you know I don’t really like alcohol, unless it’s in dessert and then I go crazy for it. If I wrote It’s a Wonderful Life, the line would have been, “every time chocolate is mixed with liquor, an angel gets its wings.” I think these are that good. The texture is soft and almost chewy, like a chocolate candy with a sweet, seductive twist.

chocolate-rum-truffles

Embarrassingly enough I’m a lightweight and one of these is enough to make me feel way too good. When I was tempering and tasting the chocolate I wasn’t sure there was enough rum in it, but once the truffles were cooled and I took a bite—wow! They pack a punch of flavor.

No rum? No problem. Improvise the recipe with a different liquor. I can’t wait to try these with Kahlua.

Chocolate Rum Truffles

Prep Time: 30 minutes

Cook Time:

Ingredients(makes about 20 truffles):

  • 1 cup plus 2 Tablespoons semi-sweet chocolate chips OR 9.7oz semi-sweet baking chocolate cut into chunks
  • 2oz Bacardi rum
  • 3 Tablespoons cocoa powder plus more for dusting

chocolate-rum-truffles-stack

Method:

  1. Melt the chocolate over a double boiler. Once it’s in a liquid state, slowly incorporate the rum until it’s all combined and evenly mixed.
  2. Cool the chocolate and rum in a refrigerator for 10 minutes until it’s hardened but still sticks to itself.
  3. Sift in the cocoa powder while mixing the chocolate until all the cocoa powder has been used.
  4. Tear off pieces of chocolate and roll it into 1-inch balls.
  5. Fill a shallow bowl with cocoa powder and roll each ball in the powder until covered all around.
  6. Store at room temperature in an air-tight container.

After making these we’re almost out of rum and chocolate chips. That’s what I call an emergency.

Sweet Freedom Bakery Review

August 22nd 152

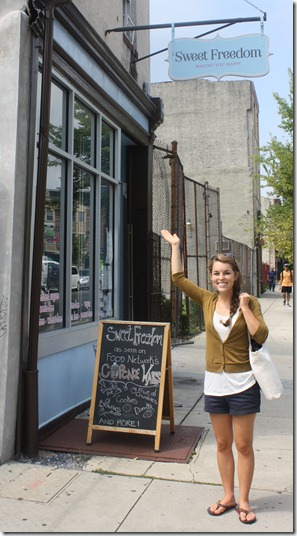
One place that kept coming up when I mentioned that I was going to Philadelphia was Sweet Freedom Bakery. So many readers, bloggers, and tweeters recommended this place that I couldn’t not go. I’m happy with anywhere that sells gluten-free treats, but Sweet Freedom goes above and beyond selling only gluten-free, soy-free, corn-free, and vegan desserts. I visited Sunday morning before lunch with Cynthia and Katie.

August 22nd 155

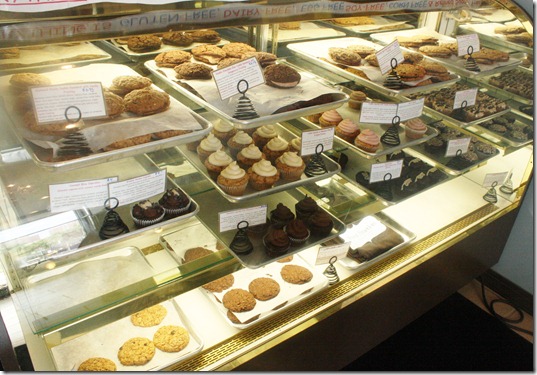
The selection was—in a word—overwhelming. There were cupcakes, cookies, hand pies, brownies, and bars. It took me 10 minutes just to settle on something.

August 22nd 162

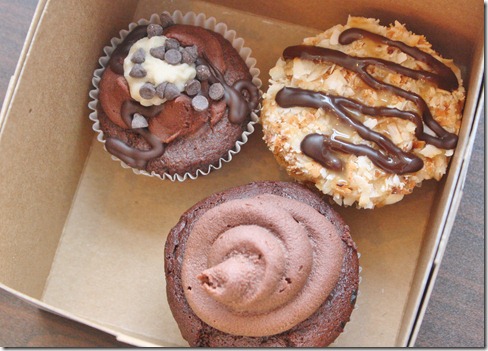
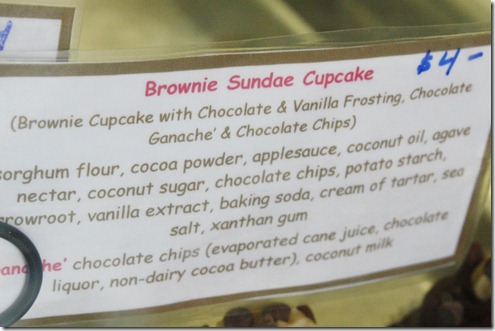
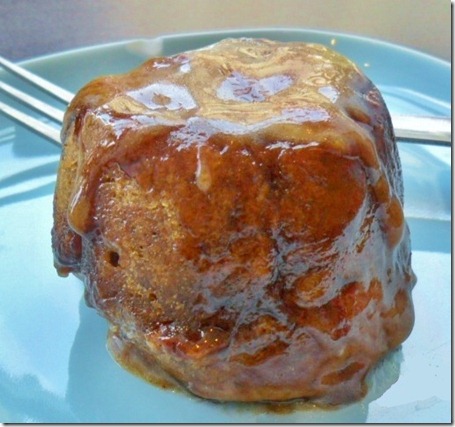
I ended up getting a brownie sundae cupcake(top left) for myself and a Samoas(top right) and chocolate cupcake with chocolate frosting(bottom) for Madeline and Boots.

August 22nd 156

I love that they showed you the ingredients for all of the items. Not only does it help people with allergies know what they can have and can’t, but it helps nosy bakers like me know the secret ingredients of their baking.

The brownie cupcake was good, but nothing outstanding. The frosting was delicious but then again when isn’t frosting delicious? The Samoas cupcake was seriously impressive, with a coconut cream filling that looked incredible. But the real stand out was the cinnamon bun. 

SAM_7015

Photo from Katie

I wasn’t planning on eating one of these, but Katie bought one and insisted that we share. Twist my arm why don’t ya? There was some serious moaning from our side of the table as we ate this. It wasn’t the best gluten-free, vegan cinnamon bun I’ve ever had; it was the best cinnamon bun I’ve ever had—period. It was so light and fluffy you could tell it had to be fresh and homemade. The glaze was sticky and sweet but didn’t overpower the spiciness of the cinnamon. Every part of it was pure bliss.

August 22nd 163

I can’t lie: I’m as excited as going back to Philadelphia in November for the cinnamon bun as I am the marathon. Carbs have never tasted so good.

Chocolate Peanut Butter Swirl Brownies

The last time I posted was 5 days ago. There’s a reason for my absence. I spent all week in Philadelphia at the Healthy Living Summit living it up with some great friends. I learned and did so many things in Philly that I can’t wait to share. But not yet. I got home late last night and my head(and bedroom floor) are currently a mess.

chocolate-peanut-butter-swirl-brownies

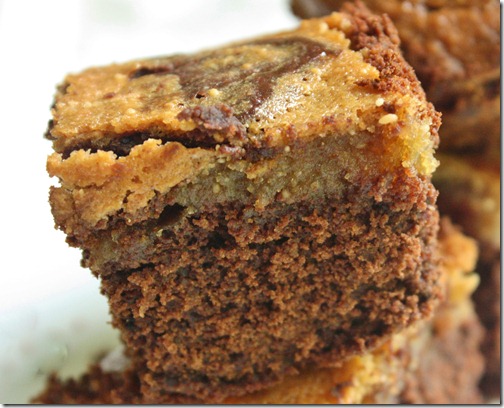
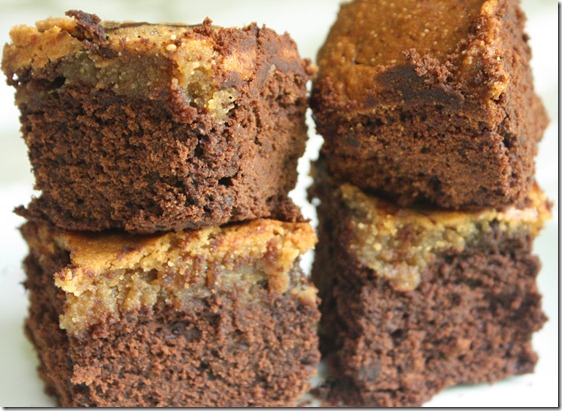
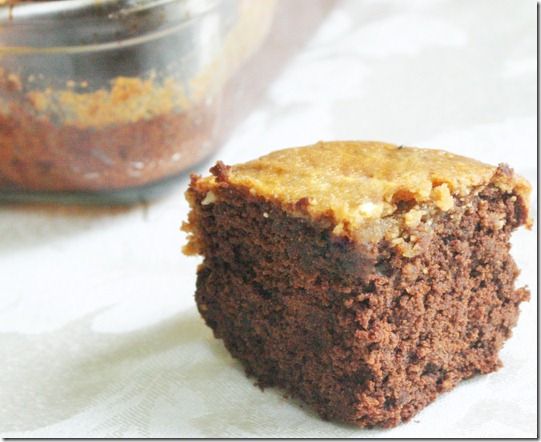
One thing I can share is this brownie recipe. Like the almond flour brownie recipe, I baked these and packed them up to bring to Philly and share with bloggers. Most of all I was excited to share these with Cynthia, who also has food allergies(gluten, soy, almond, hazelnut, refined sugar, and dairy). I didn’t have a recipe that avoided all of those allergens, so I made one up and said a little prayer. At first I worried they came out too cakey for my preference, but one taste and I was sold. The only question remaining was how would other people like them.

Capture

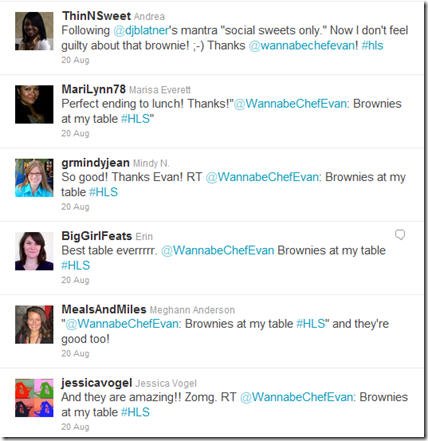
The response to these was overwhelming. As soon as I tweeted out, the brownies started selling like hotcakes(but way better because they’re brownies, duh). Cynthia really enjoyed them, as did Meghann, Julie, and too many other bloggers to count. I don’t care how good food tastes; nothing feels as good as sharing it with others. 

If you’re baking for someone with a peanut or tree nut allergy, sunflower seed butter makes a great substitute for peanut butter.

chocolate-peanut-butter-swirl-brownies-top

Chocolate Peanut Butter Swirl Brownies

Prep Time: 20 minutes

Cook Time: 40 minutes

Ingredients(makes 16 brownies):

  • 4.5oz unsweetened baking chocolate(I used Scharffen Berger because it’s soy-free)
  • 1 3/4 cups maple syrup, divided
  • 1 cup unsweetened peanut butter, divided
  • 1/4 teaspoon baking powder
  • 1/8 teaspoon salt
  • 1 cup all-purpose flour(I used Bob’s Red Mill gluten-free all purpose flour)
  • 1/4 cup cocoa powder
  • 3 eggs
  • 1/3 cup water

chocolate-peanut-butter-swirl-brownies-stack

Method:

  1. Preheat your oven to 350 degrees.
  2. Melt the chocolate and whisk in 1 1/4 cup maple syrup and 1/2 cup peanut butter. Set aside.
  3. In a large bowl, sift together the baking powder, salt, flour, and cocoa powder. Whisk in 2 eggs and 1/3 cup of water.
  4. Mix the chocolate-peanut butter mixture into flour and eggs until completely combines. Pour this into a greased 8×8 baking pan. If the batter is too thick to pour, add extra water until it’s runny but still thick.
  5. Make the peanut butter part by whisking together the remaining maple syrup, peanut butter, and egg.
  6. Pour the peanut butter mixture on top of the brownies and lightly swirl the two batters together a couple times, making sure not to over mix them.
  7. Bake for 40 minutes or until a cake tester inserted in the center comes out clean.
  8. Cool completely before cutting.

chocolate-peanut-butter-swirl-brownies-slice

Make sure to share these after making them. That way they’ll taste all the better.

Spicy Maple Baked Beans

Spicy-Maple-Baked-Beans

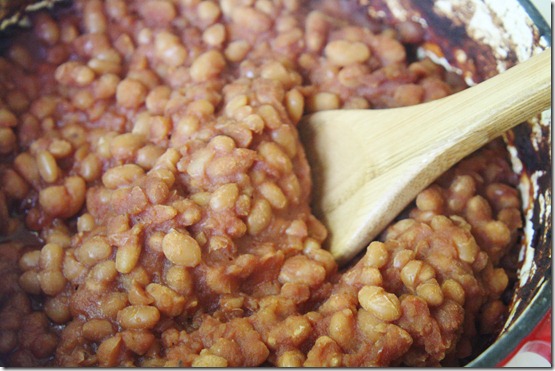
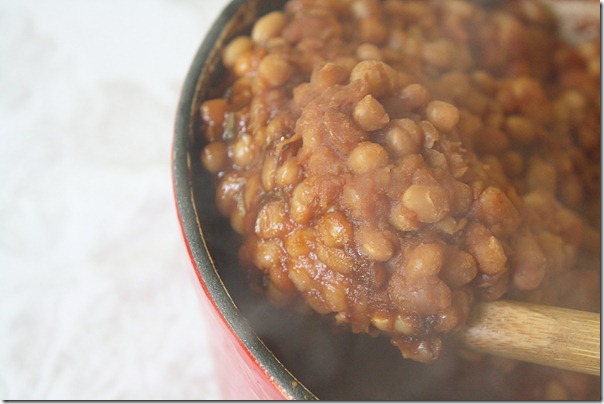
I really love making beans from scratch. It’s kind of like the vegetarian version of roasting a chicken: You take something from inedible to edible making the whole house smell great in the process. I probably hadn’t made this recipe for a good year, which is a shame because I liked it so much the first time. The flavor is incomparable to store-bought brands—truly unique. It’s sweet with a spicy kick that lingers.

There’s also a homemade Worcestershire sauce recipe at the bottom since looking for a bottled vegetarian/gluten-free sauce is sort of like looking for the Holy Grail.

Spicy Maple Baked Beans

Ingredients:

  • 1lb dry white beans
  • 1 yellow onion, peeled and halved
  • 2 bayleaves
  • 1 6oz can of tomato paste
  • 2/3 cup maple syrup
  • 1/3 cup Worcestershire sauce
  • 1/2 cup white vinegar
  • 1 teaspoon salt
  • 3/4 teaspoon ground mustard seed
  • 1/2 tablespoon onion powder
  • 1/2 teaspoon cayenne
  • 3/4 teaspoon paprika

Spicy-Maple-Baked-Beans-Pot

Method:

  1. Soak the beans in water for 8 hours or overnight. Drain the water and put the beans in a large pot with new water, the bayleaves, and the onion.
  2. Boil the beans for 70-80 minutes, scooping off the foam that forms on top of the water. Once done boiling, remove the pot from the stove and drain the beans from the water, also removing the bayleaves.
  3. Combine the beans with the rest of the ingredients in an oven-safe pot or a Crockpot. Bake at 350 degrees for 3 hours or simmer on high for the same period of time until the beans have darkened and most of the moisture has evaporated. If the beans dry out too much, add 1/2 cup of water and continue cooking.
  4. Remove from the oven and serve hot when ready.

Spicy-Maple-Baked-Beans-Stir

Homemade Worcestershire Sauce

Ingredients(Makes about 1/3-1/2 cup):

    • 1/2 cup apple cider vinegar
    • 1/4 cup soy sauce or wheat-free tamari
    • 1 tablespoon cane sugar
    • 1/2 teaspoon ginger
    • 1/2 teaspoon dry mustard
    • 1/2 teaspoon onion powder
    • 1/2 teaspoon garlic powder
    • 1/4 teaspoon cinnamon
    • 1/4 teaspoon pepper

Method:

  1. Combine all of the ingredients in a small pot over the stove.
  2. Keep between a boil and a simmer for 8-10 minutes until reduced to half its original volume.
  3. Use immediately or store in the refrigerator for up to a week.

Happy Birthday To Me

March 28th 099

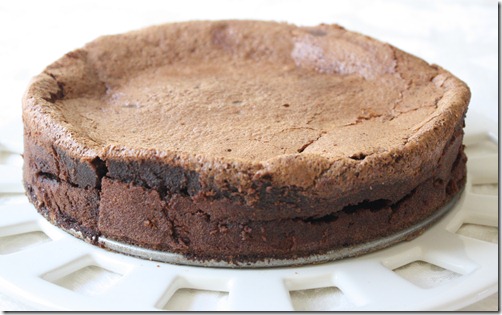
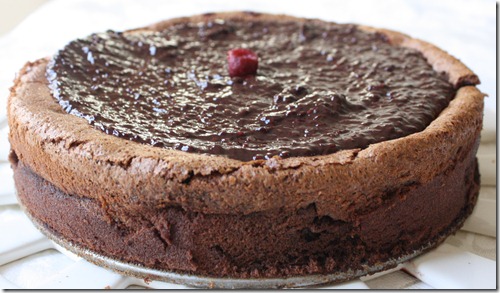
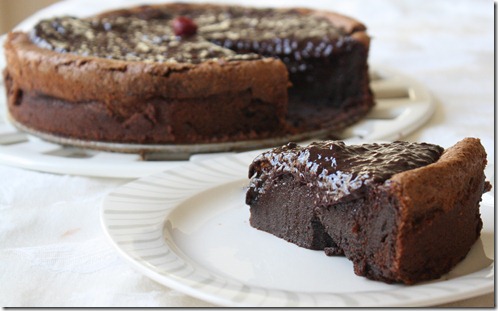
I used the cake from this recipe

March 28th 070

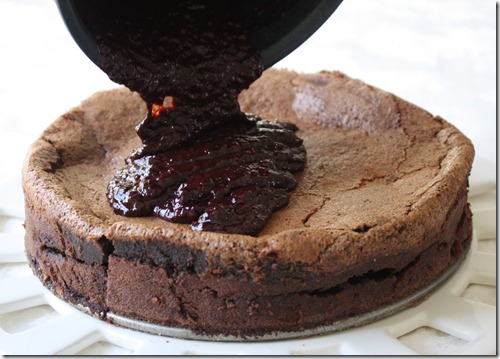
…and then improvised a raspberry fudge sauce….

March 28th 078March 28th 085March 28th 092March 28th 102

Next year I’m adding booze.

Cupcake Tour of DC

When you’re a foodie, the best part of visiting a new city isn’t the historical monuments or the shopping centers. It’s the food—more specifically, the cupcakes.

March 27th 144

My partners in crime, Holly and Madeline share this same sentiment. After over a year of stalking reading there blogs I was ecstatic to finally meet both of them. On Friday after finding each other at the race expo we down to Georgetown to Georgetown Cupcakes.

March 26th 009

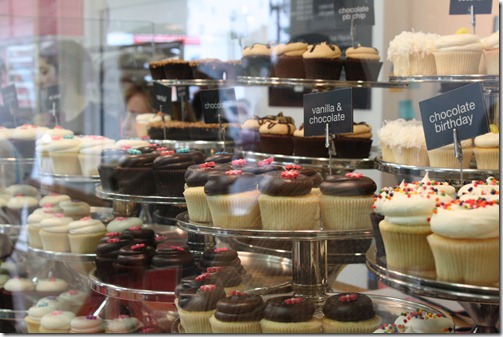
If you aren’t aware of the gem of a reality show that is DC Cupcakes you really should be. The TLC show focuses on two sisters who opened up a cupcake bakery and… well, that’s the entire premise. But I promise it’s funny. The storefront offered some amazing sounding flavors. I was most surprised when I saw they had a gluten-free lava fudge cupcake for me!

March 26th 012

This might have been the best cupcake I have ever eaten: a chocolate cupcake with a vanilla cream cheese frosting and a fudge sauce filling. The filling was delicious and entirely unexpected. And the cupcake part didn’t taste starchy at all which can be a problem with gluten-free baked goods. But the best part was the frosting; Madeline and I both agreed that we would have bought a tub of the frosting if they sold that.

March 27th 133

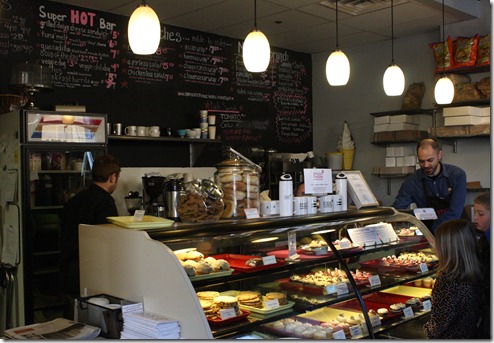
On Sunday the three of us headed to Sticky Fingers Bakery for breakfast. The owner of the bakery won season 1 of Cupcake Wars on Food Network(another show that I admit is awful and yet 100% addicting). Sticky Fingers is an all vegan café with plenty of gluten-free options, too.

March 27th 137

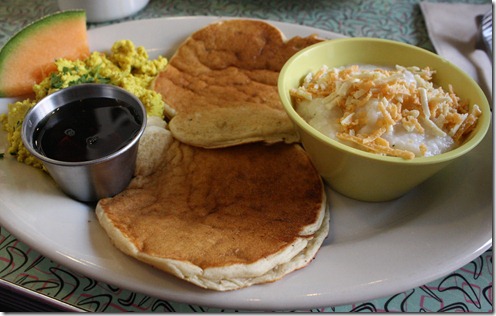
I ordered the gluten-free pancake plate which came with maple syrup, tofu scramble, and vegan grits.

March 27th 139

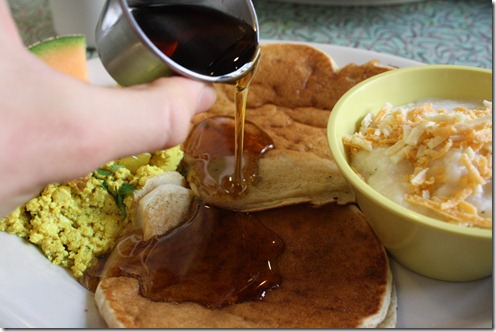
Simply put, the pancakes were amazing. They were thin but the taste and texture were dead on. They even soaked up the maple syrup perfectly. I have no idea how they made these without eggs or gluten but I want the recipe.

March 27th 138

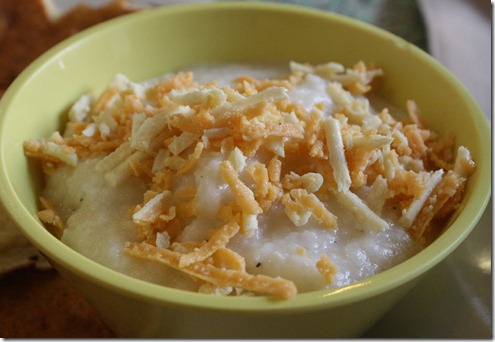
The vegan grits came with Daiya cheese. I’m still not even sure what grits are or how these were made. They were filling and tasted OK but could have used a pinch more of salt.

March 27th 140

Sticky Fingers was definitely a winner in my book.

On the way out we all grabbed some cupcakes. I meant to save it for the bus ride to the airport but ended up eating it at 11am. Hey, I did run a marathon the day before.

March 27th 145

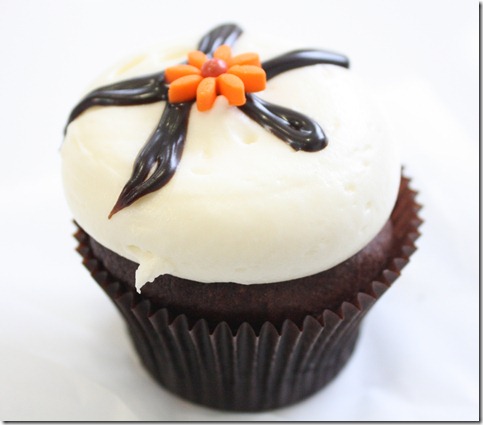
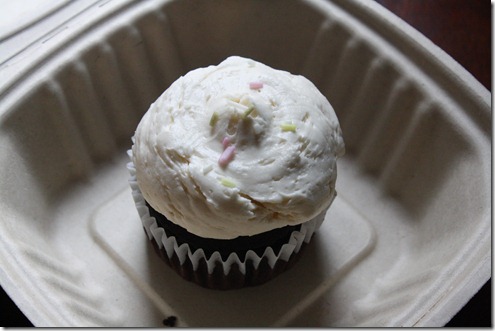
I got the gluten-free chocolate cupcake with vanilla frosting. The cupcake itself was excellent and reminded me a lot of Georgetown Cupcake’s gluten-free cupcake. The frosting, however, was a little boring and just tasted generically sweet. I enjoyed Georgetown Cupcake’s cupcake more but if I were vegan I would not at all mind settling for Sticky Fingers. My only wish would be that cupcake stores make more interesting gluten-free flavors than chocolate(I swear I ordered it both times not because I’m a chocoholic but because that’s all there was).

I have to say thanks to my hungry companions, Holly and Madeline, for the awesome time! The only question left is what city should we hit up next?