Tag Archive: Gluten-Free

DIY Nutella

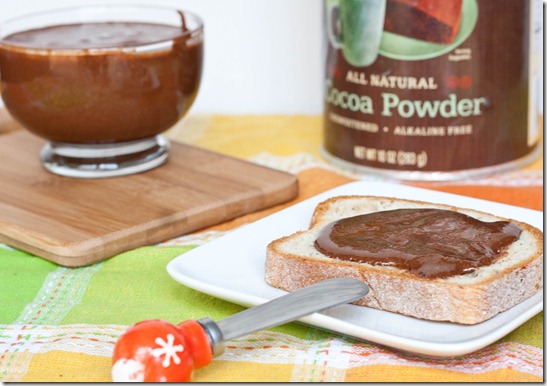
DIY-Nutella

As sacrilegious as it sounds, I’ve never really understood the fuss over Nutella. It just tastes syrupy sweet to me and I’d rather have a bar of milk chocolate than that.

I have had a few good chocolate hazelnut spreads, like Justin’s which is one of the best. I could sit down and eat a jar of it with a spoon. It actually tastes like hazelnuts since they’re the first ingredient and that’s what makes it so irresistible. But it’s also way out of my price range. Why pay for it when making your own is so much cheaper?

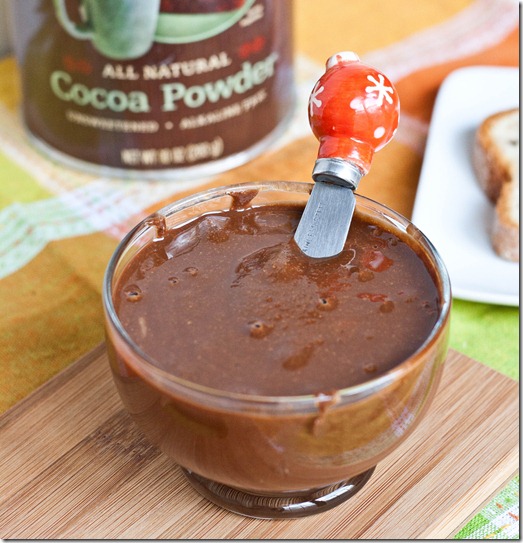
DIY-Nutella-finished

This tastes very similar to the Justin’s chocolate hazelnut butter since the number one ingredient is hazelnuts. It’s very loose at room temperature; keep it refrigerated for something closer to the texture of a no-stir peanut butter.

DIY Nutella

Prep time: 10 minutes

Cook time: 0 minutes

Ingredients(Makes about 1 1/4 cups):

  • 2 cups(8oz) hazelnuts*
  • 1/2 Tablespoon oil
  • 1/4 cup cocoa powder
  • 3 Tablespoons powdered sugar
  • 1/4 teaspoon salt

*You can use raw or roasted, skin on or off. Ones that have been roasted with the skin off will probably blend into a butter the fastest.

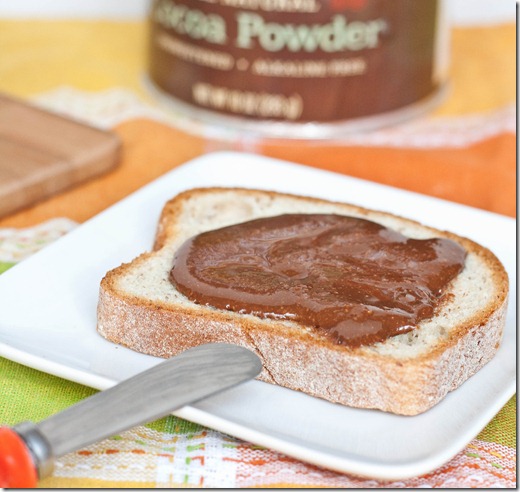
DIY-Nutella-toast

Method:

  1. Combine the hazelnuts and oil in a food processor and process until it forms a smooth hazelnut butter.
  2. Add in the cocoa powder, powdered sugar, and salt and keep mixing until it’s uniform in texture.
  3. Scoop into a container and keep refrigerated when not eating.

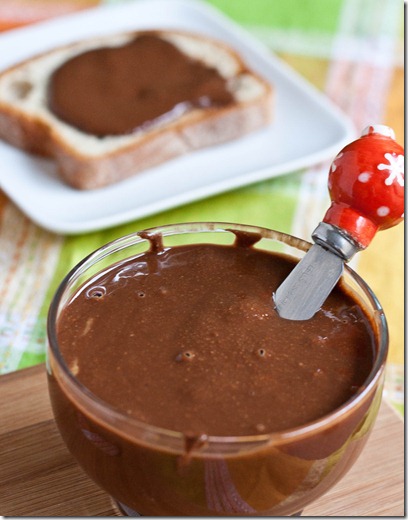
DIY-Nutella-in-bowl

Next time I make this I plan on doubling the recipe; this just wasn’t enough to last very long around here.

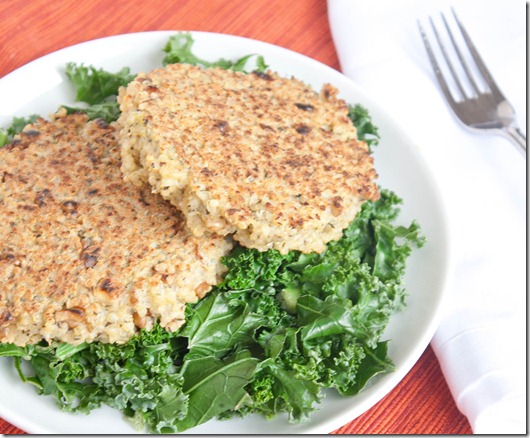
Walnut & Herb Quinoa Cakes

walnut-and-herb-quinoa-cakes

One of my favorite things about being home so far has been having a stove to use whenever; it’s much more motivating to cook something when your refrigerator and stove aren’t separated by 3 flights of stairs.

Quinoa cakes are something that have always intrigued me; they look so fancy and yet always sounded like something easy to make. Finally after seeing Emily post about them, I knew I had to try them. These couldn’t have been easier to throw together. I just took the ingredients out of my pantry and they were cooked before I knew it.

This recipe calls for precooked quinoa, so if you’re planning on making this note that cooking the quinoa will take extra time if you don’t already have some.

Walnut & Herb Quinoa Cakes(inspired by this recipe)

Prep time: 5 minutes

Cook time: 10 minutes

Ingredients(Makes 2 cakes or 1 serving):

  • 3/4 cup + 2 Tablespoons cooked quinoa
  • 1 egg
  • 1 teaspoon Herbes de Provence
  • 1/2 teaspoon salt
  • 2 Tablespoons crushed walnuts
  • Oil for cooking

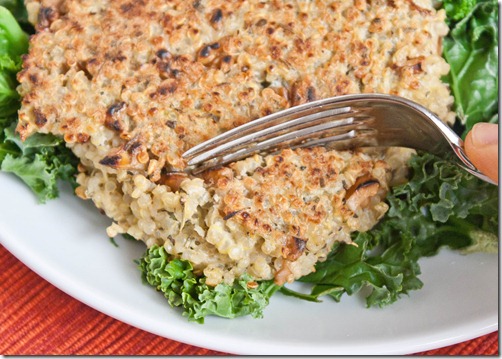
walnut-and-herb-quinoa-cakes-fork

Method:

  1. Combine the first five ingredients together in a bowl and mix until it all comes together.
  2. Heat a large frying pan over medium-high heat and add a little oil to keep the cakes from sticking. Drop a lump of the quinoa mixture onto the hot pan and with a spoon or fork flatten it into a patty shape.
  3. Cook for 5 minutes on each side, flipping once halfway through to get a nice, crisp crust. Repeat with the other half of quinoa and egg mixture.
  4. Serve hot or cold as leftovers.

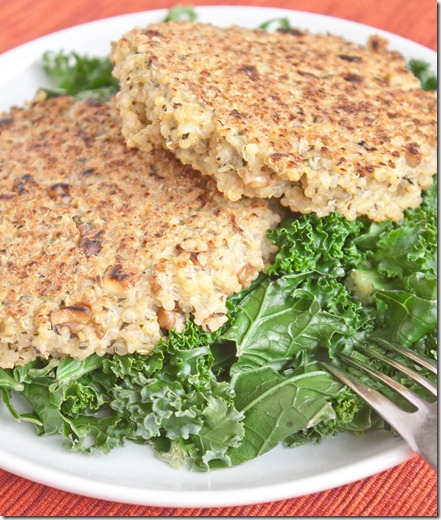
walnut-and-herb-quinoa-cakes-serving

I loved how the walnuts on the outside toasted up and gave incredible flavor to the cakes. Overall this was a surprisingly easy and delicious recipe, something I’d make again and again.

Classic Peanut Butter Cookies

IMG_8377

Last week I got together with old friends for an annual cookie baking party. Good company, tons of sugar, and frosting—what’s not to love?

Lightroom Photos2

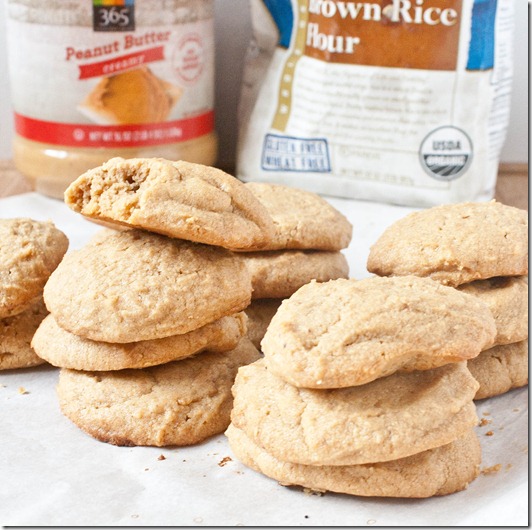
For my part I offered to bring peanut butter and make peanut butter cookies. The hostess knows I’m allergic to wheat and when she asked what we could make that was gluten-free, this recipe popped into my mind because of how simple and crowd-pleasing it is; who doesn’t love peanut butter cookies?

…Well, probably people who are allergic to peanut butter, but thankfully no one there was. If you are allergic to peanut butter, you can easily substitute almond butter or sunflower seed butter in these for a similar taste and texture.
Classic Peanut Butter Cookies

Prep time: 10 minutes

Cook time: 12 minutes

Ingredients(Makes 24 cookies):

  • 2 cups salted peanut butter
  • 2 eggs
  • 1 1/2 cups sugar
  • 1 teaspoon vanilla extract
  • 1 teaspoon baking powder

IMG_8298

Method:

  1. Preheat your oven to 350 degrees.
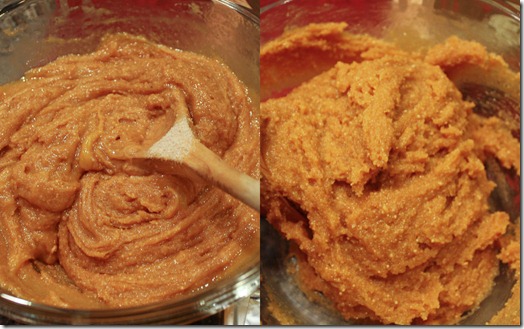
  2. Mix together all of the ingredients in a large bowl until the dough is thick and sticks to itself.
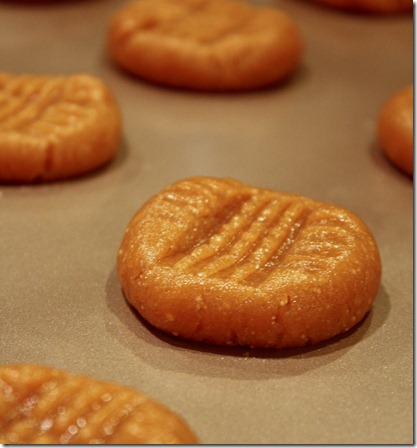
  3. Break about an ounce of dough off and roll it into a ball in between your hands. Place on a non-stick cookie tray and press down lightly with a fork in a criss-cross pattern. Repeat with all of the dough.
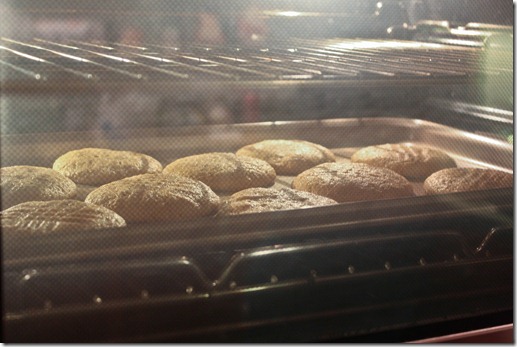
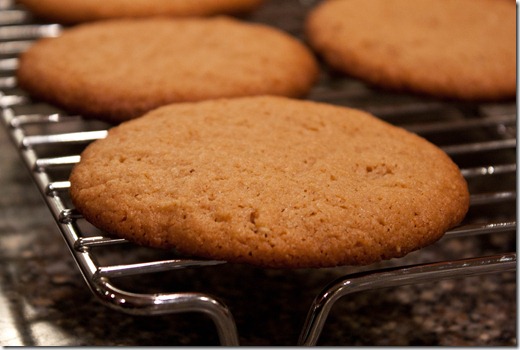
  4. Bake for 12-15 minutes until the edges begin to darken. Remove from the oven and let them cool on a wire rack until the outside has crisped.
  5. Store at room temperature in a sealed container for up to a week.

IMG_8307

IMG_8314

Mine came out a little flat, probably because I didn’t measure any of the ingredients and only looked at the recipe after the fact. Oh well, they still tasted great, and there was definitely no shortage of cookies that night.

Lightroom Photos

No-Bake Peanut Butter S’mores Bars

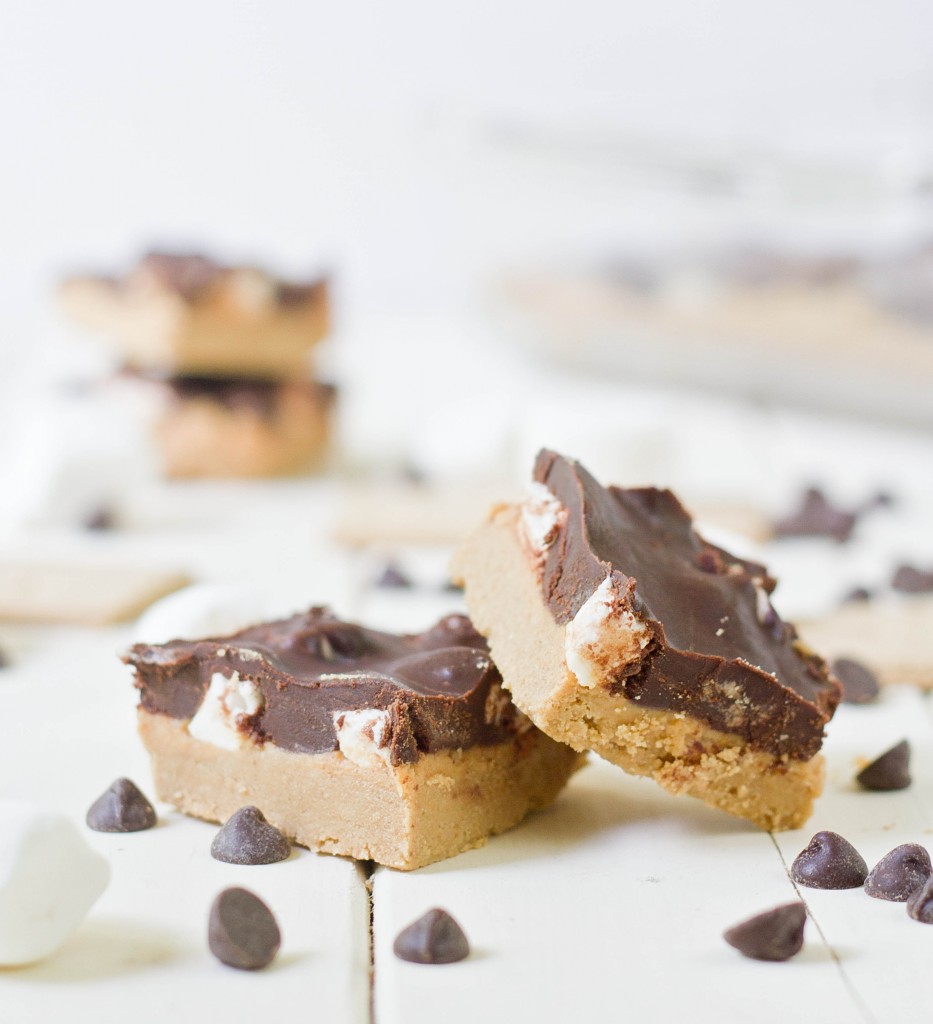
I love it when people request certain desserts for parties because it makes it so much easier to decide what to bring. This year my cousin asked for Christmas Eve that I bring the same dessert I brought last year: Peanut Butter S’mores Bars.

These are absolutely one of my favorites, too. I’ve also been meaning to make them all year because I wanted to take better pictures than the old ones I had for this recipe, so it was an all around win. 

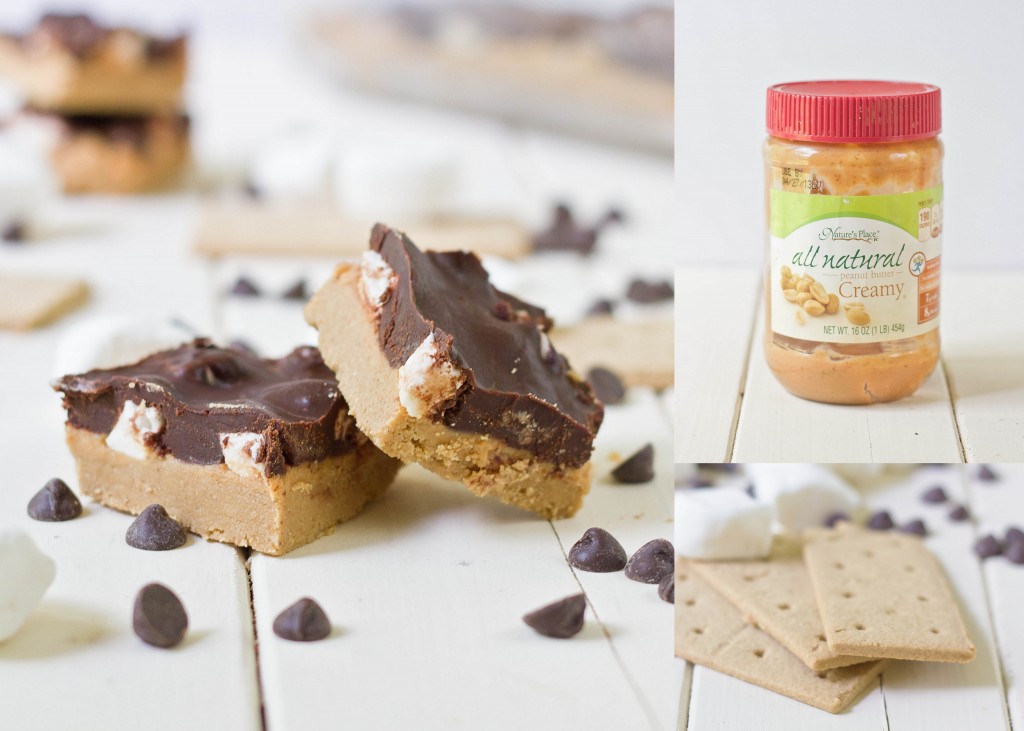
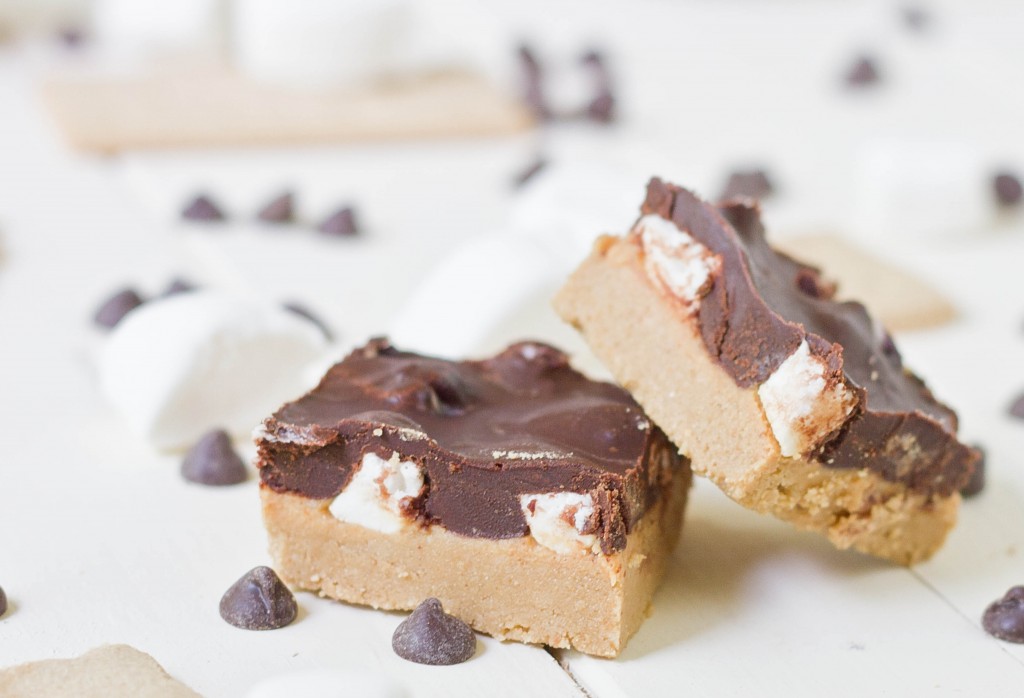
The bars are a layer of peanut butter graham cracker crust with a peanut butter and marshmallow filling topped with soft chocolate ganache. The best thing about them is that they’re no-bake, so you don’t have to turn on your oven to make these; just a microwave will do.

These bars can easily be adjusted for different dietary restrictions. To make them gluten-free, use gluten-free graham crackers. To make them vegan, use vegan graham crackers, vegan marshmallows, a dairy-free margarine and dairy free chocolate chips. I made all of these alterations for this batch and they came out perfectly.

No-Bake Peanut Butter S’mores Bars

Prep time: 15 minutes

Cook time: 0 minutes(allow at least 30 minutes for these to harden in the refrigerator)

Ingredients(Makes 16 bars)

For the crust:

  • 16 individual graham crackers(not full sheets) OR 8oz graham crackers crumbs
  • 3 tablespoons butter
  • 6 tablespoons natural style peanut butter
  • 1/2 cup powdered sugar

For the filling:

  • 1/3 cup natural style peanut butter
  • 2 tablespoons butter
  • 2 tablespoons powdered sugar
  • 1/2 cup mini-marshmallows, or 1 cup regular marshmallows cut into bite-sized pieces

For the top:

  • 6oz(about 3/4 cup) chocolate chips
  • 1 tablespoon butter 

Method:

  1. Melt together 3 Tablespoons of butter and 6 Tablespoons of peanut butter until it’s thin and creamy.
  2. Break the graham crackers into fine crumbs. Running them through a food process for 30 seconds is the best way to do this.
  3. In a large bowl, add the peanut butter mixture to the graham cracker crumbs. Sift in 1/2 cup powdered sugar. Work the dough until the ingredients have come together and press it into an 8×8 pan in an even layer.
  4. Make the filling by melting together 1/3 cup of peanut butter and 2 Tablespoons of butter. Sift in 2 Tablespoons of powdered sugar and beat until smooth.
  5. Pour the mixture over the crust. Spread it out to cover all parts.
  6. Press in the marshmallows on top of the peanut butter layer.
  7. Melt together the chocolate chips and 1 Tablespoon of butter until it’s smooth and runny.
  8. Pour the chocolate on top of the dessert in an even layer. Carefully spread it out to make sure it covers as much of the marshmallows as possible.
  9. Put the dessert in the refrigerator to harden. Remove 10 minutes before serving, cut into 16 pieces and serve.

I have a feeling I know what I’ll be making next Christmas Eve.

Homemade Gluten-Free Brownie Mix

almond-flour-brownies

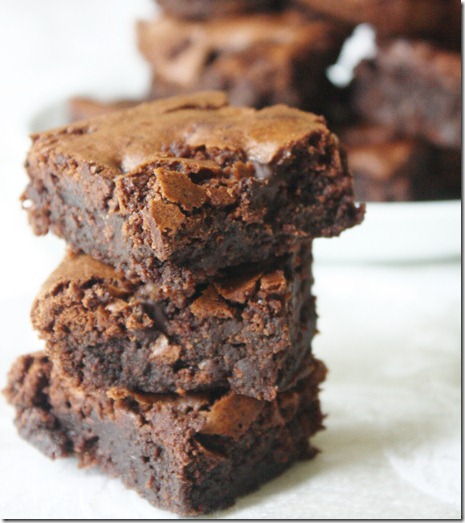
Sunday night I realized I needed a secret santa gift in just a few days and that I hadn’t bought anything. Whoops. I raced around the house to see if there was anything I could pass off as a well thought out gift and couldn’t find a thing. Then it hit me: Homemade mixes. They’re easy, thoughtful, and I already had everything I needed. Plus, who wouldn’t want to get what essentially equal gooey brownies only for whenever you want them?

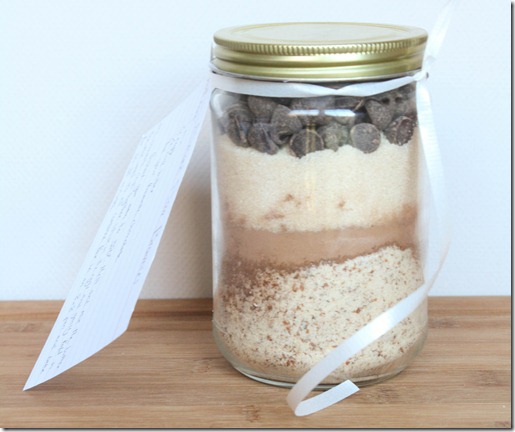
homemade-gluten-free-brownie-mix

I based the ingredients in my mix off of my almond flour brownie recipe since they’re easily my favorite brownies ever. Theoretically you can use any brownie recipe you love, but if you use this one I promise you the gift recipient won’t be disappointed at all.

For the mix, you need:

  • 1 18oz mason jar
  • 3/4 cup almond flour
  • 1/2 teaspoon baking powder
  • 1/4 teaspoon salt
  • 2 Tablespoons cocoa powder
  • 3/4 cup sugar
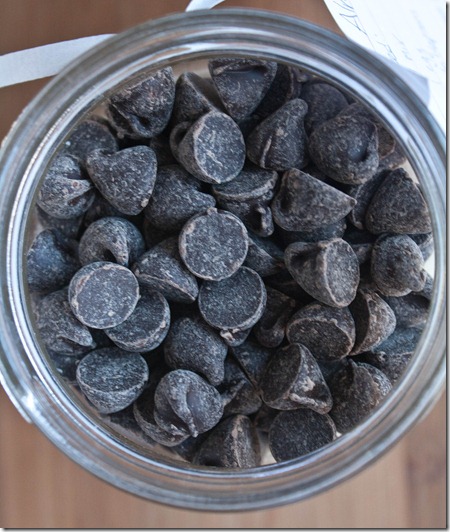
  • Enough chocolate chips to fill the jar
  • 1 index card
  • Ribbon to attach the card.

homemade-gluten-free-chocolate chips

Method:

  1. Clean and dry an 18oz mason jar
  2. Add in layers the almond flour, baking powder, salt, cocoa powder, sugar, and chocolate chips.
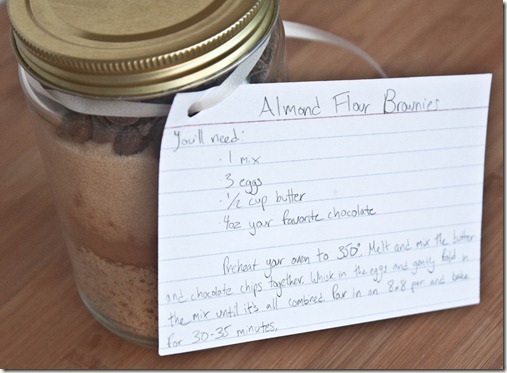
  3. Write on an index card the following:

“You’ll need:

1 mix
3 eggs
1/2 cup butter
4oz your favorite chocolate

Preheat your oven to 350 degrees. Melt and mix the butter and chocolate together. Work in the eggs and gently fold in the mix until it’s all combined. Pour in an 8×8 pan and bake for 30-35 minutes.”

homemade-gluten-free-brownie-mix-card

It’s not quite as fun as baking brownies because you don’t get to lick the bowl. Go ahead and steal a few chocolate chips for yourself to compensate and feel good knowing you’re giving a thoughtful gift.

Tomorrow: Chocolate chip cookie mix!

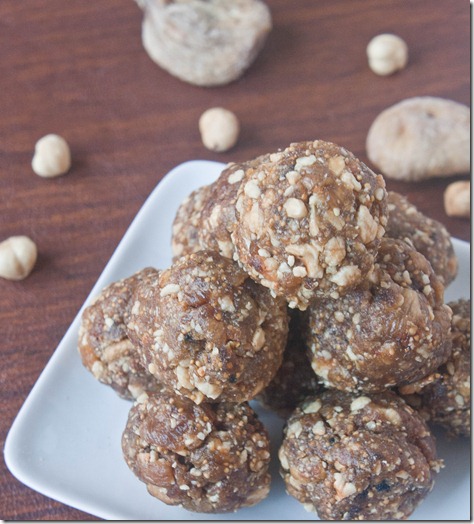
Fig And Hazelnut Balls

fig-and-hazelnut-balls

One of the things I said I was going to do now was eat better, especially when it comes to sugar. Now I’m not delusioned too think I could ever give up the sweet stuff; instead I’m just looking to eat more sweets that also have nutrition to them. And for that I look towards dried fruit.

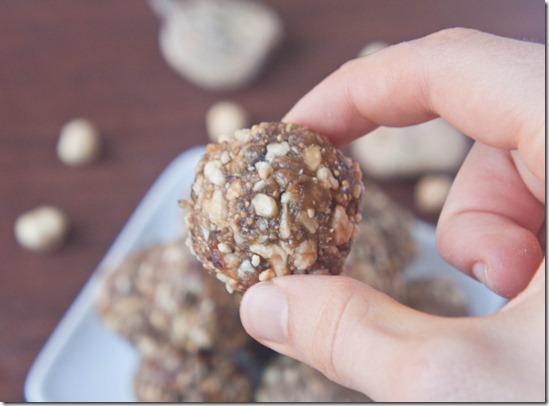
fig-and-hazelnut-ball

I’ve always loved fruit and nut snack bars like Larabars. They’re one of those all-too-few things that taste good and are good for you. They’re also incredibly easy to make at home, which opens up infinite flavor combinations. The combination of figs, hazelnuts, cinnamon and nutmeg taste like Winter to me.

Fig And Hazelnut Balls

Prep time: 5 minutes

Cook time: 0 minutes

Ingredients(Makes about 14):

  • 8oz pitted dates
  • 8 figs, chopped
  • 3/4 cup toasted hazelnuts
  • 1/2 teaspoon cinnamon
  • 1/4 teaspoon nutmeg

Method:

  1. In a food processor, blend the dates until they form a sticky dough ball. If after a few minutes your dates haven’t come together, they might have been too dry to begin. Simply add a tablespoon of water and continue blending until they do come together.
  2. Move the date dough to a separate bowl. Chop the hazelnuts and figs in the food processor until they’re broken into small pieces.
  3. Dump the fig and hazelnut bits into the bowl with the date dough, adding in the cinnamon and nutmeg. Knead the two together. Break off pieces to roll into a ball or into a bar.
  4. Store in an air-tight container at room temperature for up to a week.

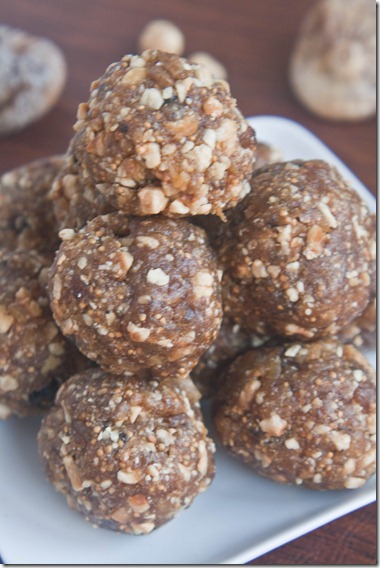
fig-and-hazelnut-balls-stack

I used the roasted salted hazelnuts from Oh Nuts! and the little bit of salt really was a nice touch if you like salty-sweet snacks. It’s not going to fool anyone as a dessert but it’s a good snack to keep on hand to fight an afternoon sweet craving.

Peanut Butter Buttercream Sandwich Cookies

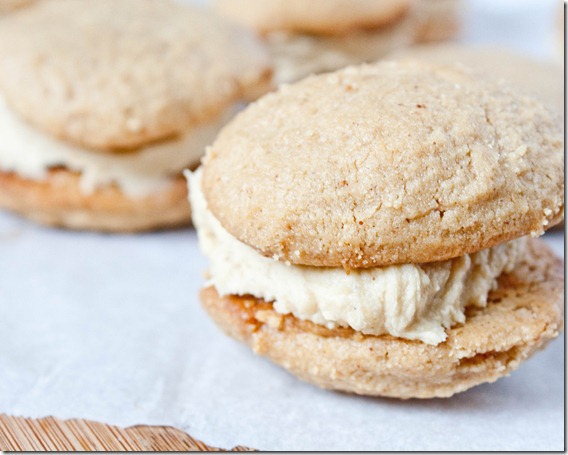
peanut-butter-buttercream-sandwich-cookies

Like I’ve said before, I’m not a big cookie fan. I’m a frosting person. I was the kid who would break apart an Oreo or maple leaf cookie, lick out the inside, and put the cookie halves back in the box. You can’t imagine how much that thrilled my parents.

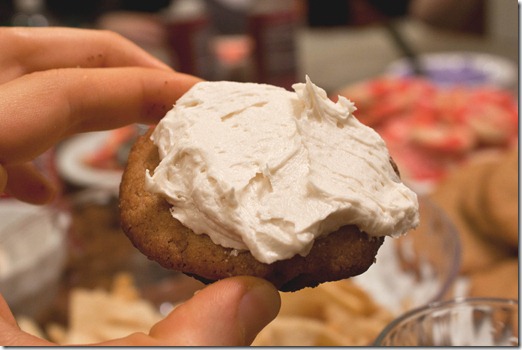
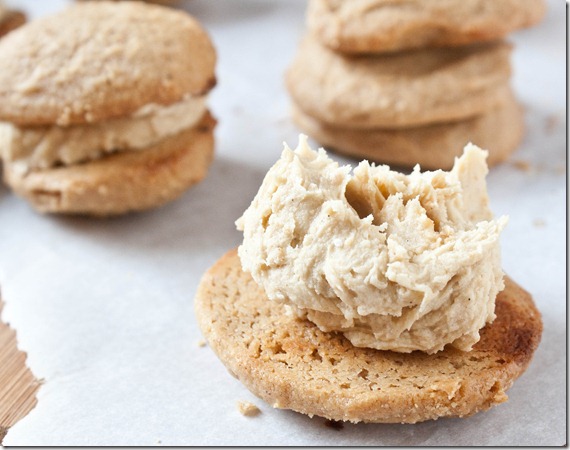
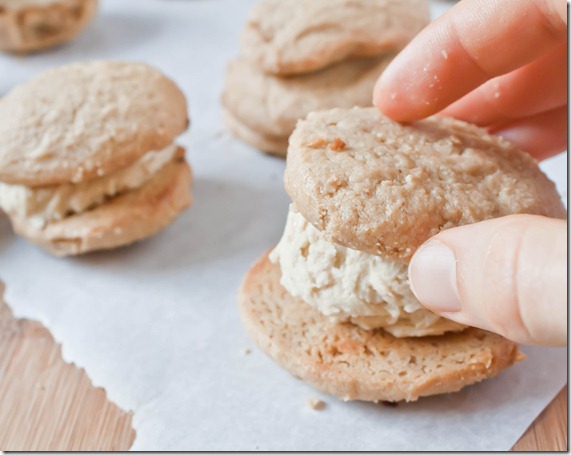
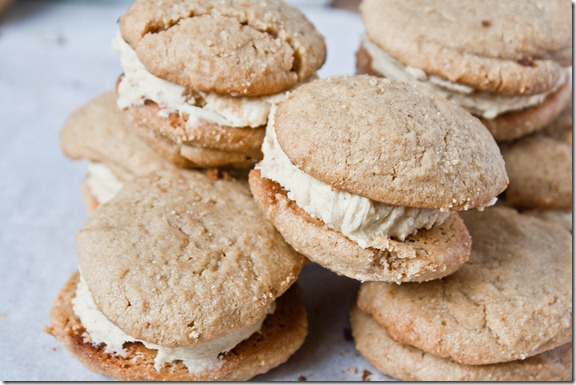
I was going to fill these with a soft chocolate ganache, but since the cookies are rather unsweet on their own I thought a sweeter filling would contrast nicely and let all the flavors show. Because of that I went with my favorite kind of frosting: Buttercream. The filling is rich, sweet, and creamy adding a whole new level to the cookies.

peanut-butter-buttercream-sandwich-cookies-filling

I give a suggested recipe for the cookies to use but you can really do this with any cookie recipe. Again, this is really easy to make vegan by simply substituting a dairy-free margarine for the butter.

Peanut Butter Buttercream Sandwich Cookies

Prep time: 5 minutes

Cook time: 0 minutes

Ingredients(Makes 9 sandwich cookies):

  • 1 batch peanut butter cookies
  • 3 Tablespoons no-oil added peanut butter
  • 3 Tablespoons butter, room temperature
  • 3/4 cup powdered sugar
  • 1 1/2 teaspoons vanilla extract

peanut-butter-buttercream-sandwich-cookies-stacking

Method:

  1. Cream together the peanut butter, butter, powdered sugar and vanilla extract until it makes a smooth and thick buttercream.
  2. Scoop 1 tablespoon of buttercream onto the flat side of a cookie and sandwich together with an equally sized cookie. Repeat until all of the cookies and frosting are gone.

peanut-butter-buttercream-sandwich-cookies-pile

10-Minute Chickenless, Noodleless Soup

10-minute-chickenless-noodleless-soup

After weeks of unseasonably warm weather, Winter is hitting and it’s hitting hard. It’s rained the past few days; and the temperature has dipped into the 30 and 40s. It’s no wonder I was craving chicken noodle soup recently.

I was thinking of just riding out the craving, since it’s not the easiest thing to satisfy for someone who’s vegetarian and gluten-free. Then I realized I had enough food lying around to make a decent meat-free, gluten-free soup that hit all the right notes.

10-minute-chickenless-noodleless-soup-broth

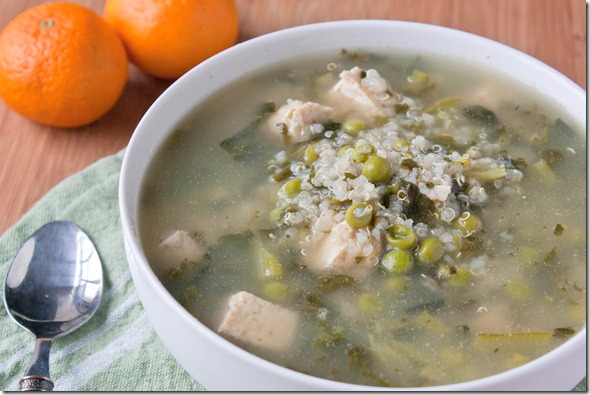
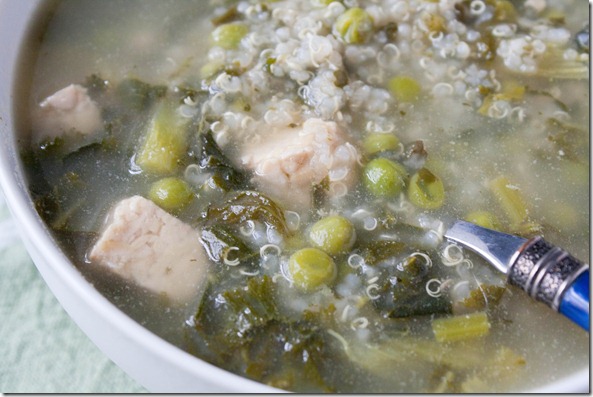
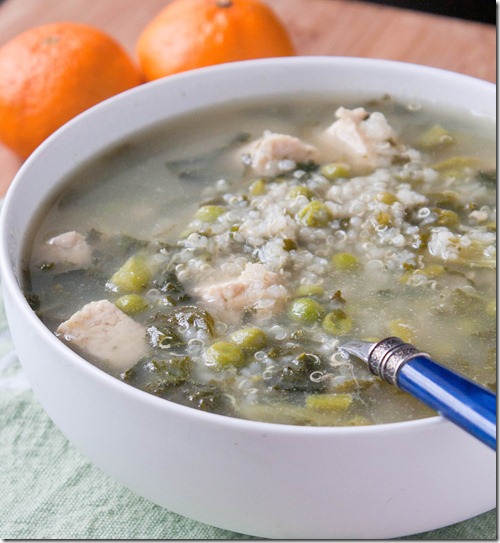
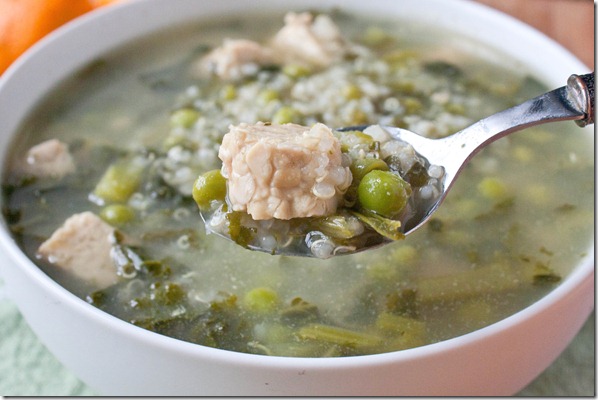
I loved how flavorful this was, especially for something that was so simple. It was exactly like any good soup I’ve ever had, with a deep and savory broth. The quinoa and tempeh make this totally satisfying, as well. If gluten’s not an issue, I bet the texture of seitan would work great in this soup, too, in place of the tempeh.

10-Minute Chickenless, Noodleless Soup

Prep time: 5 minutes

Cook time: 10 minutes

Ingredients(Makes 4 side servings or 2 entrée servings):

  • 2 cups precooked quinoa
  • 3/4 cup chopped kale, fresh or frozen
  • 3/4 cup peas, fresh or frozen
  • 1 block of tempeh, cubed
  • 3 cups water
  • 1 vegetarian bouillon cube
  • 1/2 teaspoon salt plus more to taste

10-minute-chickenless-noodleless-soup-bowl

Method:

  1. Combine all of the ingredients in a large pot
  2. Bring the water to a boil. Make sure to mix well enough that the bouillon cube dissolves completely into the broth.
  3. Once heated through, remove from the stove and serve hot.

10-minute-chickenless-noodleless-soup-tempeh

And then I ate this with 2 clementines because I’m paranoid about getting sick during finals period. Nobody sneeze on me, please.

Egg-Free Peanut Butter Cookies

egg-free-peanut-butter-cookies

Well I made it 4 days into December before breaking down and making Christmas cookies. I couldn’t hold up to the pressure any longer.

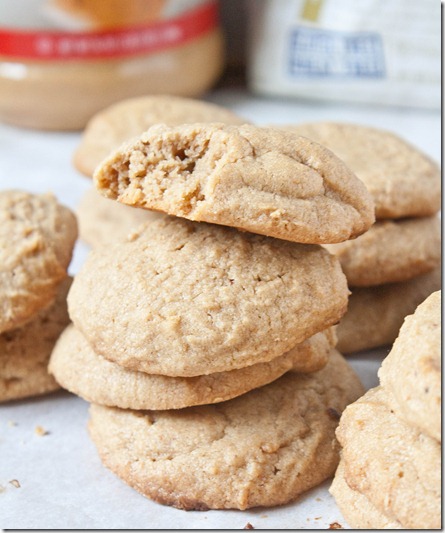
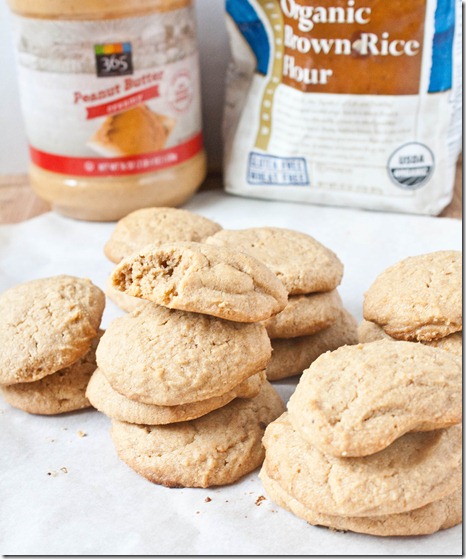
The truth is I’m not the biggest cookie fan. I have my favorites(like peanut butter cookies) but on the whole would rather have something else. One cookie I love is the peanut butter cookie from Wildflour Bakery which is gluten-free and vegan. It’s so sweet and soft and falls apart in your mouth. I thought I might try to make a cookie like theirs; this isn’t nearly the same, but I like it in its own respect which is why I’m posting the recipe. It’s less sweet but much more peanut buttery; it almost tastes like eating a spoonful of peanut butter in cookie form.

This recipe can easily be made vegan by using a dairy-free butter substitute. I would not recommend subbing in coconut oil for the butter in a 1:1 ratio because they do not act the same in baking and I can’t say for how it would turn out.

Egg-Free Peanut Butter Cookies

Prep time: 30 minutes

Cook time: 16-18 minutes

Ingredients(Makes about 1 1/2 dozen cookies):

  • 1 cup no-oil added peanut butter
  • 1/4 cup butter
  • 3/4 cup maple syrup
  • 3/4 cup brown rice flour
  • 1/4 cup tapioca starch(or corn starch)

egg-free-peanut-butter-cookies-stack

Method:

  1. Preheat your oven to 350 degrees and line a couple baking trays with parchment paper.
  2. Beat together all of the ingredients. Put the batter in the refrigerator of freezer to harden until you can handle the dough and roll it into balls.
  3. Once the dough has reached that stage, scoop the dough and roll it into balls. Place the balls about 2 inches apart on the baking trays.
  4. Bake for 16-20 minutes until the outside is golden. The cookies will still be very soft to the touch when they’re done.
  5. Remove the cookies from the oven and let them cool completely before handling. As they cool, the outside will harden up and make them less fragile.
  6. Store sealed in an airtight container at room temperature when not eating.

egg-free-peanut-butter-cookies (2)

The Best (Vegan) Quinoa Stuffing

The-best-quinoa-stuffing

Since I eat quinoa all the time, I get asked a lot what recipe should somebody who’s not really a fan of quinoa try to get themselves to like it. This is that recipe.

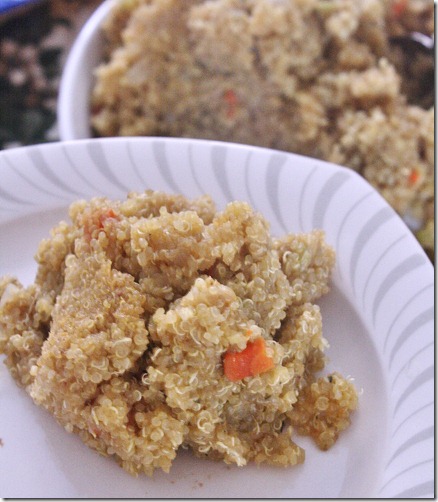
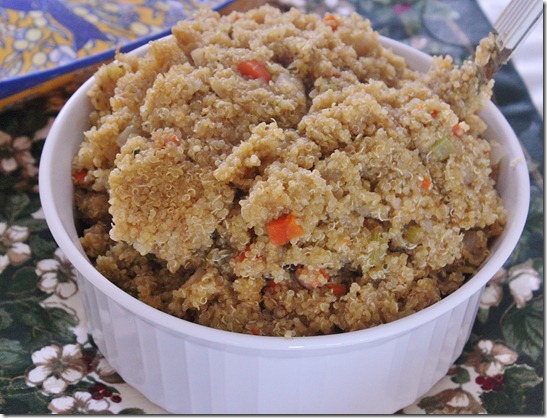
I made this last Thanksgiving and then again for Christmas Eve since it was such a hit. If you’ve never seen 80 year old aunts nudging each other to get the serving spoon for more quinoa, it’s quite hysterical. The only difference I made this year was using oil in place of butter and vegetable broth for chicken broth so that this was both vegan and gluten-free. You won’t miss the white bread in this untraditional stuffing.

If you want to save some time and chopping, you can buy pre-diced mirepoix at most grocery stores like Trader Joe’s nowadays.

The Best Quinoa Dressing

Prep time: 5 minutes

Cook time: 20 minutes

Ingredients(Makes 8 servings):

  • 2 cups quinoa, rinsed
  • 4 cups vegetable broth(or chicken broth)
  • 2 medium carrots, diced
  • 2 stalks of celery, diced
  • 1 yellow onion, diced
  • 2 tablespoons olive oil
  • 1 tablespoon parsley
  • 1/2 tablespoon rosemary
  • 1/4 cup cane sugar

The-best-quinoa-stuffing-mirepoix

Method:

  1. Bring the quinoa and broth to a boil in a large pot. Cover the pot and turn off the heat, letting the quinoa sit to absorb the water.
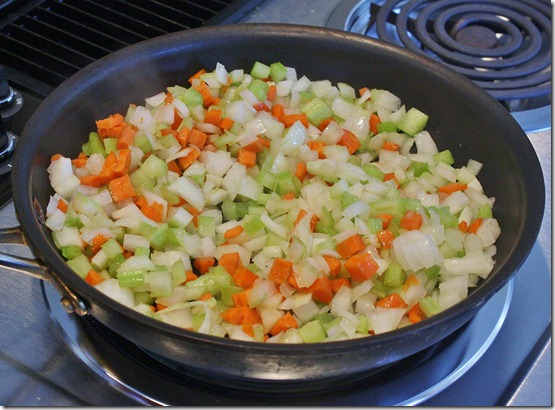
  2. In a pan, sauté the onion, celery, and carrots in 2 tablespoons of oil until the onions are translucent and the carrots have cooked through.
  3. When the quinoa is fully cooked, add in the sautéed vegetables, sugar, and herbs. Mix those in while fluffing the quinoa.
  4. Move to a serving bowl and serve warm.

The-best-quinoa-stuffing-sserving

I’ve never been so happy for Thanksgiving leftovers.