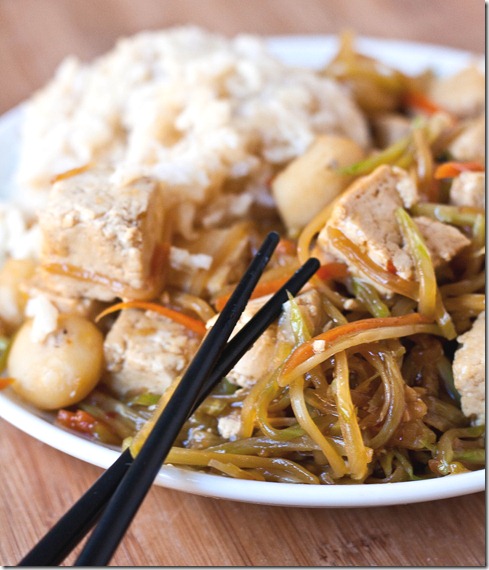
Tag Archive: Gluten-Free

Gluten-Free Thin Mints

Gluten-Free Thin Mints

It’s Girl Scout cookie time again. At first I wanted to resist it; but then seeing the flood of tweets and Facebook statuses about them I knew I couldn’t and would have to give in. If the Girl Scouts ever start selling a gluten-free cookie, I’d be happy to support them; until then I guess I’ll be making my own. That feels like dangerous knowledge.

My favorite Girl Scout cookie has always been the Thin Mints. Have you ever eaten one straight out of a freezer? That’s good stuff. I also liked the lemon cream-filled shortbread cookies, but I hear they stopped making those. That doesn’t seem like a smart business plan, Girl Scouts.

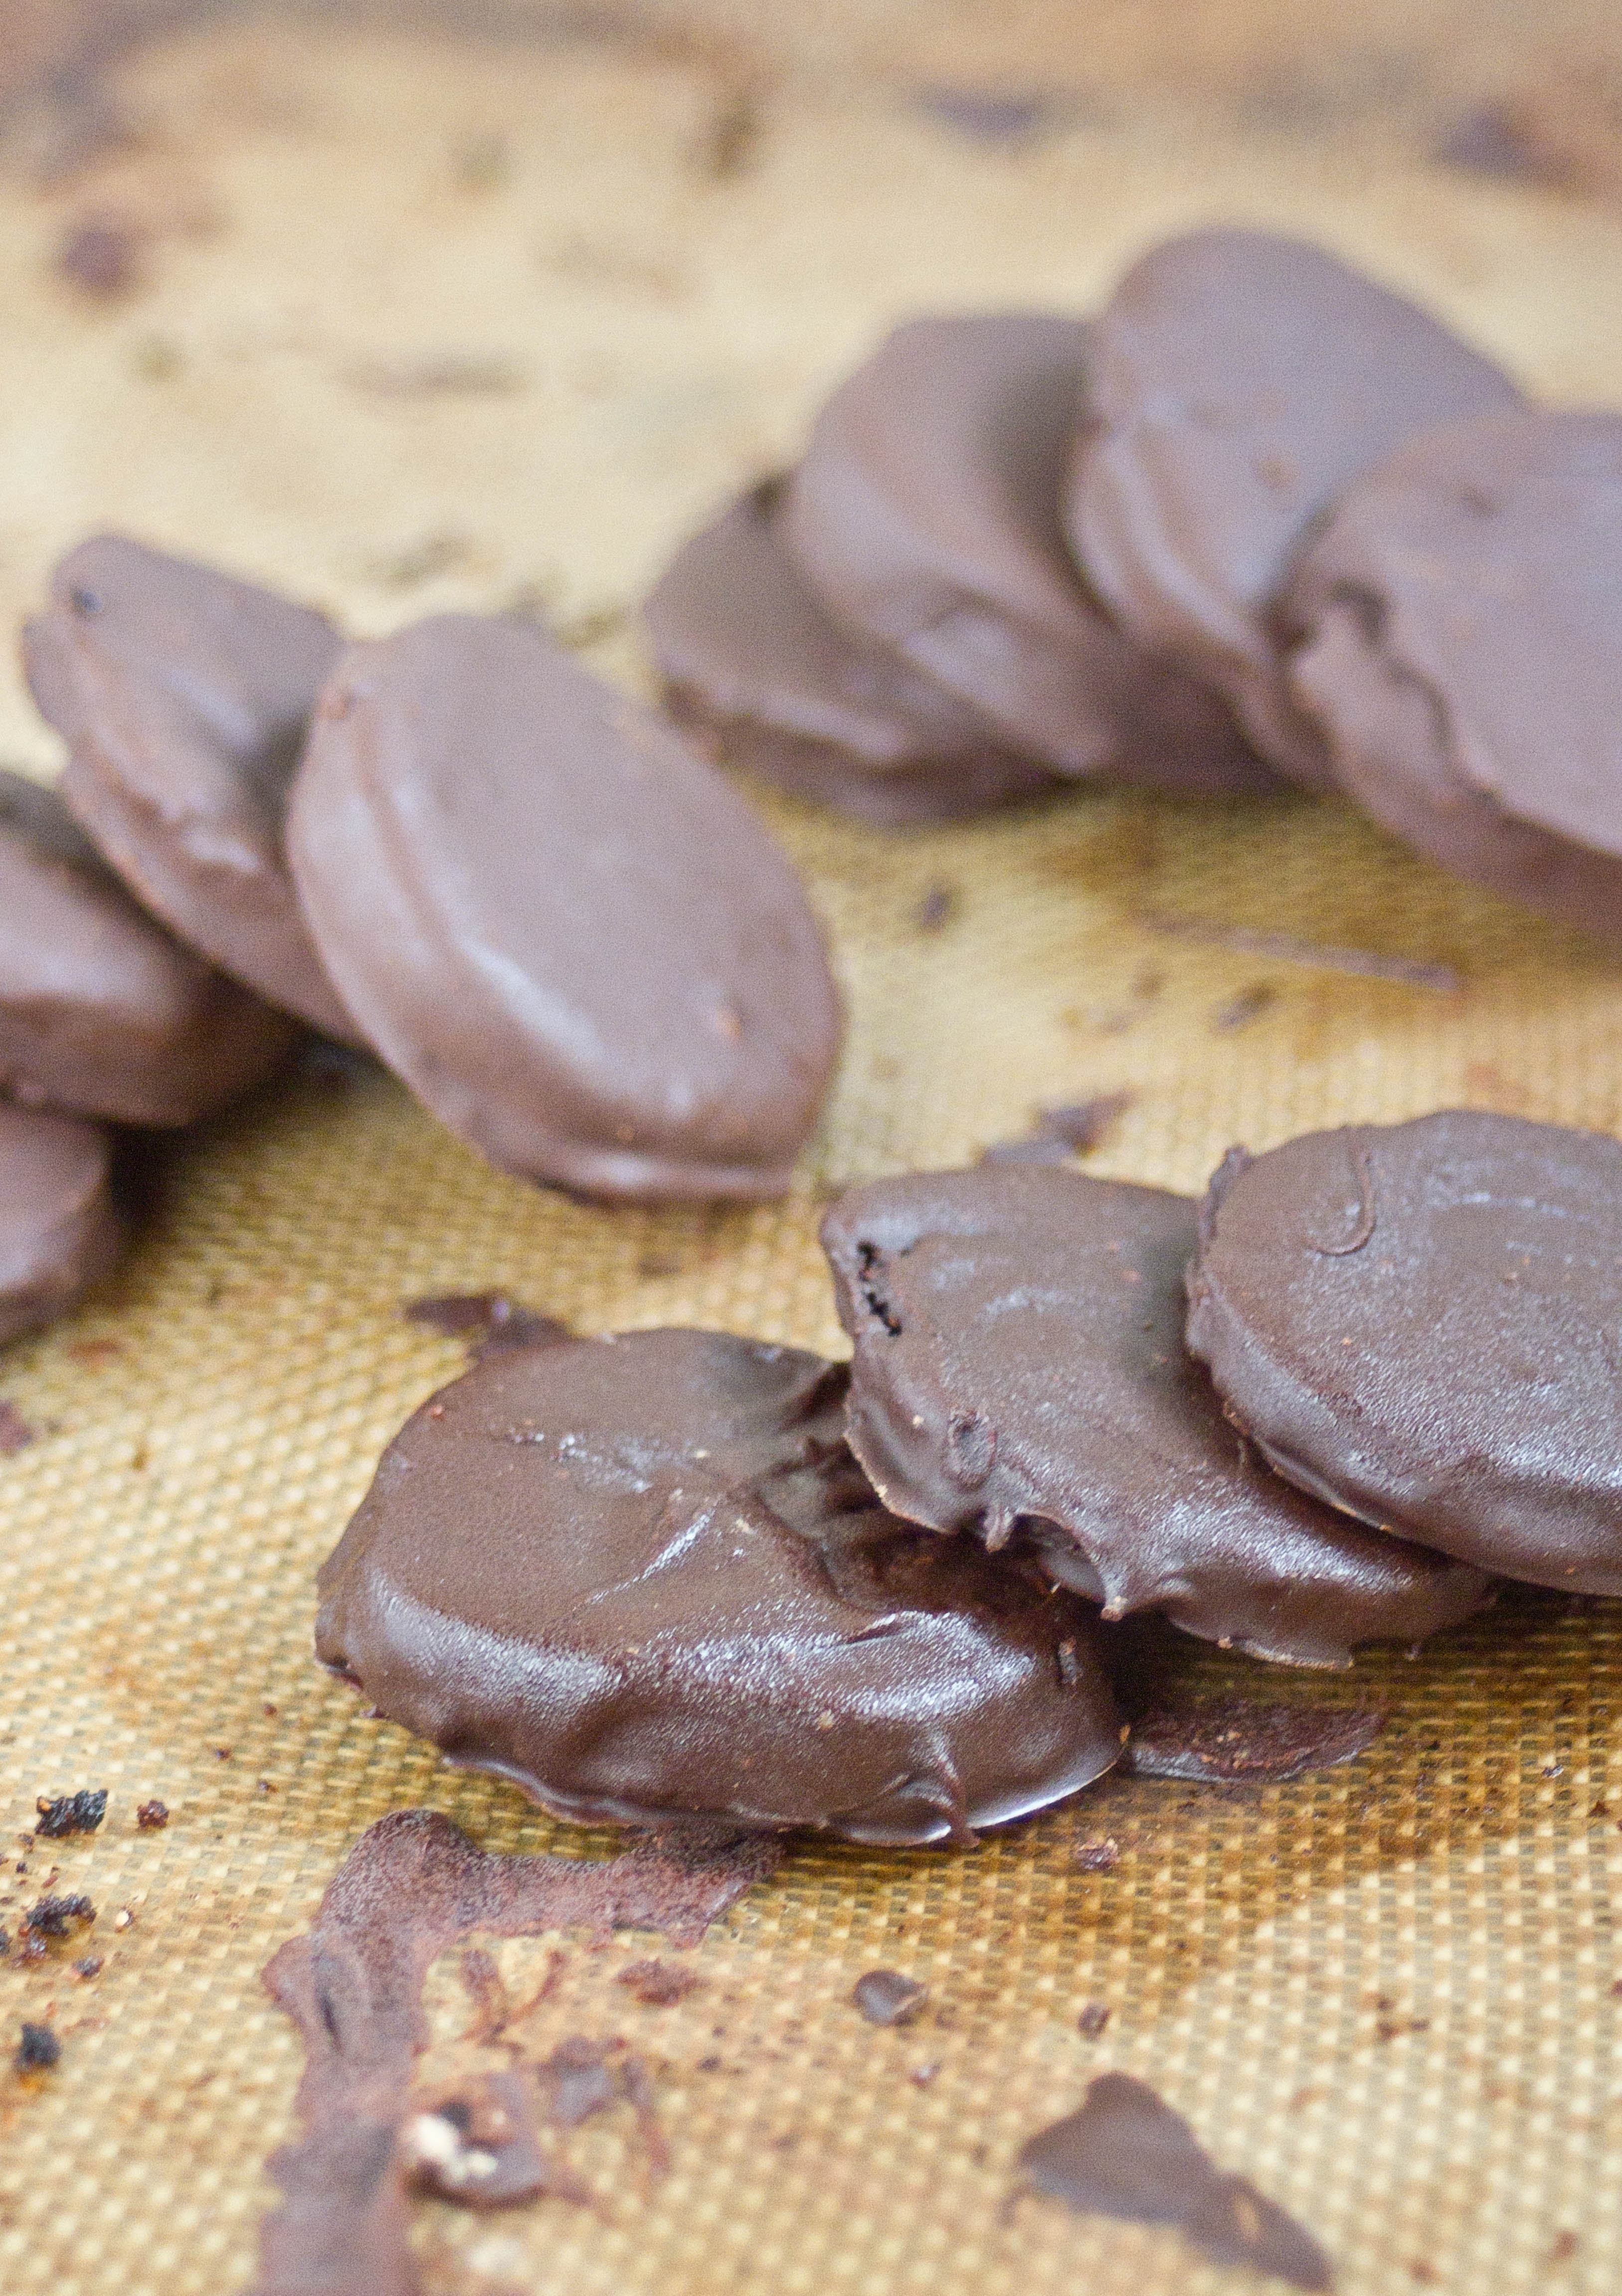
Gluten-Free Thin Mints Piles

 To make these I used coconut and almond flour, which are two of my favorite gluten-free flours to bake with. They also happen to be grain-free and could presumably pass as a “paleo dessert” even though that’s a bit of an oxymoron. Remember to give yourself a little extra time making these because the dough needs to chill before it can be baked.

Gluten-Free Thin Mints

Prep time: 45 minutes

Cook time: 20 minutes + more to coat

Ingredients(Makes 24 cookies):

  • 1 cup almond flour
  • 1/4 cup coconut flour
  • 1/2 cup sugar
  • 1/4 cup cocoa powder
  • 1/4 teaspoon salt
  • 1 egg
  • 1 stick(4oz) butter, melted
  • 1 bag(12oz) semisweet or bittersweet chocolate chips
  • 1 teaspoon peppermint extract, divided

Method:

  1. Sift together the almond flour, coconut flour, cocoa powder, salt, and sugar until it’s all mixed.
  2. Add in the egg, butter, and 1/2 teaspoon of peppermint extract and mix until it forms a dough.
  3. Roll the dough into a log on some parchment paper and put in the refrigerator or freezer to chill.
  4. Preheat your oven to 375 degrees.
  5. When the dough is solid, using a sharp knife, cut out cookies that are roughly 3/8-inch thick. Lay the cookies out on a baking tray(don’t worry if they’re close together since they don’t really really spread)
  6. Bake for 18-20 minutes.
  7. Remove the cookies from the oven. Let them cool until they’ve hardened.
  8. Make the coating by melting the chocolate chips and mixing in the remaining 1/2 teaspoon of extract.
  9. One by one, dip the cookies into the melted chocolate to coat both sides. The chocolate should be fairly runny and only coat in a small layer. If the chocolate is thicker, heat it up until it melts more.
  10. Lay the cookies onto parchment paper and refrigerate to fully harden. These will keep 2 weeks in the refrigerator.

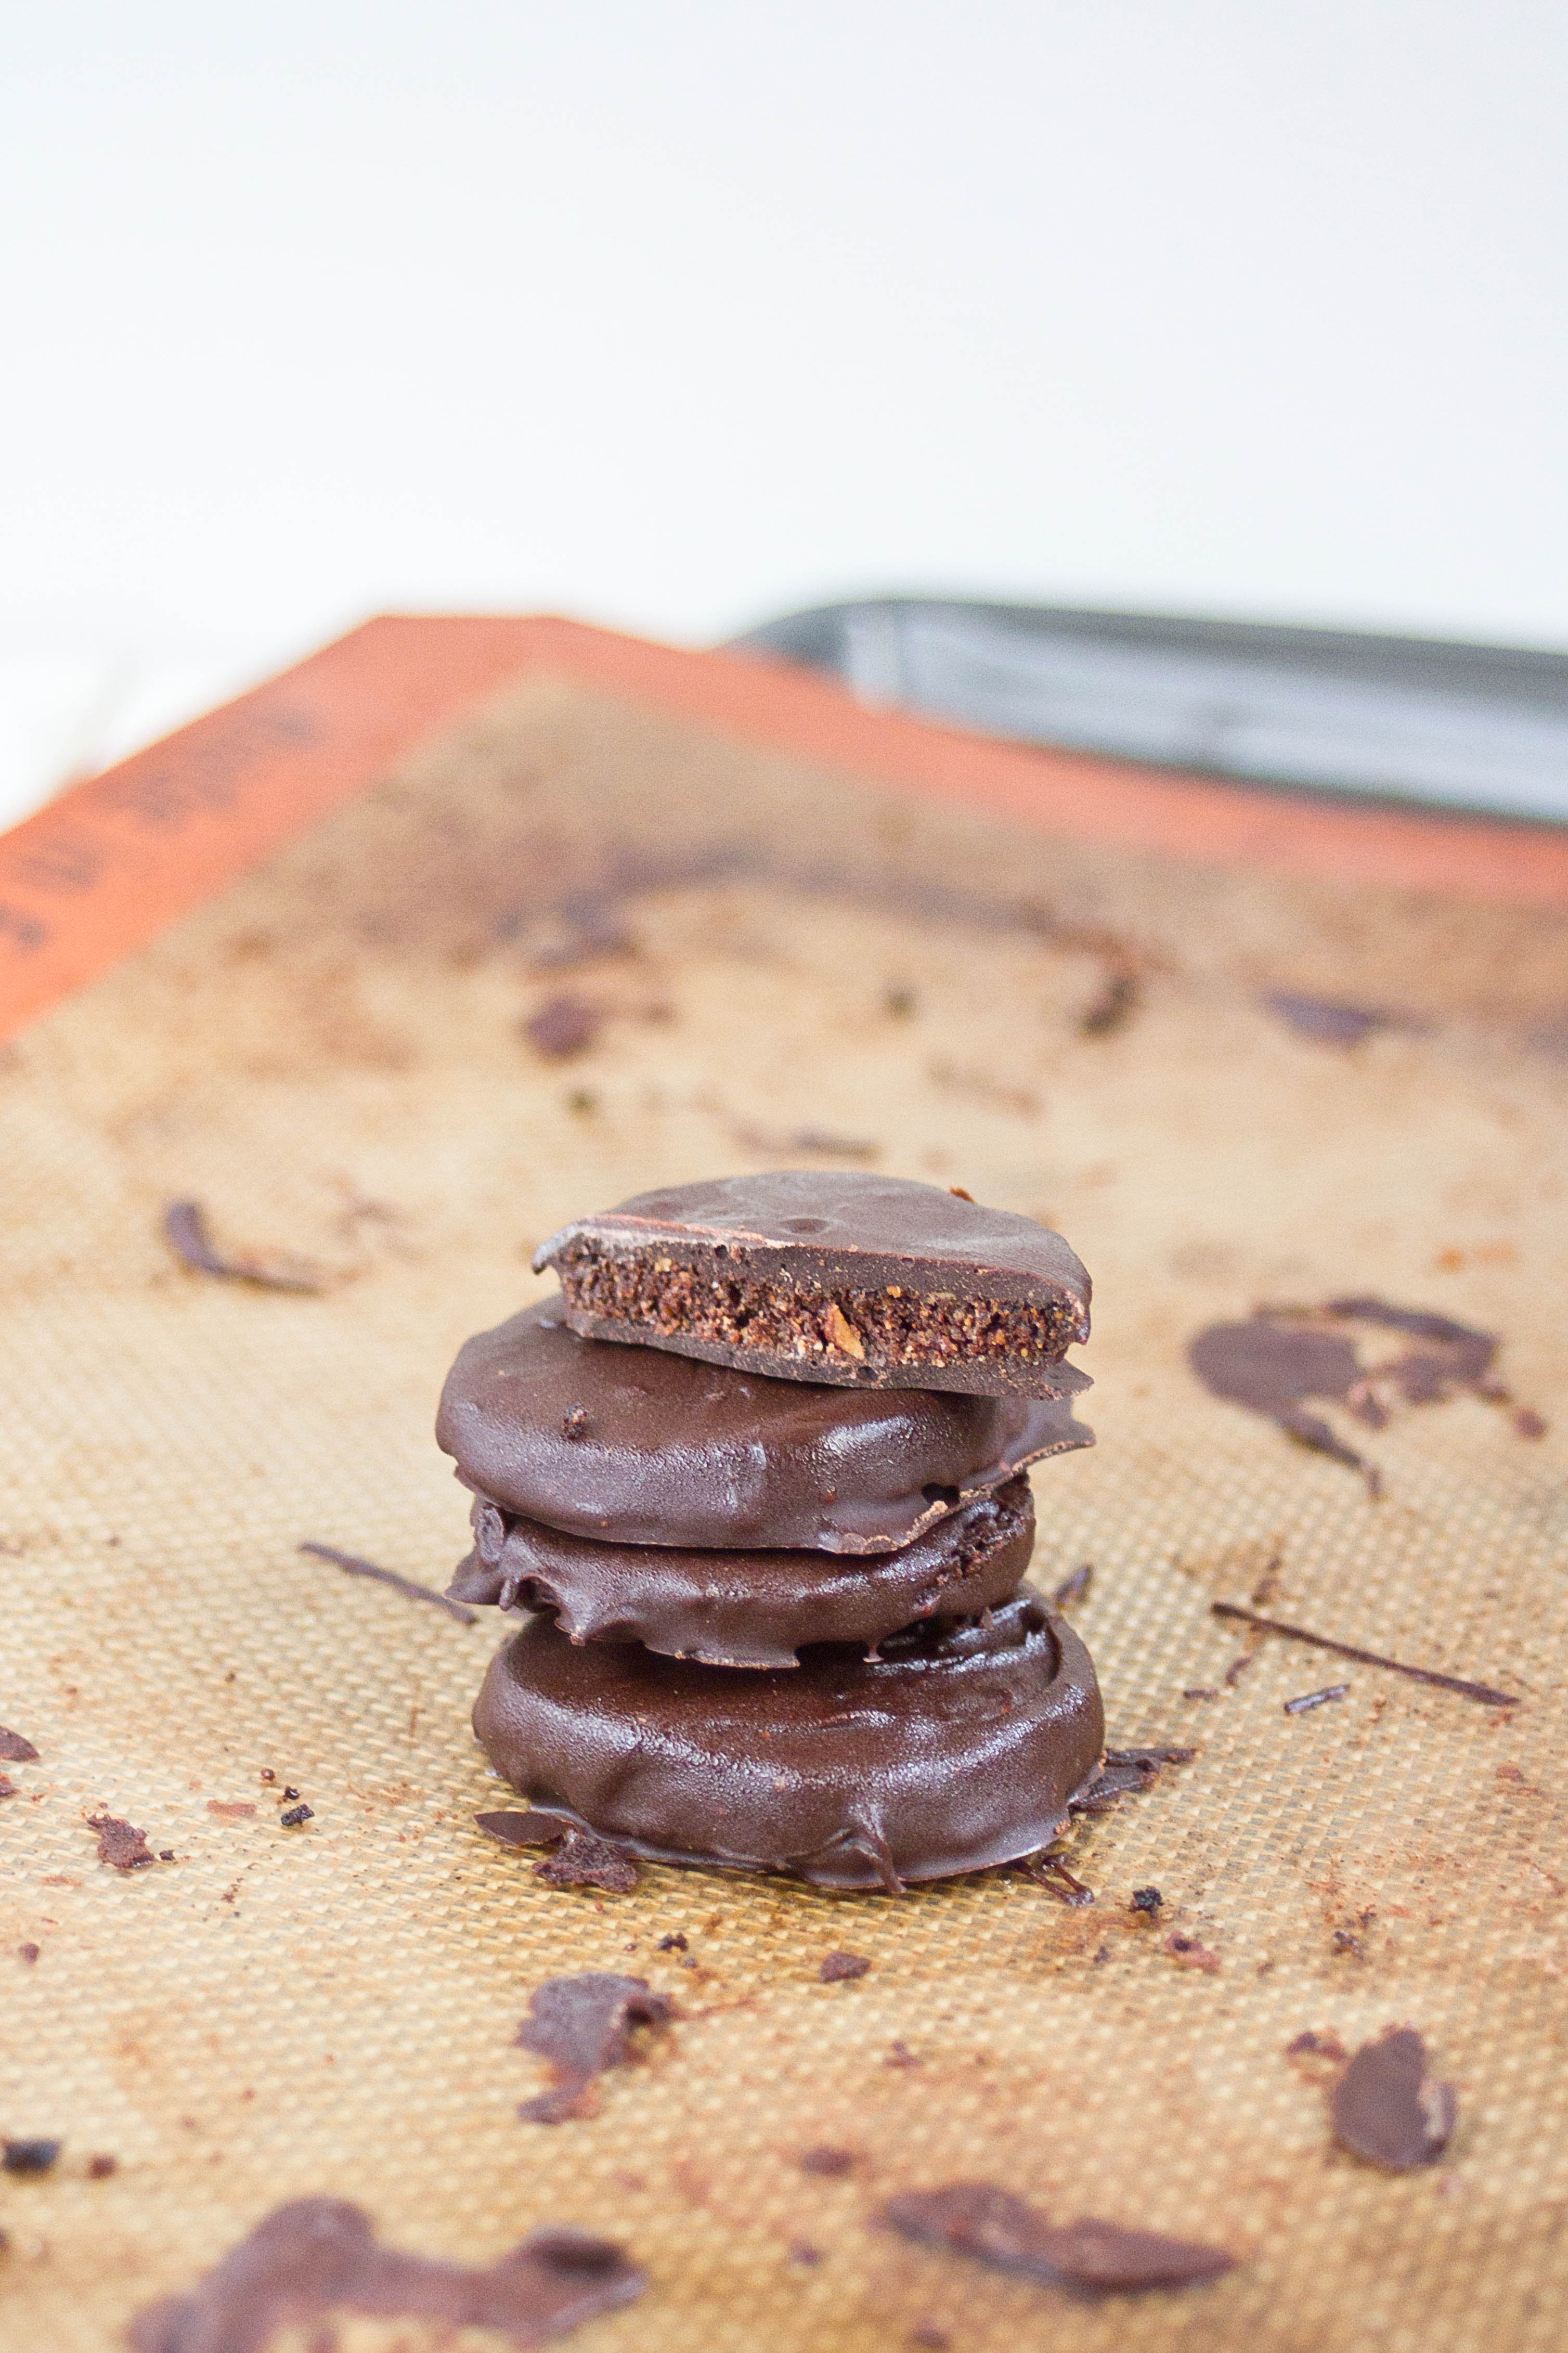
Gluten-Free Thin Mints Stack

What’s your favorite Girl Scout cookie? While I love thin mints, Tagalongs are a close second. I get the sense I might have to try my hand at making those.

Peanut Butter Chocolate Chip Cookie Cake

peanut-butter-chocolate-chip-cookie-cake

Something hit me when I was browsing TasteSpotting a couple weeks ago: I haven’t had a cookie cake in ages. I decided right then I wanted a cookie cake at my birthday party this year, because clearly I’m 20 going on 12. But then I figured why wait? I could bake a cookie cake for any occasion.

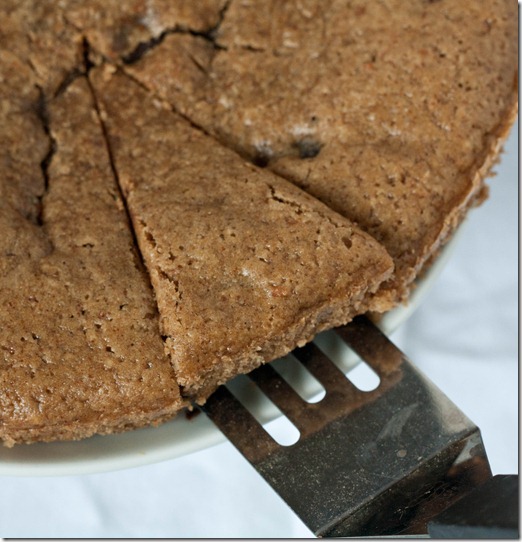
peanut-butter-chocolate-chip-cookie-cake-cutting

Of course I made mine gluten-free using one of my favorite flours: Almond flour. It also just happens to be dairy-free because I was low on butter that day. The peanut butter helps to act as a binder, makes the cake richer and adds a nutty flavor. You could substitute in almond butter to work around a peanut allergy.

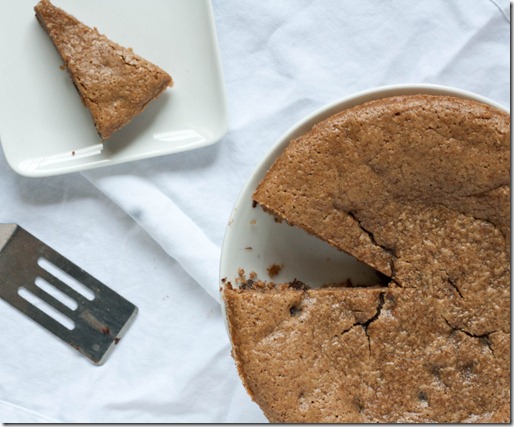
peanut-butter-chocolate-chip-cookie-cake-overhead

I liked mine slightly under-baked because it kept the inside moist and gooey almost like eating cookie dough. If you like your cookies a little crustier, I would recommend adding a few minutes onto the baking time and watching it carefully.

Peanut Butter Chocolate Chip Cookie Cake

Prep time: 10 minutes

Cook time: 20 minutes

Ingredients:

  • 1 cup almond flour
  • 6 Tablespoons cane sugar
  • 1/2 teaspoon baking powder
  • 2 eggs
  • 1/2 cup natural peanut butter
  • 1/4 cup oil
  • 1 teaspoon vanilla extract
  • 1/4 cup water
  • 6 Tablespoons chocolate chips

peanut-butter-chocolate-chip-cookie-cake-middle

Method:

  1. Preheat your oven to 350 degrees
  2. Mix together the almond flour, sugar, and baking powder.
  3. Beat in the eggs, peanut butter, oil, vanilla extract, and water.
  4. Gently fold in the chocolate chips.
  5. Grease an 8-inch cake pan. Pour the batter in and spread it around the bottom into an even layer.
  6. Bake for 20 minutes until the outside is firm and bounces back to the touch.
  7. Let cool slightly before cutting in.

peanut-butter-chocolate-chip-cookie-cake-serving

I thought this could have used a little more sugar, but that’s probably because I love things sweet. If you’re making this for adults, it’ll be fine the way the recipe is. If you’re making this for little children or me, I would add a 1/4 cup of sugar to the recipe.
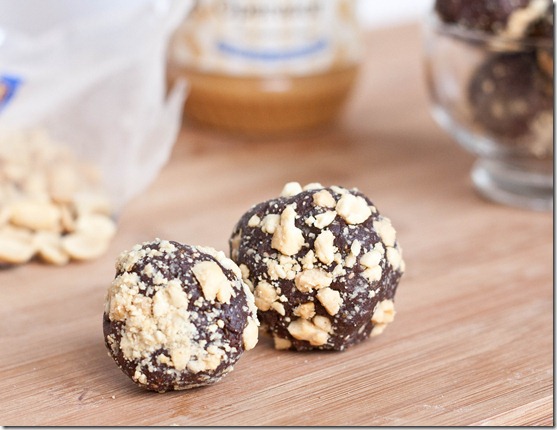
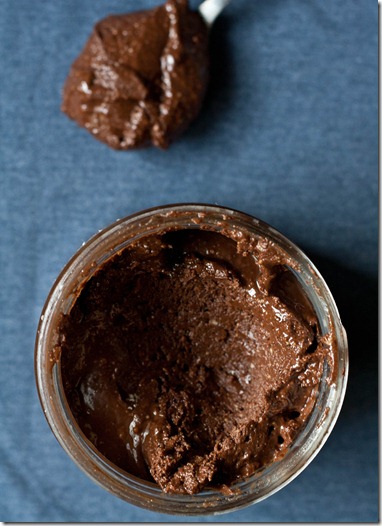
Homemade Chocolate Peanut Butter

homemade-chocolate-peanut-butter

I pretty much eat the same things for breakfast every morning. Either it’s a bowl of gluten-free oats with eggs, banana and peanut butter or a coconut flour breakfast bake topped with peanut butter, unless I’m in a sweets mood in which case I’ll make a paleo mug cake and top it with peanut butter.
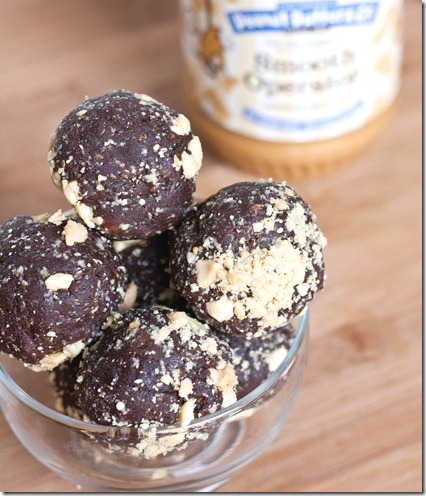
Are you seeing a pattern? I really love peanut butter at breakfast time.

The only thing that I enjoy as much as peanut butter at breakfast is chocolate. Naturally, the two can only be better together.

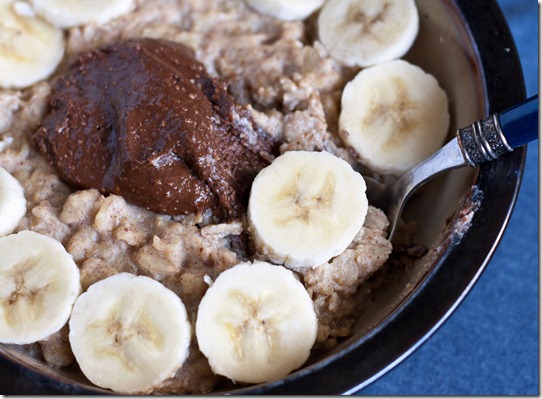
homemade-chocolate-peanut-butter-oatmeal

I actually made this recipe last year around this time and completely forgot about it until I was shopping for ingredients. I figured it was time to remake it and take better photos, anyway. And I could never say no to having chocolate peanut butter on hand.

Homemade Chocolate Peanut Butter

Prep time: 5 minutes

Cook time: 0 minutes

Ingredients(Makes 16oz):

  • 12oz(about 1 1/4 cup) plain peanut butter
  • 6 tablespoons powdered sugar
  • 1/3 cup cocoa powder
  • 1 teaspoon vanilla extract
  • 2 tablespoons coconut oil, melted
  • 1/2 teaspoon salt(omit if you’re using salted peanut butter)

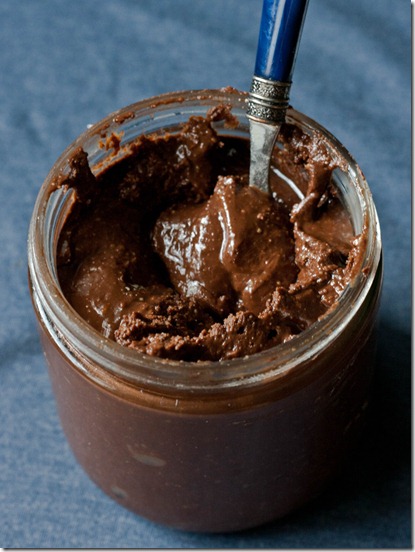
homemade-chocolate-peanut-butter-jar

Method:

  1. Combine all of the ingredients together and mix until smooth
  2. Store at room temperature in a sealed container for up to 2 week.

homemade-chocolate-peanut-butter-spoon

I’ll give you a tip: It’s not going to last 2 weeks once you start tasting.

Gluten-Free Raspberry Swirl Brownies

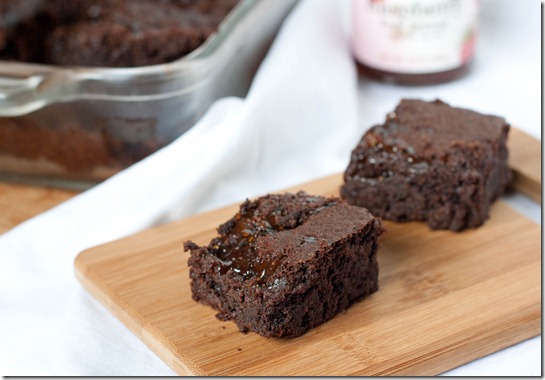
gluten-free-raspberry-swirl-brownies

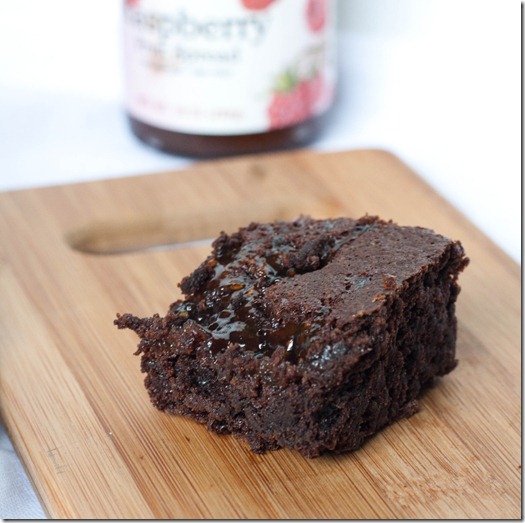
I’m not really a fan of Valentine’s Day. There are so many other holidays I’d rather celebrate, like Arbor Day or the Ides of March. But if celebrating means baking and devouring delicious red and black brownies, then I will reluctantly celebrate.

gluten-free-raspberry-swirl-brownies-stack

Starbucks used to(or maybe they still do?) sell these terrific fudgy brownies with raspberry sauce artfully swirled in on top and I would get them most days after school. I’d honestly choose raspberries and chocolate over peanut butter and chocolate most days; I think the pairing is that good.

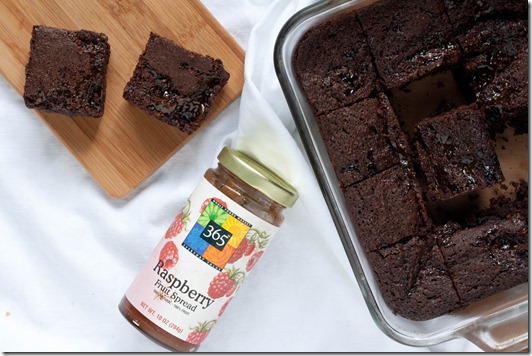
gluten-free-raspberry-swirl-brownies-overhead

For this recipe, I just used my standard gluten-free brownie recipe and added in the raspberry preserves to elevate it to those Starbucks brownies. If you have a favorite brownie recipe—gluten-free or not—you can always use that and just follow the last couple of steps to add the raspberry in.

Gluten-Free Raspberry Swirl Brownies

Prep time: 15 minutes

Cook time: 30-40 minutes

Ingredients(Makes 1 8 x 8 pan):

  • 3/4 cup almond flour
  • 1/4 teaspoon salt
  • 2 tablespoons unsweetened cocoa powder
  • 1/2 teaspoon baking powder
  • 3/4 cup sugar
  • 3 large eggs
  • 1 teaspoon vanilla
  • 4oz baking chocolate
  • 1/2 cup butter
  • 1/2 cup raspberry preserves

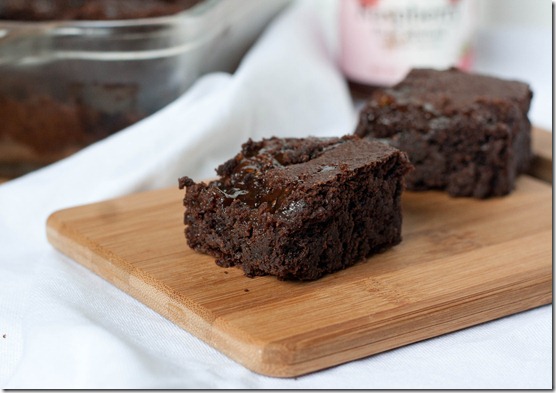
gluten-free-raspberry-swirl-brownies-close-up

Method:

  1. Preheat your oven to 350 degrees.
  2. Mix together the almond flour, salt, cocoa powder, and baking powder.
  3. Beat in the eggs, sugar, and vanilla until mixed.
  4. In a separate bowl, melt together 4 ounces of chocolate along with the butter.
  5. Slowly pour the melted chocolate and butter into the batter while whisking until fully incorporated.
  6. Pour the batter in a greased 8 x 8 pan.
  7. Drop the raspberry preserves on top and swirl around lightly into the batter to cover most but not all of the top(If you want to do this more artfully than I did, put the jam into a plastic bag, cut off one of the corners and squeeze it into lines across the top of the brownies. Then run a knife along the top in lines perpendicular to the jam to create a swirl effect).
  8. Bake for 30-40 minutes or until a toothpick poked into the center comes out clean. Let these cool completely before cutting in.

gluten-free-raspberry-swirl-brownies-serving

OK, maybe Valentine’s Day won’t be so bad. So long as I get to eat all the brownies.

Scrambled Tofu

Scrambled-Tofu

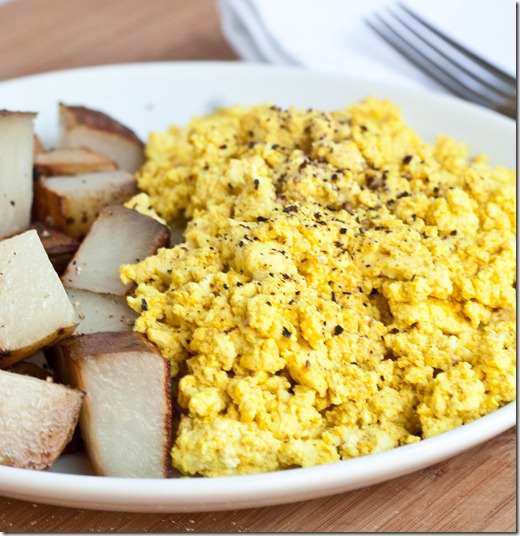
I love eggs. I really do. I have no problem with eating them for every meal. And some days I do. But I also love this vegan version of scrambled eggs, which is just as easy if not easier to make and packs a punch of flavor.

“How do you get tofu to look so much like eggs?” you might think. Tofu is so versatile to begin with; you can get it to be almost any texture and appearance with a little effort. The trick to getting a yellow color is turmeric, which adds very little flavor but a nice eggy look.

Scrambled-Tofu-and-potatoes

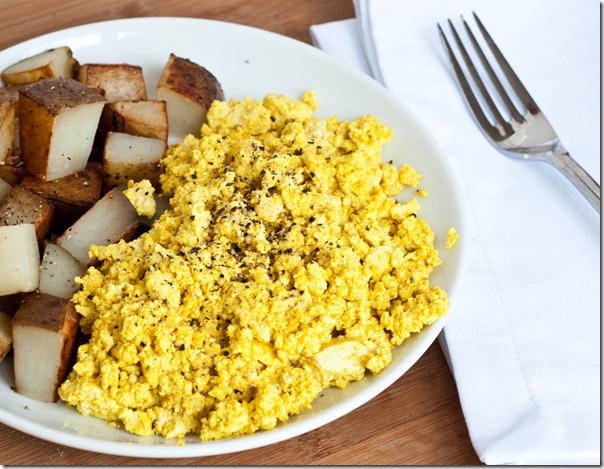
Now, this doesn’t taste terribly much like scrambled eggs. In fact, it would be pretty bland if it weren’t for the garlic, onion, and salt. In addition to those, you could add any herbs or other seasonings you might like to enjoy scrambled eggs with; for instance, add some cayenne pepper for a bit of a kick.

Scrambled Tofu

Prep time: 5 minutes

Cook time: 10 minutes

Ingredients(for 2 servings):

  • 1 block firm or extra firm tofu
  • 1/2 Tablespoon olive oil
  • 3/4 teaspoon turmeric
  • 1/2 teaspoon onion powder
  • 1/2 teaspoon salt
  • 1/4 teaspoon garlic powder
  • 1/4 teaspoon black pepper

IMG_0042

Method:

  1. Heat a pan over a burner set to medium.
  2. Mash the tofu with a fork to get it to a scrambled egg texture.
  3. Pour the tofu and all of the rest of the ingredients into the hot pan. Mix together to distribute the seasoning.
  4. Cook for 5-10 minutes until the tofu starts to brown and firm up.
  5. Serve hot with home fries or toast.

Scrambled-Tofu-Wide

I actually like this more than eggs because it’s usually easier to clean the pan afterwards; if that isn’t a good enough reason to make it, I don’t know what is.

Semi-Raw Chocolate Rum Truffles

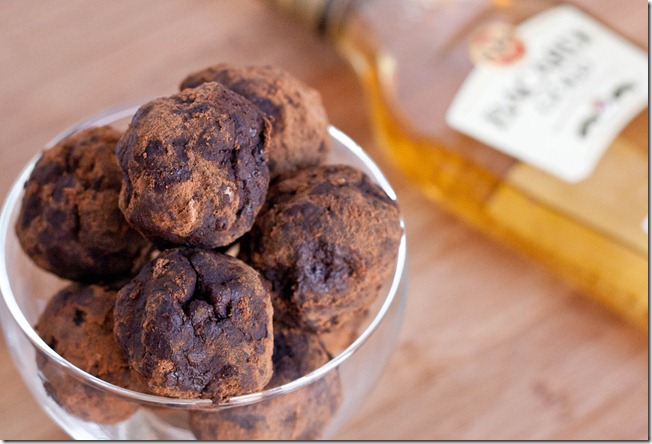
Semi-Raw-Chocolate-Rum-Truffles

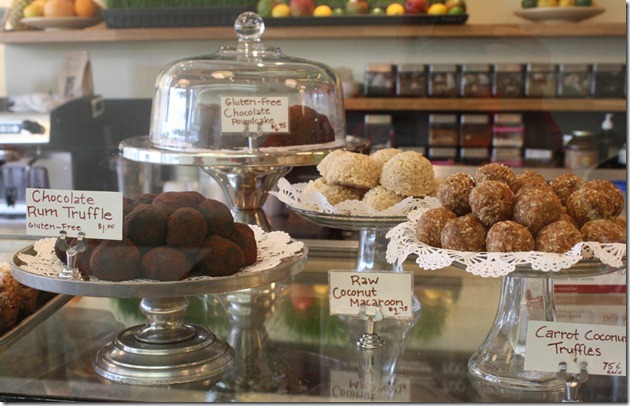
This weekend I’m moving back to Providence, which means I’ll be just a short bus ride away from my favorite bakery again. Lord help me, my stomach, and my wallet.

I keep trying to make some of their desserts in my own kitchen to save a little money, and I think I’ve figured out another one. Their rum truffles from what I can tell are a blend of dates, walnuts, cocoa powder, and rum that tastes amazingly close to a “real” chocolaty dessert for something that’s made with whole foods. Since I’ve been kind of on a date ball kick lately, I wanted to see if I could make these, too.

048

Ps. If you’re ever around Providence you need to get the gluten-free chocolate pound cake that’s lurking in the back. I’m not even a big fan of cake but will happily eat a slice or two of that. It’s high on my list of recipes to recreate right behind this one. All I need is about a dozen taste testers who are willing to eat through a couple failed pound cake attempts.

Semi-Raw Chocolate Rum Truffles

Prep time: 15 minutes

Cook time: 0 minutes

Ingredients(Makes about a dozen):

  • 3/4 cup walnut pieces
  • 2 Tablespoons rum
  • 8oz pitted dates
  • 6 Tablespoons cocoa powder plus more for rolling
  • Extra 1/4 cup walnut pieces(optional)

Semi-Raw-Chocolate-Rum-Truffles-Bottle

Method:

  • Blend 3/4 cup walnut pieces in a food processor until it turns into a smooth, buttery consistency. You can add the rum at the beginning to help the walnuts blend faster.
  • Add in the dates and continue processing until the dough sticks to itself and starts forming into a ball.
  • Add in the cocoa powder and continue mixing until all of the powder has been worked into the ball.
  • Stop the food processor. Add in the extra walnuts if using and work them into the dough using your hands.
  • Pour some cocoa powder into a flat-bottom bowl or plate. Break off pieces of the truffle dough and roll them into circles in your hand, rolling them in the cocoa powder afterwards to cover all sides.
  • Store at room temperature in an airtight container.

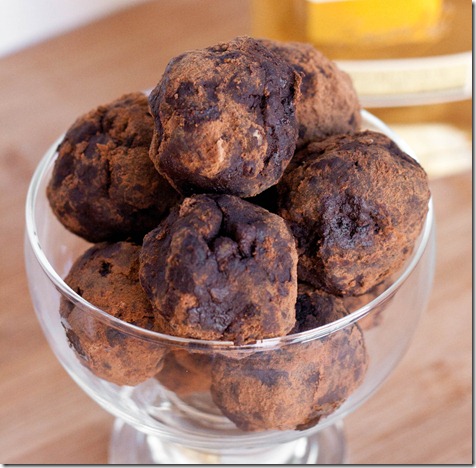
Semi-Raw-Chocolate-Rum-Truffles-finished

These were good but a little lacking in the rum flavor. Next time I might try extract for a stronger punch of flavor. The originals also look better than mine came out, but isn’t that how it always is?

Homemade Lime Tortilla Chips

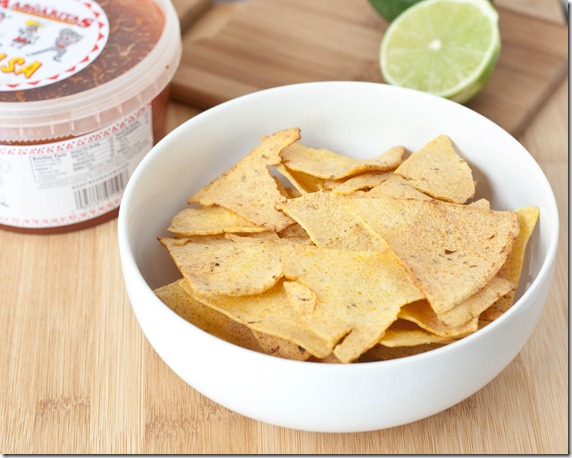
homemade-lime-tortilla-chips

One of my favorite snacks used to be tortilla chips “with a hint of lime”. You know the ones that were so salty it was borderline sickening but you couldn’t stop snacking on them? I assume they still sell those even though I haven’t shopped for them in ages. But one day it hit me: Why not make my own?

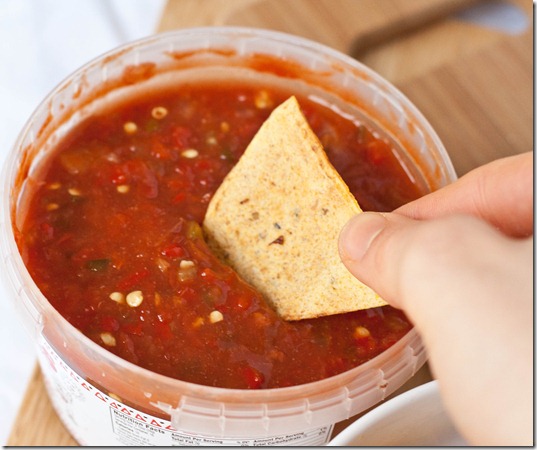
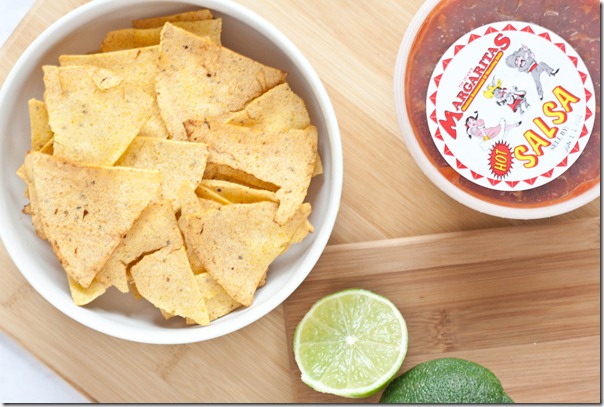
homemade-lime-tortilla-chips-salsa

These aren’t made completely from scratch; to start you use corn tortillas, which you can get practically at any grocery store. They’re one of my new favorite things to pick up because they’re so versatile and naturally gluten-free. Besides that you just need some limes and a few other common pantry items.

Because they’re baked, they’re also a little healthier than your average tortilla chip. They’re flavorful enough to be eaten on their on, or go really well with salsa or guacamole.

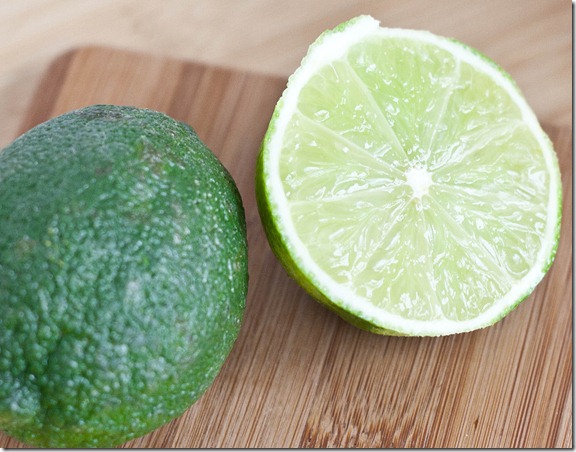
homemade-lime-tortilla-chips-limes

Homemade Lime Tortilla Chips

Prep time: 10 minutes

Cook time: 30 minutes

Ingredients:

  • 10 6-inch corn tortillas
  • 1 Tablespoon oil
  • 1/2 teaspoon salt
  • Zest from 1 lime
  • Juice from 1/2 lime(about 1 Tablespoon)

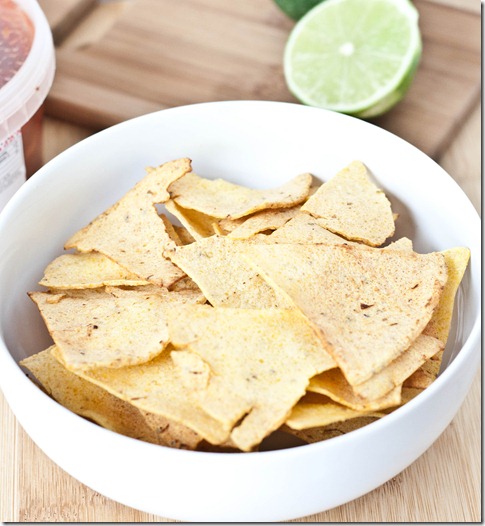
homemade-lime-tortilla-chips-over-head

Method:

  1. Preheat your oven to 350 degrees.
  2. Cut your tortillas into halves and then thirds.
  3. In a large bowl, toss all of the ingredients together until the chips are covered in juice.
  4. Lay the chips out on a baking tray lined with parchment paper. They don’t need to be in a single layer but do your best to keep overlap to a minimum.
  5. Bake for 25-30 minutes until the tortilla chips turn golden and are crisp.
  6. Remove them from the oven and pick the chips apart so that they don’t stick to each other. Serve hot with salsa or guacamole or on their own.

homemade-lime-tortilla-chips-finished-product

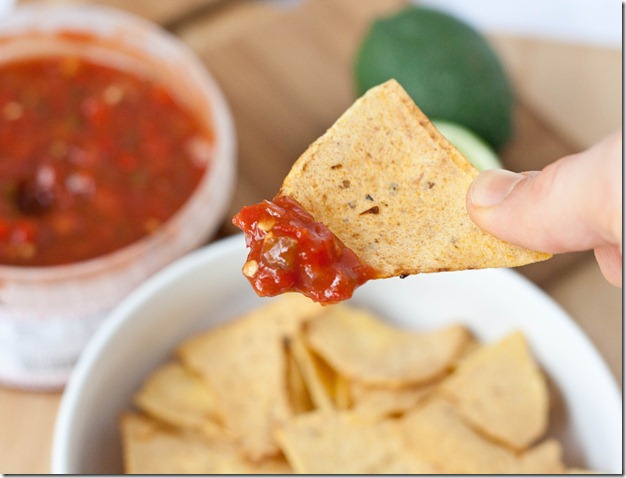
Next time I might add a bit of sugar to enhance the lime flavor since a little sugar is never a bad thing. Otherwise, I was really happy with these; they were extremely crisp and held up to dipping perfectly.

homemade-lime-tortilla-chips-dipped

Paleo Vanilla Cupcakes

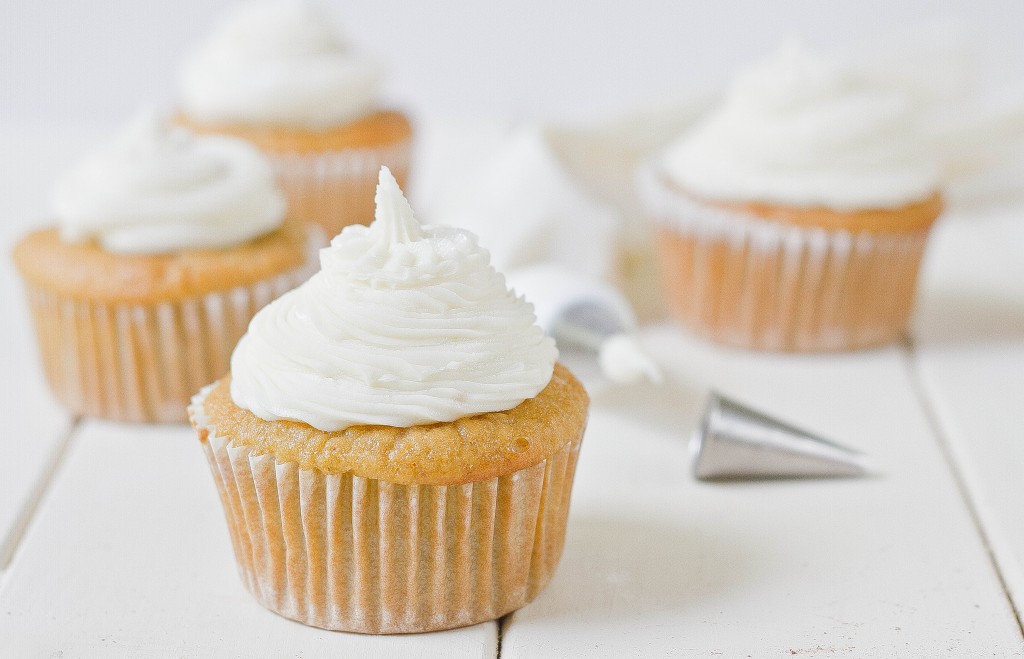
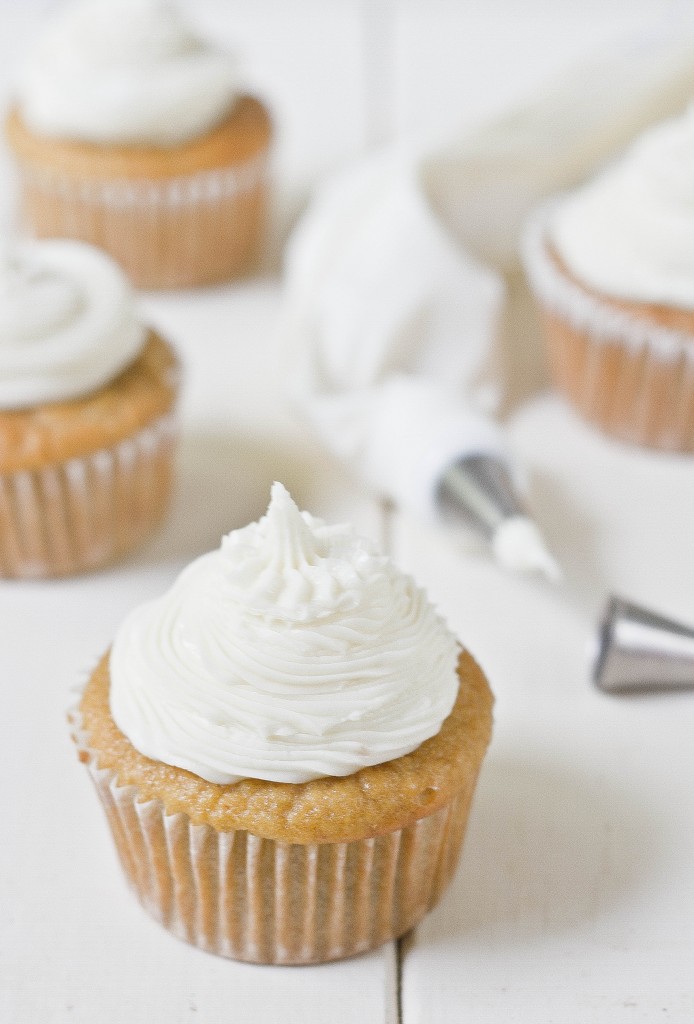
Last week was my parents’ anniversary. To celebrate I got them a cheesy present and made dessert; it’s what I do. I figured a cake would be a bit much for 3 people so I went with cupcakes using a secret ingredient I picked up last month at the store.

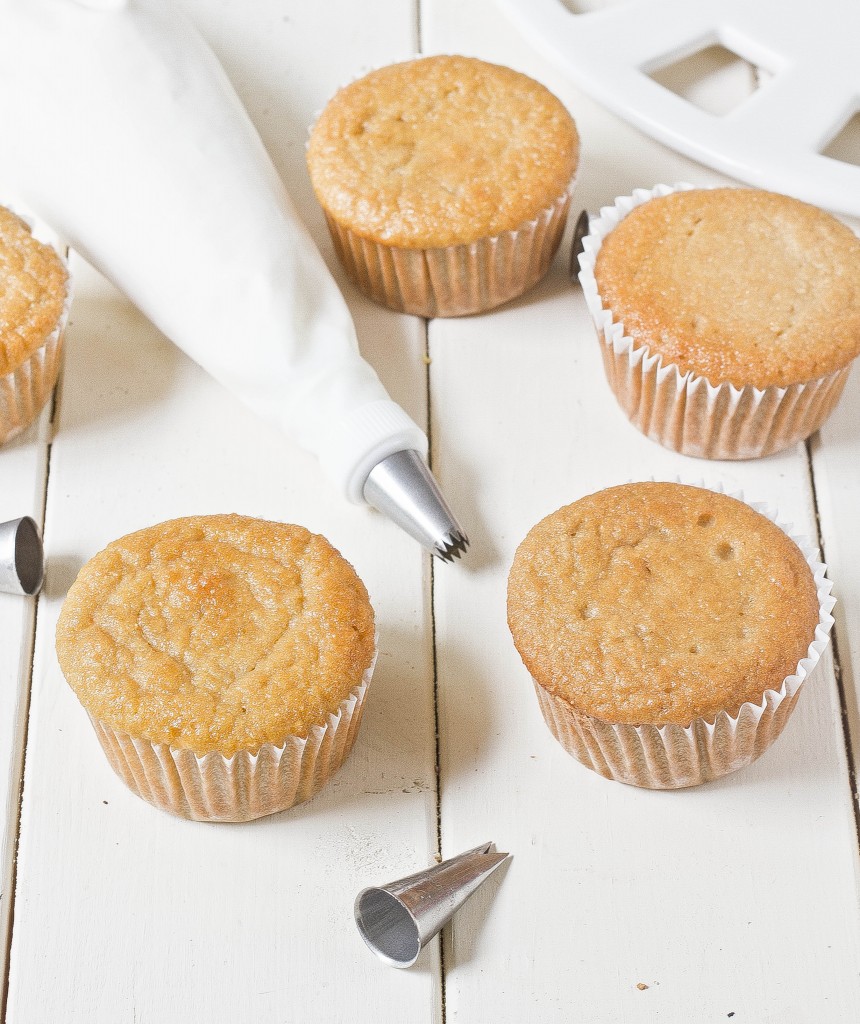
I’ve had coconut flour before but didn’t bake much with it. It’s really high in fiber so it makes a great cake batter. In most paleo recipes I’ve seen using it, the main structure comes from coconut flour and eggs so that’s what I copied.

The texture of these was perfect—very similar to angel food cake. Surprisingly there wasn’t much coconut flavor to them at all. You could swap any extract for vanilla and have a tasty cupcake I would bet. If you wanted to make these strictly paleo, substitute a low-glycemic sweetener like palm sugar in for the cane sugar.

Paleo Vanilla Cupcakes

Prep time: 10 minutes

Cook time: 30 minutes

Ingredients(Makes a dozen cupcakes):

  • 1/2 cup plus 2 Tablespoons coconut flour
  • 4 eggs
  • 2 egg whites
  • 1/2 cup cane sugar
  • 1 cup coconut milk
  • 2 teaspoons vanilla extract
  • 1/2 teaspoon baking soda

Method:

  1. Preheat your oven to 350 degrees and line a dozen cupcake holders.
  2. Combine all of the ingredients together in a large bowl and mix until it forms an even batter.
  3. Scoop equal amounts of the batter into each cupcake well.
  4. Bake for 25-30 minutes or until the tops are firm to the touch.
  5. Remove from the oven. Let the cupcakes cool completely before frosting them.

I cut the recipe in half when I made these and got 6 cupcakes, which was perfect because we’re only 3 people. It’s a really easy recipe that anyone starting out gluten-free baking could do without problem.

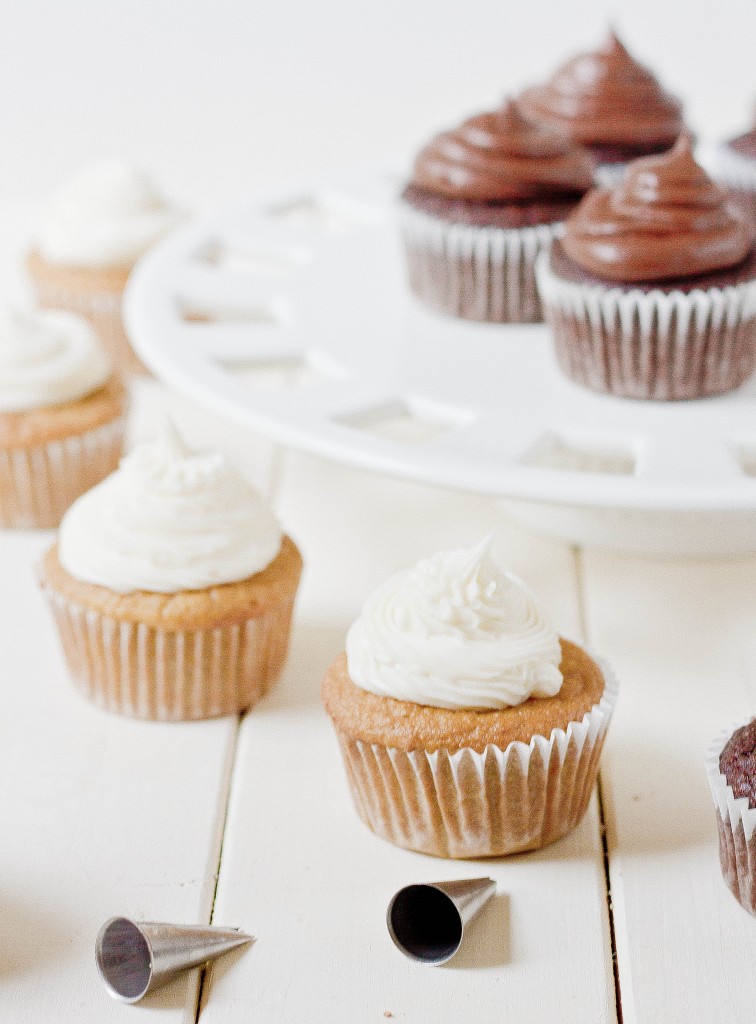
If you like this recipe, you might also like paleo chocolate cupcakes.

Chocolate Peanut Butter Snack Balls

chocolate-peanut-butter-snack-balls

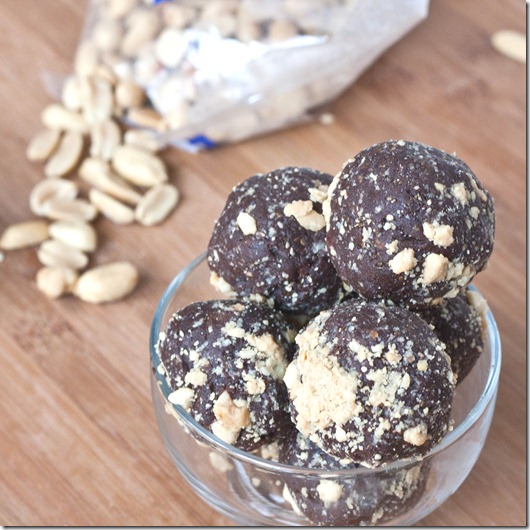
Lately I’ve been obsessed with these raw fruit and nut snacks. And I’m always obsessed with chocolate peanut butter. I can’t understand what took me so long to combine the two.

I’m not going to sugarcoat these and say they taste like Reese’s peanut butter cups; they don’t, and anyone who could get that flavor with just fruit and nuts would be a miracle worker. But these do taste deliciously sweet and salty with a hint of cocoa and silky smooth peanut butter. They’re certainly good enough to satisfy a snack craving. And if you want to take these to the next level, you can always mix some chocolate chips(or peanut butter chips!) into the batter for a real chocolate peanut butter treat.

Chocolate Peanut Butter Snack Balls

Prep time: 10 minutes

Cook time: 0 minutes

Ingredients(makes about 14 balls):

  • 16oz pitted dates
  • 1/2 cup peanut butter
  • 6 Tablespoons cocoa powder
  • 3 Tablespoons chia seeds
  • 1/4 cup peanuts or chocolate chips(optional)

chocolate-peanut-butter-snack-balls-peanut-butter

Method:

  1. Blend the dates in a food processor until they stick together and form a big dough ball.
  2. Add in the peanut butter and cocoa powder and continue mixing until all of the ingredients are blended together.
  3. Stop the processor; move the dough to a separate bowl and add in the chia seeds and any other mix-ins you might want. Knead them in throughout the dough.
  4. Break off 1oz pieces and roll them into 1-inch balls. Store in an airtight container at room temperature for up to a week. 

chocolate-peanut-butter-snack-balls-peanuts

How To Season Rice

how-to-season-rice

I never really liked rice. Growing up we would have Chinese takeout at least once a week—usually Friday nights—and the last thing I would touch would be the rice. It always tasted so plain. I even bought a rice cooker and for a year never made rice in it; why would I?

how-to-season-rice-chopsticks

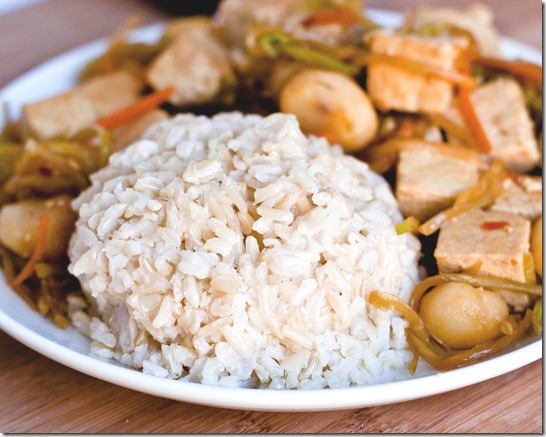
That’s probably because all the rice I had tried was just rice—nothing added to it—and that’s just not good. Add a little seasoning, however, and rice goes from a side dish to a star on the plate.

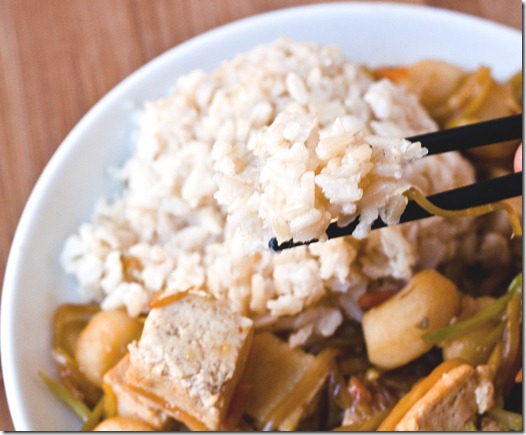
Seasoning rice is so easy and just requires a few pantry staples. The flavor is similar to the seasoned rice in sushi rolls. And because the sugar makes the rice sticky, it’s easier to eat with chopsticks! I used brown basmati rice because that’s what was on hand, but you can use brown or rice, long or short grain.

How To Season Rice

You’ll need:

  • 2 cups cooked rice
  • 2 Tablespoons sugar
  • 1 1/2 Tablespoons unseasoned rice vinegar*
  • 1/2 Tablespoon Sesame oil
  • 1/2 teaspoon salt

*Can use white vinegar in a pinch

how-to-season-rice-serving

Method:

  1. Heat up the rice in a pot or microwave if it’s not already hot.
  2. Add in the sugar, vinegar, sesame oil, and salt and mix thoroughly.
  3. Scoop onto plates and serve hot.

how-to-season-rice-plate

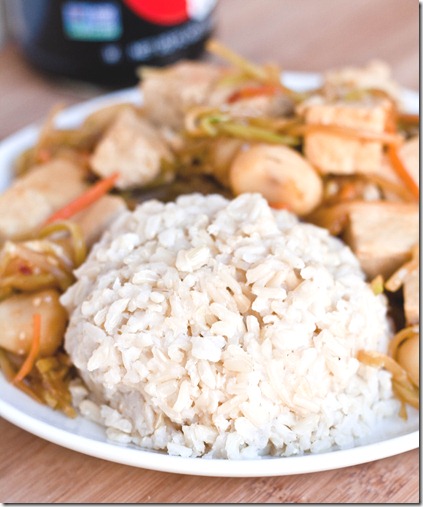
Once you’ve mastered making delicious rice, everything else on the plate instantly tastes better, too. You can mix in whole sesame seeds or chili powder for a stronger flavor if you’d like.