Tag Archive: Gluten-Free

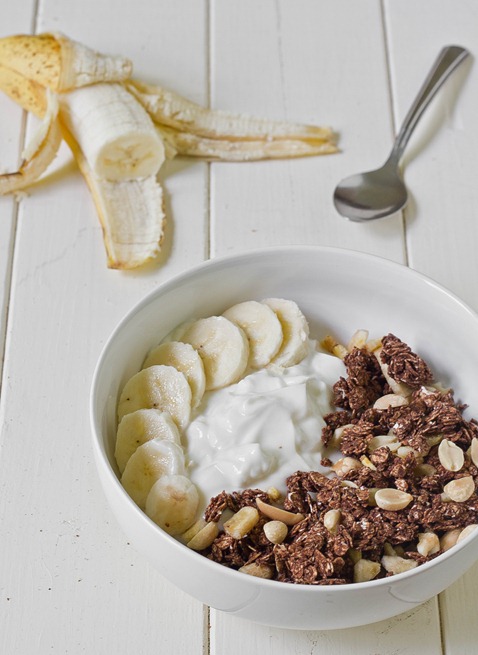
Elvis Granola

Elvis Granola

First granola bars, now granola; I’m on an oaty roll. 

I’ve never been particularly fond of granola until I had Love Grown Foods’ cocoa granola last Summer. I didn’t realize something could be so chocolaty and also healthy. Every time I’ve made granola myself in the past it never clumped; this recipe clumps. The banana chips and peanut butter naturally pair with the chocolate. It’s really a winner. 

Elvis Granola Collage

Want to make it a little more delicious? Add in 1/3 cup of chocolate chips after the granola has cooled. This recipe is also vegan as is but I didn’t want to call it that because I ate mine with a big bowl of cow’s milk yogurt.

Elvis Granola

Prep time: 5 minutes

Cook time: 25 minutes

Ingredients(Makes about 3 1/2 cups):

  • 2 1/2 cups quick-cooking oats*
  • 1/3 cup maple syrup
  • 2 Tablespoons oil
  • 1/4 cup cocoa powder
  • 2 teaspoons vanilla extract
  • 1/4 teaspoon salt
  • 1/2 cup roasted peanuts
  • 1/2 cup banana chips, crushed

*To make this gluten-free make sure to use gluten-free oats.

Method:

  1. Preheat your oven to 350 degrees
  2. In a bowl, mix together the oats, maple syrup, oil, cocoa powder, vanilla extract, and salt thoroughly.
  3. Lay the oats out on baking tray and press down until the oats are about 1/2 an inch thick.
  4. Bake for 25 minutes, gently shaking the tray every 5 minutes or so.
  5. Remove from the oven and let the granola cool.
  6. Once cool, break the granola up and mix with the peanuts and banana chips. Store in a sealed container for up to a week.

Elvis Granola Long

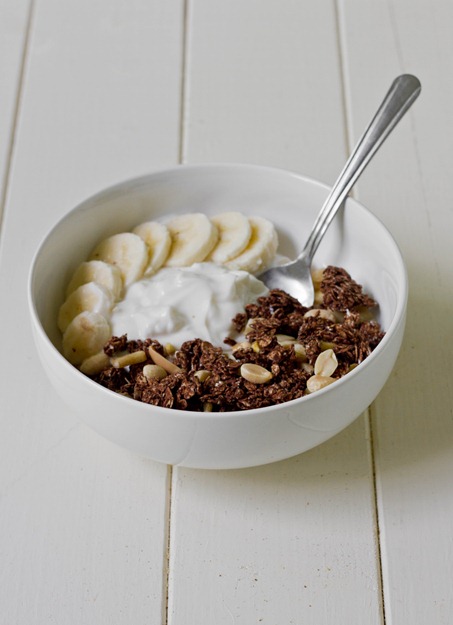
I can’t understand people who eat granola with milk. Yogurt is granola’s best friend; you can’t break them up.

Gluten-Free Cookie Dough Truffles

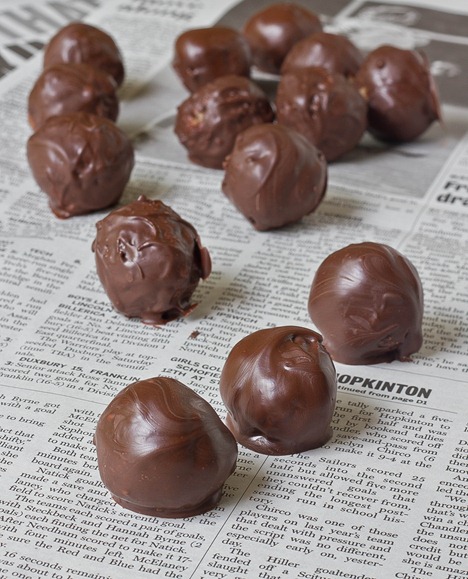
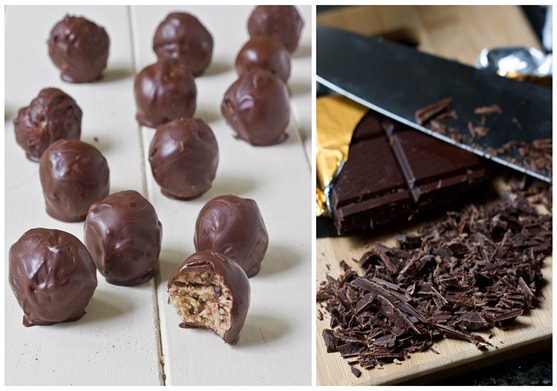
Gluten Free Cookie Dough Truffles newspaper

I tried to hold out on the cookie dough truffle craze. I really did. But all the cookie dough recipes floating around blogs these days and now a whole cookie dough cookbook wore me down.

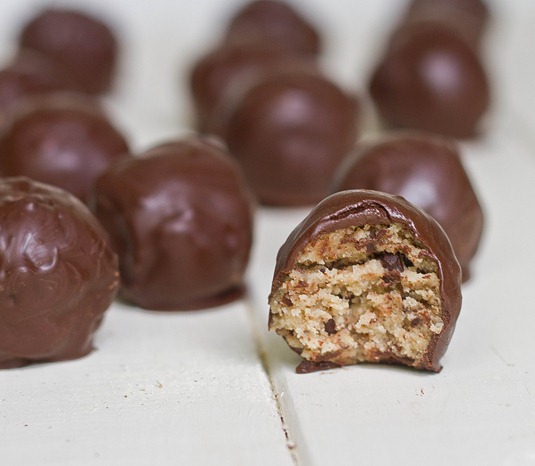
Anyone who’s tried gluten-free baking knows that—while the baked result may be delicious—gluten-free flours make the raw dough taste horrible. That’s a problem for truffles where the whole point is to be eating raw dough. Thankfully, almond flour has virtually no flavor and works perfectly in this recipe.

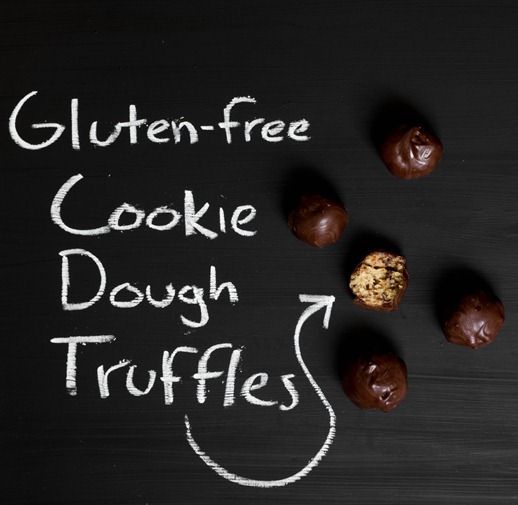
Gluten Free Cookie Dough Truffles Chalkboard

You can use almond flour or almond meal interchangeably in this recipe. You could even get away with 1 cup of almond butter in a pinch if it’s not too oily.

Gluten-Free Cookie Dough Truffles

Prep time: 15 minutes

Cook time: 0 minutes

Ingredients(Makes about 24 truffles):

For the dough:

  • 1/2 cup butter
  • 1/2 cup brown sugar
  • 1/2 cup powdered sugar
  • 1 teaspoon vanilla extract
  • 1/4 teaspoon salt
  • 2 cups almond flour or almond meal
  • 1/2 cup mini chocolate chips or chocolate shavings

For the coating:

  • 1 cup semi-sweet or bittersweet chocolate chips
  • 2 Tablespoons coconut oil(butter or shortening would work, too)

Gluten Free Cookie Dough Truffles Collage

Method:

  1. Cream together the butter, brown and powdered sugars.
  2. Mix in the vanilla, salt, and almond flour.
  3. Fold the chocolate chips into the batter.
  4. Roll ounces of dough into 1-inch balls and put them into the refrigerator or freezer to chill.
  5. Melt the chocolate chips for the coating in your microwave or over a burner.
  6. Add in the coconut oil and stir until smooth and runny.
  7. One by one, dip the chilled dough balls into the melted chocolate and turn them to coat.
  8. Place the truffles onto a non-stick surface to cool.
  9. Store in the refrigerator for up to 2 weeks. Serve at room temperature.

Gluten Free Cookie Dough Truffles

Now I get what all the fuss is about.

Banana Peanut Butter

Banana Peanut Butter

I’ve always wanted to make a banana flavored peanut butter. It’s no secret bananas and peanut butter go well together. But one of the problems of a banana flavored peanut butter has always been that bananas just don’t last once you peel them. What you need is a shelf-stable banana—something like banana chips!

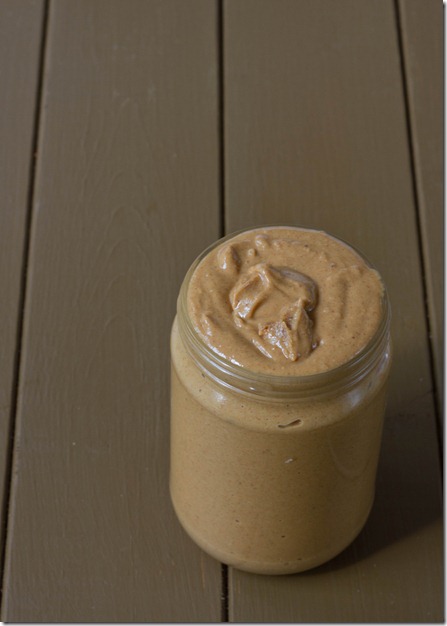
This was a lot easier to make than I thought it would be. Both the banana chips and the peanuts pureed quickly. The flavor isn’t quite as banana-y as if you took a banana and mixed it up with some peanut butter, but for the convenience of having this in your pantry and ready to eat with a spoon at any time it’s plenty delicious.

Banana Peanut Butter Banana Chips

After I made these I found out banana extract exists. If you can track that down in a local store, I would suggest using that in place of the vanilla extract. If not, don’t worry; the vanilla adds a subtle flavor that only enhances the banana without drawing too much attention to itself.

Banana Peanut Butter

Prep time: 20 minutes

Cook time: 0 minutes

Ingredients(Makes about 1lb 2 ounces):

  • 1 cup banana chips
  • 1-2 Tablespoons oil
  • 3 cups roasted peanuts
  • 1/4 cup light brown sugar
  • 3/4 teaspoon vanilla extract
  • 1/2 teaspoon salt

Method:

  1. Blend the banana chips in a food processor until they turn into a smooth puree. Slowly add in small amounts of oil to help them move along.
  2. Once the chips are pulverized, add in the peanuts, brown sugar, vanilla, and salt and continue blending for 5-10 minutes until it forms a butter-like texture.
  3. Add in extra crushed peanuts or banana chips if desired and fold them in.
  4. Move the peanut butter into a sealable jar. Store at room temperature for up to 2 weeks.

Banana Peanut Butter Simple

If you’re thinking this would be good on banana bread, I’m right there with you.

Almond Puppy Chow

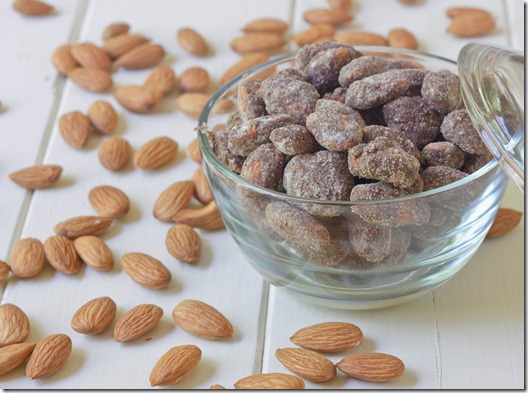
Almond-Puppy-Chow

One of my favorite Trader Joe’s products is their chocolate covered almonds; once I start eating those, it’s hard to stop. Chocolate and almonds just go so well together. Just as good are their chocolate covered almonds with sea salt and tubinado sugar. Again, there’s no way you can have just one handful.

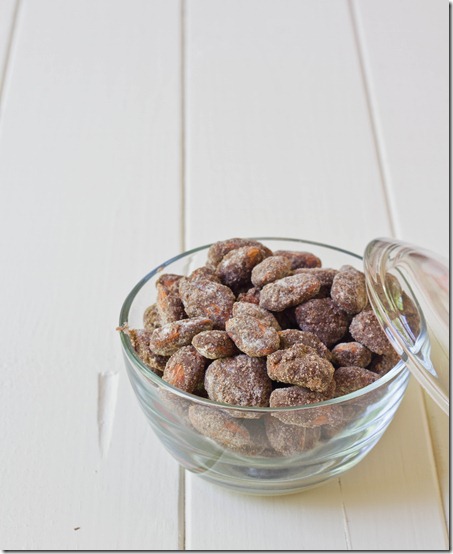
I’ve tried to make chocolate covered almonds before and they never come out as good as the ones from Trader Joe’s. But then I figured if you could make peanut puppy chow, who says you can’t do the same with almonds?!

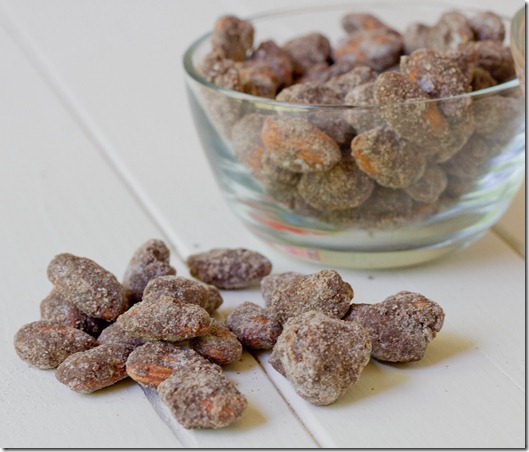
Almond-Puppy-Chow-almonds

A touch of salt really makes the flavor of these. If(but really “when”) I make these again, I plan on using a higher quality baking chocolate rather than Trader Joe’s chocolate chips since it really makes a difference in the flavor.

Almond Puppy Chow

Prep time: 15 minutes

Cook time: 0 minutes

Ingredients:

  • 4 cups roasted almonds
  • 1/2 cup chocolate chips
  • 1/4 cup almond butter
  • 3/4 cup powdered sugar
  • 1/2-1/4 teaspoon sea salt(depending on how salty you want these)
  • 2 Tablespoons brown sugar(optional)

Method:

    1. Melt the chocolate chips in a microwave or over a double boiler.
    2. Stir the almond butter into the melted chocolate to make a smooth and uniform coating.
    3. Pour in the almonds. Move them around to coat them completely in the peanut butter and chocolate.
    4. Scoop the almonds into a large sealable bag. Add in the powdered sugar and shake the bag until the almonds are completely covered.
    5. Add in the salt/brown sugar if using and shake again for 10 seconds
    6. Store in an airtight container at room temperature for up to 2 weeks.


Almond-Puppy-Chow-sample

If you like this recipe, you might like puppy chow peanuts, too. When I made these I made another batch of those and gave the recipe page a much needed face lift.

Almond Flour Banana Bread

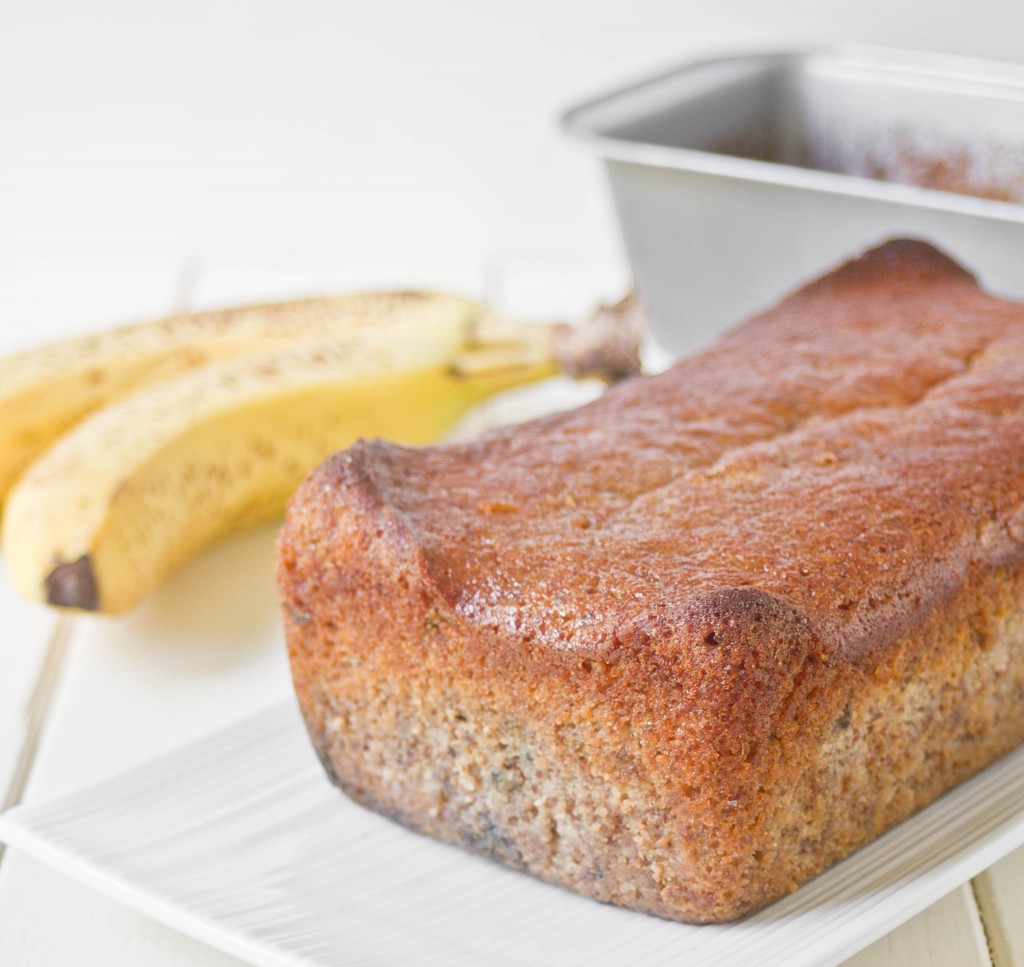
The last time I was looking through my recipe pages, one thing really struck me: I had no recipe for gluten-free banana bread. I thought that couldn’t be. If that was the case, it meant I hadn’t made banana bread in over 2 years, which seemed ridiculous because I can still clearly remember how soft and sweet and spicy and moist good banana bread should taste.

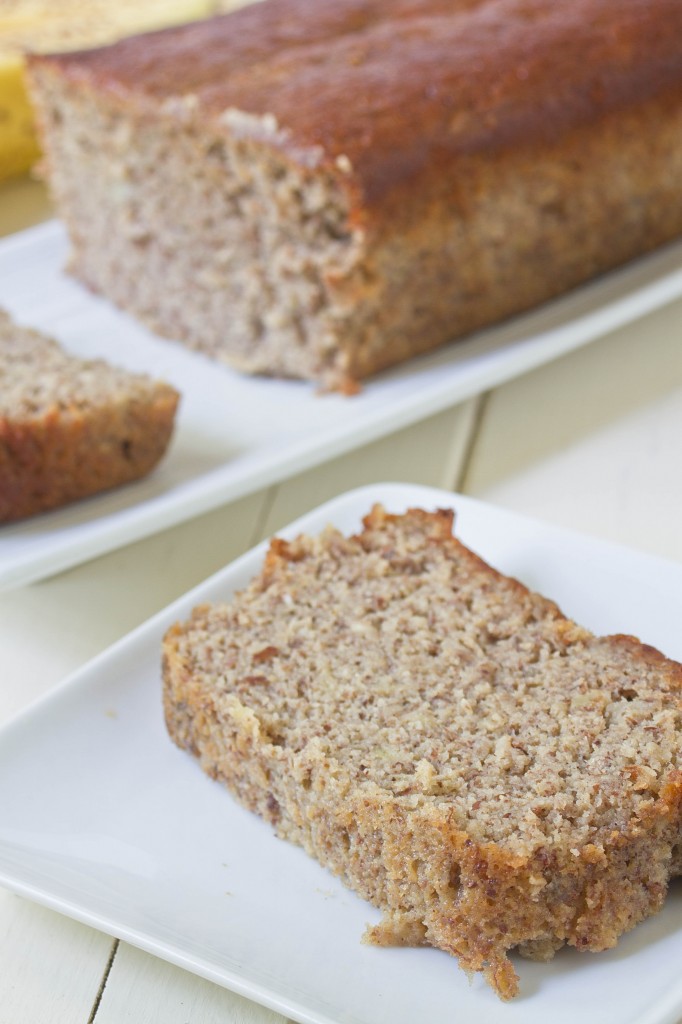
Somehow that was true and I realized I really needed to get with the program. As soon as some bananas turned brown, I mashed them up and made them into banana bread. Even without the gluten, this bread holds its shape with each thick, dense, moist and chewy slice and the flavor has just the right amount of spice and sweetness.

While I think coconut flour could make a texture slightly similar to regular banana bread, I used only almond flour in this loaf because I know what a hassle it is to go out and have to buy 15 different kinds of flour. I used vegetable oil but melted coconut oil would add a great boost of flavor and be slightly more healthy.

Almond Flour Banana Bread

Prep time: 15 minutes

Cook time: 55 minutes

Ingredients(Makes 1 loaf):

  • 1 1/2 cups almond meal or almond flour
  • 4 eggs
  • 1/4 cup oil
  • 3/4 cup light or dark brown sugar
  • 3 medium bananas, mashed(about 3/4 cup banana puree)
  • 1 teaspoon vanilla extract
  • 3/4 teaspoon cinnamon
  • 1/2 teaspoon nutmeg
  • 3/4 teaspoon baking powder
  • 1/2 teaspoon salt
  • 1/2 cup walnuts(optional)
  • 1/2 cup chocolate chips(optional) 

Method:

  1. Preheat your oven to 350 degrees.
  2. In a large bowl, mix together the almond flour, eggs, oil, sugar, mashed bananas, vanilla, cinnamon, nutmeg, baking powder, and salt until there are no clumps.
  3. Fold the walnuts, chocolate chips, or any other mix-ins you might want into the batter.
  4. Lightly grease a 5 x 10 or similar sized loaf pan and pour in the batter.
  5. Bake for 55 minutes or until a cake tester inserted in the center comes out clean.
  6. Remove from the oven and let cool completely before slicing.  

This is really great with butter, peanut butter, chocolate hazelnut spread, or even all on its own. You should keep it wrapped up in the refrigerator in between meals so it lasts longer.

Gluten-Free Pizzelles

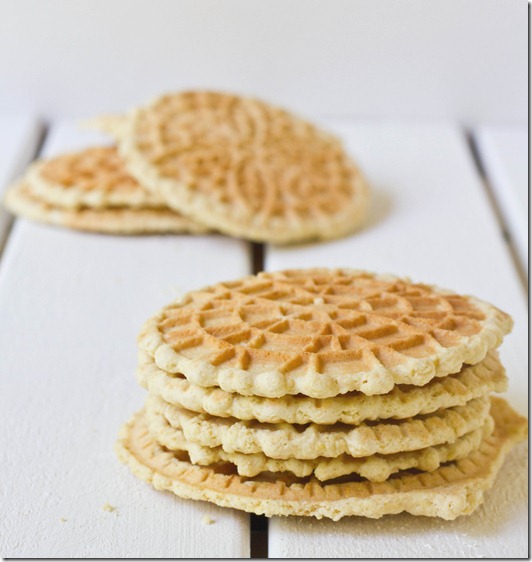
gluten-free-pizzelles

Over the weekend I made Christmas cookies. In May. But really, who’s complaining when there’s cookies involved?

This recipe was actually one of the very last ones I made before I got my first DSLR cameras. Since then I’ve been meaning to make them and take pictures again. I somehow never got around to making them last Christmas so now I’m fixing that mistake.

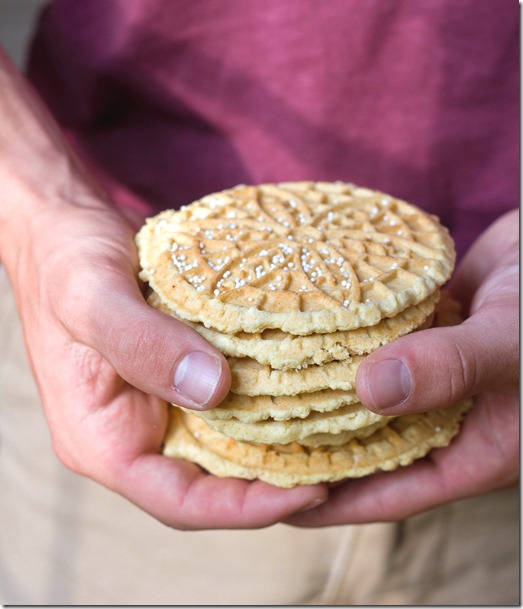
gluten-free-pizzelles-hands

I had a friend help me make these and take some home afterwards. Clearly one of the best things about Christmas cookies is making many many dozens and giving them away to friends and family(but also keeping a stash for yourself because—hell—you baked them and deserve some cookies, too).

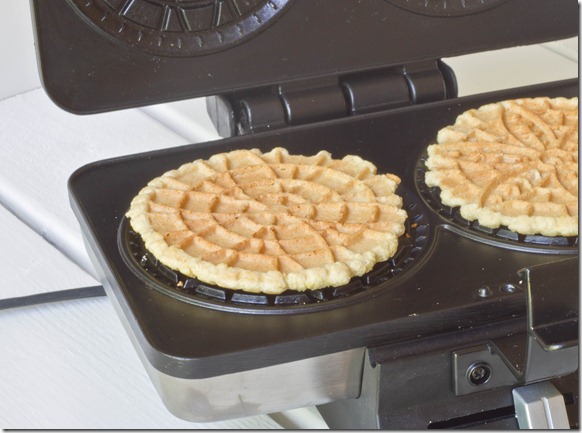
The one special piece of equipment you need to make pizzelles is a pizzelle press. The one I used is made by Cuisinart. You can easily use this recipe to make non-gluten-free pizzelles by substituting regular all purpose flour in for the gluten-free mix in a 1:1 ratio.

Gluten-Free Pizzelles

Prep time: 5 minutes

Cook time: 15 minutes

Ingredients(Makes about 20 pizzelles):

  • 3 eggs
  • 1/4 cup neutral flavored oil
  • 2 teaspoons anise extract
  • 3/4 cup sugar
  • 2 1/2 cups all-purpose gluten-free flour mix

gluten-free-pizzelles-pizzelle-maker (2)

Method:

  • Beat all of the ingredients together in a large bowl until smooth.
  • Heat an electric pizzelle maker according to manufacturer’s instructions until it’s ready to cook.
  • Take about an ounce of dough and roll it into a smooth ball in between your hands. Place the ball on the center of the pizzelle press, doing the same for both sides if your machine is double sided, and press the cover down.
  • Cook for about 45 seconds to a minute or until your pizzelle maker says that the cookies are done.
  • Lift the lid and carefully move the cookies to a separate plate to cool using a fork or other tool.
  • Repeat until all of the dough is used.
  • Store at room temperature in an airtight container for up to a few days.

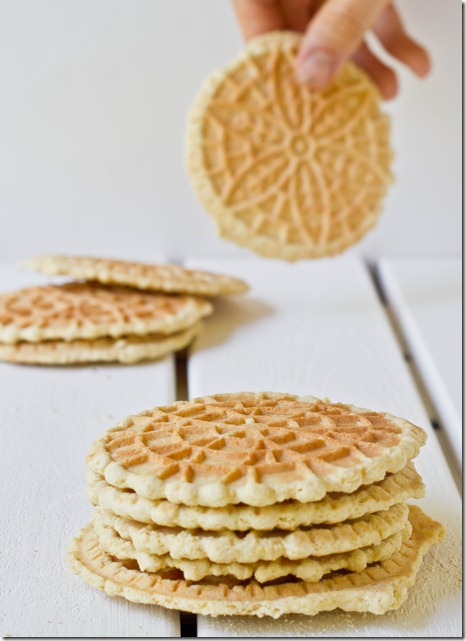
gluten-free-pizzelles-hand2

These are definitely too good to save just for Christmastime. My family’s favorite way of eating them is with a cup of coffee or tea and cream and dipping the edge in to soften right before each bite.

Thai Deviled Eggs

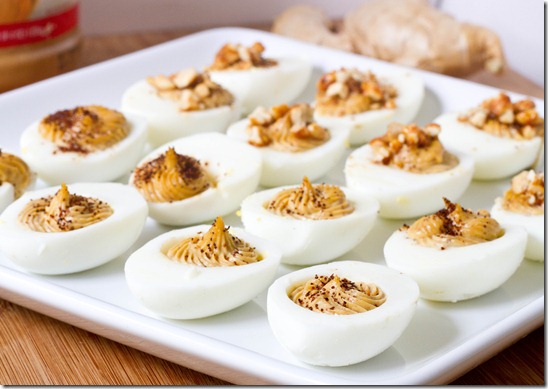
Thai-Deviled-Eggs

Happy Memorial Day! Hopefully you’re all set to relax on the beach, but if you’re in need of a quick appetizer or beach snack this might fit your bill.

I used to hate hard-boiled eggs(and by “used to” I mean about a year ago); the texture of the cooked yolks sort of freaked me out. And deviled eggs? Well, I’m a little suspicious of mayo still, so no thank you.

Thankfully at some point I saw the light(about hard boiled eggs—not mayonnaise. That’s still on my gross list). Instead of mayo, this recipe mixes the egg yolks with peanut butter, spices, and coconut milk for a light yet rich mousse-like filling. The peanut butter also boosts the protein in addition to being incredibly flavorful.

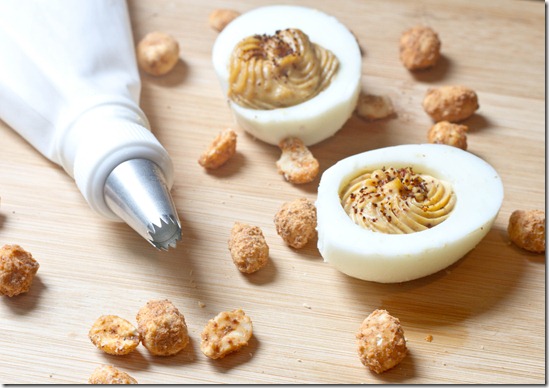
Thai-Deviled-Eggs-filling

I used a frosting piper to fill the centers, but you could use a Ziploc bag with a corner cut off to get a similar effect.

Thai Deviled Eggs

Prep time: 20 minutes

Cook time: 10 minutes

Ingredients(Makes 2 dozen):

  • 1 dozen eggs
  • 1/4 cup peanut butter
  • 3/4 teaspoon salt
  • 1 Tablespoon sugar
  • 2 teaspoons rice vinegar(or white vinegar in a pinch)
  • 1/2 teaspoon chili powder
  • 1/2 teaspoon cayenne pepper
  • 1/4 teaspoon paprika
  • 1/2 teaspoon ginger powder OR 1/4 teaspoon fresh grated ginger
  • 3-4 Tablespoons coconut milk(any kind of milk would do)
  • Crushed peanuts and extra chili powder to garnish

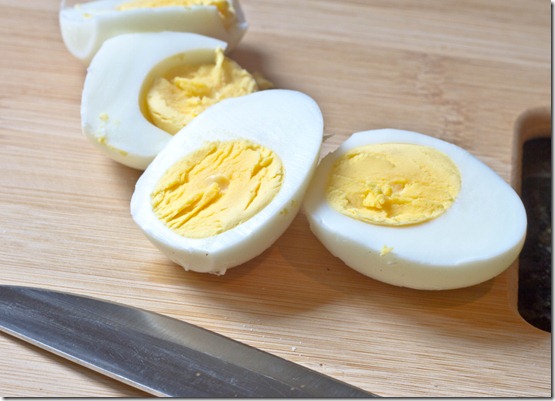
Thai-Deviled-Eggs-eggs

Method:

  1. Boil the eggs in a pot full of water for 9 minutes. Drain the eggs from the water and submerge in cold water to bring them down to room temperature.
  2. Peel the shells from all of the eggs and split them in half.
  3. Scoop out the yolks from the egg whites.
  4. Combine the yolks, peanut butter, salt, sugar, vinegar, and spices in a food processor and blend until smooth.
  5. Slowly add your liquid until the filling takes on the texture of a mousse.
  6. Either scoop the filling directly into the egg whites or use a pastry bag to squeeze them in.
  7. Garnish with peanuts and/or chili powder. Serve at room temperature. 

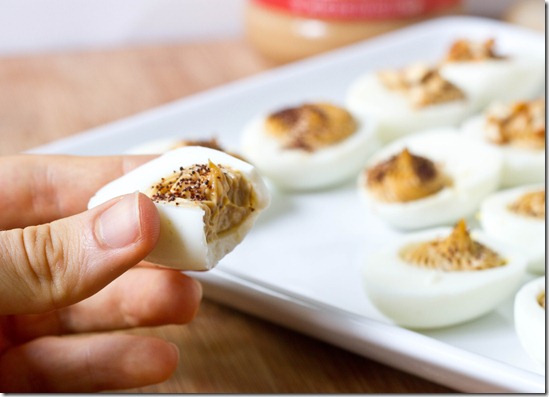
Thai-Deviled-Eggs-bite

Now go out there and enjoy the weather. But pack your deviled eggs first.

Chocolate Covered Strawberries

Chocolate-Covered-Strawberries

Happy Memorial Day weekend!

I’m really horrible at remembering these federal holidays. I had no idea Monday was a holiday until a friend told me it was last weekend. Back in February I told another friend to have a good Martin Luther King day on Presidents’ Day… while he was in another country that celebrates neither of those. I really need to start looking at a calendar more.

Chocolate-Covered-Strawberries-Hands

Back to the food—Chocolate covered strawberries are one of those classics that get done again and again but they never get old. They’re so simple you don’t even need a recipe(but you’re getting one). You can make them last minute and they’re near impossible to screw up, so if you’re in a pinch for dessert this Memorial Day then these could be the perfect solution.

Chocolate Covered Strawberries

Prep time: 10 minutes

Cook time: 0 minutes

Ingredients(Makes 2 dozen):

  • 2 dozen large strawberries
  • 10oz semi-sweet chocolate
  • 3oz White chocolate(optional)

Chocolate-Covered-Strawberries-Plated

Method:

  1. Gently melt the chocolate in a small bowl until it’s smooth.
  2. Dip each strawberry into the chocolate and swirl around to cover completely.
  3. Lift the strawberries out of the chocolate and let the excess fall back into the bowl. Place them individually on a non-stick surface.
  4. If using the white chocolate, melt it carefully and put it in a pastry bag or Ziploc with a tiny whole cut out one edge.
  5. Drizzle the white chocolate across each strawberry from side to side.
  6. Refrigerate the strawberries until the chocolate has hardened. Plate and serve still slightly cold.

Chocolate-Covered-Strawberries-Bite

When life gives you lemons, make lemonade. And when life gives you strawberries, cover them in chocolate before eating them.

Gluten-Free Vegan Mac N’ Cheese

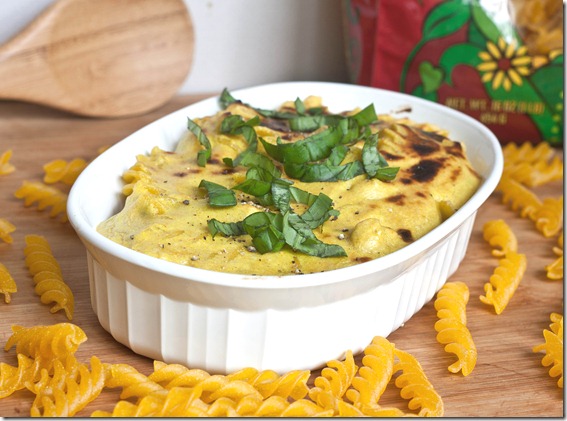
Gluten-free-vegan-mac-and-cheese

Thanks for sticking with me the past couple of weeks. I’ve moved home and (almost) unpacked and finally can get back to cooking and food blogging. And did I mention how nice it is to have a full kitchen again? It’s very nice.

One of the last things I ate before I moved was a frozen Amy’s rice macaroni and cheese. Blog-worthy? No. But incredibly delicious. I’d forgotten how good macaroni and cheese could be. Naturally I had it on the brain as soon as I got home and decided to make it almost immediately.

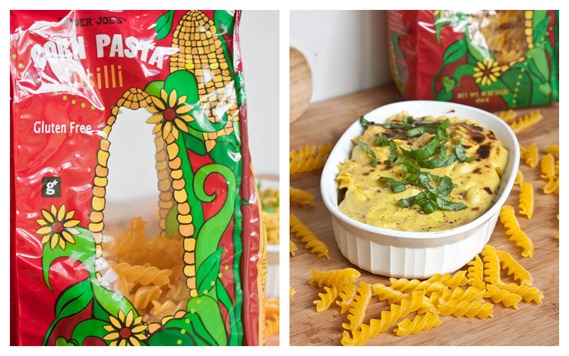
Gluten-free-vegan-mac-and-cheese-collage

Trader Joe’s corn pasta is one of the few gluten-free pastas I like; you can’t even tell from the taste or texture that it’s gluten-free. It’s that good. Nutritionally, it’s not the best. But if you’re trying to win over a picky eater—gluten-free or not—it’s a safe bet.

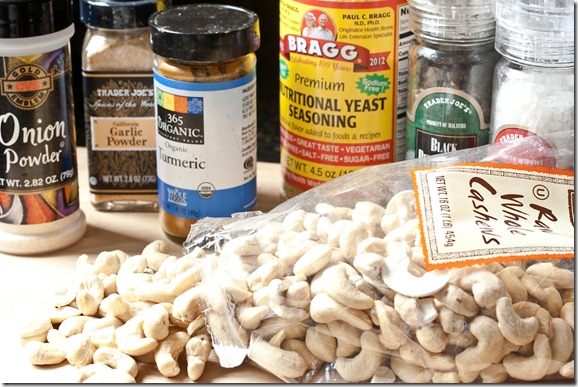
This cheese sauce is made with cashews so it’s not only dairy-free but also soy-free. The nuts also add fiber and protein to the dish. You could substitute 3 Tablespoons of cashew butter in a pinch if that’s what you have on hand.

Gluten-Free Vegan Mac N’ Cheese

Prep time: 10 minutes

Cook time: 15 minutes

Ingredients(Makes 2 servings):

  • 3/4 cup gluten-free macaroni
  • 1/4 cup + 2 Tablespoons raw cashews
  • 7 Tablespoons(or a scant 1/2 cup) water
  • 2 Tablespoons nutritional yeast
  • 1/2 teaspoon salt
  • 1/4 teaspoon onion powder
  • 1/4 teaspoon garlic powder
  • 1/4 teaspoon turmeric(for color only)
  • 1/4 teaspoon pepper
  • Pepper and basil for garnish

Gluten-free-vegan-mac-and-cheese-sauce-ingredients

Method:

  1. Prepare the macaroni by submerging it in salt water and boiling for 8-10 minutes. Undercook the macaroni slightly.
  2. While the macaroni cooks, make the cheese sauce by blending the cashews in 2-3 Tablespoons of water in a food processor.
  3. Once the cashews are pureed smoothly, add the rest of the water and all of the spices and seasonings. Continue blending until well-mixed.
  4. Drain the macaroni from the water and divide it between two small ramekins. Pour the cheese sauce on top evenly.
  5. Broil at 400 degrees for 5 minutes until the top starts to brown.
  6. Garnish with cracked pepper and chiffonade basil. Serve hot.

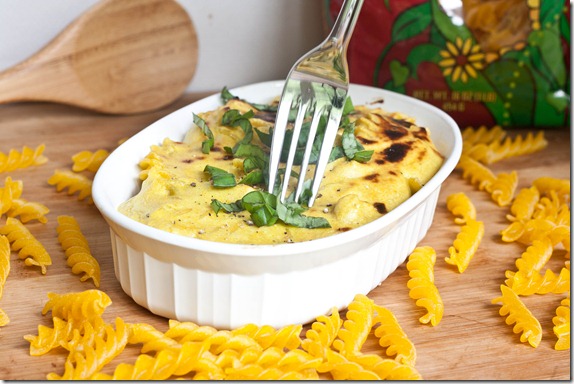
Gluten-free-vegan-mac-and-cheese-fork

The basil and pepper help to lighten up the flavor, since no one wants a heavy mac n’ cheese dish in the Summer. The healthy fats in the sauce fill you up for hours and yet taste wholly satisfying. It’s not quite as easy as a frozen meal but well worth the effort.

Chickpea Flour Pancakes

chickpea-flour-pancakes

I’ve been neglecting a lot lately.

Neglecting writing blog posts this week because I’ve been swamped with finals.

Neglecting eating healthy most of this semester because it’s easier to make excuses than roast vegetables.

Neglecting restarting the 30 day Shred workouts because I don’t like being yelled at through my own TV.

But most significantly I’ve been neglecting this pancake recipe. And that’s the biggest shame of all; no one should go pancake-less for months at a time. I usually eat oatmeal in the morning because that’s quick and I can make it in a microwave. But sometimes breakfast is worth making a fuss over and that’s when a reliable recipe like this comes in handy.

chickpea-flour-pancakes-serving

For the record, chickpea flour does not actually taste like chickpeas at all. It has a really neutral flavor to it. You can find chickpea flour in some specialty markets. The kind I used is by Bob’s Red Mill.

Chickpea Flour Pancakes

Prep time: 5 minutes

Cook time: 5 minutes

Ingredients(Makes 4 medium-sized pancakes):

  • 1/2 cup chickpea flour
  • 1 egg
  • 1/3 cup water
  • 1 (heaping) Tablespoon sugar
  • 1/4 teaspoon baking soda
  • Pinch of salt
  • Butter or oil for greasing

chickpea-flour-pancakes-over

Method:

  1. Whisk together the flour, water, egg, sugar, baking soda, and salt until all the clumps are gone from the batter.
  2. Heat a pan or skillet over a burner set to medium with some butter or oil.
  3. Scoop about 3 Tablespoons-1/4 cup of batter into the pan.
  4. Cook until the edges firm up and bubbles come through the batter. Flip and cook for another 15-20 seconds until the other side has set. Repeat until all the batter is used up.
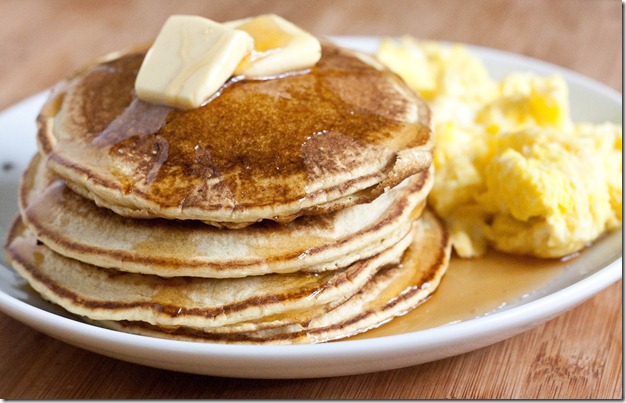
  5. Serve while still hot with syrup, sauce, and/or butter.

chickpea-flour-pancakes-pouring

Here’s to a Summer of not neglecting.