Tag Archive: Gluten-Free

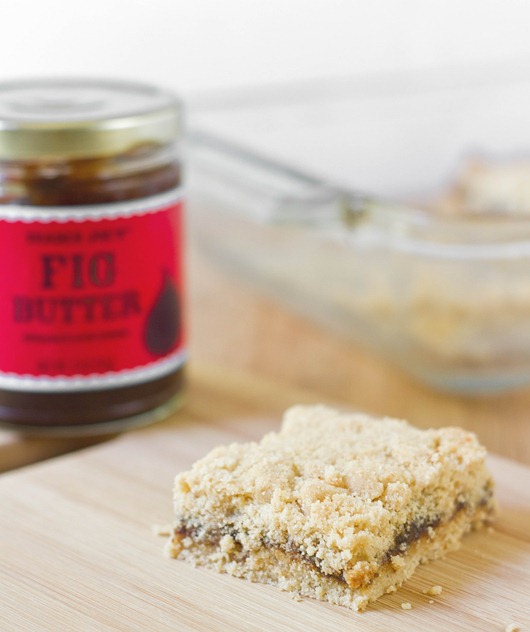
Gluten-Free Fig Bars

Gluten-Free Fig Bar

It’s amazing how many gluten-free options there are on supermarket shelves these days. Last I checked there are no less than 3 gluten-free “Oreo” knock-offs. Gluten-free pretzels are my newest addiction; they come in plain, chocolate covered, and yogurt covered(still waiting on some savory flavors). But there’s one hugely noticeable absence from the options: Gluten-free Fig Newtons.

Fig Newtons used to be as good as cookie gold to me, only topped by those maple cookies shaped like a maple leaf. I went into the kitchen recently determined to come out with gluten-free Fig Newtons… or at least something similar.

It’s incredibly hard to get gluten-free dough to be elastic without tons of different flours and gums. Instead, I focused on getting the same flavors in a different form with less special ingredients. These bars have a shortbread crust and a top crumble with strong touches of cinnamon and butter; it’s like a portable fig crisp, and there’s certainly nothing wrong with that.

Gluten-Free Fig Bars Fig Butter

Of course you can use any kind of jam to fill these with. Try apple butter for a Fall flavor or mango butter for something more tropical.

Gluten-Free Fig Bars

Prep time: 10 minutes

Cook time: 40 minutes

Ingredients:

  • 6 Tablespoons butter, softened
  • 1 egg
  • 1/2 cup + 2 Tablespoons sugar
  • 1/2 teaspoon cinnamon
  • 1/4 teaspoon salt
  • 1/2 Tablespoon vanilla extract
  • 1/3 cup coconut flour
  • 1 1/2 cups brown rice flour
  • 1/2 cup fig jam or fig puree

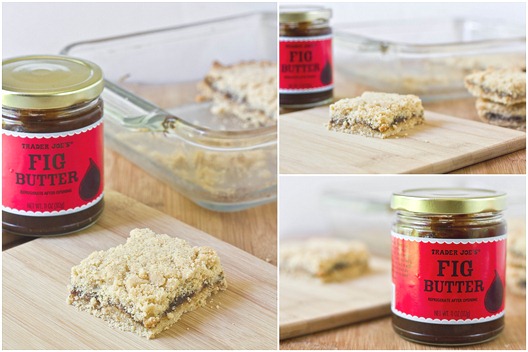
Gluten-Free Fig Bars Collage

Method:

  1. Preheat your oven to 350 degrees.
  2. In a large bowl, cream together the butter, egg, sugar, cinnamon, salt, and vanilla.
  3. Add in the coconut flour and brown rice flour and work the dough until the flours have been mixed in.
  4. Grease an 8 x 8 baking pan.
  5. Press about half of the dough into a 1/2-inch thick layer in the pan. Use more than half of the dough if you have to; just make sure it’s thick enough to hold together.
  6. Spread the fig butter into a flat layer on top of the dough.
  7. Crumble the extra dough on top of the layer of fig and press it in lightly.
  8. Bake for 35-40 minutes until the edges begin to brown and the top is golden.
  9. Wait for the bars to cool before cutting in. Store leftovers in a refrigerator.

Gluten-Free Fig Bar Serving

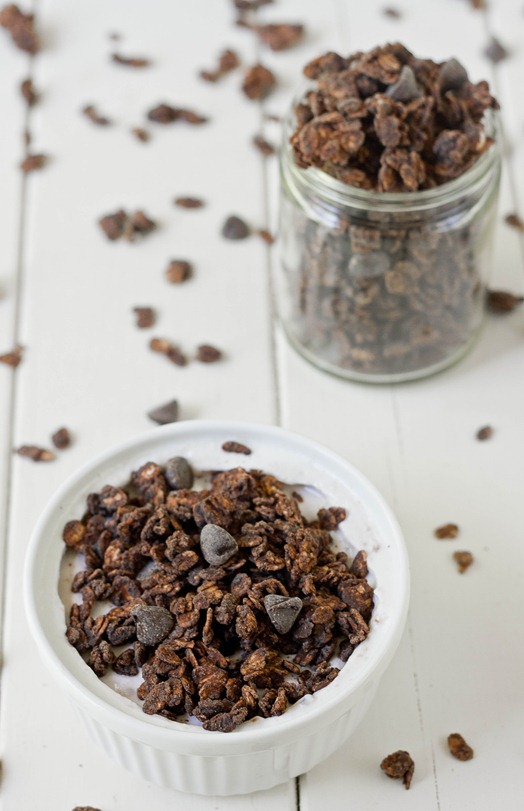
Double Chocolate Granola

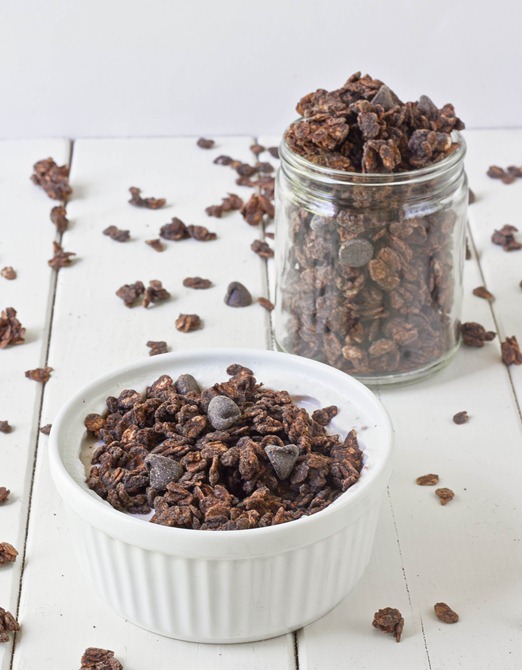
Double Chocolate Granola

My favorite flavor of yogurt is pomegranate, followed closely by raspberry. I never expected to love pomegranate yogurt, especially since I don’t love pomegranates on their own, but it’s really won my heart. And the best way to eat it is with something chocolate on top. The creamy, tart and sweet yogurt with deep, dark chocolate is just too good for words.

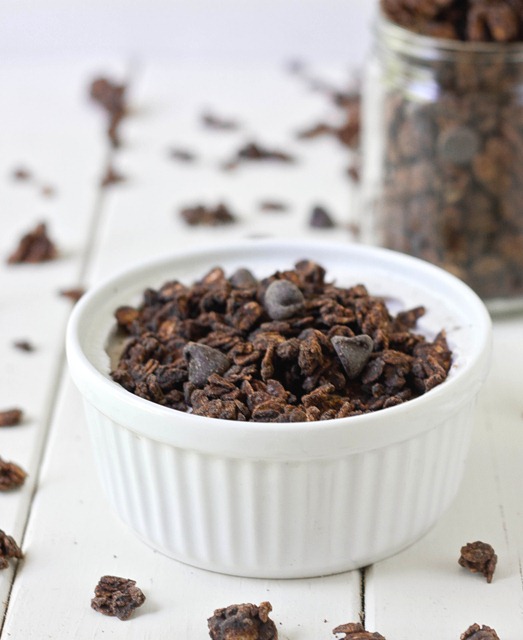
Of course after I loaded up my shopping cart with pomegranate yogurt over the weekend I came home and immediately decided to make chocolate granola. The last time I had chocolate granola it was store-bought and—though good—it was really lacking something: More chocolate. This granola has cocoa powder baked onto the oats, and then is hit with melted chocolate and chocolate chips after it’s done. The result is pure clustery chocolate goodness.

Double Chocolate Granola Serving

Give this granola a nutty twist by mixing in toasted almonds or salted peanuts along with the chocolate chips.

Double Chocolate Granola

Prep time: 10 minutes

Cook time: 35 minutes

Ingredients(Makes about 2 3/4 cups):

  • 2 1/4 cups rolled oats
  • 2 Tablespoons oil
  • 1/3 cup cocoa powder
  • 1/4 cup cane sugar
  • 1/4 teaspoon salt
  • 2 Tablespoons liquid sweetener
  • 2 Tablespoons water
  • 1/2 cup chocolate chips, divided

Double Chocolate Granola Clusters

Method:

  1. Preheat your oven to 350 degrees.
  2. In a large bowl, mix together the oats, oil, cocoa powder, cane sugar, salt, sweetener, and water.
  3. Lay the uncooked granola on a non-stick baking tray in a 1/2-inch thick layer.
  4. Bake for 30-40 minutes, breaking up the oats occasionally until they’re stiff and dry.
  5. Transfer the hot granola into a bowl with 1/4 cup of chocolate chips. Mix the granola as the chocolate chips melt, covering them with the melted chocolate.
  6. Once the granola has cooled completely, toss the granola to break apart any large clusters and add in the other 1/4 cup chocolate chips.
  7. Serve in an airtight container at room temperature for up to 2 weeks.  

Double Chocolate Granola 2

I’m going to need more yogurt.

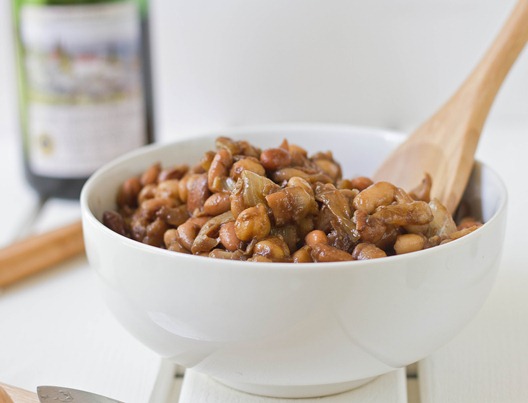
Caramelized Onion and Balsamic Vinegar Bean Salad

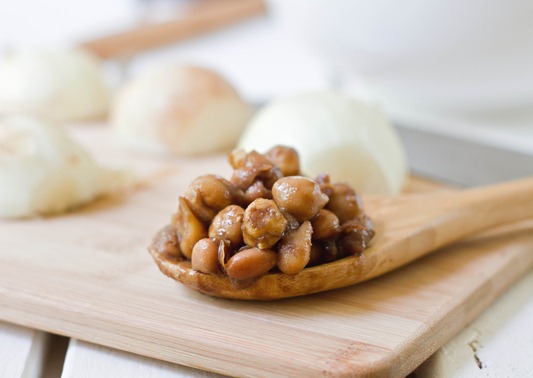
Caramelized Onion and Balsamic Vinegar Bean Salad

I really love baked beans. Who doesn’t? What I don’t love is spending hours cooking them in a hot kitchen when it’s already 80 degrees outside. Why can’t people appreciate baked beans more in the winter when we’re all freezing? It’s a mystery.

Last week on the 4th I needed a vegetarian dish that could sit in a cooler all day. Immediately my mind jumped to baked beans, but as soon as I ruled out cooking those for 4 hours I remembered this old favorite.

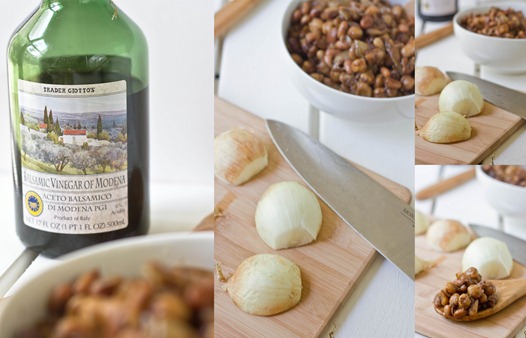
Caramelized Onion and Balsamic Vinegar Bean Salad Collage

I first posted this recipe over a year ago. The photos weren’t that good, the recipe wasn’t very clearly written, and my readership was drastically lower than what it is today, so I figured it’d be best to just give it a whole new post. And it definitely deserves one.

You can use three cans of any type of beans; I think the ones listed have the most neutral flavor so they take on the sauce well. To make this completely vegan, you can substitute maple syrup or agave for the honey.

Caramelized Onion and Balsamic Vinegar Bean Salad

Prep time: 5 minutes

Cook time: 15 minutes

Ingredients(Makes 4-6 servings):

  • 1 15oz can of chickpeas
  • 1 15oz can of pinto bean
  • 1 15oz can of cannellini beans
  • 1 onion, julienned
  • 2 Tablespoons olive oil
  • 1/2 cup balsamic vinegar
  • 1 Tablespoon honey
  • 1/4-1/2 teaspoon salt to taste
  • 2 Tablespoons extra virgin olive oil for finishing(optional)

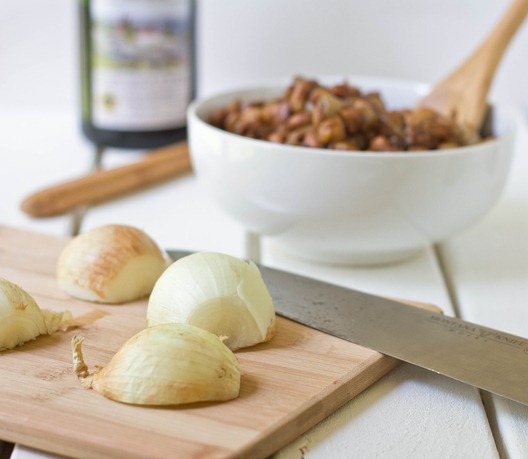
Caramelized Onion and Balsamic Vinegar Bean Salad Onions

Method:

  1. In a large bowl, combine all of the different beans.
  2. Heat the 2 tablespoons of oil in a pan over medium heat.
  3. Add in the julienned onions and sauté for about 10-15 minutes until the onion has turned translucent and slightly crusty.
  4. Remove from the heat and add it in with the beans.
  5. Reduce the balsamic vinegar in a small sauce pan to about half of its original volume by bringing it to a rolling boil for 5 or so minutes. If it over-reduces and starts to harden into a taffy, remove the pan from the heat and stir in some hot water to thin.
  6. Add the reduced vinegar, honey, salt and extra virgin olive oil if using to the beans and onions.
  7. Mix well until the sauce coats all of the beans. Serve hot or cold.

Caramelized Onion and Balsamic Vinegar Bean Salad Yield

20 minutes for a tasty bowl of beans? I’ll take that.

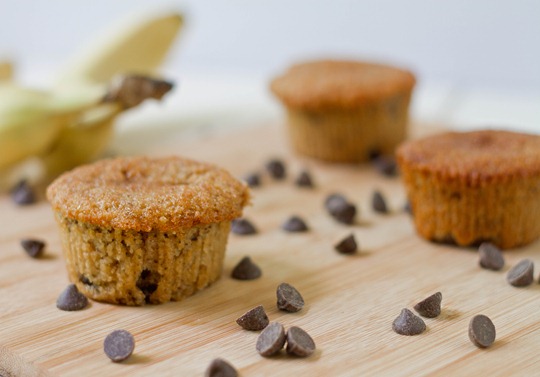
Gluten-Free Banana Chocolate Chip Muffins

Gluten-Free Banana Chocolate Chip Muffins Wide

One of the funniest misconceptions of a gluten-free diet is that it’s a low carb diet.

Hardly.

Yes, eliminating gluten from your diets limits the number of carbs you can eat. And when you’re eating on-the-go you’re limited to options like salads and nuts that are low carb. But at heart most gluten-free eaters are still carb lovers like everyone else, and when given the chance we’ll gladly make a meal out of gluten-free muffins, pancakes, and waffles. And don’t forget the syrup.

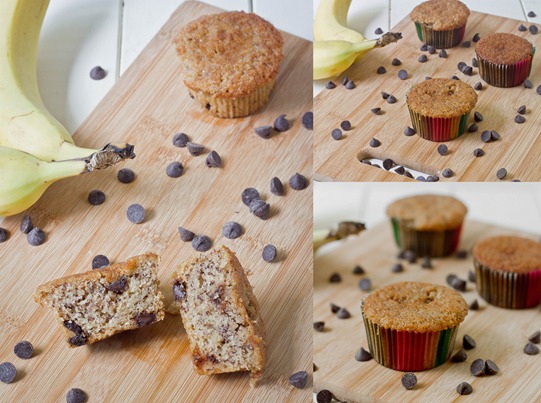
Gluten-Free Banana Chocolate Chip Muffins Collage

Thinking back, I can’t really remember the last time I ate a muffin(because why bake muffins when you can make cupcakes). Banana nut would probably be my favorite, but since we were out of nuts when I made this chocolate chip would have to do. Who could say no to banana chocolate chip anyway?

Don’t have brown rice flour? You can substitute oat flour instead. If you don’t have that you can always make your own by grinding 2 cups of gluten-free rolled oats in a food processor.

Gluten-Free Banana Chocolate Chip Muffins

Prep time: 15 minutes

Cook time: 30 minutes

Ingredients(Makes a dozen muffins):

  • 1 1/4 cup brown rice flour
  • 1/4 cup corn starch
  • 3/4 cup sugar
  • 2 ripe bananas, mashed
  • 6 Tablespoons vegetable oil
  • 1/2 cup water
  • 2 eggs
  • 1/2 teaspoon cinnamon
  • 1/4 teaspoon salt
  • 1/4 teaspoon baking soda
  • 1/2 cup chocolate chips

Method:

  1. Preheat your oven to 350 degrees.
  2. In a large bowl, sift together the brown rice flour, corn starch, and sugar.
  3. Add in the mashed bananas, oil, water, and eggs and stir the batter together.
  4. Add in the cinnamon, salt, and baking soda and mix completely.
  5. Pour the batter into twelve lined muffin tins.
  6. Drop an even amount of chocolate chips onto the top of each muffin.
  7. Bake for about 30 minutes until the tops start to brown and the muffins are cooked in the center.
  8. Remove from the oven and let the muffins cool slightly before touching.

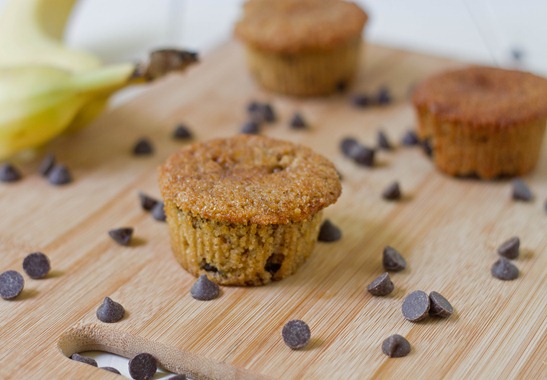
Gluten-Free Banana Chocolate Chip Muffins

Soft, spicy and studded with chocolate chips. Tomorrow morning’s going to be tasty.

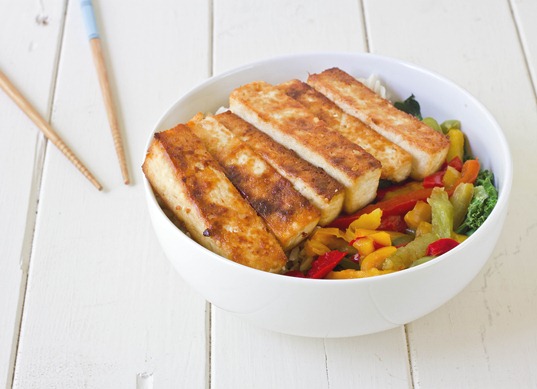
Baked Sesame Tofu

Baked Sesame Tofu

It’s really hard to get good gluten-free vegetarian food at most Asian restaurants. Whenever I do find it, it’s usually in the form of fried tofu. Don’t get me wrong—I do love getting golden and greasy tofu now and again, especially when someone else is making it. But it’s a heavy thing to eat again and again.

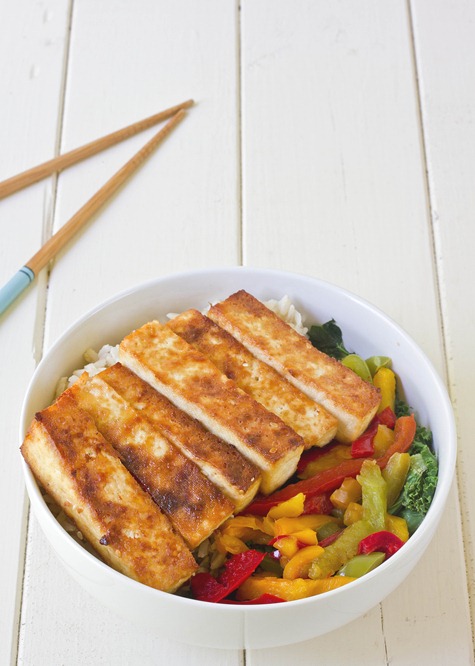
This tofu has a texture closure to fried tofu than any baked tofu I’ve ever had thanks to the corn starch while still not being overly salty or heavy. You can cook a big pot of brown rice and stir fry some vegetables and have your own take-out meal at home without the take-out.

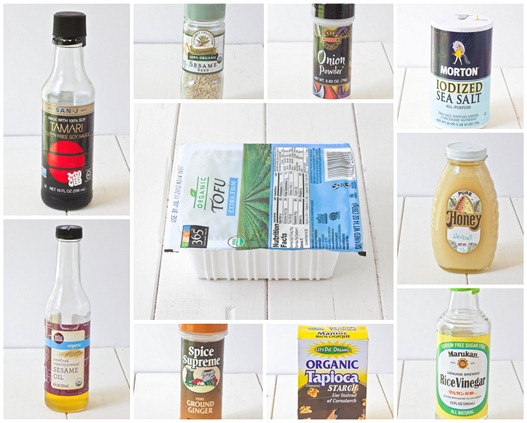
Baked Sesame Tofu Collage

To make this gluten-free, make sure to use a gluten-free tamari in place of the soy sauce. You can also substitute tapioca starch in place of the corn starch and agave for the honey.

Baked Sesame Tofu

Prep time: 10 minutes

Cook time: 40 minutes

Ingredients(Makes 2 servings):

  • 1 block extra firm tofu
  • 3 Tablespoons sesame oil
  • 1 Tablespoon soy sauce
  • 1 Tablespoon honey
  • 1 Tablespoon sesame seeds
  • 1/2 Tablespoon rice vinegar
  • 1/2 Tablespoon corn starch
  • 1/2 teaspoon salt
  • 1/4 teaspoon ground ginger
  • 1/4 teaspoon onion powder

Method:

  1. Preheat your oven to 350 degrees.
  2. Slice the tofu into even segments
  3. Mix the rest of the ingredients together in a small bowl.
  4. One at a time, dip the pieces of tofu in the sauce and lay them out on a non-stick baking surface. Pour any remaining sauce on top of the tofu.
  5. Bake for 40 minutes until the outside is golden and the edges brown. Turn once halfway through baking.
  6. Serve hot with rice and vegetables and extra soy sauce.

Baked Sesame Tofu Long

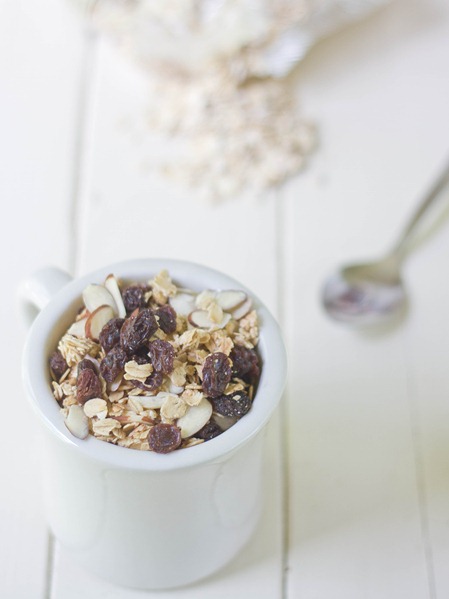
Maple Almond Granola

Maple-Almond-Granola

Granola is quickly becoming one of my favorite foods. I’ve been eating it morning, noon, and night. It’s just a matter of time before I buy some oversized glasses and Toms and join a coop.

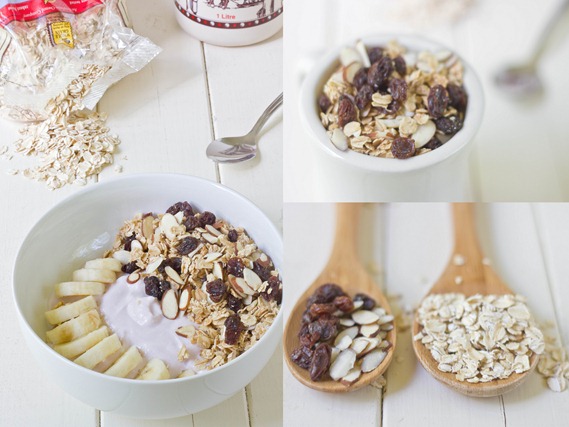
It’s so much more appealing to make your own because it gives you an endless possibility of flavors. You can have chocolate, banana, peanut granola one morning and maple almond granola the next. And since oats are cheap(well, unless you’re stuck buying name-brand certified gluten-free oats—but let’s not go there), it’s not a meal that’s going to bleed your pockets dry.

Maple-Almond-Granola-Collage-2

The hint of cinnamon in this recipe adds a familiar warmth that doesn’t overpower the other flavors. Make sure to use a tasteless oil like canola or safflower unless you’re looking to add the flavors of coconut or extra virgin olive oil into the mix.

Maple Almond Granola

Prep time: 5 minutes

Cook time: 35 minutes

Ingredients(Makes about 3 cups):

  • 2 1/2 cup oats*
  • 6 Tablespoons maple syrup
  • 2 Tablespoons neutral flavored oil
  • 1/4 teaspoon salt
  • 1/4 teaspoon cinnamon
  • 1/3 cup raisins
  • 1/4 cup + 2 Tablespoons shaved almonds

*Make sure these are certified gluten-free if you’re dealing with a gluten allergy.

Method:

  1. Preheat your oven to 325 degrees.
  2. In a large bowl, mix together the oats, maple syrup, oil, salt, and cinnamon.
  3. Lay the oats out in a 1/2-inch thick layer on a baking tray. Bake for 30-35 minutes until the oats are crispy and toasted, occasionally breaking the granola with a fork or other utensil while it bakes.
  4. Remove the granola from the oven and let it cool completely.
  5. In a separate bowl, combine the granola, raisins, and almonds and toss together until completely mixed.
  6. Store in an airtight container at room temperature.

Maple-Almond-Granola-Yogurt

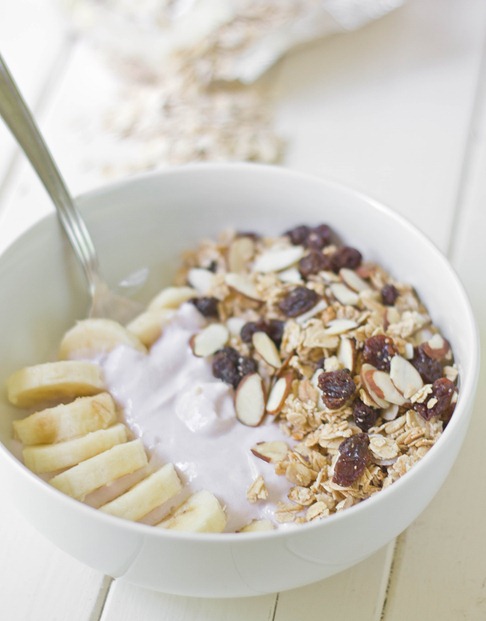
You can toast the almonds for an extra level of nuttiness before adding them to the granola. I’d also suggest adding almond extract to the raw oats before baking for a kick of flavor but it’s not necessary.

Gluten-Free Chocolate Flag Cake

Gluten-Free Chocolate Flag Cake

Happy (almost) 4th of July! I know I’m five days early, but consider this my obligatory patriotic post.

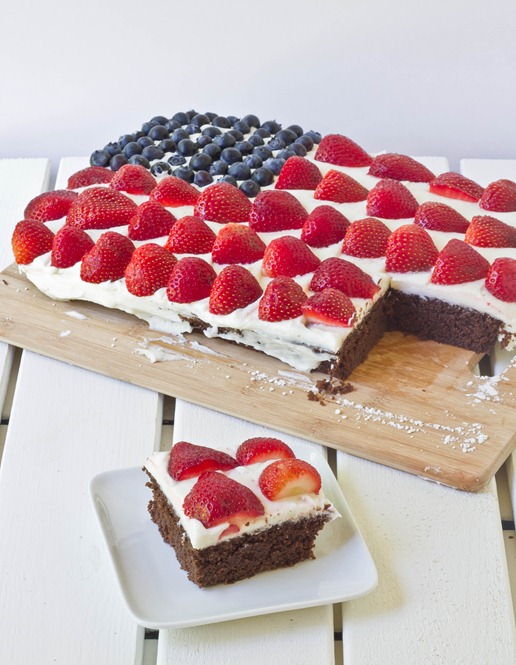
A few weeks ago I went to an American citizenship party for some friends who recently passed the citizenship test. There was grilling and beans and red, white, and blue napkins so of course there had to be flag cake.

Gluten-Free Chocolate Flag Cake Collage 2

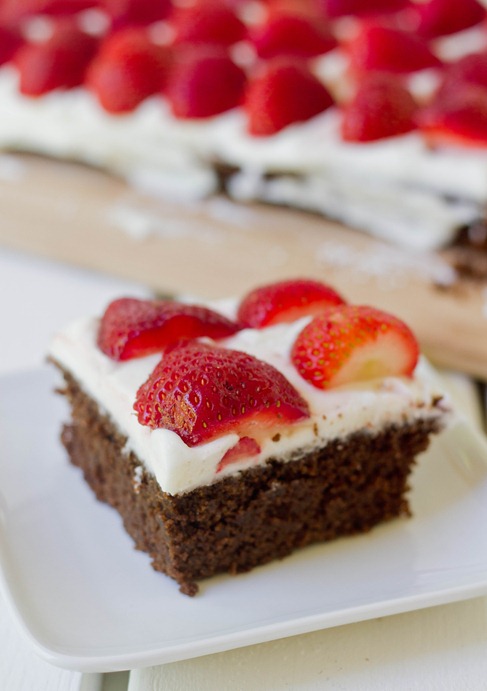
A family friend at this party recently had to cut gluten out of her diet; one of her favorite foods is chocolate cake so naturally I knew the cake I made had to be chocolate. I’d never experimented with almond flour and coconut flour in the same recipe but I thought I’d give it a shot. The texture was just like any good ol’ fashioned American sponge cake. You’d never guess it was gluten-free and grain-free.

The frosting also got a lot of praise, too. Then again, how can something with butter, cream cheese, and a pound of sugar not be good?

Gluten-Free Chocolate Flag Cake Slice

Make sure to use fresh fruit and to assemble it as close to serving as possible. The more the cake sits out, the more the juices from the strawberries runs into the frosting, and no one wants a runny flag.

Gluten-Free Chocolate Flag Cake

Prep time: 30 minutes

Cook time: 35 minutes

Ingredients(Makes 1 9 x 12 cake):

For the cake:

  • 3/4 cup chocolate chips
  • 1 1/4 cup almond flour
  • 1/2 cup coconut flour
  • 3/4 cup sugar
  • 1/2 cup oil
  • 6 extra large eggs
  • 1 teaspoon vanilla extract
  • 1 teaspoon baking soda
  • 1/2 teaspoon salt
  • 1/2 cup + 2 Tablespoons hot water

For the frosting:

  • 1 4oz stick of butter, room temperature
  • 1 8oz block of cream cheese, room temperature
  • 1 teaspoon vanilla extract
  • 1 1lb box of powdered sugar

 Fruit topping:

  • 1 half pint blueberries
  • 1lb fresh strawberries

Gluten-Free Chocolate Flag Cake Collage 3

Method:

  1. Preheat your oven to 350 degrees.
  2. Melt the chocolate in a double boiler or in the microwave.
  3. While the chocolate is melting, mix together the almond flour, coconut flour, sugar, and oil.
  4. Mix the melted chocolate into the flour mixture completely.
  5. Crack the eggs into the batter and beat each in.
  6. Add in the vanilla, baking soda, and salt.
  7. Add in the hot water and mix until the batter is smooth and slightly runny.
  8. Grease a 9 x 12 baking pan. Pour the batter in in an even layer.
  9. Bake for 35-40 minutes until the center of the cake has set. Remove from the oven and let it cool completely before frosting.
  10. Combine the butter, cream cheese, vanilla extract, and half of the sugar in a large bowl.
  11. With an electric mixer, beat together the ingredients until the sugar is entirely incorporated.
  12. Slowly add more sugar into the mix until all of it is mixed into the frosting.
  13. Spread a few tablespoons of powdered sugar on top of the cake and brush it all around to prevent the frosting from tearing the top of the cake.
  14. Spread the frosting out all over the cake in an even layer and around the sides.
  15. Make a square of blueberries in the top left corner of the cake.
  16. Remove the stem from each strawberry and cut each in half. Lay them out top to bottom in horizontal lines in a flag pattern.
  17. Refrigerate until ready to serve.  

Gluten-Free Chocolate Flag Cake Finished

There were practice American citizenship tests at the party. I scored a 12/20. I think that’s good enough not to be deported, right? Too bad how to make a flag cake isn’t part of the test.

White Chocolate Peanut Butter Granola Bars

Glad to know I’m not the only one who thinks peanut butter and baked beans are a delicious combination. But I forgot to mention the best part! If you leave a comment on the recipe page on Peanut Butter & Co.’s All Star Recipe Blog you’ll be entered to win a jar of their deliciously sweet Smooth Operator peanut butter.

And speaking of peanut butter…

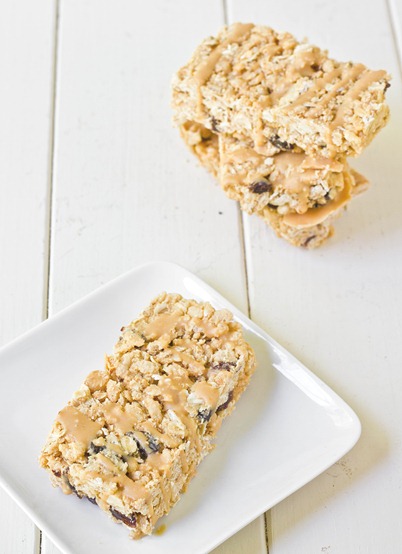
White Chocolate Peanut Butter Granola Bars Sliced

As soon as I made chocolate almond granola bars I knew I wanted to make a version using peanut butter. What goes better together than peanut butter and chocolate? But when I finally got around to making it, I thought of improvising and using white chocolate; if anything beats peanut butter and chocolate, it’s peanut butter and white chocolate.

White chocolate’s one of those things I don’t like so much on its own but goes great with just about anything. It adds a rich, buttery flavor to these granola bars that make them taste like they’re so homemade you grew the oats yourself.

White Chocolate Peanut Butter Granola Bars

Want to take these to the next level? Try using PB&Co.’s white chocolate peanut butter.

White Chocolate Peanut Butter Granola Bars

Prep time: 10 minutes

Cook time: 0 minutes

Ingredients(Makes 8 bars):

  • 1/2 cup white chocolate chips
  • 1/2 cup no-stir peanut butter
  • 3 Tablespoons honey
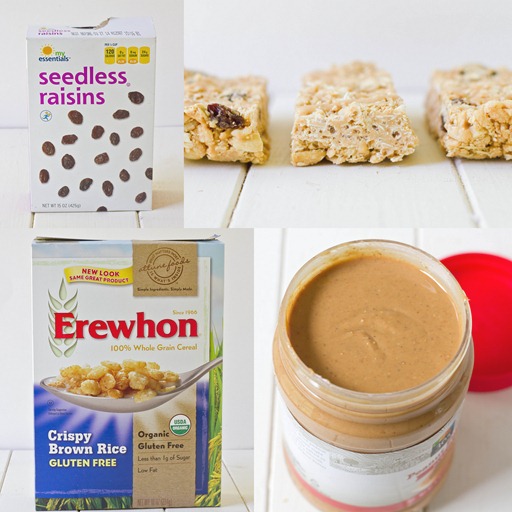
  • 1 cup oats*
  • 1 1/2 cups rice crisps cereal*
  • 1/2 cup roasted peanuts
  • 1/2 cup raisins
  • 1/4 teaspoon salt

*To make these granola bars gluten-free, make sure these two ingredients are certified gluten-free.

White Chocolate Peanut Butter Granola Bars Collage

Method:

  1. In a microwave or over a double boiler, melt the white chocolate.
  2. Stir in the peanut butter and honey until smooth.
  3. Add in the oats, cereal, peanuts, raisins, and salt and mix until everything is completely covered.
  4. Line an 8 x 8 baking tray with wax paper. Dump the batter into the pan and press down into an even layer.
  5. Refrigerate the bars until they’ve hardened—about 20-30 minutes.
  6. With a sharp knife, cut the bars in half horizontally and into quarters vertically into 8 2 x 4 bars.
  7. Store in the refrigerator for up to 2 weeks.

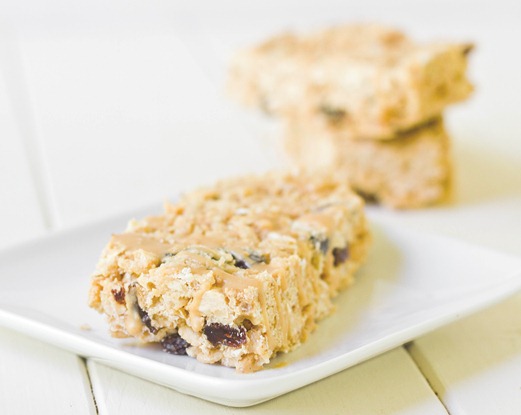
White Chocolate Peanut Butter Granola Bars(2)

These were a little more crumbly than the other granola bars I made for whatever reason. Make sure when you cut into them they’re extra cold and you use a sharp knife.

Peanut Butter And Barbeque

peanut-butter-baked-beans-finished-serving

Peanut butter probably isn’t what you think of when you think of backyard barbeques or baked beans. That doesn’t mean they don’t go together like, well, peanut butter and jelly!

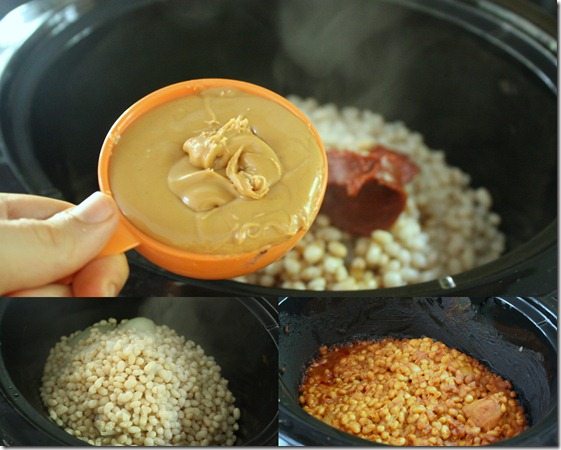
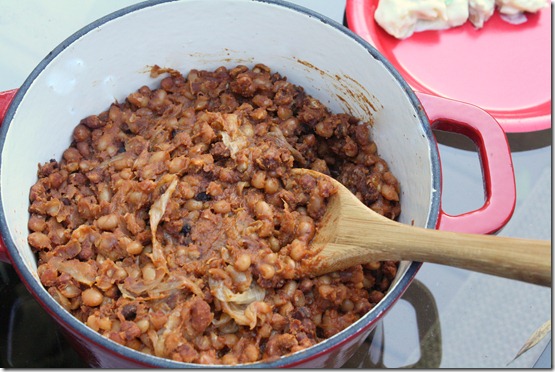
Today my fourth recipe goes up on PB&Co.’s All Star Recipe Blog and the theme is Summer grilling. I’m a sucker for slow-cooked homemade baked beans so I thought why not combine that with one of my other favorites, Smooth Operator peanut butter?

Desktop4

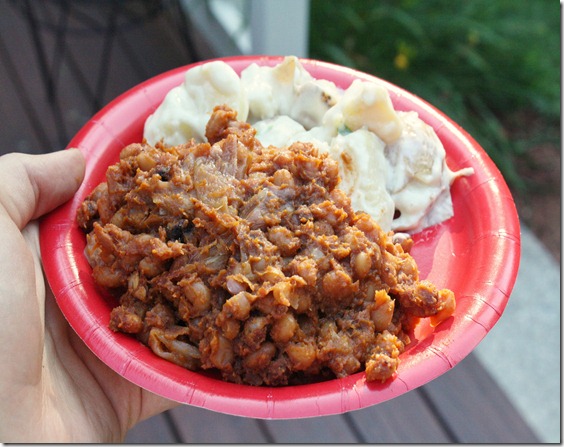
These beans are baked with onions, molasses, tomato, worcestershire sauce, and—of course—peanut butter. The flavor is nutty and warm with a sweet and salty tang to it. Imagine the best baked beans you’ve ever had only made better with Smooth Operator. It’s also easy to make gluten-free and/or vegan depending on what worcestershire sauce you use.
peanut-butter-baked-beans-finished-product

Hop on over and see the recipe! Like any baked beans, these aren’t going to win any beauty pageants but you won’t mind as you go back for seconds and thirds.

Peanut Butter Corn Flakes Cookies

Peanut Butter Corn Flakes Cookies

When you start baking gluten-free, one thing you get used to is using anything for a flour-substitute. Gluten-free cereals are one of my favorites since you can use them in baked or no-bake desserts and the flavor’s always familiar.
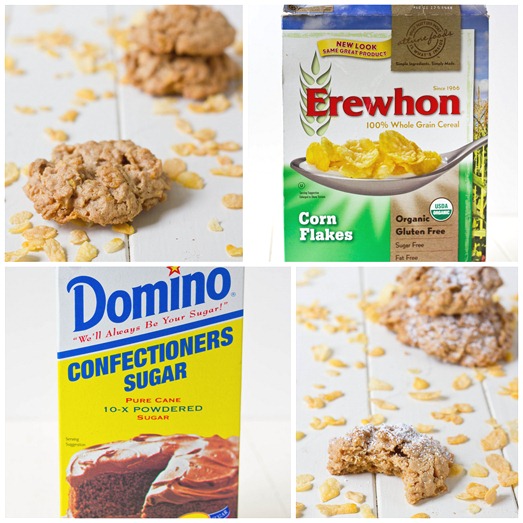
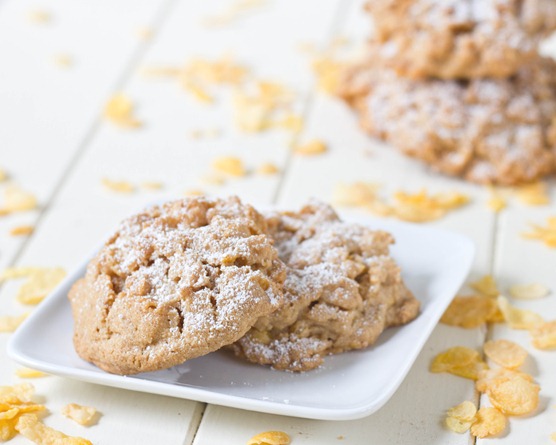
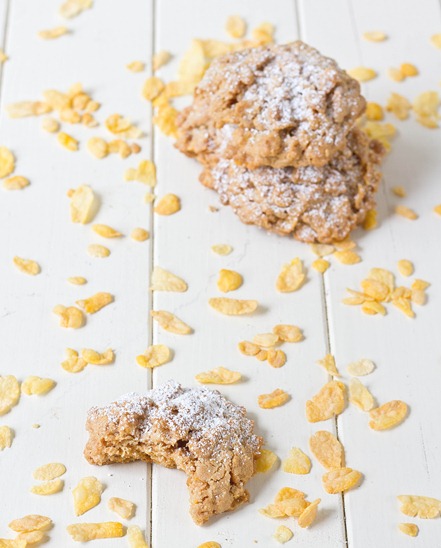
Good ol’ fashioned corn flakes add a nice crunch and chewiness to traditional peanut butter cookies. The flavor is better than any bowl of cereal I’ve ever had.  
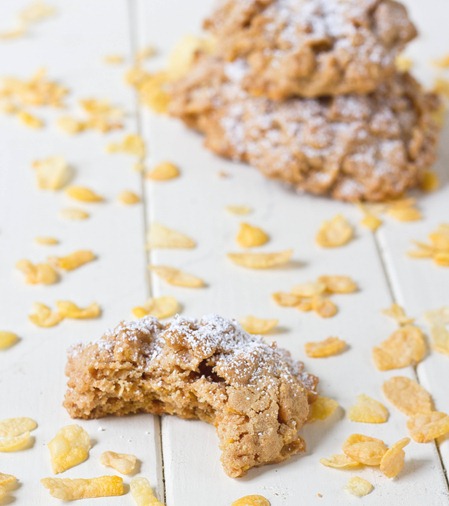
Peanut Butter Corn Flakes Cookies Bite

If you don’t have powdered sugar but still want to give these cookies a special feel to them, drizzle melted chocolate on instead.

Peanut Butter Corn Flakes Cookies

Prep time: 10 minutes

Cook time: 20 minutes

Ingredients(Makes 12 large cookies):

  • 1 cup peanut butter
  • 1 cup brown sugar
  • 1 egg
  • 2 teaspoons vanilla extract
  • 1 teaspoon baking soda
  • 2 cup corn flakes(I used Erewhon brand)
  • Powdered sugar for dusting

Peanut Butter Corn Flakes Cookies Collage

Method:

  1. Preheat your oven to 350 degrees.
  2. In a large bowl, mix together the peanut butter, sugar, egg, vanilla, and baking powder.
  3. Add in the corn flakes and continue mixing until the dough forms one large ball.
  4. Drop mounds of dough onto a greased baking tray(I used an ice cream scoop to form the mounds).
  5. Bake for 15-18 minutes until the cookies are firm to the touch.
  6. Remove from the oven and let the cookies cool completely.
  7. Dust with powdered sugar before serving.

Peanut Butter Corn Flakes Cookie Close-Up

These cookies beg to be eaten with a cold glass of milk or almond milk.