Tag Archive: Gluten-Free

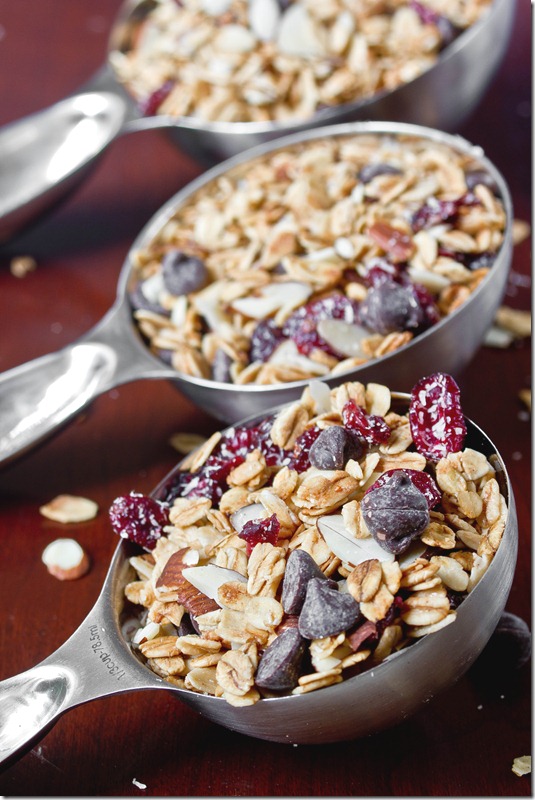
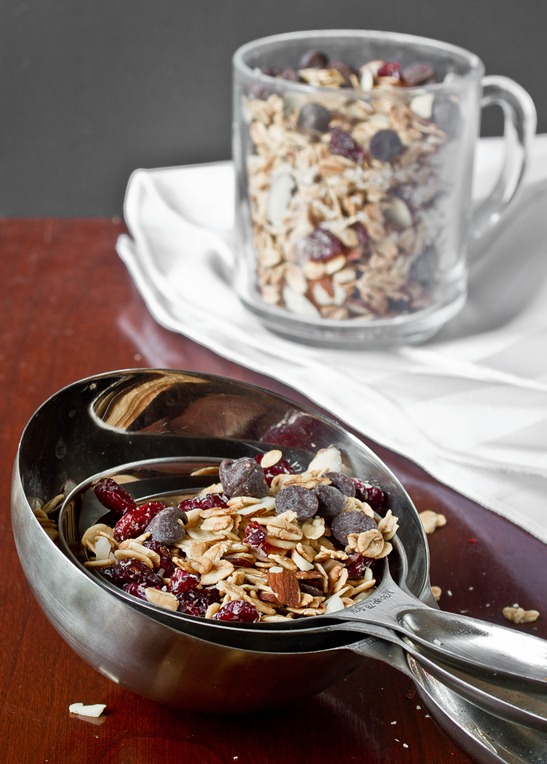
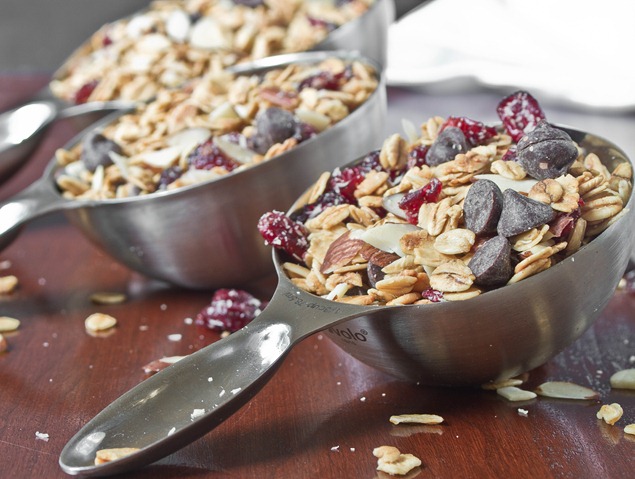
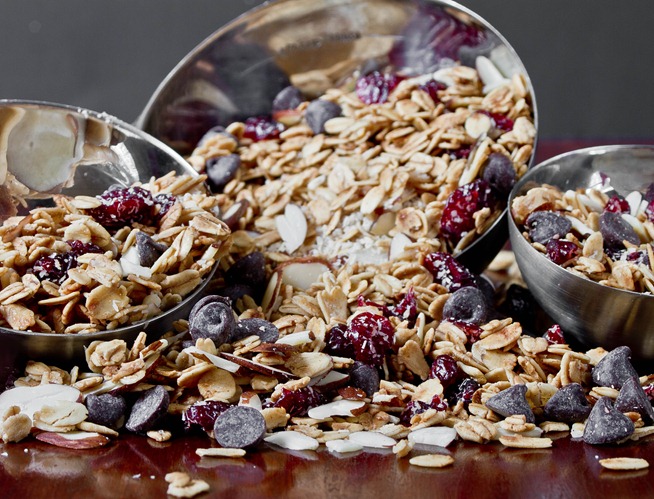
Coconut Almond Granola

Coconut Almond Granola

I’m not sure how I’d live if I were allergic to nuts. Peanuts, coconuts, almonds, cashews, pistachios—all of them; they’ve become a staple in my diet without gluten or meat. And don’t even get me started on all of the amazing things you can bake with almond flour…

Thankfully, I’m not, so I can go on making granola chockfull of all sorts of nuts packed with protein, fiber, and healthy fats. I’m not one to always use coconut oil(mostly because of the price), but I love how aromatic it is when I do. You can smell all the flavors in this granola as it bakes, from the earthy cinnamon and vanilla to the fruity coconut. 

Coconut Almond Granola

Toasting the nuts adds a much more vibrant flavor to them. The easiest way to do this is in a large frying pan over low to medium heat. It’s easier and more consistent than throwing the nuts into the oven; just be sure to pay close attention to them as they will burn quickly.

Coconut Almond Granola

Prep time: 10 minutes

Cook time: 35 minutes

Ingredients(Makes about 3 cups):

  • 2 1/4 cups gluten-free oats
  • 1/3 cup liquid sweetener
  • 2 Tablespoons coconut oil, melted
  • 1/4 teaspoon cinnamon
  • 1/2 teaspoon vanilla
  • 1/4 teaspoon salt
  • 1/4 cup shredded coconut
  • 1/4 cup sliced almonds
  • 1/4 cup chocolate chips(optional)
  • 1/4 cup dried cherries(optional)

Coconut Almond Granola

Method:

  1. Preheat your oven to 350 degrees.
  2. Mix together the oats, sweetener, coconut oil, cinnamon, vanilla, and salt in a large bowl.
  3. Lay the oats out in a 1/2-inch thick layer on a lined baking tray.
  4. Bake for 30-35 minutes, breaking up the oats every 10 minutes or so, until they’re toasted and golden. Remove from the oven and let cool.
  5. While the granola is baking, toast the coconut and almonds together in a large frying pan. Make sure to stop once they’re aromatic and golden and take care not to burn them.
  6. Toss the toasted coconut and almonds in with the granola. Toss in the cherries and chocolate chips as well if using, but make sure that the granola and nuts are completely cool before adding in the chocolate chips or else they’ll melt on touch.
  7. Store in an air-tight container for up to 2-3 weeks

Coconut Almond Granola

I said that the cherries and chocolate chips were optional but… they’re really not optional; you’re only cheating yourself if you leave them out. Between the rich toasted nuts and sweet fruit and chocolate, I’m always going back for more.

Vanilla Rosemary Potatoes

Vanilla Rosemary Potatoes

A few weeks ago a good friend of mine asked me to teach her how to cook. I can’t think of any other time I’ve ever taught someone to cook; I don’t think I’m very good at it. When I write a blog post I just say what I did. But when I’m in the kitchen, I don’t usually follow a recipe; I just feel my way around and do what I think I should do and if it doesn’t work out—well, that’s what the garbage can is for.

The hardest part was picking what to make. We ended up settling on Mediterranean chicken, a pretty basic salad, sautéed broccoli, and this potato recipe. I’d seen vanilla used with savory roasted vegetables on blogs before and had been wanting to try it. The idea isn’t to have the potatoes become sweet like candy but rather gain a subtle flavor that’s familiar but hard to pin down.

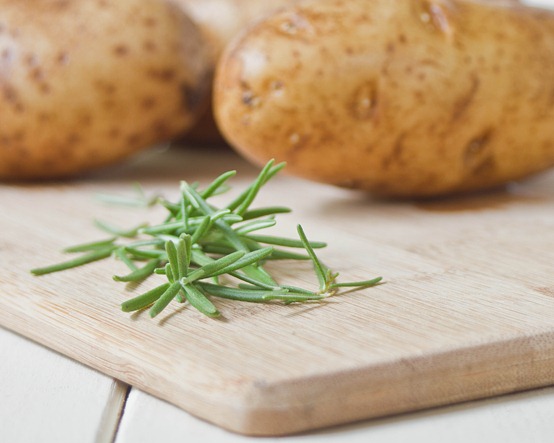
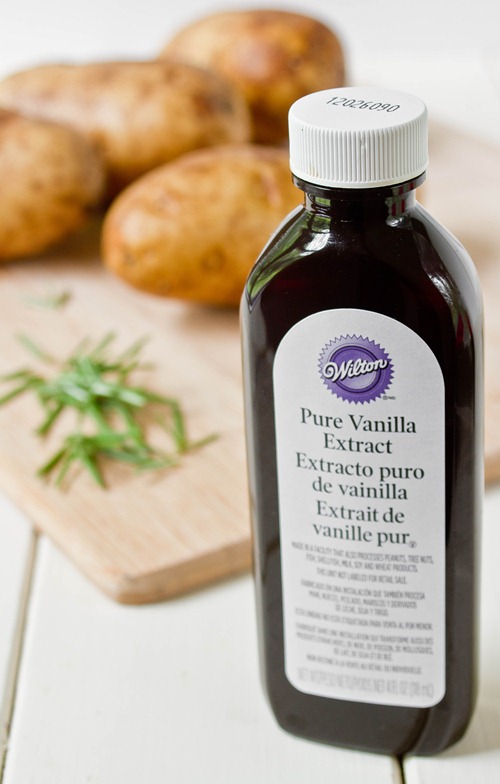
Vanilla Rosemary Potatoes Ingredients

We learned three things that night:

1. A little sugar in any recipe is a good thing. I love to add just a tablespoon of sugar to marinades or dressings, sauces and vegetables to help bring out the natural sugars.

2. I make really good chicken for a vegetarian(or so I’m told).

3. Vanilla rosemary potatoes are shockingly delicious. There were some skeptics who thought vanilla on vegetables couldn’t be good, but by the end of the night everyone was converted.

Vanilla Rosemary Potatoes

Prep time: 10 minutes

Cook time: 60 minutes

Ingredients(Makes 4-6 servings):

  • 5-6 medium Russet potatoes, cut and cubed
  • 2 Tablespoons olive oil
  • 1/2 teaspoon vanilla extract
  • 2 Tablespoons fresh rosemary leaves
  • 1 1/2 Tablespoons sugar
  • 1/2 teaspoon salt

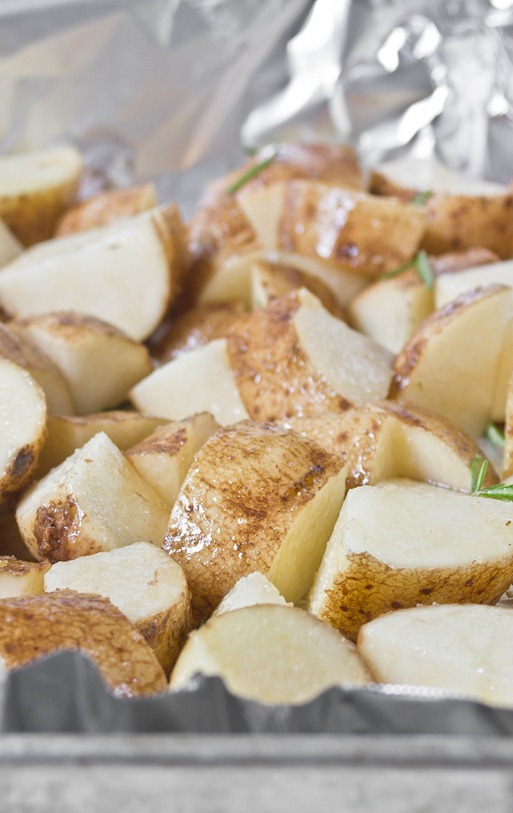
Vanilla Rosemary Potatoes Baking

Methods:

  1. Preheat your oven to 375 degrees.
  2. In a large bowl, toss all of the ingredients together until the potatoes are covered in oil.
  3. Lay the potatoes out in a single layer on a baking tray.
  4. Bake for 60 minutes shaking the pan halfway through.
  5. Remove from the oven and serve hot.

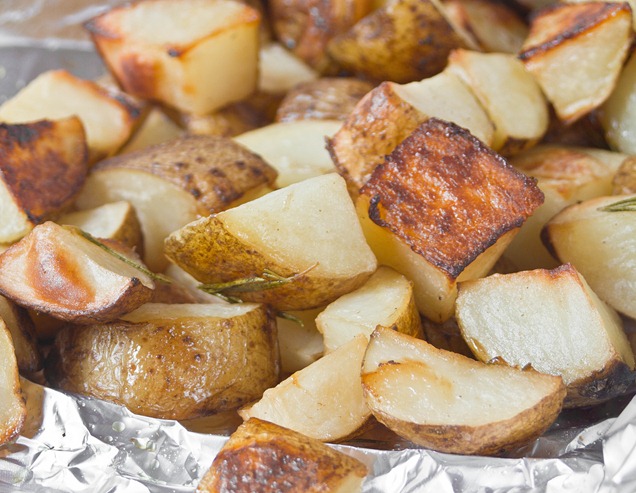
Vanilla Rosemary Potatoes Final Product

This is definitely more of a Fall and Winter dish than it is Summery, so you might want to bookmark it and hold onto it until October. Then again, potatoes are always plentiful and cheap so what’s not to love even in the Summer time?

Copycat Peanut Butter Chocolate Chip Larabars

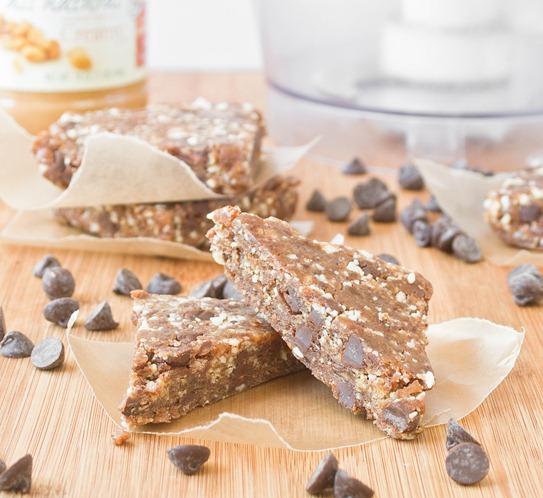
Copycat Peanut Butter Chocolate Chip Larabars

When you’re a food blogger, you end up having some pretty weird “snacks”. Leftover cheesecake in the afternoon? Sure. Chocolate granola for lunch and dinner some times. Anything goes.

That’s all great and delicious but there are times when I wish I ate a little bit healthier. Of course, the answer’s simple; if you want to eat healthy you need to buy and make healthy meals and snacks. So to start I made one of my favorites: peanut butter chocolate chip larabars.

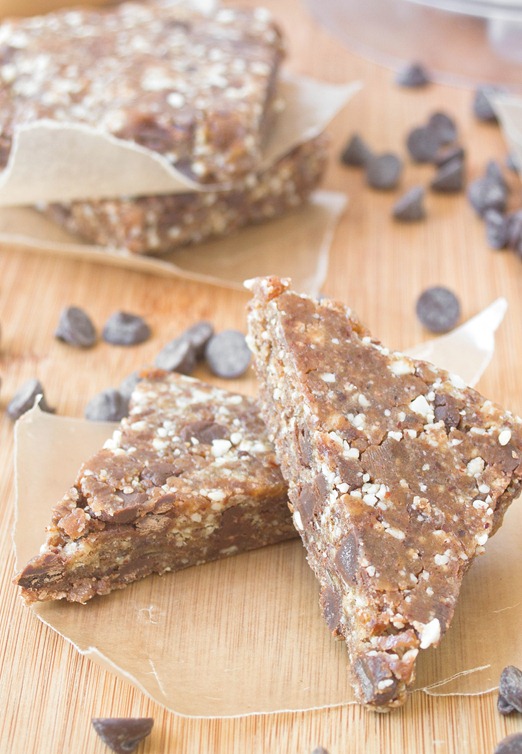
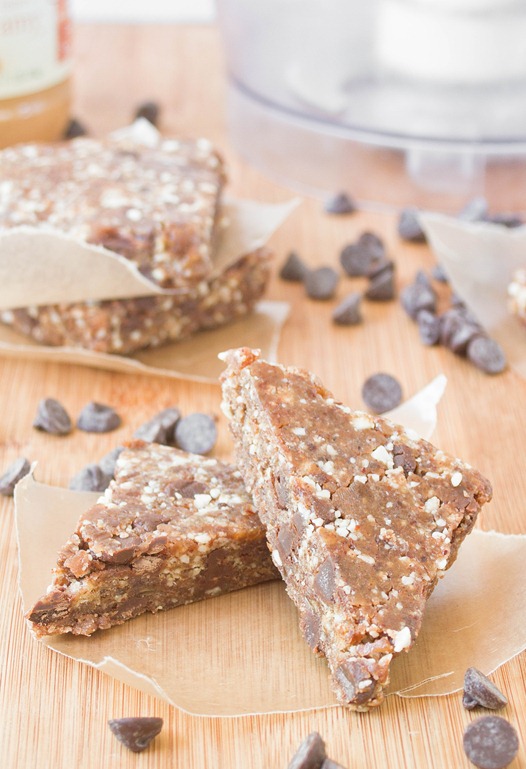
Copycat Peanut Butter Chocolate Chip Larabars Serving

Most pre-portioned snacks at the grocery store are overpriced; they’re even pricier if you get them from kiosks or snack stands. By making your own, you control the costs and quality of the ingredients. Larabars have pretty clean and simple ingredients as is, but by buying dates and using other ingredients I already had I was able to bring the cost down.

You could make your own and use almonds instead of peanuts to adapt these for someone with a peanut allergy.

Copycat Peanut Butter Chocolate Chip Larabars

Prep time: 10 minutes

Cook time: 0 minutes

Ingredients(Makes about 6 bars):

  • 8oz pitted dates
  • 1/2 cup peanuts
  • 2 Tablespoons peanut butter
  • 1/4 teaspoon salt
  • 1/3 cup chocolate chips

Method:

  1. Combine the dates and peanuts in a food processor and blend on high until the ingredients start to form a paste.
  2. Add in the peanut butter and salt and continue blending until a dough begins to form.
  3. Lastly, add in the chocolate chips and pulse a few times.
  4. Line a loaf or baking pan with plastic wrap.
  5. Drop the dough on top of the plastic wrap and press the dough into a square or rectangle about 3/4-inch thick.
  6. Cut into bars or squares. Wrap individually and refrigerate until ready to eat.

Copycate Peanut Butter Chocolate Chip Larabar Cut

I left mine in squares. You could make bars or balls or really any shape you could think of with these.

Honey Ginger Ice Cream

Honey Ginger Ice Cream

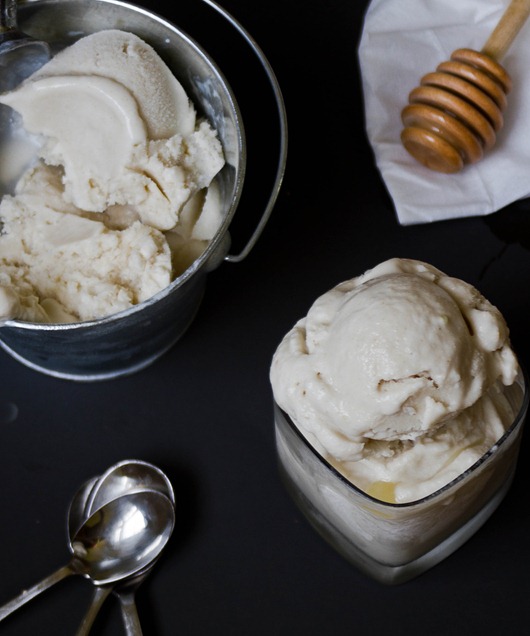
I can’t believe it took me almost a month and a half this Summer to break out my ice cream maker. Even though it doesn’t get as much use as most of my other kitchen appliances, it’s definitely my favorite. How can you not love anything that takes milk and spits out ice cream?

There’s a great ice cream parlor near the house I stay at in Maine that makes their own fun flavors. I made it there once this Summer before being reminded that full-fat dairy ice cream really doesn’t agree with me. Womp womp. I hear they have great ginger ice cream so I thought I’d make my own.

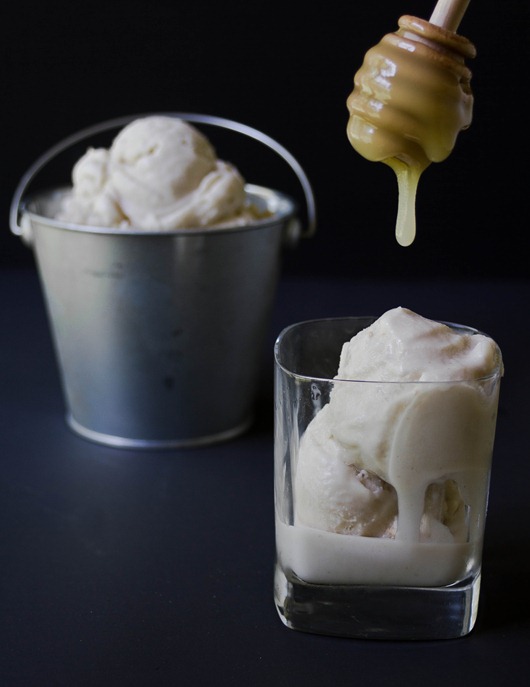
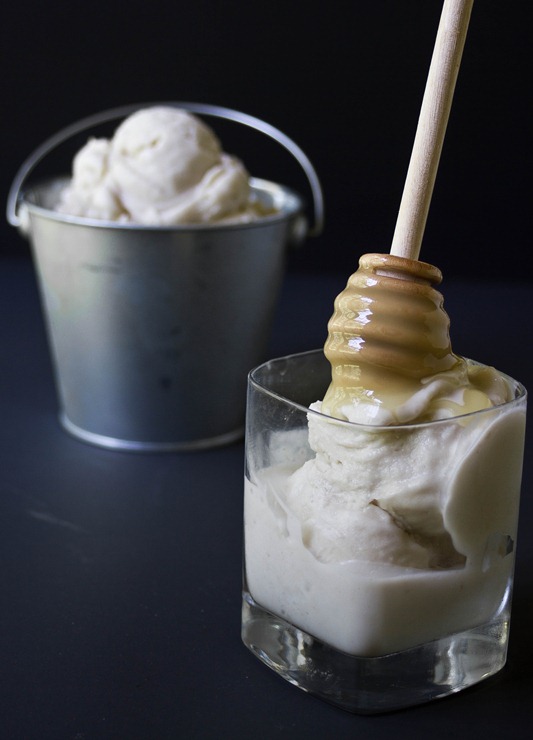
Honey Ginger Honey Drip

This ice cream has fresh and dried ginger for a strong punch of flavor. I always think of ginger and honey going together in recipes so it seemed like a good flavor to introduce here. If you’re vegan or don’t want to include it, you can easily swap it out for another 1/4 cup of sweetener.  

Honey Ginger Ice Cream

Prep time: 25 minutes

Cook time: 0 minutes

Ingredients(Makes 6-8 servings):

  • 1/4 cup honey
  • 3/4 cup sugar
  • 2 15oz cans of coconut milk
  • 2 Tablespoons shaved fresh ginger
  • 1 Tablespoon ginger powder

Honey Ginger Ice Cream Serving

Method:

  1. In a large bowl, whisk together all of the ingredients until the sugar has dissolved.
  2. Pour the base into an ice cream maker and freeze according to manufacturer’s directions.
  3. Move the freshly frozen ice cream into an airtight container and let it harden in the freezer for a couple of hours to chill completely.
  4. Before serving, let the ice cream sit at room temperature for about 5 minutes to soften.

Honey Ginger Ice Cream Honey

For an extra touch of flavor you can add some lemon zest into the base; I was a little worried that the three together might be overwhelming and hard to distinguish but now I’m dying to try it.

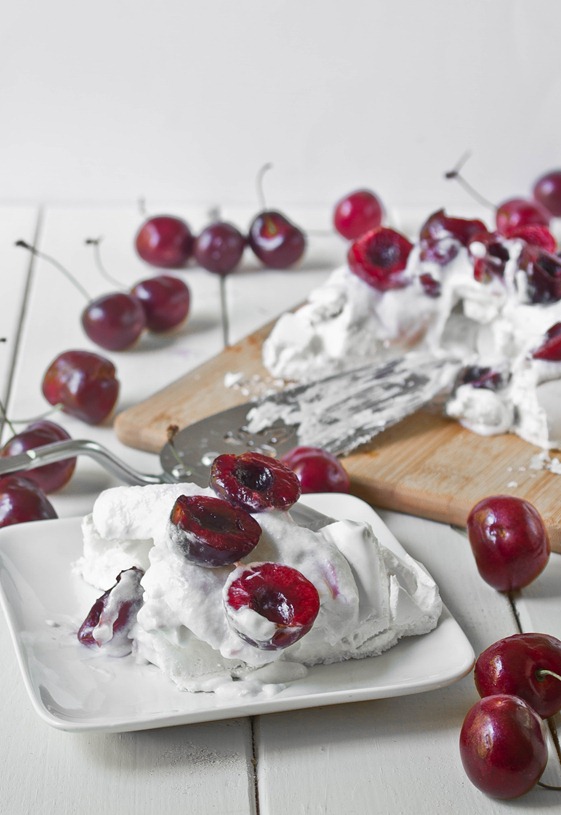
Cherry Coconut Pavlova

Cherry Coconut Pavlova

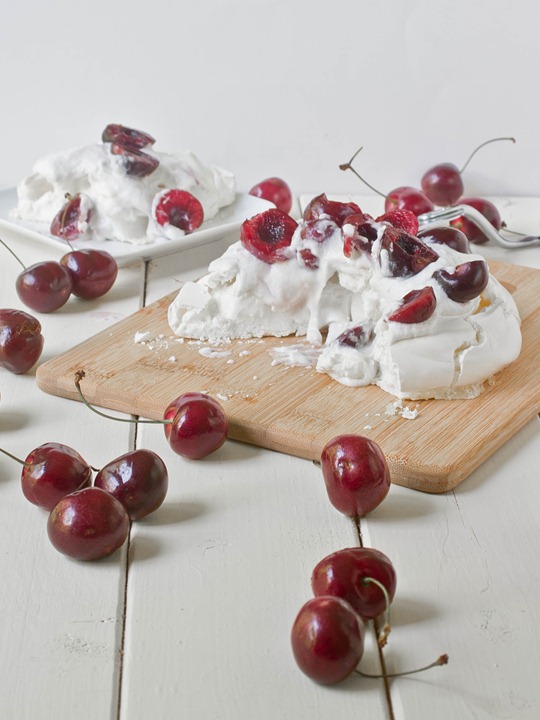
I’ve never heard the word “pavlova” more than in the past month. It’s not a dessert that gets a lot of attention, but for some reason I’ve been seeing it everywhere: At parties we’ve gone to, on the Food Network, and even on one of my favorite blogs. Since it’s a naturally gluten-free dessert, I wanted to get in on the action and make my own.

The only part of the recipe that really ever changes is the base; everyone seems to make their meringue different. I like using powdered sugar for a sweeter and pure white meringue, with a little bit of cream of tartar to help it stay up. I also choose to let it “cook” overnight in a hot oven to get the best texture. When it’s done, the outside should be hard and crispy while the inside meringue is soft like a marshmallow.

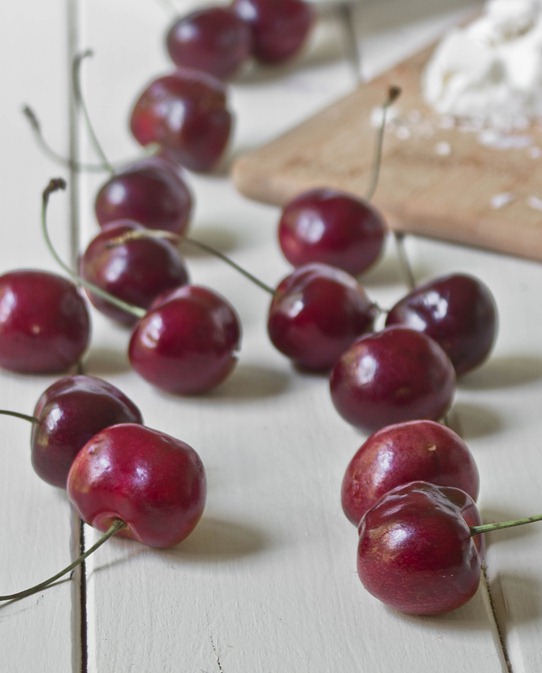
Cherry Coconut Pavlova Cherries

The fun thing about this dessert is you can dress the meringue any way. Whip regular cream instead of coconut milk for a more traditional dessert. You can serve it with any fresh fruit that’s on hand or even use a fruit sauce.

Cherry Coconut Pavlova

Prep time: 10 minutes

Cook time: 12 hours(overnight)

Ingredients(Makes 3-4 servings):

  • 2 egg whites
  • 1 cup powdered sugar, sifted
  • 1/8 teaspoon cream of tartar
  • 1/2 cup coconut cream*
  • 1/2 cup pitted and halved cherries

*To get coconut cream, leave a can of full-fat coconut milk undisturbed in the pantry for a few days. Open it without shaking the can. The cream will be separated on the top from the coconut water, a clear liquid that you can save and use as a sports drink.

Cherry Coconut Pavlova Garnished

Method:

  1. Preheat your oven to 350 degrees.
  2. Whip the egg whites in a glass bowl slowly adding the powdered sugar and cream of tartar until it forms soft peaks.
  3. Pour the meringue in a mound on a non-stick baking tray. Swirl a utensil on the top of the meringue for an artful effect.
  4. Put the meringue in the oven and immediately turn off the oven. Do not open the oven door. Let the meringue sit undisturbed in the hot oven overnight.
  5. When the meringue is ready, whip the coconut milk in a chilled glass bowl until it forms stiff peaks.
  6. Spread the whipped coconut milk on top of the meringue and garnish with the cherry halves. Serve immediately.

Cherry Coconut Pavlova Plated

This dessert definitely stops being pretty once you cut into it. That’s ok; it’s delicious enough that no one will notice. The best bites are the ones where you get a little of everything: The sweet meringue, the rich topping, and the tart cherries.

Arepas and Peanut Butter

I don’t typically have exciting breakfasts. Usually I have oatmeal with egg whites and peanut butter or a paleo mug cake with peanut butter on top.

The common denominator? Peanut butter. Naturally, I was excited when Peanut Butter & Co. asked me to make a breakfast recipe for their All Star Recipe Blog, but I knew it’d have to be something more exciting than oatmeal.

As I looked at recipes from all around the world, I saw they all revolved around the same ingredients: eggs and grains. Add some peanut butter and fruit and that sounds like a well-rounded breakfast. I settled on arepas, a popular Columbian breakfast, and added a few American twists.

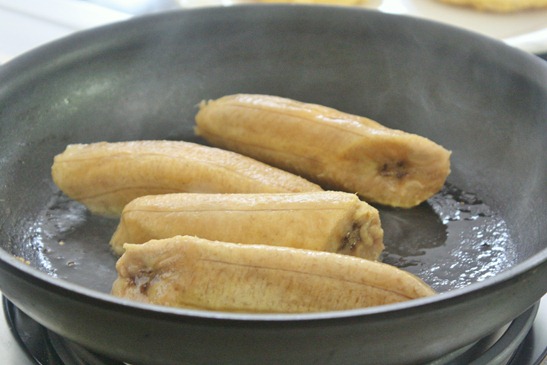
sweet-breakfast-arepas-plantain-frying

This was my first time cooking plantains. This was actually my first time eating plantains. All I knew is that they were like giant bananas… sort of. After trying them I can safely say they’re one of my new favorite foods. It might seem odd pairing them with cinnamon raisin swirl peanut butter but I love bananas and peanut butter so why not?

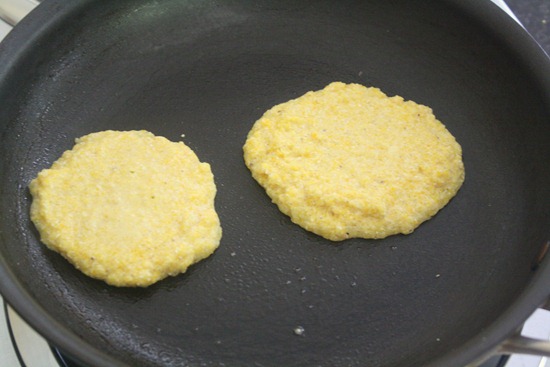
sweet-breakfast-arepas-corn-cakes

The other parts of this are the arepas themselves(think along the lines of unsweetened cornmeal pancakes) and a fried egg to top it all off. What doesn’t a fried egg make better? Since the dough is purely cornmeal, this dish is naturally gluten-free, too. For the full recipe and a chance to win a jar of cinnamon raisin swirl, click here and enjoy!

Chubby Hubby Cheesecake

Chubby Hubby Cheesecake

Cheesecake is kind of a magical food. It’s hard to not love a good cheesecake. It’s sweet and tangy and rich and creamy all at the same time; it’s pretty much the perfect dessert.

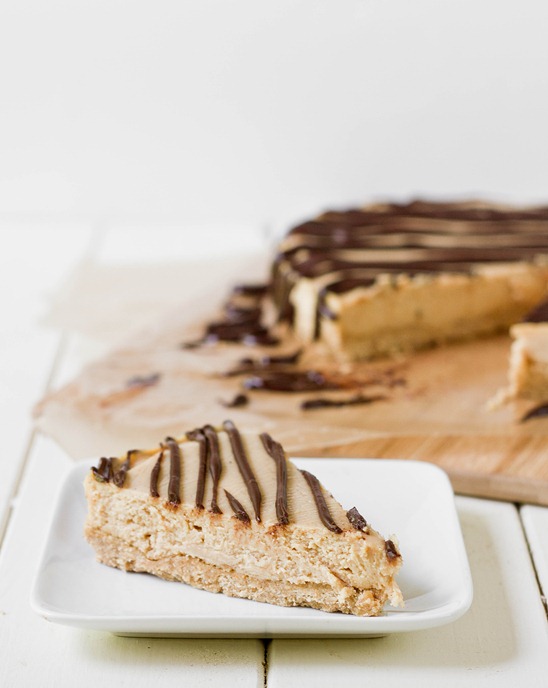
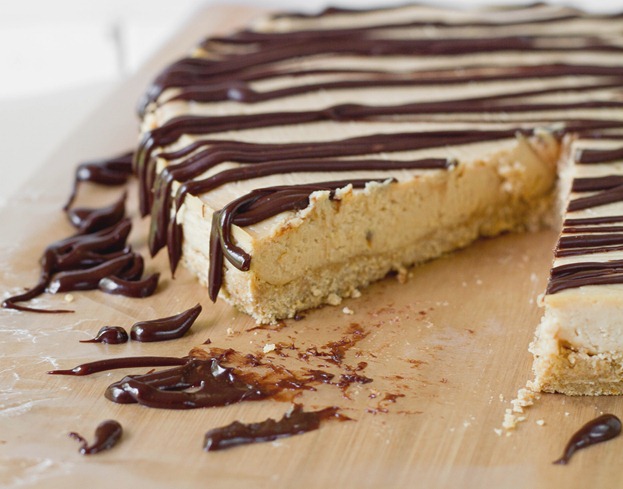
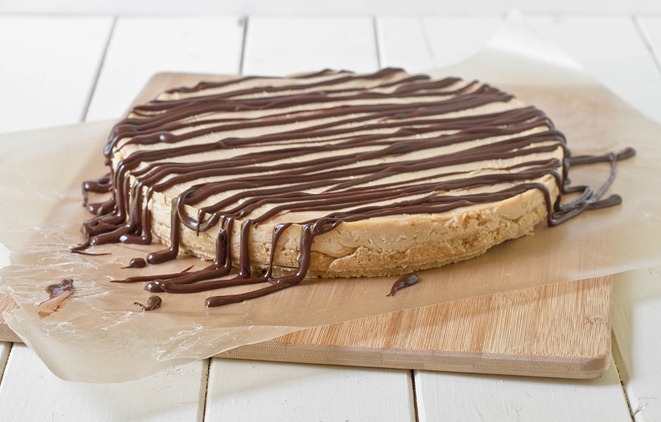
I don’t think I’ve ever had Chubby Hubby ice cream(Phish Food is by far my favorite Ben & Jerry’s flavor), but anything with peanut butter, pretzels, and chocolate has to be good. And that’s exactly what this cheesecake is: A slightly salty pretzel crust with a rich peanut butter cheesecake filling and a sweet chocolate ganache. Ben and Jerry would definitely be proud.

Chubby Hubby Cheesecake Serving

The best thing about this recipe is that it’s no-bake(because, really, who wants to bake at all mid-Summer?). Because of that, the filling isn’t as light and airy as a cheesecake with eggs would be. You could use full-fat cream cheese in this recipe but it gets more than enough richness from the peanut butter.

Chubby Hubby Cheesecake

Prep time: 20 minutes

Cook time: 0 minutes

Ingredients

For the crust:

  • 6oz pretzels(about 2 cups)*
  • 1 stick butter, melted
  • 6 Tablespoons powdered sugar
  • 1/4 cup liquid sweetener(agave, maple syrup, or corn syrup)
  • 1-3 Tablespoons water

For the filling:

  • 2 8oz blocks Neufchatel or low-fat cream cheese, room temperature
  • 1 cup no-stir peanut butter
  • 1 cup powdered sugar
  • 1 teaspoon vanilla extract

For the ganache:

  • 1/2 cup chocolate chips
  • 2 Tablespoons cream or milk
  • 1 Tablespoon liquid sweetener(agave, maple syrup, or corn syrup)

*To make this cheesecake gluten-free, use gluten-free pretzels. I like Snyder’s of Hanover’s pretzel sticks.

Chubby Hubby Cheesecake Plated

Method:

  1. Pulse the pretzels in a food processor until the crumbs form a coarse flour.
  2. Add in the melted butter, powdered sugar, and sweetener and mix.
  3. Slowly add in water until the dough starts to stick to itself. You may not need any water or you may need up to a few tablespoons.
  4. Press the pretzel dough into the bottom of a cake pan firmly and work it into an even layer.
  5. In a separate bowl, mix together all of the filling ingredients on high until the filling is uniform in color and texture.
  6. Pour the filling on top of the pretzel crust and spread it out in an even layer. Put the cheesecake in the refrigerator until the center sets.
  7. While the cheesecake is chilling, melt the chocolate for the ganache in a microwave or over a double boiler.
  8. Whisk in the cream and sweetener.
  9. Let the ganache cool slightly until it’s about the same consistency as a buttercream frosting. Scoop the chocolate into a frosting bag or Ziploc bag with a corner cut out and drizzle it on top of the chilled cheesecake.
  10. Store in a refrigerator. Let the cheesecake sit at room temperature for about 30 minutes before serving.

Chubby Hubby Cheesecake Finished

Next time I make this I might double the filling so that it’d be about as thick as the Cheesecake Factory cheesecakes that have about enough calories to feed a small family for a week. Gluten-free or not, everyone deserves that in their life from time to time.

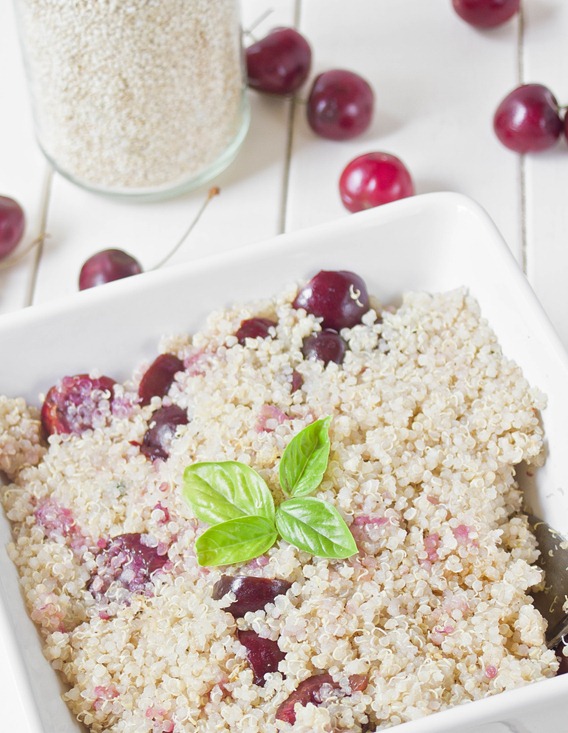
Cherry Basil Quinoa

Cherry Basil Quinoa

One cherry recipe and now another; if you can’t tell I bought a couple pounds of cherries last weekend and had to find ways to eat them. Now that they’re gone, I’m tempted to get more and see what comes out of it.

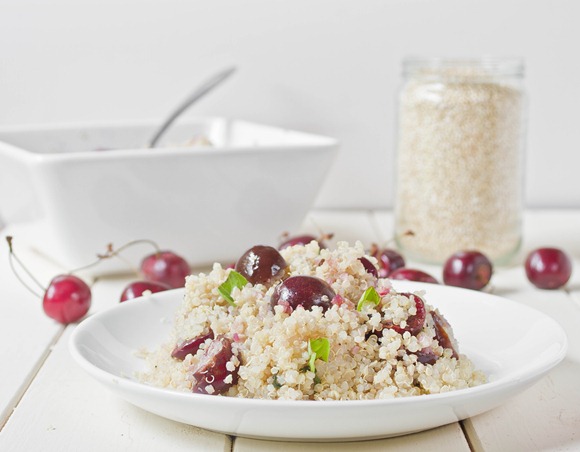
The great thing about fruits in the Summer is that you don’t really need to do anything to them. I thought about roasting the cherries before adding them in with quinoa(which you certainly can do), but the light and tangy flavors of fresh cherries mixed with herbs and seasoning didn’t need anything more.
Quinoa

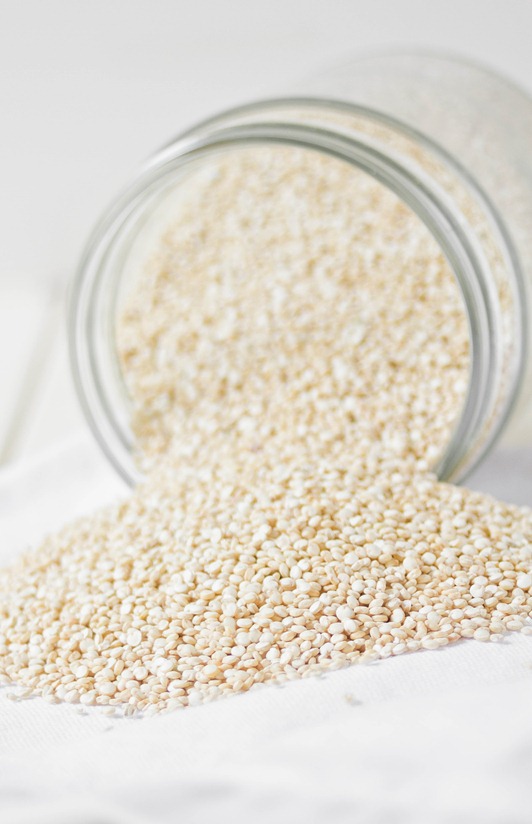
Quinoa’s one of my favorite grains and a pantry-staple in my house. If you’re out of quinoa and still want to try this, you could use couscous or a short-grain rice like Arborio. You could roast the cherries before mixing them in for a different flavor, but when they’re this fresh I think they’re even better as is.

Cherry Basil Quinoa

Prep time: 10 minutes

Cook time: 20 minutes

Ingredients(Makes 4-6 servings):

  • 1 1/2 cups dry quinoa, washed and rinsed
  • 3 cups water*
  • 3/4 cup pitted and halved cherries
  • 2 Tablespoons extra virgin olive oil
  • Small handful of basil, roughly chopped
  • 3/4 teaspoon salt
  • 1/2 teaspoon pepper

*This is the average amount of water I use for cooking quinoa. If you have a different method or the brand you use recommends more or less, by all means you can adjust this.

Cherry Basil Quinoa Yield

Method:

  1. Bring the quinoa and water to a boil in a pot and put on the lid.
  2. Turn the burner off and leave the quinoa undisturbed for 15-20 minutes until the water is entirely absorbed.
  3. Toss in the cherries, olive oil, basil, salt, and pepper and mix. Transfer from a pot to a serving dish.
  4. Serve hot or cold. Keep leftovers in the refrigerator for 2-3 days.

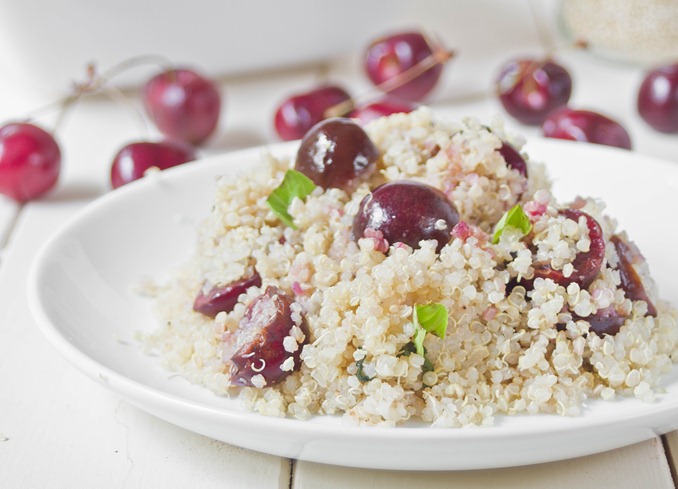
Cherry Basil Quinoa Plated

Who knew simple could be so good? You can add some beans into the mix or add crushed pistachios or almonds on top to make this more of an entrée.

Dark Chocolate Cherry Zucchini Bread

Dark Chocolate Cherry Zucchini Bread

I love fresh cherries. They’ve been on sale the past few weeks and I’ve been eating them by the pound. As good as cherries are on their own, with chocolate they’re out of this world.

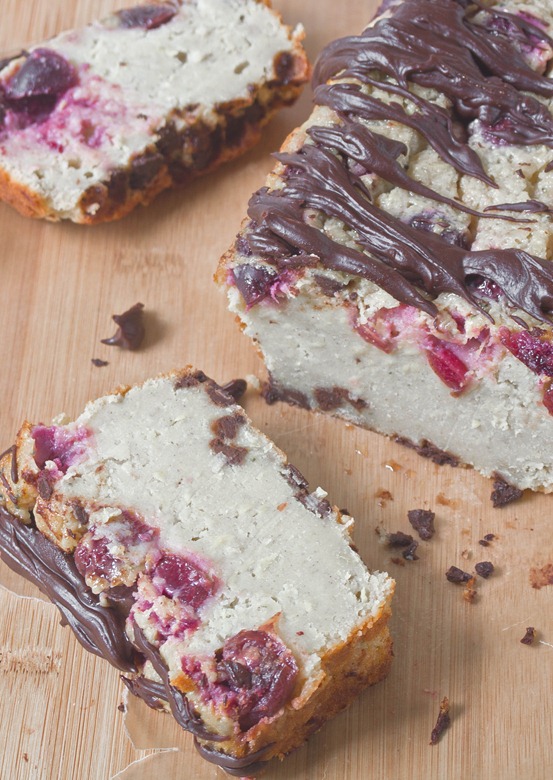
I’d never made zucchini bread before this loaf. Something about a vegetable in a bread doesn’t scream “delicious”. But then again, when you add cherries, chocolate chips, and ganache, what wouldn’t be delicious. I threw a banana into the mix, too, because I thought the fruity flavor would help to mask any taste the zucchini might bring.

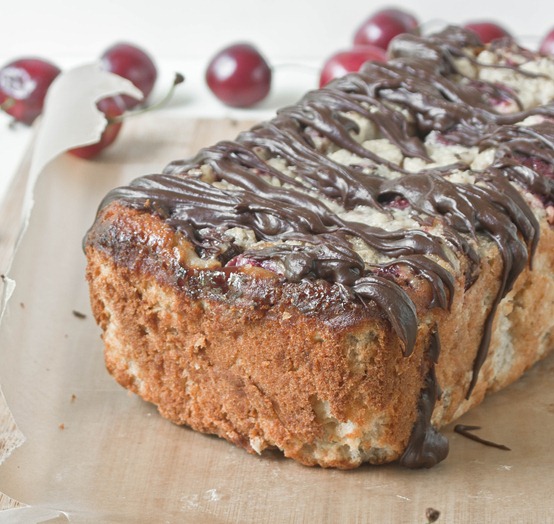
Dark Chocolate Cherry Zucchini Bread Loaf

Normally sweet breads are loaded with oil. To reduce the oil and pump up the nutrition I swapped in Greek yogurt to keep it most and also full of protein.

If you have a picky eater in the family who might be turned off by specks of green in their bread, just peel the zucchini with a vegetable peeler before shredding it. 2 medium sized zucchinis should yield about 1 cup.

Dark Chocolate Cherry Zucchini Bread

Prep time: 15 minutes

Cook time: 1 hour 20 minutes

Ingredients(Makes 1 loaf):

  • 1 cup shredded zucchini
  • 1 6oz container plain greek yogurt
  • 3 eggs
  • 2 egg whites
  • 1 banana, mashed
  • 2 Tablespoons oil
  • 1 1/3 cups gluten-free all purpose flour(or regular flour)
  • 3/4 cup light brown sugar
  • 1/2 teaspoon cinnamon
  • 1/4 teaspoon salt
  • 1/2 teaspoon baking soda
  • 1/4 cup chocolate chips
  • 1/2 cup pitted and halved cherries

Dark Chocolate Cherry Zucchini Bread Overhead

Method:

  1. Preheat your oven to 350 degrees.
  2. In a large bowl, mix together the zucchini, yogurt, eggs, egg whites, banana, and oil.
  3. Add in the flour, sugar, cinnamon, salt, and baking soda and mix again.
  4. Lastly, gently fold in the chocolate chips and cherry halves.
  5. Grease a 9-inch loaf pan and pour in the batter.
  6. Bake until the center of the bread has set and the edges begin to brown—about an hour and 20 minutes.
  7. Wait for the bread to cool before cutting. Garnish with melted chocolate or powdered sugar.

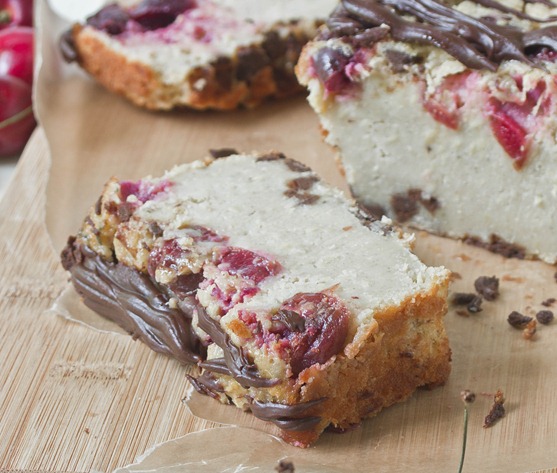
Dark Chocolate Cherry Zucchini Bread Slice

This came out a lot more dense than I anticipated, almost like pound cake(not that that’s a bad thing at all). Like any low-fat bread, I’d recommend eating this within 2-3 days before it turns stale.

Chocolate Covered S’mores

Chocolate Covered S'mores

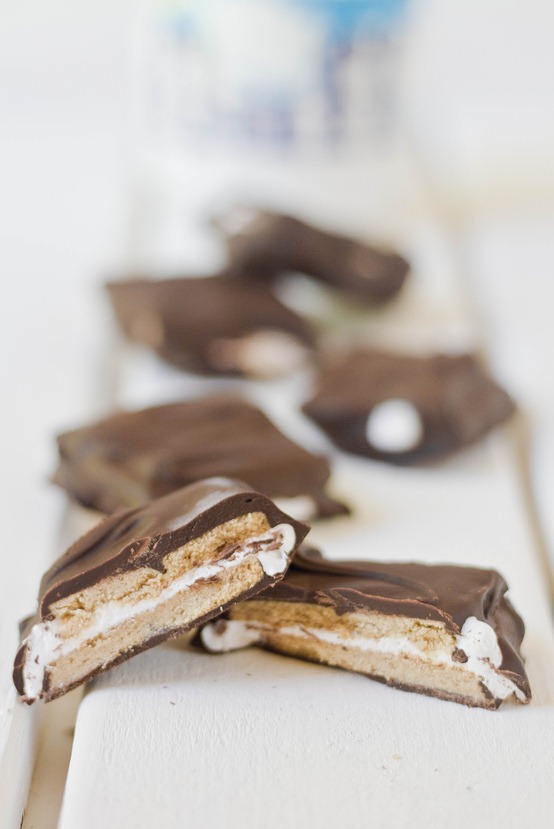
I doubt there’s any way you could reinvent s’mores and have it not be delicious. Food bloggers test this theory every Summer and it always holds true. Here’s one more delicious s’mores recipe to throw into the mix.

By the beaches in Maine there are candy shops that sell just about everything covered in chocolate. Graham crackers covered in chocolate? Sure. Marshmallows covered in chocolate? Mhmm. But no s’mores covered in chocolate. Why not? Beats me. Thankfully, you don’t need to travel farther than your kitchen for something as delicious as this.
Chocolate Covered S'mores Fluff

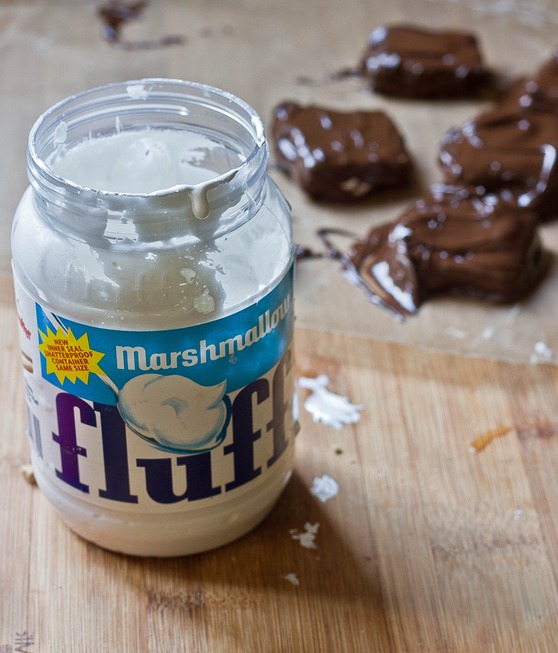
Instead of melted marshmallows which would get stale in a refrigerator, this recipe uses marshmallow crème which is soft at room temperature just like a melted marshmallow. My favorite part about this is that Fluff is a naturally vegetarian marshmallow option, so you don’t have to go out and buy a $5 bag of marshmallows to get your s’mores fix.

Chocolate Covered S’mores

Prep time: 15 minutes

Cook time: 0 minutes

Ingredients(Makes 6 squares):

  • 12 graham cracker squares
  • 1/4 cup marshmallow Fluff
  • 6oz chocolate(about 3/4 cup chocolate chips)

Method:

  1. On half of the graham crackers, spread roughly 2 teaspoons of Fluff.
  2. Sandwich each covered graham cracker with an uncovered one and put these aside.
  3. Melt the chocolate in a microwave or over a double boiler until it is smooth and liquid.
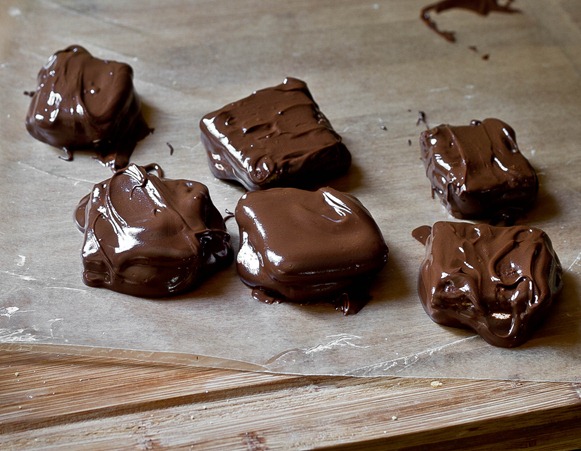
  4. One by one, lower the s’mores into the melted chocolate. Flip once and use a utensil to make sure the sides are covered as well as the top and bottom.
  5. Take the s’mores out of the melted chocolate and put it on a non-stick surface to dry. You can quicken the process by moving them to the refrigerator once you’re done.
  6. Repeat with all the s’mores.
  7. Store in the refrigerator until ready to eat.

Chocolate Covered S'mores Drying

A fun thing to do might be to decorate the outside while the chocolate is melting with graham cracker crumbs and mini-marshmallows. These are the things I think of after I’ve eaten the whole batch. Shame.