Tag Archive: Food

Sautéed Spinach With Silken Tofu

January 16th 087

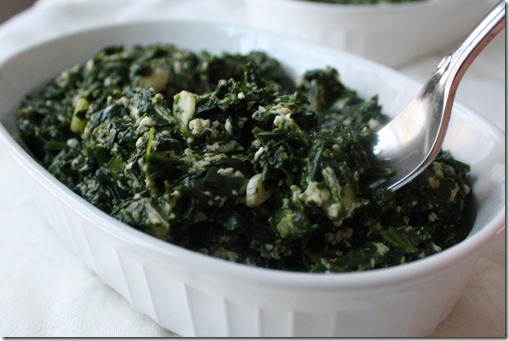
Really good food speaks with it’s flavor. It was hard to pick a name for this recipe because it’s not like anything else. At first I was tempted to call it a low-fat creamed spinach but if you were looking for creamed spinach and came upon this you’d probably be disappointed. At the same time, it’s so much more robust and filling than regular sautéed spinach.

You know what I’d call this? Delicious. It’s a rich spinach dish bursting with flavors that’s good as a side to something like roasted chicken or baked seitan. The “secret ingredients” in this are cinnamon and nutmeg which enhance the earthiness of the spinach.

You don’t need to call it anything, really. Just grab a fork and dig in.

Sautéed Spinach With Silken Tofu

Ingredients:

  • 2 tablespoons olive oil
  • 4 cloves of garlic, diced
  • 2 tablespoons green onion, diced
  • 1 bag of frozen spinach, thawed and drained OR 6 cups fresh spinach
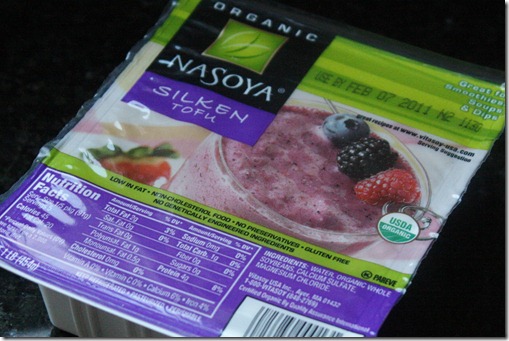
  • 1 16oz pack silken tofu
  • 2 tablespoons non-dairy cream(optional)
  • 1 teaspoon salt
  • 1/2 teaspoon cinnamon
  • 1/4 teaspoon nutmeg

January 16th 070

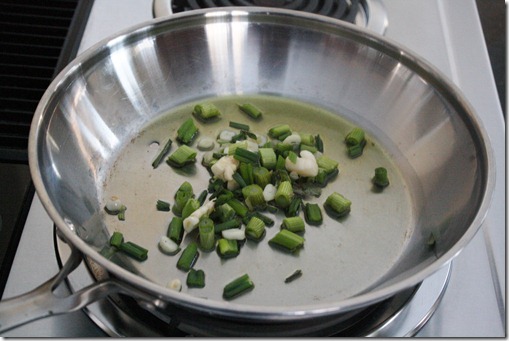
Start by heating the oil in a pan over medium heat. Once hot, add the garlic and the onion and let it toast in the pan for about 3-4 minutes.

January 16th 074

Add in the spinach and mix it with the ingredients in the pan.

January 16th 072

January 16th 075

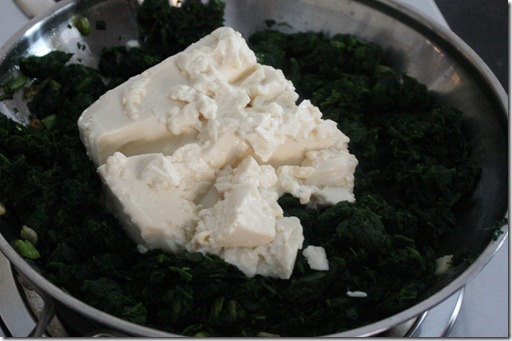
Next, open up the tofu and add it to the pan as well. Break it up with whatever tool you’re using to stir the pan and start to incorporate it as you pour in the cream.

January 16th 076

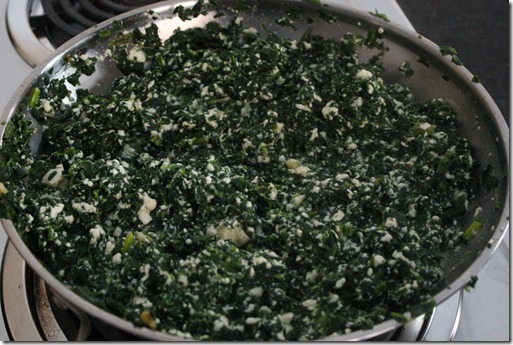
Once the pan is homogenous, let it sit and the excess water start to boil off.

January 16th 078

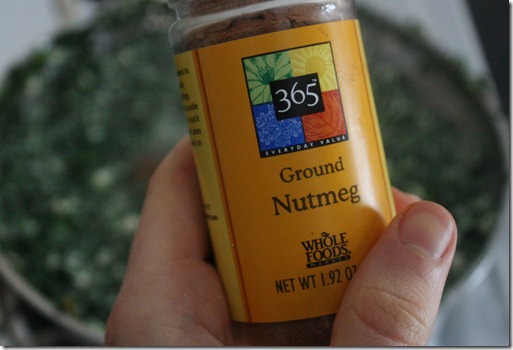
As it thickens up and gets ready to be served, season the pan with salt, cinnamon, and nutmeg and toss the ingredients again. Remove from the heat and serve hot.

January 16th 091

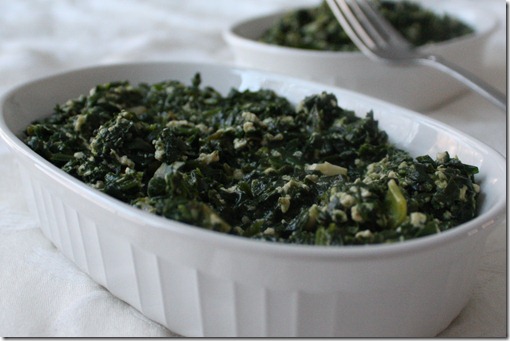
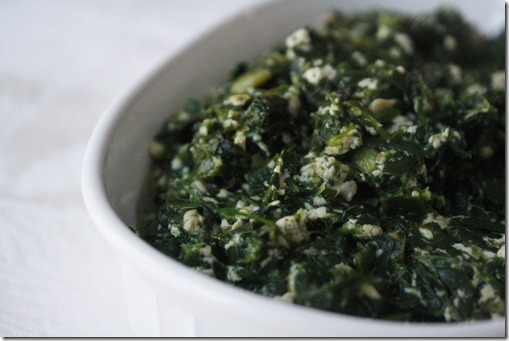
All the different flavors come together to make one cohesive, delicious dist. The nutmeg and cinnamon add an unrecognizable warmth that really enhances the spinach. And the tofu makes this rich and hearty with a slightly creamy texture. Go ahead and call it what you want; I’m too busy eating.

January 16th 096

“Oh Baby” Is Right

January 113th 093

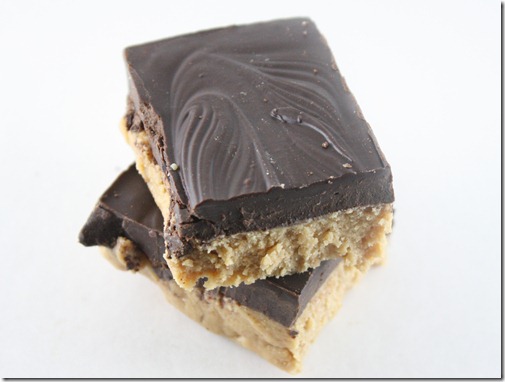
For the past 2 months I’ve been telling myself I would make peanut butter cups but never got around to it because of how much work it feels like(how lazy is that?); truthfully, I’m fine with dipping a piece of chocolate in a jar of peanut butter and leaving it at that. But after seeing these bars on Michelle’s blog I remembered I had bookmarked Jenna’s Oh Baby Bars. Now these are simple enough I could do.

My only problem was that the recipe seemed to call for no-stir peanut butter and the only one I had enough of was a runny, natural-style peanut butter. I adjusted the ingredients and proportions a tad to account for this and then went from there. All I can say about this is “Oh baby” and that Jenna is a genius for this recipe.

Ingredients I used(Made 10 thick bars):

  • 1/2 cup + 2 tablespoons natural peanut butter
  • 1 1/4 cups powdered sugar
  • 1/4 cup brown sugar
  • 1/4 cup + 1 tablespoon Earth Balance margarine
  • 2 Tablespoons coconut oil
  • 10oz semi-sweet dark chocolate chips

January 113th 020

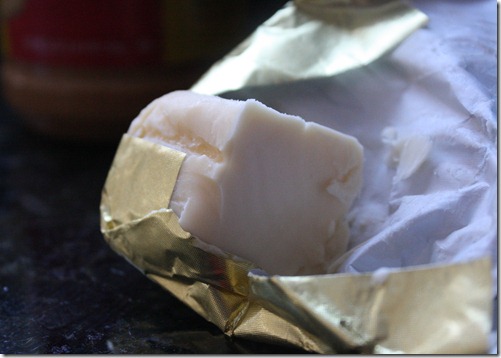
Instead of blending the ingredients at room temperature, I melted 1/4 cup of Earth Balance and the coconut oil together first. Then I stirred in both of the sugars and lastly the peanut butter.

January 113th 012

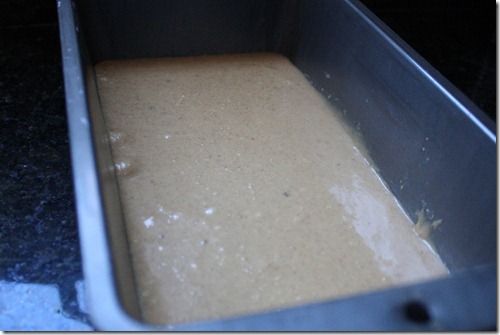
Once that was homogenous, I spread it out in a large loaf pan and dropped it on the counter a few times to level it out. Of course, I taste tested what was left in the mixing bowl and it was perfect.

January 113th 022

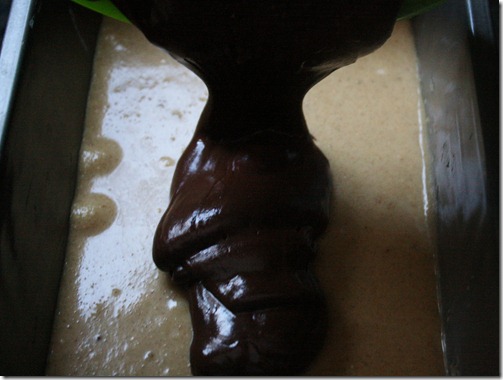
Then I melted the chocolate with the remaining tablespoon of margarine in my microwave and spread it out on top of the peanut butter layer.

January 113th 027

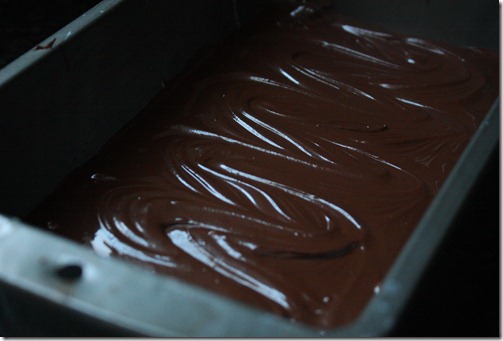
And then I pretended I was a chocolatier(I’m not going to say this is my dream job, but if it’s what the fates handed me I would not complain and just eat chocolate) and gave it a fancy swirl top.

When that was done, I threw this in the refrigerator to harden and after an hour or so began to cut squares.

January 113th 089

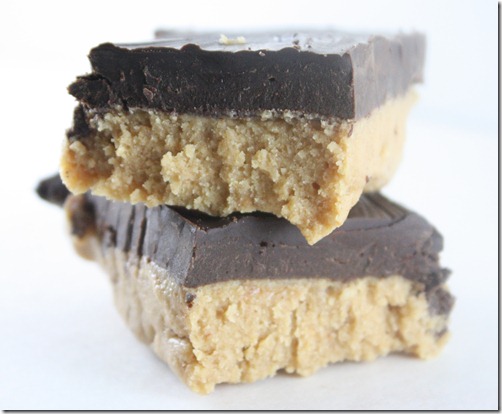
In terms of flavor, these are absolutely delicious. Texturally, the bottom layer was a little soft; next time(and there will be a next time) I’d probably reduce the margarine by 2 tablespoons and replace that with coconut oil. Or if I’m being a better planner I’d just buy no-stir peanut butter like the original recipe uses.

Espresso Chocolate Bark

January 16th 041

Screw Folgers, eating this is the best part of waking up:

January 16th 063

One of my favorite things to snack on lately have been chocolate covered coffee beans. It’s coffee, it’s chocolate—what’s not to love? I though about how I could make an at-home version for less that’s just as good and settled on this bark recipe. I couldn’t help myself from eating it piece by piece as I was making it; I’m still a little buzzed from all that dessert. Best of all, it’s 3 simple ingredients! Yes, 3! I urge you to make this for the coffee addict in your life; they’ll love you until they crash.

Espresso Chocolate Bark

Ingredients:

  • 1 bag(12oz) semi-sweet chocolate chips
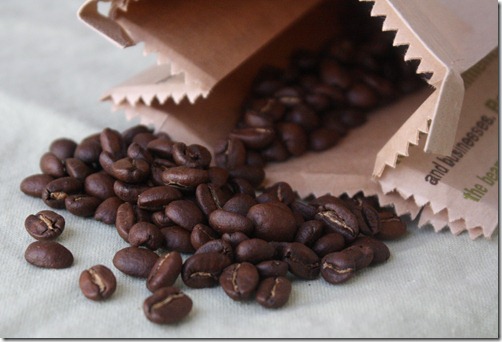
  • 1/2 cup whole coffee beans(most grocery stores let you buy these in bulk)
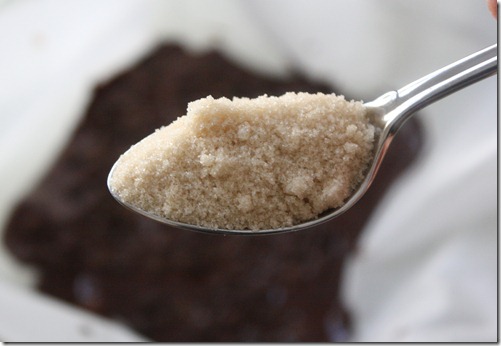
  • 2 tablespoons coarse cane sugar

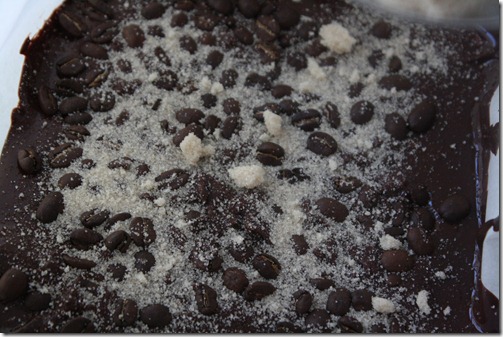
Melt down the chocolate chips and lay a piece of parchment paper on a baking tray. Spread out the chocolate to be about 1/2 an inch thick. Sprinkle on the coffee beans evenly and press them into the hot chocolate gently.

January 16th 046

Lightly sprinkle a layer of sugar over the chocolate while it is still melted. don’t worry about even layering since most of it will shake off when it’s dried. Just make sure to cover all of the chocolate.

January 16th 049

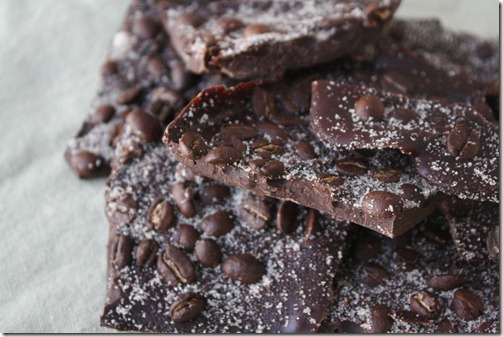
You can either let the chocolate harden at room temperature or speed the process up by putting it in a refrigerator. When it’s hardened tilt the large piece of chocolate to shake off all the excess sugar. Break the chocolate into single-sized chunks.

January 16th 066

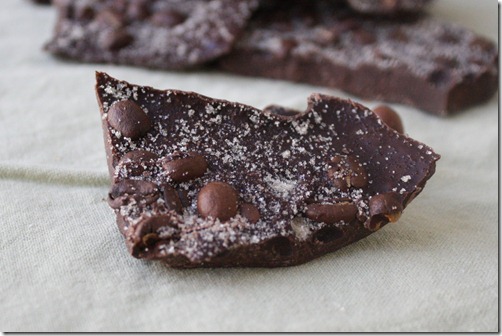
These are just as good as any chocolate covered coffee beans. I wanted to try them with a darker chocolate but after tasting how bitter the coffee beans make the semi-sweet chocolate I think any darker would be hard to eat. The sprinkle of sugar adds a great texture to contrast with the crunchy beans. Now you can have your coffee and eat it, too.

Snickerdoodle Dessert Hummus

January 11th 125

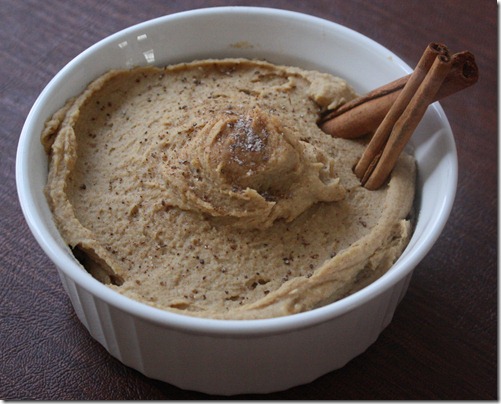
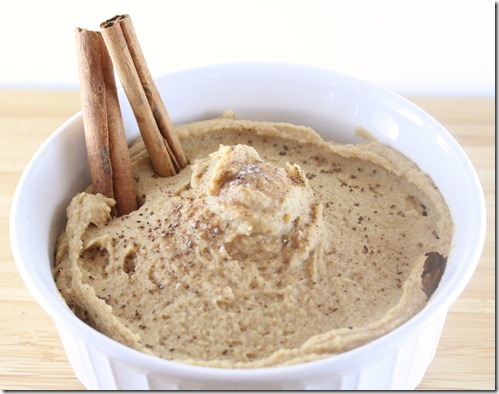
It’s back! After I tried my last batch of dessert hummus, I was eager to make a new flavor. A lot of you pointed out that it looks(and tastes!) like cookie dough. Well, one of my favorite cookies is the classic snickerdoodle; I love the cinnamon sugar crunch on the outside. And since cinnamon, almonds, and chickpeas all share an earthy flavor, I had a feeling this would work out. And it did!

Snickerdoodle Dessert Hummus

Ingredients:

  • 2 cups of chickpeas, drained and washed
  • 1/4 cup almond butter
  • 1/4 cup maple syrup
  • 2 tablespoons brown sugar
  • 1 teaspoon cinnamon
  • cinnamon sugar for garnish

January 6th 038

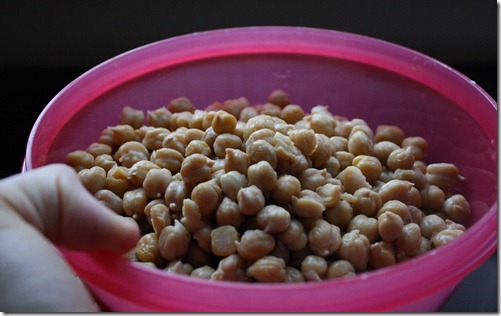
Peel your chickpeas(recommended) and add them in a food processor with the almond butter, maple syrup, brown sugar, and cinnamon.

January 6th 055

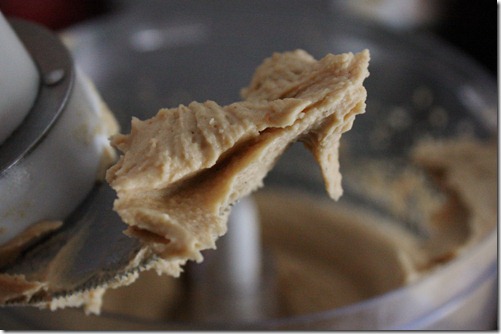
Process for about 30 seconds to a minute, until all the ingredients have mixed and the dip is smooth.

Move to a serving bowl and garnish with cinnamon sugar on top.

January 11th 142

The obvious question is “How do you serve this?” Well, I would lay it out on a platter with

  • graham crackers
  • apple slice
  • baby carrots
  • cinnamon pita chips
  • mini-chocolate bars

I have to admit that my favorite way to eat these are a spoon; that’s the benefit of cooking for yourself alone.

Sweet And Sour Sauce

January 11th 072

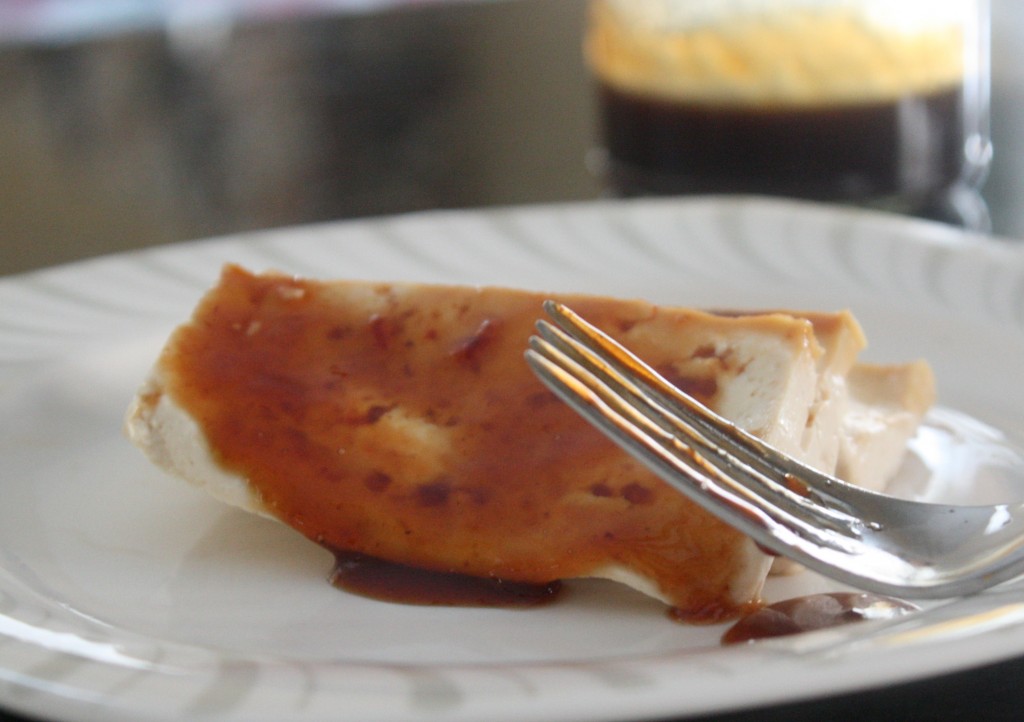
One of my favorite cuisine’s to cook now is Asian. Maybe it’s because there’s something so good about take-out food that you make yourself; maybe it’s because it’s practically impossible to eat out at an Chinese restaurant and avoid gluten; or maybe it’s because I’m Italian/French/Polish and have no place cooking with these flavors and I like being a rebel. Whatever it is, I think fake-out take-out dishes are the bee’s knees right now, and this sauce is a great condiment to pour on anything to give it that flavor. I’ve used it on tofu, broccoli, chicken—you name it—and it hasn’t disappointed.

Sweet And Sour Sauce

Ingredients:

  • 1/2 cup rice vinegar
  • 1/4 cup plus 2 tablespoons brown sugar
  • 1 tablespoon soy sauce
  • 1 tablespoon tomato paste
  • 1 tablespoon orange or lemon juice

January 11th 049

Combine all the ingredients in a sauce pan and bring it to a slight boil. Continue boiling it until it has reduced half of its volume and the sauce has thickened.

January 11th 063

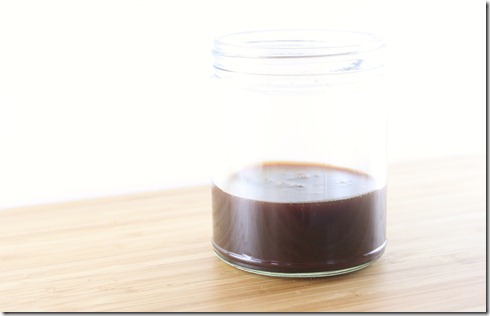
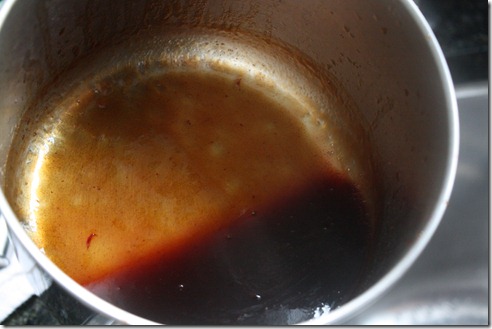
You’ll know it’s done when it starts to coat the bottom of the pan like this as you tilt it.

Be careful not to over boil and turn this into a candy. In that case, remove it from the heat and stir in some hot water until it reaches the right consistency.

Store this in an airtight container in the refrigerator for up to 2 weeks.

This doesn’t make that much sauce, so you might want to double the recipe if you’re going to use it a lot. On the other hand, it packs a lot of flavor so you only need about 1/2 a tablespoon for each serving. It’s sweet; it’s sour; it’s delicious. And there’s no scary ingredients, too, when you make it yourself.

Vegged-Out Quinoa

January 11th 124

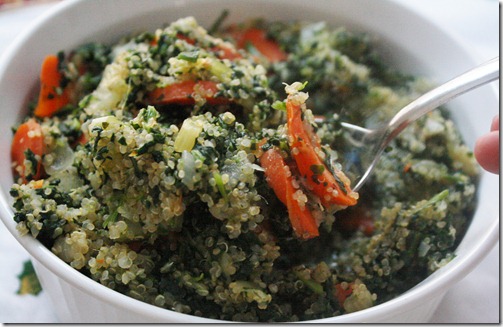
Sometimes you just want a lot of warm vegetables, you know? I made this one day that I wanted to bulk up some quinoa and just veg out. It was perfect with some baked tofu thrown on top, and then a few days later as a side dish with roasted chicken. My favorite thing about this is how flavorful it is, and it doesn’t even start with stock. I know vegetable/chicken stock is a great thing to keep in your pantry, but I just don’t. It’s easier that way. And you won’t even notice it’s missing here because there’s already so much to love.

Vegged-Out Quinoa

Ingredients(Makes 4 to 6 servings):

  • 1 cup quinoa, rinsed
  • 3 stalks celery, chopped
  • 1 small onion, diced
  • 2 large carrots, chopped
  • 2 tablespoons butter or cooking oil
  • 2 cups water
  • 2 cups fresh or frozen spinach
  • 1/4 cup honey
  • 1 teaspoon salt
  • 1/4 teaspoon pepper
  • 1 teaspoon chopped parsley

January 11th 085

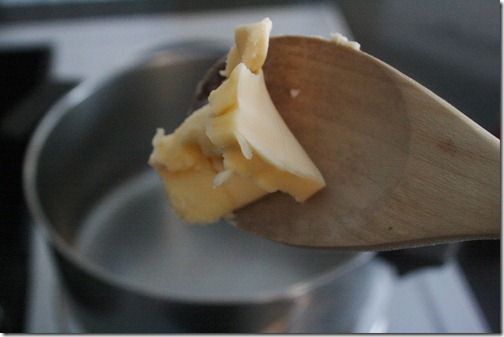
Start by heating up your butter or oil over medium heat in a large pan.

January 11th 087

Chop all of your vegetables and add them into the heated pan. Keep an eye on this and stir for about 10-15 minutes until the onion is translucent and just beginning to caramelize.

January 11th 080

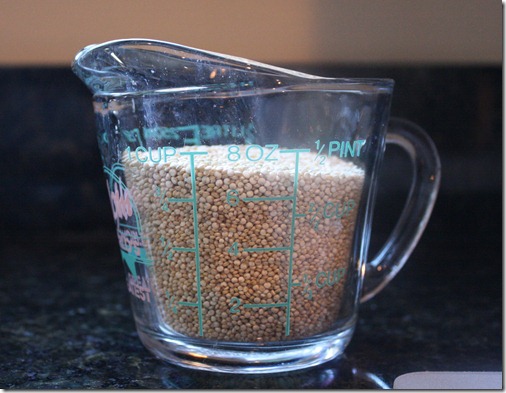
While that’s cooking, measure out your quinoa. Rinse and drain it first to remove the saponin.

*If you’re using a rice cooker, add your quinoa and two cups of water in and turn it on to the appropriate setting.
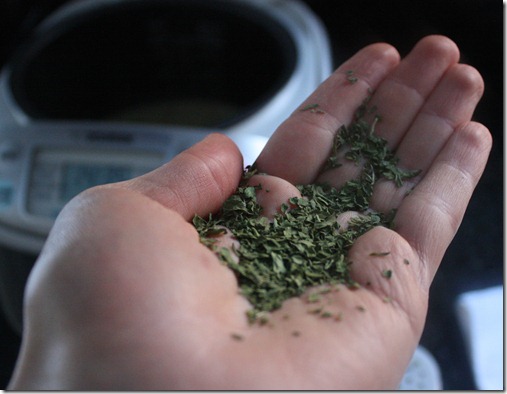
**If you’re using the stove, wait until the vgetables are done coking. Then add the quinoa and water into the same pot and bring it to a boil. Cover the pan and turn off the heat and wait for the quinoa to absorb the water.

January 11th 104

Add in your salt, pepper, and parsley right before cooking.

January 11th 099

Once the quinoa is fully cooked and the water has been absorbed, add in the honey and spinach and fold them into the mix. Serve hot.

January 11th 112

This is sweet, it’s savory, a little bitter and kissed with salt. It has a great flavor all its own and can stand up to any protein on a dish. And it’s a real crowd-pleaser. I think adding all the vegetables just gives you an excuse to eat more because it’s so darn healthy.

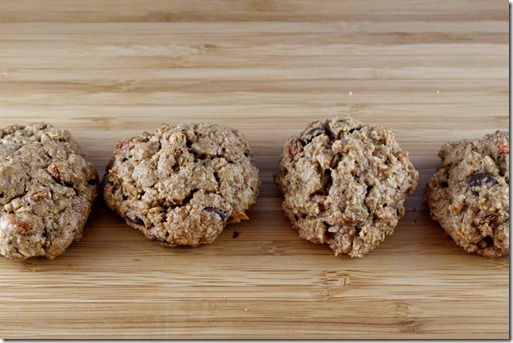
Copycat: Goji And Chocolate Chip Oaties

January 4th 084

Have you entered this giveaway yet? If you haven’t, you should.

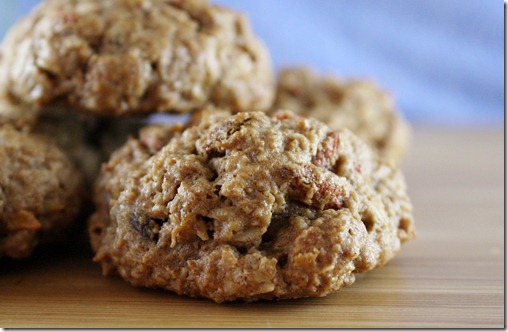
But even if you don’t win, here’s a recipe to make you feel like a winner. These are my favorite cookies to make. They’re easy, delicious, and use normal, healthy ingredients you can feel good about eating any day. And because it’s so adjustable, I knew I could make it feel more like a Goji Gourmet cookie.

January 4th 012

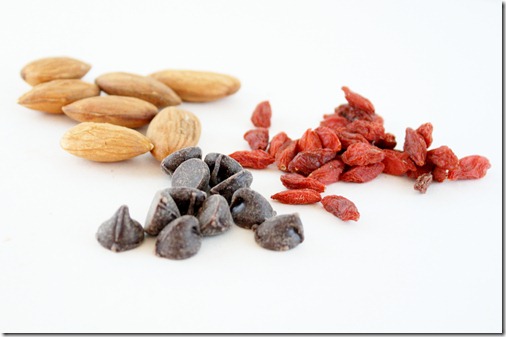
For the copycat, I used signature ingredients from the Goji Gourmet line including goji berries, chocolate chips, oatmeal, and almonds in the form of almond butter. You can certainly adjust the mix-ins in the batter, though chocolate chips never disappoint.

Goji And Chocolate Chip Oaties(adapted from this recipe)

Ingredients(Makes 24 cookies):

  • 2 cups oatmeal, divided

  • 3/4 cup almond butter

  • 1/2 cup brown sugar

  • 1/4 cup maple syrup

  • 1/4 cup water Omitted because my batter was wet enough

  • 1 (large)banana, mashed

  • 1 teaspoon cinnamon

  • 1/2 teaspoon salt

  • 3/4 teaspoon baking soda

  • 1/4 cup chocolate chips(let’s just say I used more)

  • 1/4 cup goji berries

January 4th 024

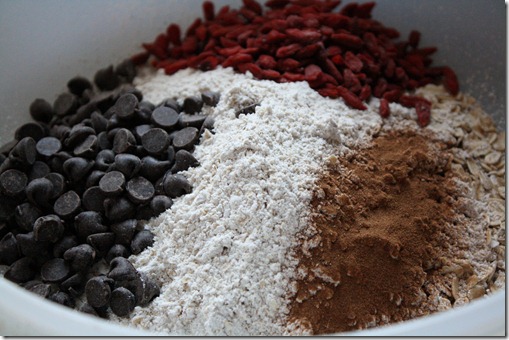
Take 1 cup of oatmeal and process it in a food processor until it’s been turned into a flour. Add all of the dry ingredients into a bowl and mix. Then add the rest of the ingredients and mix until the batter has come together. Chill the dough for 10-20 minutes.

January 4th 053

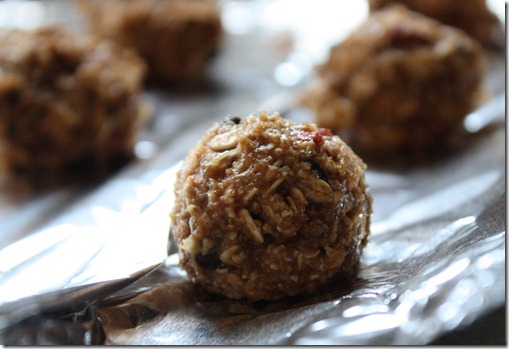
Preheat an oven to 325 degrees. When the dough is cold, break off chunks and roll them into 1-inch dough balls. Place the balls on lined baking trays and bake for 25-30 minutes until they’re firm to the touch.

January 4th 091

I hesitate to call any dessert “healthy”, but with whole grains, dried fruit, and healthy fats from the nut butter, these certainly won’t break any New Years resolutions.

January 4th 086

Peanut Butter Chocolate Chip Dessert Hummus

Mar 2nd 044

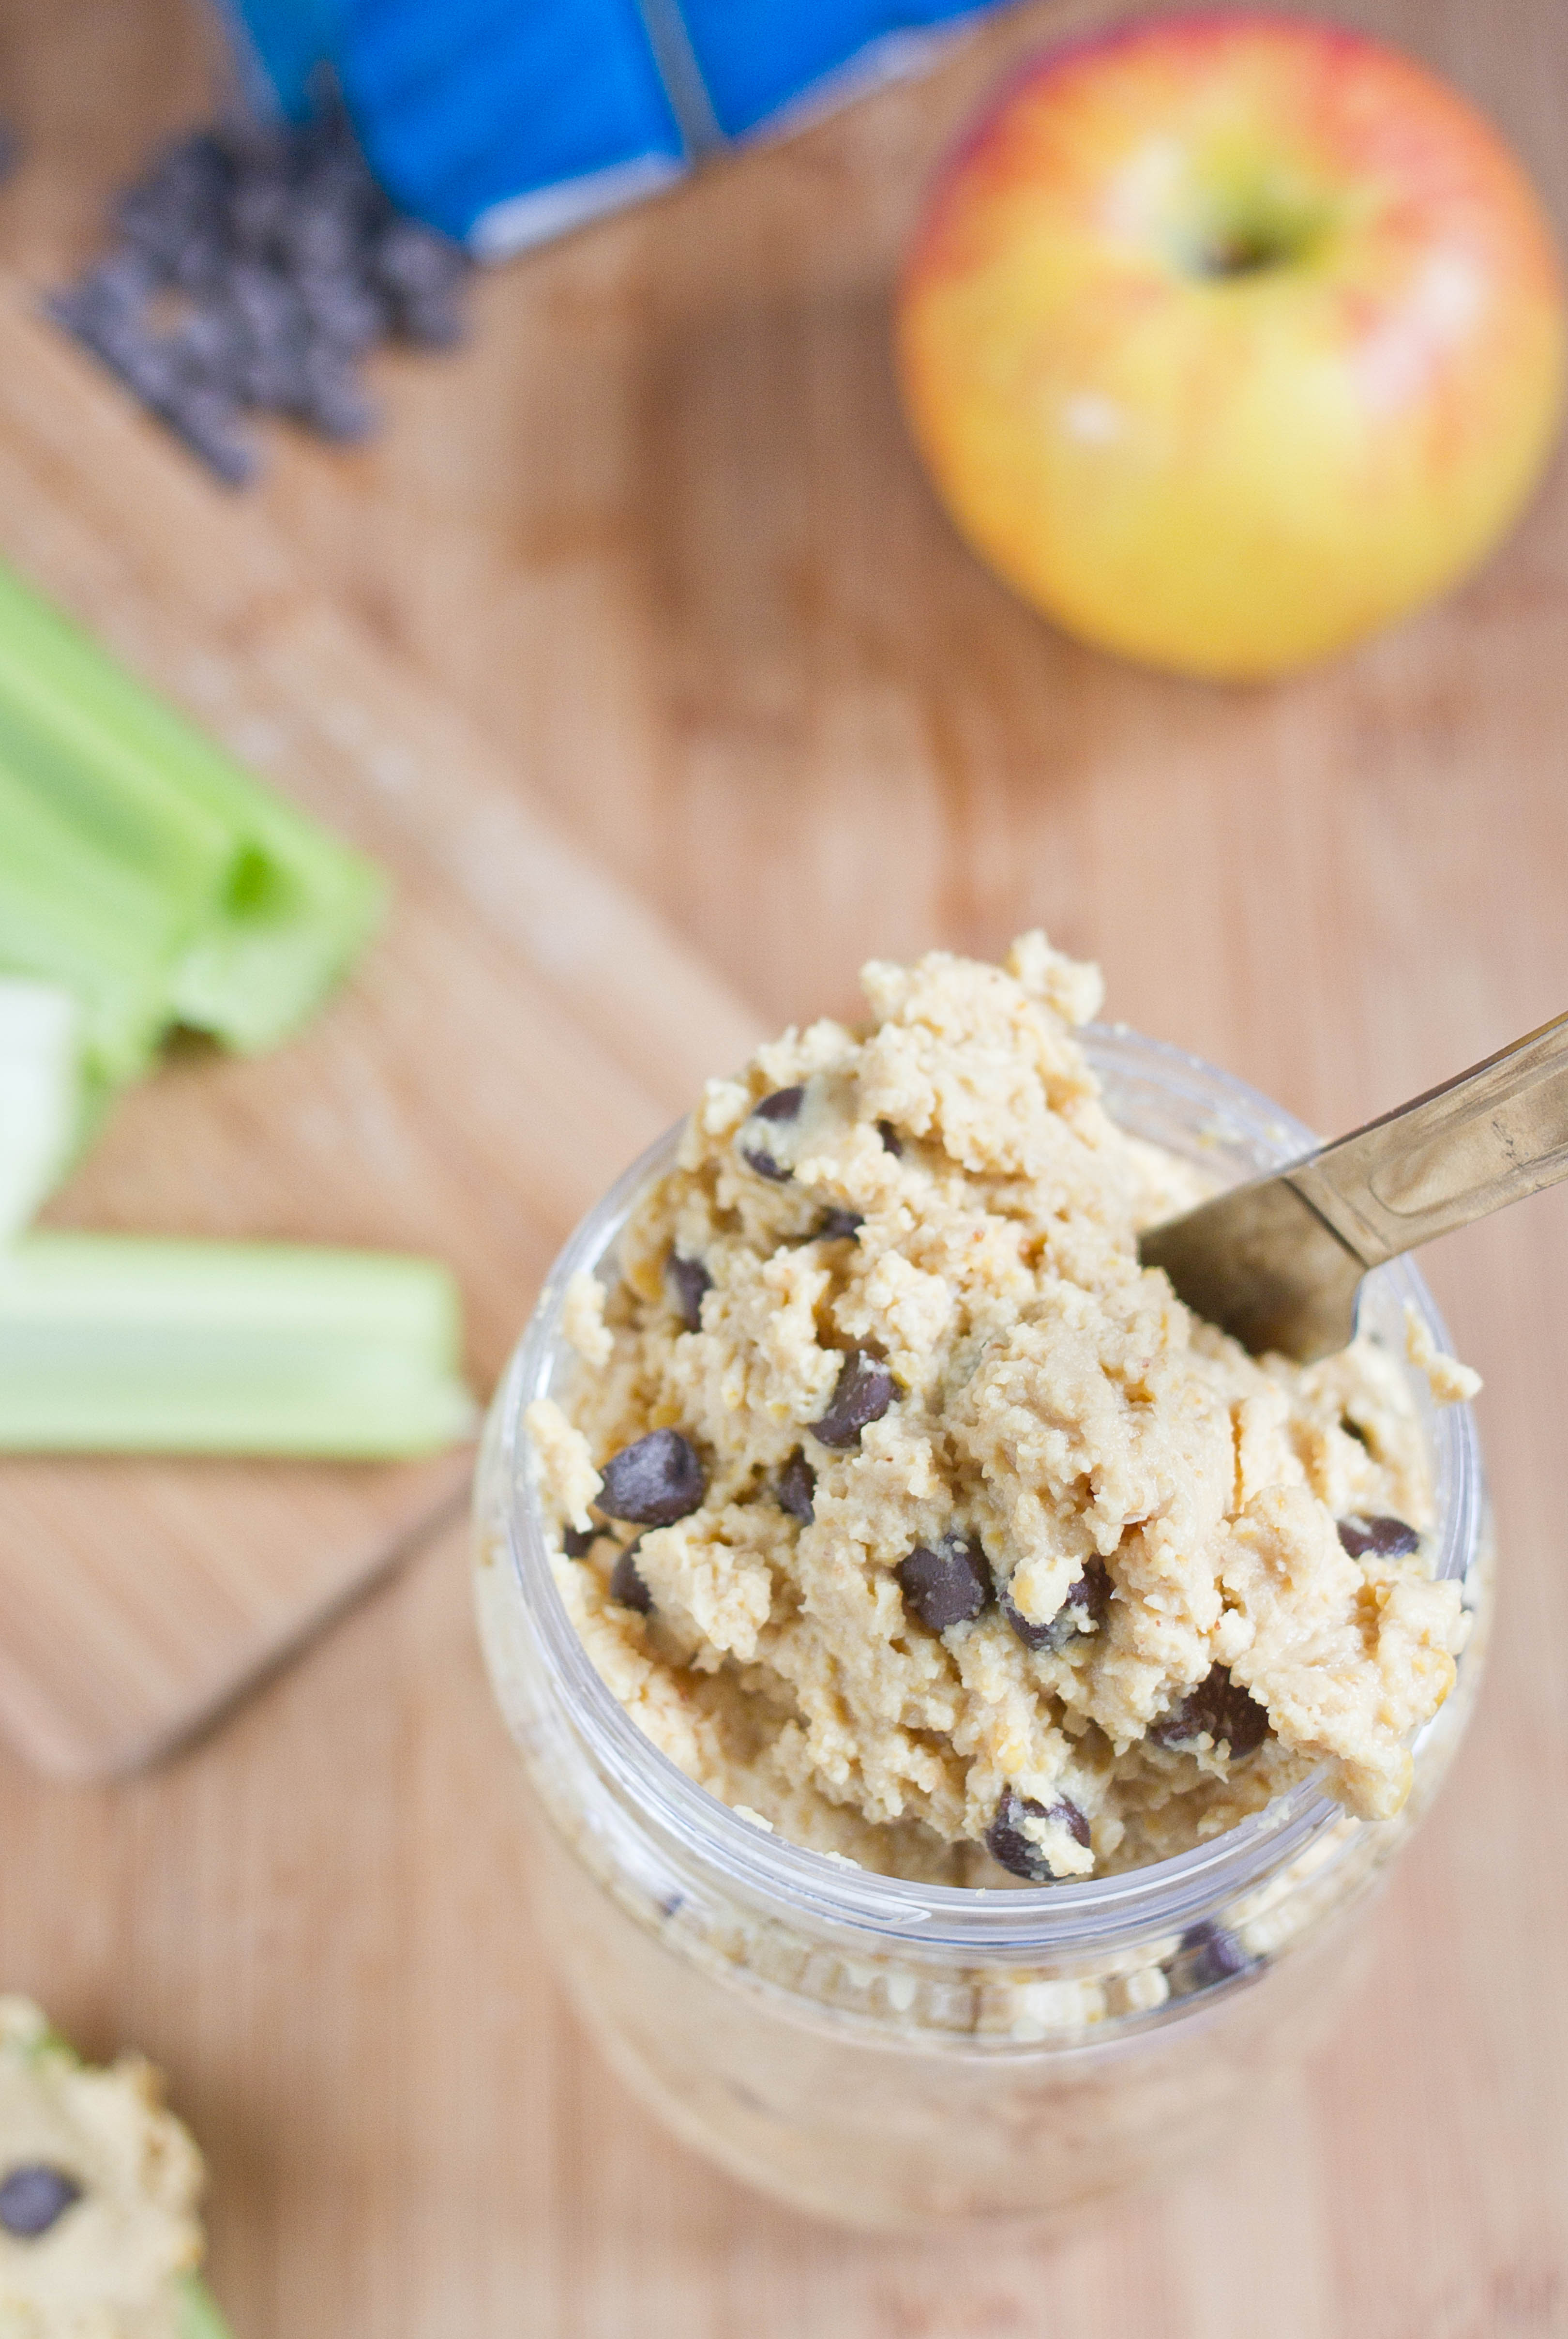
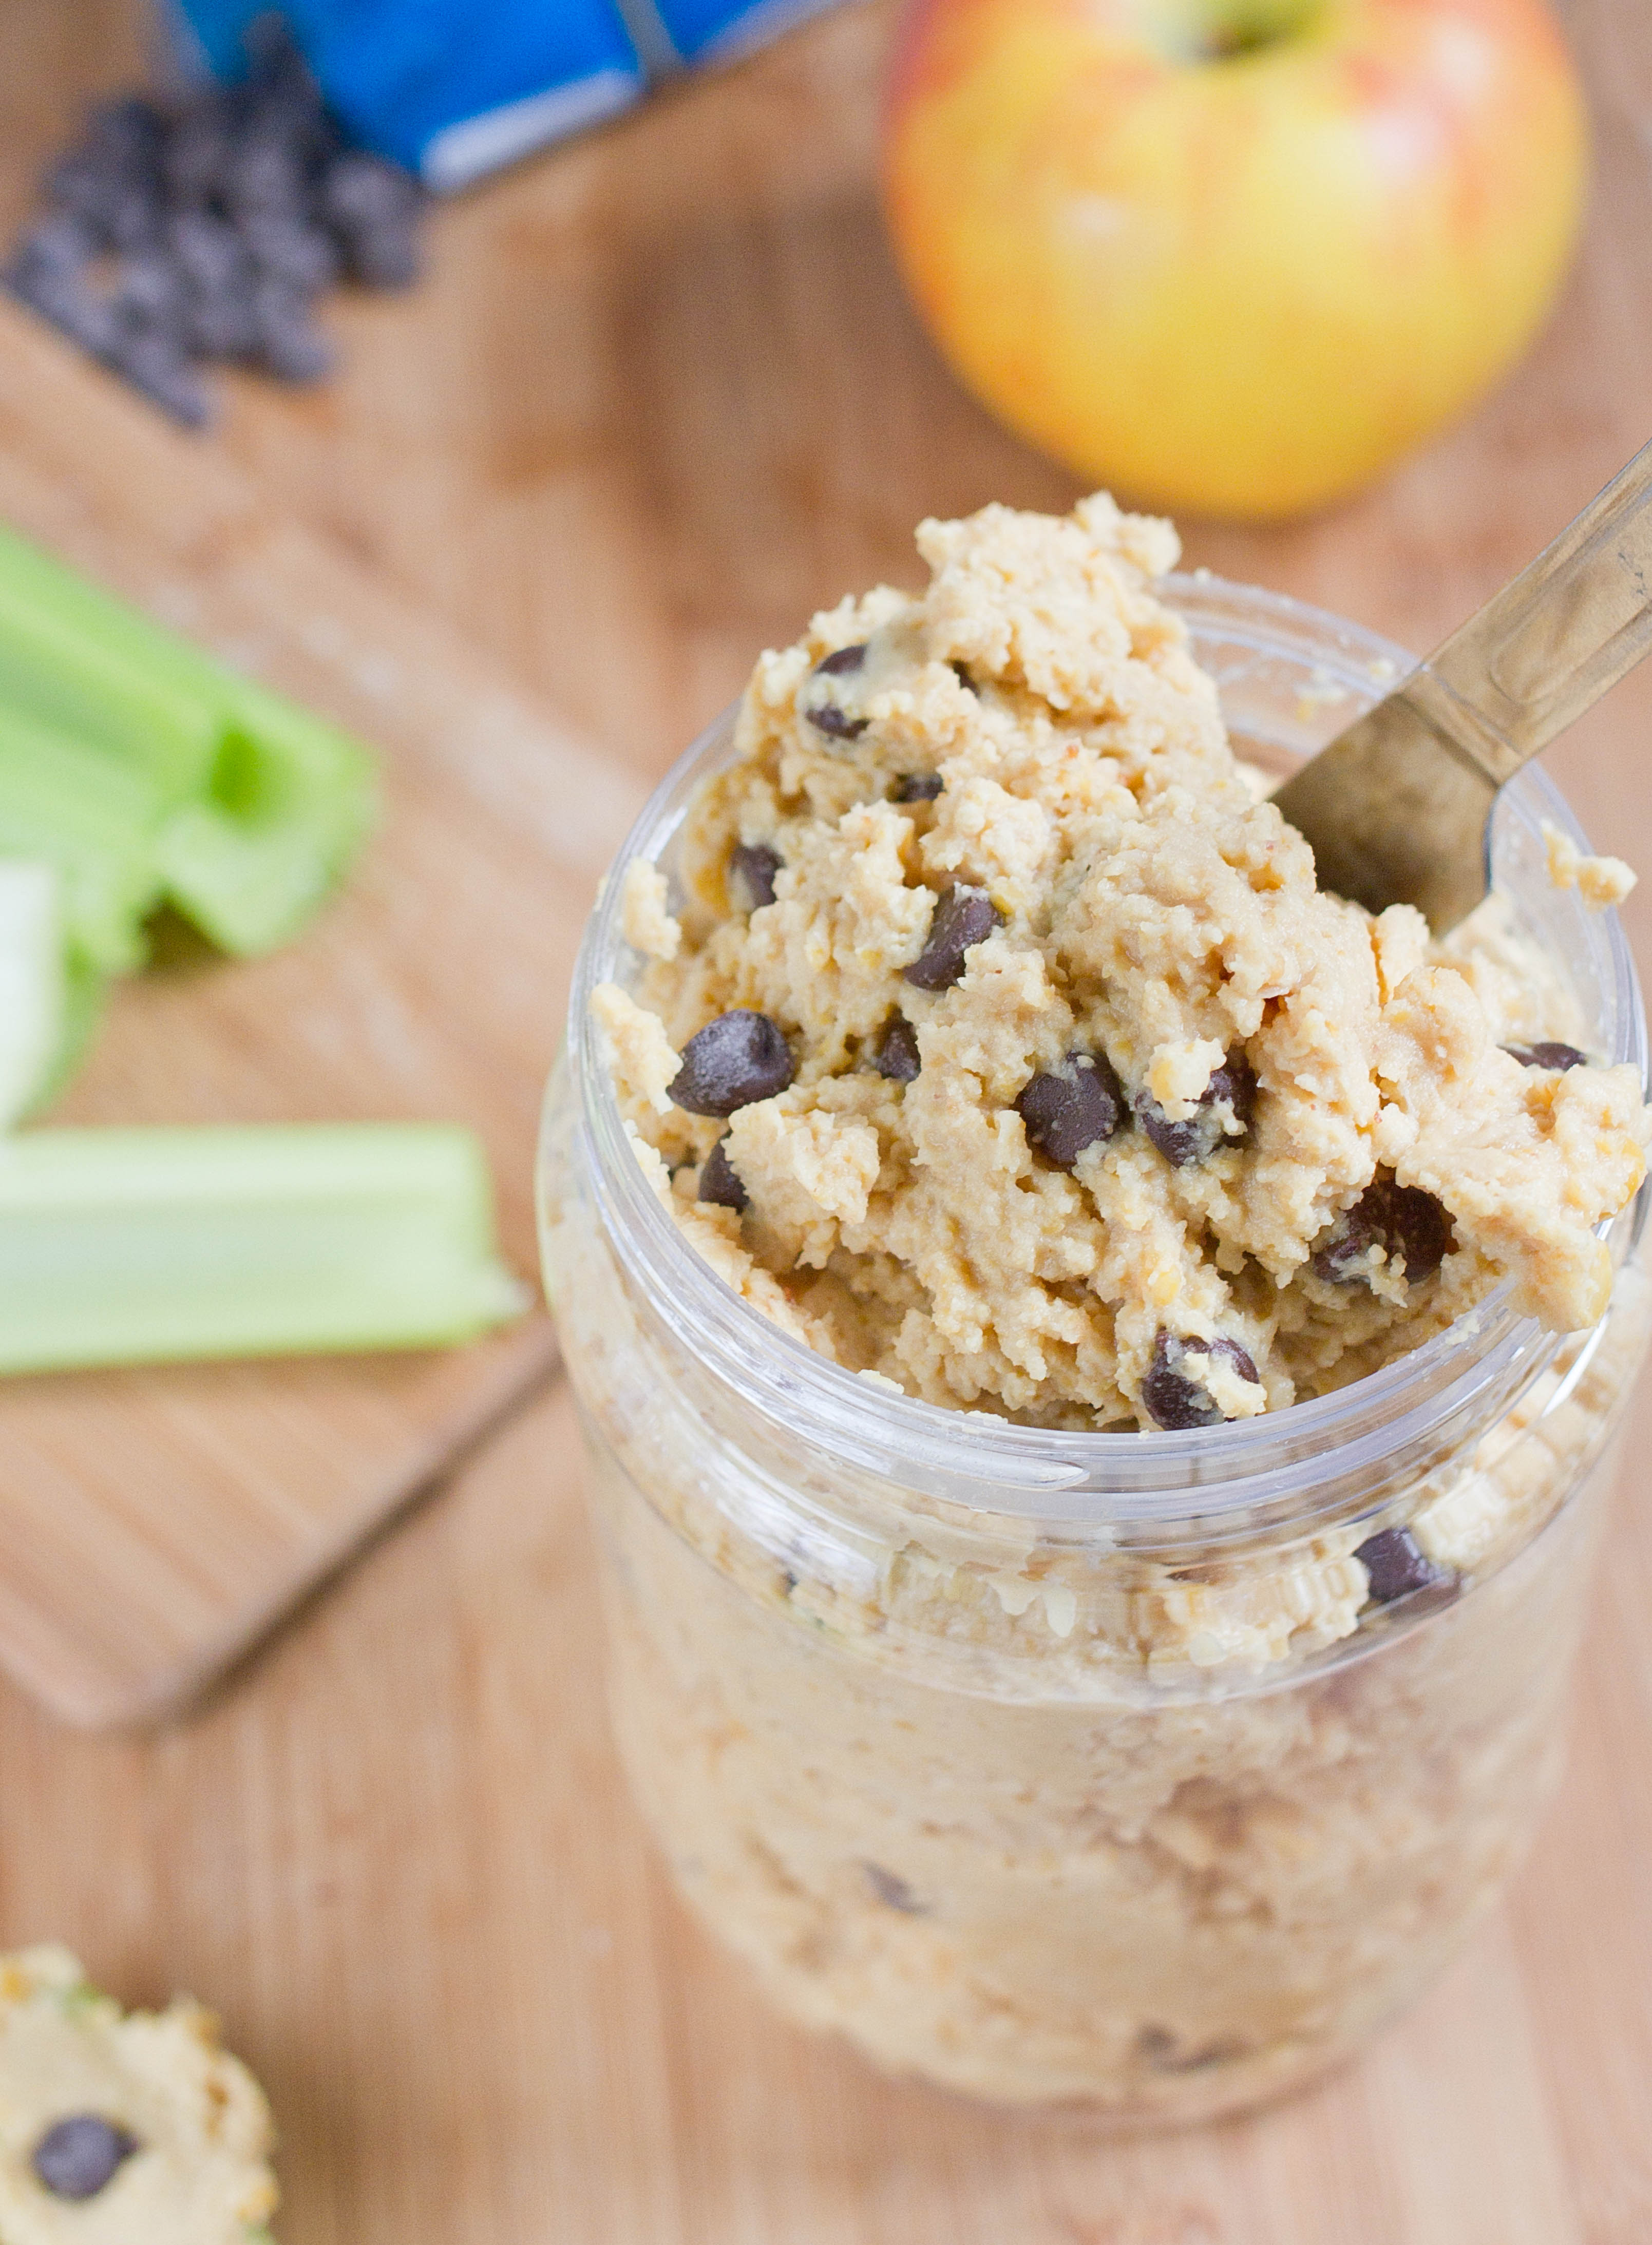
If you’re a longtime reader, then this recipe will look familiar. This single-handedly changed how I thought of hummus in general when I first made it over the Summer. After listing it on my Top 10 of 2010 list, I knew I wanted to make it again. So now I’m reposting the recipe with new step-by-step pictures, because I have nothing better to do now most days than cook and take pictures of my food(I know, it’s a rough vacation). Enjoy! And do try this because it never disappoints; it makes even the biggest skeptics believe that hummus has a place in dessert.

Peanut Butter Chocolate Chip Dessert Hummus

Prep time: 5 minutes

Cook time: 0 minutes

Ingredients(Makes about 3 cups):

  • 2 cups chickpeas
  • 1/4 cup natural peanut butter
  • 1/4 cup + 2 tablespoons maple syrup
  • 1/2 Tablespoon vanilla extract
  • 1/4 cup chocolate chips

Mar 2nd 032

Method:

  1. Drain, measure, wash, and peel your chickpeas. Peeling them isn’t absolutely necessary but it makes for the creamiest hummus and really is worth the effort.
  2. In a food processor, add the first 4 ingredients and process until the hummus is smooth and emulsified(the one thing no one wants for dessert is chunky chickpea pieces in their dessert).
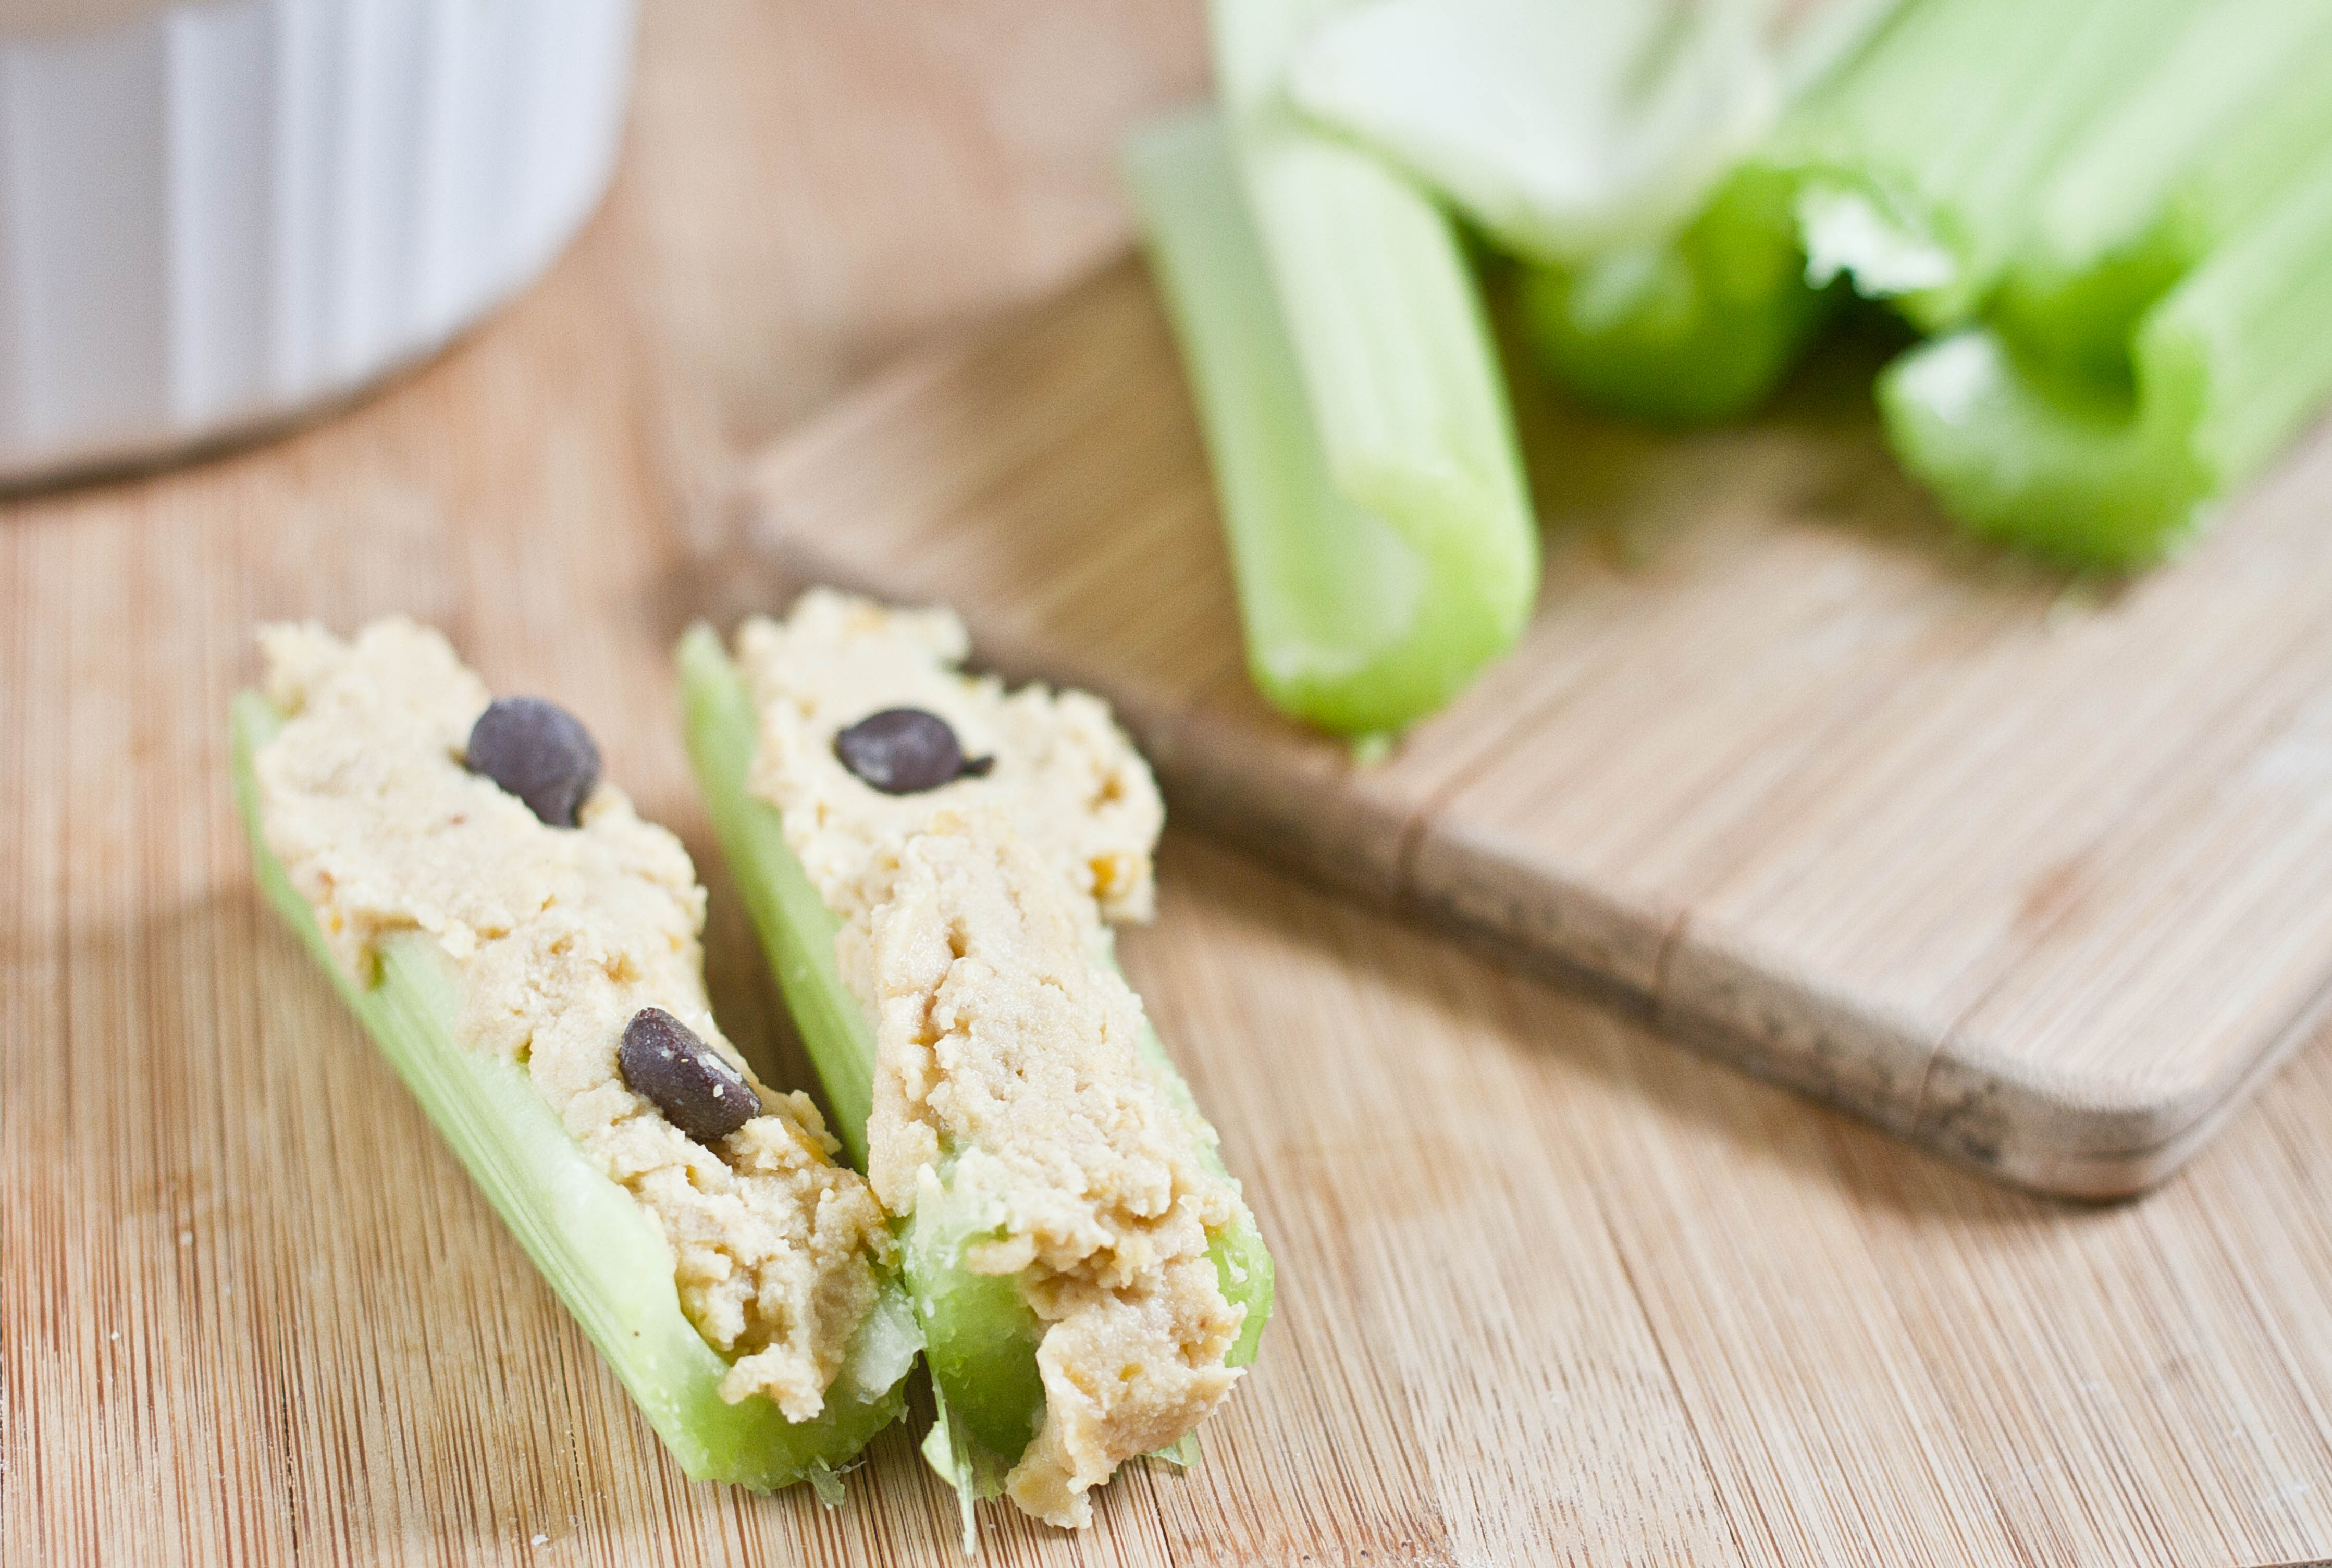
  3. Remove the blade and fold in the chocolate chips. Move into a deep serving bowl and serve with graham crackers or baby carrots.

Mar 2nd 051

“How can that possibly be good?” you may be wondering. The maple syrup makes this deliciously sweet; and the chickpeas, peanuts, and syrup all have a same earthiness that pairs with one another really well. The result is a creamy dip reminiscent of cookie dough only with healthy fats and fiber.
Who’s ready to dig in?

Homemade Bacon Salt®

January 4th 056

Let me tell you about a little seasoning called Bacon Salt®. What is it? Well, it’s name pretty much says it all: It’s salt infused with bacon that adds a smoky brininess to dishes. When I saw a recipe for Bacon Salt® in the new issue of Food Network Magazine, I about jumped off the couch to make it. I know the holidays are over, but if you made this for your friends they would be delighted, and only slightly question your sanity.

Homemade Bacon Salt®

Ingredients:

  • 6 slices of bacon
  • 1/2 cup coarse sea salt
  • <3/4 teaspoon ground peppercorn

January 4th 004

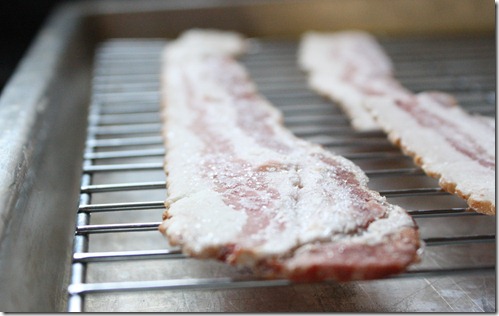
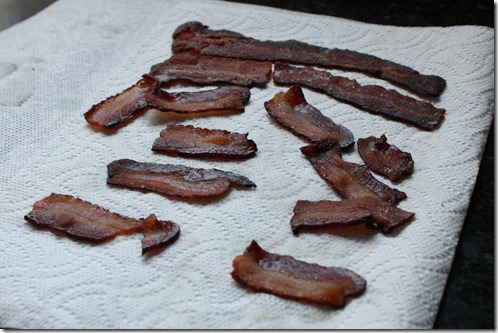
Preheat an oven to 350 degrees. Lay your bacon out in single strips over a cookie rack and put that in a baking tray. Bake for 20-25 minutes until the bacon is crisp and starting to blacken(It should look overcooked rather than how you’d normally eat bacon).

January 4th 039

Once the bacon has cooled, use a paper towel to press out any excess oil.

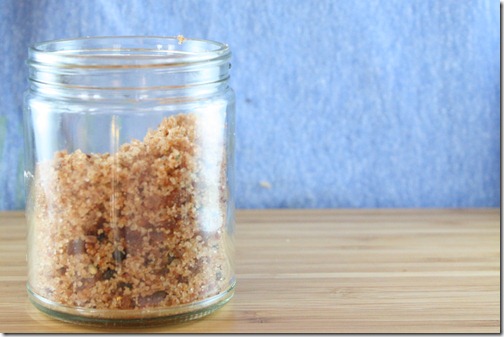
Transfer the bacon to a food processor and process until there are only small chunks and a paste begins to form. Add in the sea salt and ground pepper(note: whole peppercorns will not break up in the food processor) and continue to process until the salt breaks up into smaller pieces and mixes with the bacon. Transfer to an airtight jar and keep in the refrigerator when not using.

January 4th 064

Understandably, this isn’t for everyone. It’s not for vegetarians and it’s not kosher. But if you’re a carnivore, this is for you. Add it to baked potatoes, macaroni and cheese, seared steak—anything savory that needs a kiss of salt. Bacon truly does make it better.

Gluten-Free Dumplings With Dipping Sauce

December 31st 067

It’s rare that I’ll put more than 30 minutes of actual laboring into cooking a meal. But some things are worth the effort. As a kid, my favorite food to order from a Chinese restaurant was always their dumplings; I love the soft, doughy exterior with the savory filling dipped in a sweet sauce. I never even thought to make these gluten-free until I saw them on another blog and wanted to give them a shot. Unfortunately, that recipe didn’t work out for me at all. A few kitchen sidesteps and 2 hours later I had 30 cooked dumplings and 1 burnt pan(but that’s a story for another day).

I’m not going to pretend these are a nice simple recipe for a weeknight; they aren’t. But what they are is incredibly impressive to make and very flavorful. Make a batch over the weekend and you can enjoy them through the week.

Gluten-Free Chinese Dumplings

Ingredients(Makes 30-36 dumplings):

  • 4 1/2 cups gluten-free all-purpose flour(such as Bob’s Red Mill)
  • 3/4 cup cold water
  • 4 eggs, divided
  • 1lb ground pork or chicken
  • 1 teaspoon ground ginger
  • 3 cloves of garlic, minced
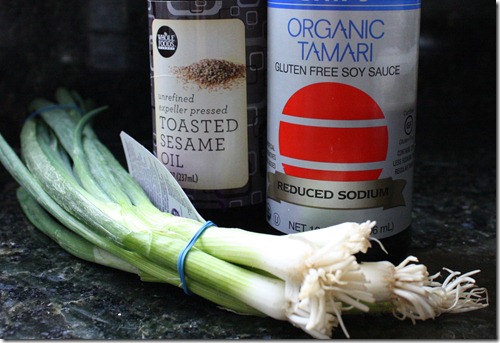
  • 2 Tablespoons green onions, chopped
  • 1 Tablespoon brown sugar
  • 3 Tablespoons gluten-free soy sauce
  • 2 Tablespoons sesame oil

December 31st 038

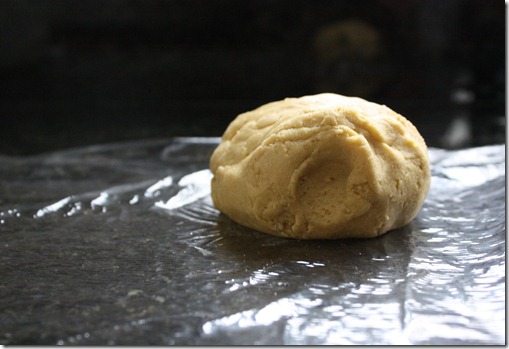
To make the dough, mix together the flour, water, and 3 eggs. Work the mixture until it forms a tough dough and roll it into a ball.

December 31st 036

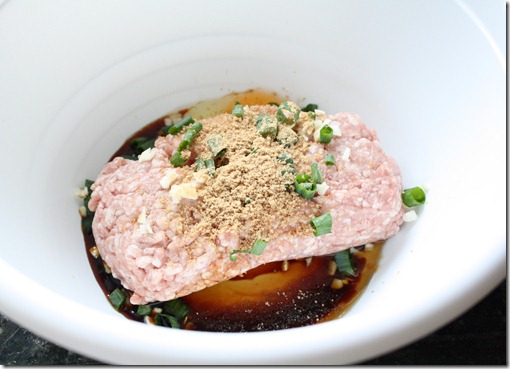
To make the filling, mix together 1 egg, the meat, ginger, onion, garlic, brown sugar, soy sauce, and sesame oil. Knead the mixture together until the ingredients are emulsified.

Roll the dough into balls and pound them into disks about 1/4-inch thick and 2 1/2 inches wide. Be sure not to pound them too thin or else they’ll tear.

December 31st 046

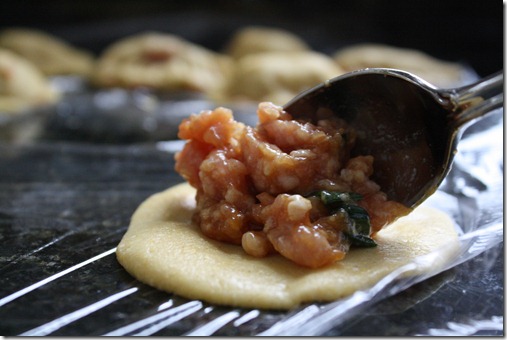
Scoop a tablespoon of filling onto each disk biased onto one side.

December 31st 048

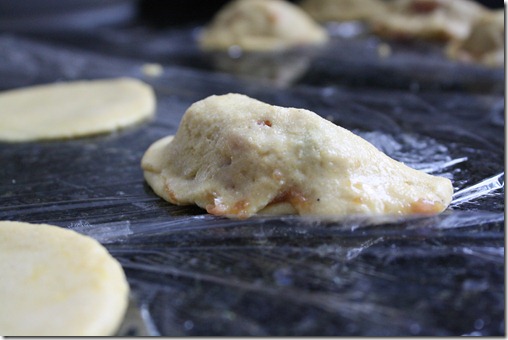
With dry fingers, lift up the other side and bring it over to make a pouch. Pinch down to seal the edges. If any part shows sign of tearing, take a little extra dough and make it into a patch, pressing down lightly on the thinning area.

December 31st 051

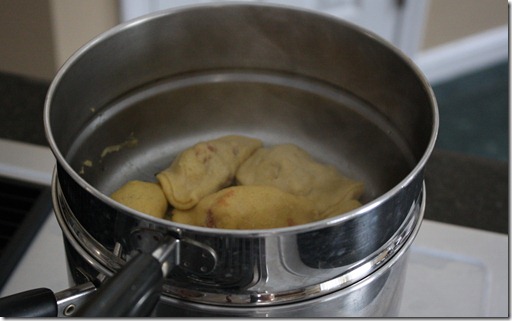
To steam these, boil a pot of water with a fitted steamer on top. Add as many dumplings will fit without layering them on top of one another. Steam for 10-15 minutes until the outside starts turning a deep yellow and the filling is cooked through.

December 31st 059

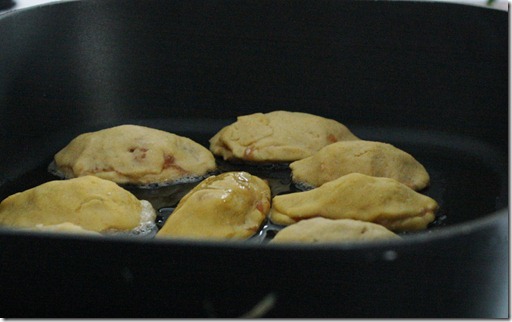
To pan-fry these, heat a large skillet with a few tablespoons of oil in the pan. Once hot, add the dumplings and cook 5-7 minutes on each side until the breading is crunchy and cooked.

Gluten-Free Dipping Sauce

Ingredients:

  • 6 tablespoons gluten-free soy sauce
  • 2 tablespoons sesame oil(preferably toasted)
  • 1 tablespoon chopped green onion

December 31st 020

To make the dipping sauce, mix the sesame oil and soy sauce well. Add the chopped onion on top as garnish right before serving. Be sure to mix the sauce again any time you serve it as the oil will separate.

December 31st 063

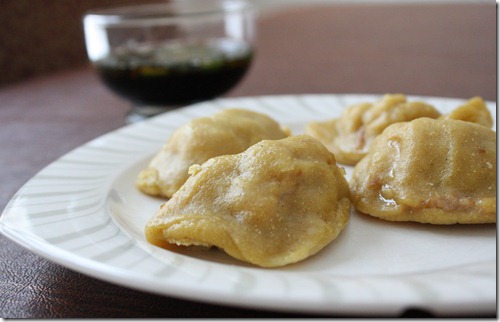
These were a pain to make. But it all became worth it with the first bite of doughy, savory goodness. I think I preferred the pan-fried ones both on flavor and ease of cooking. The sauce is a perfect balance of brininess and depth to match the filling. These are undeniably not take-out food.

December 31st 065