Tag Archive: Food

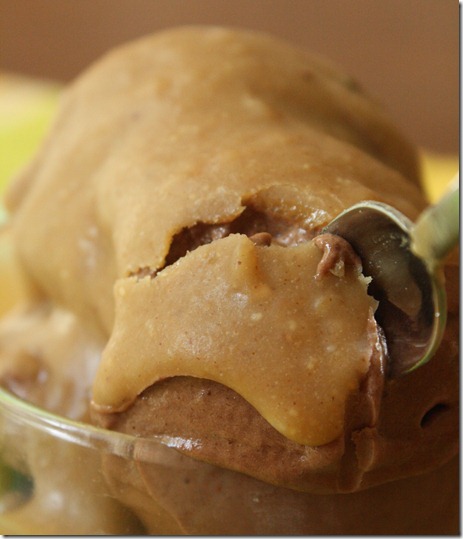
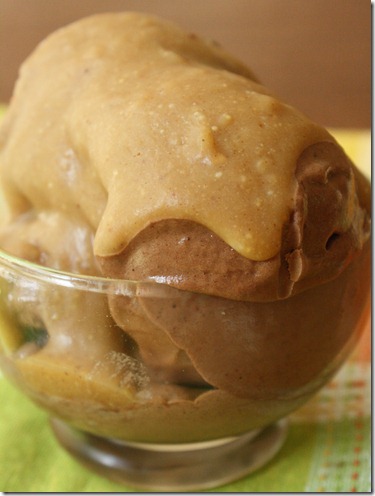
Peanut Butter Magic Shell

Peanut-Butter-Magic-Shell

One of my favorite treats in the Summer when I was growing up was a Dairy Queen ice cream cone, specifically one dipped into cherry sauce that hardened up as soon as it hit the ice cream into a shell coating.

I have no idea how to make that.

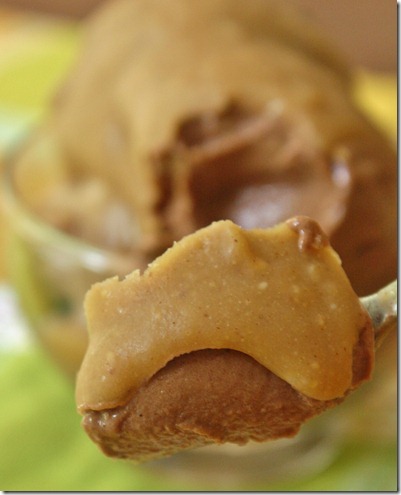
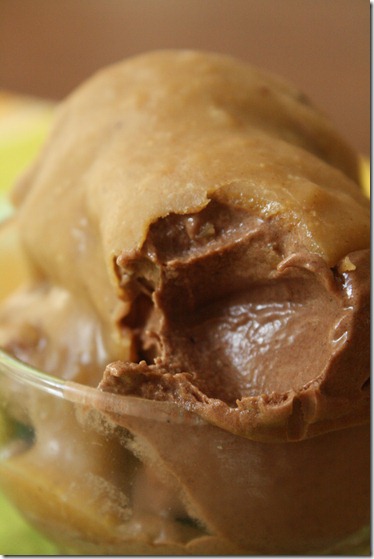
But what I do know how to make is peanut butter magic shell, and that’s almost as good, especially with chocolate ice cream(or chocolate banana soft serve in this case).

Peanut-Butter-Magic-Shell-Bowl

Really, if you look up the ingredients in that cherry magic shell it’s about 20 things you can’t find in supermarkets and shouldn’t be putting into your body. This recipe has only 3 ingredients, all natural and easy to shop for. Let’s see Dairy Queen beat that.

Peanut Butter Magic Shell

Ingredients(For one bowl):

  • 1 Tablespoon 100% peanut butter
  • 1 Tablespoon liquid sweetener(maple syrup, agave, corn syrup, etc.)
  • 1/2 Tablespoon coconut oil(preferably refined), melted or softened

Peanut-Butter-Magic-Shell-scoop

Method:

  1. Mix together the peanut butter, sweetener, and oil into a thick, even sauce
  2. Pour the peanut butter sauce over plated ice cream. Wait a few moments for the sauce to harden before digging in.

This works best with ice cream straight from the freezer; if using softened ice cream or banana “soft serve”, the shell might not form immediately. Simply pour the sauce over the ice cream and refrigerate or freeze it for a few minutes until the shell has hardened

Peanut-Butter-Magic-Shell-Bite

Now if you’ll excuse me, I have more eating to do.

Microwave Chocolate Fudge

Microwave-Fudge

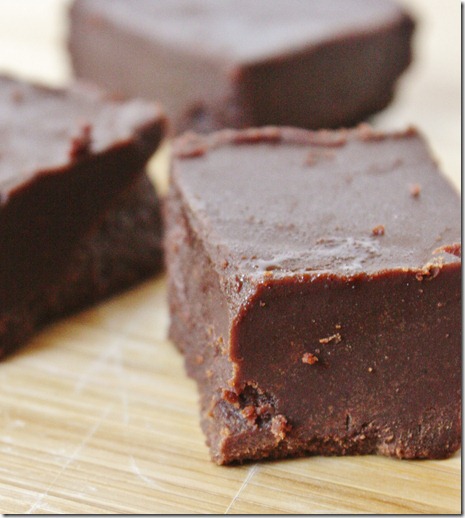
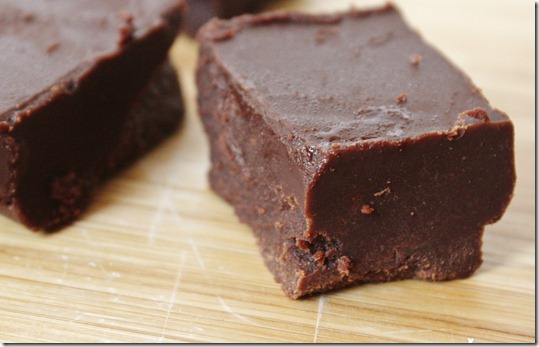
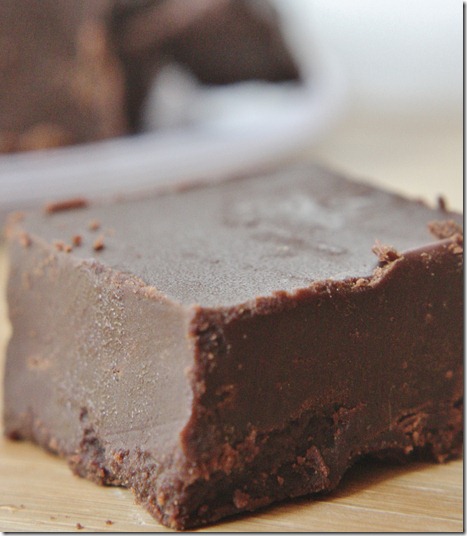
I’m kind of a scatterbrain when it comes to making desserts; there are only a few recipes I can make without having to look at a recipe. Because of that, I usually end up making those same ones again and again like this fudge. It’s hard to forget 4 ingredients and how to use the microwave. You don’t even need to dirty any dishes. On top of that, it tastes just as good as any other fudge I’ve had. That’s probably why I keep making it again and again.

Micrwave-Fudge-Piece

Microwave Chocolate Fudge

Ingredients(Makes 16 servings):

  • 1 cup semi-sweet chocolate chips
  • 1 4oz stick butter(coconut oil and Earth Balance work, too)
  • 1/2 cup powdered sugar
  • 1/4 cup milk(or non-dairy substitute)

Method:

  1. Melt together the chocolate chips and butter.
  2. Sift in the powdered sugar and pour in the milk. Mix until completely uniform.
  3. Pour the hot fudge into a 6 x 6 pan. Refrigerate until set.
  4. Cut into 1 1/2 inch squares and serve slightly chilled.

Microwave-Fudge-Close-Up

Spicy Maple Baked Beans

Spicy-Maple-Baked-Beans

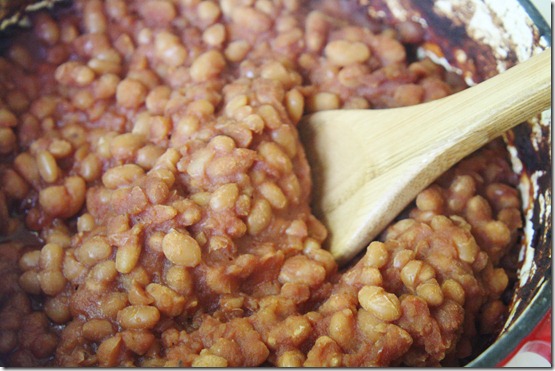
I really love making beans from scratch. It’s kind of like the vegetarian version of roasting a chicken: You take something from inedible to edible making the whole house smell great in the process. I probably hadn’t made this recipe for a good year, which is a shame because I liked it so much the first time. The flavor is incomparable to store-bought brands—truly unique. It’s sweet with a spicy kick that lingers.

There’s also a homemade Worcestershire sauce recipe at the bottom since looking for a bottled vegetarian/gluten-free sauce is sort of like looking for the Holy Grail.

Spicy Maple Baked Beans

Ingredients:

  • 1lb dry white beans
  • 1 yellow onion, peeled and halved
  • 2 bayleaves
  • 1 6oz can of tomato paste
  • 2/3 cup maple syrup
  • 1/3 cup Worcestershire sauce
  • 1/2 cup white vinegar
  • 1 teaspoon salt
  • 3/4 teaspoon ground mustard seed
  • 1/2 tablespoon onion powder
  • 1/2 teaspoon cayenne
  • 3/4 teaspoon paprika

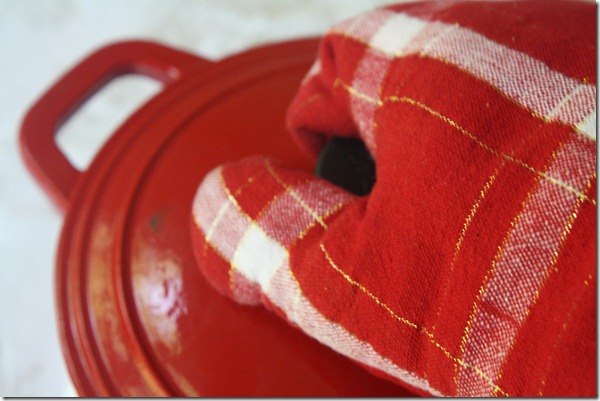
Spicy-Maple-Baked-Beans-Pot

Method:

  1. Soak the beans in water for 8 hours or overnight. Drain the water and put the beans in a large pot with new water, the bayleaves, and the onion.
  2. Boil the beans for 70-80 minutes, scooping off the foam that forms on top of the water. Once done boiling, remove the pot from the stove and drain the beans from the water, also removing the bayleaves.
  3. Combine the beans with the rest of the ingredients in an oven-safe pot or a Crockpot. Bake at 350 degrees for 3 hours or simmer on high for the same period of time until the beans have darkened and most of the moisture has evaporated. If the beans dry out too much, add 1/2 cup of water and continue cooking.
  4. Remove from the oven and serve hot when ready.

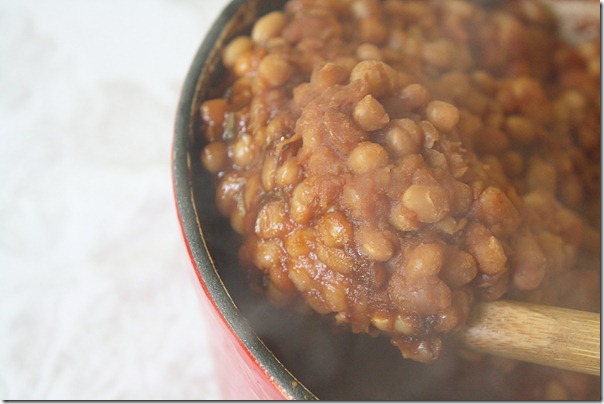
Spicy-Maple-Baked-Beans-Stir

Homemade Worcestershire Sauce

Ingredients(Makes about 1/3-1/2 cup):

    • 1/2 cup apple cider vinegar
    • 1/4 cup soy sauce or wheat-free tamari
    • 1 tablespoon cane sugar
    • 1/2 teaspoon ginger
    • 1/2 teaspoon dry mustard
    • 1/2 teaspoon onion powder
    • 1/2 teaspoon garlic powder
    • 1/4 teaspoon cinnamon
    • 1/4 teaspoon pepper

Method:

  1. Combine all of the ingredients in a small pot over the stove.
  2. Keep between a boil and a simmer for 8-10 minutes until reduced to half its original volume.
  3. Use immediately or store in the refrigerator for up to a week.

Grilled Zucchini Boats

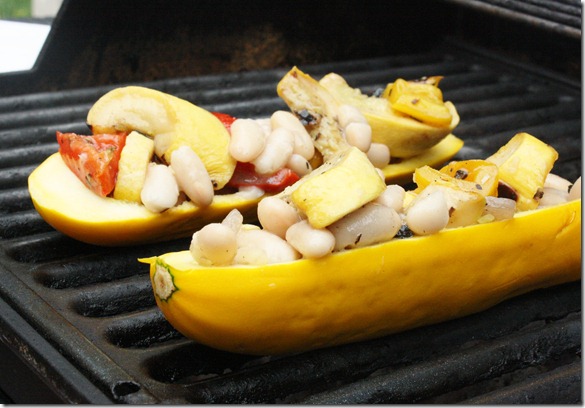
Grilled-Zucchini-Boats-Grilling

As excited as I am to move back to Providence in a month, there are a few things I’m going to miss. Things like Trader Joe’s and grilling. Did you know you can get zucchini any size at Trader Joe’s for just 79 cents? Between those, 3.99 watermelon and 19 cent bananas, the crew members must think I’m feeding a small colony of chimpanzees. It’s a good thing I buy the 2.99 Vahlrona chocolate to throw them off.

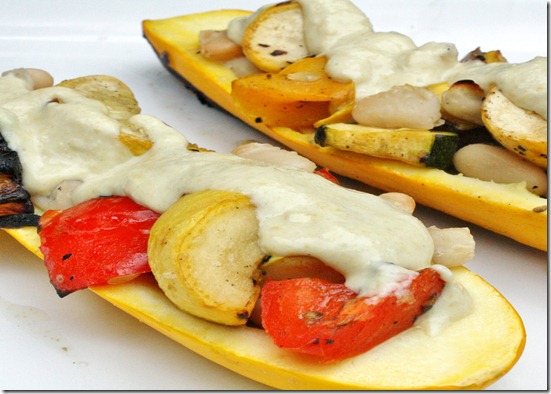
Because I went a little crazy on the zucchini and had the grill at my disposal I decided to make grilled zucchini boats. I’ve never made stuffed zucchini before so I didn’t know what to stuff them with; since we had beans and leftover vegetables on hand I went with that. I also topped mine with a cashew “cheese” sauce that was pretty much just cashews, water, and nutritional yeast. It’d be good with shredded cheese or even a pesto sauce, anything thick and hearty.

Vegetarian Grilled Zucchini Boats

Ingredients:

  • 1 zucchini
  • 1/3 cup grilled or cooked vegetables
  • 1/3 cup beans
  • 1/2 Tablespoon olive oil
  • Salt and pepper to taste
  • Shredded cheese or cheese sauce for topping(optional)

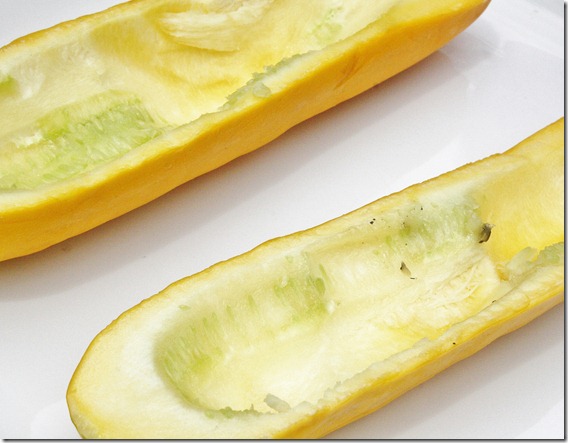
Grilled-Zucchini-Boats-Zucchini

Method:

  1. Cut the zucchini lengthwise and scoop out the center.
  2. In a bowl, mix together the vegetables, beans, oil, salt, and pepper. Scoop the mixture into the center of the zucchini.
  3. Grill over high heat for 5 minutes until the bottom has begun to char and the filling is heated.
  4. If using shredded cheese, sprinkle on the top of the filling during the last minute of grilling and close the grill lid to melt it. Serve hot.

Grilled-Zucchini-Boats

Chocolate Peanut Butter Bars

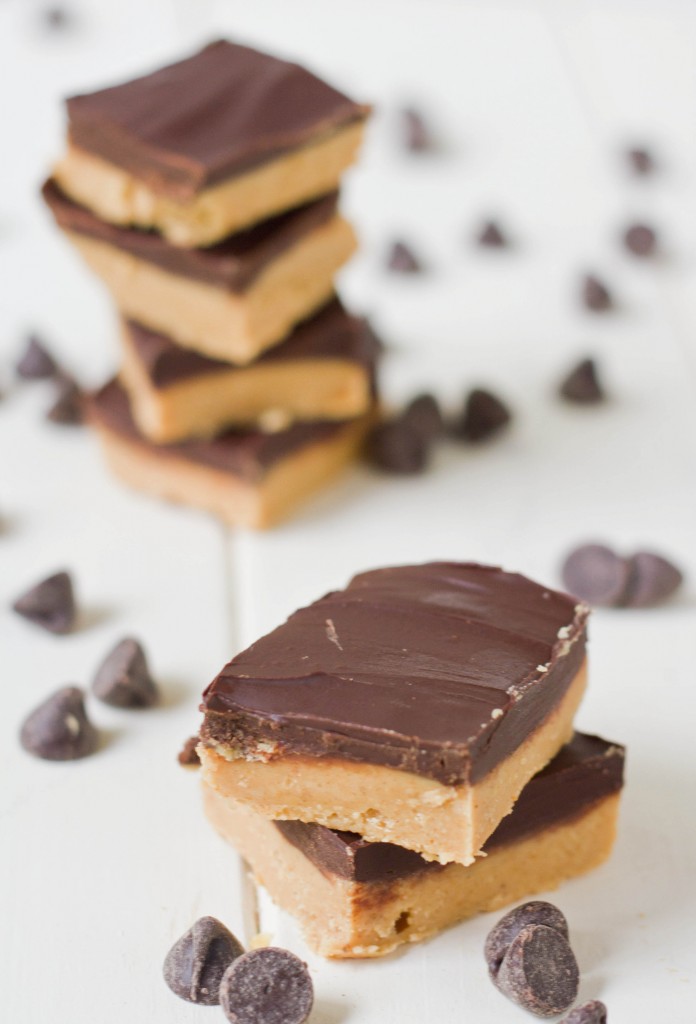
This is by far one of my favorite dessert recipes; it’s one I come back to again and again, the kind I don’t need to look at the recipe anymore to know how to make.

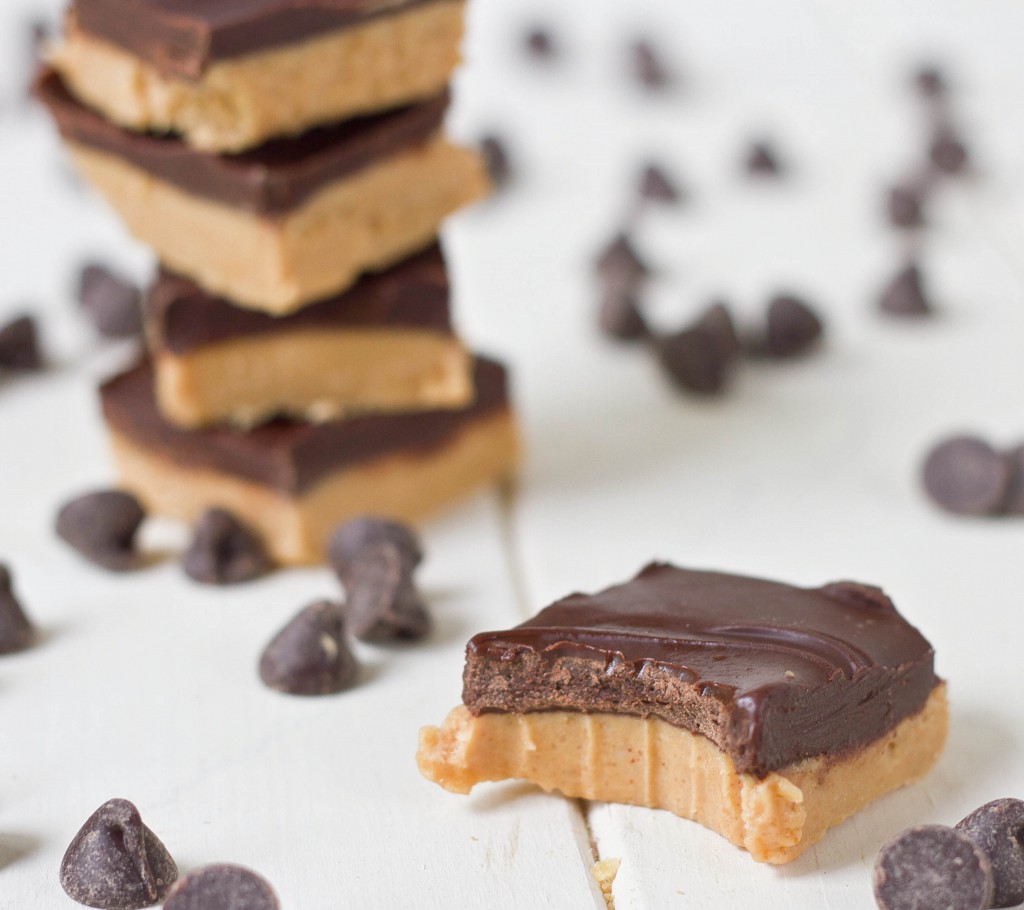
Chocolate and peanut butter is already an established pair, so you don’t really need to do much to doctor or dress these up to make them a crowd favorite. Just a smooth layer of sweet peanut butter covered by a soft chocolate ganache is plenty impressive enough.   

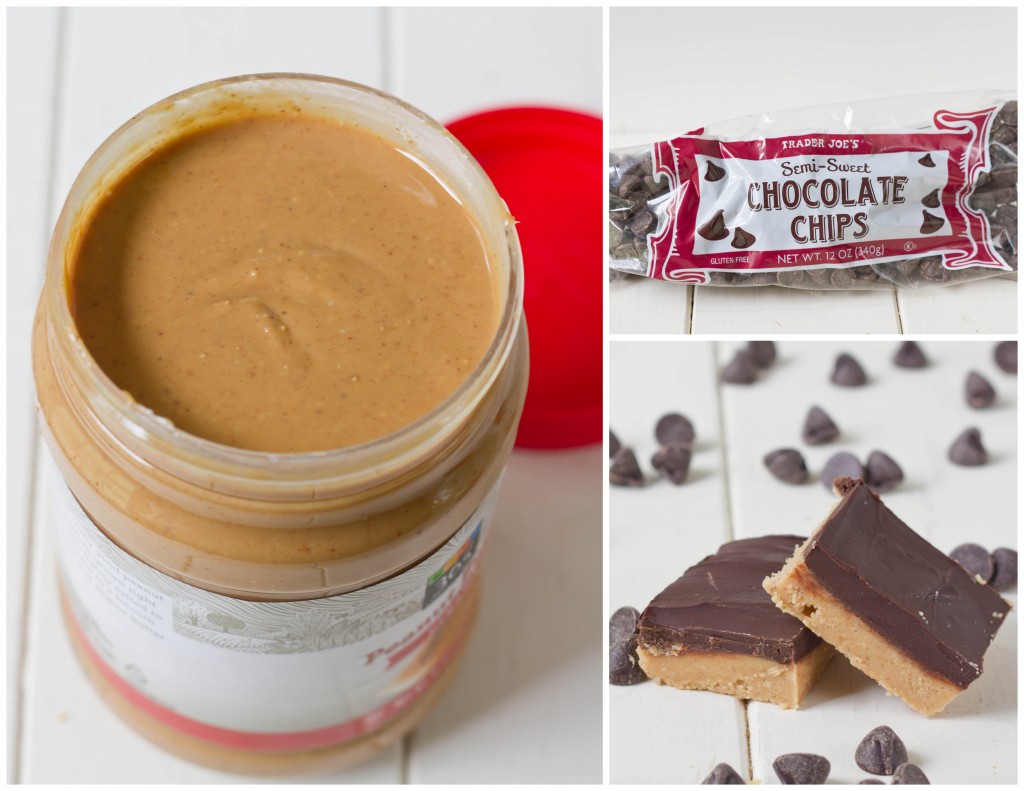
The best part about this recipe is that it doesn’t need anything more than 4 ingredients that should always be in your pantry. If you want to elevate the flavor without much work, try using a special peanut butter like roasted honey or even almond butter. 

Chocolate Peanut Butter Bars(adapted from Oh Baby Bars)

Prep time: 15 minutes

Cook time: 0 minutes

Ingredients(Makes about 24 servings):

  • 3/4 cup peanut butter, runny or no-stir
  • 7 Tablespoons butter, divided
  • 1 1/2 cups powdered sugar
  • 10oz semi-sweet chocolate chips

Method:

  1. In a large bowl, melt 6 tablespoons of butter along with the peanut butter until completely liquid.
  2. Add the powdered sugar into the peanut butter and butter mixture and beat until completely incorporated. Press the peanut butter mixture into a loaf pan or a 9 x 9 pan for smaller portions.
  3. Melt the chocolate chips and remaining tablespoon of butter together and mix. Pour this over the peanut butter layer.
  4. Refrigerate until the chocolate has set. Cut at room temperature into 1 x 1 square servings.

Totally worth the effort.

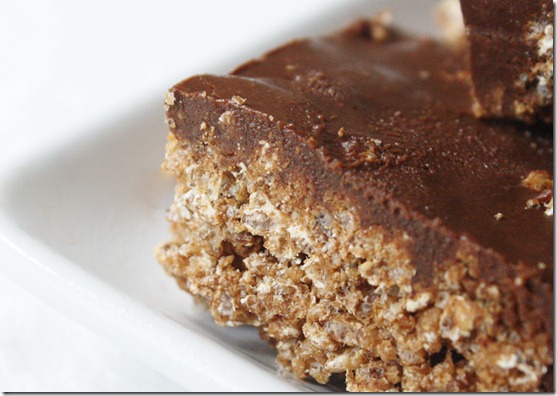
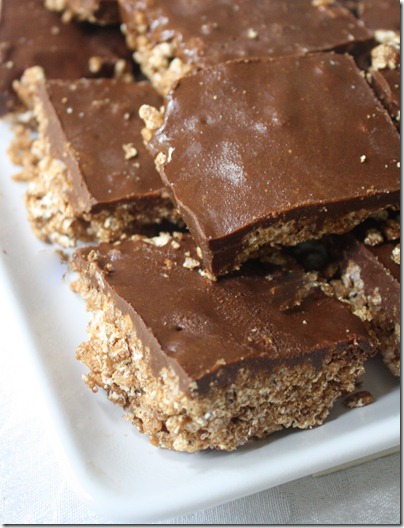
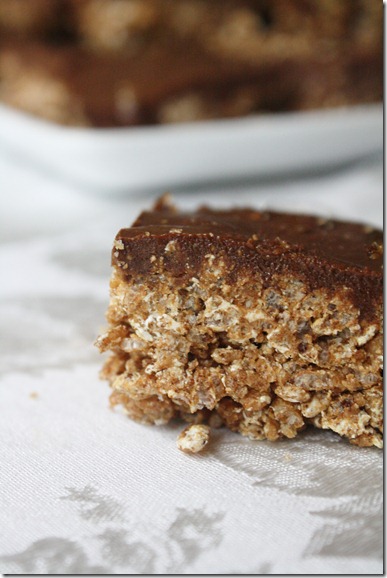
Chocolate Peanut Butter Rice Crispy Treats

Chocolate-Peanut-Butter-Rice-Crispy-Treats

Here are two things to know about me:

1. I’m a perfectionist.

2. I make mistakes. A lot.

I can’t count the number of times I have a kitchen mishap where something doesn’t go how I think it would. In cooking it’s easy to make that up by adding new ingredients. In baking it usually ends up in the trash.

Chocolate-Peanut-Butter-Rice-Crispy-Treats-Plate

I underestimated how much peanut butter and butter these crispy treats needed. The first time I refrigerated them, they fell apart as soon as I cut in. I had to sweep a few rice crisps off the floor and redo the process, remixing the batter. I don’t think it was as good as if I got it all right from the start. I even debated whether to still serve these, but I’m glad I did because they got two thumbs way up at a party over the weekend. This recipe reflects the fixed version. And you can’t bet I’ll be making these the right way one day soon; what kind of perfectionist would I be otherwise?

Chocolate Peanut Butter Rice Crispy Treats

Ingredients:

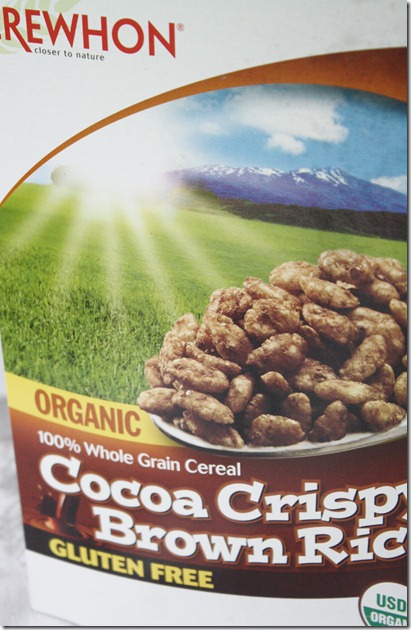
  • 6 cups cocoa crispy rice cereal
  • 1 1/2 cups no-stir peanut butter, divided
  • 1 cup Fluff(or marshmallow crème)
  • 1/4 cup butter
  • 1 cup chocolate chips

Chocolate-Peanut-Butter-Rice-Crispy-Treats-Ingredients

Method:

  1. In a large bowl, melt 1 cup of peanut butter along with the butter until it’s runny. Mix until the two are combined.
  2. Add in the cereal and Fluff and mix until the cereal is completely coated by the wet ingredients. Press the cereal into a 9 x 13 baking pan.
  3. Melt the remaining peanut butter and chocolate together and mix. Pour evenly over the tray of cereal. Refrigerate until set.
  4. Cut into even squares and keep cold until serving.

Chocolate-Peanut-Butter-Rice-Crispy-Treats-Close-Up

Gluten-Free Baked Onion Rings + Twitter popchips Giveaway

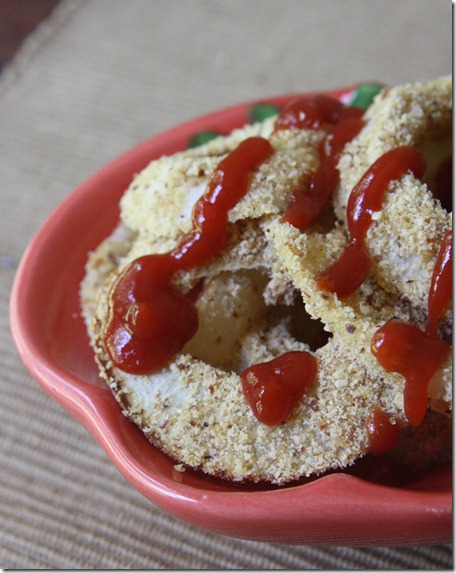
July 17th 070

When I was a kid I never liked onion rings. When everyone else was going for bags of Funyuns, I chose potato chips. I didn’t even care that they were fried; they had the word “onion” in them so how could they be good?!

Well, I grew up and so did my taste buds. Now I love onions sautéed, caramelized—however you make them. And when I had my first taste of onion rings in England they were surprisingly good.

July 17th 083

popchips sent me a Summer supply of their tasty all natural snacks, and when I started looking at recipes on their facebook wall these onion rings grabbed my attention. If there’s anything better than potato chips, it’s onion rings. And baking them in a batter with low-fat popchips means they’re better for you than the original, too.

Gluten-Free Baked Onion Rings

Ingredients:

  • 2 onions, sliced and separated
  • 2 eggs
  • 1/2 cup milk or non-dairy substitute
  • 1 teaspoon vinegar
  • 1/2 cup potato chip crumbs*
  • 1/3 cup almond flour

*I used 1 .8oz bag of original popchips and 2 .8oz bags of salt & pepper.

July 17th 001

Line 2 sheets of baking trays with parchment paper and preheat your oven to 350 degrees.

Beat together the eggs, milk, and vinegar. In a separate bowl, mix together the almond flour and potato chip crumbs. It’s best to use the finest crumbs you can so running them through a food processor is recommended.

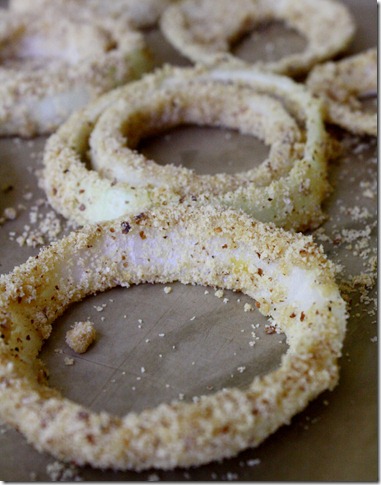
With one hand, lift the onion rings and dredge them in the wet ingredients. Take it and put it in the breading, tossing to coat with your other hand. Using the dry hand, place it on the lined baking tray. Repeat this process for all of the onion rings.

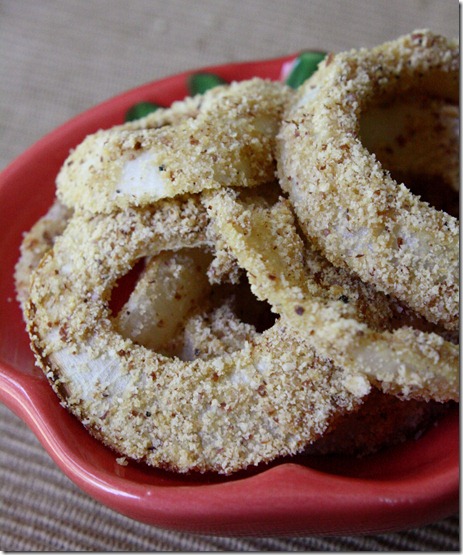
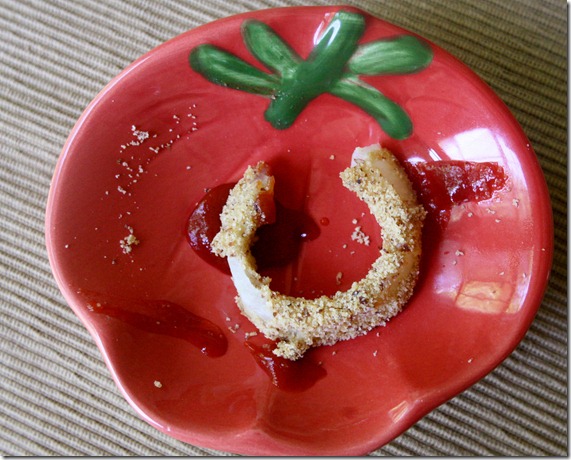
Bake at 350 degrees for 15 minutes. Serve slightly warm with ketchup.

July 17th 067

I wasn’t sure if these would actually taste good. They’re “healthy”, free of grains and low in fat. They’re easy, too, compared to actually frying the onion rings which would require a lot more attention cooking.

The verdict?

July 17th 073

I had no problem finishing them all. I don’t think it’s too soon for another batch.

popchips wants to give away a Summer supply of popchips to one lucky person on Twitter! To enter, simply tweet between now and next Friday, the 29th, “I snack healthy with ________ @popchipsboston @wannabechefevan” answering the question with your favorite healthy snack or favorite popchips flavor and you’ll be entered to win.

Raw Lasagna

July 17th 086

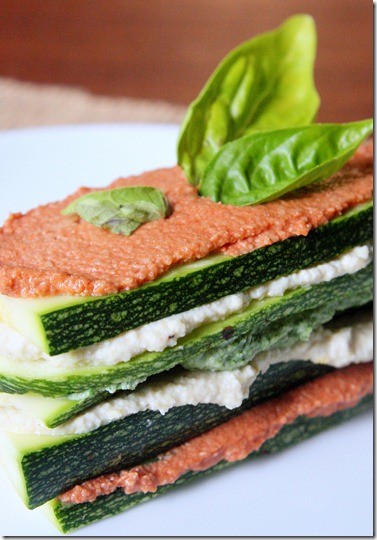
The 2 times I’ve been to Wildflour this Summer, I’ve gotten the same menu item: The raw lasagna. The first time I ate it, I more or less devoured it without paying much attention. The second time I stopped to look how they made it; I was surprised it was just layers of zucchini and different pastes, presumably cashew-based, that all came together to make a rich and complex flavor.

Even once I decided to try and make this at home, I still put it off for a good week; it just seemed like something that would be hard to do. When I actually tried it couldn’t have been easier. It took just 30 minutes to make a big batch of lasagnas. I love Wildflour, but not having to pay $8 for a taste of their lasagna is music to my ears.

Raw Lasagna

Ingredients(Makes 4 servings):

  • 2 cups cashews, soaked for 3-4 hours and drained
  • ~1/3 cup water
  • 1 1/2 Tablespoons nutritional yeast
  • 3 Tablespoons tomato paste
  • 1 Tablespoon extra virgin olive oil, divided
  • Handful of basil leaves
  • Handful of spinach leaves
  • Salt + pepper to taste
  • 2 zucchini

July 17th 125

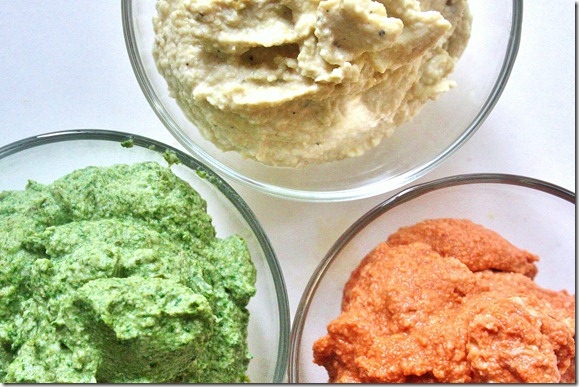
In a food processor, blend the water and the cashews into a soft, smooth paste. Divide the cashew spread into three portions, two 3/4 cup portions and one 1/2 cup portion.

Mix the 1/2 cup portion with the tomato paste, 1/2 a tablespoon of olive oil, and salt to taste.

Mix one of the 3/4 cup portions with the nutritional yeast and salt and pepper to taste.

In the food processor, blend the last portion of cashew spread with the remaining 1/2 tablespoon of oil, basil, spinach, and more salt to taste until the leaves are completely chopped up and the spread is an even green color.

July 17th 092

Cut each zucchini once in half across and then into thin slices lengthwise.

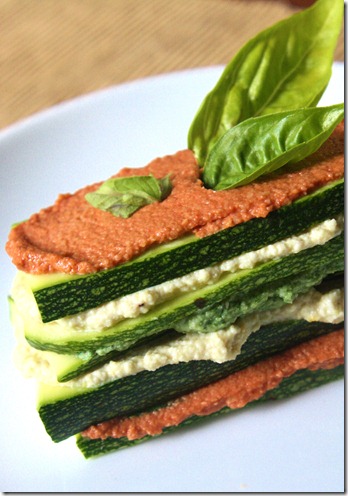
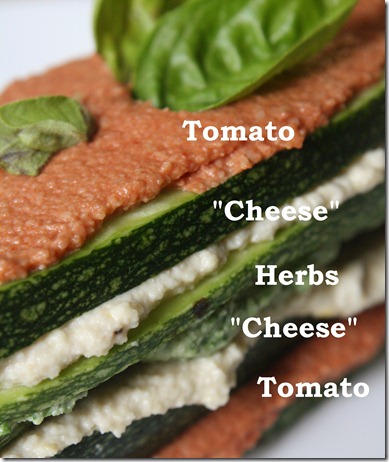
You can layer it however you want; I’m partial to alternating the 3 spreads with each slice. The best bites are the one with a taste of each flavor in them.

July 17th 088

In some ways, this is the least Italian entrée you could make: It involves no cooking; the ingredients aren’t at all what you’d normally use; and it looks entirely different. But as soon as you cut in and take a bite the flavors are spot on, from the rich “cheese” to sweet tomato. Serve it at a dinner party and it’ll definitely catch a few eyes.
Raspberry Tofu Pudding

July 17th 040

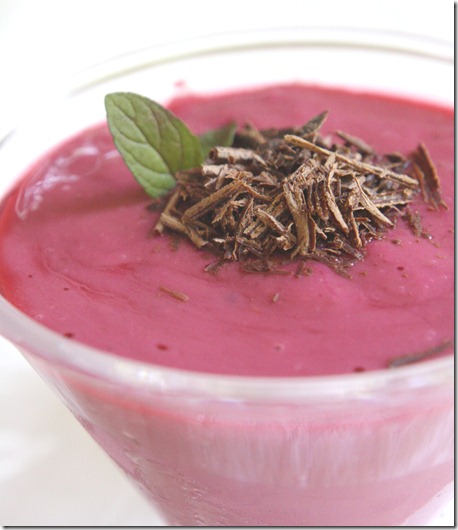
Normally I like fudgy desserts, or just a piece of thick chocolate. But this Summer I haven’t been able to get enough mousse desserts, like this one or this one or this one. So naturally I had to try this recipe when I saw it on the Whole Foods website.

I’ve made chocolate and peanut butter tofu mousse before but never a fruit flavor. This came out really well in flavor, although the texture reminded me more of pudding rather than mousse. It’s thick and slightly dense with a sweet, bright flavor to it, perfect for hot Summer nights when chocolate is too rich(I’ve never experienced this myself but I hear some people do—weird).

Raspberry Tofu Pudding(lightly adapted from this recipe)

Ingredients(Makes 6 servings):

  • 12oz fresh or frozen raspberries
  • 1 16oz block silken tofu
  • 3/4 cup sugar
  • 1/4 cup corn or tapioca starch
  • 1/4 teaspoon salt
  • Zest from half a lemon
  • Chocolate and mint to garnish

Combine the tofu, raspberries, starch, sugar, salt, and zest in a food processor and blend until smooth and homogenous.

July 17th 035

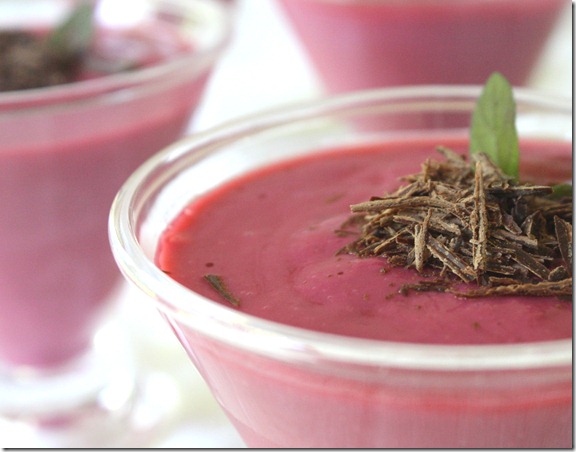
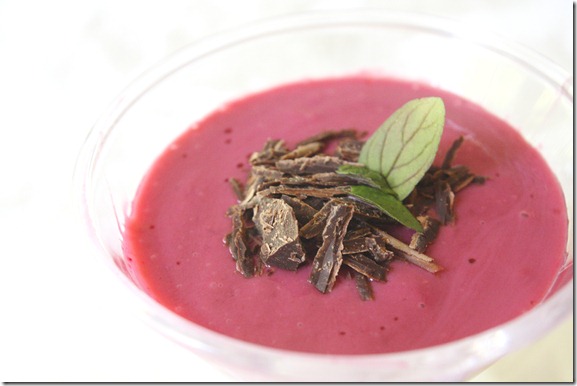
Pour into individual dishes and refrigerate until serving. Garnish with shaved chocolate and/or mint.

July 17th 005

It does not get much better than this.

July 17th 030

If you add in 3/4 cup of cocoa powder, the flavor gets even better. Although—I warn you—the color isn’t as appetizing.

Grilled Eggplant Rollatini With Ricotta and Fava Bean Filling {Vegan}

July 14th 032

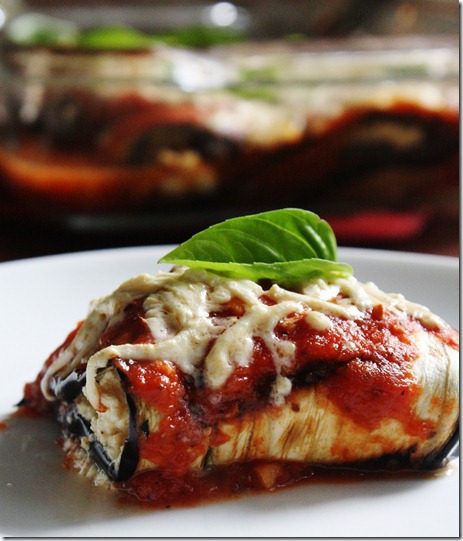
Last Wednesday was my father’s birthday so I took it upon myself to make dinner for my family. Of course, since I was the one cooking I subjected everyone to the hippy vegan rabbit food I usually eat. Thankfully my family is willing to try anything, especially if it’s Italian, so I tried a vegan/vegifull version of an Italian favorite: Stuffed Italian shells.

July 14th 060

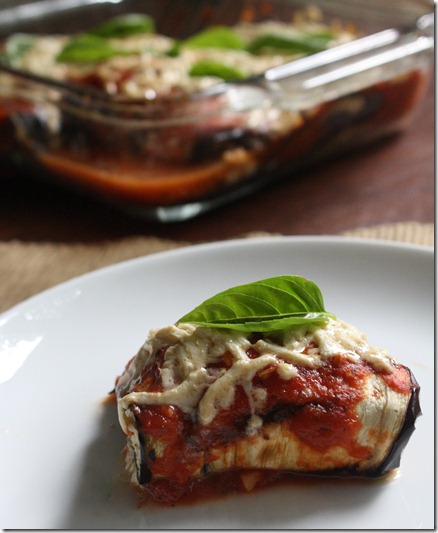
Not only were these delicious and a hit, they were also a lot healthier than I even intended for them to be. The grilled eggplant, replacing breaded and fried eggplant, adds a smoky, charred flavor to the sauce. And the beans in the tofu filling give a good meaty texture contrast. It’s not something I’d throw together on a weeknight, but even so it couldn’t have been much easier to assemble and bake.

Grilled Eggplant Rollatini With Ricotta and Fava Bean Filling

Ingredients(Makes 4 servings):

  • 1 large eggplant, sliced lengthwise 3/4 centimeter thick
  • 3/4 cup tofu ricotta
  • 1 cup fava beans
  • 2 cups marinara sauce
  • 3/4 cup vegan mozzarella shreds(I used Daiya)
  • Fresh basil for garnish
  • Oil for greasing

July 14th 001

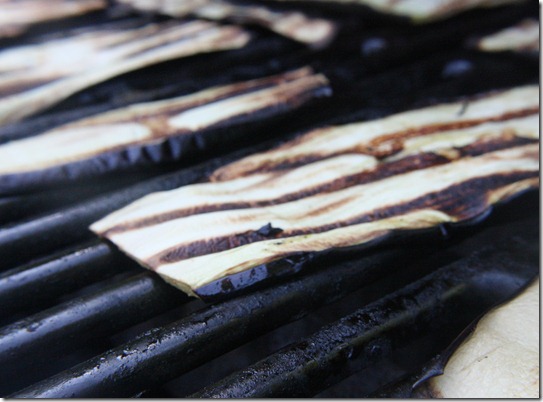
Toss the eggplant slices in oil and grill over high heat until soft and pliable. Remove after grilling both sides and let cool slightly before handling.

July 14th 008

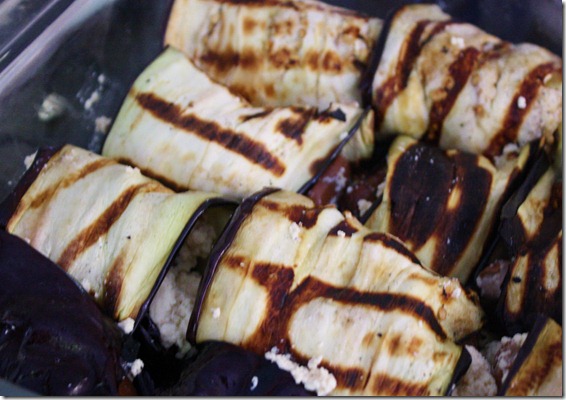
Preheat your oven to 350 degrees. Mix the fava beans and ricotta and scoop a couple tablespoons of the filling into the middle of each eggplant slice. Roll up the eggplant and put them end-side down into a baking pan packed together.

July 14th 010

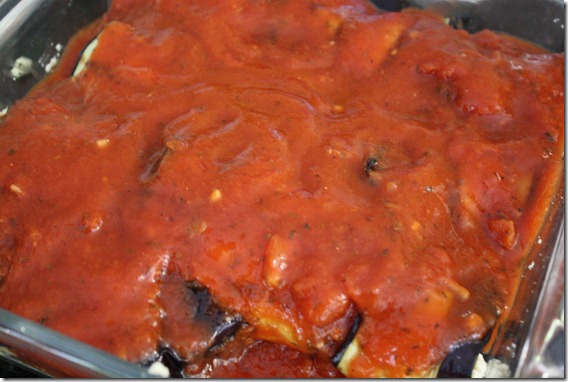
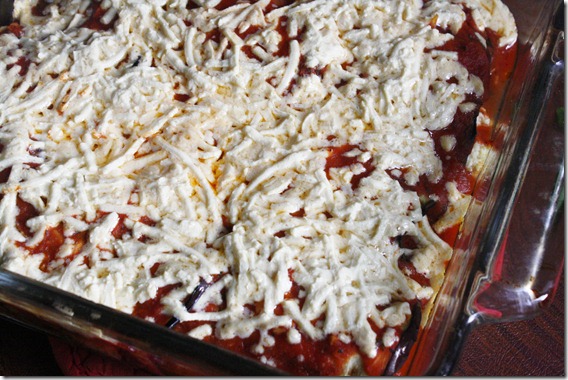
Cover the eggplants in marinara sauce and then a layer of cheese.

July 14th 017

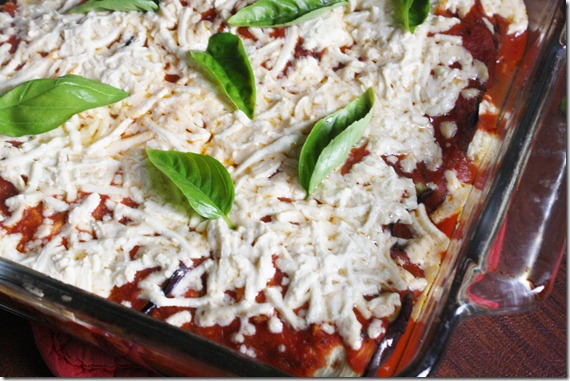
Bake until the cheese is melted and bubbly—about 15 minutes.

July 14th 020

Finish with fresh herbs and serve hot.

July 14th 038

This is Italian comfort food at its finest. The melted cheese was like the frosting on the cake. We easily demolished the pan. You could of course use regular cheese and make this a delicious vegetarian dish, too. Whatever you use, just don’t skimp on it.