Tag Archive: Food

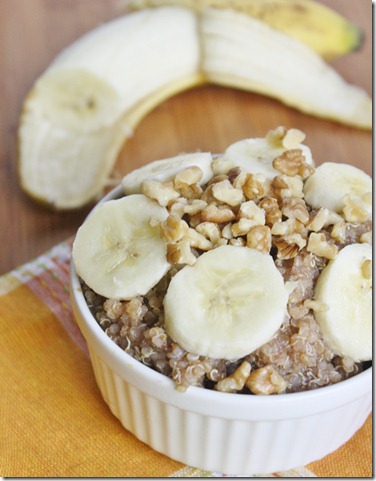
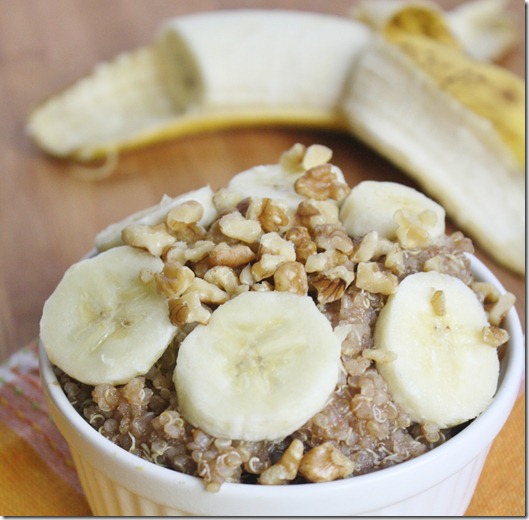
Banana Breakfast Quinoa

banana-breakfast-quinoa

Breakfast is almost never a planned meal around here. I’ll wake up and see what I can cook in the microwave and have ready to eat in less than 5 minutes. That works most of the time, but once and a while it’s nice to change things up and eat something that actually has some thought put into it, like this breakfast quinoa.

banana-breakfast-quinoa-spoon

There’s no reason to just eat quinoa for lunch or dinner. It has a fairly plain taste on its own and can easily be made savory or sweet. It’s especially good as an oatmeal replacement for gluten-free people because you don’t need to worry about buying gluten-free quinoa the way you do rolled oats. For as good as it tastes, this bowl is really easy to whip up, too, using leftover quinoa from your last meal.

If you don’t have leftover quinoa for this but still want to make it, cooking a batch only takes 15 minutes. For each 1/2 cup cooked quinoa you’ll need 1/4 cup uncooked quinoa and 1/2 cup water brought to a boil and covered until all the water’s been absorbed.

Banana Breakfast Quinoa

Prep time: 5 minutes

Cook time: 0 minutes

Ingredients(Makes 1 serving):

  • 1/2 cup cooked quinoa
  • 1 banana, plus more for garnish
  • 1/2 teaspoon cinnamon
  • 1/4 teaspoon salt
  • 1 Tablespoon maple syrup(optional) plus more for drizzling
  • 2 Tablespoons crushed walnuts

banana-breakfast-quinoa-overhead

Method:

  1. Using a fork, mash the banana in a bowl into a smooth puree.
  2. Add in the quinoa, cinnamon, and salt and mix together. If the quinoa’s not sweet enough, add the maple syrup to enhance the flavor.
  3. Move into a serving bowl and add on top the walnuts and more banana and maple syrup if desired. Serve as a cold breakfast or—if you prefer—heat it up in the microwave or oven like a hot cereal.

banana-breakfast-quinoa-toppings

You can really top this with anything. It’s especially good served hot with a melting dollop of PB&Co.’s Mighty Maple on top.

Halloween Crack Corn

halloween-crack-corn

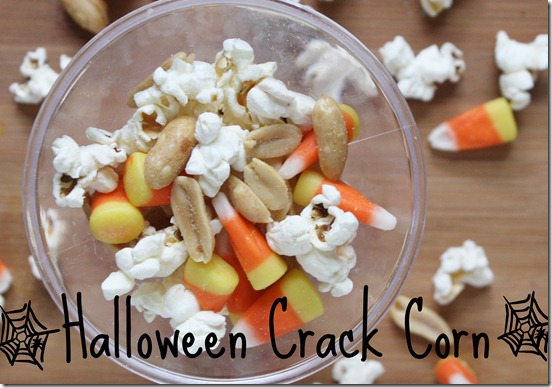
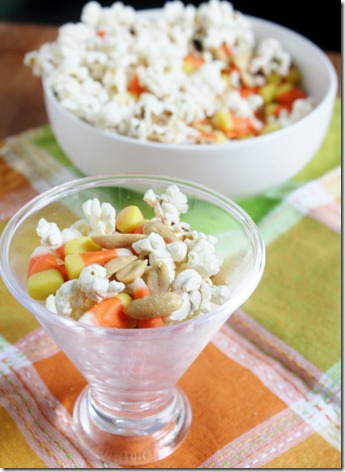
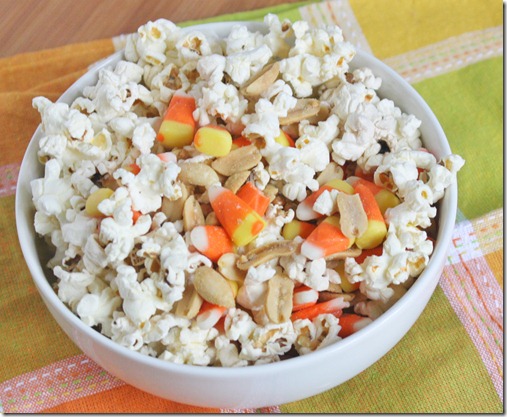
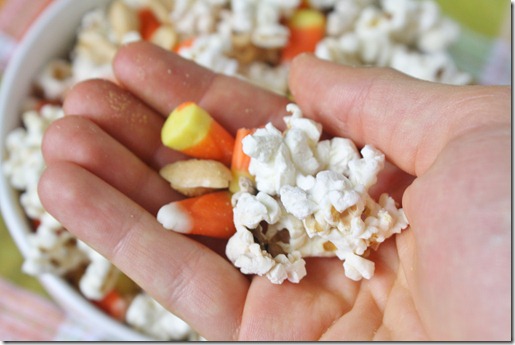
I must have been living under a rock or sheltered as a child because I never knew the amazing combination of candy corn and peanuts until Holly posted about it. I really should have guessed that two of my favorite food groups(because they definitely deserve their own food groups) would only be even better put together. And combined with popcorn it’s a crunchy, crackly, filling snack that tastes eerily like kettle corn. 

halloween-crack-corn-portion

The truth is I don’t see a time when this wouldn’t be good. You can make it as an afternoon snack or a dessert late at night, put it in a bowl and serve it at a Halloween party or put it into goodie bags to give out at a kid’s party. There’s no one who wouldn’t like this.

Halloween Crack Corn(inspired by Holly’s post)

Prep time: 5 minutes

Cook time: 0 minutes

Ingredients(for 2 servings):

  • 3 cups of popcorn(click here to see how to DIY)
  • 1/2 cup candy corn
  • 1/2 cup peanuts

halloween-crack-corn-bowl

Method:

  1. Combine all of the ingredients together and toss until evenly mixed. Pour into a serving bowl and eat up immediately.

halloween-crack-corn-handful

This makes for a very filling afternoon snack when you eat the whole thing yourself. That is until you remember you have all the ingredients to make more.

Orange And Herb Quinoa

orange-and-herb-quinoa

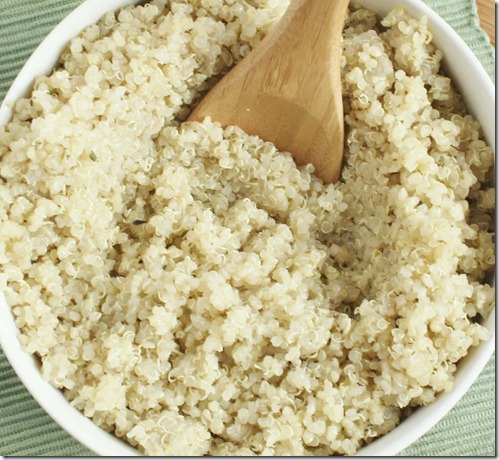
I’ve gotten into a practice—a good practice—where I make a big batch of quinoa over the weekend using this method to heat and serve throughout the week. It saves me a lot of time and dramatically increases my options for meals when I don’t really have the patience to cook or turn on the oven.

orange-and-herb-quinoa-scoop

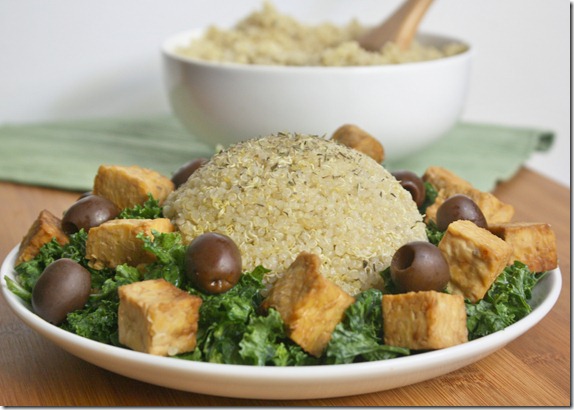
I usually cook the quinoa in just water(as opposed to veg stock) because I’m never quite sure what I’m going to use it for. Sometimes I like it dressed up in Asian flavors like in this fried quinoa recipe and other times with more Western ingredients like this recipe, which I could just as easily see served with roasted chicken and mashed potatoes. It’s an easy way to dress up leftovers so that it doesn’t taste anything like it started as.

Orange and Herb Quinoa

Prep time: 5 minutes(longer if you aren’t using leftover quinoa)

Cook time: 0 minutes

Ingredients(Makes 4 servings):

  • 2 cups cooked quinoa(or 1 cup uncooked quinoa and 2 cups water)
  • Juice from 1/2 an orange(2-3 Tablespoons)
  • Zest from 1/2 an orange
  • 1 Tablespoon extra virgin olive oil
  • 3/4 teaspoon herbs de Provence(or any other seasoning blend)
  • 1/2 teaspoon salt
  • 2 Tablespoons sugar(optional)

orange-and-herb-quinoa-bowl

Method:

  1. If using uncooked quinoa, bring to a boil over the stove with the 2 cups of water and cover with a lid until the water’s been absorbed and the quinoa shows that it’s cooked like above.
  2. Mix the cooked quinoa with all of the other ingredients thoroughly. Adjust the taste by adding more salt or sugar.
  3. Serve cold or heat up briefly in the microwave or oven for a warm side dish.

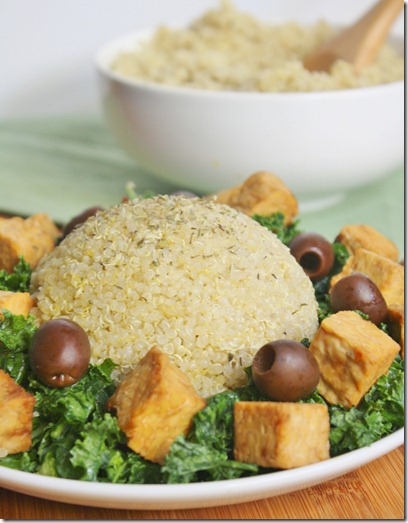
orange-and-herb-quinoa-plated

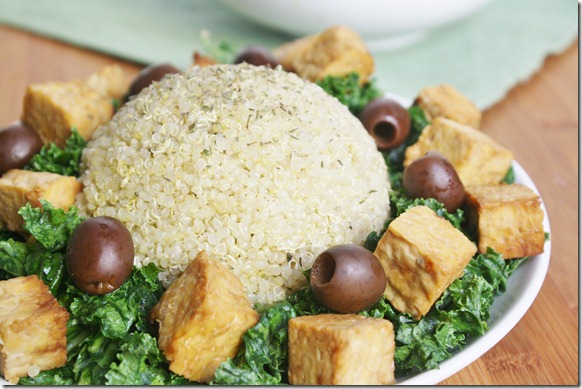
Shown with kale, tempeh cooked in soy sauce, and black olives.

Make Your Own Microwave Popcorn

I really couldn’t wait to share this one. If you’ve made your own microwave popcorn before, you know why; it’s almost too simple and too good to be true.
My family used to make our own popcorn in an air-popper machine that cost $20 at some department store. While it was nice, it was always a burden to take it out from the cupboards and put it back in. This method eliminates all that fuss. I wish I could remember and credit where I first saw the idea a few months ago; it might have came from the Healthy Eats blog. Anyway, I vaguely remembered what you needed and went from there.

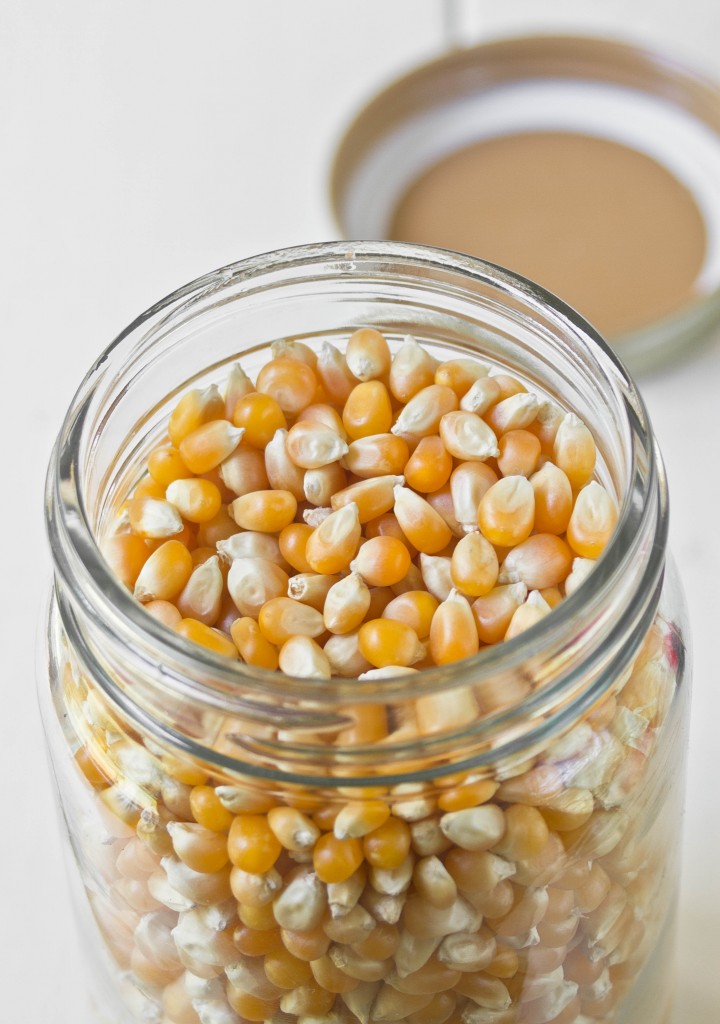
Essentially all you’ll need to buy are popcorn kernels and brown paper bags. I got organic kernels from the bulk bin section of my grocery store for $1.59/lb and the bags from CVS also for pretty cheap. That means for less than $5, maybe enough for 2 boxes of store-brand microwave popcorn bags, I got enough for ~20 servings to make myself. And it’s really not any much more trouble to do.

Make Your Own Microwave Popcorn

You’ll need…

  • Popcorn kernels
  • Brown paper bags
  • A stapler
  • A microwave
  • Oil, salt, butter, or whatever else you want on your popcorn

Measure out the amount of popcorn you’ll need. I’d say about 1/4 cup is a good single snack serving. I wouldn’t put more than 1/3 cup in a bag or there won’t really be enough room.

Pour the kernels in the bag along with a tablespoon of butter or oil(optional) and salt(also optional) to flavor the popcorn. If you’re going to add toppings to your popcorn like parmesan cheese or nutritional yeast or herbs a little oil will help it stick to the popcorn instead of singing to the bottom of the bag.

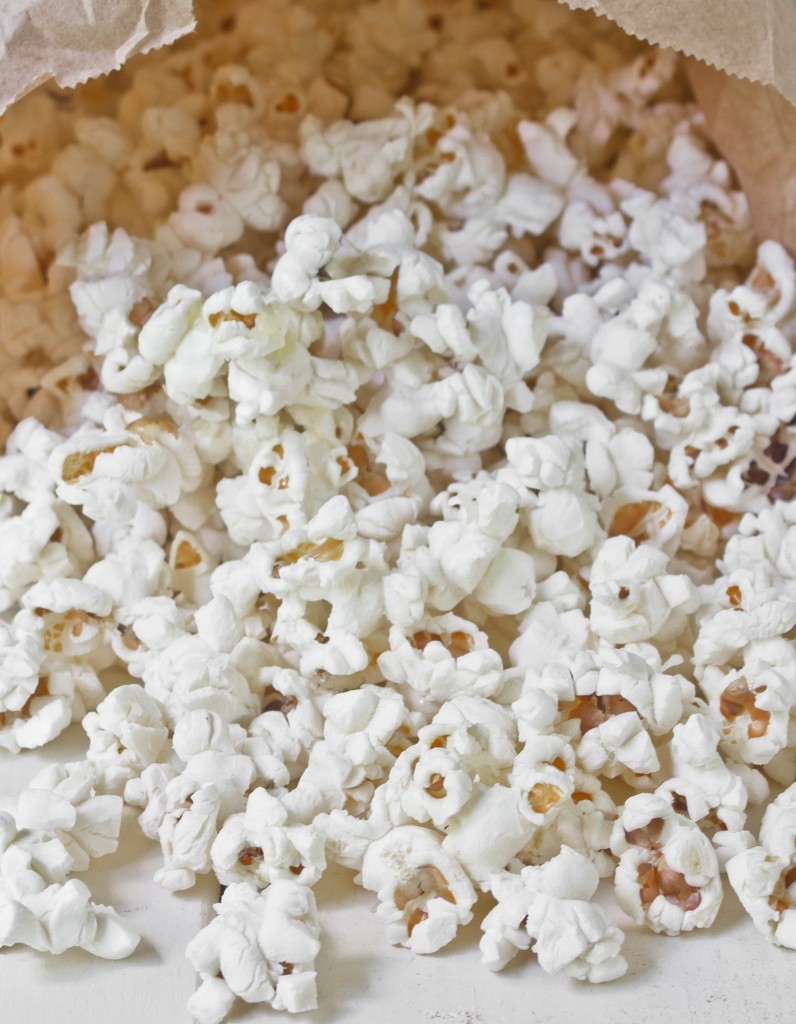
Staple the bag shut and microwave it for 2-3 minutes until most of the kernels have popped and it only makes sound every second or so—just like you would a store-bought bag of popcorn!

Open the bag up and add any toppings you might want on the popcorn. Close it and shake the bag to move things around before pouring it into a serving bowl.

It’s really that simple! And even better your microwave will smell like popcorn for the next day or so.

Lollihop Review + Giveaway

Sep 28th 137

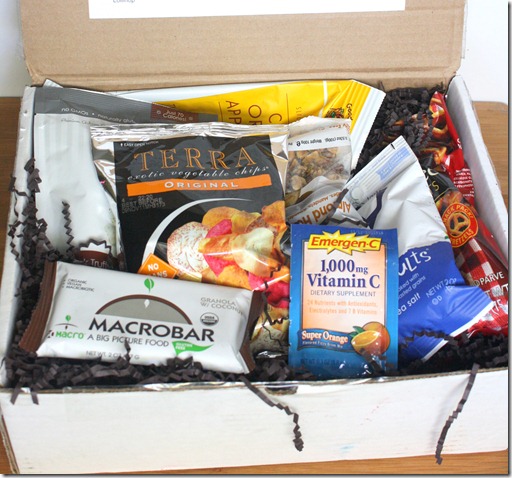
You probably haven’t heard of Lollihop; I know I hadn’t until recently when they contacted me. That’s because it’s a brand new company dedicated to introduce their customers to new healthy foods. In there own words,

Lollihop is a brand new subscription service where, every month, you’ll receive a box of the tastiest, most organic and nutritious snacks on the market (and some not even on the market yet)! 

Each treat is carefully selected by a team of nutritionists, so you can rest assured that you’re being sent only the best snacks. Also, we’ll tell you why the snacks are good for you, and share exclusive Lollihop content on how to live your life better, healthier, and happier.

Sep 28th 160

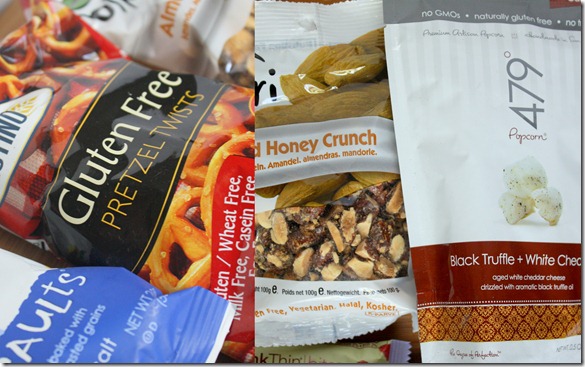
Subscriptions are $19-$23 a month depending on how long you subscribe for. As you can see, you get a good variety of snacks that would probably cost around that amount if you were out and bought a snack from a convenience store. Lollihop also does a good job at introducing snacks that you might not have otherwise heard of or have the opportunity to try.

Sep 28th 150

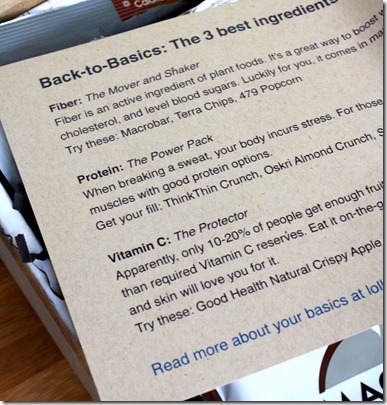
Each box is customized and varied month to month with different snacks for different areas of well-being. The note inside explaining their product choices made it feel very personalized.

2011-09-28 Sep 28th

I loved that all of the snacks were carefully selected from natural brands, some familiar and others unfamiliar. I also loved that most of the selected items were free from food allergens like gluten; 7 of the 9 samples I could actually eat, way more than I expected. It’s unclear from their website if you can adjust your box to suit different diets but it sounds as though they plan to arrange that if they haven’t already. You can read more on their How We Select page.  

Would I subscribe to Lollihop for myself? Probably not, but that doesn’t mean I wouldn’t recommend it. Since I have to deal with a gluten allergy and am just otherwise a pretty picky eater, a program like this just doesn’t suit me as well as buying all my own food. For people who want to discover new brands, who are open to trying just about anything, who like surprises and convenient groceries dropped off right at their door—for them I would recommend Lollihop. If it’s not for you, a subscription would also make a great holiday gift for any adventurous foodie.

Giveaway


Lollihop is giving away a one-month subscription to one lucky reader. You’ll get a box like I received, but since the products change month to month it will be a completely different variety. There are three ways to enter; please leave a separate comment for each entry. I’ll pick a winner Tuesday night, October 4th, and notify them by Wednesday.

  • Visit the Lollihop website and tell me one company you see affiliated with them that you like.
  • Like Lollihop on Facebook
  • Tweet “I want to win a @Lollihop subscription”

Good luck!

Homemade Peppermint Patties

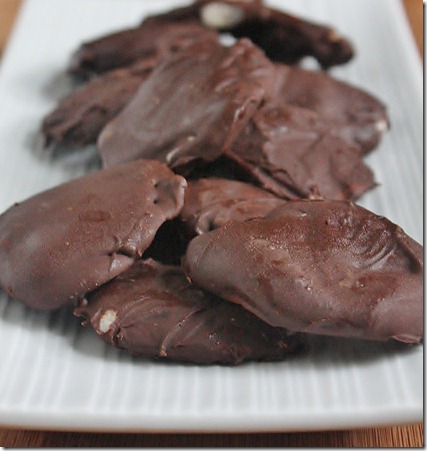
homemade-peppermint-patties

While I definitely have a sweet tooth, you could count the different candies I like with one hand: peanut butter cups, Snickers, Swedish fish, and Peppermint Patties. Oh, and candied ginger, but that doesn’t really count; I mean, it has ginger in it so that practically makes it a medicine.

homemade-peppermint-patties-plate

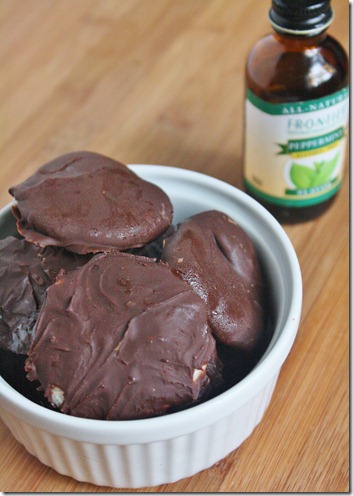
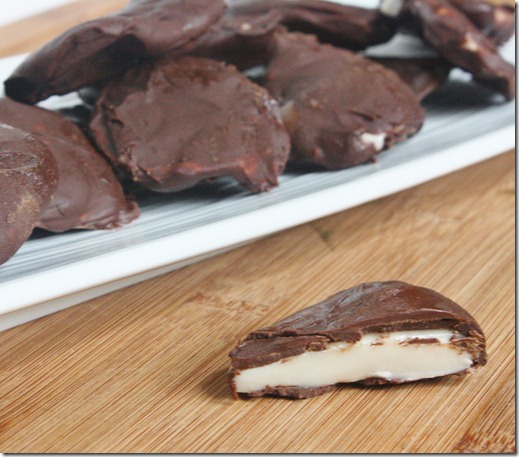
I might be jumping the gun with Halloween still over a month away, but I’ve been really excited to make my own candy for a while. The last time I made these peppermint patties was for a New Years Eve party, so almost 9 months ago. That’s way too long for something this good. The filling is soft, smooth, and refreshing while the outside is dark and crunchy. Well I don’t need to tell you—you’ve probably had a Peppermint Patty before, and these taste just like the real deal!

Homemade Peppermint Patties(gluten-free/vegan) recipe here.

Recipe notes:

  • I had to use more than the amount of powdered sugar listed in the ingredients. My best guess is that the temperature affected the dough since the last time I made them was the dead of Winter. Just keep adding powdered sugar by the 1/4 cup until you can break off a piece and roll it into a ball without the sugar sticking to your hand.
  • I froze completely the filling part before dipping it in chocolate, which I think made the process easier.
  • I used chocolate chips again, but I think real bakers chocolate would be better since the coating had some trouble staying hard after being melted.
  • I froze the filling and finished patties on aluminum foil and it didn’t stick like I thought it might.

homemade-peppermint-patties-cross-section

I was debating covering the tops with white non-perils but the chocolate hardened before I got a chance so I didn’t bother. You could spend the extra time to make sure all the sides are covered evenly and the coating is smooth; I, however, like when not every dessert is identical or perfect. It shows that it’s homemade and unique.

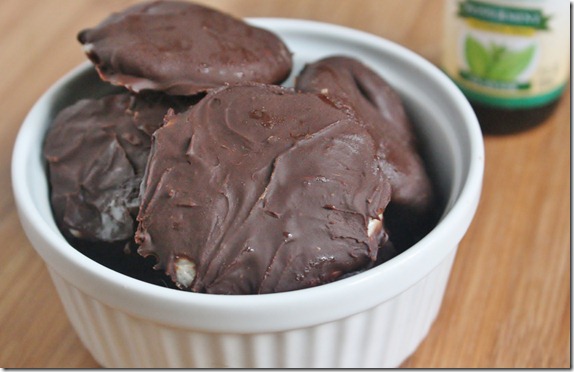
homemade-peppermint-patties-bowl

Baked Butternut Squash Mash

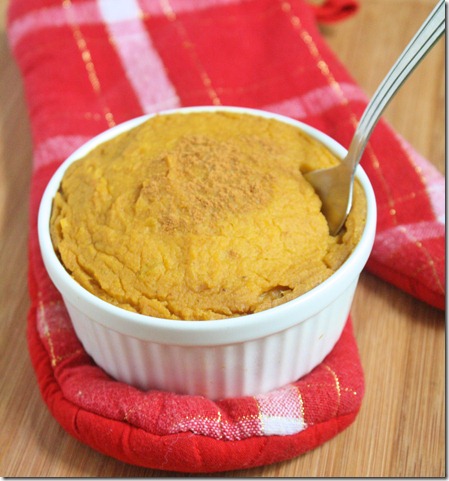
Baked-Butternut-Squash-Mash

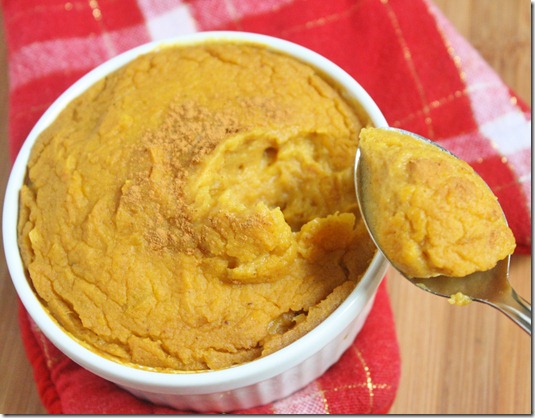
Now is my favorite time of the year, for food at least. I love pumpkin, squash, mashed potatoes, sweet potatoes—basically anything starchy that looks like baby food. Naturally I was excited to see local squash at the farmers’ market last week and picked out the biggest, most obscene looking butternut squash I could find.

Baked-Butternut-Squash-Mash-spoonful

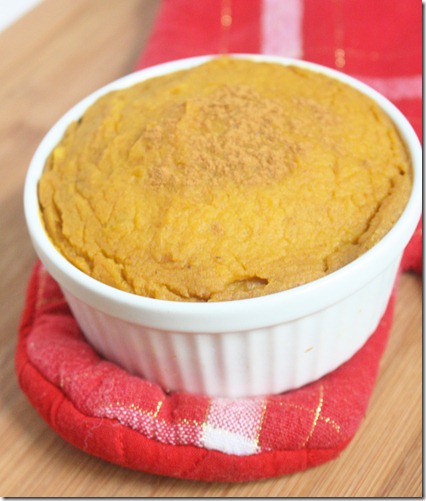
Like I said, this is basically glorified baby food: Smooth squash puree mixed with amber maple syrup, rich cream, and nutty spices. It’s reminiscent of a pie filling but without the overpowering sweetness so you can feel good about eating this with dinner. It’s definitely a new favorite that I’ll probably turn to time and time again the next few months; it’s good enough that I’d invite it to the Thanksgiving table!

Baked Butternut Squash Mash

Prep time: 5 minutes

Cook time: 30 minutes

Ingredients(Makes 4 servings):

  • 3 cups butternut squash puree*
  • 1/2 cup almond cream(recipe below) or regular cream or other non-dairy cream
  • 3 Tablespoons maple syrup
  • 1/2 teaspoon salt
  • 1/2 teaspoon cinnamon
  • 1/4 teaspoon nutmeg

*This is easy to make yourself. Roast a medium-sized butternut squash until the inside is soft. Scoop the flesh out from the skin and puree it in a food processor until smooth.

For the almond cream:

  • 3 Tablespoons smooth almond butter
  • 5 Tablespoons water

Method:

  1. In a small bowl, whisk together the almond butter and water until it forms a rich and smooth liquid.

Baked-Butternut-Squash-Mash-out-of-oven

Method:

  1. Preheat your oven to 375 degrees
  2. Stir together the butternut squash puree, cream, maple syrup, salt, cinnamon, and nutmeg until completely combined.
  3. Scoop the squash into a large casserole dish or individual ramekins. Bake for 20-30 minutes until the squash is heated through and the top has goldened slightly and begun to crack.
  4. Garnish with cinnamon and serve hot.

Baked-Butternut-Squash-Mash-bowl

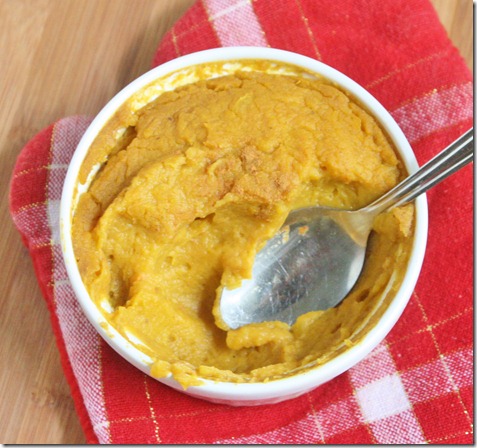
There were no leftovers, but I figured a picture of a half-eaten bowl was better than an empty bowl.

Now what other squash can I find?

Raw Chocolate Ganache Tortes

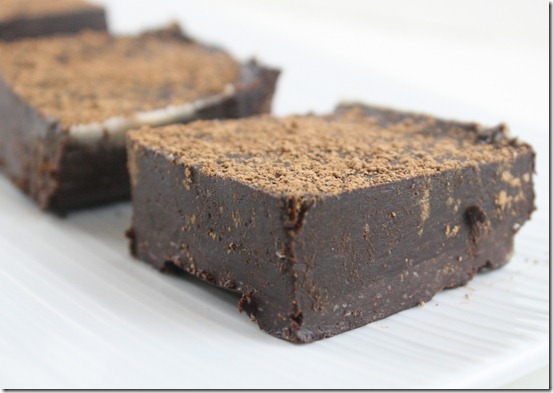
raw-chocolate-ganache-torte

If you’ve been following this blog for any length of time you’d know I’m obsessed with the raw chocolate ganache torte(pictures here) from Wildflour bakery. Time and time again I’ve tried to make my own, but it just never comes out as good as there’s.

Until now.

raw-chocolate-ganache-torte-2

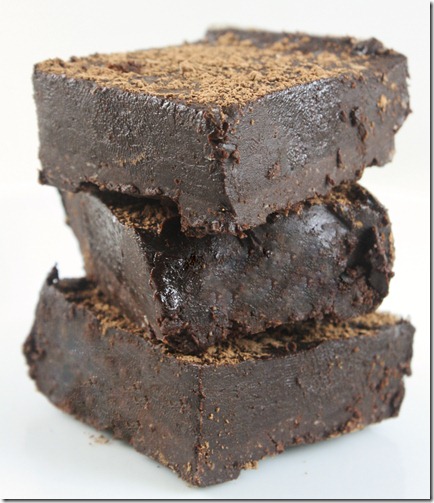
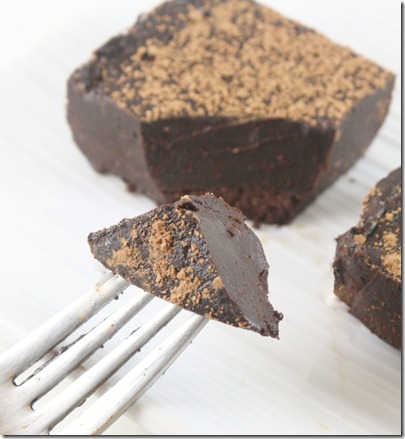
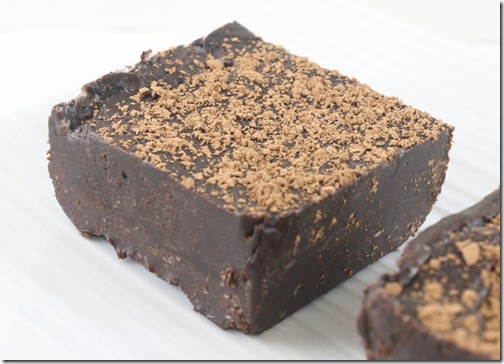
I can honestly say this is one of the best things I’ve ever eaten. The raw chocolate taste so much more intense than anything that comes in a wrapper. And the crust and filling blend seamlessly together for a smooth, nutty bite. It’s perhaps my favorite recipe to share and I hope becomes this site’s most popular, because it truly deserves the attention.

You can use any nut butter in place of the almond butter. Just don’t leave it out. It helps to lower the solidity temperature of the coconut oil so that the dessert is easily cut through straight from the refrigerator.

Raw Chocolate Ganache Tortes(adapted from this recipe and inspired by Wildflour)

Prep time: 15 minutes

(Un)cook time: 2 hours

Ingredients(Makes 8 small tortes):

For the crust:

  • 6 Tablespoons almond flour
  • 1/4 cup cocoa powder
  • 2 Tablespoons coconut oil, softened or melted
  • 2 Tablespoons agave nectar

For the filling:

  • 1/2 cup cocoa powder + more for dusting
  • 1/4 cup coconut oil, melted completely
  • 7 Tablespoons agave nectar
  • 2 Tablespoons almond butter

raw-chocolate-ganache-torte-on-fork

Method:

  1. Combine all of the crust ingredients and mix until a uniform dough forms.
  2. Press the dough in an even layer into the bottom of a small loaf pan. Alternatively, you could make these in a muffin tin and have them be round.
  3. For the filling, beat together all of the ingredients until it makes a soft ganache.
  4. Pour the ganache over the crust base. Refrigerate for 2 hours.
  5. Sift extra cocoa powder over the torte. Cut with a sharp knife into 8 equal-sized tortes.

Sep 21st 019

I will never pay for another raw chocolate ganache torte again. I will, however, still pay for their carrot cake truffles, chocolate pound cake, raw macaroons, raw cheesecake, raw oreos and rum balls, so I wouldn’t worry about them losing much business.

Fried Quinoa

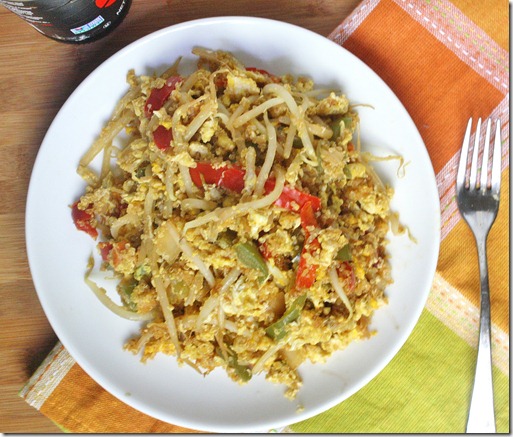
fried-quinoa

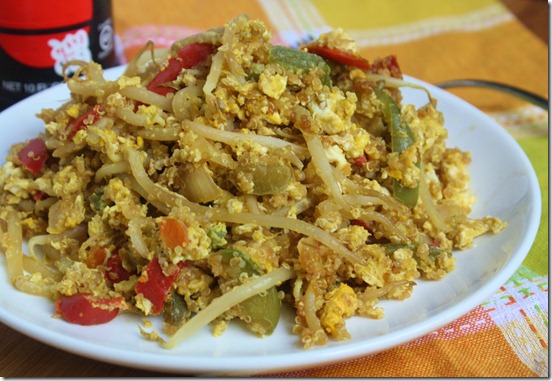
The downside(or benefit depending on how you look at it) of making things like quinoa in big batches is that you have the same old food meal after meal. Luckily, quinoa is one grain that’s easy to dress up. You can eat it in the morning in place of oatmeal, or later on in place of rice. Here I used it to make a tasty, higher protein version of fried rice.
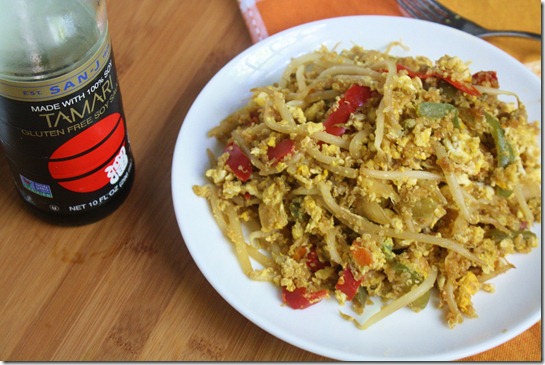
fried-quinoa-plated

I’ve never really found rice interesting, even as fried rice from a halfway decent Chinese takeout restaurant. This, however, I could eat meal after meal. The vegetables and egg add a play of textures and the quinoa has a nice nutty flavor to it to compliment the sesame oil. Add some stir-fried tofu or chicken and you’re good to go.

Of course, if you have leftover rice you could make the same recipe subbing in rice for quinoa and have a more traditional dish.

Fried Quinoa

Prep time: 5 minutes

Cook time: 10 minutes

Ingredients(makes 2 servings)

  • 1 cup cooked quinoa
  • 2 Tablespoons toasted sesame oil
  • 3 Tablespoons soy sauce(use wheat-free tamari for a gluten-free meal)
  • 1/2 an onion, diced
  • 1 bell pepper, chopped into bite-sized chunks
  • 1/2 cup bean sprouts
  • 4 eggs

fried-quinoa-soy-sauce

Method:

  1. Heat the oil and soy sauce in a large frying pan over medium-high heat until the oil starts to bubble.
  2. Add in the onion and sauté until translucent.
  3. Add in the quinoa, pepper, and bean sprouts. Toss the pan to mix. Cook until all the liquid has been absorbed and the quinoa on the bottom of the pan begins to pop.
  4. Crack the eggs directly into the pan. Lightly mix them in with the other ingredients. Continue mixing until the all the whites and yolks have cooked through.
  5. Plate and serve hot. Can be kept in the refrigerator and reheated as leftovers for up to 3 days.

fried-quinoa-fork

I ate this as leftovers and it was most definitely better the next day, with a strong, nutty sesame flavor and crunchy bean sprouts.

How To Cook Quinoa In A Rice Cooker

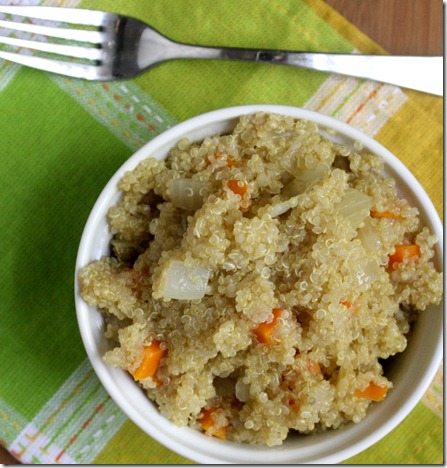
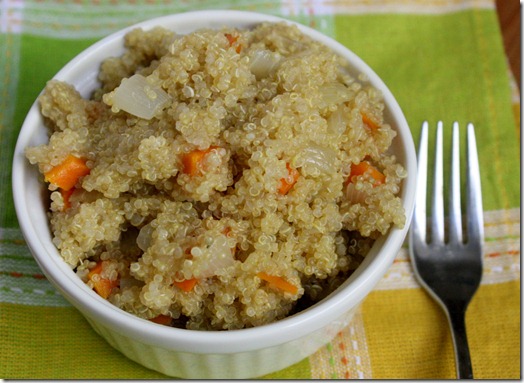
how-to-cook-quinoa-in-a-rice-cooker

Last year around this time I bought a rice cooker. Since then I’ve made rice approximately 2 times, both being for other people. I just don’t care for rice. Why’d I buy it then? To cook other things like quinoa.

Quinoa is traditionally made in a pot on the stove. That method works well if you have a full kitchen, but there are definitely benefits to using a rice cooker, too.

    • You don’t have to watch a rice cooker as much as a burner.
    • Rice cookers with “keep warm” settings make it easy to serve warm food even during a busy party.
    • You can use a rice cooker almost anywhere there’s an electrical outlet—even in a dorm room.

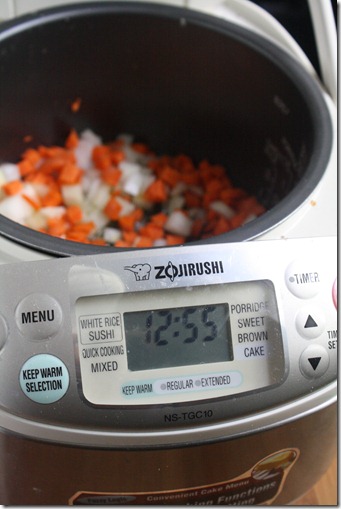
how-to-cook-quinoa-in-a-rice-cooker-brand

I use a Zojirushi rice cooker. They’re one of the more expensive brands but totally worth the extra cost. This will last for years and years, is easy to clean, and has plenty of cooking features. I’ve made a number of different things in it, from quinoa to date paste. It’s worth the investment if you’re in the market for a rice cooker.

How To Cook Quinoa In A Rice Cooker

Prep time: 5 minutes

Cook time: 30 minutes

Ingredients(Makes 4 servings):

  • 1/2 an onion, small diced
  • 1 large carrot, small diced
  • 2 Tablespoons olive oil
  • 1 cup quinoa, rinsed and drained
  • 2 1/2 cups water or stock
  • 3/4 teaspoon salt(omit if using salt)

how-to-cook-quinoa-in-a-rice-cooker-finished

Method:

  1. “Sauté” the carrots and onion in the bottom of the rice cooker by cooking them in the oil on a high-heat setting until the onions are translucent.
  2. Add in the quinoa, liquid, and seasoning if using. Close the lid on the rice cooker and cook on high for 15-20 minutes until the liquid has boiled off. The quinoa will be ready when it has doubled in volume and a “tail” sprouts from the end.
  3. Fluff the quinoa with a serving spoon and serve hot or let cool and store in a sealed container in the refrigerator for 2-3 days.

how-to-cook-quinoa-in-a-rice-cooker-overhead

Once you get comfortable preparing basic quinoa, you can make more complex recipes, all while still using your rice cooker. Here are a few of my favorites that I have picked to make for Fall:

Vegged-Out Quinoa

The Best Quinoa Dressing

Savory Pumpkin Quinoa