Tag Archive: Food

Homemade Chocolate Turtles {+ Giveaway}

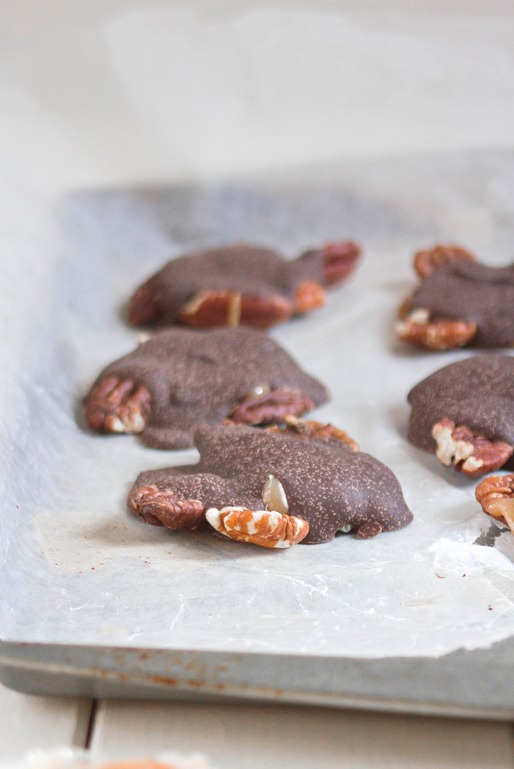
Homemade Chocolate Turtles

Before Thanksgiving I was thinking of different recipes I could use the American Heritage Chocolate I received on. It’s hard to find old-fashioned recipes that are also gluten-free since I don’t think that was much of a concern in the 18th century. I remembered how much I like old fashioned candy shops and seeing the homemade candies behind a glass case and wanted to try making a favorite: turtles.

I can’t say I went all-out old-fashioned with this recipe because I cheated a little bit and bought wrapped caramels. Learning how to use a candy thermometer well is something I want to do; this didn’t seem like a good time to start practicing, though. Store-bought or not, the end result was delicious and that’s what really matters, right?

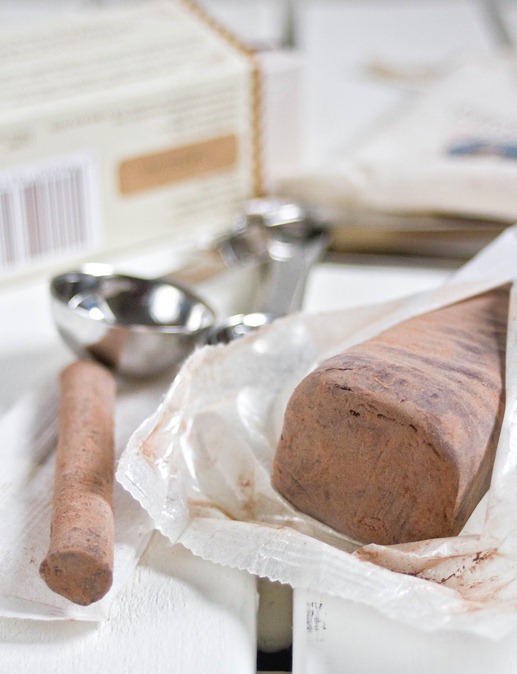
American Heritage Chocolate

Whenever you’re working with high-quality baking chocolate I would suggest melting it over the stove using the double boiler method. Boil water in a small pot and place a fitted bowl on top with the chocolate inside of it, moving the chocolate around to melt it evenly. Chop the chocolate into smaller portions to make it melt faster.

Homemade Chocolate Turtles

Prep time: 15 minutes

Cook time: 0 minutes

Ingredients(Makes 10 turtles)

*I used Trader Joe’s salted old fashioned caramels. Feel free to make your own from scratch if you’re experienced with a candy thermometer.

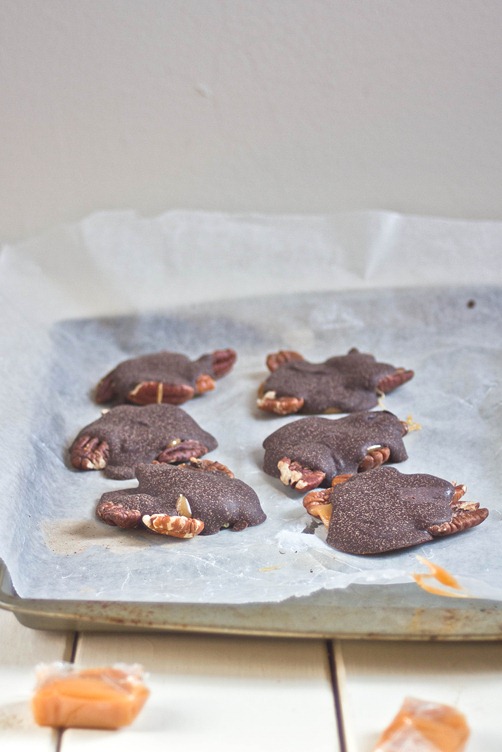
Homemade Chocolate Turtles Yield

Method:

  1. Lay the pecans out in clusters on a non-stick, greased surface.
  2. Spoon about a Tablespoon of the melted caramel on top of each pecan cluster.
  3. Over a double boiler, melt the chocolate until it is smooth and shiny.
  4. Spoon just enough chocolate on top of the the clusters to cover most of the caramel and pecans.
  5. Move the turtles into the refrigerator or freezer for 20 minutes to set the chocolate.
  6. Serve and store at room temperature.

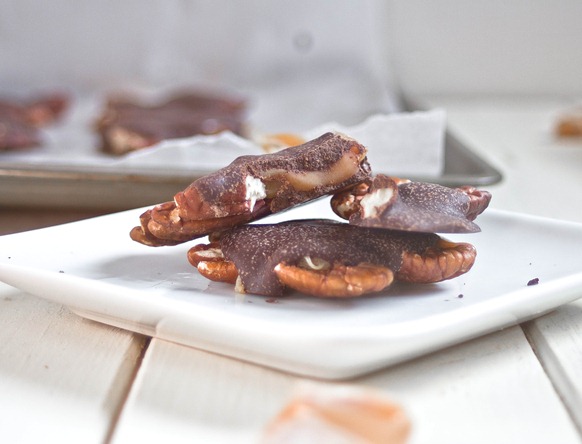
Homemade Chocolate Turtles Serving

Now for the fun part. American Heritage Chocolate wants to give away some of their finely ground chocolate drink and chocolate sticks to 2 US readers. All you have to do is leave a comment for each entry below and I’ll pick the winners Tuesday, December 4th, at midnight.

Good luck!
Chewy Peanut Butter Cookies {Gluten-Free}

Chewy Peanut Butter Cookies {Gluten-Free}

I came home for the holiday weekend on Wednesday night last week. Normally I cook more for the holidays but by the time I arrived most of Thanksgiving dinner had already been planned. I decided to contribute some ad hoc cookies because, well, when are extra cookies ever a bad thing?

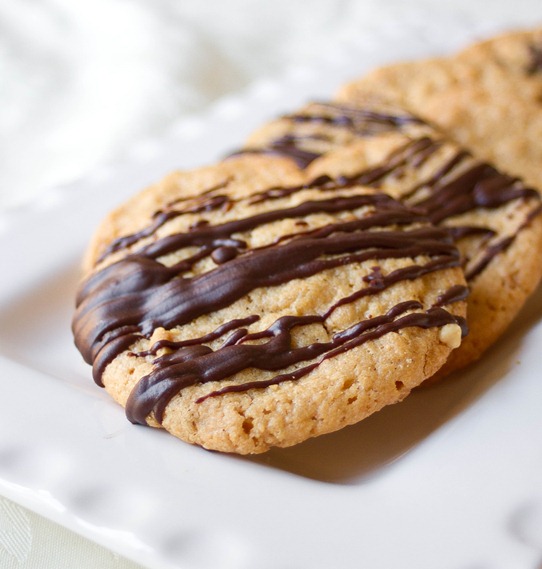
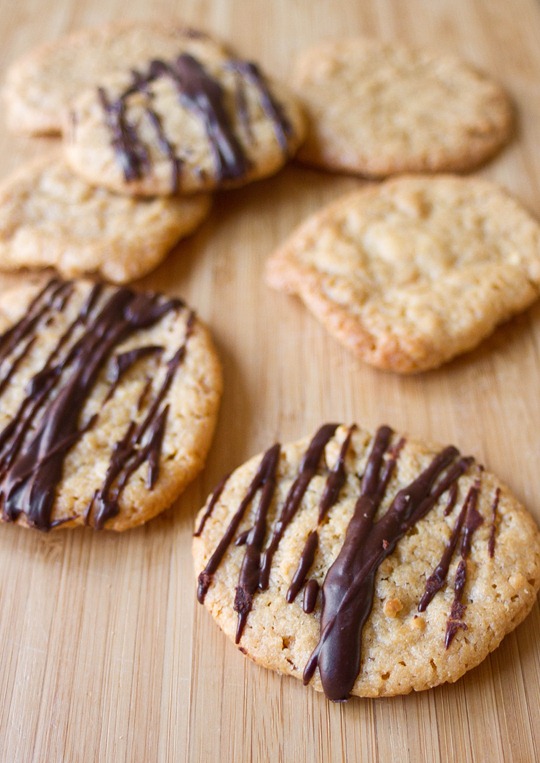
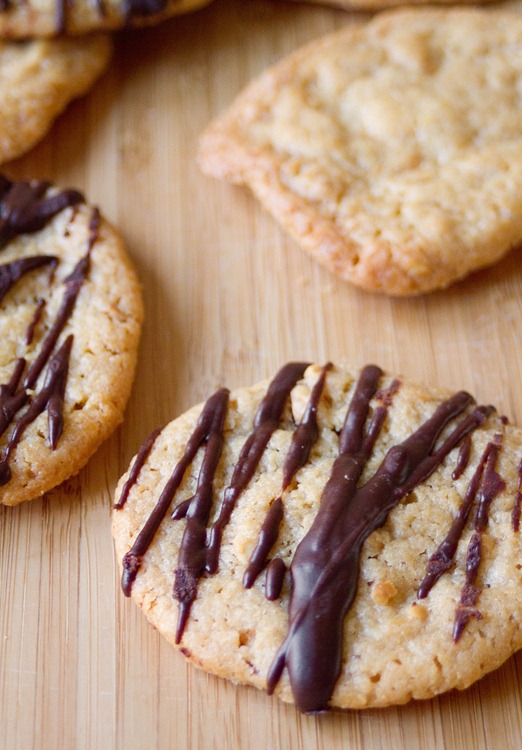
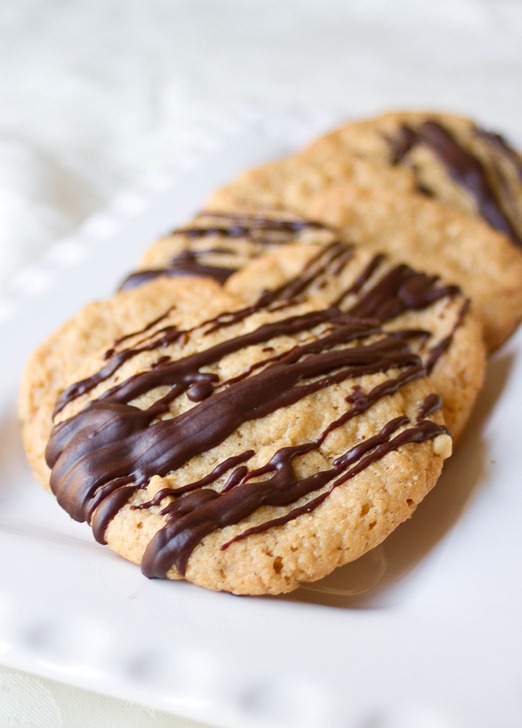
I’m usually a purist when it comes to peanut butter cookies using this recipe. However I wanted to try one with flour and butter for a different texture to mix things up. The added ingredients make a cookie that chewy rather than crispy and slightly richer. On top I added a chocolate drizzle for the chocolate lovers in my family(but mostly for myself).

Chewy Peanut Butter Cookies {Gluten-Free} Yield

Mixed some chopped peanuts or chocolate chips into the batter before baking these for an extra crunch.

Chewy Peanut Butter Cookies {Gluten-Free}

Prep time: 10 minutes

Cook time: 18 minutes

Ingredients(Makes about 14 cookies):

  • 3/4 cup all-purpose gluten-free flour
  • 3/4 cup sugar
  • 1/4 teaspoon salt
  • 6 Tablespoons creamy or chunky peanut butter
  • 1/4 cup butter
  • 1 egg
  • 1/4 cup chocolate chips(optional)

Chewy Peanut Butter Cookies {Gluten-Free} Drizzle

Method:

  1. Preheat your oven to 350 degrees
  2. In a large bowl mix together the sugar, flour, and salt.
  3. In a small bowl, melt together the butter and peanut butter and mix.
  4. Pour the melted butter and peanut butter into the flour mixture and mix it together.
  5. Beat in the egg until all of the ingredients form a dough.
  6. Roll the dough into 1-inch balls and place them 2-3 inches apart on a greased cookie tray.
  7. Bake for 16-18 minutes until the outside is firm to the touch.
  8. Remove from the oven and let the cookies cool completely before moving.
  9. Melt down the chocolate chips and drizzle the melted chocolate on top of the cookies.

Chewy Peanut Butter Cookies {Gluten-Free} Plated

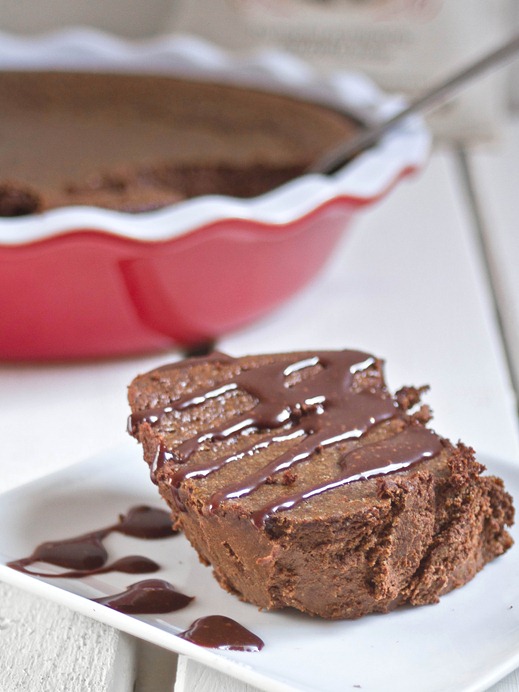
Chocolate Pumpkin Baked Custard

Chocolate Pumpkin Baked Custard

It’s no secret that my favorite food group is chocolate. I could eat it every day and was very excited when American Heritage Chocolate approached me and asked if I’d like to do some baking with their chocolate for Thanksgiving. Their company is all about producing authentic 18th century-style chocolate and what better time to celebrate that then during a holiday established by George Washington himself in the 18th century?

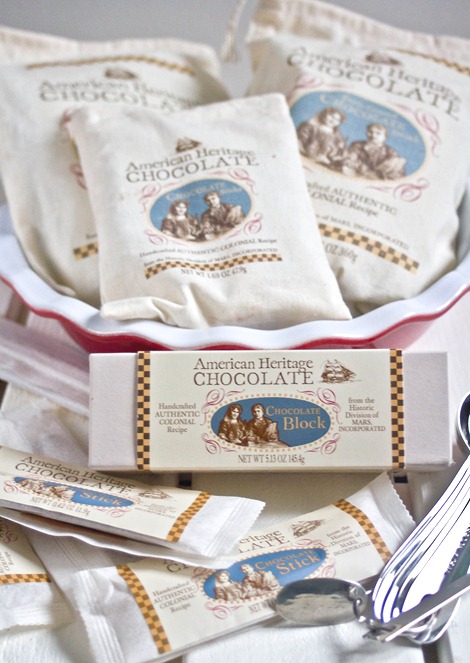
They sent me a package of goodies including hot cocoa mix, chocolate sticks and baking chocolate along with measuring spoons and pie pan. After tasting it and getting familiar with the flavors I tried this recipe and nailed it(if I can say so myself) on the first try.

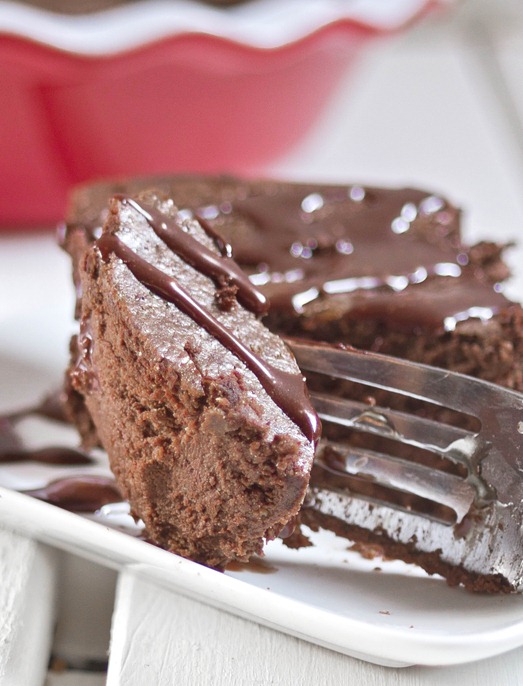
I wasn’t sure exactly what to call this. Technically it’s not a cake since there’s no sort of flour in it, just eggs and dairy which makes it a custard. The texture is very similar to a flourless chocolate cake recipe—super soft and melts in your mouth.

American Heritage Product

My favorite thing about their chocolate is that it’s slightly spicy. They add in anise, cinnamon, nutmeg, orange peel, anise seed, annatto, and red pepper just like chocolate was made in the 18th century, but none of the flavors are too overpowering to take away from the cocoa. If you make this recipe using standard hot cocoa mix, I would recommend adding tiny amounts of any of these spices from your cupboard to make the flavor more enticing.

Chocolate Pumpkin Baked Custard

Prep time: 10 minutes

Cook time: 40-50 minutes

Ingredients(Makes 12-16 servings):

* I roasted and pureed half of a butternut squash. You could also use a canned pumpkin.

Chocolate Pumpkin Baked Custard Fork

Method:

  1. Preheat your oven to 375 degrees.
  2. In a large bowl, beat together all of the ingredients until they’re homogenized. Don’t worry about the chocolate mix dissolving since that will happen as it bakes.
  3. Grease a 9-inch cake or pie pan.
  4. Pour the batter into the pan and bake for 40-50 minutes until the center has set and a cake tester comes out clean.
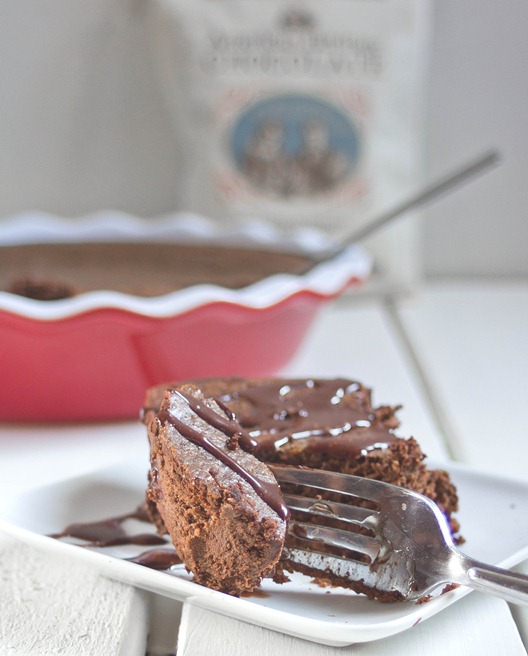
  5. Remove from the oven and serve hot with whip cream, ice cream, or a chocolate fudge sauce.

Chocolate Pumpkin Baked Custard Bite

Who’s bringing the ice cream?

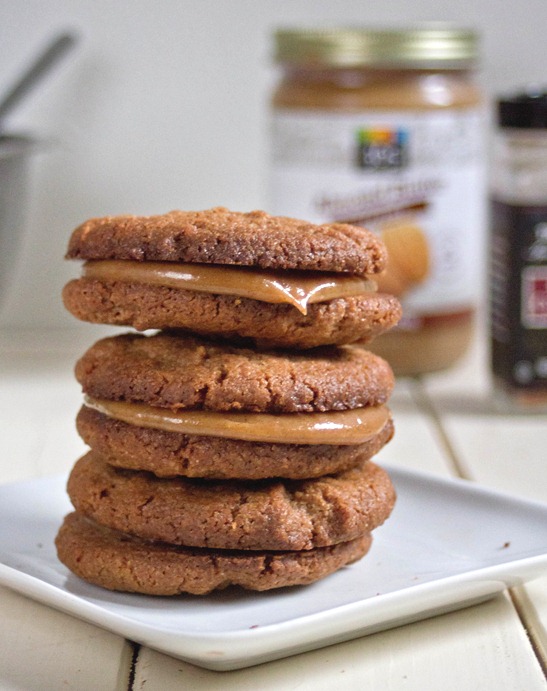
Maple Almond Butter Sandwich Cookies

Maple Almond Butter Sandwich Cookies

Sandwich Cookies are so much fun. They’re much better than any old cookie; you get two cookies plus a filling. What’s not to love?

My favorite sandwich cookies were always the ones shaped like a maple leaf with a maple crème filling. Sure, they probably were loaded with trans fat and gave people heart attacks but it was the 90s and no one knew about any of that yet. These remind me of those but very much grown up. The cinnamon and spice and salt enhance the sweetness of the maple syrup and the nuttiness of the almond butter and knock it out of the park.

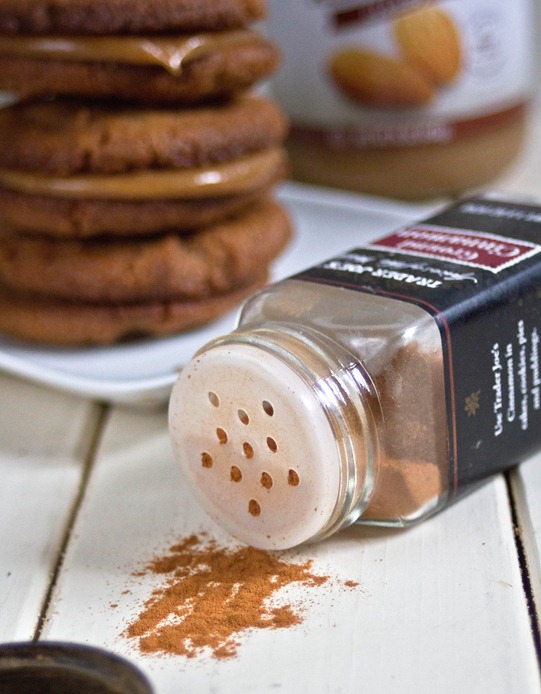
Maple Almond Butter Sandwich Cookies Cinnamon

If you want to skip making your own cookies, use a store-bought gingersnap cookie for the base to compliment the filling best.

Maple Almond Butter Sandwich Cookies

Prep time: 5 minutes

Cook time 0 minutes

Ingredients(Makes 6 sandwich cookies):

  • 12 spiced almond butter cookies
  • 6 Tablespoons almond butter
  • 3 1/2 Tablespoons butter, room temperature
  • Scant 1/4 cup maple syrup
  • 1/2 teaspoon vanilla extract
  • 1/2 teaspoon cinnamon
  • 1/4 teaspoon salt

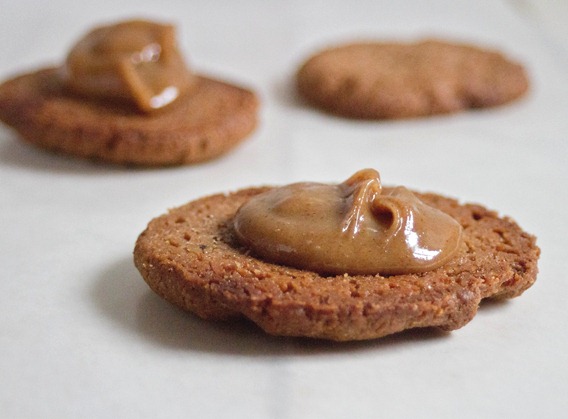
Maple Almond Butter Sandwich Cookies Filling

Method:

  1. Lay half of the cookies out bottom-side-up.
  2. In a large bowl, beat together the almond butter, butter, maple syrup, cinnamon and salt until it’s smooth and homogenous.
  3. Put about 1 1/2 Tablespoons of filling on top of each cookie.
  4. Take another cookie and place it bottom-side-down on top of the filling.
  5. Store at room temperature until ready to eat.

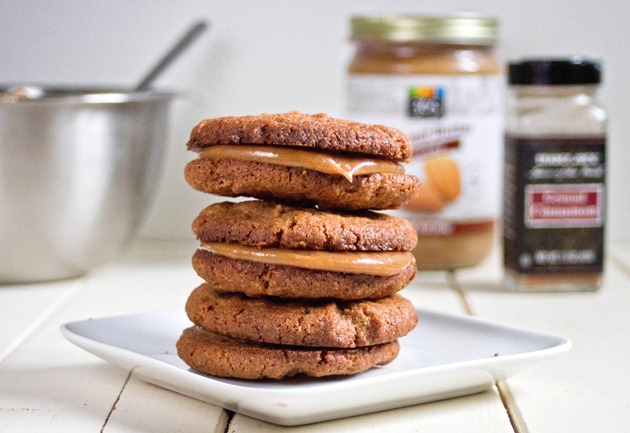
Maple Almond Butter Sandwich Cookies Wide

See? Much better than a cookie.

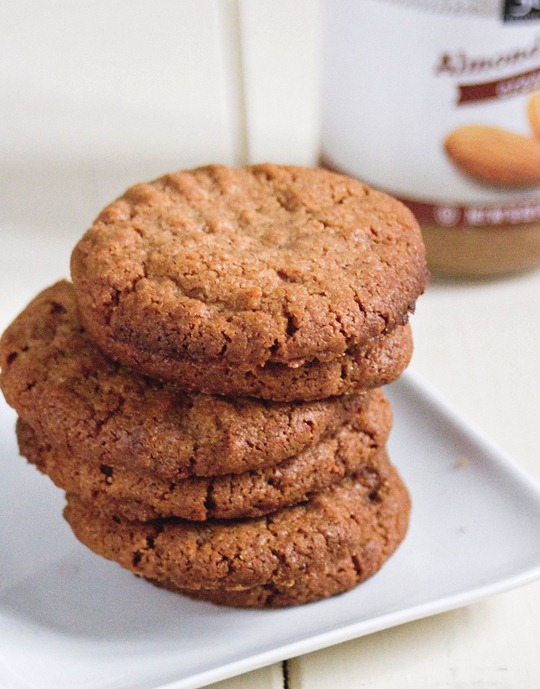
Spiced Almond Butter Cookies

spiced almond butter cookies

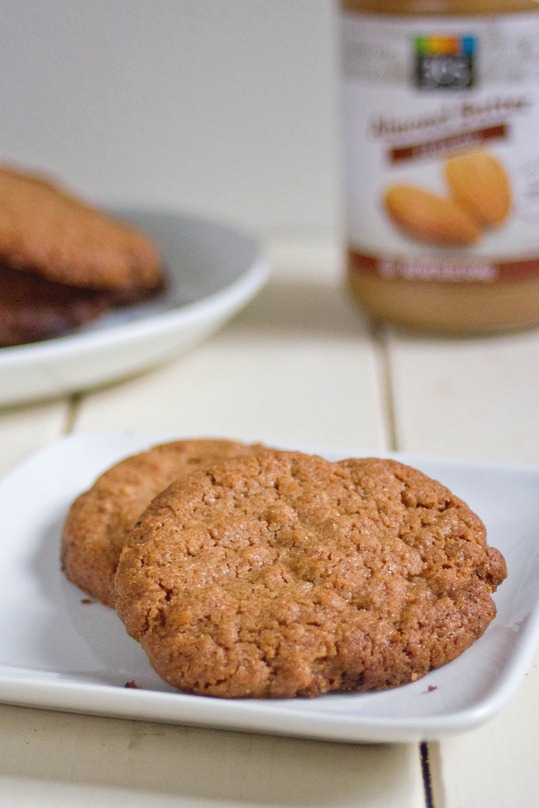
I love almond butter. I like it even more than peanut butter most of the time. But I don’t buy it nearly as often because it’s over twice the price. That just isn’t fair, is it? These cookies were worth the splurge.

The nice thing about almond butter is that the flavor is simple and delicious. It’s easy to dress up and make fancier with extracts and spices. These taste incredibly like a gingersnap and have a very similar texture, too. It’s hard to believe the ingredients are so simple and naturally gluten-free. 

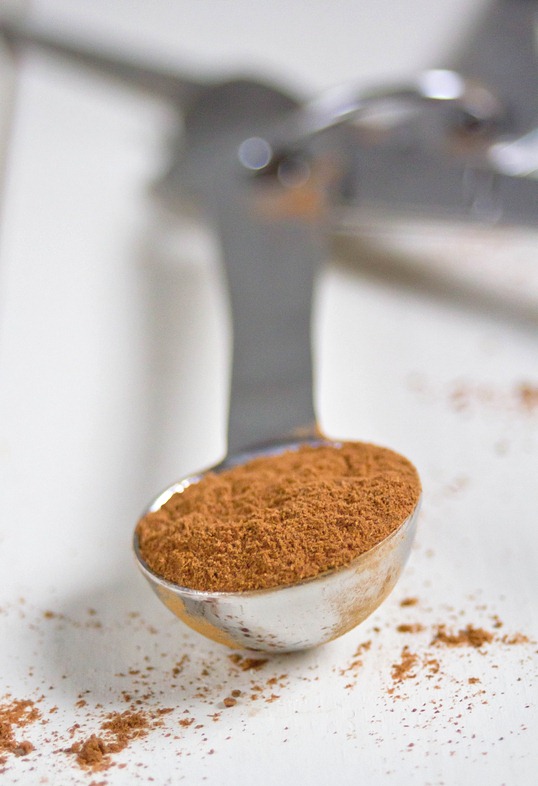
spiced almond butter cookies spieces

If you don’t have pumpkin pie spice handy, just use about a teaspoon of cinnamon and 1/2 a teaspoon of nutmeg.

Spiced Almond Butter Cookies

Prep time: 10 minutes

Cook time: 12-14 minutes

Ingredients(Makes 12 cookies):

  • 1 cup almond butter
  • 3/4 cup cane sugar
  • 1 egg
  • 1 1/2 teaspoons pumpkin pie spice

spiced almond butter cookies serving

Method:

  1. Preheat your oven to 350 degrees.
  2. In a bowl, mix together all of the ingredients until it forms a dough.
  3. Line a baking tray with a non-stick surface. Make the dough into 1-inch balls and place them on the tray, flattening them with a fork in a criss-cross pattern.
  4. Bake for 12-14 minutes until the edges begin to brown.
  5. Remove from the oven and let them cool before transferring them to a serving plate.

spiced almond butter cookies yield

I promise you these taste way too good to be made with 4 ingredients.

Vanilla Rosemary Carrots

Vanilla Rosemary Carrots

A lot of my meals lately have revolved around roasted vegetables. Some of my meals have been just roasted vegetables on the days I didn’t feel like cooking anything else; that’s healthy, right?

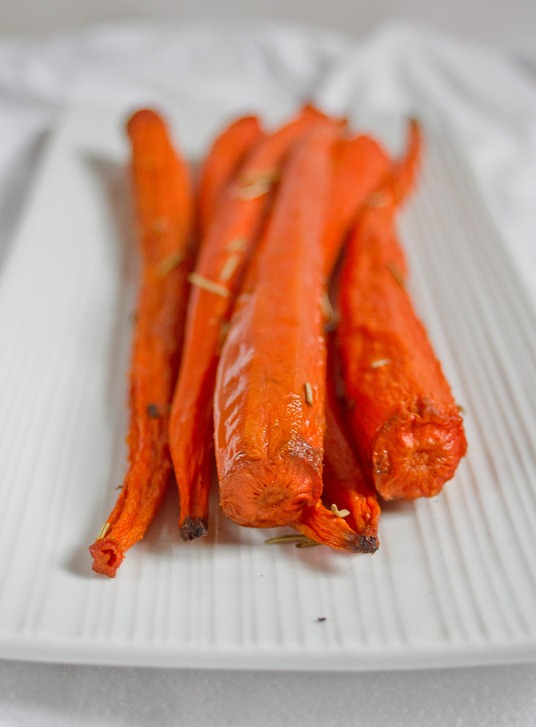
A while ago I saw this recipe for vanilla carrots. The photos on that blog make everything look delicious. I finally got around to making them last week and they did not disappoint at all. These aren’t sweeter than regular roasted carrots, but the vanilla and rosemary add an interesting savory flavor to them.

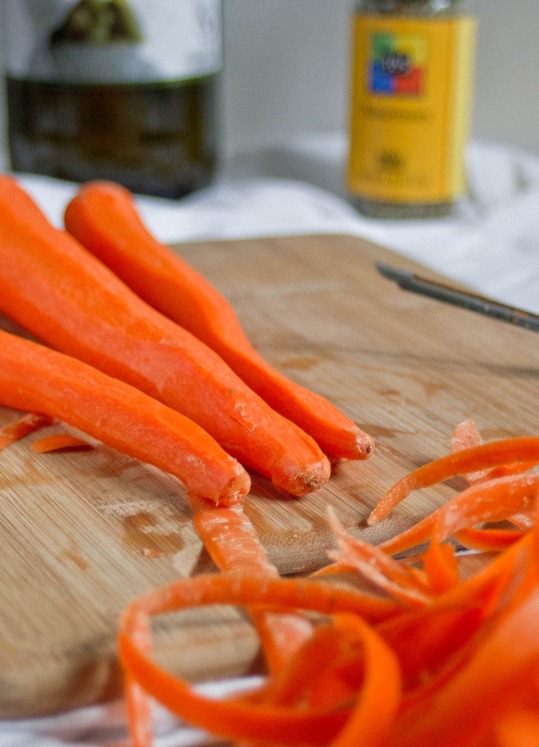
Vanilla Rosemary Carrots Prep

Don’t use an oil that has a lot of flavor like coconut or peanut oil. Instead use something like vegetable oil or refined olive oil that will let the flavor of the vanilla come through.

Vanilla Rosemary Carrots

Prep time: 10 minutes

Cook time: 50-60 minutes

Ingredients(Makes about 4-6 servings):

  • 1lb carrots
  • 3 Tablespoons oil
  • 1 1/2 teaspoon vanilla extract
  • 1 Tablespoon dried rosemary
  • 1/4 teaspoon salt

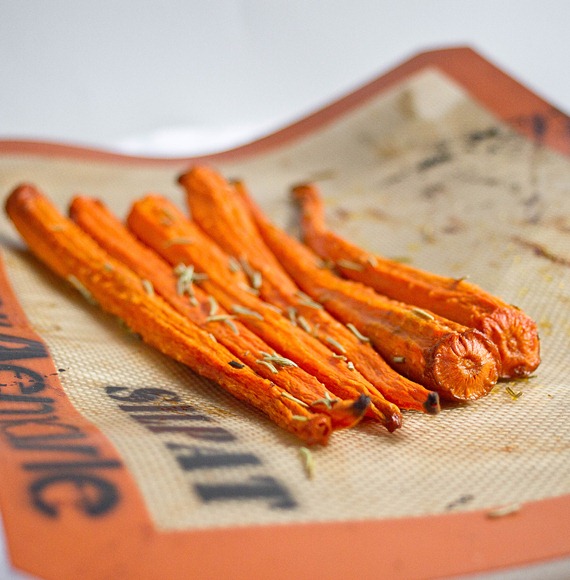
Vanilla Rosemary Carrots Roasted

Method:

  1. Preheat your oven to 375 degrees.
  2. Peel, trim, and wash the carrots.
  3. In a large tray, toss the carrots together with the olive oil, vanilla extract, salt and rosemary until they’re covered.
  4. Lay the carrots out in a single layer on a baking tray.
  5. Roast for 50-60 minutes until the carrots are fork-tender and serve hot.

Vanilla Rosemary Carrots Yield

Maple Curry Acorn Squash(Again)

Maple Curry Acorn Squash

Every year when squash season comes around I make this recipe; it’s probably the second or third time I posted it. Once more can’t hurt, right?

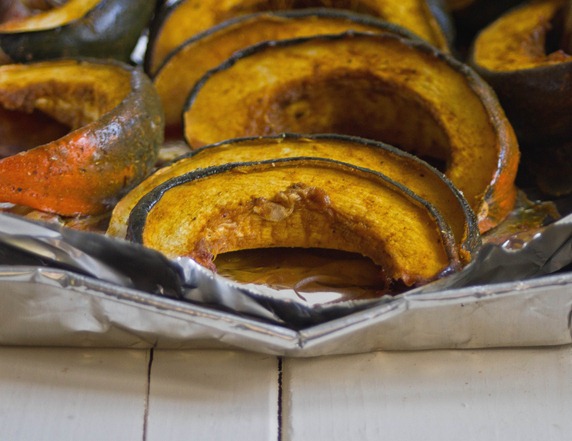
Maple syrup and curry powder are an underrated combination. The sweetness in the syrup smoothes out the heat in curry powder and creates something unexpectedly delicious. Acorn squash is a great base for this since it doesn’t have too much flavor on its own and is good for you, too.

Maple-Curry Acorn Squash

Prep time: 5 minutes

Cook time: 45 minutes

Ingredients(Makes 3 servings):

  • 1 Large acorn squash
  • 3 Tablespoons maple syrup
  • 1 Tablespoon curry powder
  • 1/2 teaspoon salt*

*omit if your curry powder is already salted.

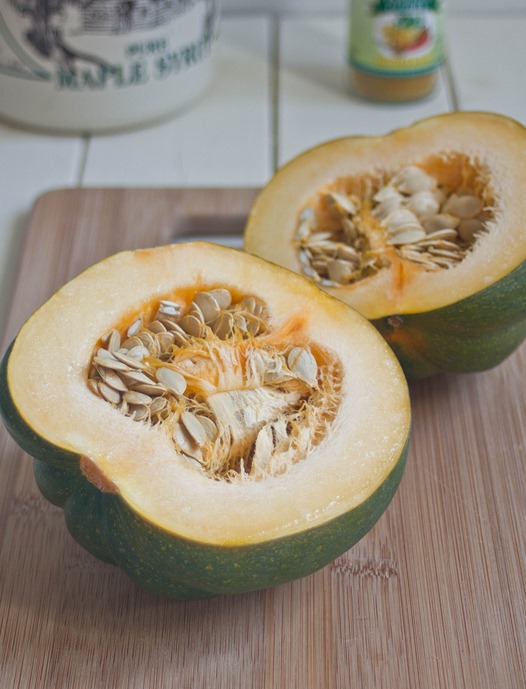
Maple Curry Acorn Squash Squash

Method:

  1. Preheat your oven to 375 degrees and line a baking tray
  2. Cut the squash in half to remove all the seeds. Once de-seeded, cut along the ridges into thin wedges.
  3. In a large bowl, toss the wedges with the maple syrup, curry powder, and salt.
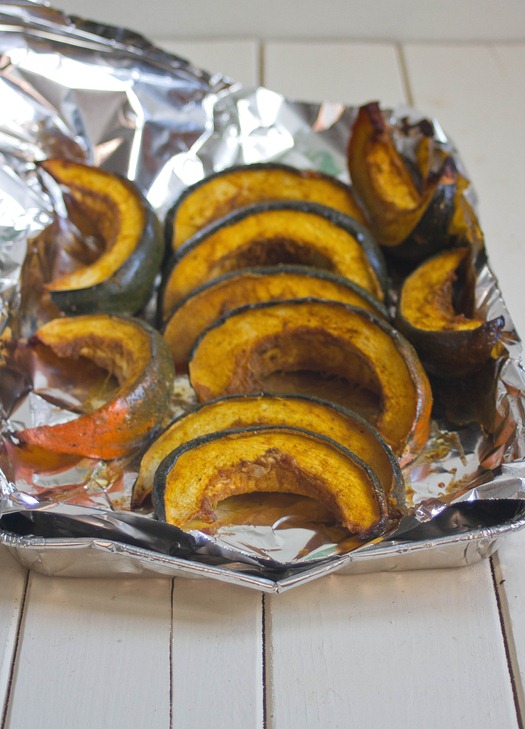
  4. Lay the squash out on the baking tray and roast for 45 minutes or until fork tender.
  5. Remove from the oven and serve hot.

Maple Curry Acorn Squash Cooked

If there’s any extra of the syrup mixture after you coat the squash or after it bakes drizzle it on top of the finished product for an extra hit of flavor.

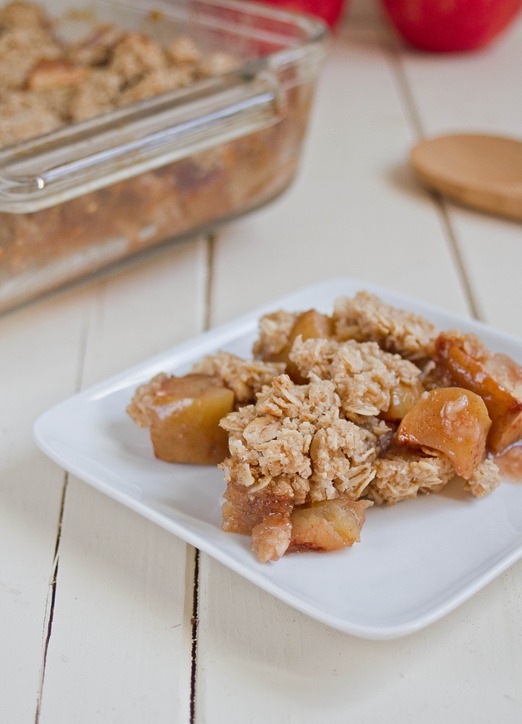
Gluten-Free Apple Crisp

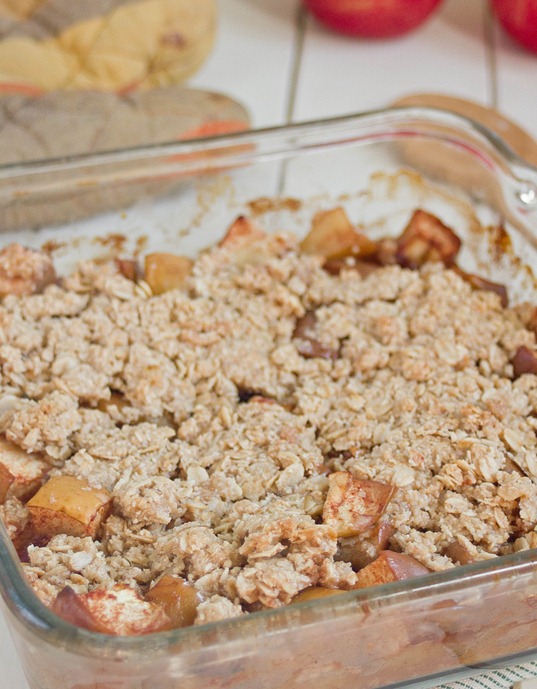
gluten-free apple crisp

It’s almost not Fall in New England if you don’t make an apple crisp. Every year we’d end up with more apples than any one person could eat and end up making a recipe like this; apples just taste better with cinnamon and oats and brown sugar.

A recipe like this is almost too simple to be as good as it is. I never peel the apples but you certainly could put in the extra effort. You can also eyeball the measurements since it’s very forgiving. If you aren’t concerned about gluten, substitute 1/2 cup of flour in for the oat flour.

The crumble layer isn’t very thick for this crisp which I think keeps the textures balanced. If you want a crumble that completely covers the apples, double the amounts of oat flour, oatmeal, sugar and butter that’s listed.

Gluten-Free Apple Crisp

Prep time: 10 minutes

Cook time: 30 minutes

Ingredients(Makes about 6 servings):

  • 4 sweet apples, cored and diced
  • 1 teaspoon cinnamon
  • 1/2 teaspoon salt
  • 1/4 cup water
  • 1/2 cup + 2 Tablespoons oat flour*
  • 1/4 cup oatmeal
  • 1/2 cup brown sugar
  • 1/3 cup butter, melted

*You can make this easily yourself by grinding oats in a food processor.

Gluten-free apple

Method:

  1. Preheat your oven to 350 degrees.
  2. In a large bowl, toss together the diced apples, cinnamon, and salt.
  3. Pour the water into an 8 x 8 baking pan and dump in the apple mixture.
  4. In a separate bowl, mix together the oats, oat flour, and brown sugar.
  5. Pour the melted butter into the flour mixture and mix them together completely.
  6. Spread the crumble mixture out evenly on top of the layer of apples.
  7. Bake for 30 minutes or until the crust has hardened and turns golden. Serve hot.

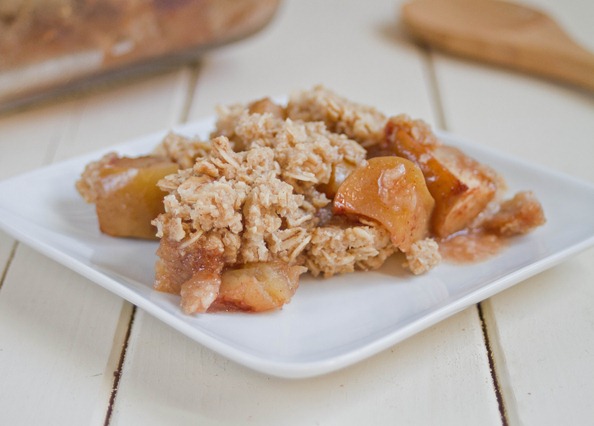
Gluten-Free apple crisp serving

If there are leftovers, always reheat them in the oven and not the microwave to ensure a crispy top coating.

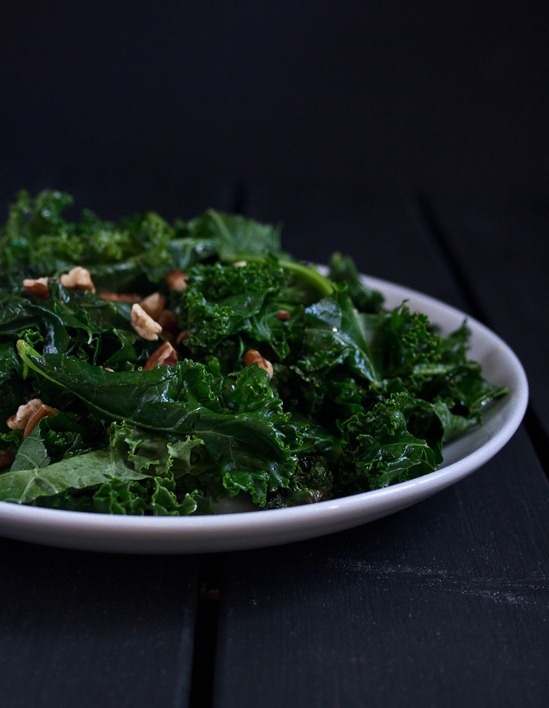
Sautéed Kale with Pecans

Sautéed Kale with Pecans

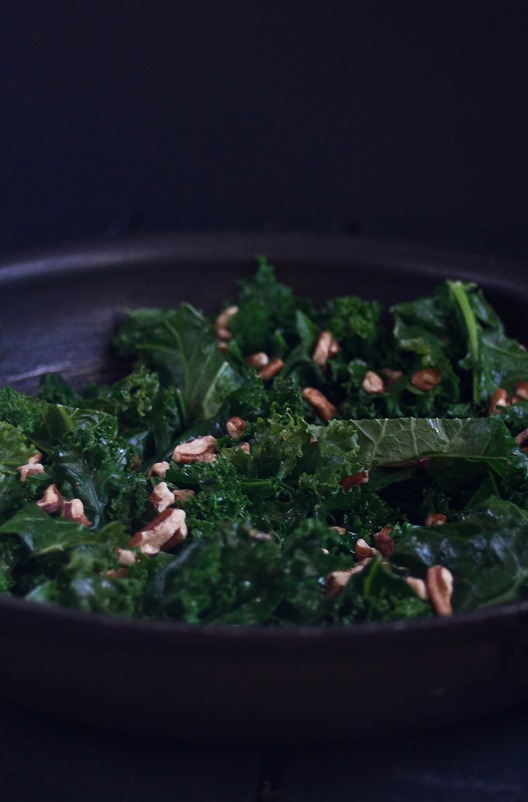
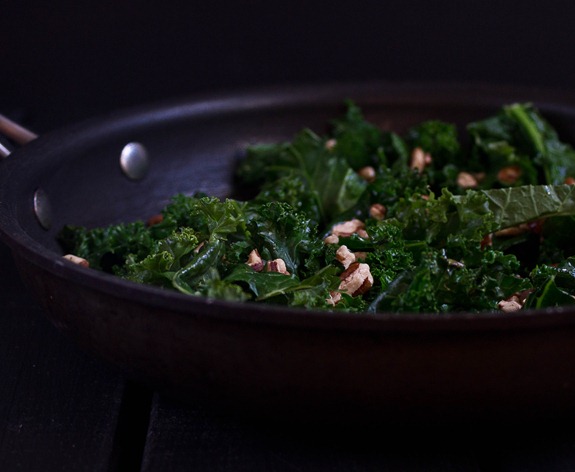
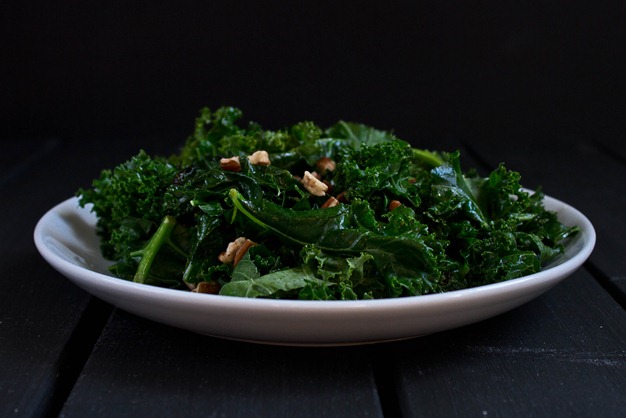
Kale is one of those foods that it takes effort for me to enjoy. I never jumped on the kale chip bandwagon and steamed kale just tastes too bland. Add some butter, maple syrup, and pecans though and now we’re talking.

I like this because it’s a simple, fast and delicious side dish. The less you wilt the kale the more vibrant the flavor and texture of it will be.

Sautéed Kale with Pecans Pan

I like pecans to add a nice crunch factor but you could really swap in any nuts or even croutons.

Sautéed Kale with Pecans

Prep time: 5 minutes

Cook time: 7 minutes

Ingredients(Makes 2 servings):

  • 1 1/2 Tablespoons butter
  • 2 1/2 cups loose leaf cut kale
  • 1 Tablespoon maple syrup
  • 1/4 teaspoon salt
  • pinch of nutmeg
  • 3 Tablespoons chopped pecans

Sautéed Kale with Pecans pecans

Method:

  1. Heat the butter in a sauté pan over medium heat.
  2. Add in the kale and toss it in the melted butter. Cook for 1-2 minutes until the kale turns a deeper green and begins to wilt.
  3. Add in the salt, nutmeg, maple syrup, and pecans and toss together until mixed.
  4. Return to the stove for 20-30 seconds to heat. Serve hot.

Sautéed Kale with Pecans serving

Suddenly eating your vegetables isn’t so hard.

Maple Roasted Brussels Sprouts

Maple Roasted Brussels Sprouts

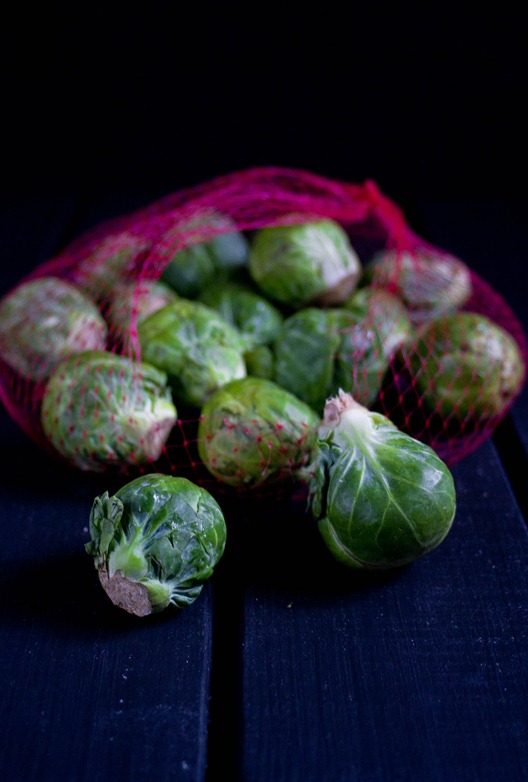
I’m not the best speller. In the past week I’ve learned three different words I’ve been spelling wrong all along. The first was “forcable” instead of forcible. That one could have gone either way, right? Another was “judgement” for judgment. I’m still left wondering what happened to that missing e. And then there’s “brussel sprouts”; to be fair, I don’t know anyone who’s ever taken time to pronounce that extra s.

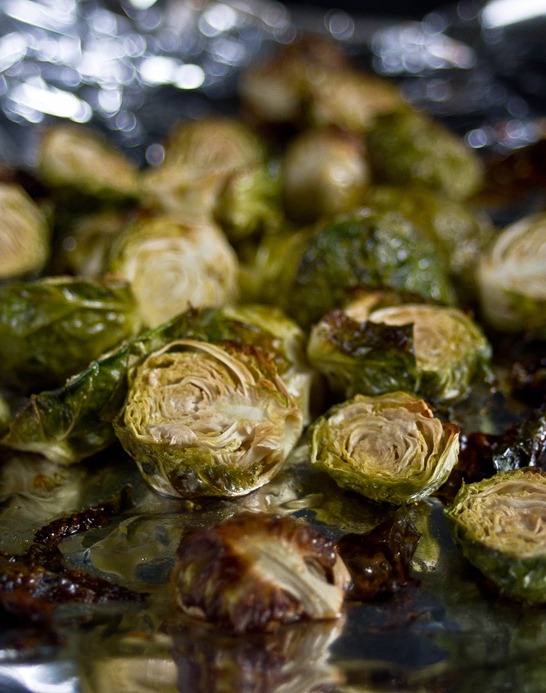
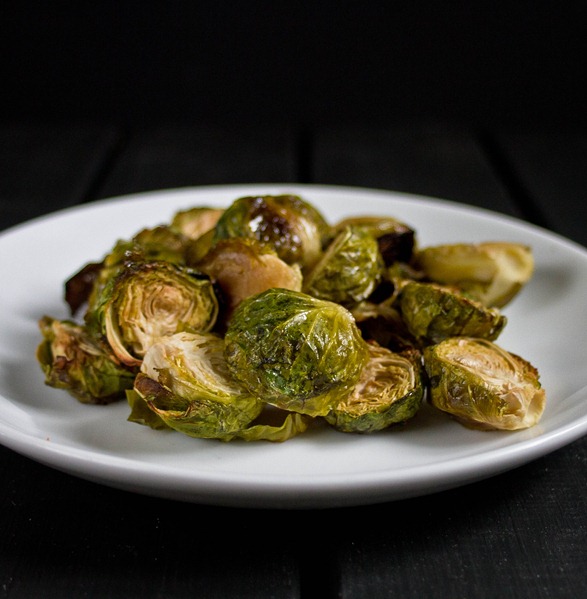
It’s a good thing I’m better at preparing brussels sprouts than spelling them. They can seem intimidating and bland at first but with the right seasoning you’ll have no problem finishing a plateful.

Maple Roasted Brussels Sprouts

Prep time: 5 minutes

Cook time: 35 minutes

Ingredients(Makes about 4 servings):

  • 1lb fresh brussels sprouts, stems removed and halved
  • 3 Tablespoons maple syrup
  • 3 Tablespoons olive oil
  • 1/2 teaspoon salt

Maple Roasted Brussels Sprouts Roasting

Method:

  1. Preheat your oven to 375 degrees
  2. In a large bowl, toss together all of the ingredients until the brussels sprouts are evenly coated.
  3. Lay the brussels sprouts out in an even layer on a non-stick surface.
  4. Roast for 30-40 minutes until the sprouts begin to brown on the outside and are tender.
  5. Serve immediately.

Maple Roasted Brussels Sprouts Plated

If you don’t have maple syrup, use something like honey to add the sweetness.