Tag Archive: Food

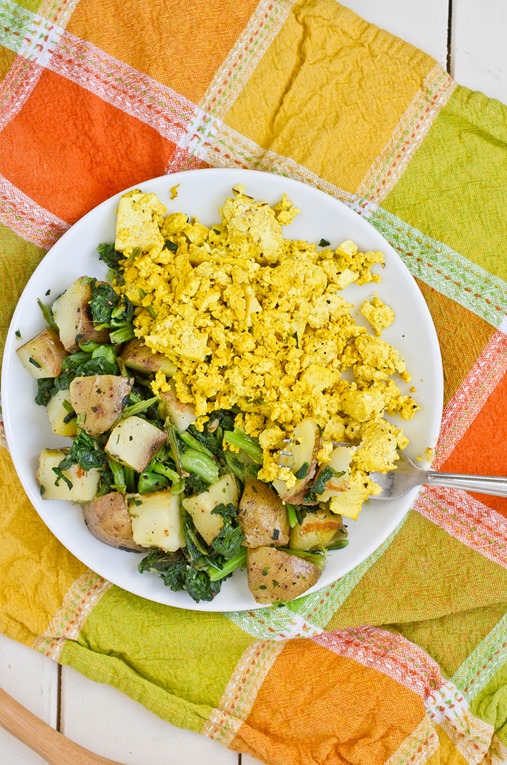
Scrambled Tofu

Scrambled Tofu

This recipe is an oldie but a goodie.

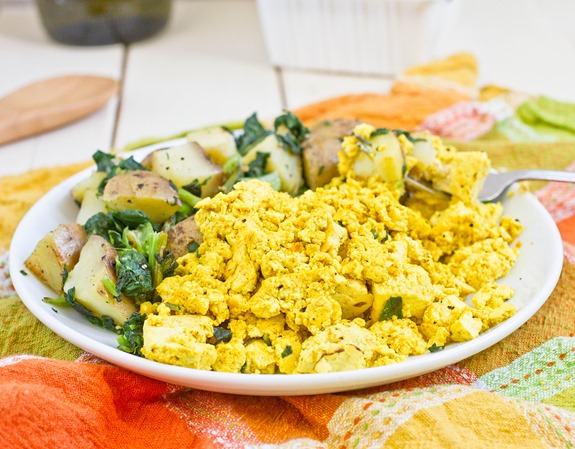
If I had to recommend one dish for someone who wants to eat less animal products it would be scrambled tofu. It looks just like eggs and you can really flavor it however you like. Not to mention it only takes about 10 minutes from start to finish.

I started eating less scrambled eggs and more scrambled tofu after watching Vegucated on Netflix. I won’t go into personal ethics on why I made the switch but it’s a good documentary to watch on Netflix in between marathons of Being Human and United States of Tara.

Scrambled Tofu Yield

You can easily change this recipe to make it more flavorful by adding herbs and sautéed vegetables into the mix. I usually use curry powder to make mine a little spicy.

Scrambled Tofu

Prep time: 5 minutes

Cook time: 5 minutes

Ingredients(Makes 2 servings):

  • 1 block extra firm tofu
  • 1 Tablespoon olive oil
  • 1 teaspoon turmeric
  • 1/2 teaspoon salt
  • 1/4 teaspoon black pepper
  • 1/4 teaspoon garlic powder
  • 1/4 teaspoon onion powder

Scarmbled Tofu Easy

Method:

  1. In a large bowl, mash the tofu with a fork lightly until it’s textured to resemble scrambled eggs.
  2. Heat the oil in a pan over medium heat.
  3. Mix the turmeric, salt, pepper, garlic and onion powder in with the tofu until it’s evenly coated.
  4. Sauté the tofu in the oil until it’s heated through and takes on a vibrant color.
  5. Remove from the pan and serve hot.

Afterwards I put a big pile of ketchup on the side of the plate. What’re eggs and hash browns without ketchup?

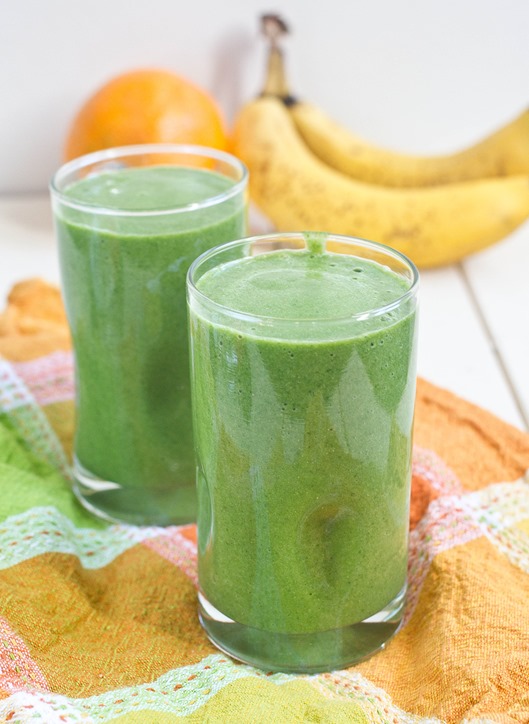
Orange Spinach Smoothie

Orange Spinach Smoothie

This is one of those moments where I have to eat my words.

I’m sure if you searched through all my tweets you’d find one about how I’d never, ever eat a smoothie with spinach in it. Well the joke’s on me because I’ve been having one or more of these a day for the past few weeks.

Once you get past the color that makes you think you’re drinking Kermit the Frog, you’d be surprised how good green smoothies can taste. And you know they’re better for you than whatever you can get at an Orange Julius in the mall.

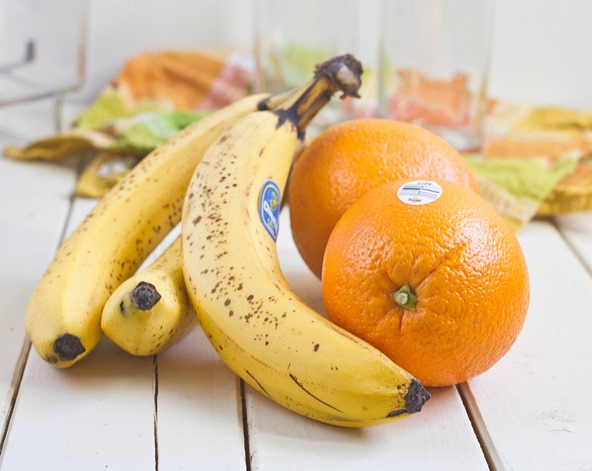
Orange Spinach Smoothie Fruits

If you do add chia seeds or protein powder then I would recommend adding more water so the mixture doesn’t thicken up too much. For an ice-cold smoothie, freeze the banana ahead of time.

Orange Spinach Smoothie

Prep time: 5 minutes

Cook time: 0 minutes

Ingredients(Makes 2 cups):

  • 1 banana
  • 1 orange
  • 1/2 cup frozen spinach
  • 1/2 cup water
  • chia seeds(optional)
  • protein powder(optional)

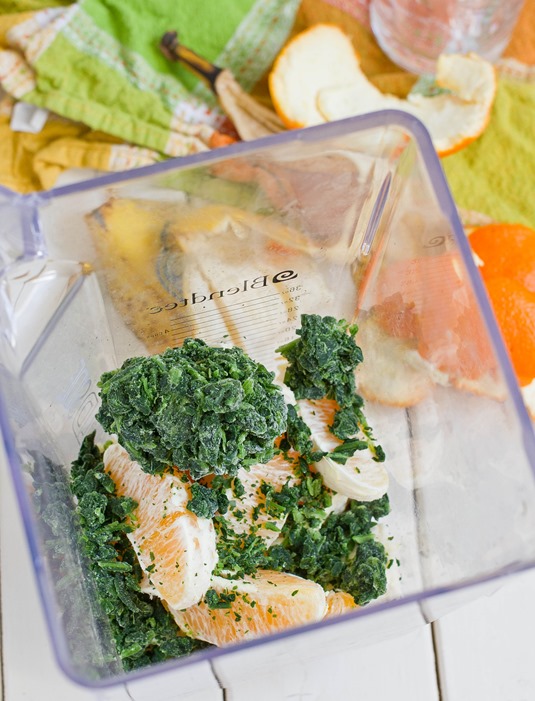
Orange Spinach Smoothie Blender

Method:

  1. Combine all of the ingredients in your blender.
  2. Process until smooth.
  3. Drink immediately while still fresh.

Orange Spinach Smoothie Yield

I promise it tastes better than it looks.

Brown Rice Flour Banana Bread

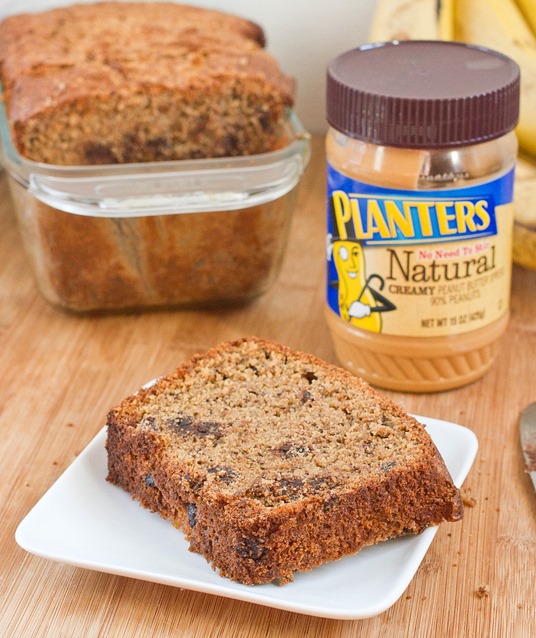
Gluten-Free Peanut Butter Banana Bread

I’ll be the first to admit that gluten-free baking is tougher than baking with flour. Instead of just wheat you have a hundred different varieties of flour and starches to work with and if you’ve never used them before you have no idea how they work in recipes. It’s a hassle.

I’m always drawn to making recipes that use just one type of flour because I don’t like to have to go out and buy 6 or 7 to make a single loaf of bread. This recipe only uses brown rice flour, which is a gluten-free whole grain flour that bakes well and doesn’t overpower any of the other flavors. You’ll have a hard time telling this bread is gluten-free.

Gluten-Free Peanut Butter Banana Bread Serving

I used Bob’s Red Mill’s brown rice flour for this recipe which is the least grainy I’ve found and has a great texture when baked. In baking, weight’s always the most reliable measure so if you can

Gluten-Free Peanut Butter Banana Bread

Prep time: 15 minutes

Cook time: 60 minutes

Ingredients(Makes 1 loaf):

  • 2 large bananas
  • 4 eggs
  • 3/4 cups sugar
  • 1/2 cup peanut butter
  • 1/3 cup vegetable oil
  • 1 1/2 cups(240 grams) brown rice flour
  • 1/2 Tablespoon baking soda
  • 1 teaspoon cinnamon
  • 1 teaspoon vanilla extract
  • 1/2 cup chocolate chips
  • 1/2 cup water

Gluten-Free Peanut Butter Banana Bread Slice

Method:

  1. Preheat your oven to 350 degrees.
  2. Mash the bananas until they’re completely smooth.
  3. In a large bowl, stir together the bananas, eggs, sugar, peanut butter, and oil until mixed.
  4. Add in the flour, baking soda, cinnamon, vanilla, and chocolate chips and stir.
  5. Slowly add the water until the batter has a loose consistency.
  6. Grease a 9-inch loaf pan.
  7. Pour the batter into the loaf pan and bake for 60 minutes until the center has set.
  8. Remove from the oven and let the loaf cool before cutting in.

I found my loaf got stale sitting on the counter after a day but microwaving a slice for 60 seconds between two paper towels made it taste fresh out of the oven.

Low-Fat Garlic & Herb Mashed Potatoes

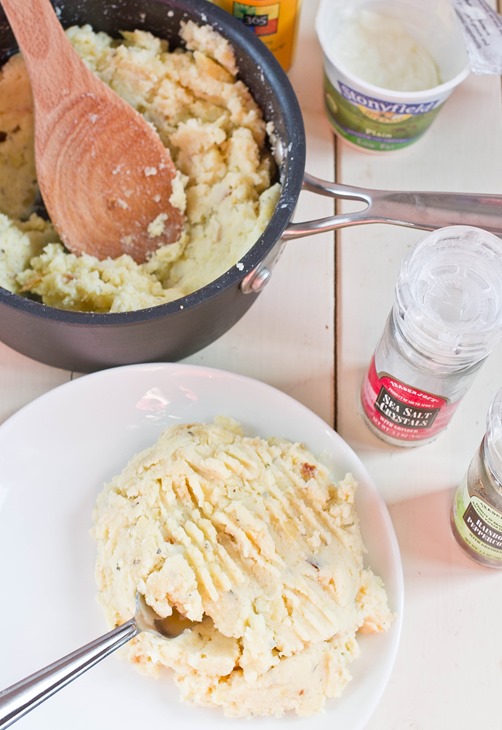
Yogurt Mashed Potatoes

There are two things that you can expect with every new year: A host of people looking for healthy recipes online and about triple the normal crowd at the gym.

When Stonyfield asked their Clean Plate Club members to lighten their favorite comfort food with yogurt, I knew exactly what I wanted to make. Few things are as comforting as mashed potatoes and they’re perfect for lightening up.

Yogurt instead of butter makes these potatoes soft and creamy while garlic and herbs adds a ton of flavor without adding any fat. You’d never guess that they were better for you.

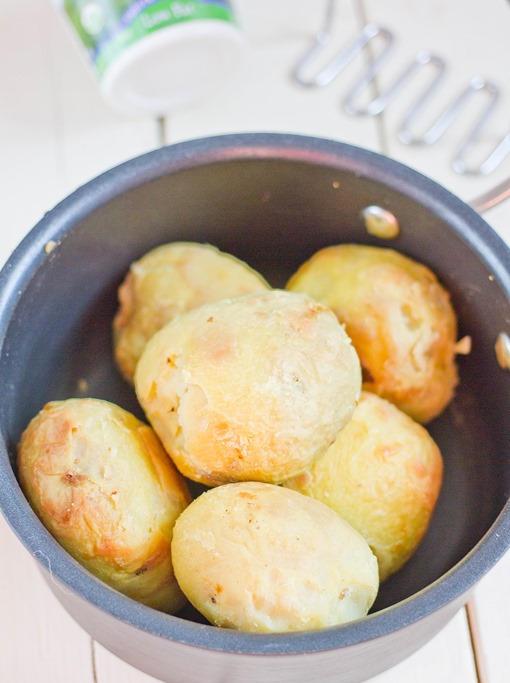
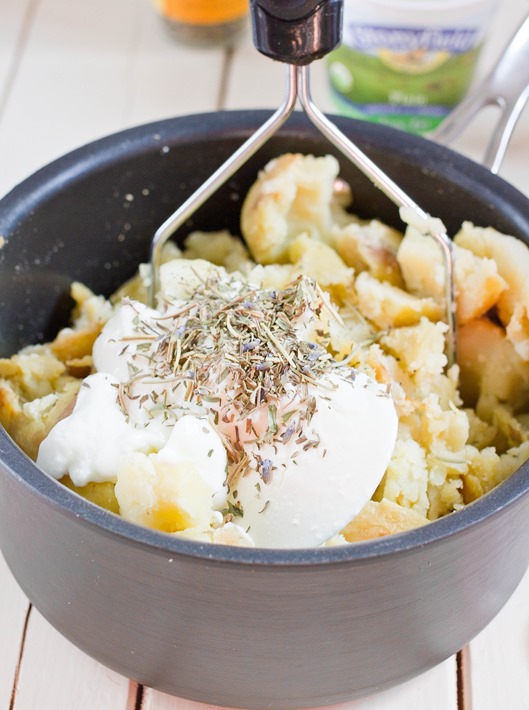
Yogurt Mashed Potatoes Potatoes

Like most cooking, you should work with the ingredients to however you taste the finish dish best. Use 1 garlic clove for a subtle flavor or 3 for a garlic-lover’s helping of potatoes.

Low-Fat Garlic & Herb Mashed Potatoes

Prep time: 10 minutes

Cook time: 60 minutes

Ingredients(Makes 4-6 servings):

  • 1lb yukon gold potatoes
  • 4oz Stonyfield low-fat plain yogurt
  • 1-3 garlic cloves, roasted and grated
  • 1/2 Tablespoon dried herbes de Provence
  • 3/4 teaspoon salt
  • 1/4 teaspoon pepper
  • 1-2 Tablespoons milk

Yogurt Mashed Potatoes Yogurt

Method:

  1. Preheat your oven to 375 degrees.
  2. Roast the potatoes for an hour until the insides are tender. Remove the potatoes from the oven and let them cool until they’re cold enough to handle.
  3. Peel off the skins and collect the rest of the potato in a pot or bowl.
  4. Mash the potatoes along with the yogurt, garlic, herbs, salt, and pepper until smooth. Add a touch of milk depending on how starchy the potatoes are until they’re the right consistency.
  5. Serve hot.

Vegetarian Buffalo Chicken Dip

Vegetarian Buffalo Chicken Dip

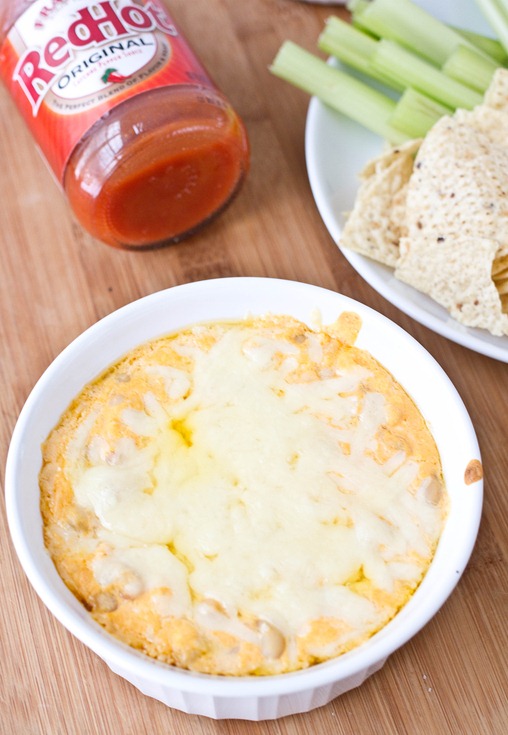
I’ve never been a vegetarian who claims he doesn’t miss certain food. I used to love buffalo chicken dip; what’s a Superbowl party without it? This year I finally got fed up with being dip-less and decided to make my own.

Too often the impulse for making meat-free dishes is to reach for something with tofu or the name “fak’n” in front of it. Beans are a great substitute that are also cheap, tasty, and something everyone can recognize.

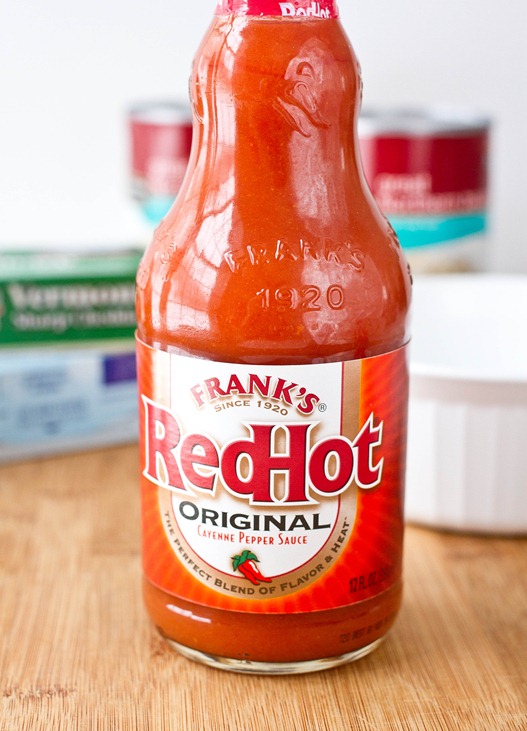
Vegetarian Buffalo Chicken Dip Hot Sauce

To lighten this dip up slightly you can use a reduced fat cream cheese instead of full-fat. I would avoid fat-free because the taste and texture would be off. Similarly you can swap in reduced fat cheese as well.

Vegetarian Buffalo Chicken Dip

Prep time: 10 minutes

Cook time: 25 minutes

Ingredients(Serves 8-12 people):

  • 8oz cream cheese
  • 1/2 cup hot sauce
  • 8oz shredded cheddar or Mexican-blend cheese, divided
  • 1 15oz can white beans, rinsed and drained

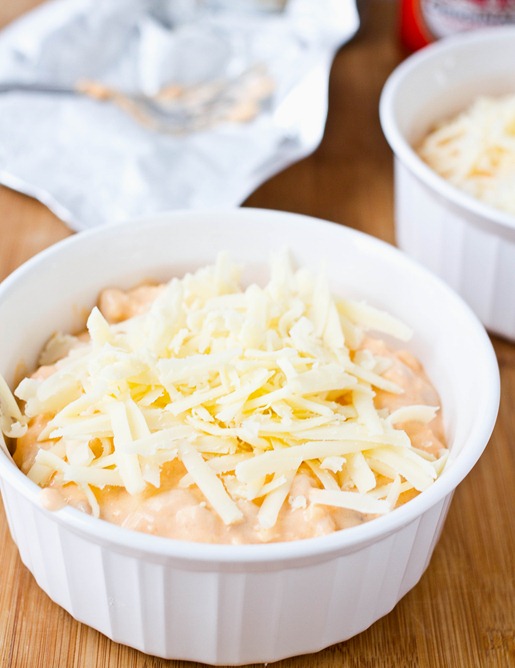
Vegetarian Buffalo Chicken Dip Uncooked

Method:

  1. Preheat your oven to 350 degrees.
  2. In a large bowl, beat together the hot sauce, cream cheese, and 6 ounces(about 1 1/2 cups) of shredded until mixed.
  3. Fold in the beans, adding a little bit of water if necessary until fully incorporated.
  4. Scoop the dip into an oven-safe bowl and spread out the remaining cheese on top to cover it.
  5. Bake for 20-25 minutes until the cheese begins to brown and the center is hot.
  6. Remove from the oven and serve hot with crudité and nachos. 

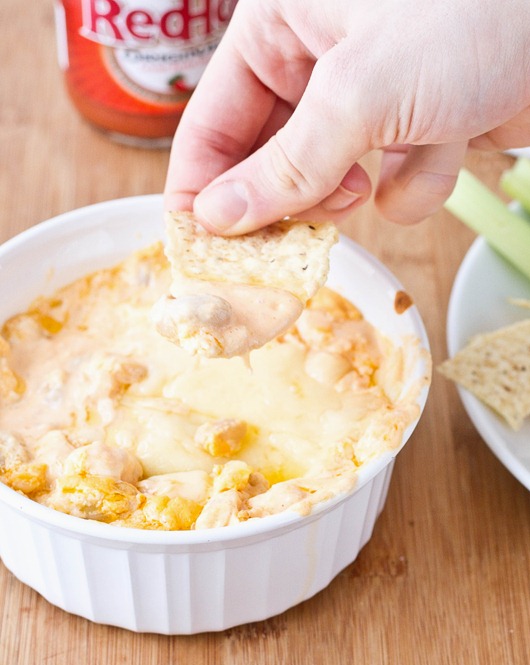
Vegetarian Buffalo Chicken Dip Cooked

You will not miss the chicken; I swear it.

Peanut Butter Banana Breakfast Smoothie

Peanut Butter Banana Breakfast Smoothie

Have you entered the Blendtec and Stonyfield Blends giveaway yet? There’s still a few days left!

Having a reliable blender has improved my eating habits in a lot of unexpected ways. I’ve started having more fruit smoothies and vegetable juices throughout the day. A lot of the time I enjoy them so much I forget they’re healthy.

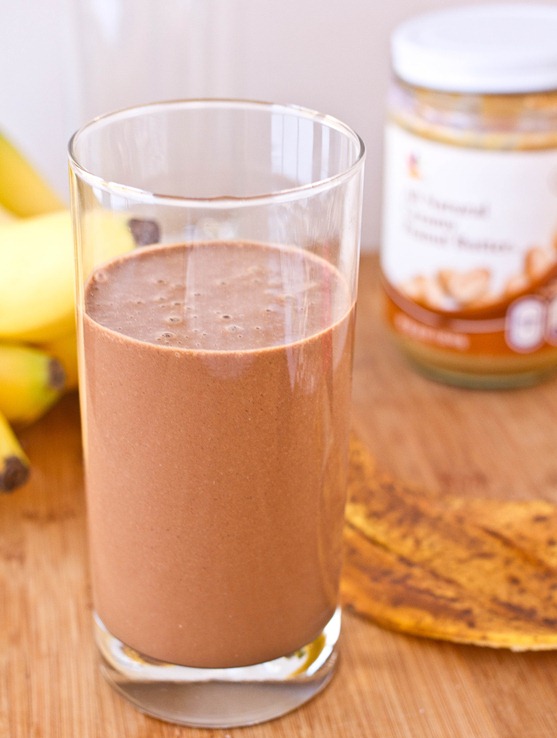
By far my favorite is a chocolate peanut butter smoothie; I don’t think there’s any surprise there. It’s similar to having a Reese’s cup but you can have it everyday and still feel good. How does something like that even exist?

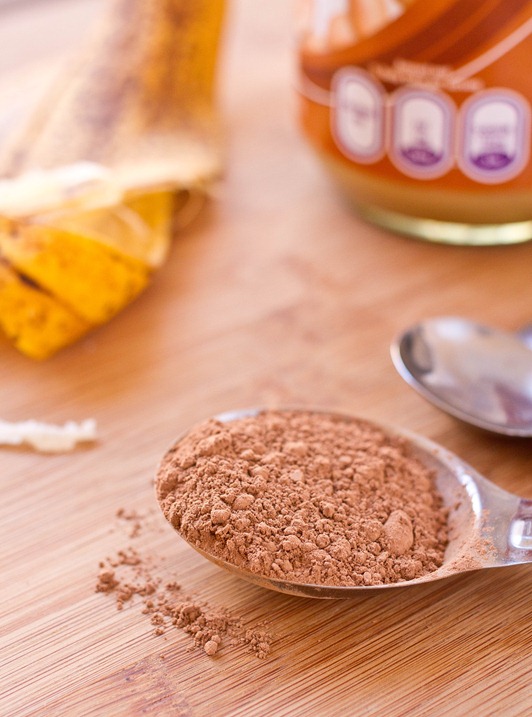
Peanut Butter Banana Breakfast Smoothie Cocoa

You can use milk, almond milk, or coconut milk in place of the water; however, I think this is deliciously creamy as is on account of the peanut butter. If you ever need to make peanut or almond milk in a jiffy, you can make it by blending ~1 Tablespoon of nut butter with a cup of water.

Peanut Butter Banana Breakfast Smoothie

Prep time: 5 minutes

Cook time: 0 minutes

Ingredients(Makes 1 serving):

  • 1 banana, chopped
  • 2 Tablespoons peanut butter
  • 2 heaping Tablespoons cocoa powder
  • 1 Tablespoon honey(optional)
  • 1/2 cup water
  • 2/3 cup ice
  • 1 scoop protein powder(optional)

Peanut Butter Banana Breakfast Smoothie Ingredients

Method:

  1. Combine all of the ingredients in a blender.
  2. Blend until smooth and creamy.
  3. Pour and serve cold.

Peanut Butter Banana Breakfast Smoothie Yield

Simple and delicious.

Coconut Pistachio Bark

Coconut Pistachio Bark Pieces

I know Christmas was almost a month ago but bear with me for one more Christmas recipe. It’s easy to find delicious red food but green? Not so much. Unless you want to sneak spinach, kale, or peppers into a dessert, it’s hard to get the red and green theme naturally.

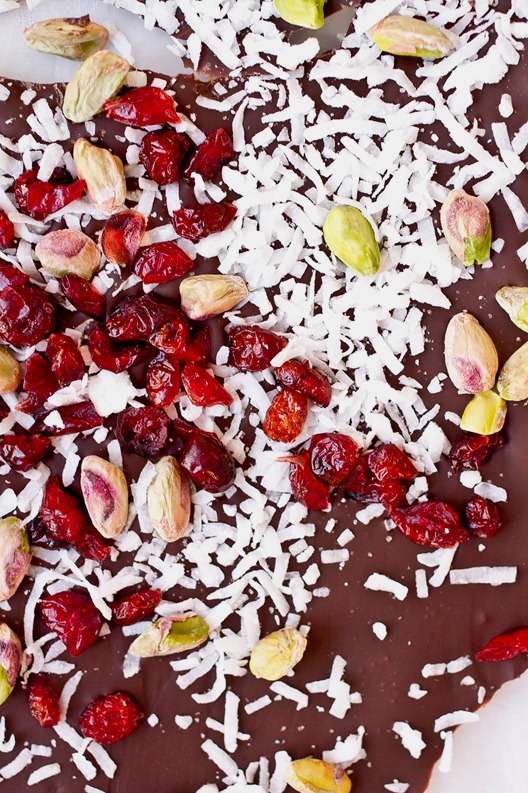
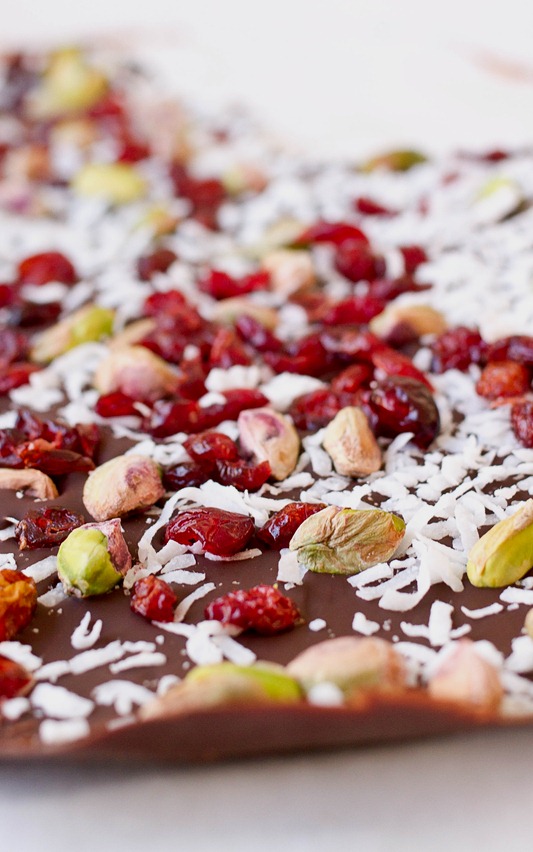
This bark looks like Christmas. The coconut seems like snow on the ground while the green and red toppings make it fun and festive. And it’s as fun to eat as it is to look at. The meaty pistachios and coconut match up against the tart craisins and bitter chocolate.

Coconut Pistachio Bark Overhead

This bark shouldn’t last long, but if you happen to have leftovers make sure to keep them in the refrigerator to keep the chocolate solid.

Coconut Pistachio Bark

Prep time: 15 minutes

Cook time: 10 minutes

Ingredients(Makes about 16 servings):

  • 8.5oz dark chocolate OR 1 cup chocolate chips
  • 1/4 cup sweetened shredded coconut
  • 3 Tablespoons dried cranberries
  • 3 Tablespoons pistachios

Coconut Pistachio Bark Unbroken

Method:

  1. Melt the chocolate in a microwave or over a double boiler.
  2. Spread the melted chocolate out on a sheet of wax paper or other non-stick surface.
  3. Sprinkle the coconut, cranberries and pistachios out along the surface of the chocolate.
  4. Gently press the toppings into the bark to make sure they stick to the chocolate.
  5. Refrigerate the chocolate for 20-30 minutes until it has set.
  6. Remove the bark from the wax paper and break it apart into 16-20 uneven pieces.

Homemade Sweet & Sour Mix

Homemade Sweet & Sour Mix

The drink I always go through the fastest is sweet & sour mix. I’m a sucker for sours and my roommate loves margaritas so it’s a hot ticket in our refrigerator. We used to buy our mix from the liquor store until I realized how easy it is to make. With this recipe, you’ll never have to overpay for sweet & sour mix again.

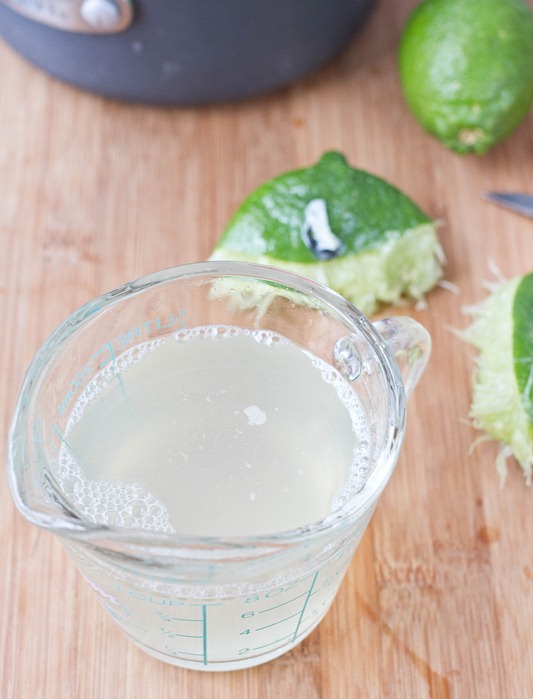
At the heart of it, sweet & sour mix is just lemon juice, lime juice, water, and sugar. The basic ration is equal parts sugar water and citrus juice. You can always make it sweeter or more tart to fix your preference.

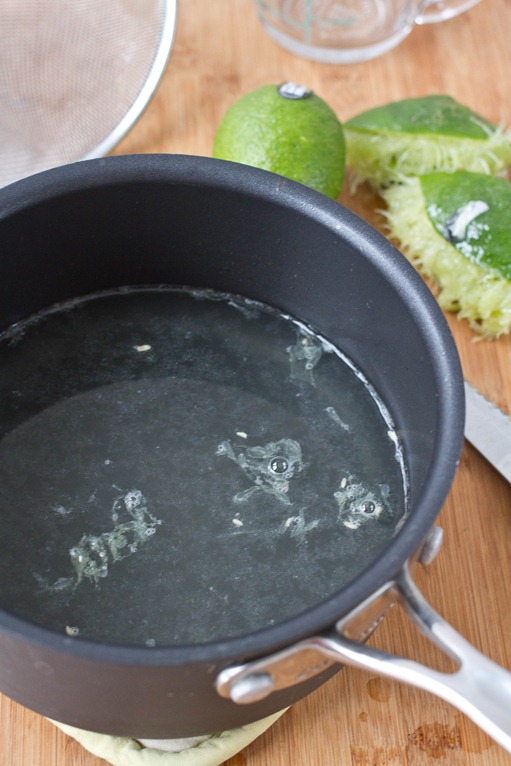
Homemade Sweet & Sour Mix Unstrained

This keeps for a while so it’s a great thing to make ahead of time and leave in your refrigerator for the right occasion. If you’re using this to make margaritas or a tropical drink, consider swapping in orange juice in place of the lemon juice.

Homemade Sweet & Sour Mix

Prep time: 5 minutes

Cook time: 5 minutes

Ingredients(Makes 2 cups):

  • 1 cup sugar
  • 1 cup water
  • 1/2 cup lime juice(from about 2 limes)
  • 1/2 cup lemon juice(from about 2 lemons)

Method:

  1. Combine the sugar and water in a pot and boil the water until the sugar has dissolved.
  2. Take the sugar water off the heat. Add in the lemon juice and lime juice.
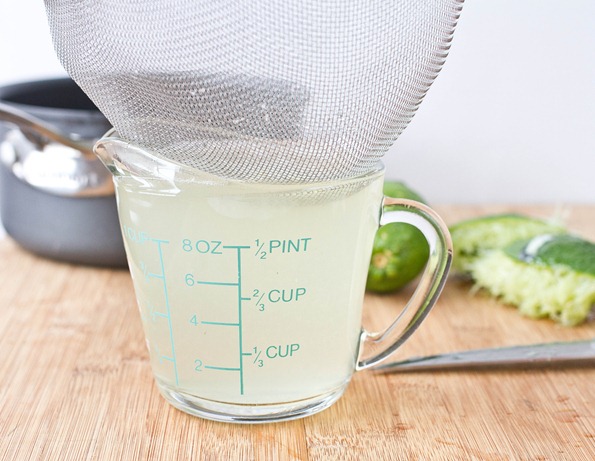
  3. If you’re fresh-squeezing the lemons and limes, remove the pulp and seeds from the mix with a strainer.
  4. Store the sweet & sour mix in the refrigerator when not using. It will last for a couple weeks.

Homemade Sweet & Sour Mix Strain

Who knew it was that simple?

Stonyfield Blends & Blendtec Giveaway

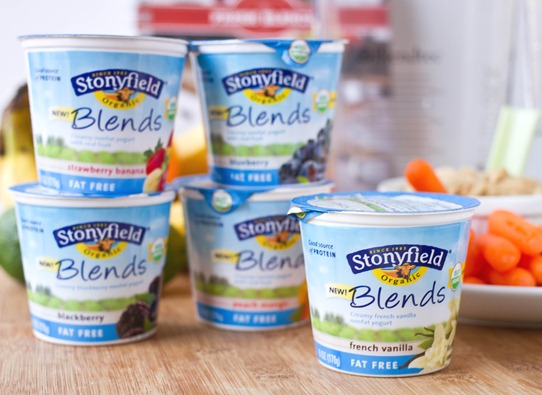
Stonyfield Blends

This is by far my favorite opportunity of 2013 so far.

As a recipe developer for the Clean Plate Club, I had the opportunity to try Stonyfield’s newest yogurt Blends as well as a Blendtec to play around in the kitchen with. Since I’ve got it I’ve been bookmarking smoothie, juices, and soup recipes left and right. The best part is that I have an identical pack to giveaway to a reader–more on that at the end of the post!

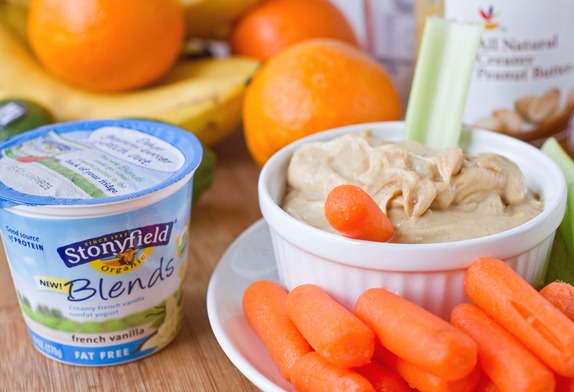
Stonyfield Peanut Butter Dip

The first thing I blended up was fruity peanut butter yogurt dip made with french vanilla Stonyfield Blends. After almost 2 years that recipe needed a facelift. With the vanilla yogurt, it tasted more like a peanut butter frosting than a dip and was deliciously smooth.

I’ve found I like the Blends better than the regular variety of Stonyfield yogurt. The texture seems a little creamier even though the flavors I received were non-fat, and I’ve never been a fan of having the fruit on the bottom of the yogurt anyway. And because it’s Stonyfield they’re all entirely organic. I would say the Blends are a win-win.

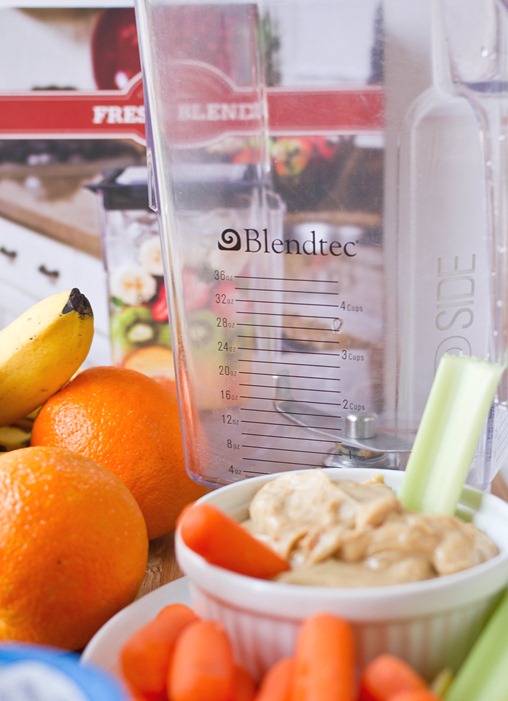
Blendtec Giveaway

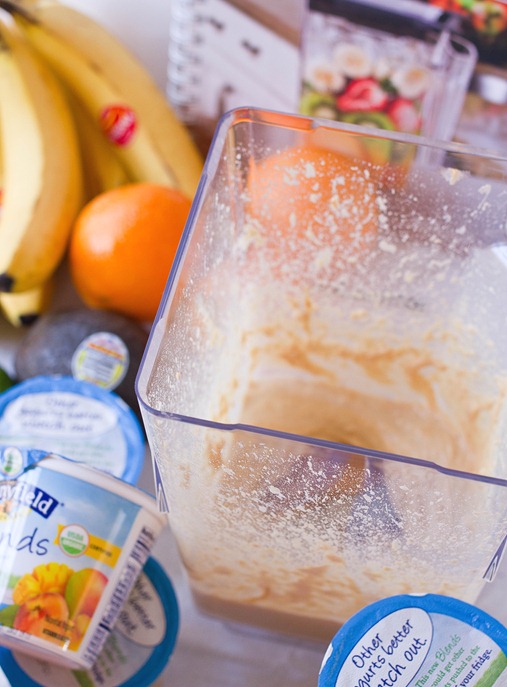
My favorite thing about the Blendtec so far has been how easy it is to use. I’ve been working with a Black & Decker food processor for years now and the Blendtec is lighter, sturdier, has less pieces to it, can handle heavier loads, and is much easier to clean. It’s blown my old processor away in just about every aspect. It can be hard to clean under the blade after processing something sticky like peanut butter; that’s been my only trouble so far.

Dirty Blender

Giveaway

Here’s my favorite part: I get to giveaway an identical prize pack to one of you, which includes a Blendtec and package of the new Stonyfield Blends. There are 7 ways to win!

Mandatory entry: What would your favorite flavor of blended yogurt be? It can be one of the new ones or one you just made up!

Other entries:

I’ll leave this contest going for 2 weeks, ending on February 1st. Good luck!

Edit: This giveaway has closed and the winner has been contacted.

Chocolate-Coffee Meringue Sandwiches

Chocolate-Coffee Meringue Sandwiches

Even though I stopped drinking coffee years ago, I still love coffee flavored things. Occasionally I’ll have a cup of decaf coffee, but more likely I’ll look for coffee ice cream or chocolate covered espresso beans. Coffee and chocolate are a wonderful things.

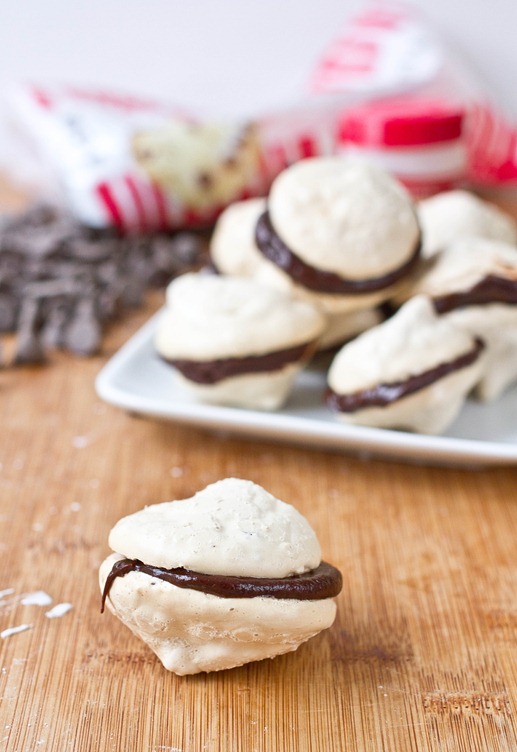
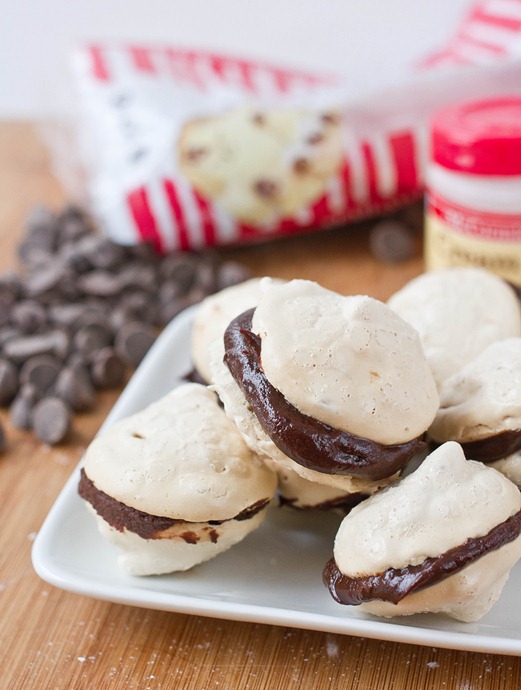
These aren’t technically macarons because there isn’t any almond paste in the recipe but the taste and texture are similar: Crunchy, soft coffee meringues held together with a rich chocolate ganache. The best touch is the added Irish cream in the ganache; it’s much better than a morning cup of coffee. 

Chocolate-Coffee Meringue Sandwiches Ganache

You can use regular cream in place of the Irish cream for the ganache or even a coffee liqueur like Kahlua.

Chocolate-Coffee Meringue Sandwiches

Prep time: 20 minutes

Cook time: 2 hours

Ingredients(Makes about 15 sandwiches):

  • 4 egg whites
  • 1 cup powdered sugar
  • 1/2 teaspoon cream of tartar
  • 1 teaspoon instant coffee granules
  • 1/2 cup chocolate chips
  • 2 Tablespoons butter
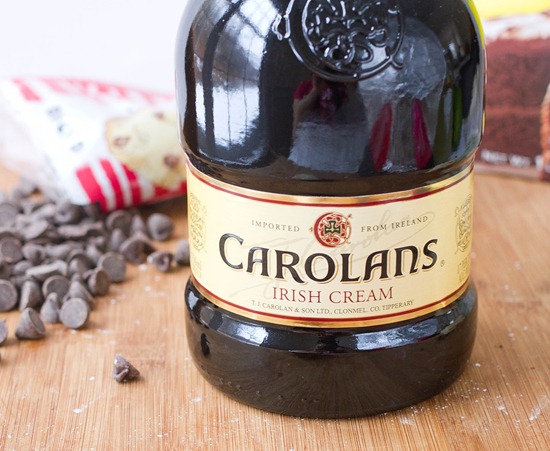
  • 3 Tablespoons Irish cream

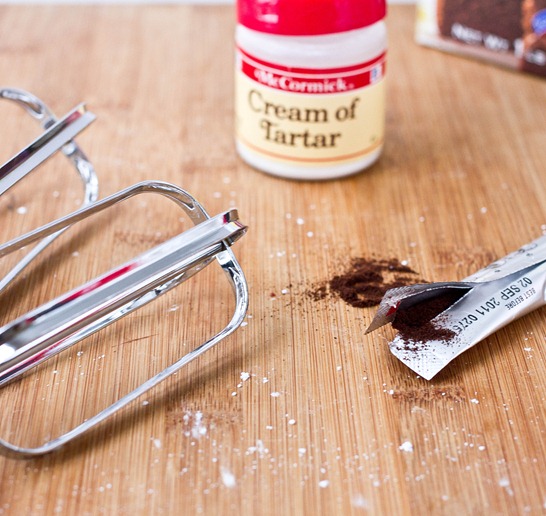
Chocolate-Coffee Meringue Sandwiches Ingredients

Method:

  1. Preheat your oven to 225 degrees.
  2. In a glass bowl, beat the egg whites until they form soft peaks.
  3. Sift the powdered sugar, cream of tartar, and instant coffee together and then slowly beat them into the egg whites.
  4. Continue beating until all of the sugar is incorporated and the whites form stiff peaks.
  5. Scoop the meringue into a pastry bag or Ziploc bag with a corner cut out.
  6. Squeeze the batter into discs on non-stick baking trays.
  7. Bake for 90 minutes until the meringues are hard. Remove from the oven and let them cool.
  8. Melt the chocolate and butter together. Mix in the Irish cream until it makes a smooth ganache.
  9. Scoop about a Tablespoon of ganache on the bottom of one meringue and sandwich it with another.
  10. Let the sandwiches sit for about 15 minutes until the ganache hardens.
  11. Serve at room temperature.

Chocolate-Coffee Meringue Sandwiches Yield