Tag Archive: Food Processor

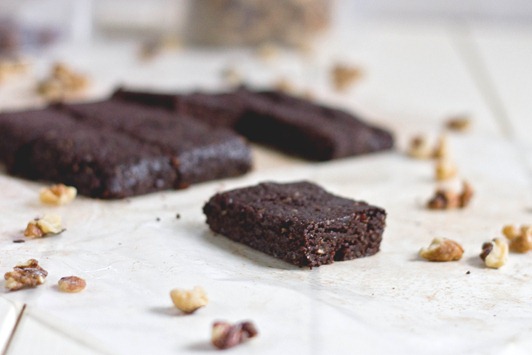
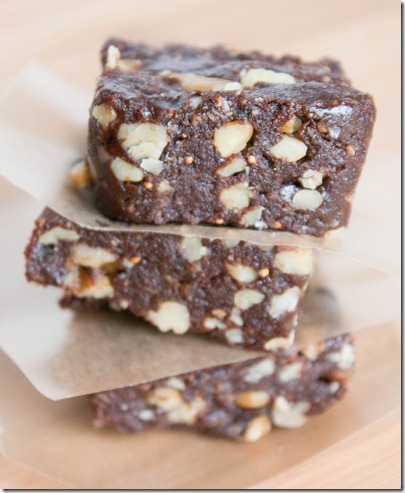
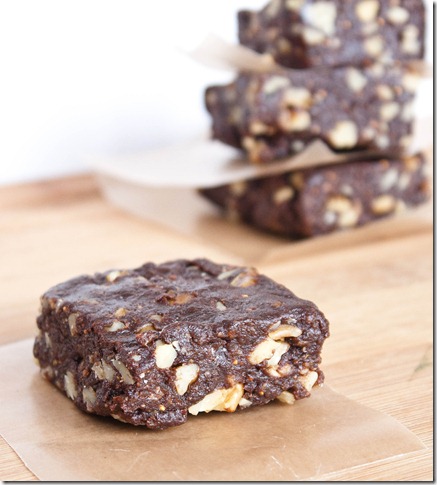
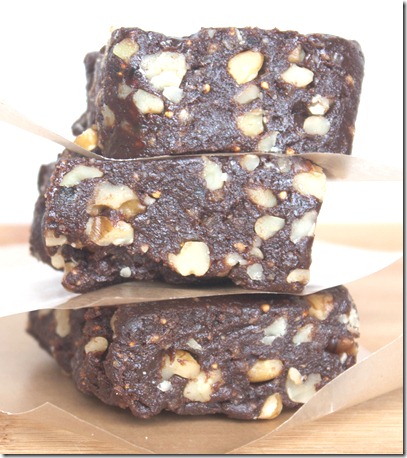
Raw Walnut Brownies

Raw Walnut Brownies

Sometimes the simplest recipes are the best. I don’t think that’s true always, but certainly in this case it is. It’s amazing what you can make with just dates, walnuts, and cocoa powder.

This is something I’ve been making for years now. I think I learned the originally recipe from a food blog that no longer exists; it’s simple enough that you don’t have to write it down or bookmark a page to remember it. The trick to making these well is recognizing what consistency the dough should be; thankfully these are very forgiving and it’s easy to figure out after making a few batches(and you’ll want to make a few batches).

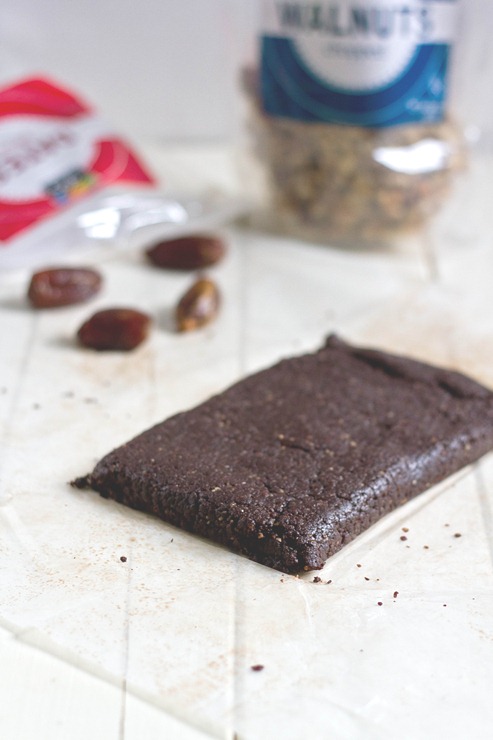
Raw Walnut Brownies Block

You can use any nut for this but I think walnuts are the best both for flavor and texture. They also pack a lot of omega-3s which are great for anyone’s diet. I’d suggest adding crushed walnuts into the batter dough after processing to give these a crunch.

Raw Walnut Brownies

Prep time: 10 minutes

Cook time: 0 minutes

Ingredients(Makes 8 squares):

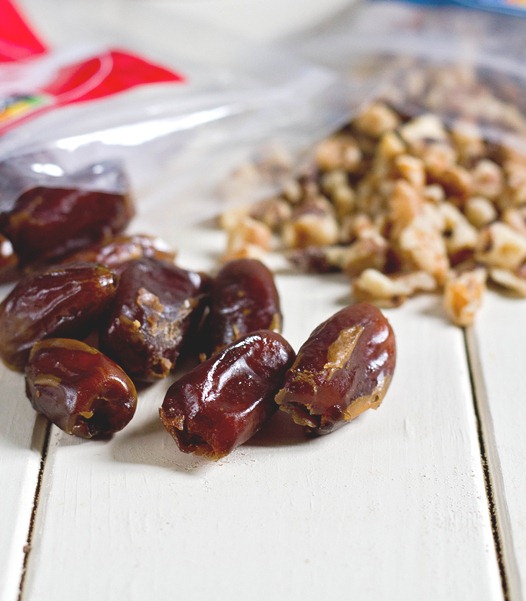
  • 2 cups pitted dates
  • 1 cup walnuts
  • 3 Tablespoons cocoa powder
  • 1-2 Tablespoons water

Raw Walnut Brownies Ingredients

Method:

  1. Blend the dates in a food processor until they are pulverized and start to stick together.
  2. Add the walnuts and continue blending until the dough starts to stick to itself. Add water as necessary if your ingredients are too dry to clump.
  3. Lastly add the cocoa powder and continue blending until it’s mixed in.
  4. Dump the processed ingredients onto a piece of parchment paper. With your hands, clump them together into a square or rectangle.
  5. Freeze the dough for 5-10 minutes until it’s firm and cut it into even sized squares. Store in the refrigerator for freshness.

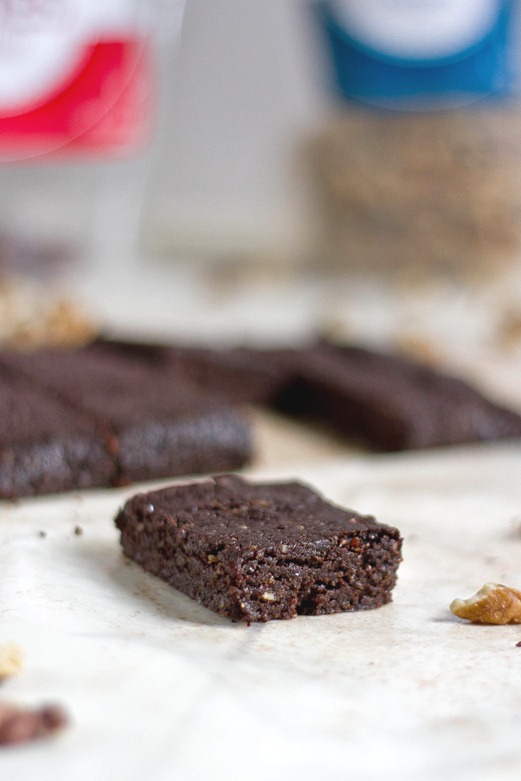
Raw Walnut Brownies Serving

You can add chocolate chips or other dried fruit to make this a little more exciting, but I think this is a perfect snack or pick-me-up for after a meal all on its own.

Easy Chilled Watermelon Soup

Easy Chilled Watermelon Soup

Here’s another red and blue recipe to go along with that cake.

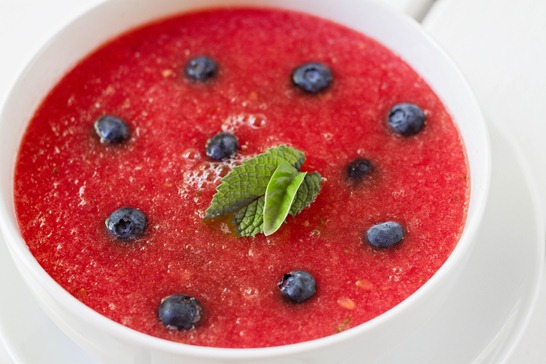
I really can’t take credit for the idea of this soup at all; it was one of those cases when you go to a restaurant and try something and think, “Hey, I can make that!” I would never have thought a sweet watermelon soup could be a good appetizer but the balance of herbs and a touch of sour watermelon make this soup a lot more than just sweet.

As soon as I bought a watermelon I cut up half and made this soup with a slight smile on my face realizing it was just as good as from the restaurant. With bright and vibrant colors, it seemed perfectly fit for this week. Unfortunately the one thing it’s missing is white, but I’m sure it’d be welcomed at any (very fancy) 4th of July party.

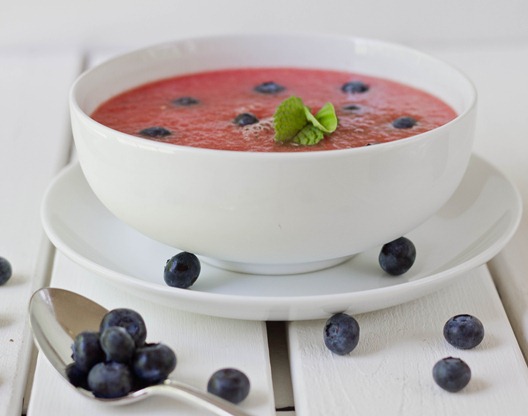
Easy Chilled Watermelon Soup Serving

Be careful not to put too much watermelon in your food processor or it will overflow and you’ll have watermelon juice all over your counters. Trust me; I know from experience. Taste the soup at every step and add more herbs depending on your personal preference.

Chilled Watermelon Soup

Prep time: 20 minutes

Cook time: 0 minutes

Ingredients(Makes about 4 servings):

  • 1/2 large watermelon
  • 2 Tablespoons sugar
  • Juice from 1/2 lime(about 1 Tablespoon)
  • 1/4 teaspoon salt
  • 4-8 mint leaves, chopped finely
  • 4-8 basil leaves, chopped finely
  • Blueberries, raspberries, and herbs to garnish

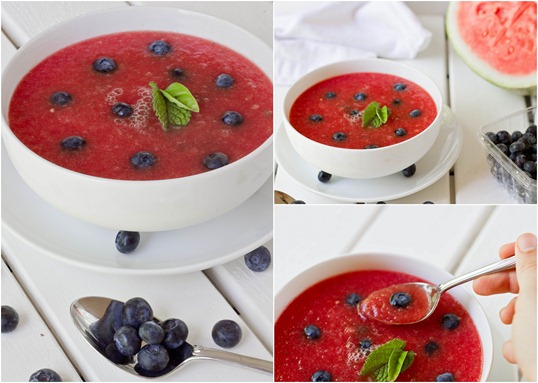
Easy Chilled Watermelon Soup Collage

Method:

  1. Cut the watermelon away from the white pith into smaller chunks between the size of a golf ball and a baseball.
  2. In small batches, blend the watermelon chunks in a food processor until smooth. Keep in mind that as the watermelon blends it turns into a liquid and so will overflow easily.
  3. Pour the watermelon puree in a large bowl. Repeat until all the watermelon has been used up.
  4. Add the sugar, lime, salt, and chopped herbs into the soup. Mix well.
  5. Let the soup chill in the refrigerator for at least 2 hours, preferably overnight.
  6. Ladle into dishes, garnish, and serve cold.

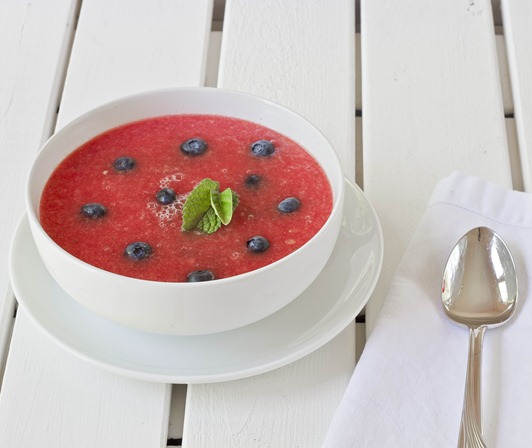
Easy Chilled Watermelon Soup Plated

Soup’s on.
Banana Peanut Butter

Banana Peanut Butter

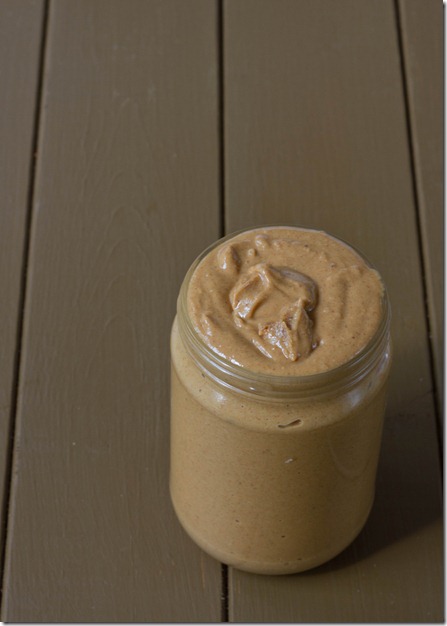
I’ve always wanted to make a banana flavored peanut butter. It’s no secret bananas and peanut butter go well together. But one of the problems of a banana flavored peanut butter has always been that bananas just don’t last once you peel them. What you need is a shelf-stable banana—something like banana chips!

This was a lot easier to make than I thought it would be. Both the banana chips and the peanuts pureed quickly. The flavor isn’t quite as banana-y as if you took a banana and mixed it up with some peanut butter, but for the convenience of having this in your pantry and ready to eat with a spoon at any time it’s plenty delicious.

Banana Peanut Butter Banana Chips

After I made these I found out banana extract exists. If you can track that down in a local store, I would suggest using that in place of the vanilla extract. If not, don’t worry; the vanilla adds a subtle flavor that only enhances the banana without drawing too much attention to itself.

Banana Peanut Butter

Prep time: 20 minutes

Cook time: 0 minutes

Ingredients(Makes about 1lb 2 ounces):

  • 1 cup banana chips
  • 1-2 Tablespoons oil
  • 3 cups roasted peanuts
  • 1/4 cup light brown sugar
  • 3/4 teaspoon vanilla extract
  • 1/2 teaspoon salt

Method:

  1. Blend the banana chips in a food processor until they turn into a smooth puree. Slowly add in small amounts of oil to help them move along.
  2. Once the chips are pulverized, add in the peanuts, brown sugar, vanilla, and salt and continue blending for 5-10 minutes until it forms a butter-like texture.
  3. Add in extra crushed peanuts or banana chips if desired and fold them in.
  4. Move the peanut butter into a sealable jar. Store at room temperature for up to 2 weeks.

Banana Peanut Butter Simple

If you’re thinking this would be good on banana bread, I’m right there with you.

Semi-Raw Chocolate Rum Truffles

Semi-Raw-Chocolate-Rum-Truffles

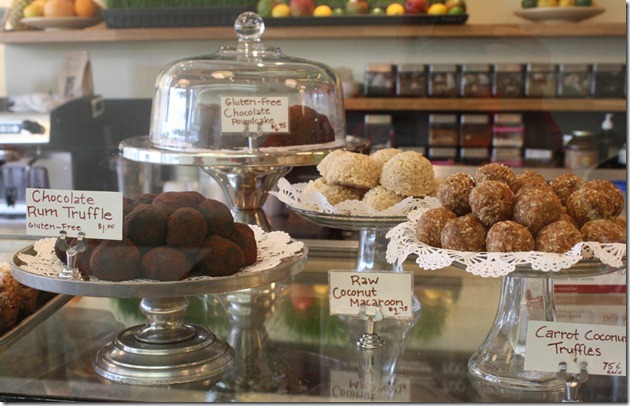
This weekend I’m moving back to Providence, which means I’ll be just a short bus ride away from my favorite bakery again. Lord help me, my stomach, and my wallet.

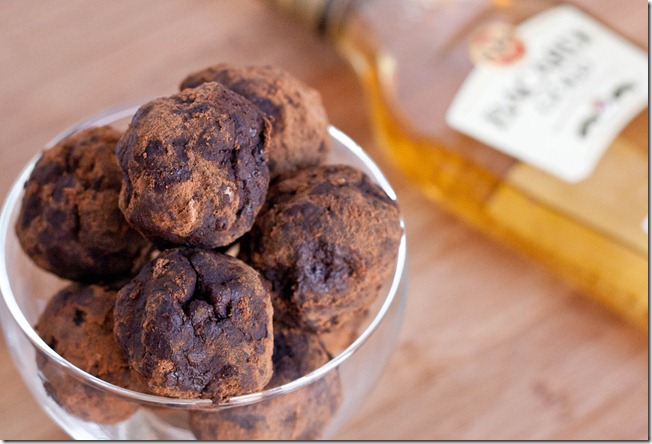
I keep trying to make some of their desserts in my own kitchen to save a little money, and I think I’ve figured out another one. Their rum truffles from what I can tell are a blend of dates, walnuts, cocoa powder, and rum that tastes amazingly close to a “real” chocolaty dessert for something that’s made with whole foods. Since I’ve been kind of on a date ball kick lately, I wanted to see if I could make these, too.

048

Ps. If you’re ever around Providence you need to get the gluten-free chocolate pound cake that’s lurking in the back. I’m not even a big fan of cake but will happily eat a slice or two of that. It’s high on my list of recipes to recreate right behind this one. All I need is about a dozen taste testers who are willing to eat through a couple failed pound cake attempts.

Semi-Raw Chocolate Rum Truffles

Prep time: 15 minutes

Cook time: 0 minutes

Ingredients(Makes about a dozen):

  • 3/4 cup walnut pieces
  • 2 Tablespoons rum
  • 8oz pitted dates
  • 6 Tablespoons cocoa powder plus more for rolling
  • Extra 1/4 cup walnut pieces(optional)

Semi-Raw-Chocolate-Rum-Truffles-Bottle

Method:

  • Blend 3/4 cup walnut pieces in a food processor until it turns into a smooth, buttery consistency. You can add the rum at the beginning to help the walnuts blend faster.
  • Add in the dates and continue processing until the dough sticks to itself and starts forming into a ball.
  • Add in the cocoa powder and continue mixing until all of the powder has been worked into the ball.
  • Stop the food processor. Add in the extra walnuts if using and work them into the dough using your hands.
  • Pour some cocoa powder into a flat-bottom bowl or plate. Break off pieces of the truffle dough and roll them into circles in your hand, rolling them in the cocoa powder afterwards to cover all sides.
  • Store at room temperature in an airtight container.

Semi-Raw-Chocolate-Rum-Truffles-finished

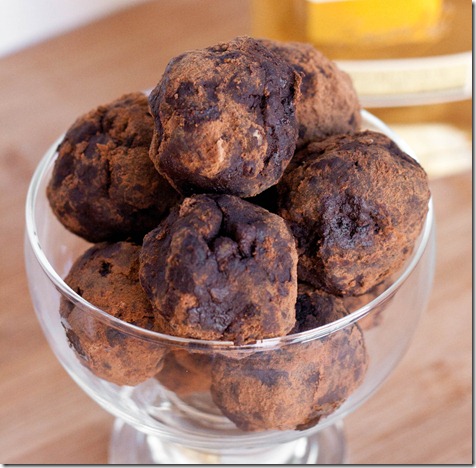
These were good but a little lacking in the rum flavor. Next time I might try extract for a stronger punch of flavor. The originals also look better than mine came out, but isn’t that how it always is?

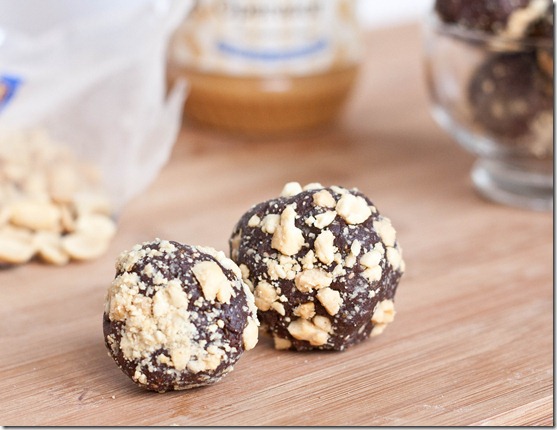
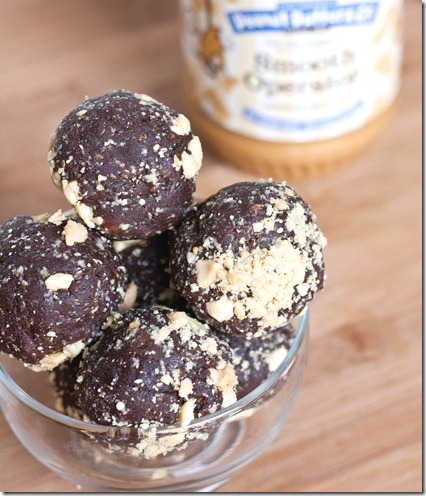
Chocolate Peanut Butter Snack Balls

chocolate-peanut-butter-snack-balls

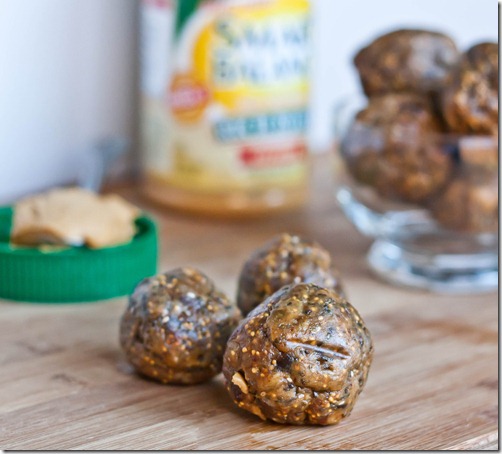
Lately I’ve been obsessed with these raw fruit and nut snacks. And I’m always obsessed with chocolate peanut butter. I can’t understand what took me so long to combine the two.

I’m not going to sugarcoat these and say they taste like Reese’s peanut butter cups; they don’t, and anyone who could get that flavor with just fruit and nuts would be a miracle worker. But these do taste deliciously sweet and salty with a hint of cocoa and silky smooth peanut butter. They’re certainly good enough to satisfy a snack craving. And if you want to take these to the next level, you can always mix some chocolate chips(or peanut butter chips!) into the batter for a real chocolate peanut butter treat.

Chocolate Peanut Butter Snack Balls

Prep time: 10 minutes

Cook time: 0 minutes

Ingredients(makes about 14 balls):

  • 16oz pitted dates
  • 1/2 cup peanut butter
  • 6 Tablespoons cocoa powder
  • 3 Tablespoons chia seeds
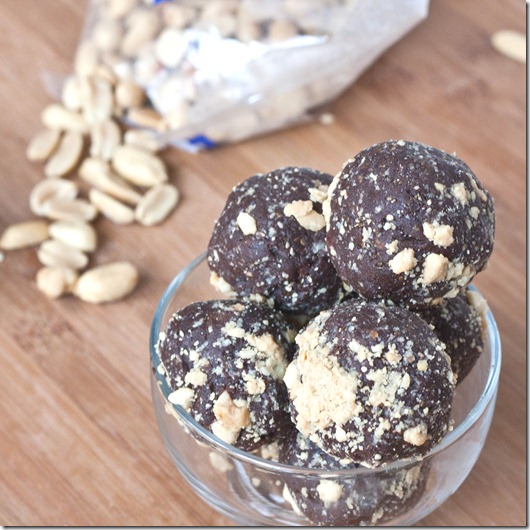
  • 1/4 cup peanuts or chocolate chips(optional)

chocolate-peanut-butter-snack-balls-peanut-butter

Method:

  1. Blend the dates in a food processor until they stick together and form a big dough ball.
  2. Add in the peanut butter and cocoa powder and continue mixing until all of the ingredients are blended together.
  3. Stop the processor; move the dough to a separate bowl and add in the chia seeds and any other mix-ins you might want. Knead them in throughout the dough.
  4. Break off 1oz pieces and roll them into 1-inch balls. Store in an airtight container at room temperature for up to a week. 

chocolate-peanut-butter-snack-balls-peanuts

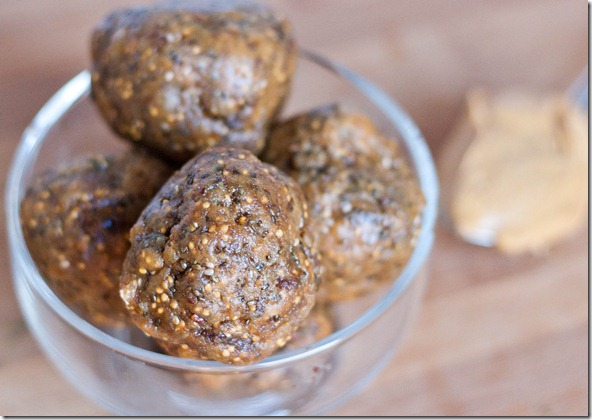
PB&J Balls

PB&J-Balls

One of my favorite lunches growing up was a PB&J sandwich on white Wonderbread. Who doesn’t love peanut butter and jelly? And Wonderbread—that was just great stuff before anyone realized bread shouldn’t be glow-in-the-dark white.

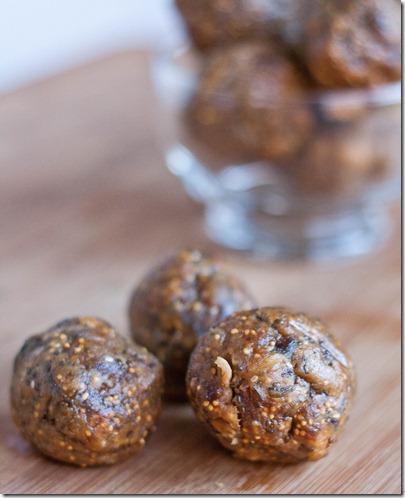
I’m getting sidetracked. What I meant to say was that these taste like the filling of a peanut butter and jelly sandwich, that point where the sweetness of the jelly meets the smooth salty peanut butter. Since I hardly ever buy loaves of gluten-free bread, that’s not a taste I get to experience much; now I can have it whenever in a tasty raw snack.

PB&J-Balls-finished

You can mix in chopped peanuts at the final mixing step for a crunchier texture. For a different “jelly” flavor, use dried raspberries or dried strawberries in place of the raisins.

PB&J Balls

Prep time: 10 minutes

Cook time: 0 minutes

Ingredients(Makes about 18 balls):

  • 1 1/2 cup pitted dates
  • 1/2 cup raisins
  • 1/2 cup creamy peanut butter
  • 3 Tablespoons chia seeds(optional but recommended)

PB&J-Balls-full

Method:

  1. Place the dates and raisins into a food processor and blend until they come together and form a dough ball.
  2. Add in the peanut butter and chia seeds and continue blending until everything has mixed together.
  3. Move the ingredients to a bowl and work them with your hands until it forms one big dough ball.
  4. Break off pieces by the ounce and roll into balls between your palms. Store in an air-tight container at room temperature for up to a week.

PB&J-Balls-serving

I loved these even more after a day when the chia seeds had taken out some of the moisture and made them nice and chewy. It reminded me of a PB&J Larabar, so you could definitely shape these into bar form and have your own homemade ones.

Raw Salted Almond Brownies

raw-salted-almond-brownies

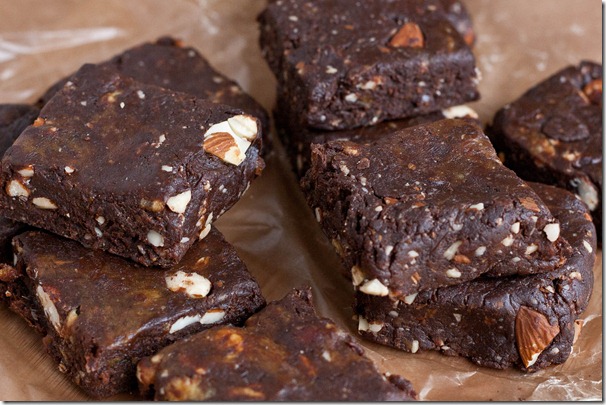
The last time I made raw brownies, I didn’t share the recipe. I wasn’t planning on it this time, either, but these came out so well I felt I’d be holding out if I didn’t share them.

raw-salted-almond-brownies-chocolate-covered-almonds

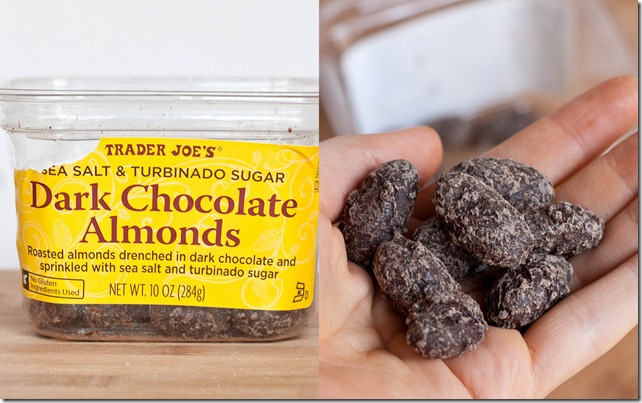
These almonds from Trader Joe’s are incredibly addicting; I’m pretty sure they’re all gone by now. Anything with chocolate and salt and I can’t stop snacking. Why not make some brownies with the same mix-ins?

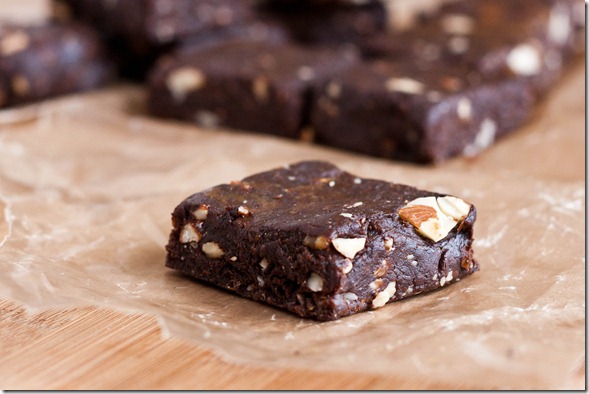
The almond butter in these brownies make them a little more fudgy and decadent than your typical date bars. You can use any type of nuts you have on hand.

Raw Salted Almond Brownies

Prep time: 10 minutes

Cook time: 0 minutes

Ingredients(Makes a dozen brownies):

  • 16oz pitted dates
  • 1/4 cup raw almond butter
  • 1/4 cup cocoa powder
  • 1/3 cup almonds
  • 1/2 teaspoon coarse sea salt

raw-salted-almond-brownies-cut

Method:

  1. Put the dates in a food processor and blend until they stick together into a ball of dough. If the dates haven’t come together after a few minutes, add a tablespoon or so of water until they do.
  2. Add in the cocoa powder and almond butter and continue blending until they are mixed into the dough.
  3. Add in the almonds and sea salt. Pulse until the almonds are broken up into pieces.
  4. Turn off the food processor and move the mixture to a different bowl. Work it with your hands until all of the ingredients are well mixed together and the almonds stick in the batter.
  5. Turn the dough out onto a piece of parchment paper and press with your hands into a square shape roughly 9×9. Cut into 12 pieces. Store in a sealed container at room temperature when not eating.

raw-salted-almond-brownies-stack

These are particularly good with some salty peanut butter spread on top as a snack or dessert. Next time I think I’ll use the chocolate covered almonds in the brownie dough assuming I don’t eat them all first again.

Eat Healthy: Raw Brownies

filling-up-on-raw-brownies

I could never give up chocolate. It’s a daily thing for me. Even when I want to eat healthy, I’m always drawn back to it, and frankly I have no willpower to resist.

That’s where the beauty of something like raw brownies come in. These are sweetened with dried fruit and the only fat comes from nuts, which are whole foods. It’s a big improvement over refined sugar, cocoa butter and milk fat. To make these, I threw together some dates, figs, hazelnuts and walnuts in my food processor, and then folded in extra walnuts when it was done to give them an added crunch. Not only are they delicious, but they’re filling, too.

filling-up-on-raw-brownies-serving

Since that’s not exactly a recipe, I thought I’d share a few raw chocolate cake recipes I have made in the past that are similar and just as delicious:

Gabriel’s recipe is super simple. It has added coconut oil and agave nectar which makes the brownies a little more moist and extravagant. It’d be the perfect thing to make if you want to impress someone and show off how good raw food can be.

Katie’s recipe has just fruit for the sweetener and nuts for the fat like the ones I made. I like the addition of vanilla for a stronger chocolate flavor.

filling-up-on-raw-brownies-stack

I went through the first batch of these all too quickly. You’d better double the recipes since I’m sure you’ll fall in love with them, too.

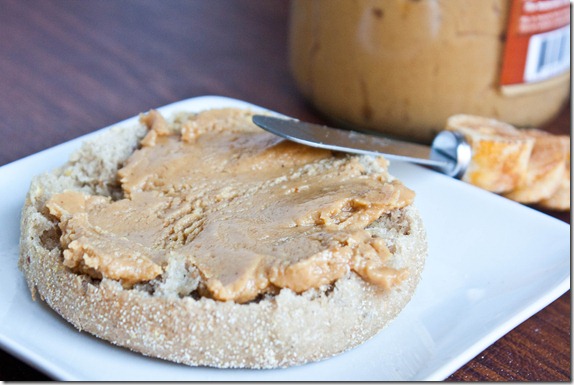
Honey Vanilla Peanut Butter

honey-vanilla-peanut-butter

I really like fancy flavored peanut butter and almond butter and all those butters. The problem is they’re usually double or triple the price. Thankfully they’re so easy to make at home. This is a great DIY recipe if you want to make breakfast a little more special, or even a great homemade gift to give a peanut butter lover in your life.

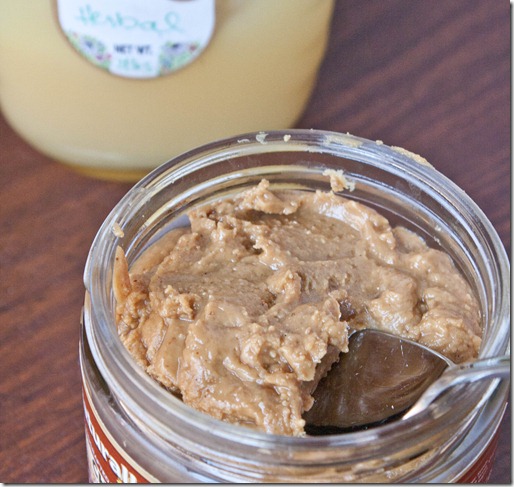
honey-vanilla-peanut-butter-jar

Honey and vanilla go so well together, even better with peanut butter. I got tired of making this in single servings and decided to make a big batch so I could eat it again and again. You can start with peanuts or peanut butter that’s already ground—the recipe’s pretty much the same either way.

Honey Vanilla Peanut Butter

Prep time: 10 minutes

Cook time: 0 minutes

Ingredients(Makes about 16oz):

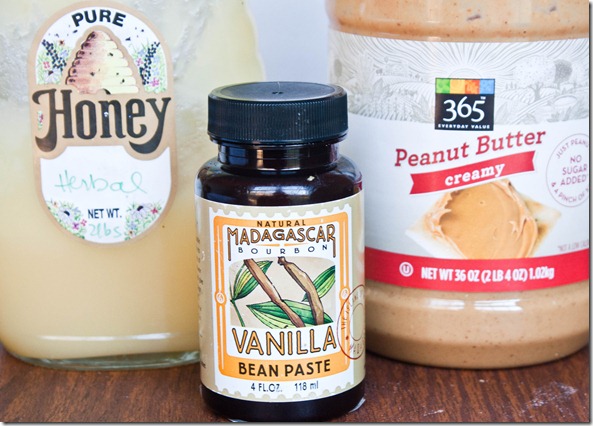
  • 12oz(3 cups) peanuts OR 12oz(1 1/2 cups) peanut butter
  • 1/2 Tablespoon good quality vanilla extract
  • 3 heaping Tablespoons honey

honey-vanilla-peanut-butter-ingredients

Method:

  1. Put the peanuts into the food processor and blend until it forms a smooth, runny butter(if using peanut butter, omit this step).
  2. Combine the rest of the ingredients with the peanut butter in the food processor and blend until emulsified.
  3. Scrape into a seal-tight jar. Store at room temperature for up to a month.

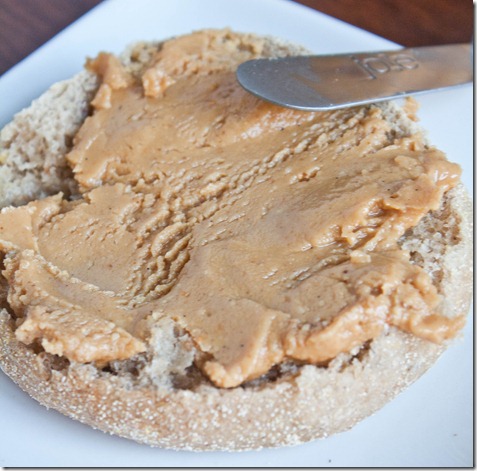
honey-vanilla-peanut-butter-spread

I somewhat wanted to add more honey to this because it wasn’t quite sweet enough for my taste; then again, I have a huge sweet tooth and would turn everything into dessert if I could, so I’m guessing 3 tablespoons is enough for most people, although judge by taste always.

Yellow Mashed Potatoes

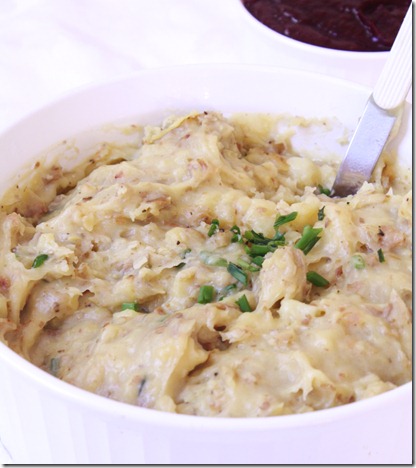
yellow-mashed-potatoes-bowl

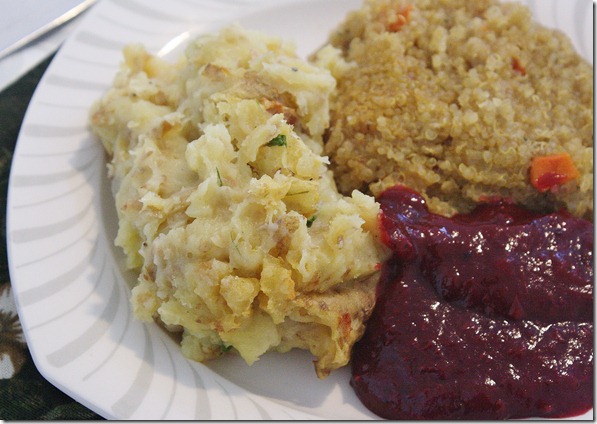
Every year for Thanksgiving we’ve had mashed Russet potatoes, and they’ve never really caught my attention. This year, since I’ve started to warm up a lot to the organic yellow potatoes I find at Whole Foods, I thought I’d try making mashed potatoes with those. They’re slightly waxier and starchier than Russet, which makes them perfect comfort food.

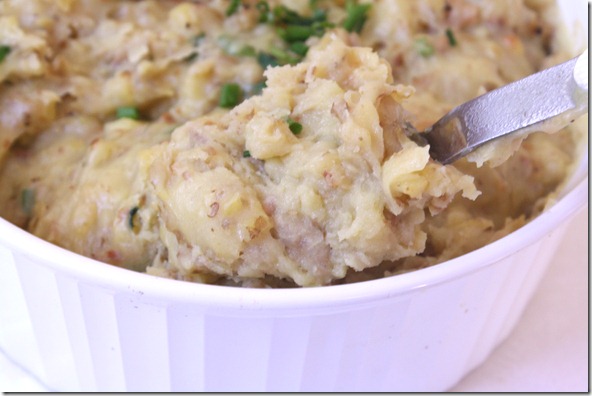
This recipe uses no cream or milk—just butter, which makes it very low in lactose and milk proteins. You could easily substitute a vegan margarine for dairy-free alternative. The chives and seasoning help to give it a subtle flavor while still highlighting the potatoes. I keep the skin on since it adds some fiber and nutrients and gives the dish texture.

Yellow Mashed Potatoes

Prep time: 15 minutes

Cook time: 80 minutes

Ingredients(Makes 10-12 servings):

  • 5lbs organic yellow potatoes
  • 1/2 cup butter
  • 1 teaspoon salt
  • 1/2 teaspoon black pepper
  • 2 Tablespoons chopped chives

yellow-mashed-potatoes

Method:

  1. Bake the potatoes skin on for an hour and 20 minutes at 350 degrees until all of them are cooked through.
  2. Let the potatoes cool enough to be handled. Dice them into quarters for easy processing.
  3. Add half of the potatoes, 1/4 cup of butter, 1/2 teaspoon of salt and 1/8 teaspoon of pepper and puree until mostly smooth. Scoop the potatoes into a serving bowl and repeat with the same ingredients.
  4. Fold the chopped chives into the potatoes. Garnish with extra chives. Serve hot.

yellow-mashed-potatoes-scoop

Maybe if I start recipe testing now I’ll master the art of gluten-free gravy by next Thanksgiving.