Tag Archive: Easy

Dessert Cream Cheese Ball

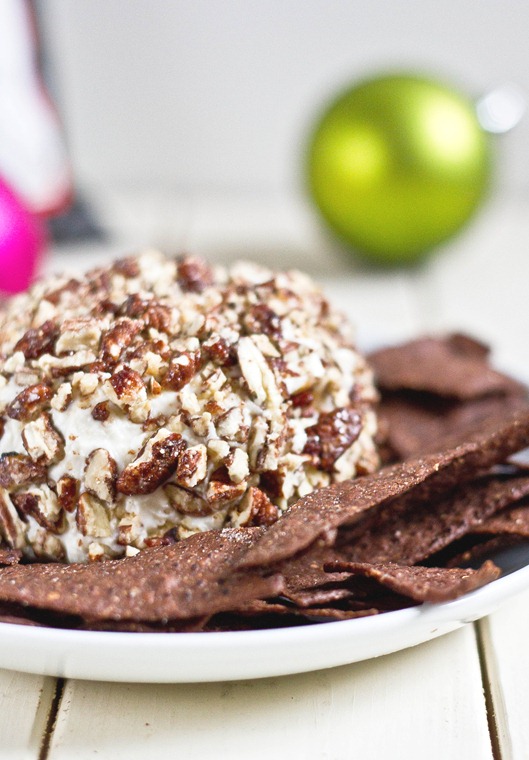
Dessert Cream Cheese Ball

Most people who love cooking have their “signature recipes” that they get asked to make all the time. At the holidays my mom always makes a savory cream cheese ball with onion, green pepper, pineapple and walnuts. As good as that is, if you follow this blog you’ll know I’m much more into sweet than savory. What could really be better than sweet cream cheese?

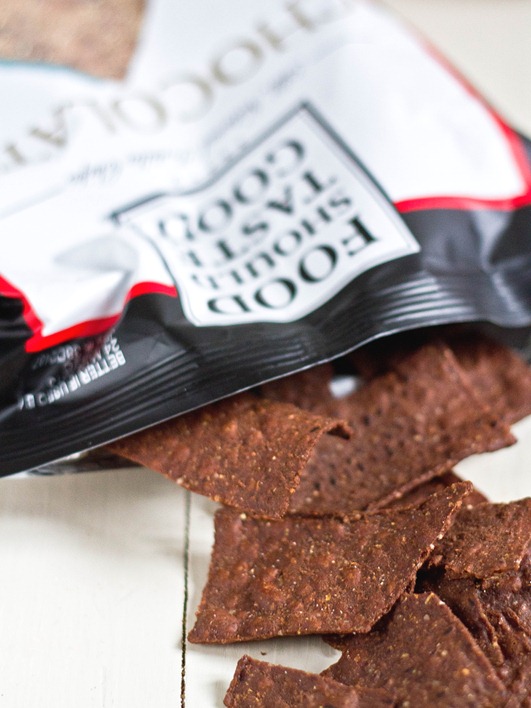
Another thing that prompted me to make this was a bag of Food Should Taste Good chocolate tortillas and wondering what in the world you serve chocolate tortillas with. The crunchy and lightly-sweetened tortillas went perfectly with the smooth cream cheese and powdered sugar. I couldn’t imagine eating this any other way but I’m sure sliced apples or graham crackers would match well, too.

Dessert Cream Cheese Ball Nachos

I used honey glazed roasted pecans from Oh Nuts for the coating. If you don’t have pecans you can use any number of things as a coating. Try sliced almonds or crushed green and red M&Ms, or even holiday-themed sprinkles.

Dessert Cream Cheese Ball

Prep time: 10 minutes

Cook time: 0 minutes

Ingredients(Makes about 12 servings):

  • 1 8oz block cream cheese
  • 1/2 cup + 2 Tablespoons powdered sugar, sifted
  • 1/2 teaspoon vanilla extract
  • 1 Tablespoon half & half
  • pinch of salt
  • 1/2 cup glazed pecans, crushed

Method:

  1. In a large bowl, beat together the cream cheese, powdered sugar, vanilla, half & half and salt.
  2. Scrape the cream cheese mixture onto a sheet of clear plastic wrap. Form the cream cheese mixture into a ball using the wrap to cover your hands and keep it together. Stick the ball in the fridge for 20-30 minutes to set.
  3. Unwrap the cream cheese ball and coat it with the pecans, pressing them in lightly to make sure they stay.
  4. Transfer the cold cream cheese ball to a serving plate. Serve with chocolate nachos, graham crackers, or sliced fruit.

Dessert Cream Cheese Ball Product

We can save worrying about eating healthy for after New Years.

Peanut Butter Cream Cheese

peanut butter cream cheese

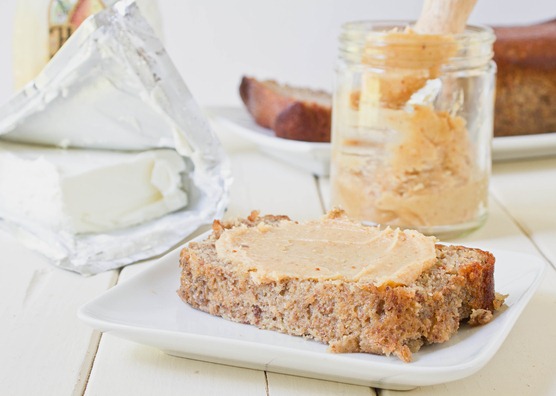
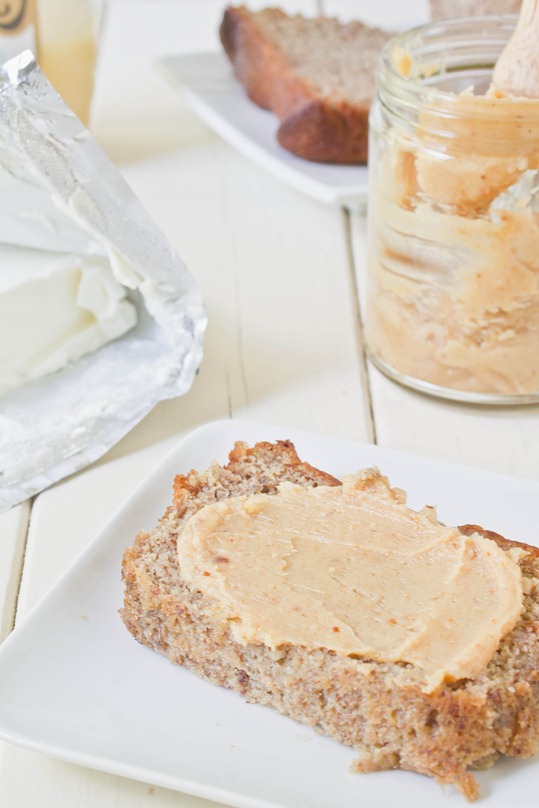
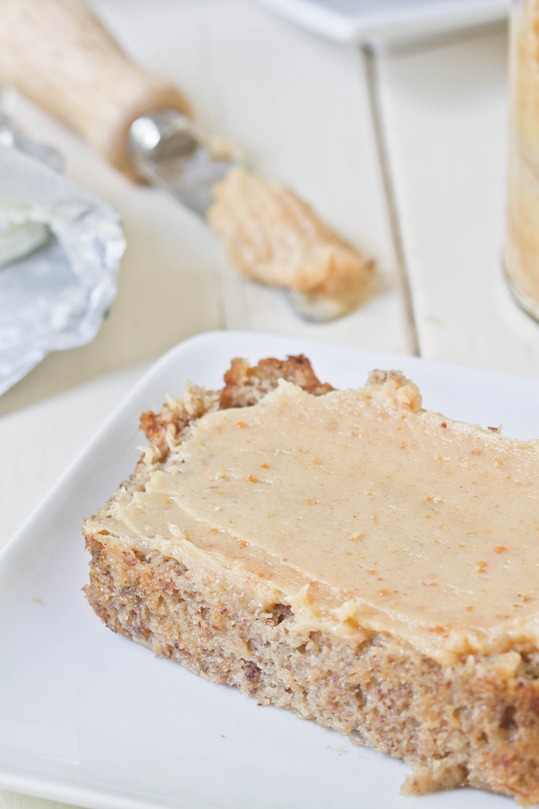
Last week I made another loaf of almond flour banana bread. It didn’t have any chocolate chips or walnuts or Nutella swirls so it definitely needed something to make it more decadent.

I was reminded of when I made a chubby hubby cheesecake last month and finally shared the recipe with the people I served it to: “You mean my whole family has been fighting over peanut butter and cream cheese?” Hey,what can I say? It’s a winning combination.

peanut butter cream cheese long

You can easily adjust the sweetness by adding more or less honey. I like it when it’s not too sweet so that you still taste the slight tartness of the cream cheese. Add a sprinkling of raw sugar for a little bit of crunch.

Peanut Butter Cream Cheese

Prep time: 5 minutes

Cook time: 0 minutes

Ingredients:

  • 1/4 cup cream cheese
  • 1/4 cup peanut butter*
  • 2 Tablespoons honey
  • 1/2 teaspoon cinnamon(optional)

*If you’re using no-stir peanut butter, be sure to soften it in the microwave quickly before mixing.

Method:

  1. Mix together all of the ingredients.
  2. Store in a sealed container in the refrigerator when not using. Let it soften at room temperature briefly before spreading because the cream cheese will harden when chilled. 

peanut butter cream cheese serving

I think I need to stock up on gluten-free bagels because this is too good not to eat every morning. It’s creamy and nutty—the perfect combination of the best two breakfast spreads.

Easy Kahlua Truffles

Easy Kahlua Truffles

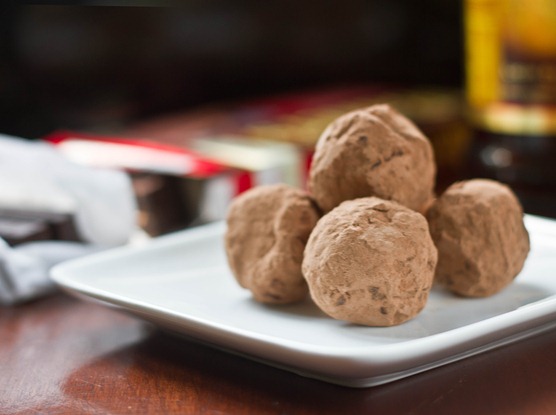
I hate to admit it but even after years of cooking long, detailed ingredient lists and steps still scare me away from a recipe. If there’s a way to do something easier, I’ll take it. These truffles are about as easy as they come; they’re JUST chocolate, butter, and Kahlua. How easy is that?(Shoot, now I probably owe Ina Garten royalties)

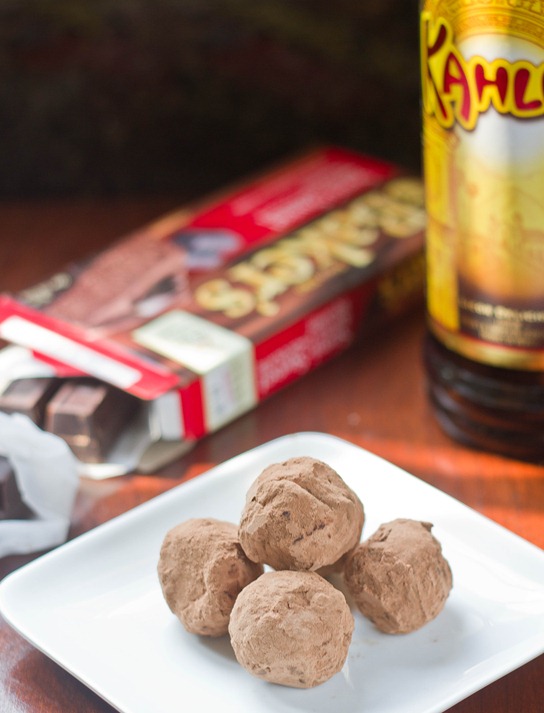
The hardest part about these is rolling them in cocoa powder, which isn’t hard at all; you just have to pay attention to the chocolate and and keep coating it until it can’t take in any more cocoa. When you’re done you get a nice, rich center and a mess-free surface.

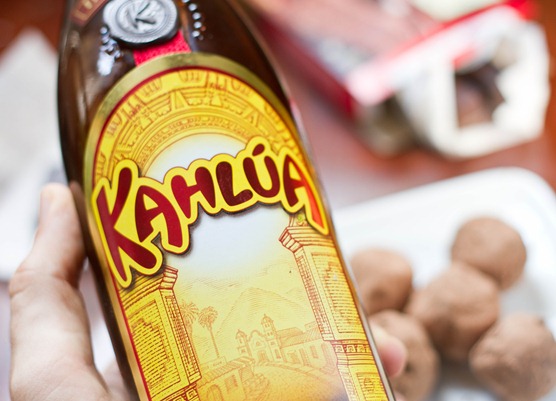
Easy Kahlua Truffles Kahlua

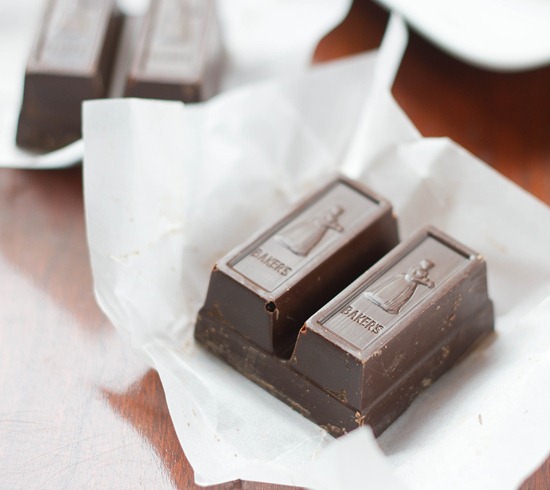
When making anything that involves melting chocolate, it’s better to use a baking chocolate rather than chocolate chips. You can get high-quality baking chocolate near the cheese section in some grocery stores or use Baker’s brand chocolate. Unlike chocolate chips, this will melt easily and smoothly.

Easy Kahlua Truffles

Prep time: 40 minutes

Cook time: 0 minutes

Ingredients(Makes 14 truffles):

  • 8oz semi-sweet or bittersweet chocolate
  • 3 Tablespoons Kahlua liquor
  • 2 Tablespoons butter
  • 1/2 cup cocoa powder

Easy Kahlua Truffles Chocolate

Method:

  1. Melt the chocolate and butter in a microwave or over a double boiler.
  2. Mix the Kahlua into the chocolate and butter and beat until smooth and silky.
  3. Let the chocolate cool in a refrigerator until it’s a semi-soft solid. It shouldn’t be as hard as a rock, but it shouldn’t stick to your hand when you handle it.
  4. Pour about 1/2 cup of cocoa powder onto a flat plate.
  5. With a melon baller, form small balls of chocolate and drop them onto the plate of cocoa powder, rolling them around. Alternatively, you can take small amounts of chocolate, roll it into a ball in between your hands and drop it into the cocoa powder.
  6. Roll the truffle around in the cocoa powder until the outside is entirely coated and place it on a separate, clean plate. Repeat with all of the chocolate.
  7. When the truffles have set and hardened, shake off any excess cocoa powder and store them in a sealed container keeping the truffles at room temperature.

Easy Kahlua Truffles Plated

Chobani Frozen Yogurt

Chobani Frozen Yogurt

You’ve probably heard of Chobani, if not from their delicious yogurt then from their recent position as sponsor of the 2012 Olympic games. I hardly managed to do anything but watch TV for those two weeks—well, watch TV and eat yogurt.

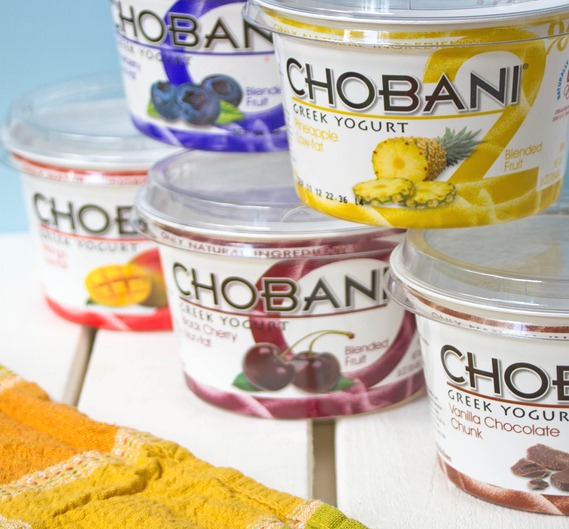
Chobani recently introduced 6 of their most popular flavors in 16oz tub container form including a 2% vanilla chocolate chip variety which easily takes the gold medal for me. Chobani has always been one of my favorite Greek yogurts because of the simple ingredients and consistently low price at my grocery store and I was happy to try them when they sent me a variety pack.

Chobani Frozen YogurtFlavors

I had to resist eating all of the flavors simply with granola and fruit and actually make something with them. I settled on frozen yogurt because few things are as tasty(and easy!) as homemade frozen yogurt. If you don’t have an ice cream maker, put it on your Christmas list; even though it only has one function it’s easily my favorite kitchen gadget I’ve bought over the past few years.

This recipe is as easy as 3 ingredients and is entirely customizable! You can use any flavor of Chobani and add any mix-ins your heart desires. Have fun with it and pretend you’re at a fancy frozen yogurt chain by adding things like chocolate chips, fruity cereal, and chopped fruit on top.

Chobani Frozen Yogurt

Prep time: 5 minutes

Freeze time: 2 hours

Ingredients(Makes about 6 servings):

  • 1 16oz Chobani yogurt container*
  • 1 cup skim or 2% milk
  • 3/4 cup powdered sugar, sifted

*I’ve only tried this with the fruit flavors. If you’re starting with Plain Chobani, you might want to adjust the sweetness by adding more powdered sugar.

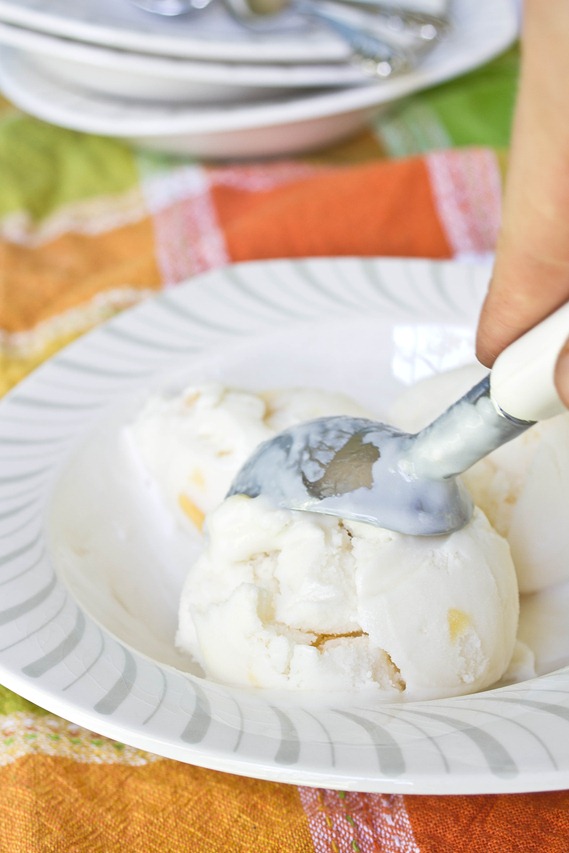
Chobani Frozen Yogurt Scoop

Method:

  1. In a large bowl whisk together all of the ingredients.
  2. Pour the base into an ice cream maker and freeze according to the manufacturer’s directions.
  3. After the ice cream has churned, scoop it into a solid container and freeze for at least two hours.
  4. Before serving, let the yogurt soften at room temperature for 5 minutes.

Chobani Frozen Yogurt Bowl

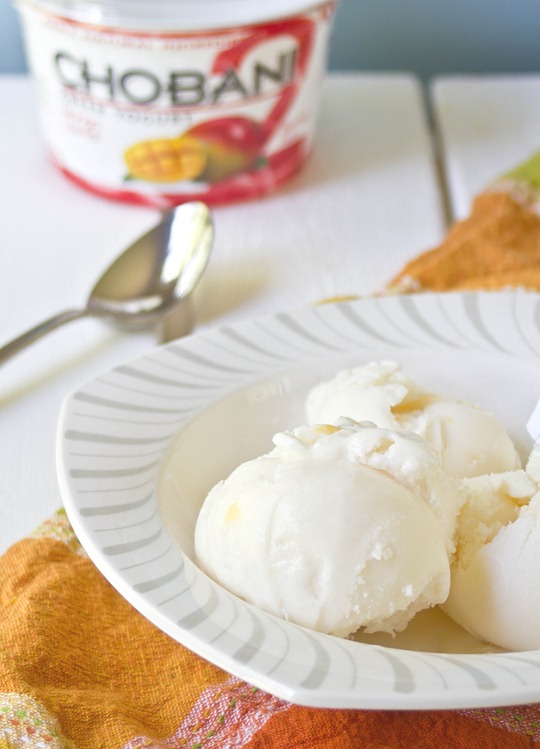
Mango admittedly is not one of my favorite flavor of yogurt. Somehow, turning it into frozen yogurt makes it much more irresistible. It reminded me of something I’d order from Pinkberry. And since this is made with low-fat ingredients and greek yogurt, it’s packed with protein, so feel good about having an extra scoop.

The Best Tempeh

the-best-tempeh

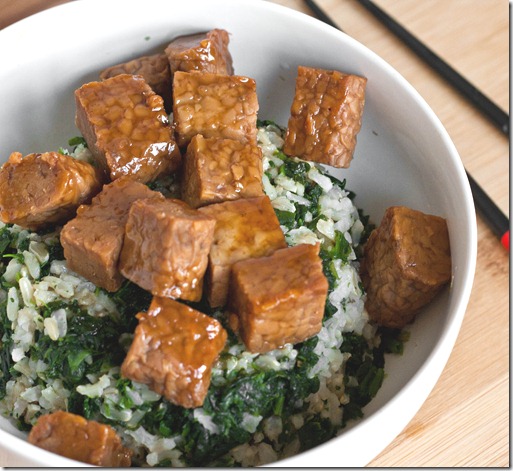
People who are vegetarian or want to eat less meat always ask me how to cook tofu to make it taste less… well, like tofu. Here’s my answer: I don’t really eat tofu all that much; tempeh has a much more natural taste and texture to it and the process for making it is a little less sketchy.

The second part to the answer is this recipe. Sometimes I eat tempeh plain because it tastes fine on its own to me, but when I do cook it I use this sauce. It’s only 2 ingredients and incredibly easy to make; it’s a great one for beginner cooks who aren’t looking to tackle long ingredient lists for flavorful food.

This dish is also really easy to make gluten-free. Just make sure to use wheat-free soy sauce and that the tempeh doesn’t have any grains fermented in it; the ingredients should just be soy beans, vinegar, and salt.

Maple Soy Tempeh

Prep time: 5 minutes

Cook time: 10 minutes

Ingredients(Makes 2 servings):

  • 1 block of tempeh
  • 1/4 cup soy sauce
  • 3 Tablespoons maple syrup

the-best-tempeh-piece

Method:

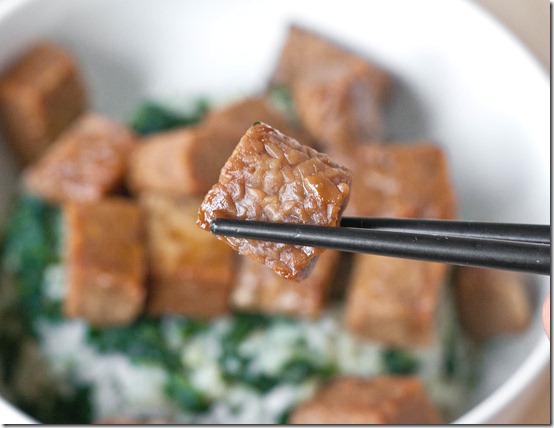
  1. Dice the tempeh into bite-sized pieces
  2. Heat together the tempeh, maple syrup, and soy sauce in a large pan over medium heat.
  3. Turn the tempeh occasionally as the liquid boils off into a glaze. Make sure all sides get covered in sauce.
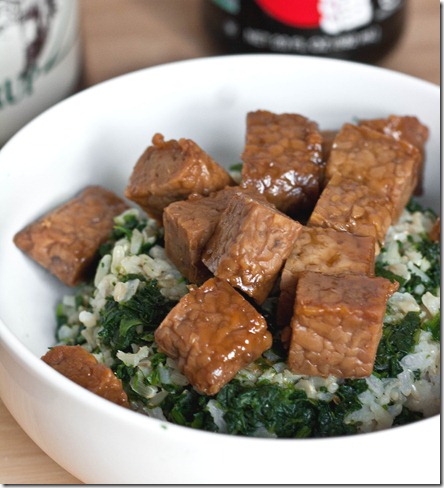
  4. When most of the liquid has boiled off, remove the pan from the heat and scoop the tempeh out. Serve hot or cold as leftovers.

the-best-tempeh-plated

If you have trouble cleaning the pan afterwards, simply put it back on the hot burner and pour in some vinegar to loosen the glaze. Wipe the rest off with a folded paper towel or reduce it and pour over as a sauce.

Oven Fries

Oct 14th 131

Even after almost 2 years of eating gluten-free, I’m still learning about places it can be that trip me up. Recently on Ashley’s blog I read that most restaurant fries aren’t gluten-free. Puzzled, I looked it up online and sure enough found a host of explanations why most restaurant french fries aren’t gluten-free, basically summed up by this:

  • Some restaurants preserve the fries in between cutting and cooking by adding a coating including flour to soak up moisture and keep them from sticking together.
  • If fries are fried in the same oil as battered foods like chicken nuggets, the oil can contaminate the fries with gluten.

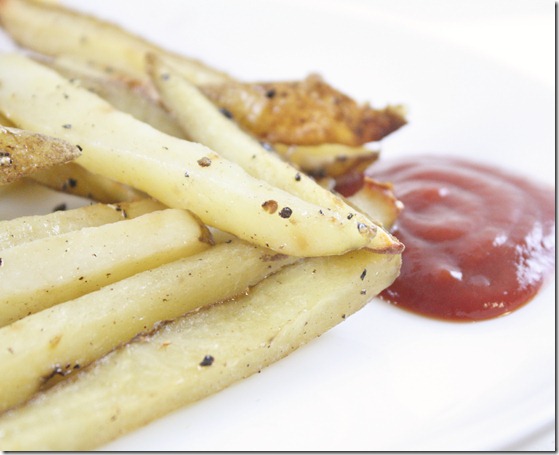
Luckily in the few instances I can think of that I’ve eaten french fries I don’t remember feeling sick afterwards. But I don’t need to be told twice to avoid something potentially harmful, especially when they’re so easy to make at home.

Oct 14th 115

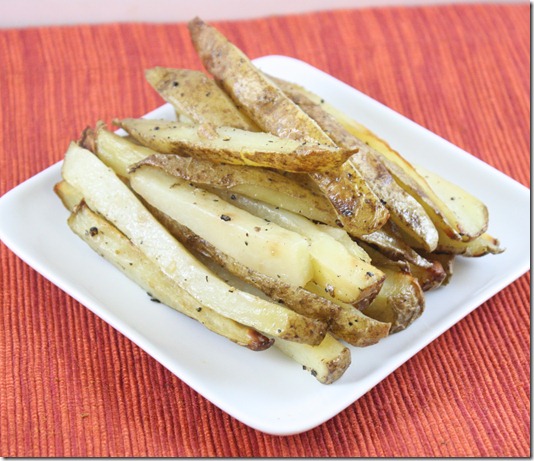
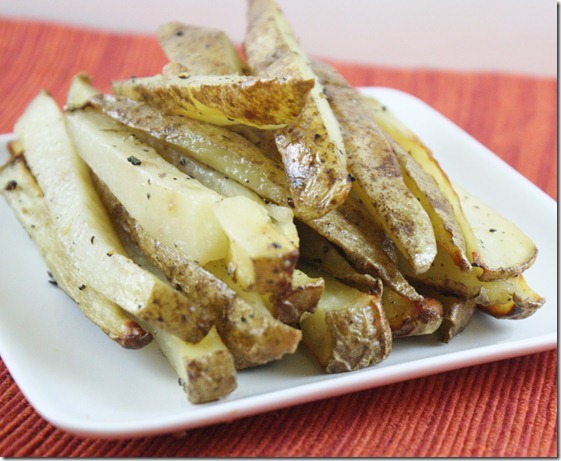
This recipe is very simple, with just what I would call the bare-bone ingredients. You can make more flavorful fries by switching up the seasoning. The vinegar in the recipe helps to give the fries a more authentic flavor without overpowering the seasoning. Definitely don’t leave it out, and don’t worry about the fries having a strong salt and vinegar taste because they most certainly don’t.

Oven Fries

Prep time: 10 minutes

Cook time: 50 minutes

Ingredients(Makes 2 servings):

  • 2 medium-sized russet potatoes
  • 2 Tablespoons oil
  • Splash(about 1/2 Tablespoon) vinegar
  • 1/2 teaspoon salt plus more for finishing
  • 1/4 teaspoon black pepper

Oct 14th 168

Method:

  1. Preheat your oven to 375 degrees.
  2. With a sharp knife, cut the potatoes horizontally and then lengthwise into long, thin fry shapes.
  3. Toss the fries with the oil, vinegar, salt, and pepper until completely coated.
  4. Line the fries out on a baking tray in a single layer. Bake for 50 minutes or until the ends are crisp, flipping occasionally to cook on all sides. Sprinkle with extra salt and serve immediately.

Oct 14th 102

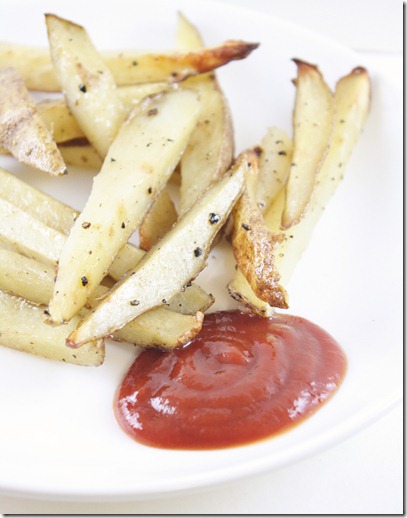
Serve with ketchup, obviously. I like Trader Joe’s ketchup because it’s more tart than most others but since I don’t live near one I use Whole Foods brand organic ketchup. Did you know organic ketchup has up to 8 times the lycopene of non-organic brands? Add that to the list of useless facts you’ll never need.

Halloween Crack Corn

halloween-crack-corn

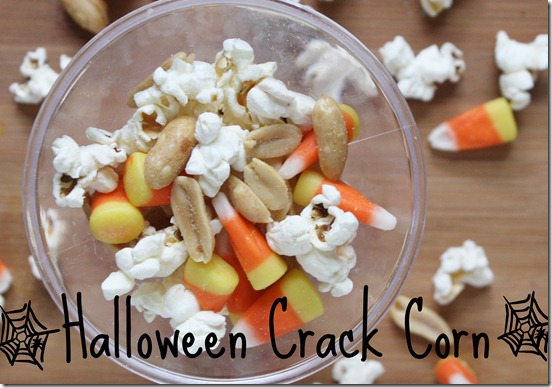
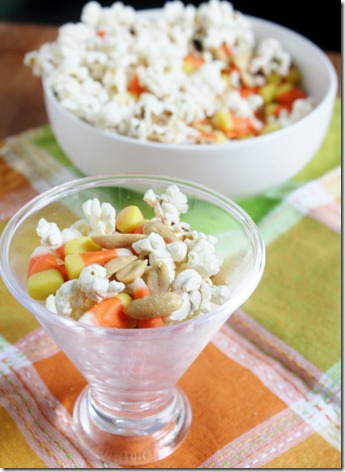
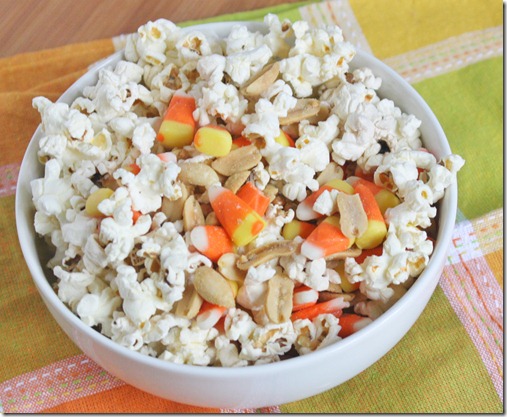
I must have been living under a rock or sheltered as a child because I never knew the amazing combination of candy corn and peanuts until Holly posted about it. I really should have guessed that two of my favorite food groups(because they definitely deserve their own food groups) would only be even better put together. And combined with popcorn it’s a crunchy, crackly, filling snack that tastes eerily like kettle corn. 

halloween-crack-corn-portion

The truth is I don’t see a time when this wouldn’t be good. You can make it as an afternoon snack or a dessert late at night, put it in a bowl and serve it at a Halloween party or put it into goodie bags to give out at a kid’s party. There’s no one who wouldn’t like this.

Halloween Crack Corn(inspired by Holly’s post)

Prep time: 5 minutes

Cook time: 0 minutes

Ingredients(for 2 servings):

  • 3 cups of popcorn(click here to see how to DIY)
  • 1/2 cup candy corn
  • 1/2 cup peanuts

halloween-crack-corn-bowl

Method:

  1. Combine all of the ingredients together and toss until evenly mixed. Pour into a serving bowl and eat up immediately.

halloween-crack-corn-handful

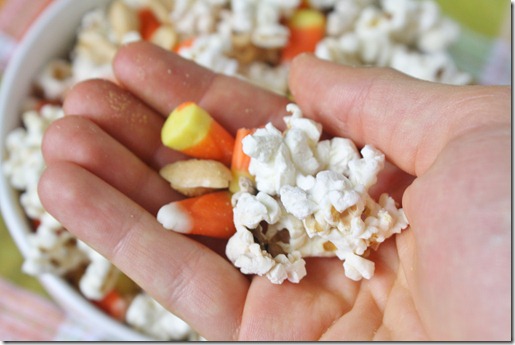
This makes for a very filling afternoon snack when you eat the whole thing yourself. That is until you remember you have all the ingredients to make more.

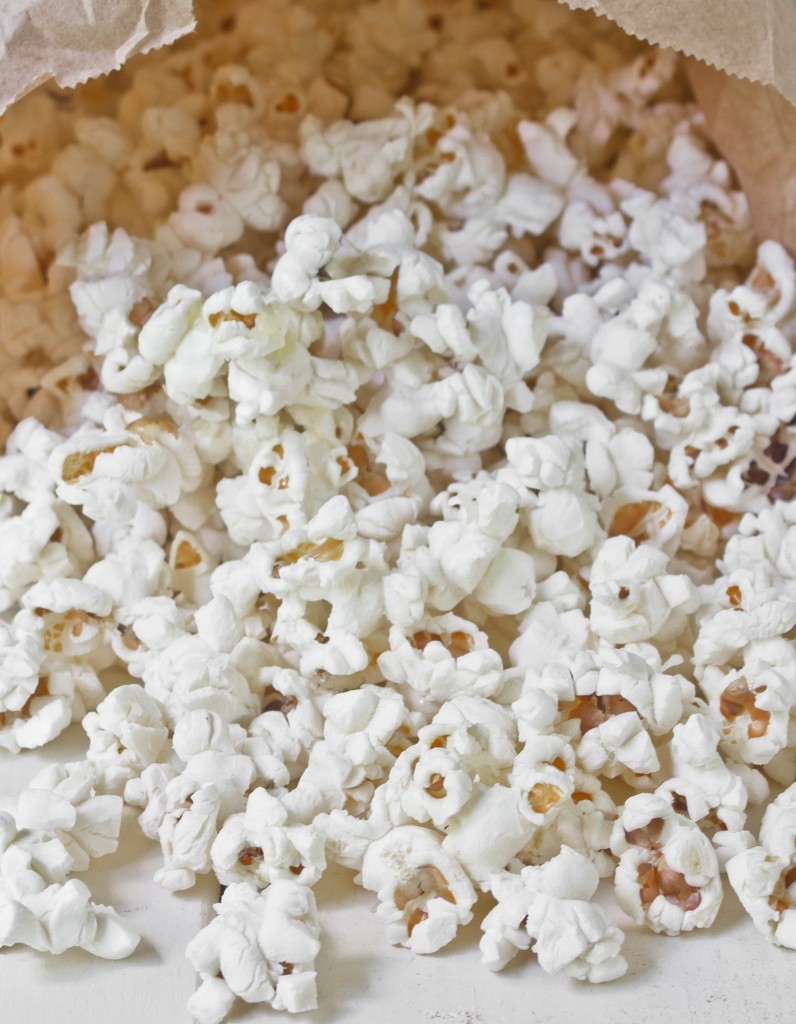
Make Your Own Microwave Popcorn

I really couldn’t wait to share this one. If you’ve made your own microwave popcorn before, you know why; it’s almost too simple and too good to be true.
My family used to make our own popcorn in an air-popper machine that cost $20 at some department store. While it was nice, it was always a burden to take it out from the cupboards and put it back in. This method eliminates all that fuss. I wish I could remember and credit where I first saw the idea a few months ago; it might have came from the Healthy Eats blog. Anyway, I vaguely remembered what you needed and went from there.

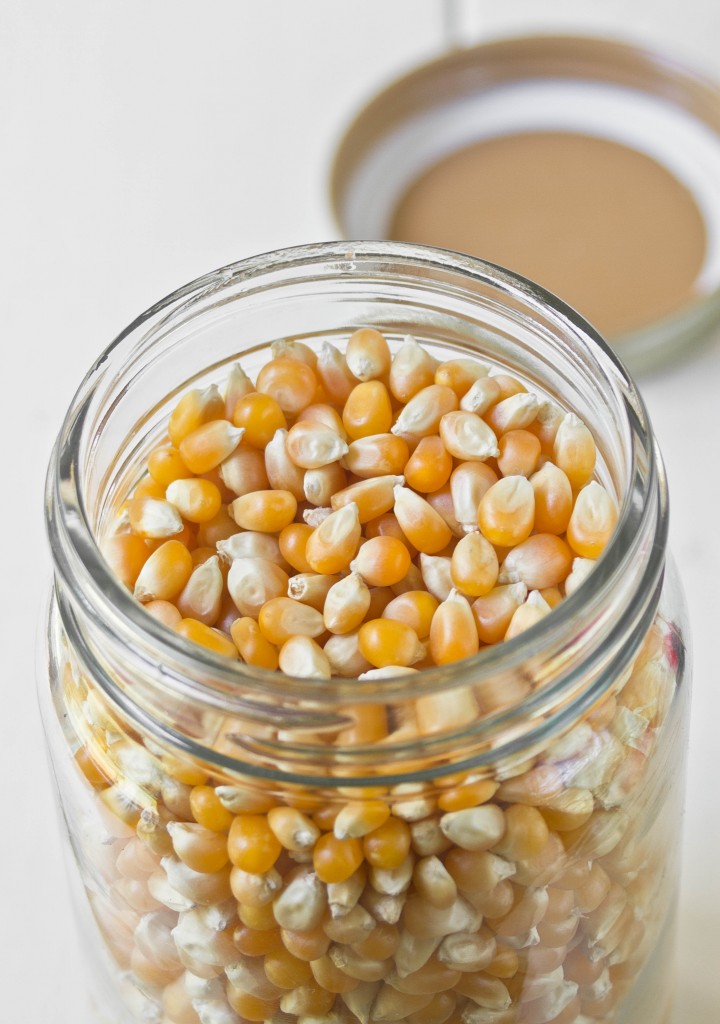
Essentially all you’ll need to buy are popcorn kernels and brown paper bags. I got organic kernels from the bulk bin section of my grocery store for $1.59/lb and the bags from CVS also for pretty cheap. That means for less than $5, maybe enough for 2 boxes of store-brand microwave popcorn bags, I got enough for ~20 servings to make myself. And it’s really not any much more trouble to do.

Make Your Own Microwave Popcorn

You’ll need…

  • Popcorn kernels
  • Brown paper bags
  • A stapler
  • A microwave
  • Oil, salt, butter, or whatever else you want on your popcorn

Measure out the amount of popcorn you’ll need. I’d say about 1/4 cup is a good single snack serving. I wouldn’t put more than 1/3 cup in a bag or there won’t really be enough room.

Pour the kernels in the bag along with a tablespoon of butter or oil(optional) and salt(also optional) to flavor the popcorn. If you’re going to add toppings to your popcorn like parmesan cheese or nutritional yeast or herbs a little oil will help it stick to the popcorn instead of singing to the bottom of the bag.

Staple the bag shut and microwave it for 2-3 minutes until most of the kernels have popped and it only makes sound every second or so—just like you would a store-bought bag of popcorn!

Open the bag up and add any toppings you might want on the popcorn. Close it and shake the bag to move things around before pouring it into a serving bowl.

It’s really that simple! And even better your microwave will smell like popcorn for the next day or so.