Tag Archive: Dessert

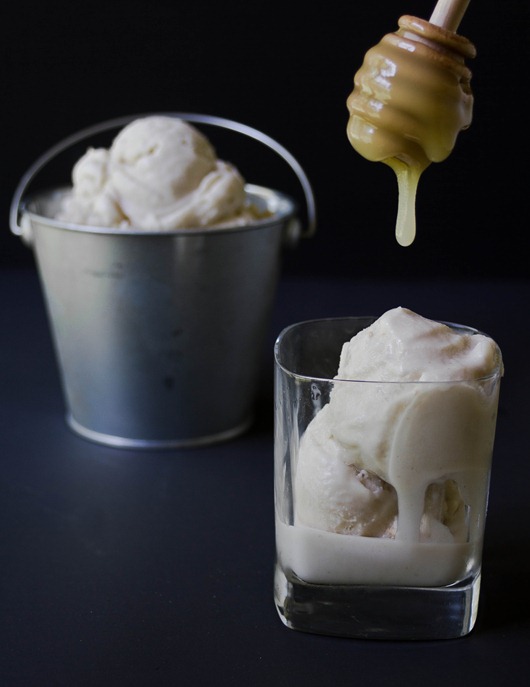
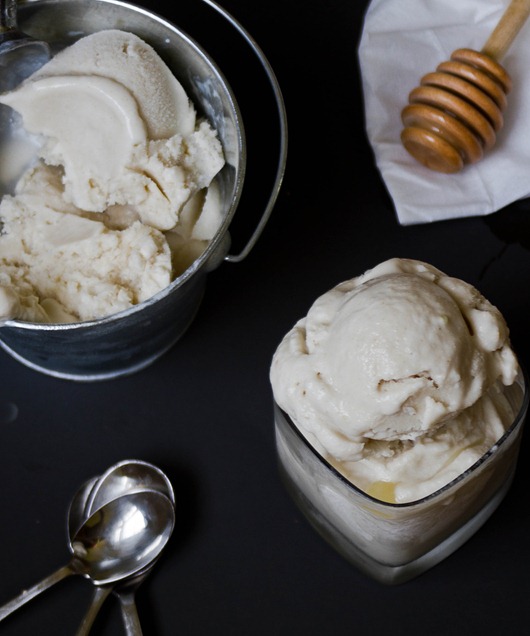
Honey Ginger Ice Cream

Honey Ginger Ice Cream

I can’t believe it took me almost a month and a half this Summer to break out my ice cream maker. Even though it doesn’t get as much use as most of my other kitchen appliances, it’s definitely my favorite. How can you not love anything that takes milk and spits out ice cream?

There’s a great ice cream parlor near the house I stay at in Maine that makes their own fun flavors. I made it there once this Summer before being reminded that full-fat dairy ice cream really doesn’t agree with me. Womp womp. I hear they have great ginger ice cream so I thought I’d make my own.

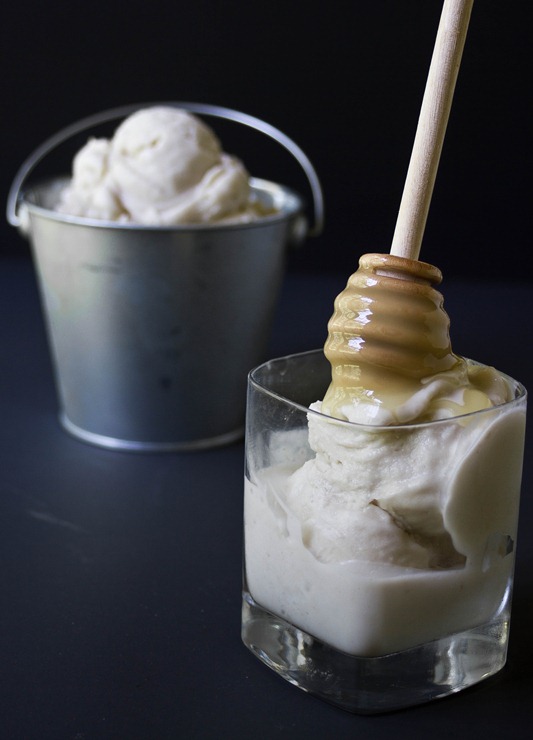
Honey Ginger Honey Drip

This ice cream has fresh and dried ginger for a strong punch of flavor. I always think of ginger and honey going together in recipes so it seemed like a good flavor to introduce here. If you’re vegan or don’t want to include it, you can easily swap it out for another 1/4 cup of sweetener.  

Honey Ginger Ice Cream

Prep time: 25 minutes

Cook time: 0 minutes

Ingredients(Makes 6-8 servings):

  • 1/4 cup honey
  • 3/4 cup sugar
  • 2 15oz cans of coconut milk
  • 2 Tablespoons shaved fresh ginger
  • 1 Tablespoon ginger powder

Honey Ginger Ice Cream Serving

Method:

  1. In a large bowl, whisk together all of the ingredients until the sugar has dissolved.
  2. Pour the base into an ice cream maker and freeze according to manufacturer’s directions.
  3. Move the freshly frozen ice cream into an airtight container and let it harden in the freezer for a couple of hours to chill completely.
  4. Before serving, let the ice cream sit at room temperature for about 5 minutes to soften.

Honey Ginger Ice Cream Honey

For an extra touch of flavor you can add some lemon zest into the base; I was a little worried that the three together might be overwhelming and hard to distinguish but now I’m dying to try it.

Cherry Coconut Pavlova

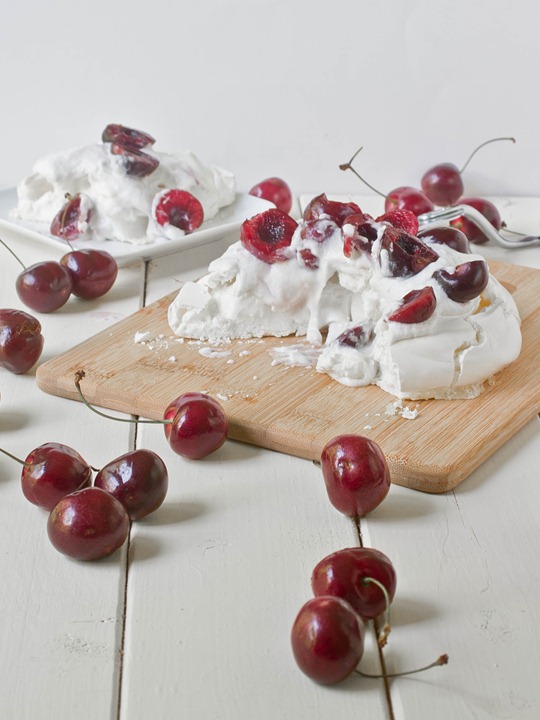
Cherry Coconut Pavlova

I’ve never heard the word “pavlova” more than in the past month. It’s not a dessert that gets a lot of attention, but for some reason I’ve been seeing it everywhere: At parties we’ve gone to, on the Food Network, and even on one of my favorite blogs. Since it’s a naturally gluten-free dessert, I wanted to get in on the action and make my own.

The only part of the recipe that really ever changes is the base; everyone seems to make their meringue different. I like using powdered sugar for a sweeter and pure white meringue, with a little bit of cream of tartar to help it stay up. I also choose to let it “cook” overnight in a hot oven to get the best texture. When it’s done, the outside should be hard and crispy while the inside meringue is soft like a marshmallow.

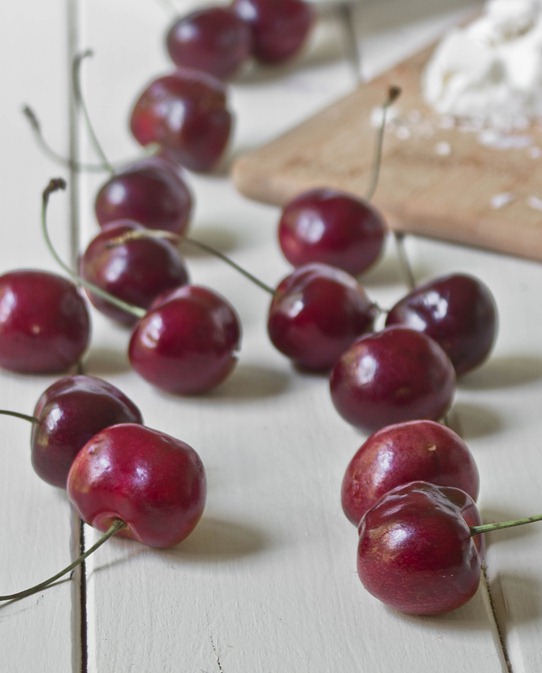
Cherry Coconut Pavlova Cherries

The fun thing about this dessert is you can dress the meringue any way. Whip regular cream instead of coconut milk for a more traditional dessert. You can serve it with any fresh fruit that’s on hand or even use a fruit sauce.

Cherry Coconut Pavlova

Prep time: 10 minutes

Cook time: 12 hours(overnight)

Ingredients(Makes 3-4 servings):

  • 2 egg whites
  • 1 cup powdered sugar, sifted
  • 1/8 teaspoon cream of tartar
  • 1/2 cup coconut cream*
  • 1/2 cup pitted and halved cherries

*To get coconut cream, leave a can of full-fat coconut milk undisturbed in the pantry for a few days. Open it without shaking the can. The cream will be separated on the top from the coconut water, a clear liquid that you can save and use as a sports drink.

Cherry Coconut Pavlova Garnished

Method:

  1. Preheat your oven to 350 degrees.
  2. Whip the egg whites in a glass bowl slowly adding the powdered sugar and cream of tartar until it forms soft peaks.
  3. Pour the meringue in a mound on a non-stick baking tray. Swirl a utensil on the top of the meringue for an artful effect.
  4. Put the meringue in the oven and immediately turn off the oven. Do not open the oven door. Let the meringue sit undisturbed in the hot oven overnight.
  5. When the meringue is ready, whip the coconut milk in a chilled glass bowl until it forms stiff peaks.
  6. Spread the whipped coconut milk on top of the meringue and garnish with the cherry halves. Serve immediately.

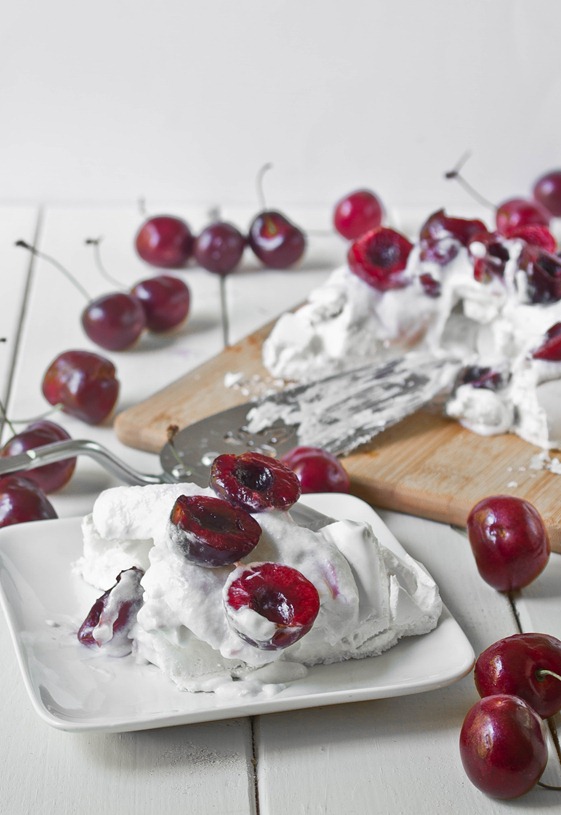
Cherry Coconut Pavlova Plated

This dessert definitely stops being pretty once you cut into it. That’s ok; it’s delicious enough that no one will notice. The best bites are the ones where you get a little of everything: The sweet meringue, the rich topping, and the tart cherries.
A First Attempt At Fudge

Martha Stewart's Penuche Fudge

Fudge is one of my favorite desserts. I’ve made chocolate fudge plenty of times and even a few batches of peanut butter; I try to convince myself that the easy, no-fuss microwave method of making it is just as good as any other.

That’s just not true.

Occasionally I go to a small beach town in Maine and the coast is lined with candy shops. Beyond the salt water taffy and chocolate covered gummy bears, they no doubt have homemade fudge there. And you can bet it’s not the kind that’s made in the microwave. My favorite to get is the penuche because the flavor is so pure and simple and yet complex in its own right.

Martha Stewart's Penuche Fudge 2

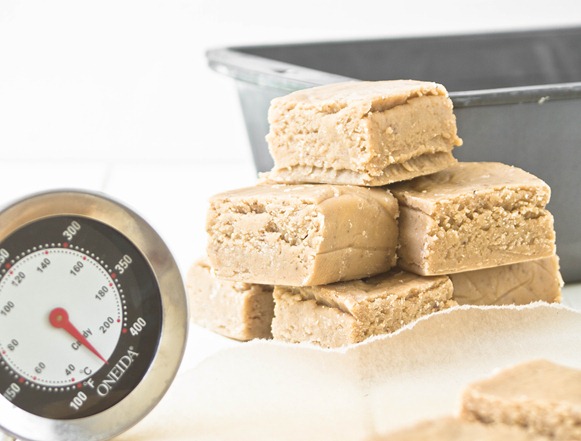
I got a candy thermometer for Christmas last year thinking that would get me to try all the recipes I’ve bookmarked but never had the chance to make. Well, it took me a good 7 months to finally use it; better late than never I guess.

I searched and searched for a promising penuche fudge recipe and landed on Martha Stewart’s. It got off to a bad start when I realized it called for a 5oz can of evaporated milk and not the 14oz can of sweetened condensed milk I had. Oops. To compensate I made a last minute switch and used the condensed milk with 1/2 cup of dark brown sugar and 4oz of butter.

Martha Stewart's Penuche Fudge 3

I’m pretty sure my stove runs hot because as soon as I put it on it started boiling and the temperature went up and up and up. I took the pan off the heat and kept stirring and tried to get it to heat up slowly, but by then it looked like it had burned a little.

I stirred for about 10-15 minutes and then combined it with the powdered sugar and vanilla. I was more than anxious to see if it would be too hard or too soft or too oily or too dry. I held my breath and put the loaf pan in my refrigerator to cool.

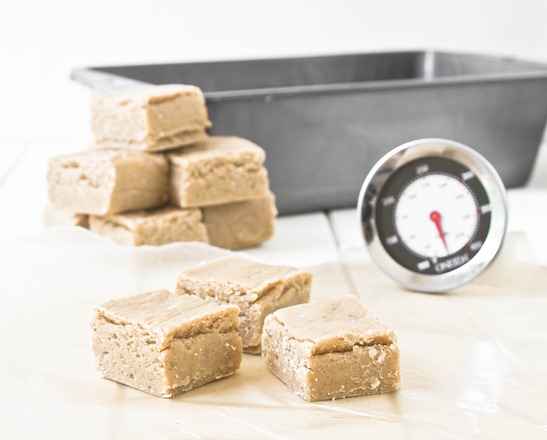
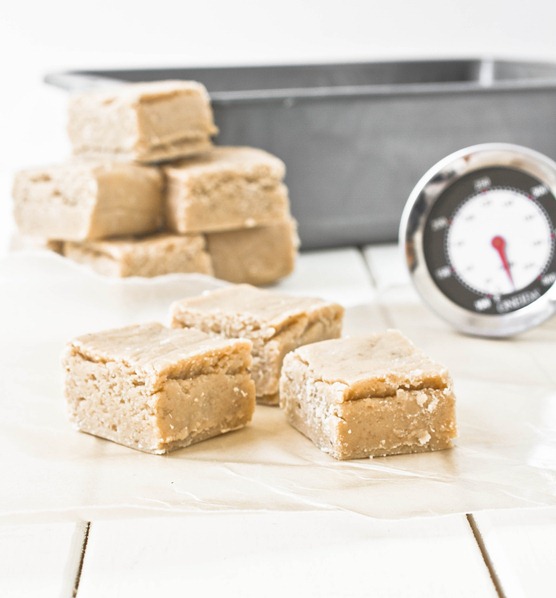
Martha Stewart's Penuche Fudge Yield

Impatiently, I took the pan out before it’d cooled all the way. Instead of a brick of taffy, I was surprised to find fudge, real fudge. The kind with layers and crackling sugar and a sweet smell to it.

I bit in. The flavor wasn’t quite penuche; it’s a little more complicated and something I can’t put my finger on. Brown butter fudge? Salted caramel fudge? I don’t know. It’s good, though. And with a little time and a lot of practice I’d make it again.

Here’s a link to the recipe again. If you’re daring(or just good with candy thermometers), I’d recommend giving it a go. And if you’re intimidated by any other cooking technique, I’d recommend giving it a go, too. What’s the worst that could happen?…

Just keep a fire extinguisher nearby.

Chocolate Covered S’mores

Chocolate Covered S'mores

I doubt there’s any way you could reinvent s’mores and have it not be delicious. Food bloggers test this theory every Summer and it always holds true. Here’s one more delicious s’mores recipe to throw into the mix.

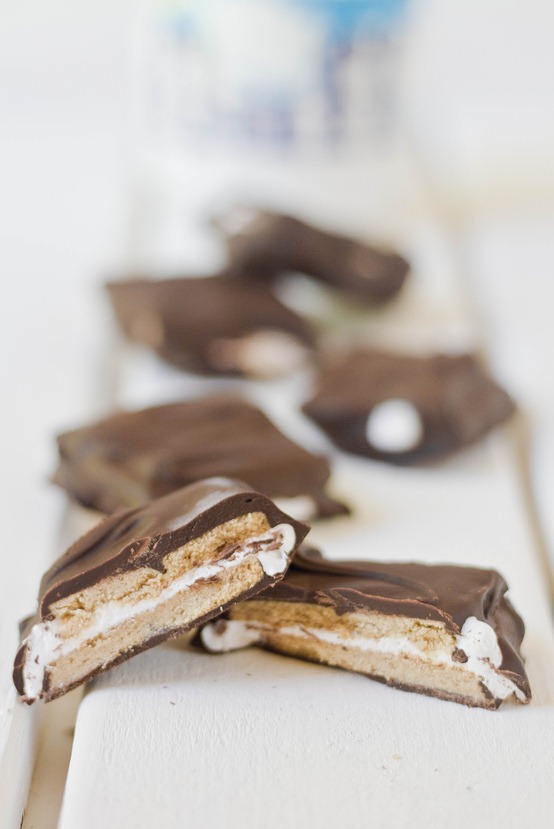
By the beaches in Maine there are candy shops that sell just about everything covered in chocolate. Graham crackers covered in chocolate? Sure. Marshmallows covered in chocolate? Mhmm. But no s’mores covered in chocolate. Why not? Beats me. Thankfully, you don’t need to travel farther than your kitchen for something as delicious as this.

Chocolate Covered S'mores Fluff

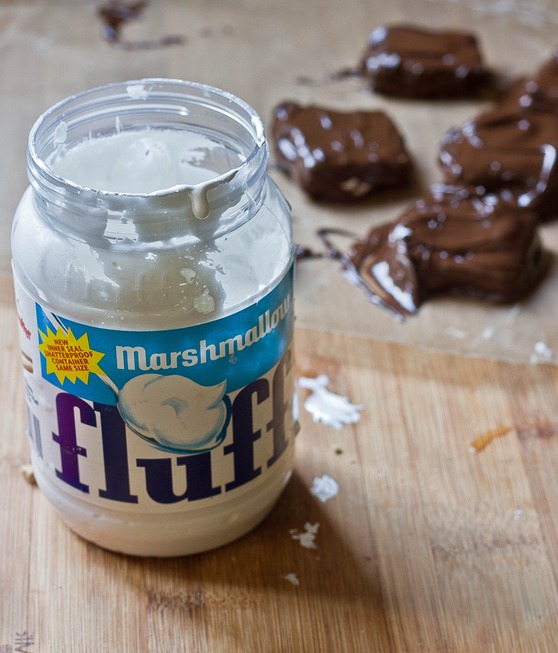
Instead of melted marshmallows which would get stale in a refrigerator, this recipe uses marshmallow crème which is soft at room temperature just like a melted marshmallow. My favorite part about this is that Fluff is a naturally vegetarian marshmallow option, so you don’t have to go out and buy a $5 bag of marshmallows to get your s’mores fix.

Chocolate Covered S’mores

Prep time: 15 minutes

Cook time: 0 minutes

Ingredients(Makes 6 squares):

  • 12 graham cracker squares
  • 1/4 cup marshmallow Fluff
  • 6oz chocolate(about 3/4 cup chocolate chips)

Method:

  1. On half of the graham crackers, spread roughly 2 teaspoons of Fluff.
  2. Sandwich each covered graham cracker with an uncovered one and put these aside.
  3. Melt the chocolate in a microwave or over a double boiler until it is smooth and liquid.
  4. One by one, lower the s’mores into the melted chocolate. Flip once and use a utensil to make sure the sides are covered as well as the top and bottom.
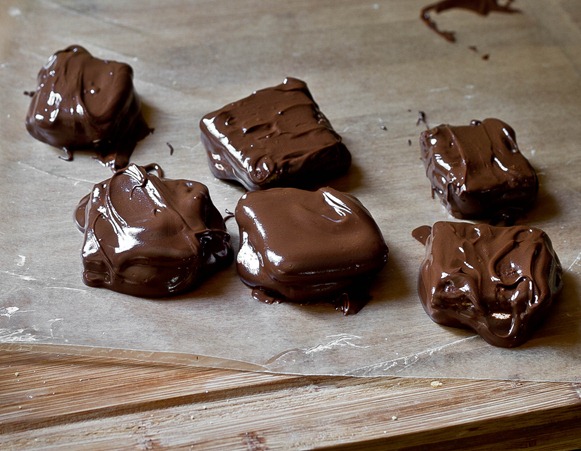
  5. Take the s’mores out of the melted chocolate and put it on a non-stick surface to dry. You can quicken the process by moving them to the refrigerator once you’re done.
  6. Repeat with all the s’mores.
  7. Store in the refrigerator until ready to eat.

Chocolate Covered S'mores Drying

A fun thing to do might be to decorate the outside while the chocolate is melting with graham cracker crumbs and mini-marshmallows. These are the things I think of after I’ve eaten the whole batch. Shame.

Grilled Cantaloupe with Yogurt and Mint

Grilled Cantaloupe With Yogurt And Mint

To be honest, grilling in the Summer is slightly less fun when you’re a vegetarian. I don’t do it nearly as much anymore. That doesn’t mean vegetarian grilling isn’t delicious; sometimes I just need to be reminded of that.

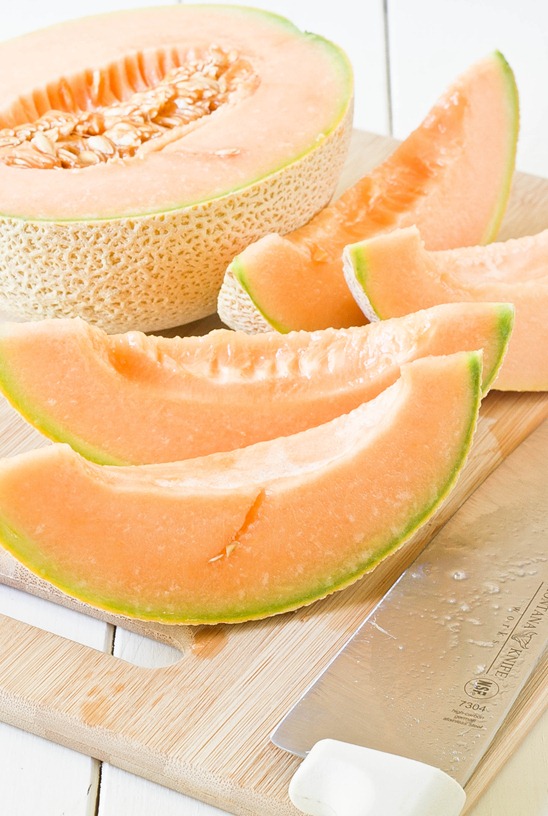
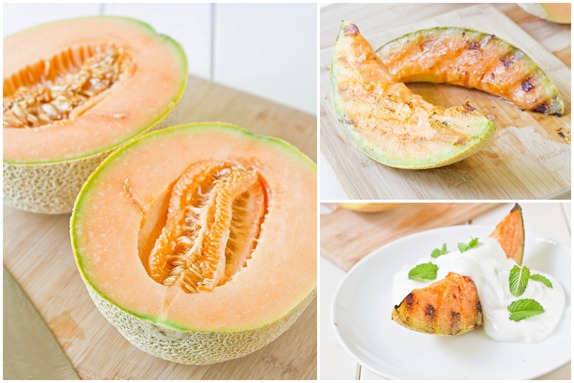
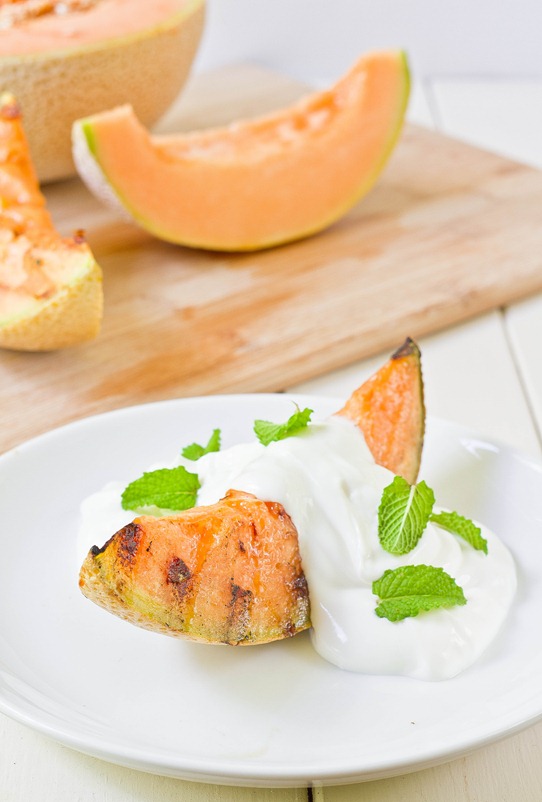
Just like you can grill any kind of meat, you can grill all different sorts of fruit and vegetables. The heat from the fire makes the fruit taste even sweeter and pairs perfectly with something cool and creamy. Most recipes use a soft cheese or ice cream; this one uses Greek yogurt for a similar taste and texture only a  little bit healthier.

Grilled Cantaloupe With Yogurt And Mint Cut

Peaches are a great substitute for when cantaloupe isn’t available; you won’t have to change anything else in the recipe. Make sure to use full fat or 2% yogurt; non-fat yogurt won’t have the same depth of flavor or creaminess to really make this satisfying.

Grilled Cantaloupe with Yogurt and Mint

Prep time: 5 minutes

Cook time: 6 minutes

Ingredients(Makes 4 servings):

  • 1/2 cantaloupe, cut into quarters
  • Olive oil
  • 1 16oz container full fat or 2% Greek yogurt
  • Small handful of mint leaves
  • Honey(optional)

Grilled Cantaloupe With Yogurt And Mint Collage

Method:

  1. Heat up your grill to roughly 400 degrees.
  2. Brush both sides of each cantaloupe wedge with enough olive oil to cover.
  3. Once the grill is hot, lay the cantaloupe down and let it cook undisturbed for roughly 3 minutes until grill marks have formed.
  4. Flip the wedges once and repeat with the other side.
  5. When the cantaloupe is done cooking, plate it with the skin touching the plate. Scoop about half a cup of yogurt over each wedge. Garnish with mint leaves and honey if desired.
  6. Serve immediately.

Grilled Cantaloupe With Yogurt And Mint Serving

The Ultimate Summer Dessert

No Bake Peanut Butter S'mores Bars

This is one of my favorite recipes. I’ve blogged about it several times before and now I’m blogging about it again. It’s worth it though; I promise.

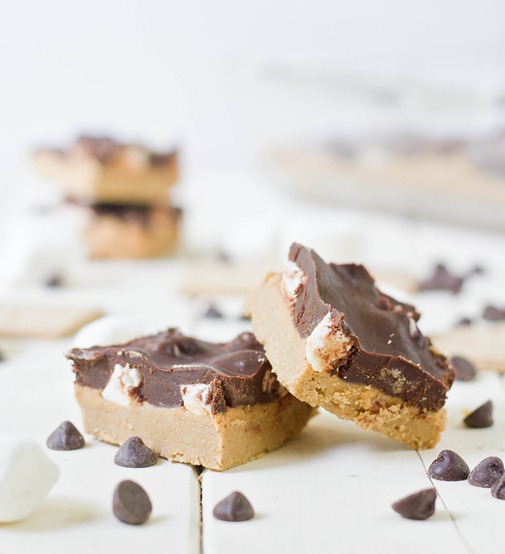
A friend mentioned how much he likes s’mores made with Reese’s peanut butter cups. In the back of my mind popped up my recipe for peanut butter s’mores bars and I promised to make them for July 4th.

July 3rd 016

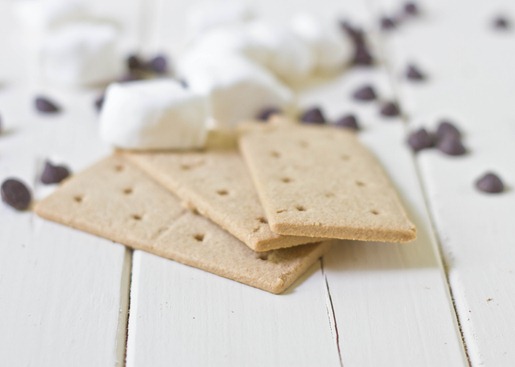
After I made them I took fresh-looking photos and updated the recipe page. A few of the commenters who have made this said that their crusts didn’t stick together the way mine has. I think some of the confusion might come from how many graham crackers to use. I use Kinnikinnick 16 graham crackers(3 are pictured above), which would be the same as 4 sheets of graham crackers. It’s also relevant to mention the peanut butter I use for this recipe is always the kind without added oil so it generally mixes easier.

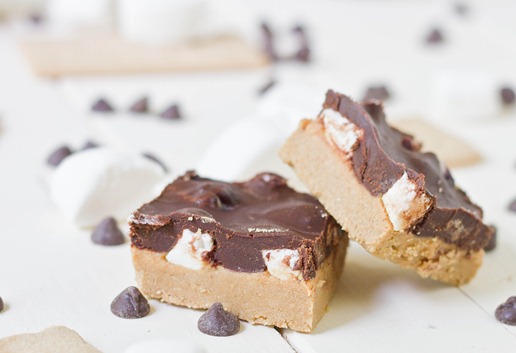
No Bake Peanut Butter S'mores Bars Close Up

These have all the goodness of s’mores with added peanut butter and put into a portable form. They really are the ultimate Summer dessert. If gluten-free graham crackers didn’t cost an arm and vegetarian marshmallows a leg, I’d probably make these every month. For now they can just be a once in a long-while treat. 

Gluten-Free Pizzelles

gluten-free-pizzelles

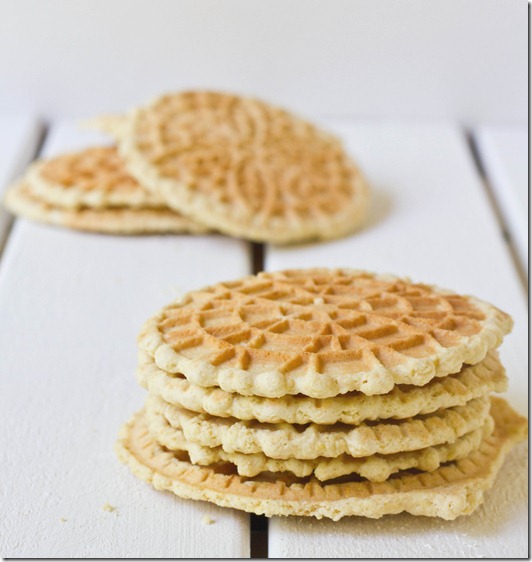
Over the weekend I made Christmas cookies. In May. But really, who’s complaining when there’s cookies involved?

This recipe was actually one of the very last ones I made before I got my first DSLR cameras. Since then I’ve been meaning to make them and take pictures again. I somehow never got around to making them last Christmas so now I’m fixing that mistake.

gluten-free-pizzelles-hands

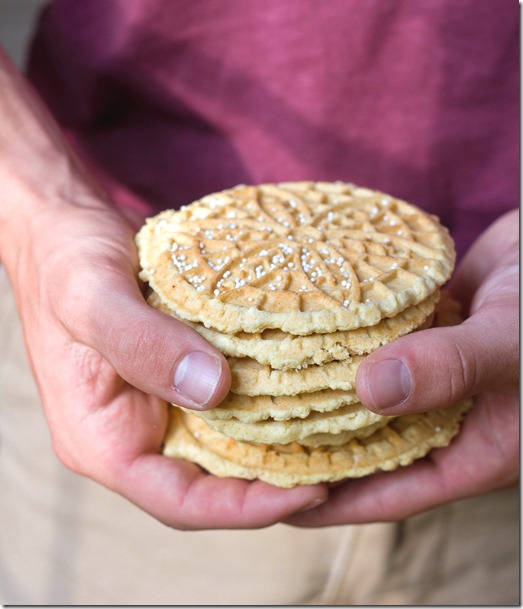
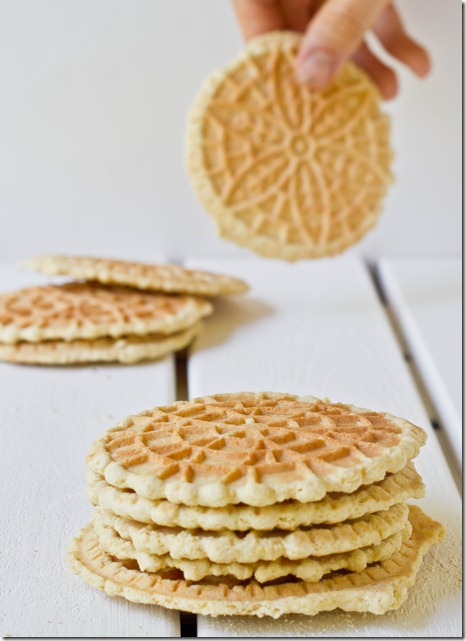
I had a friend help me make these and take some home afterwards. Clearly one of the best things about Christmas cookies is making many many dozens and giving them away to friends and family(but also keeping a stash for yourself because—hell—you baked them and deserve some cookies, too).

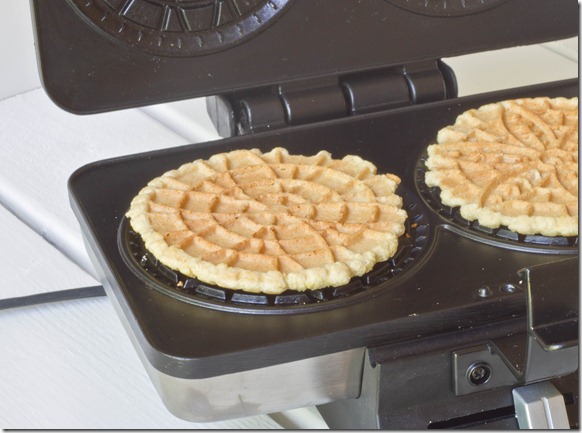
The one special piece of equipment you need to make pizzelles is a pizzelle press. The one I used is made by Cuisinart. You can easily use this recipe to make non-gluten-free pizzelles by substituting regular all purpose flour in for the gluten-free mix in a 1:1 ratio.

Gluten-Free Pizzelles

Prep time: 5 minutes

Cook time: 15 minutes

Ingredients(Makes about 20 pizzelles):

  • 3 eggs
  • 1/4 cup neutral flavored oil
  • 2 teaspoons anise extract
  • 3/4 cup sugar
  • 2 1/2 cups all-purpose gluten-free flour mix

gluten-free-pizzelles-pizzelle-maker (2)

Method:

  • Beat all of the ingredients together in a large bowl until smooth.
  • Heat an electric pizzelle maker according to manufacturer’s instructions until it’s ready to cook.
  • Take about an ounce of dough and roll it into a smooth ball in between your hands. Place the ball on the center of the pizzelle press, doing the same for both sides if your machine is double sided, and press the cover down.
  • Cook for about 45 seconds to a minute or until your pizzelle maker says that the cookies are done.
  • Lift the lid and carefully move the cookies to a separate plate to cool using a fork or other tool.
  • Repeat until all of the dough is used.
  • Store at room temperature in an airtight container for up to a few days.

gluten-free-pizzelles-hand2

These are definitely too good to save just for Christmastime. My family’s favorite way of eating them is with a cup of coffee or tea and cream and dipping the edge in to soften right before each bite.

Almond Joy Fudge

Akmond-Joy-Fudge

There are few things better than fudge or candy, except maybe fudge that tastes like candy.

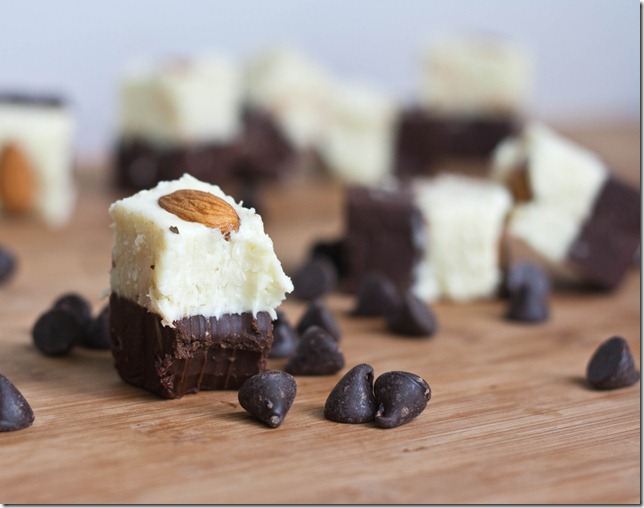
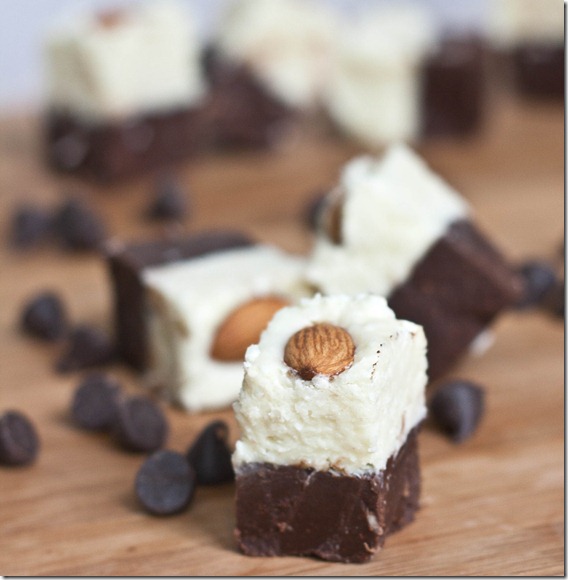
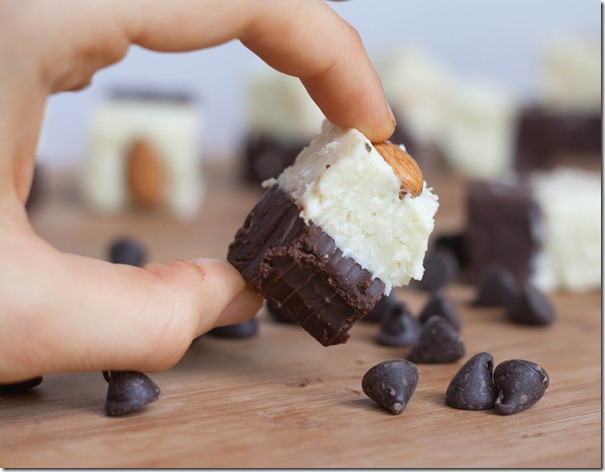
Coconut tends to be one of those touchy flavors; people either love it or hate it. Alone I think it’s pretty good—nothing special. Combine it with chocolate and sugar, though, and you’ve got a clear winner. This fudge has a standard chocolate base but with a layer of coconut-white chocolate fudge on top, topped with an almond. If you omit the almonds it’ll taste just like a Mounds bar.

The best part about this dessert? It can all be made in the microwave so you can enjoy it any time. OK, maybe that’s not such great news…

Almond Joy Fudge

Prep time: 15 minutes

Cook time: 0 minutes

Ingredients(Makes 16 servings):

  • 1/2 cup + 2 Tablespoons semi-sweet or bitter-sweet chocolate chips
  • 1/4 cup unsalted butter
  • 1/4 cup + 2 Tablespoons coconut milk
  • 1/2 cup powdered sugar
  • 1/2 cup white chocolate chips
  • 1/3 cup shredded coconut, sweetened or unsweetened
  • 16 almonds

Almond-Joy-Fudge-2

Method:

  1. Melt the chocolate chips in a microwave or over the stove.
  2. Mix into the melted chocolate 2 Tablespoons of butter, 3 Tablespoons of coconut milk, and 1/4 cup of sifted powdered sugar until the chocolate is smooth.
  3. Pour the fudge into the bottom of a non-stick 6×6 pan. Put the pan in a refrigerator temporarily to cool the chocolate.
  4. Melt the white chocolate using the same method, keeping an eye on it making sure that it doesn’t burn.
  5. Mix in the remaining butter, coconut milk, powdered sugar, and coconut until smooth.
  6. Take the pan out of the refrigerator and spread the coconut layer on evenly(It won’t be runny but shouldn’t be too solid to spread either).
  7. Place each almond about an inch apart in a 4×4 square pattern.
  8. Refrigerate the fudge for 20-30 minutes until it’s solid. Cut into 16 squares with an almond at the center of every square and serve cold.

Almond-Joy-Fudge-Hand

By itself the top layer tastes too much of white chocolate(I wasn’t aware that was even possible) to be like the coconut center of a Mounds Bar. But eaten together the chocolate and coconut fudge taste eerily similar to the candy joy. You might want to use an even larger pan such as 8×8 for flat rectangular pieces of fudge.

homemade-mounds-bars

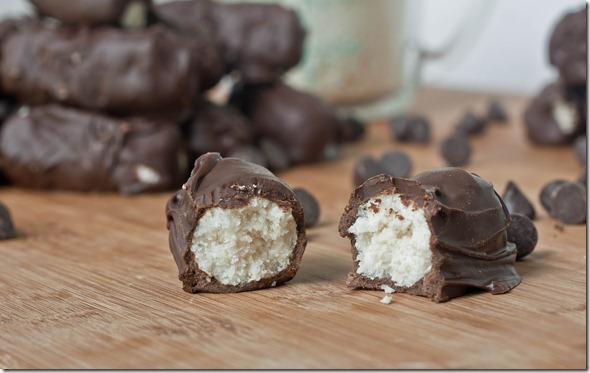
And as long as we’re on the topic of coconut and chocolate, recently I updated the recipe page for Homemade Mounds Bars with better pictures and easier to read steps. It’s one of the most pinned dessert recipes I have so I can’t be the only one who thinks they’re amazing.

Quadruple Peanut Cookies

quadruple-peanut-cookies-side

You know what’s a sign of a good cookie recipe?

When you consider not baking them at all and just eating the batter.

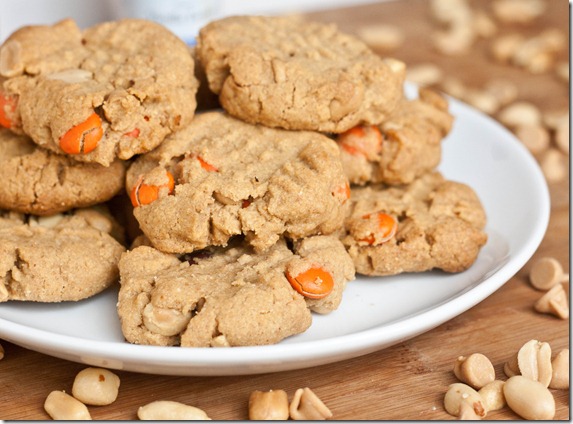
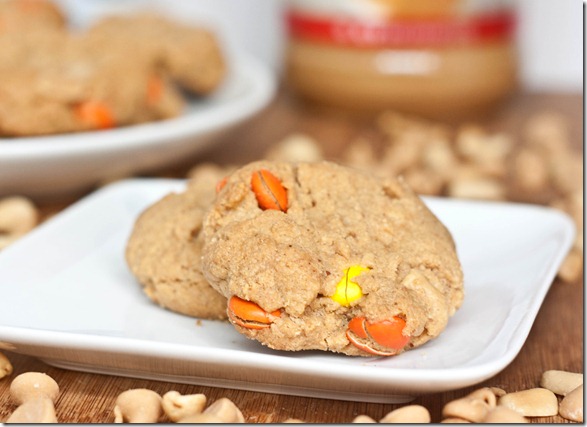
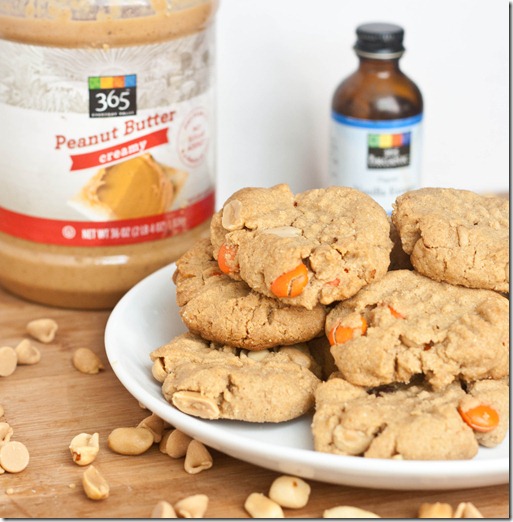
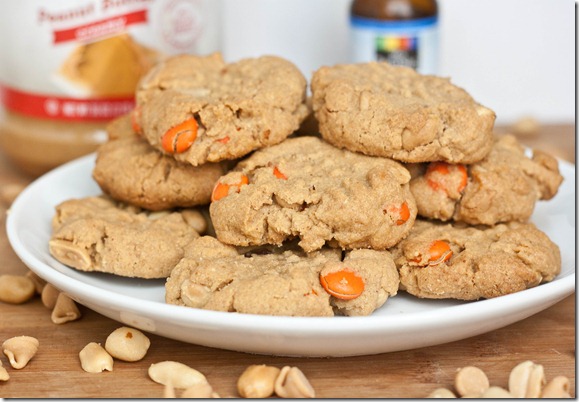
I couldn’t resist trying out this recipe when I saw it online. I mean—peanut butter, peanuts, peanut butter chips, and peanut butter candies? Where can you go wrong? The next time I was at the store I made sure to pick up all the mix-ins; I’m down for any excuse to keep peanut butter chips in the pantry. Always.

quadruple-peanut-cookies

To make them gluten-free, I used my favorite and easiest peanut butter cookie batter; there’s no wheat(or even butter!) necessary for these rich, melt-in-your-mouth cookies. I’d recommend if you’re using a non-stir peanut butter to melt it slightly in the microwave before mixing it with the other ingredients.

Quadruple Peanut Cookies(adapted from this recipe)

Prep time: 10 minutes

Cook time: 18 minutes

Ingredients(Makes about 20 cookies)

  • 1 cup peanut butter
  • 3/4 cup cane sugar
  • 1 egg
  • 1 teaspoon vanilla extract
  • 1/2 teaspoon baking soda
  • 1/4 cup Reese’s Pieces
  • 1/4 cup peanut butter chips
  • 1/4 cup salted peanuts

quadruple-peanut-cookies-ingredients

Method:

  1. Preheat your oven to 350 degrees
  2. Combine all of the ingredients together evenly into a thick batter.
  3. Roll 1 ounce of dough into a ball in your hand and place it on a lined or greased baking tray. Press down on the dough in a criss-cross pattern with a fork gently
  4. Bake for 15-18 minutes until the sides are browning.
  5. Remove from the oven and let the cookies cool completely before taking them off the baking tray.

quadruple-peanut-cookies-batch

These cookies don’t disappoint at all. They’re definitely a must-make for any peanut butter lovers. If you don’t have peanut butter chips, I’m sure chocolate chips would be a great substitution as would chopped Reese’s peanut butter cups for the Reese’s Pieces.

Honey Almond Macaroons

honey-almond-macaroons

Cookie recipes can be hard sometimes. You need to preheat the oven, mix the ingredients in a certain order, chill and slice the dough sometimes—it’s usually more work than I want to do for a quick sweet fix.

I love macaroons since they’re about as easy a cookie as you can make and still have a satisfying dessert to bite into. As a bonus, they’re naturally gluten-free and have a healthy dose of fats and fiber. It’s even more fun when you make them extra big like they just came from a bakery and eat them warm.

You could try to make these with an egg substitute, but definitely use some sort of binder since the almond butter alone isn’t really enough to hold them together.

Honey Almond Macaroons

Prep time: 10 minutes

Cook time: 15 minutes

Ingredients(Makes about 1 1/2 dozen):

  • 2 cups unsweetened shredded coconut
  • 1/2 cup almond butter
  • 1/4 cup honey
  • 1 egg
  • 1 teaspoon vanilla extract

honey-almond-macaroons-bite

Method:

  1. Preheat your oven to 350 degrees.
  2. Combine all of the ingredients in a bowl and mix thoroughly.
  3. Either fill an ice cream scoop with dough and release as mounds on a lined baking tray OR roll balls of dough in your hands, flattening one side and placing it on the baking tray.
  4. Bake for 15-17 minutes until the outside has browned slightly.
  5. Remove from the oven and let cool.

 honey-almond-macaroons-vertical

These aren’t too sweet, so I like a little extra honey drizzled on top. They’d be perfect for dessert with some tea or coffee.