Tag Archive: Dessert

Iced Vanilla-Almond Butter Cookies

Vanilla-Almond Butter Cookies

I never understood why Christmas cookies are a thing, why cookies take priority over cake or mousse or any other number of desserts. But in reality who ever has time to sit down for desserts around Christmastime? Between cooking, opening presents, and talking everyone is usually standing or in the other room, and cookies are the perfect grab-and-go dessert for that.

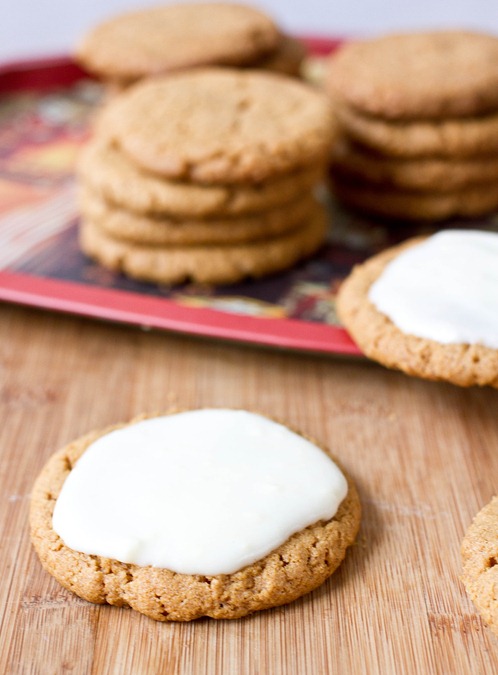
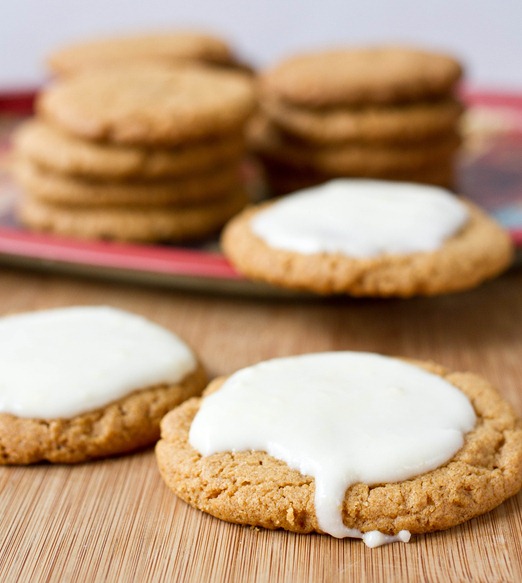
When I think of iced cookies, I usually think of the stale ones from the grocery store with neon pink frosting that taste like pure sugar. I would always eat the frosting(because who doesn’t love pure sugar?) but the cookie usually got left behind. These are far from those iced cookies. There’s nothing quite like a fresh cookie with a smooth and soft icing on top to step up the game for the rest of the desserts.

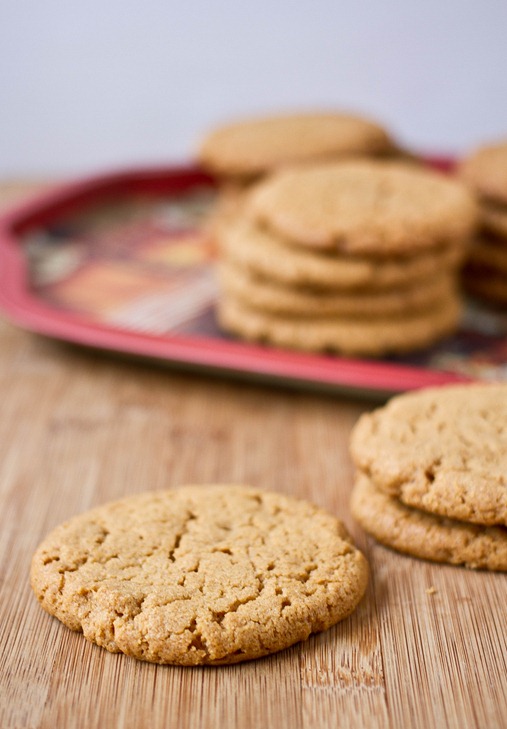
Vanilla-Almond Butter Cookies Naked

The almond extract is the special ingredient that makes these cookies irresistible. If you don’t have any it’s worth running out to the store to find. Making an icing that’s part butter adds a touch of richness to the balance out the sweet.

Iced Vanilla-Almond Butter Cookies

Prep time: 15 minutes

Cook time: 15 minutes

Ingredients(Makes about 18 cookies):

  • 1 cup almond butter
  • 3/4 cup + 2 Tablespoons sugar
  • 1 egg
  • 1/2 teaspoon vanilla extract
  • 1/2 teaspoon baking powder
  • 1/4 teaspoon salt

For the icing:

  • 1/4 cup butter, softened
  • 2 1/2 Tablespoons milk
  • 2 cups powdered sugar
  • 1/4 teaspoon vanilla extract
  • 1/4 teaspoon almond extract

Vanilla-Almond Butter Cookies Icing

Method:

  1. Preheat your oven to 350 degrees.
  2. In a large bowl, mix together the almond butter, sugar, eggs, vanilla extract, baking powder, and salt.
  3. Roll the dough into 1-inch balls and put them on a non-stick baking tray. Press down on the balls lightly to flatten them to about 1/2-inch.
  4. Bake for 12-15 minutes until the edges of the cookies begin to brown.
  5. Remove the cookies from the oven and let them cool.
  6. Combine the butter and milk in a medium-sized bowl.
  7. Sift the powdered sugar into the bowl.
  8. Beat together the sugar, butter, and milk until smooth. Add in the vanilla and almond extract and continue mixing until smooth.
  9. Spread a Tablespoon of frosting on top of each cookie. Let the cookies sit at room temperature uncovered until the frosting sets.

Vanilla-Almond Butter Cookies Yield

You can decorate these with green and red or white sprinkles to make them a little more festive.


Peanut Butter Buckeyes

Peanut Butter Buckeyes

Between Christmas shopping, studying, writing papers and taking exams I haven’t had much time to cook or make new recipes lately. The nice thing about having a living room full of Christmas lights, stockings and a tree is it makes it easy to fall back into the holiday spirit after a stressful day.

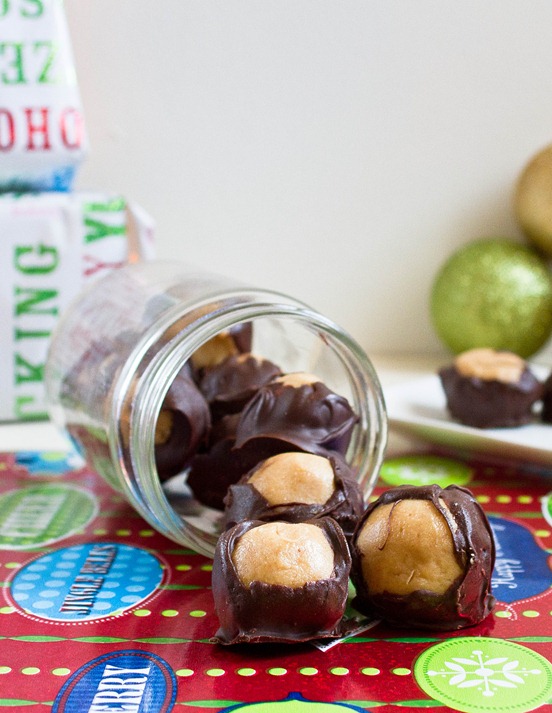
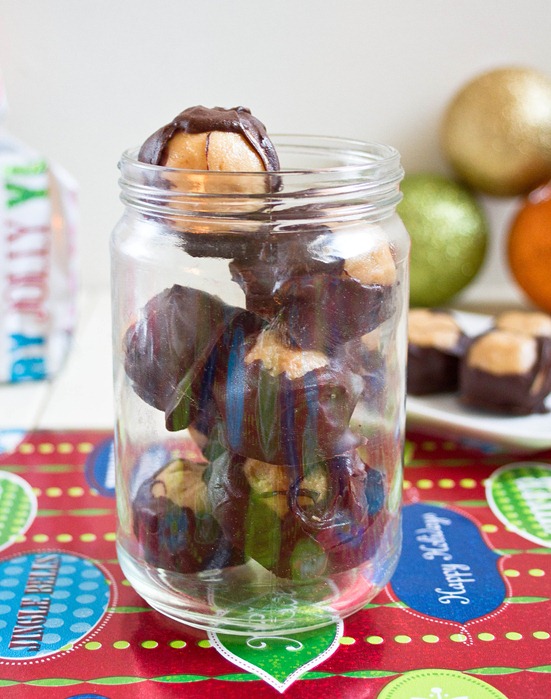
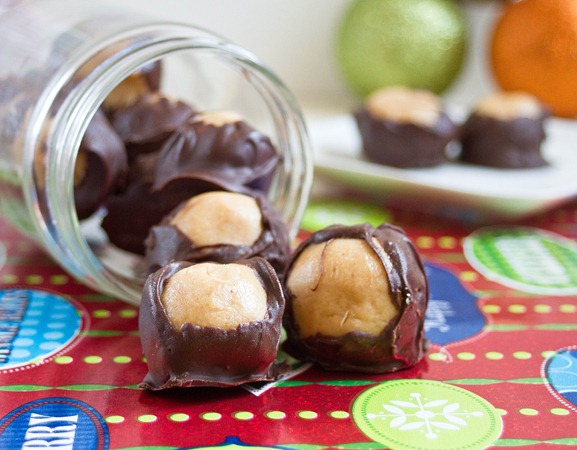
I made these buckeyes last night for myself and my roommates because who doesn’t love a chocolate and peanut butter nightcap? I have to admit that I’ve made recipes like this often enough that I’ve stopped measuring things as I go along. Really you can make this in any proportion as long as the dough comes out the right consistency. They aren’t the prettiest buckeyes but they’re taste makes up for their appearance.

Peanut Butter Buckeyes Yield

If you want to change the flavor slightly add a touch of vanilla or cinnamon.

Peanut Butter Buckeyes

Prep time: 20 minutes

Cook time: 0 minutes

Ingredients(Makes about 20 buckeyes):

  • 1 cup creamy peanut butter*
  • 6 Tablespoons butter, melted
  • 1 1/2 cups powdered sugar, sifted
  • 1 1/4 cups bittersweet chocolate chips OR 10oz bittersweet chocolate, chopped

*If you’re using no-stir peanut butter, melt it in the microwave briefly before mixing it with the other ingredients

Peanut Butter Buckeyes Naked

Method:

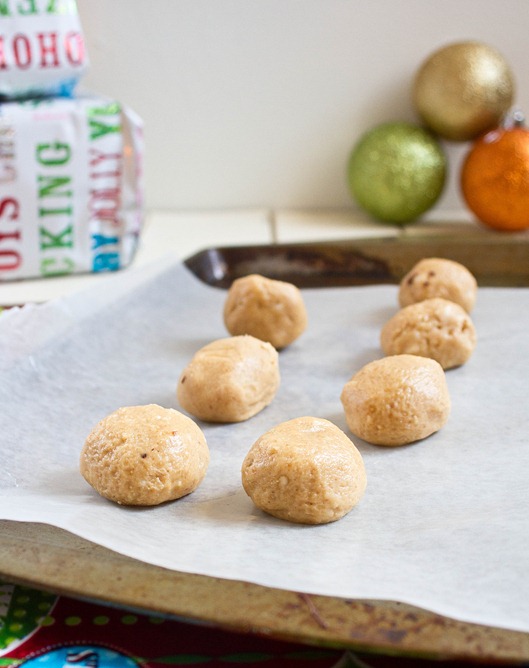
  1. In a large bowl mix together the peanut butter, butter and powdered sugar until it forms a dough that sticks to itself. If for some reason your dough is too thin, slowly add more powdered sugar until it’s workable.
  2. Roll the dough into 1-inch balls and place them on a non-stick surface.
  3. Put the peanut butter balls in the freezer to set.
  4. While the peanut butter balls are hardening, melt the chocolate in a microwave or over a double boiler.
  5. One by one dip the peanut butter balls into the melted chocolate to coat their outside and put them back on the non-stick surface.
  6. Refrigerate the peanut butter balls until the chocolate has set. Keep cold until ready to serve.
Peanut Butter Buckeyes Serving

Dark Chocolate Peppermint Bark

Dark Chocolate Peppermint Bark

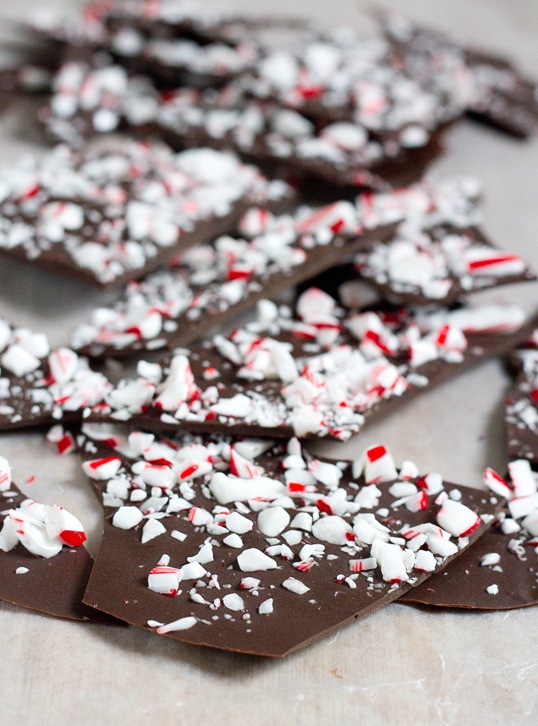
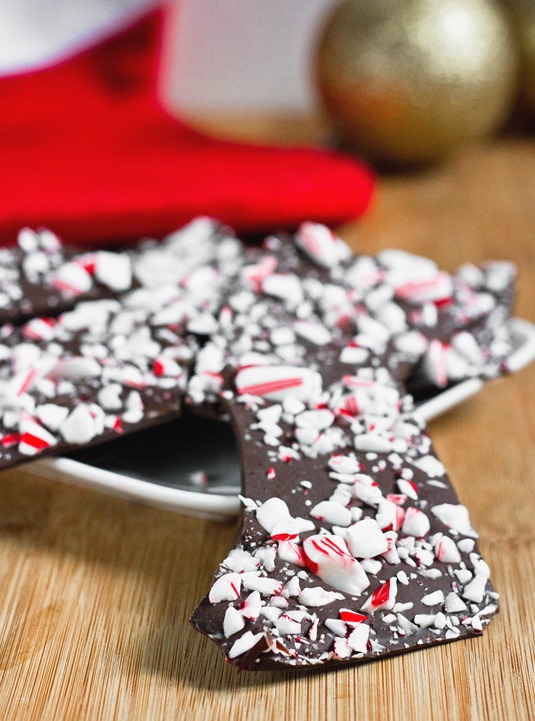
I love minty things. Mints, candy canes, mint chocolate—any and all of it makes a perfect after-dinner treat. It’s almost as good as brushing your teeth. Well… almost…

As soon as the stores started selling candy canes I bought the ingredients to make this. It’s not hard and all yet impressive enough to give to friends and family.

Dark Chocolate Peppermint Bark Broken

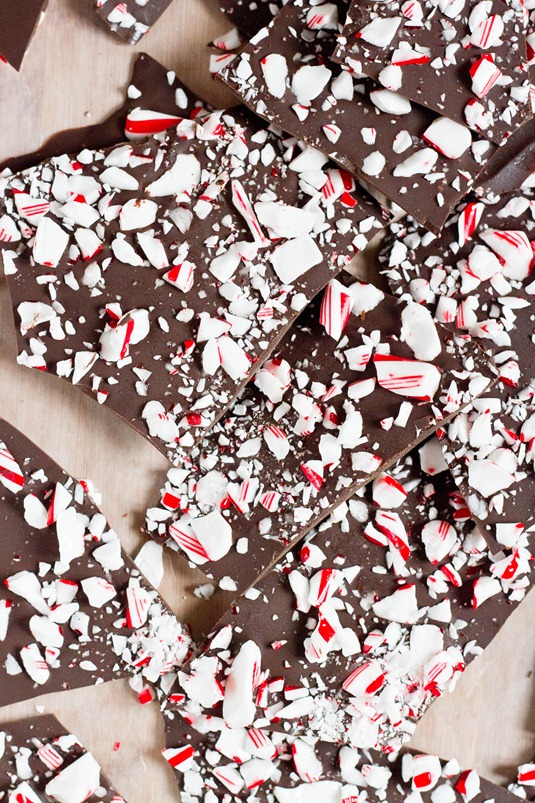
This is hardly a recipe. It’s just 3 ingredients and nearly impossible to screw up(don’t burn the chocolate) but still makes a thoughtful gift. If you want to vary things up, use white chocolate instead of dark.
Dark Chocolate Peppermint Bark

Prep time: 10 minutes

Cook time: 0 minutes

Ingredients(Makes about 16 servings):

  • 10oz dark chocolate, chopped OR 1 1/4 cups bittersweet chocolate chips
  • 1/2 teaspoon peppermint extract
  • 4 candy canes, crushed

Dark Chocolate Peppermint Bark Yield

Method:

  1. Melt the chocolate in a microwave or over a double boiler.
  2. Once the chocolate is melted, mix in the peppermint extract until the chocolate is smooth.
  3. Pour the chocolate onto a sheet of wax or parchment paper. Spread it out into a thin layer.
  4. Sprinkle the crushed candy canes on top of the chocolate and press it in lightly.
  5. Refrigerate the bark for 20-30 minutes to let it harden.
  6. Break the bark into 15-20 uneven pieces. Keep refrigerated before ready to serve.

Dark Chocolate Peppermint Bark Serving

‘Tis the season.

Dessert Cream Cheese Ball

Dessert Cream Cheese Ball

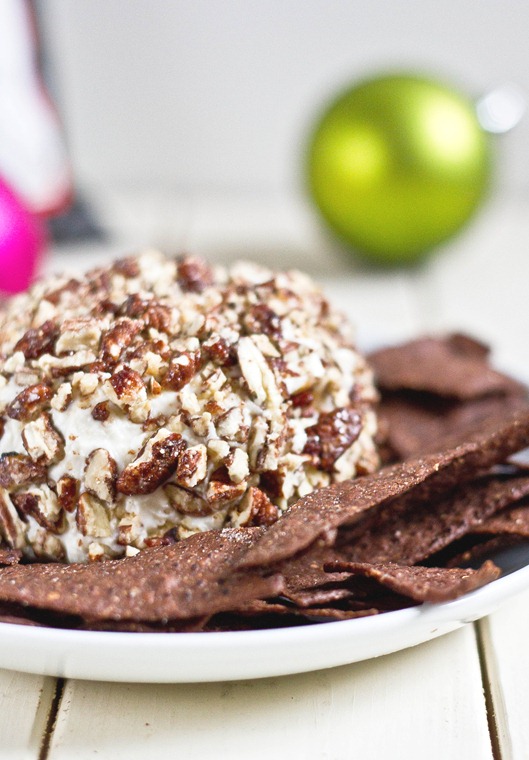
Most people who love cooking have their “signature recipes” that they get asked to make all the time. At the holidays my mom always makes a savory cream cheese ball with onion, green pepper, pineapple and walnuts. As good as that is, if you follow this blog you’ll know I’m much more into sweet than savory. What could really be better than sweet cream cheese?

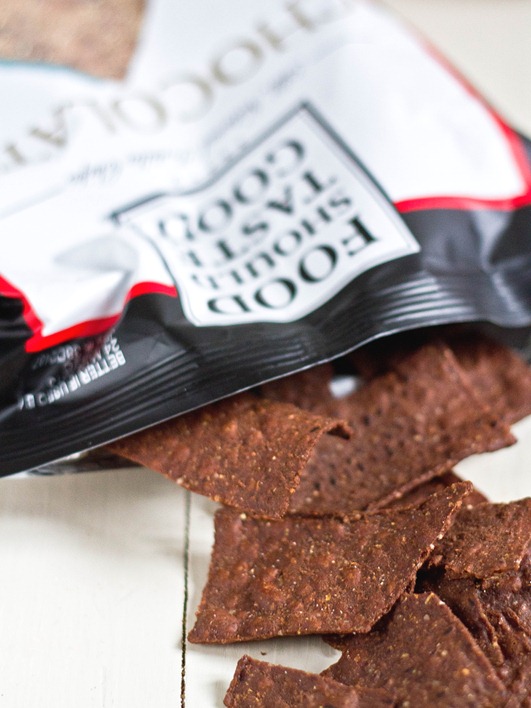
Another thing that prompted me to make this was a bag of Food Should Taste Good chocolate tortillas and wondering what in the world you serve chocolate tortillas with. The crunchy and lightly-sweetened tortillas went perfectly with the smooth cream cheese and powdered sugar. I couldn’t imagine eating this any other way but I’m sure sliced apples or graham crackers would match well, too.

Dessert Cream Cheese Ball Nachos

I used honey glazed roasted pecans from Oh Nuts for the coating. If you don’t have pecans you can use any number of things as a coating. Try sliced almonds or crushed green and red M&Ms, or even holiday-themed sprinkles.

Dessert Cream Cheese Ball

Prep time: 10 minutes

Cook time: 0 minutes

Ingredients(Makes about 12 servings):

  • 1 8oz block cream cheese
  • 1/2 cup + 2 Tablespoons powdered sugar, sifted
  • 1/2 teaspoon vanilla extract
  • 1 Tablespoon half & half
  • pinch of salt
  • 1/2 cup glazed pecans, crushed

Method:

  1. In a large bowl, beat together the cream cheese, powdered sugar, vanilla, half & half and salt.
  2. Scrape the cream cheese mixture onto a sheet of clear plastic wrap. Form the cream cheese mixture into a ball using the wrap to cover your hands and keep it together. Stick the ball in the fridge for 20-30 minutes to set.
  3. Unwrap the cream cheese ball and coat it with the pecans, pressing them in lightly to make sure they stay.
  4. Transfer the cold cream cheese ball to a serving plate. Serve with chocolate nachos, graham crackers, or sliced fruit.

Dessert Cream Cheese Ball Product

We can save worrying about eating healthy for after New Years.

Homemade Chocolate Turtles {+ Giveaway}

Homemade Chocolate Turtles

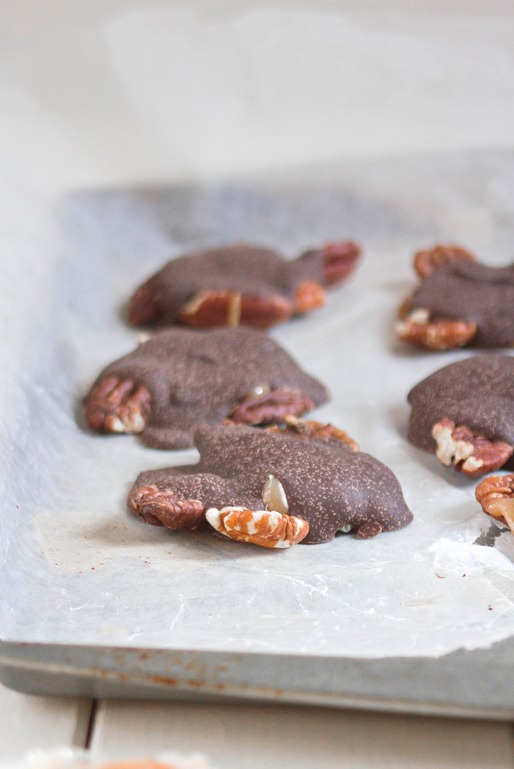
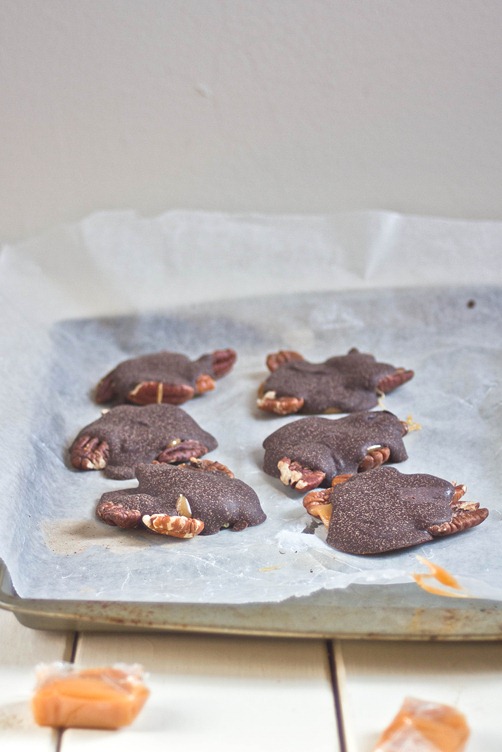
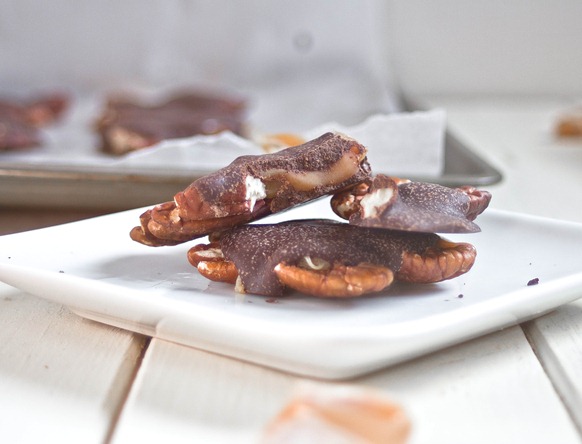
Before Thanksgiving I was thinking of different recipes I could use the American Heritage Chocolate I received on. It’s hard to find old-fashioned recipes that are also gluten-free since I don’t think that was much of a concern in the 18th century. I remembered how much I like old fashioned candy shops and seeing the homemade candies behind a glass case and wanted to try making a favorite: turtles.

I can’t say I went all-out old-fashioned with this recipe because I cheated a little bit and bought wrapped caramels. Learning how to use a candy thermometer well is something I want to do; this didn’t seem like a good time to start practicing, though. Store-bought or not, the end result was delicious and that’s what really matters, right?

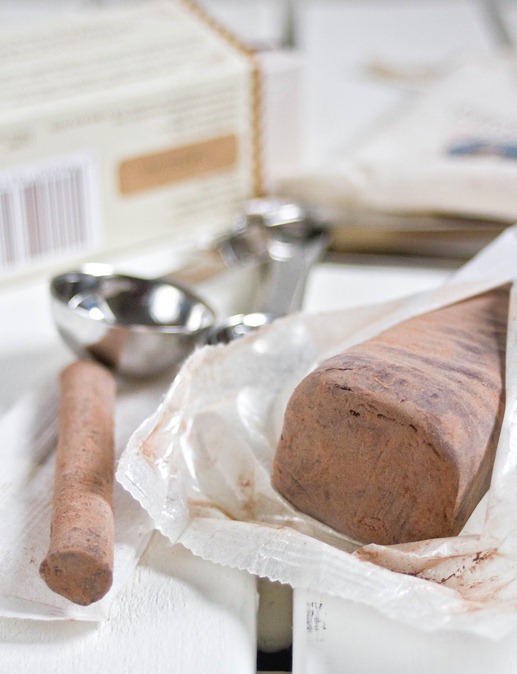
American Heritage Chocolate

Whenever you’re working with high-quality baking chocolate I would suggest melting it over the stove using the double boiler method. Boil water in a small pot and place a fitted bowl on top with the chocolate inside of it, moving the chocolate around to melt it evenly. Chop the chocolate into smaller portions to make it melt faster.

Homemade Chocolate Turtles

Prep time: 15 minutes

Cook time: 0 minutes

Ingredients(Makes 10 turtles)

*I used Trader Joe’s salted old fashioned caramels. Feel free to make your own from scratch if you’re experienced with a candy thermometer.

Homemade Chocolate Turtles Yield

Method:

  1. Lay the pecans out in clusters on a non-stick, greased surface.
  2. Spoon about a Tablespoon of the melted caramel on top of each pecan cluster.
  3. Over a double boiler, melt the chocolate until it is smooth and shiny.
  4. Spoon just enough chocolate on top of the the clusters to cover most of the caramel and pecans.
  5. Move the turtles into the refrigerator or freezer for 20 minutes to set the chocolate.
  6. Serve and store at room temperature.

Homemade Chocolate Turtles Serving

Now for the fun part. American Heritage Chocolate wants to give away some of their finely ground chocolate drink and chocolate sticks to 2 US readers. All you have to do is leave a comment for each entry below and I’ll pick the winners Tuesday, December 4th, at midnight.

Good luck!

Maple Almond Butter Sandwich Cookies

Maple Almond Butter Sandwich Cookies

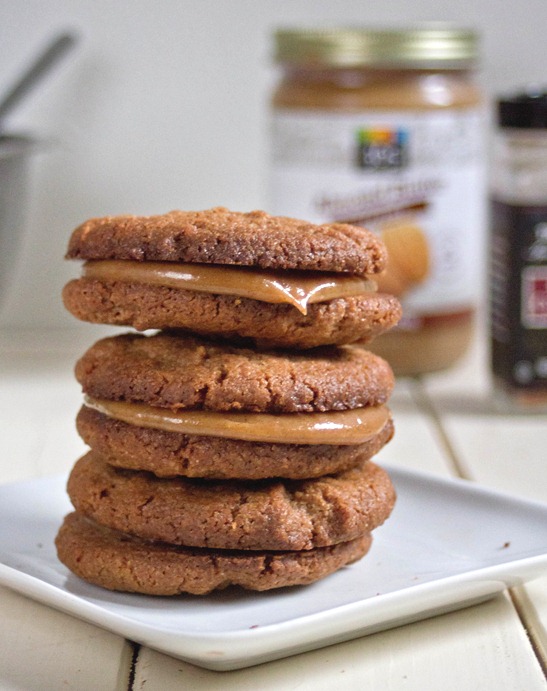
Sandwich Cookies are so much fun. They’re much better than any old cookie; you get two cookies plus a filling. What’s not to love?

My favorite sandwich cookies were always the ones shaped like a maple leaf with a maple crème filling. Sure, they probably were loaded with trans fat and gave people heart attacks but it was the 90s and no one knew about any of that yet. These remind me of those but very much grown up. The cinnamon and spice and salt enhance the sweetness of the maple syrup and the nuttiness of the almond butter and knock it out of the park.

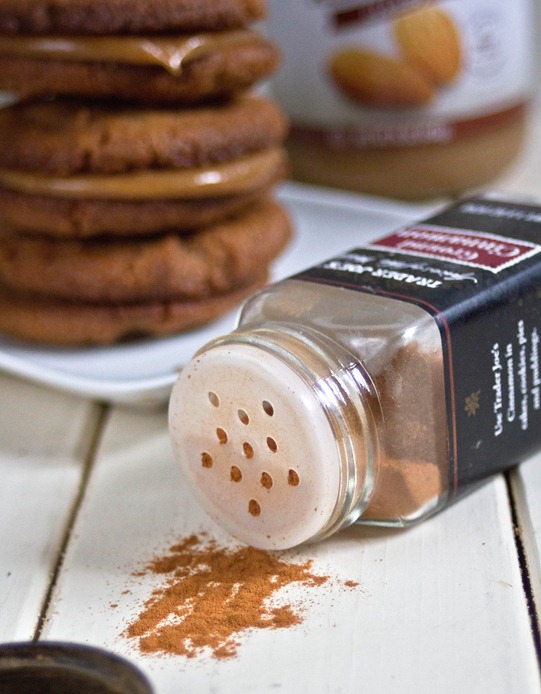
Maple Almond Butter Sandwich Cookies Cinnamon

If you want to skip making your own cookies, use a store-bought gingersnap cookie for the base to compliment the filling best.

Maple Almond Butter Sandwich Cookies

Prep time: 5 minutes

Cook time 0 minutes

Ingredients(Makes 6 sandwich cookies):

  • 12 spiced almond butter cookies
  • 6 Tablespoons almond butter
  • 3 1/2 Tablespoons butter, room temperature
  • Scant 1/4 cup maple syrup
  • 1/2 teaspoon vanilla extract
  • 1/2 teaspoon cinnamon
  • 1/4 teaspoon salt

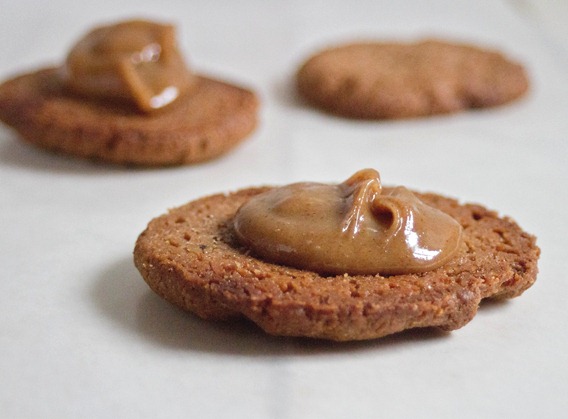
Maple Almond Butter Sandwich Cookies Filling

Method:

  1. Lay half of the cookies out bottom-side-up.
  2. In a large bowl, beat together the almond butter, butter, maple syrup, cinnamon and salt until it’s smooth and homogenous.
  3. Put about 1 1/2 Tablespoons of filling on top of each cookie.
  4. Take another cookie and place it bottom-side-down on top of the filling.
  5. Store at room temperature until ready to eat.

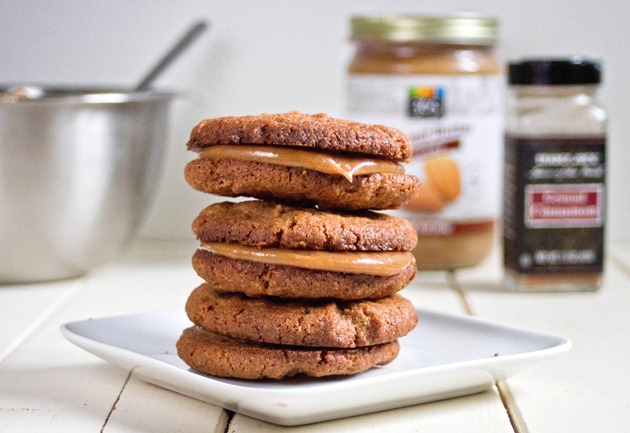
Maple Almond Butter Sandwich Cookies Wide

See? Much better than a cookie.

White Chocolate Candy Corn Bark

White Chocolate Candy Corn Bark

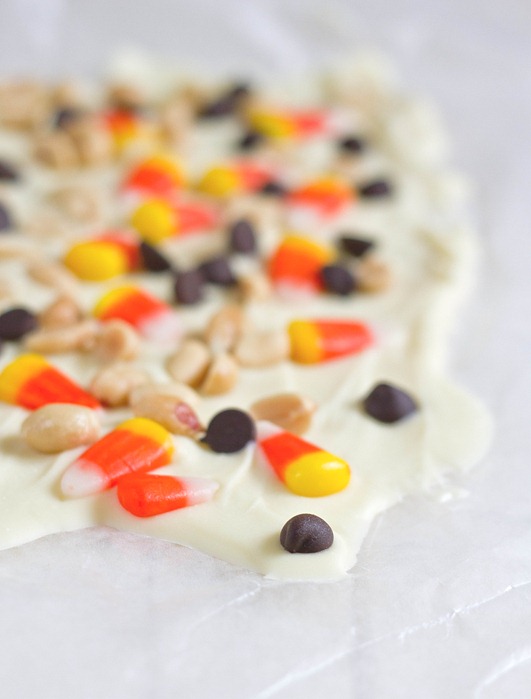
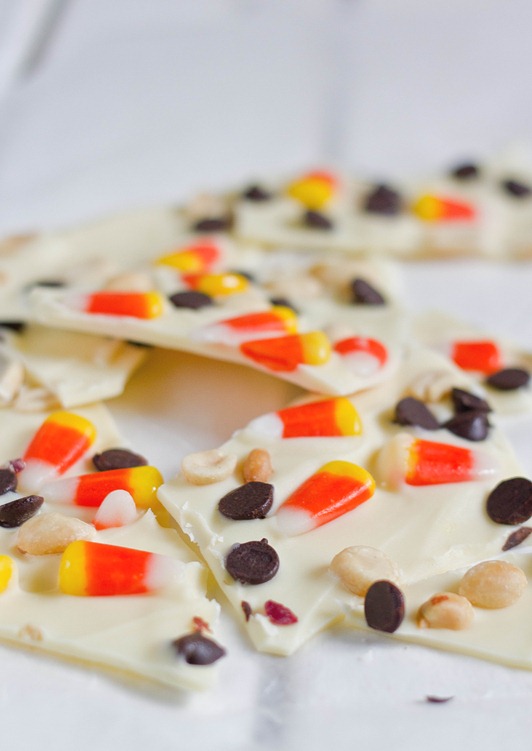
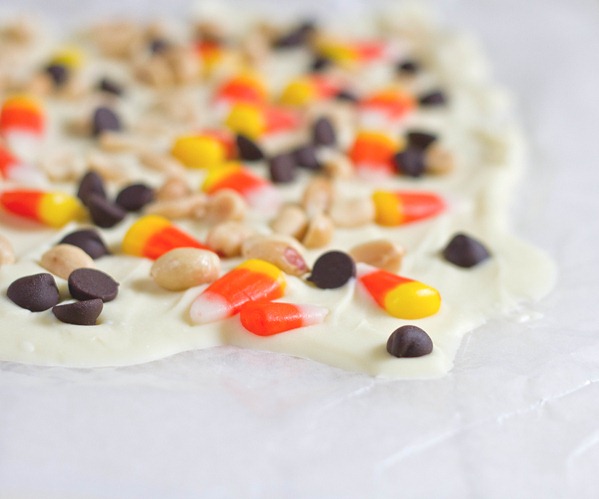
Candy corn seems to be one of those foods that divides families. People either love it or they hate it. Personally, I’m addicted to it. Sometimes it tastes good; other times it tastes like nail polish remover. But I will always eat it.

Still, candy corn on its own can be a bit much; I find it’s better with other things like Chex mix or Halloween crack corn that cut through the sweetness. White chocolate isn’t going to do much for that but peanuts and a little bit of dark chocolate definitely do. This bark is all around fun if you like candy corn and sweet treats.

White Chocolate Candy Corn Bark Broken

White Chocolate Candy Corn Bark

Prep time: 10 minutes

Cook time: 0 minutes

Ingredients(Makes about 16 pieces):

  • 8oz(1 cup) white chocolate chips
  • 1/4 cup candy corn
  • 1/4 cup roasted peanuts
  • 1/4 cup chocolate chip

Method:

  1. Melt the white chocolate chips in a microwave or over a double boiler.
  2. Pour the melted chocolate onto a non-stick surface and spread it into a layer about 3/8-inch thick.
  3. Evenly drop the candy corn, peanuts, and chocolate chips onto the bark and press them in gently.
  4. Move the chocolate to the refrigerator or freezer to harden for 15-20 minutes.
  5. Cut the bark with a sharp knife into asymmetrical pieces. Store in the refrigerator when not eating.

White Chocolate Candy Corn Bark Finished

If you serve this at a Halloween party you can make up fun stories like how the white chocolate is ectoplasm and the chocolate chips are ghost droppings. I don’t know what the candy corn and peanuts would be; any ideas?

Homemade Peanut Butter Pumpkins

Homemade Peanut Butter Pumpkins

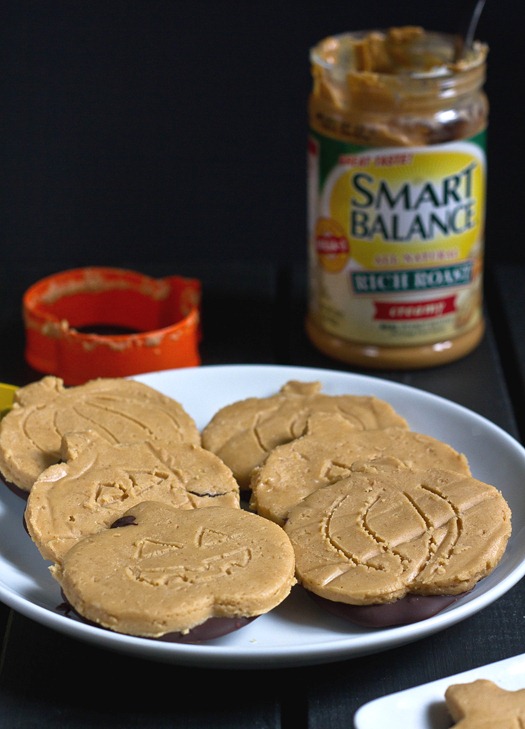
The seasonal candies are always my favorite part of the holidays. I’ll usually wait until the day after each holiday to go to the store and buy it all half-off, but why wait when you can make your own? I’ve made my own peanut butter cups before and it’s never been a hassle. Pumpkins seemed like a bit more of a challenge but oh so worth it.

Homemade Peanut Butter Pumpkins Peanut Butter

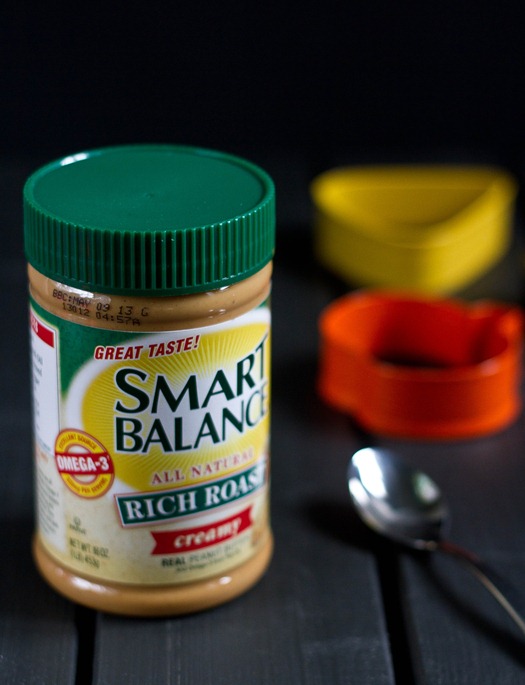
This recipe is also my entry in a Smart Balance recipe contest that starts today. They’ve asked 20 contestants to make a recipe using one or more of their products and put them on their Facebook page for fans to vote for. I love the Smart Balance peanut butter because of its rich, amber flavor. It has added plant-based omega-3s which are always good for a vegetarian diet.

Besides peanut butter, this recipe is super simple and uses only 4 other ingredients you probably already have: buttery spread(or butter), powdered sugar, and chocolate chips. The process doesn’t take much time at all even though there are quite a few steps. Just make sure to have room in your freezer to cool these quickly so you can move from one step to the next without waiting too long.

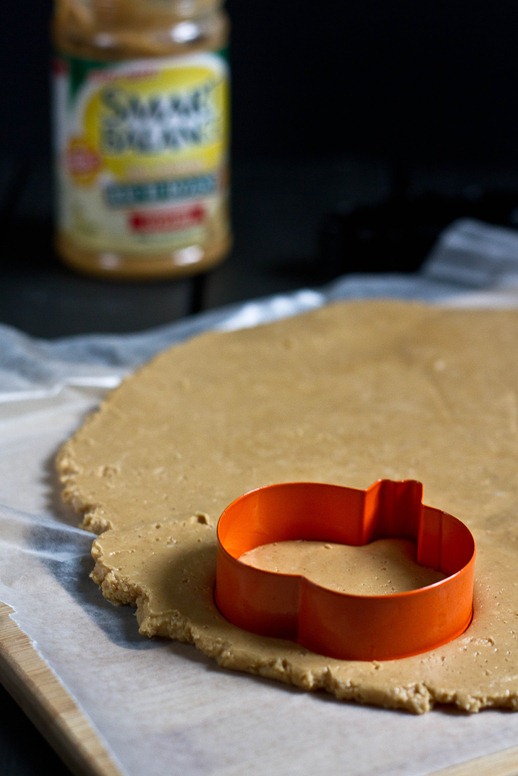
Homemade Peanut Butter Pumpkins Cookie Cutter

I found the pumpkin cookie cutter on Amazon and got it along with some other shapes; they also probably sell them in most craft stores around this time, too. You can use different cookie cutters for different holidays and keep the recipe year round. The basic steps will always be the same.

Homemade Peanut Butter Pumpkins

Prep time: 20 minutes

Cook time: 0 minutes

Ingredients(Makes about 16 pumpkins*):

*The yield will vary based on the size of your cookie cutters. I used a pretty standard 3-inch cookie cutter and got 16 pumpkins.

Homemade Peanut Butter Pumpkins Drying

Method:

  1. In a large bowl, combine the peanut butter and melted buttery stick until it’s homogenous.
  2. Sift in the powdered sugar stirring it in until it’s completely mixed in.
  3. Get out 2 sheets of parchment paper and place the peanut butter dough between the two. Press down until the dough is about 3/8-inch thick.
  4. Cut out as many pumpkins in the dough as you can. Put the dough into a freezer for 10-15 minutes until the dough is stiff.
  5. While the dough is in the freezer, melt the chocolate in the microwave or over a double boiler until it’s smooth.
  6. Take the dough out of the freezer and remove the pumpkins from the extra trim.
  7. On a separate piece of parchment paper, spoon tablespoons of melted chocolate about 3 inches from one another.
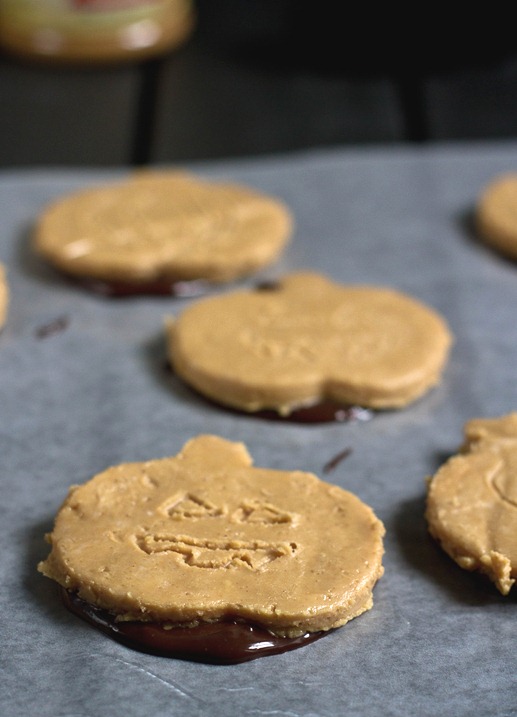
  8. Take each pumpkin and place them on top of the melted chocolate, pressing down and moving them around to cover the bottom. Repeat with all the pumpkins.
  9. If you desire, decorate the pumpkins by making faces or lines with a toothpick.
  10. Place the pumpkins back in the freezer until the chocolate is hardened. Take off the parchment paper and keep these in the refrigerator until ready to eat.
  11. Keep repeating this process with the extra dough and melted chocolate until it’s entirely used up.


Homemade Peanut Butter Pumpkins Finished


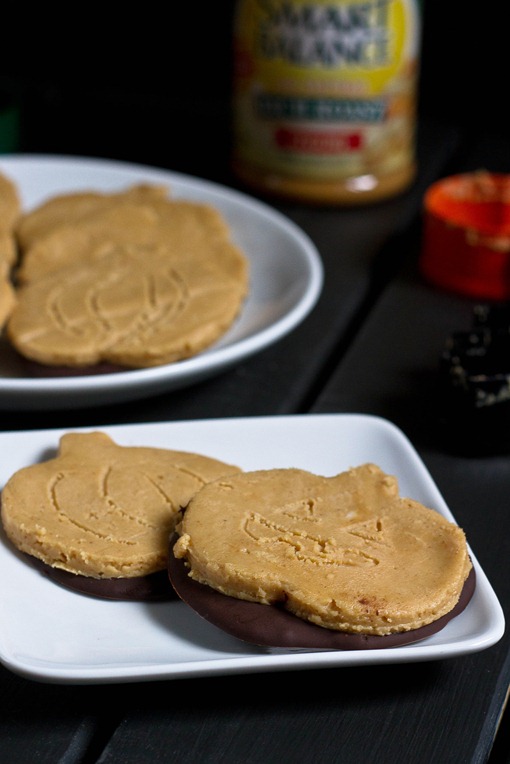
The peanut butter parts holds its shape but stays pretty soft so you can bite straight through it into the thin chocolate. I handed these out to friends last week and even though it was still September it definitely stirred some Halloween excitement. These would definitely be a hit at any party this time of year. If you like the recipe, too, don’t forget to vote!

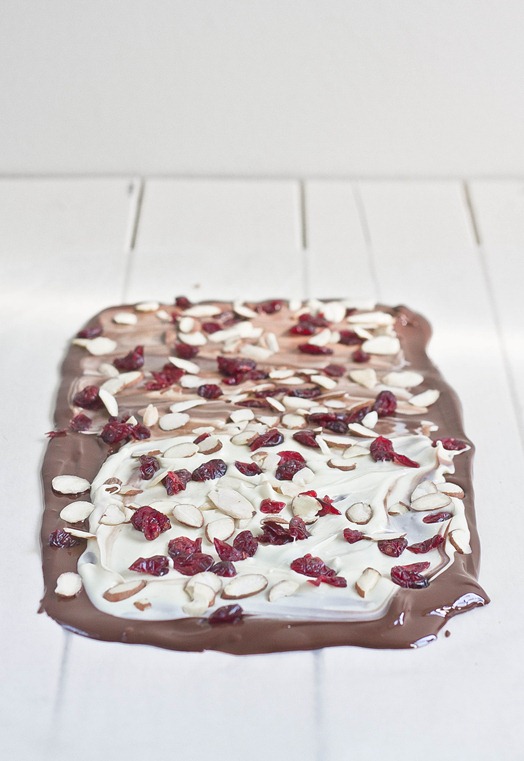
White Chocolate Cherry Almond Bark

White Chocolate Cherry Almond Bark

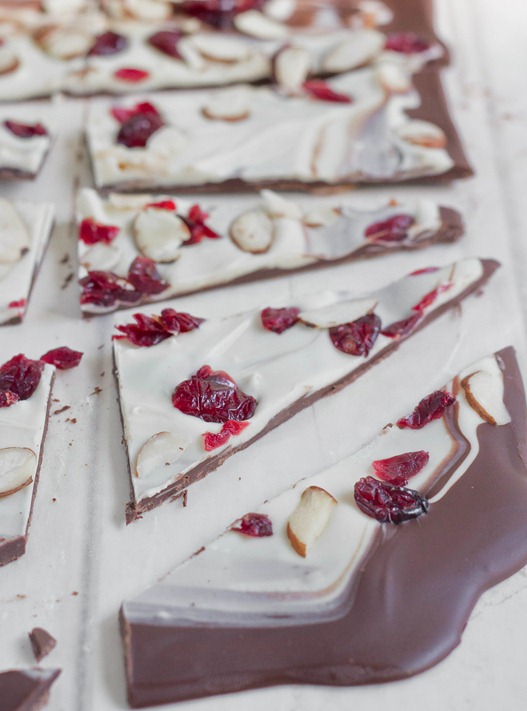
I don’t think bark should be a holiday food. It’s chocolate, nuts, and dried fruit—what’s holiday-like about that?! That sounds like anytime food to me. So feel free to make this whenever you feel like.

This is an actually an old recipe from my archives. Last time I made it I wasn’t happy with the photos so I thought I’d give it another post, not that I need much convincing when chocolate’s involved. I love white chocolate but don’t buy it very often. It’s much better at pairing with other flavors than just on its own.

The tart cherries and unsweet almonds help to curb the sweetness of the white chocolate, and the dark chocolate on the bottom adds a bit of bitterness to the mix. Altogether it’s a winning combination.

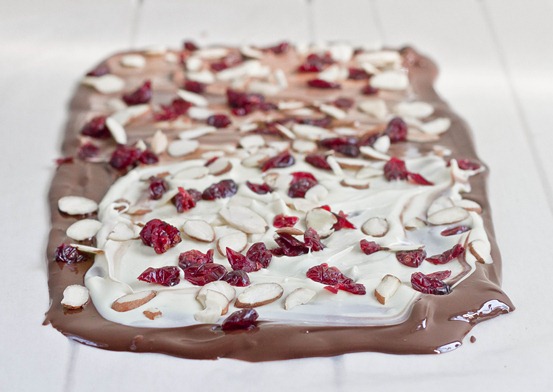
White Chocolate Cherry Almond Bark Drying

You can use sliced, crushed, or slivered almonds—whatever you have. Also feel free to swap in cherry flavored craisins if you get to the store and realize you don’t feel like paying more for dried cherries; you’d be in good company.

White Chocolate Cherry Almond Bark

Prep time: 10 minutes

Cook time: 0 minutes

Ingredients:

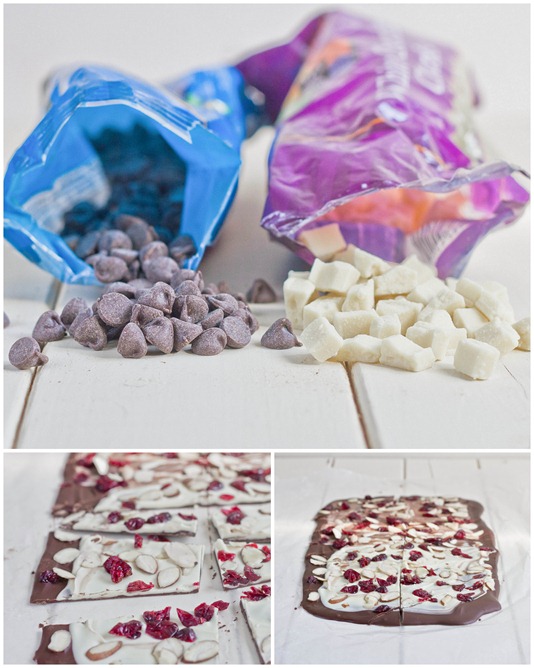
  • 1/2 pound white chocolate
  • 1/2 pound semi-sweet or bitter-sweet chocolate
  • 1/2 cup sweetened or unsweetened dried cherries
  • 1/2 cup shaved almonds

White Chocolate Cherry Almond Bark Collage

Method:

  1. Start by melting either the white or dark chocolate—whichever you want to be the base of the bark(I started with the white)—in a microwave or over a double boiler. Melt until completely smooth.
  2. Lay the chocolate out in a thin layer on a non-stick surface like wax paper.
  3. Melt the other chocolate and carefully spread it on top of the first layer, gently swirling the two together with a utensil.
  4. Sprinkle on the cherries and the almonds all over the chocolate and press them in lightly with your hand.
  5. Freeze the chocolate for about 20 minutes until it has completely hardened.
  6. With a sharp knife, cut the chocolate into unequal pieces. Store for up to 2 weeks.

White Chocolate Cherry Almond Bark Yield

Chobani Frozen Yogurt

Chobani Frozen Yogurt

You’ve probably heard of Chobani, if not from their delicious yogurt then from their recent position as sponsor of the 2012 Olympic games. I hardly managed to do anything but watch TV for those two weeks—well, watch TV and eat yogurt.

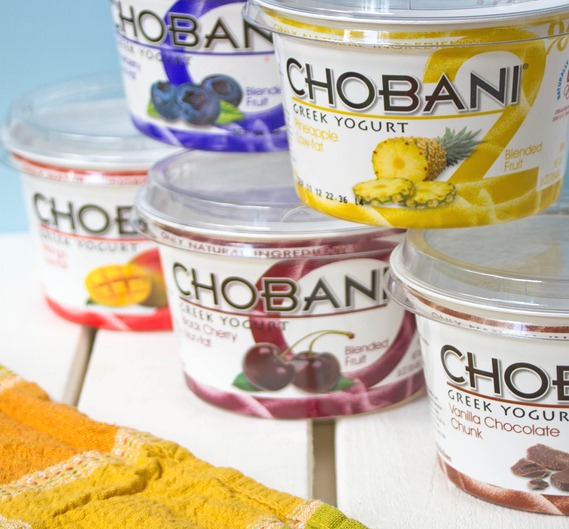
Chobani recently introduced 6 of their most popular flavors in 16oz tub container form including a 2% vanilla chocolate chip variety which easily takes the gold medal for me. Chobani has always been one of my favorite Greek yogurts because of the simple ingredients and consistently low price at my grocery store and I was happy to try them when they sent me a variety pack.

Chobani Frozen YogurtFlavors

I had to resist eating all of the flavors simply with granola and fruit and actually make something with them. I settled on frozen yogurt because few things are as tasty(and easy!) as homemade frozen yogurt. If you don’t have an ice cream maker, put it on your Christmas list; even though it only has one function it’s easily my favorite kitchen gadget I’ve bought over the past few years.

This recipe is as easy as 3 ingredients and is entirely customizable! You can use any flavor of Chobani and add any mix-ins your heart desires. Have fun with it and pretend you’re at a fancy frozen yogurt chain by adding things like chocolate chips, fruity cereal, and chopped fruit on top.

Chobani Frozen Yogurt

Prep time: 5 minutes

Freeze time: 2 hours

Ingredients(Makes about 6 servings):

  • 1 16oz Chobani yogurt container*
  • 1 cup skim or 2% milk
  • 3/4 cup powdered sugar, sifted

*I’ve only tried this with the fruit flavors. If you’re starting with Plain Chobani, you might want to adjust the sweetness by adding more powdered sugar.

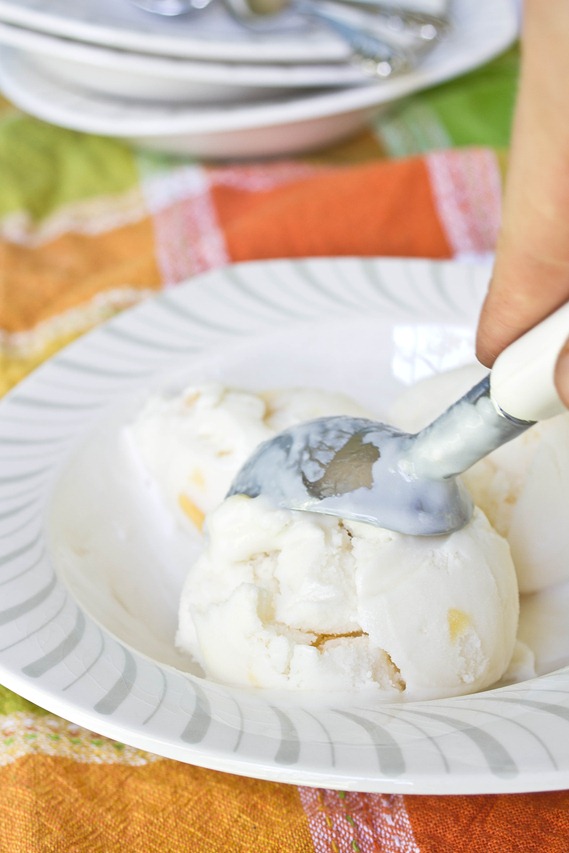
Chobani Frozen Yogurt Scoop

Method:

  1. In a large bowl whisk together all of the ingredients.
  2. Pour the base into an ice cream maker and freeze according to the manufacturer’s directions.
  3. After the ice cream has churned, scoop it into a solid container and freeze for at least two hours.
  4. Before serving, let the yogurt soften at room temperature for 5 minutes.

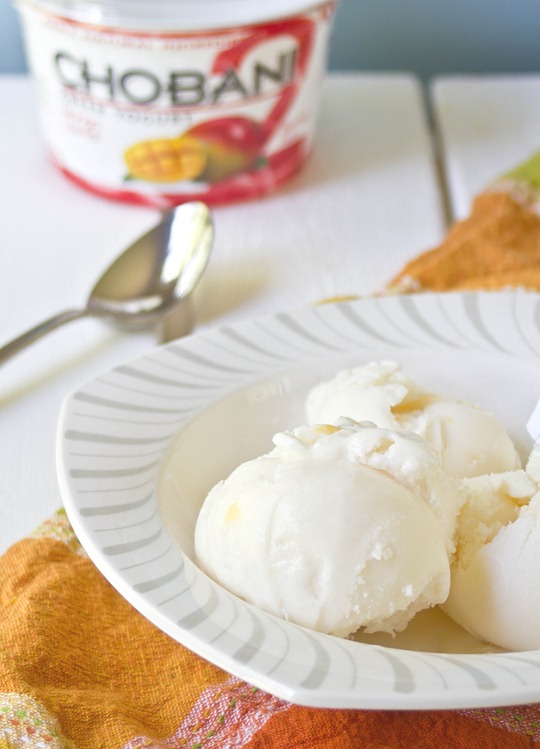
Chobani Frozen Yogurt Bowl

Mango admittedly is not one of my favorite flavor of yogurt. Somehow, turning it into frozen yogurt makes it much more irresistible. It reminded me of something I’d order from Pinkberry. And since this is made with low-fat ingredients and greek yogurt, it’s packed with protein, so feel good about having an extra scoop.