Tag Archive: Cooking

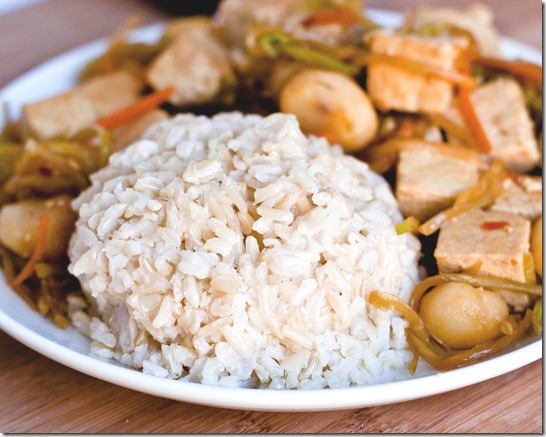
How To Season Rice

how-to-season-rice

I never really liked rice. Growing up we would have Chinese takeout at least once a week—usually Friday nights—and the last thing I would touch would be the rice. It always tasted so plain. I even bought a rice cooker and for a year never made rice in it; why would I?

how-to-season-rice-chopsticks

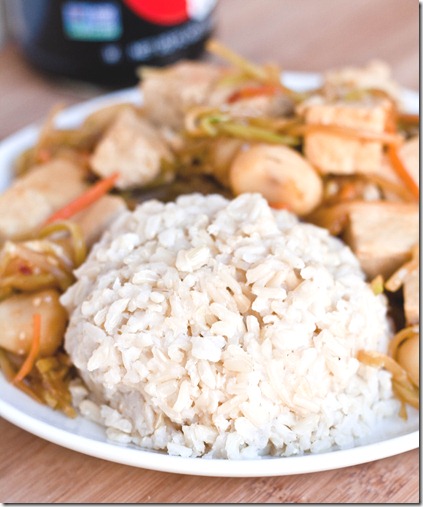
That’s probably because all the rice I had tried was just rice—nothing added to it—and that’s just not good. Add a little seasoning, however, and rice goes from a side dish to a star on the plate.

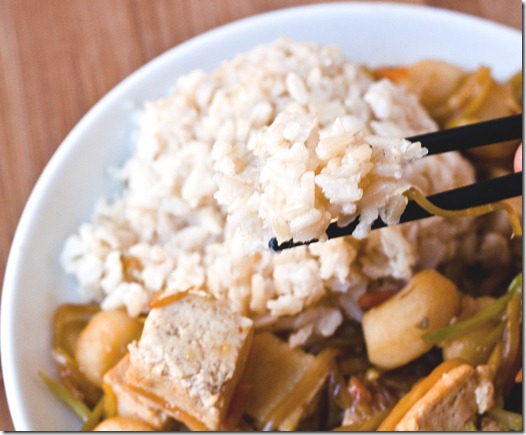
Seasoning rice is so easy and just requires a few pantry staples. The flavor is similar to the seasoned rice in sushi rolls. And because the sugar makes the rice sticky, it’s easier to eat with chopsticks! I used brown basmati rice because that’s what was on hand, but you can use brown or rice, long or short grain.

How To Season Rice

You’ll need:

  • 2 cups cooked rice
  • 2 Tablespoons sugar
  • 1 1/2 Tablespoons unseasoned rice vinegar*
  • 1/2 Tablespoon Sesame oil
  • 1/2 teaspoon salt

*Can use white vinegar in a pinch

how-to-season-rice-serving

Method:

  1. Heat up the rice in a pot or microwave if it’s not already hot.
  2. Add in the sugar, vinegar, sesame oil, and salt and mix thoroughly.
  3. Scoop onto plates and serve hot.

how-to-season-rice-plate

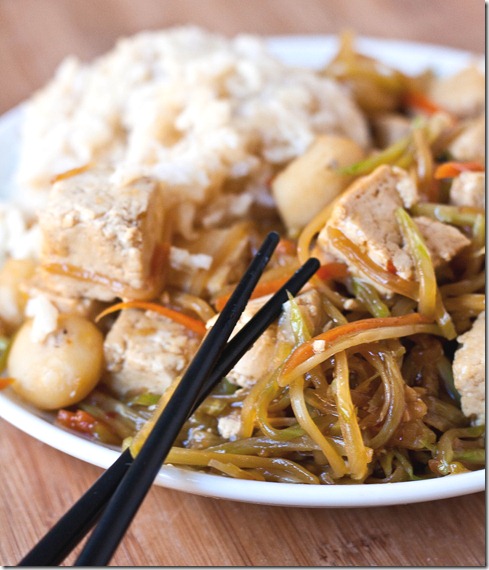
Once you’ve mastered making delicious rice, everything else on the plate instantly tastes better, too. You can mix in whole sesame seeds or chili powder for a stronger flavor if you’d like.

Raw Salted Caramel Chocolate Pecan Torte

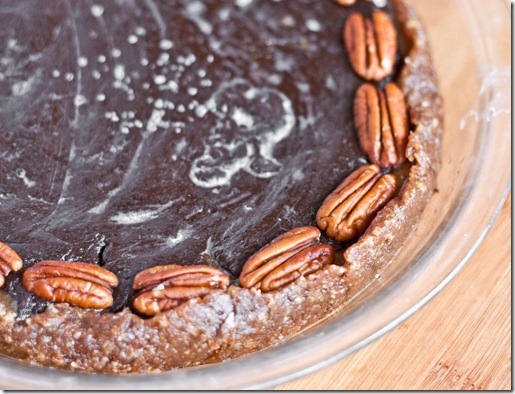
raw-salted-caramel-chocolate-pecan-torte

Happy New Year! I wanted to get the year off to a sweet start, so here’s the dessert I made for Christmas, which just happened to turn out to be one of my favorite desserts ever.

As soon as I saw this recipe, I knew I wanted to make it. I love things that are salty and sweet and pecans are never a bad thing either; add chocolate and you have to have a winning dessert.

raw-salted-caramel-chocolate-pecan-torte-cut

I actually think it’s easier to make raw tortes and pies than cooked ones; you don’t have to worry about cutting cold butter into the crust or cooking them in a water bath. This recipe comes together extremely quickly and is full of flavor.

I used maple syrup because I had plenty on hand. To make this fully raw, use agave nectar or raw honey.

Raw Salted Caramel Chocolate Pecan Torte

Prep time: 15 minutes

Cook time: 0 minutes

Ingredients(Makes 1 torte):

For the crust:

  • 6oz(about 1 1/2 cups) dates
  • 6oz(1 1/2 cups) pecans

For the caramel:

  • 2oz dates
  • 6 Tablespoons maple syrup or other liquid sweetener
  • 1/2 teaspoon coarse salt

For the filling:

  • 1/2 cup cocoa powder
  • 1/4 cup coconut oil, melted
  • 1/2 cup maple syrup or other liquid sweetener
  • Sea salt and pecans for garnish

raw-salted-caramel-chocolate-pecan-torte-pie

Method:

  1. To make the crust, pulse the dates and pecans in a food processor until it forms a dough ball. If after a while the dough hasn’t come together, add water by the tablespoon slowly until it does.
  2. Grease a 9-inch pan lightly with coconut oil. Press the dough into the pan and spread it out evenly into a pie crust shape, raising it at the side. Make sure there are no holes in the bottom.
  3. Make the caramel by blending together the maple syrup and dates in a food processor until smooth and golden in color. Once it’s blended into a sauce, add in the sea salt and mix gently.
  4. Pour the caramel in a thin layer on top of the bottom of the crust, spreading it out evenly.
  5. To make the filling, blend the melted coconut oil, cocoa powder, and maple syrup in a food processor until it’s uniformly mixed.
  6. Carefully cover the caramel layer with the chocolate layer. For me it was easiest to add a little bit of topping all around the pie and lightly blending the top together with a soft spatula.
  7. Garnish the top with pecans and sea salt if desired.
  8. Refrigerate your torte until the filling sets. Remove it from the refrigerator about 10-15 minutes before cutting and serving. Personally I liked this when it was still slightly chilled but you can also eat it at room temperature.

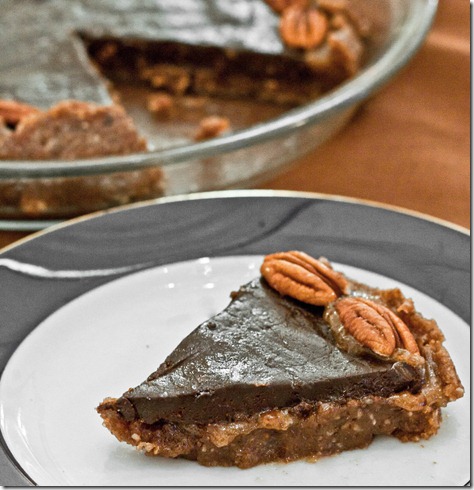
raw-salted-caramel-chocolate-pecan-torte-serving

I would have liked to have gotten better pictures of this but it was too good not to just dig into. It may not be one of the prettiest desserts, but it’s by far one of the tastiest I’ve made in a long time. I can’t wait to make this again.

The Most Popular Recipes Of 2011

Life’s a bit of a popularity contest; I’m not delusioned into thinking otherwise. And so, instead of me telling you what my favorite recipes have been so far, I figured it’d be more useful to show you the recipes you all picked as the best—the popular crowd.

These are my 5 most visited recipes over the past year. Rereading the comments on all of these posts, I’m shocked by how many people tried(and loved) them. It makes me happy since I loved all of these, too. Hopefully as popular as they are you’ll find one that’s new to you and be inspired to try it out like others have.

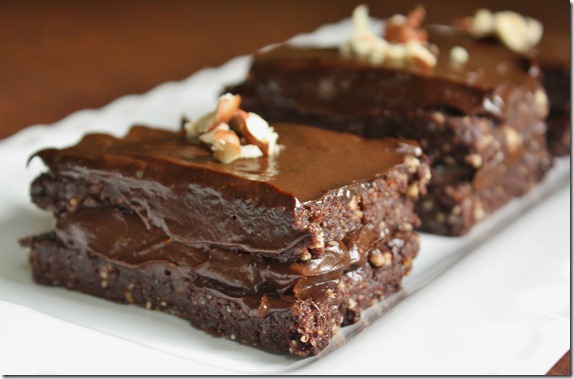
hazelnut-chocolate-cake

These Raw Vegan Hazelnut Chocolate Cakes blew up on stumbleupon. With almost 40,000 views and a couple hundred likes, it’s been a huge hit for plenty of foodies. But don’t think it’s just for raw vegans; this tastes delicious no matter who you are(even the avocado frosting, which I swear you won’t be able to taste anything funny in).

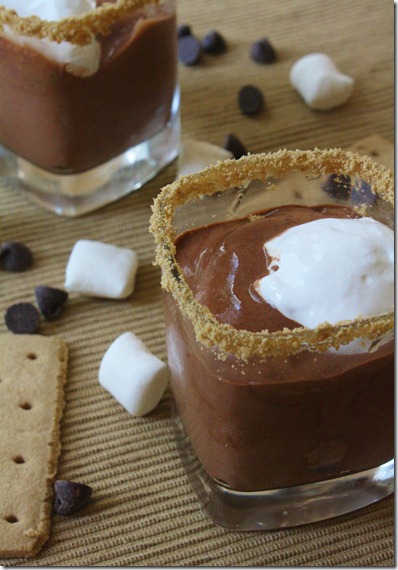
July 14th 074

Healthy Frozen Smore Parfaits were a huge hit on Pinterest over the Summer. I have to say I made these more times than I can count myself; they were the perfect way to beat the Summer heat with 2 servings of fruit in each serving. 

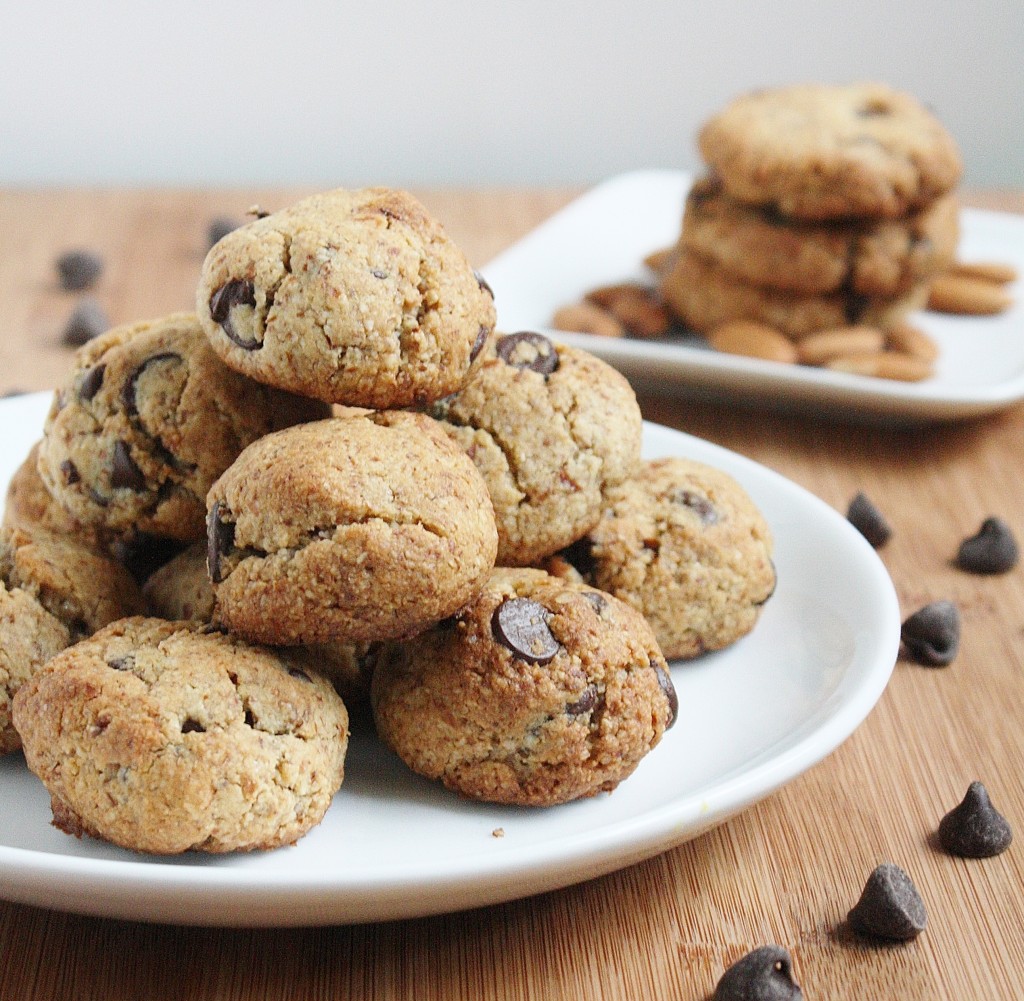
If you’ve ever googled “Almond Flour Cookies”, you’ve probably landed on these Almond Flour Chocolate Chip Cookies. It’s one of my most visited daily pages and has been visited even more frequently in the past few weeks; looks like a lot of people will be having gluten-free holidays. The best thing about these is that you probably already have all the ingredients for them in your pantry. 

May 8th 049

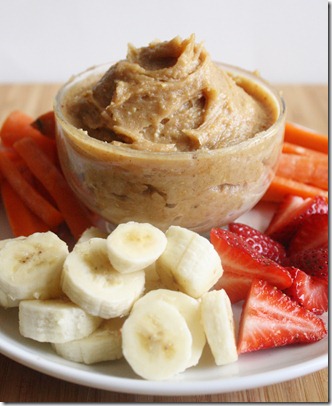
To this day I’m surprised by how often this Peanut Butter Yogurt Dip is pinned on Pinterest. If everyone who pinned this onto a board called “NEED TO MAKE!!” actually has—well that would be a lot of peanut butter. Apparently it’s a big hit with little kids, which I can understand since I love it and am pretty much just a big kid at heart.  

January-6th-067

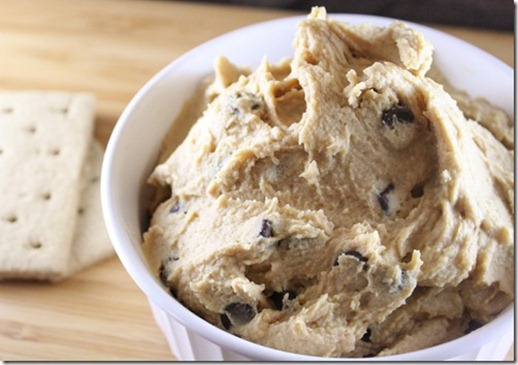
This Peanut Butter Chocolate Chip Hummus is probably my most made recipe judging by the comments and testaments I’ve gotten. If you’re still afraid of the idea of a sweet hummus, trust the hundreds of people who tried it and know that you can’t taste anything but goodness.

Here’s to 2012 being an even tastier year.

Walnut & Herb Quinoa Cakes

walnut-and-herb-quinoa-cakes

One of my favorite things about being home so far has been having a stove to use whenever; it’s much more motivating to cook something when your refrigerator and stove aren’t separated by 3 flights of stairs.

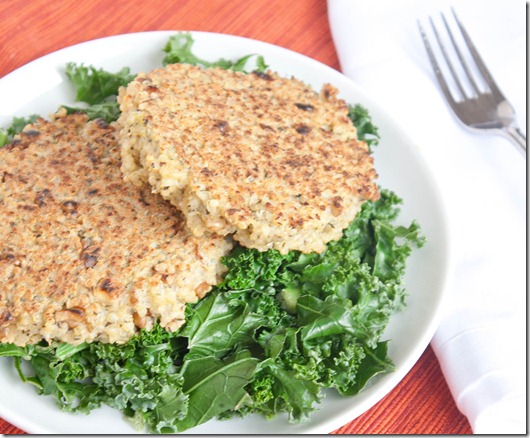
Quinoa cakes are something that have always intrigued me; they look so fancy and yet always sounded like something easy to make. Finally after seeing Emily post about them, I knew I had to try them. These couldn’t have been easier to throw together. I just took the ingredients out of my pantry and they were cooked before I knew it.

This recipe calls for precooked quinoa, so if you’re planning on making this note that cooking the quinoa will take extra time if you don’t already have some.

Walnut & Herb Quinoa Cakes(inspired by this recipe)

Prep time: 5 minutes

Cook time: 10 minutes

Ingredients(Makes 2 cakes or 1 serving):

  • 3/4 cup + 2 Tablespoons cooked quinoa
  • 1 egg
  • 1 teaspoon Herbes de Provence
  • 1/2 teaspoon salt
  • 2 Tablespoons crushed walnuts
  • Oil for cooking

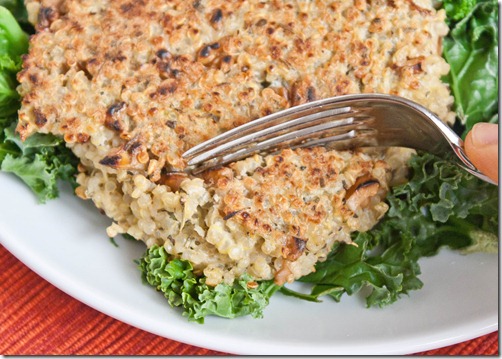
walnut-and-herb-quinoa-cakes-fork

Method:

  1. Combine the first five ingredients together in a bowl and mix until it all comes together.
  2. Heat a large frying pan over medium-high heat and add a little oil to keep the cakes from sticking. Drop a lump of the quinoa mixture onto the hot pan and with a spoon or fork flatten it into a patty shape.
  3. Cook for 5 minutes on each side, flipping once halfway through to get a nice, crisp crust. Repeat with the other half of quinoa and egg mixture.
  4. Serve hot or cold as leftovers.

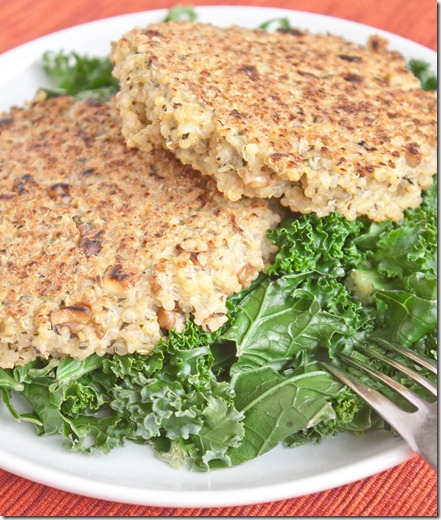
walnut-and-herb-quinoa-cakes-serving

I loved how the walnuts on the outside toasted up and gave incredible flavor to the cakes. Overall this was a surprisingly easy and delicious recipe, something I’d make again and again.

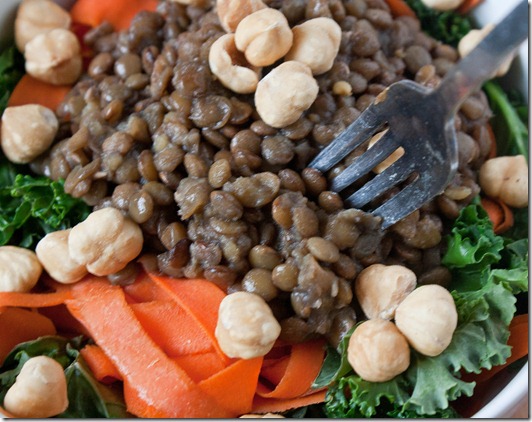
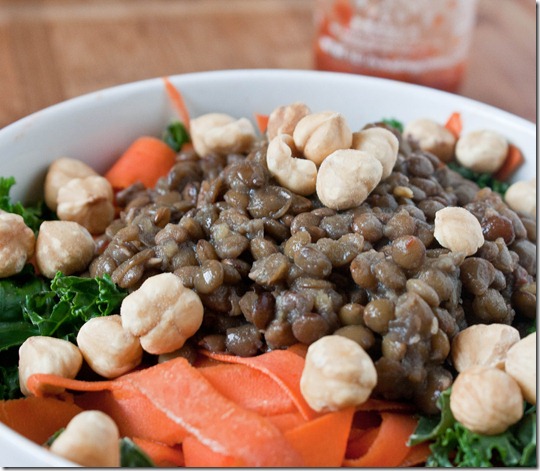
Maple-Sriracha Lentils

maple-siracha-lentils

Hi, again. I’m back after a short posting hiatus. I figured I needed to post something if only so that my parents don’t think I died. I’ve done plenty of writing over the past few days, but not about food; it’s mostly been commentaries on ancient elegiac and epic poetry, and I figured no one wants to read that(I don’t even really want to read that). And cooking? Oh, cooking. Well, there’s plenty of time for that now.

This might be an unpopular opinion, but I really don’t like sriracha sauce—at least not on its own. It’s far too spicy for me; even just thinking about pouring large amounts of it over food makes jump back. I do, however, love the flavor it adds to sauces with a little sweetness to balance the heat. I’ve made this sauce with maple syrup and soy sauce a few times lately and poured it over everything: Lentils, quinoa, eggs—there’s no bad combination.

maple-siracha-lentils-vertical

If you’re a sriracha fan, I’m sure you’ll love this. Even if you’re not a sriracha fan, give it a shot and you might just be surprised how much you like it.

Maple-Sriracha Lentils

Prep time: 5 minutes

Cook time: 40 minutes

Ingredients(Makes 4 servings):

  • 1 cup dry lentils
  • 3 cups water
  • 3 Tablespoons maple syrup
  • 3 Tablespoons soy sauce
  • 1 1/2 Tablespoons sriracha sauce

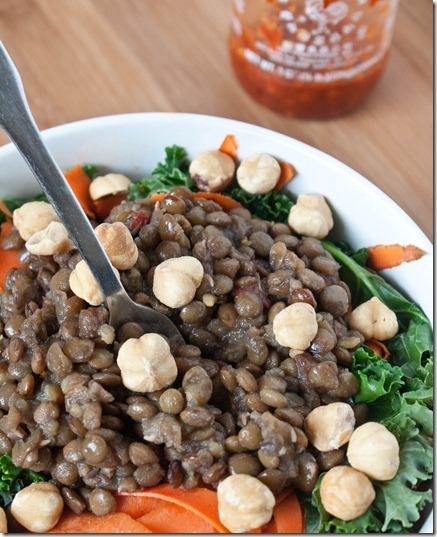
maple-siracha-lentils-fork

Method:

  1. Cook the lentils for 30-40 minutes in the boiling water until they’ve become tender and soaked up all the liquid.
  2. Turn off the heat and add in the soy sauce, maple syrup, and sriracha and mix, letting the lentils sit over the burner for a couple minutes to absorb the sauce.
  3. Serve hot or cold as leftovers.

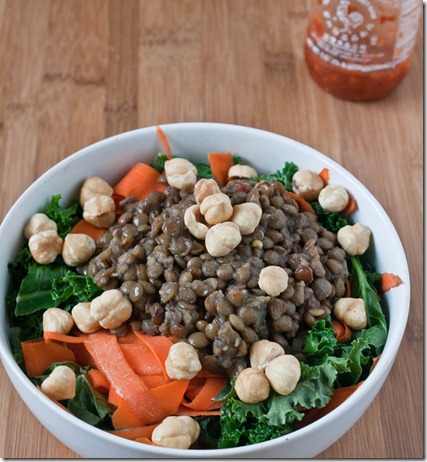
maple-siracha-lentils-bowl

The sriracha adds a great complexity to a sauce that’s only 3 ingredients. For a little more depth of flavor you can add a Tablespoon of toasted sesame oil at the end of cooking.

And now I have 6 weeks with not much to do and a full kitchen at my exposal so expect to hear a lot more from me.

Peanut Butter Buttercream Sandwich Cookies

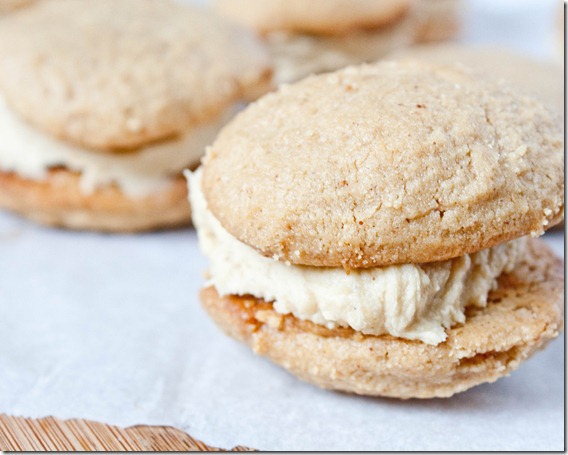
peanut-butter-buttercream-sandwich-cookies

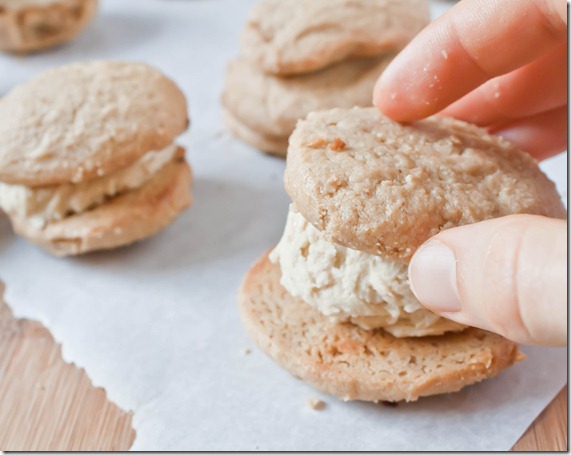
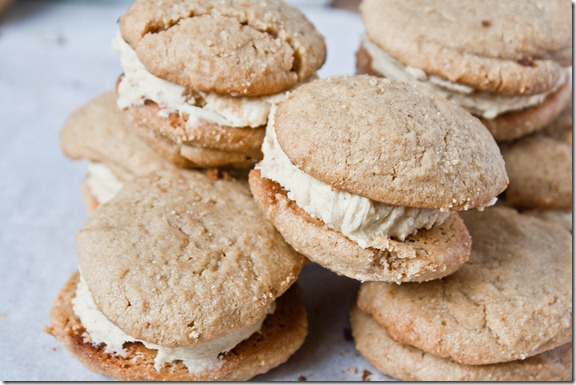
Like I’ve said before, I’m not a big cookie fan. I’m a frosting person. I was the kid who would break apart an Oreo or maple leaf cookie, lick out the inside, and put the cookie halves back in the box. You can’t imagine how much that thrilled my parents.

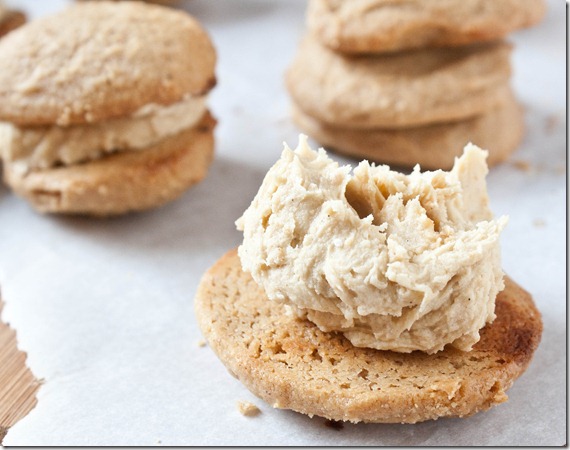
I was going to fill these with a soft chocolate ganache, but since the cookies are rather unsweet on their own I thought a sweeter filling would contrast nicely and let all the flavors show. Because of that I went with my favorite kind of frosting: Buttercream. The filling is rich, sweet, and creamy adding a whole new level to the cookies.

peanut-butter-buttercream-sandwich-cookies-filling

I give a suggested recipe for the cookies to use but you can really do this with any cookie recipe. Again, this is really easy to make vegan by simply substituting a dairy-free margarine for the butter.

Peanut Butter Buttercream Sandwich Cookies

Prep time: 5 minutes

Cook time: 0 minutes

Ingredients(Makes 9 sandwich cookies):

  • 1 batch peanut butter cookies
  • 3 Tablespoons no-oil added peanut butter
  • 3 Tablespoons butter, room temperature
  • 3/4 cup powdered sugar
  • 1 1/2 teaspoons vanilla extract

peanut-butter-buttercream-sandwich-cookies-stacking

Method:

  1. Cream together the peanut butter, butter, powdered sugar and vanilla extract until it makes a smooth and thick buttercream.
  2. Scoop 1 tablespoon of buttercream onto the flat side of a cookie and sandwich together with an equally sized cookie. Repeat until all of the cookies and frosting are gone.

peanut-butter-buttercream-sandwich-cookies-pile

10-Minute Chickenless, Noodleless Soup

10-minute-chickenless-noodleless-soup

After weeks of unseasonably warm weather, Winter is hitting and it’s hitting hard. It’s rained the past few days; and the temperature has dipped into the 30 and 40s. It’s no wonder I was craving chicken noodle soup recently.

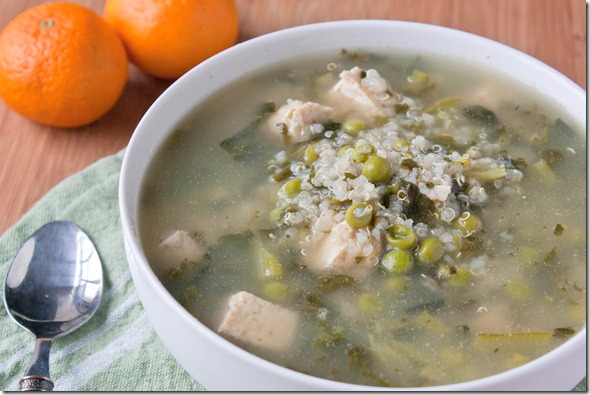
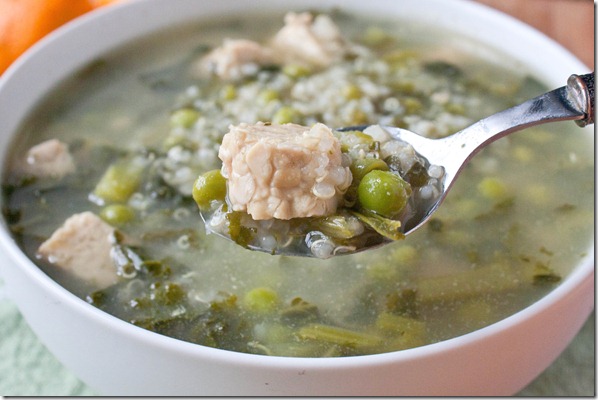
I was thinking of just riding out the craving, since it’s not the easiest thing to satisfy for someone who’s vegetarian and gluten-free. Then I realized I had enough food lying around to make a decent meat-free, gluten-free soup that hit all the right notes.

10-minute-chickenless-noodleless-soup-broth

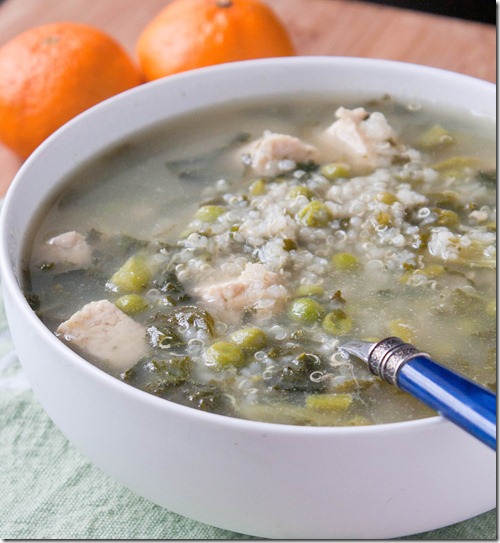
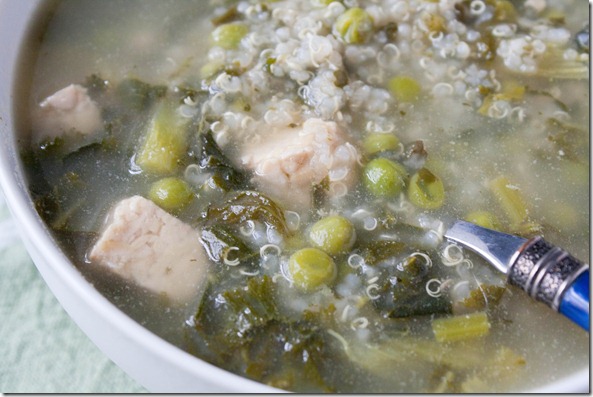
I loved how flavorful this was, especially for something that was so simple. It was exactly like any good soup I’ve ever had, with a deep and savory broth. The quinoa and tempeh make this totally satisfying, as well. If gluten’s not an issue, I bet the texture of seitan would work great in this soup, too, in place of the tempeh.

10-Minute Chickenless, Noodleless Soup

Prep time: 5 minutes

Cook time: 10 minutes

Ingredients(Makes 4 side servings or 2 entrée servings):

  • 2 cups precooked quinoa
  • 3/4 cup chopped kale, fresh or frozen
  • 3/4 cup peas, fresh or frozen
  • 1 block of tempeh, cubed
  • 3 cups water
  • 1 vegetarian bouillon cube
  • 1/2 teaspoon salt plus more to taste

10-minute-chickenless-noodleless-soup-bowl

Method:

  1. Combine all of the ingredients in a large pot
  2. Bring the water to a boil. Make sure to mix well enough that the bouillon cube dissolves completely into the broth.
  3. Once heated through, remove from the stove and serve hot.

10-minute-chickenless-noodleless-soup-tempeh

And then I ate this with 2 clementines because I’m paranoid about getting sick during finals period. Nobody sneeze on me, please.

Egg-Free Peanut Butter Cookies

egg-free-peanut-butter-cookies

Well I made it 4 days into December before breaking down and making Christmas cookies. I couldn’t hold up to the pressure any longer.

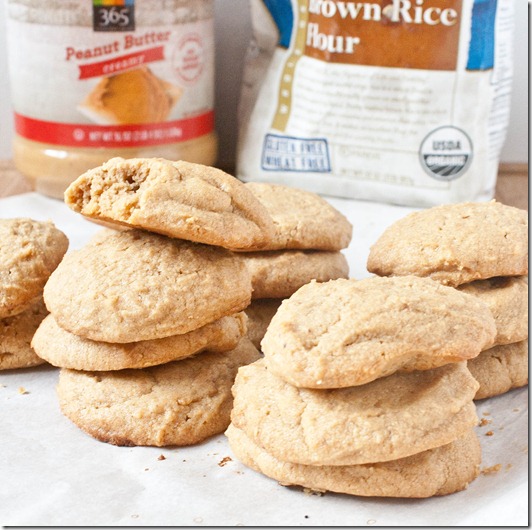
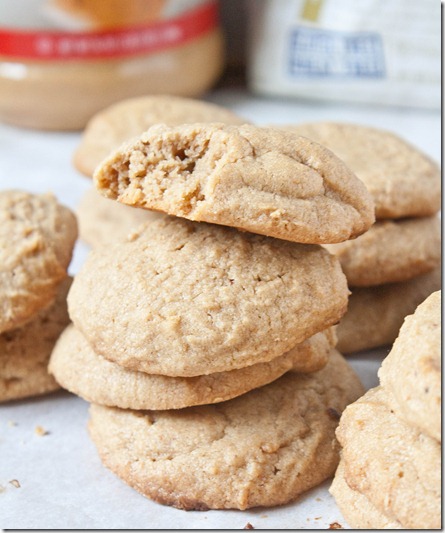
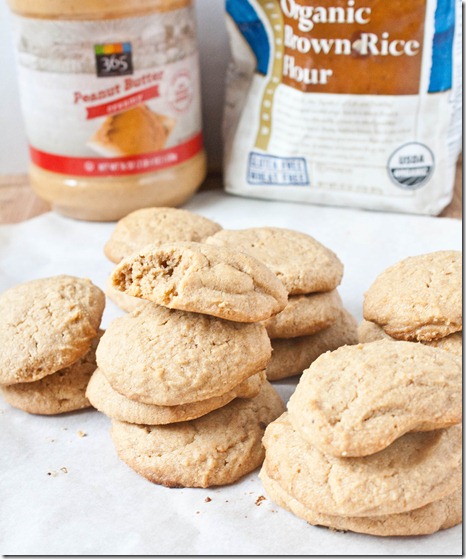
The truth is I’m not the biggest cookie fan. I have my favorites(like peanut butter cookies) but on the whole would rather have something else. One cookie I love is the peanut butter cookie from Wildflour Bakery which is gluten-free and vegan. It’s so sweet and soft and falls apart in your mouth. I thought I might try to make a cookie like theirs; this isn’t nearly the same, but I like it in its own respect which is why I’m posting the recipe. It’s less sweet but much more peanut buttery; it almost tastes like eating a spoonful of peanut butter in cookie form.

This recipe can easily be made vegan by using a dairy-free butter substitute. I would not recommend subbing in coconut oil for the butter in a 1:1 ratio because they do not act the same in baking and I can’t say for how it would turn out.

Egg-Free Peanut Butter Cookies

Prep time: 30 minutes

Cook time: 16-18 minutes

Ingredients(Makes about 1 1/2 dozen cookies):

  • 1 cup no-oil added peanut butter
  • 1/4 cup butter
  • 3/4 cup maple syrup
  • 3/4 cup brown rice flour
  • 1/4 cup tapioca starch(or corn starch)

egg-free-peanut-butter-cookies-stack

Method:

  1. Preheat your oven to 350 degrees and line a couple baking trays with parchment paper.
  2. Beat together all of the ingredients. Put the batter in the refrigerator of freezer to harden until you can handle the dough and roll it into balls.
  3. Once the dough has reached that stage, scoop the dough and roll it into balls. Place the balls about 2 inches apart on the baking trays.
  4. Bake for 16-20 minutes until the outside is golden. The cookies will still be very soft to the touch when they’re done.
  5. Remove the cookies from the oven and let them cool completely before handling. As they cool, the outside will harden up and make them less fragile.
  6. Store sealed in an airtight container at room temperature when not eating.

egg-free-peanut-butter-cookies (2)

Thanksgiving Cranberry Sauce Recipe

Nov 26th 076

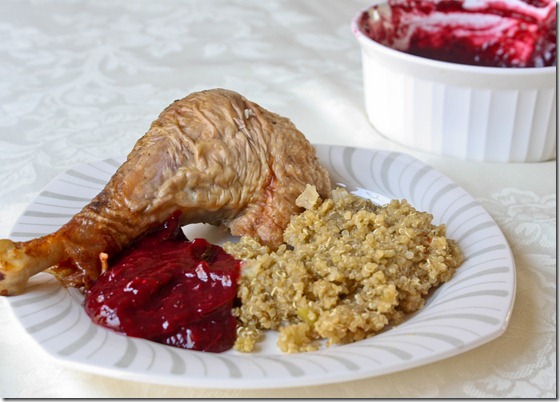
Let’s look past the fact that Thanksgiving was now 2 weeks ago. You might want to make cranberry sauce for Christmas, or just for anytime, right? Maybe? Sure.

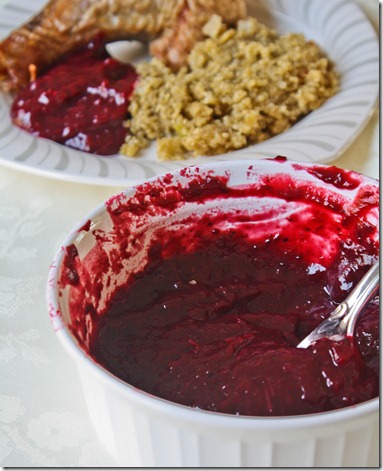
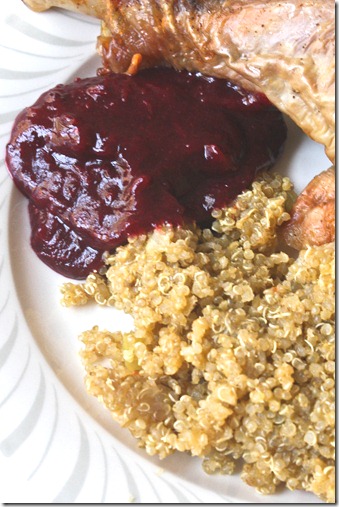
I wanted to make a sauce with a twist. Since my whole family is from northern New Hampshire, I tried adding some blueberries into the cranberry sauce. And a little ginger because who doesn’t like ginger? Orange juice replaces some of the sugar with a less refined sweetness to round out the flavor of the sauce.

And since I figure somebody’s going to wonder or ask: No, that’s not my plate. Yes, I am still a vegetarian. But I did carve the turkey for the second year in a row because I’m damn good at it.

Thanksgiving Cranberry Sauce

Prep time: 5 minutes

Cook time: 30 minutes

Ingredients(Makes around 6 cups):

  • 24oz fresh cranberries
  • 1 cup blueberries
  • 2 cups orange juice
  • 1/4 teaspoon salt
  • 1/2-inch fresh ginger peeled and grated
  • 6 Tablespoons cane sugar

Nov 26th 093

Method:

  1. Combine the cranberries, blueberries, and orange juice together in a large pot.
  2. Cover the pot and bring the contents to a boil. Keep boiling until the juice evaporates.
  3. Once finished, pour the cranberries and blueberries into a food processor. Add in the salt, ginger, and cane sugar and puree until smooth.
  4. Move the sauce to a container and leave it out to cool. Once at room temperature, place the sauce in the refrigerator to until eating.

Nov 26th 069

Next time I make this I want to swap another cup of cranberries for blueberries to make the flavor more prevalent. Nobody noticed there was blueberries in the sauce; I didn’t even notice and I made it.

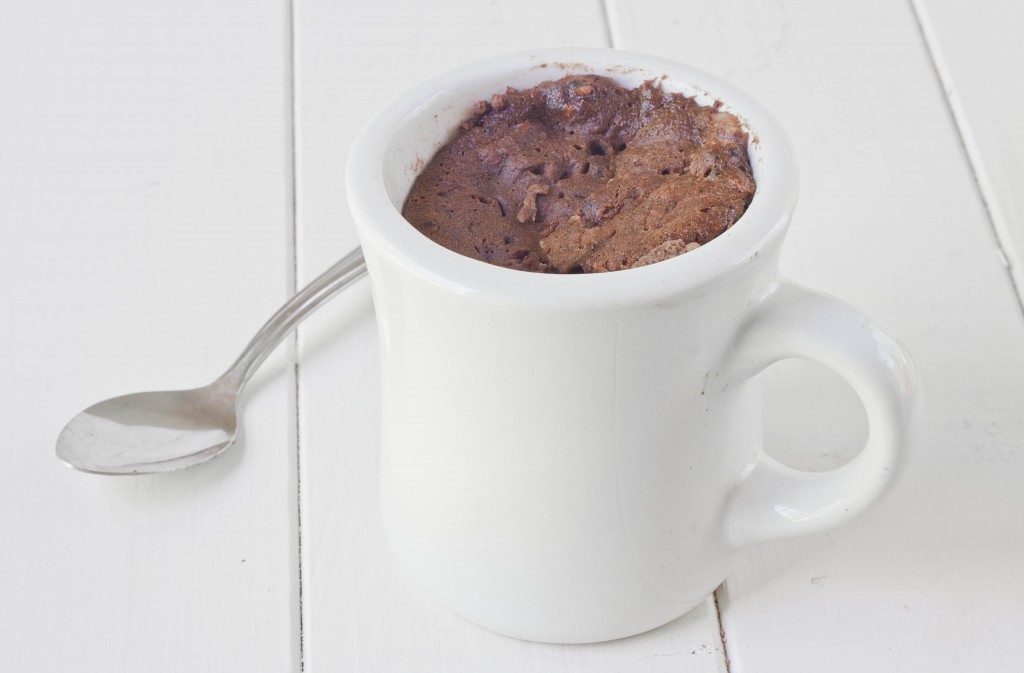
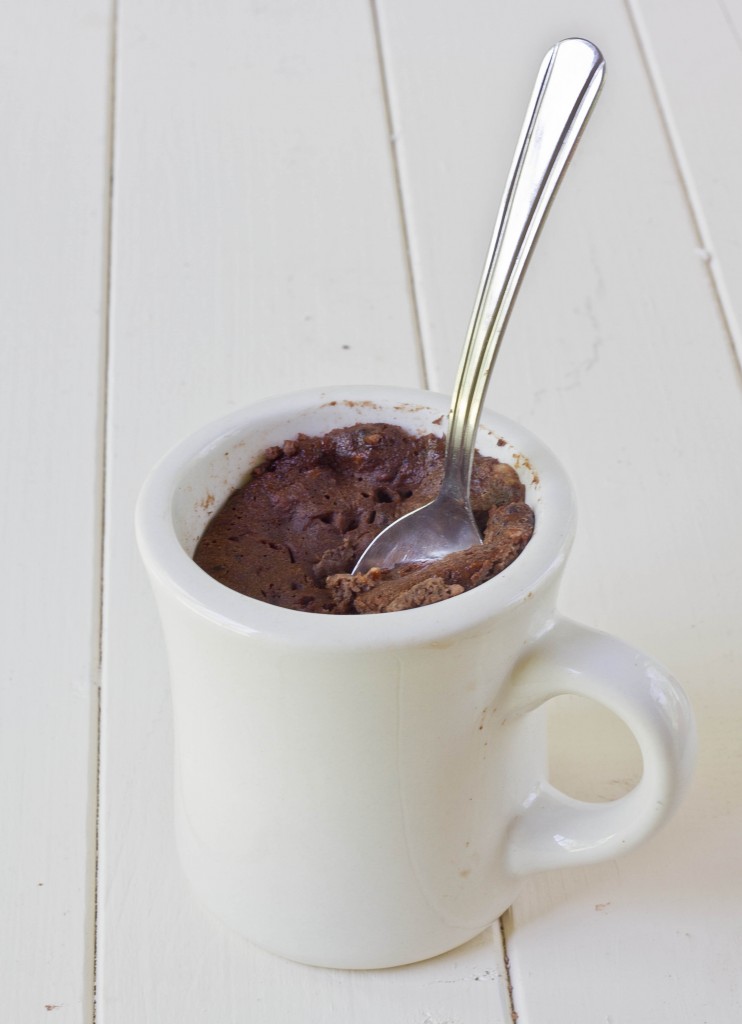
Paleo Mug Cakes

You’re going to want to bookmark this one; trust me.

I never understood the appeal of mug cakes before recently. It seemed to me that if you wanted something chocolate and delicious you should put in the time and effort to bake some almond flour brownies and the extra hour would be well worth it. It also didn’t help that most mug cake recipes aren’t gluten-free, or—if they are—come out with a weird starchy taste to them.

But now I’ve seen the light and have come around to mug cakes, partly because the oven I use was 3 floors below where I lived at the time I made this and partly because the recipe is so damn good. When I was trying the recipe, I also wanted something that was sort of healthy. This is healthy enough even to be eaten for breakfast, which I’ve done on a few too many occasions.

The original recipe is only 4 ingredients, but you can add in things like chocolate chips, walnuts, candied ginger, vanilla extract, and anything else to shake things up.

Paleo Mug Cake

Prep time: 5 minutes

Cook time: 3 minutes

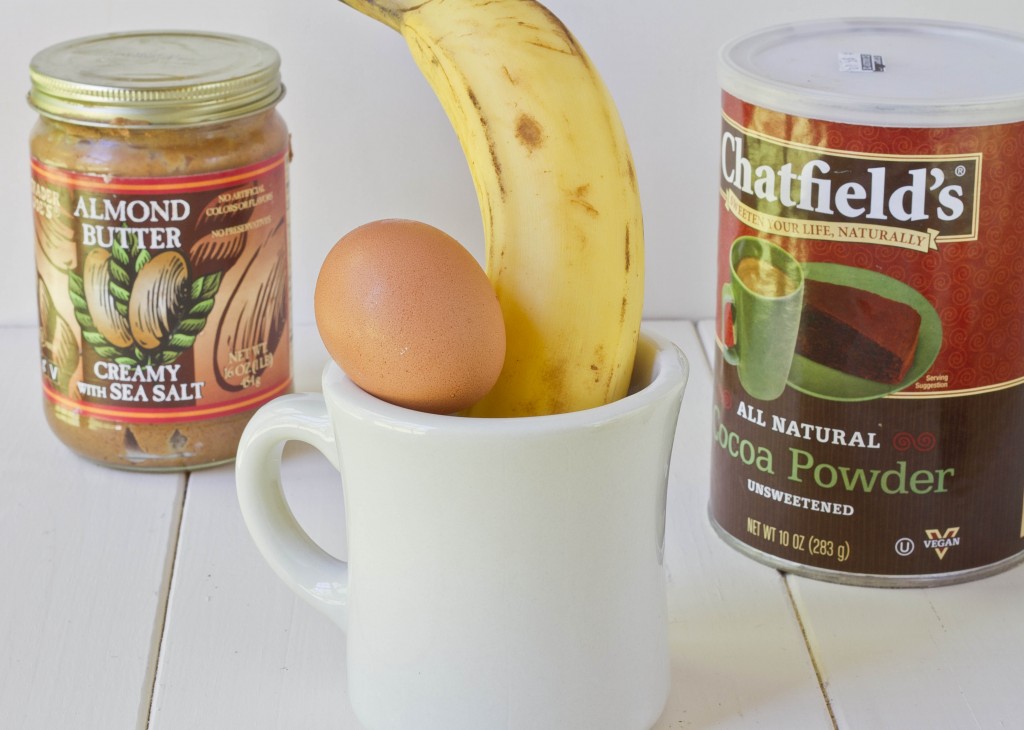
Ingredients(Makes 1 cake):

  • 1 small ripe banana
  • 1 1/2 Tablespoons almond butter(or any nut butter)
  • 1 egg
  • 2 heaping Tablespoons cocoa powder
  • 2 teaspoons sweetener(optional)
  • Chocolate chips, walnuts, dried fruit, or other mix-ins(optional)

Method:

  1. With a fork, mash the banana into a smooth puree.
  2. Mix the almond butter, egg, cocoa powder, and extra sweetener if using into the banana puree until it forms an even batter.
  3. Fold in any mix-ins into the batter that you’d like. Otherwise, our the batter into a mug or other microwave safe container. Be sure to only fill the container up to 2/3rds the way because it will expand in the microwave.
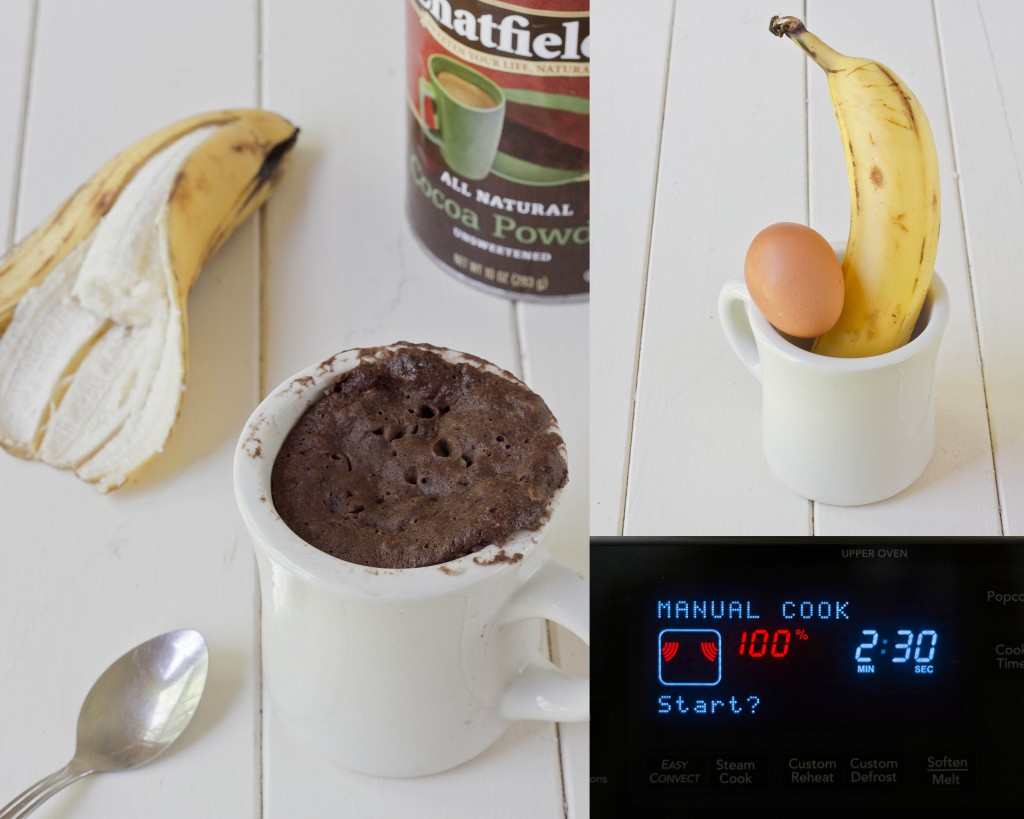
  4. Microwave on high for 2 and 1/2 minutes until the center is set. Carefully remove the mug from the microwave and enjoy hot, cold, or at room temperature.
I don’t add sweetener to mine and it still tastes delicious. I’ve only ever made it with almond butter but I’m sure peanut butter would be a nice alteration. The banana flavor is definitely prevalent, especially once it cools, but that only reminds me of a chocolate covered banana which I love. The best things about these cakes are that they don’t have any sort of flour flavor to them and are rich and fudgy like a brownie. The worst thing about this recipe is once you make it you’ll never stop.