Tag Archive: Cooking

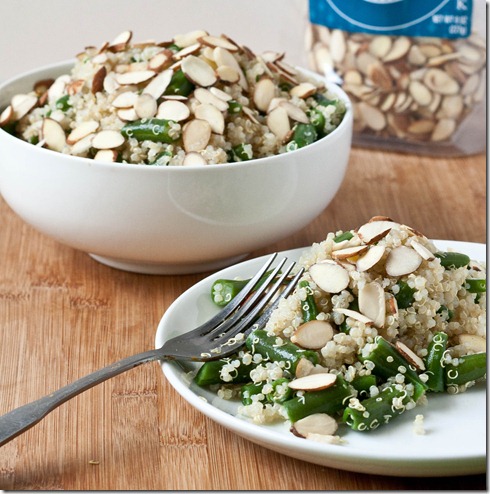
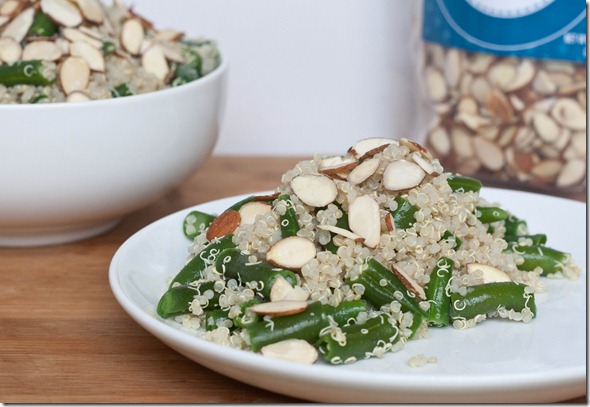
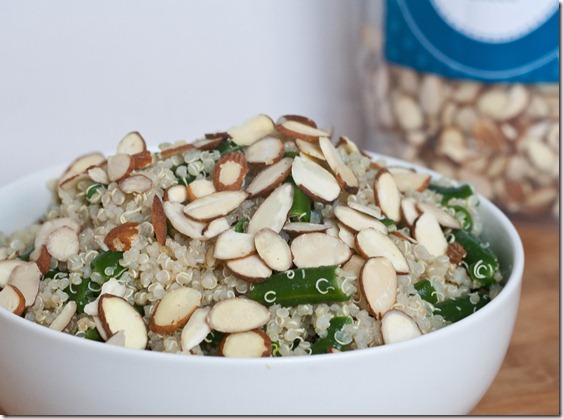
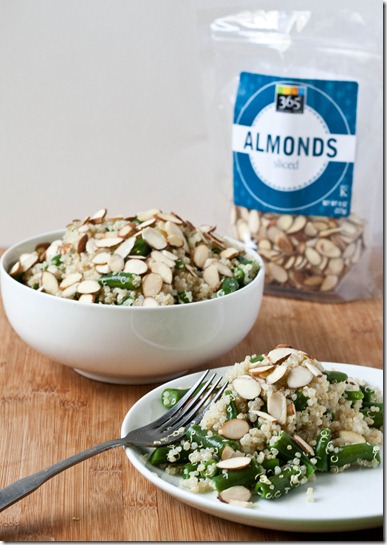
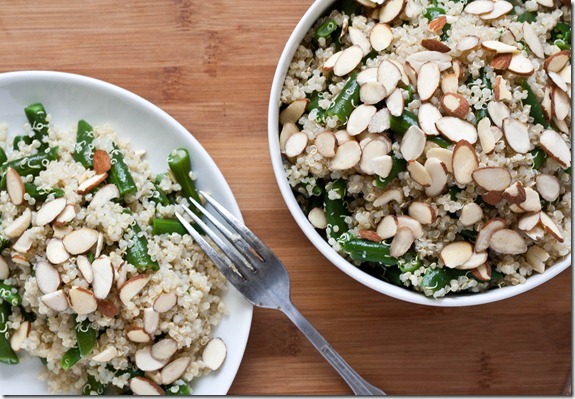
Green Bean Almondine Quinoa

green-bean-almondine-quinoa

Green beans are definitely not the sexiest of vegetables. I think they took a hit in the 50s when green bean casseroles were all the rage and they never really recovered from that. That’s a shame because cooked just right they can be delicious!

green-bean-almondine-quinoa-serving

I love the idea of pairing green beans and almonds. But that alone doesn’t sound particularly enticing since it’s been done to death. I thought I’d try mixing that in with quinoa, since it’s filling and all the rage these days. This is a much heartier side dish that’s bright and flavorless and doesn’t taste dated.

green-bean-almondine-quinoa-bowl

If fresh green beans aren’t available, look for frozen green beans, which will have a better taste and texture than canned.

Green Bean Almondine Quinoa

Prep time: 10 minutes

Cook time: 25 minutes

Ingredients(Makes 6-8 servings):

  • 2 cups dry quinoa, washed and rinsed
  • 1/2 pound green beans, trimmed and washed
  • 2 Tablespoons extra virgin olive oil
  • 1 Tablespoon lemon juice
  • 3/4 teaspoon salt
  • 1/2 cup shaved or slivered almonds

green-bean-almondine-quinoa-long

Method:

  1. Cook the quinoa according to the package directions(I usually cook mine with 2 parts water to 1 part quinoa).
  2. While the quinoa is cooking, cut the green beans into a bite-sized length. Steam the green beans until they turn a bright green color and are cooked through.
  3. When the quinoa is fully cooked, turn off the heat and stir in the beans, olive oil, lemon juice, and salt.
  4. Move the quinoa to a serving bowl and garnish with the almonds. Serve hot or at room temperature.

green-bean-almondine-quinoa-plated

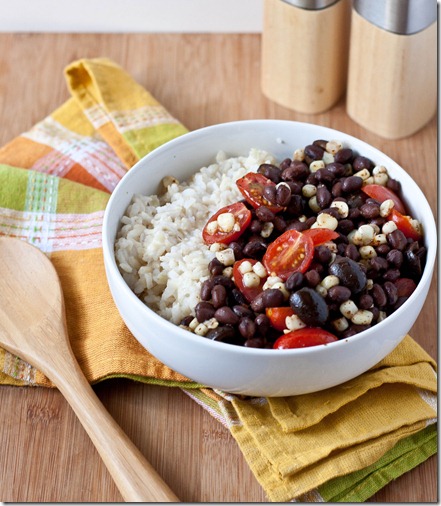
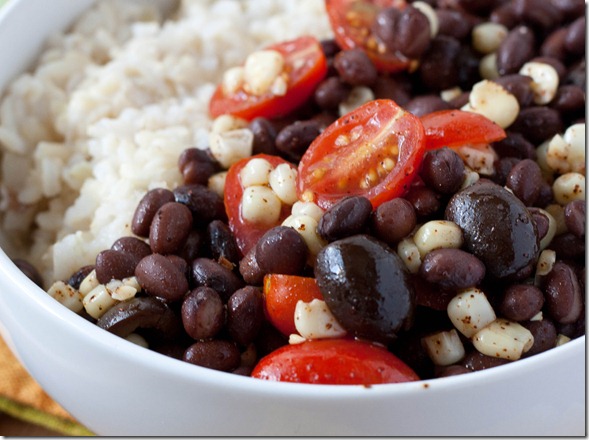
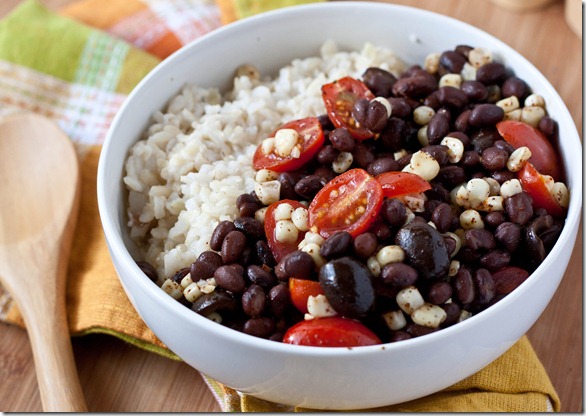
Easy Black Bean Salad

easy-black-bean-salad

I’m usually too tired to want to cook at night; during the Summer I have the lovely excuse of not wanting to turn on a stove or a grill because it’s already too hot. That’s why I love bean salad recipes: You never have to cook them and they’re easy to throw together.

It’s really easy to make a big pot of rice and a bunch of bean salad and keep it for yourself to eat throughout the week. Most of the ingredients I used were canned, which is also a plus since I almost always keep them on hand. I’m not a big cilantro fan so I leave strong herbs like that out usually, but you could just as easily add them in. This would be best with a big plop of firecracker guacamole on top.

easy-black-bean-salad-tomato

I left the onions out because I’m not a fan of the strong flavor. One way to get rid of the intense bitterness is to soak it in cold water for 5 minutes before dicing it.

Easy Black Bean Salad

Prep time: 10 minutes

Cook time: 0 minutes

Ingredients(Makes 2 servings):

  • 1 1/4 cups black beans
  • 1/2 cup corn
  • 1/3 cup sliced cherry tomatoes
  • 1/3 cup sliced olives
  • 1/2 red onion, diced(optional)
  • 1 Tablespoon olive oil
  • 1 Tablespoon lemon juice
  • 1/2 teaspoon chili powder
  • 1/2 teaspoon salt
  • 2 Tablespoons freshly chopped cilantro(optional)

easy-black-bean-salad-overhead

Method:

  1. Take all of the ingredients and toss together until the salad is evenly mixed.
  2. Serve with rice, tortillas, or over a bed of greens.

easy-black-bean-salad-2

So simple and delicious. It feels like eating at chipotle only without the drive. What could be better than that?

Cranberry Cashew Quinoa

cranberry-cashew-quinoa

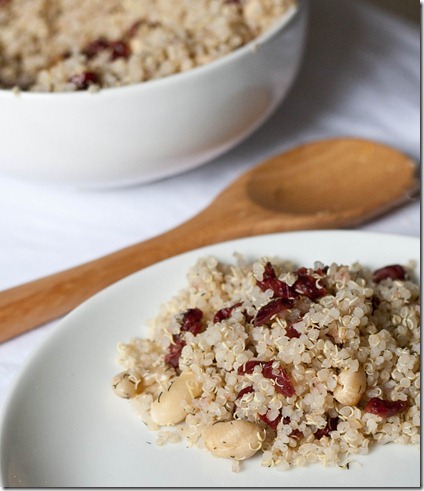
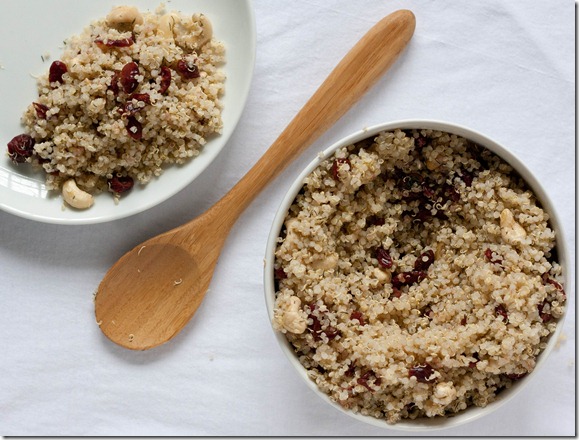
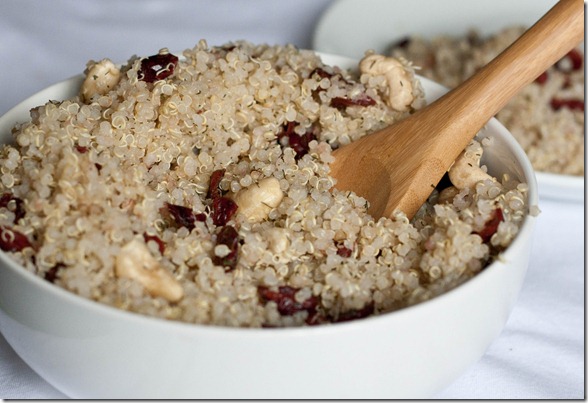
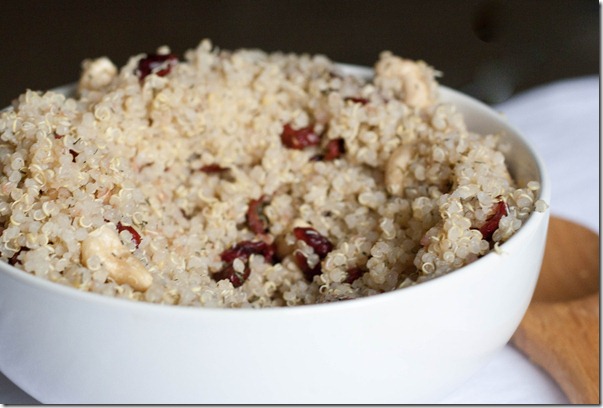
It’s been a while since I posted a quinoa recipe. Not because I haven’t been eating it, but because I haven’t been doing anything interesting with it except covering it in store-bought sauce. At some point I forgot to go grocery shopping and had to get crafty and a recipe came out of it.

When I was growing up we always had fish for Friday during Lent. Actually, we usually had pizza because I didn’t like fish, but there was definitely an offering of fish. Usually it was white fish with lemon and dill. Now I don’t eat fish and I’m not Catholic, so fish on Fridays is clearly out. But the bright side of being a vegetarian is discovering new foods, and quinoa on any day is clearly in.

cranberry-cashew-quinoa-overhead

This quinoa recipe like most others is fairly versatile. You can eat it as a side dish with something light like fish or beans, or toss it on a salad of green vegetables and eat it as an entrée.

Cranberry Cashew Quinoa

Prep time: 10 minutes

Cook time: 15 minutes

Ingredients(Makes 4-6 servings):

  • 1 cup dry quinoa, cooked to box’s directions
  • 1/2 cup dried cranberries
  • 1/2 cup cashews, raw or roasted
  • 1 Tablespoon lemon juice
  • 2 Tablespoons dried dill or parsley
  • 3/4 teaspoon salt
  • Honey to taste(optional)

cranberry-cashew-quinoa-spoon

Method:

  1. Rinse and wash your quinoa before cooking.
  2. Cook using the manufacturer’s directions for water and time.
  3. When the quinoa has finished cooking, remove it from the heat.
  4. Add into the pot the rest of the ingredients and mix until evenly combined.
  5. Serve hot or cold as a side with fish or beans.

cranberry-cashew-quinoa-bowl

White Chocolate Thin Mints

white-chocolate-thin-mints

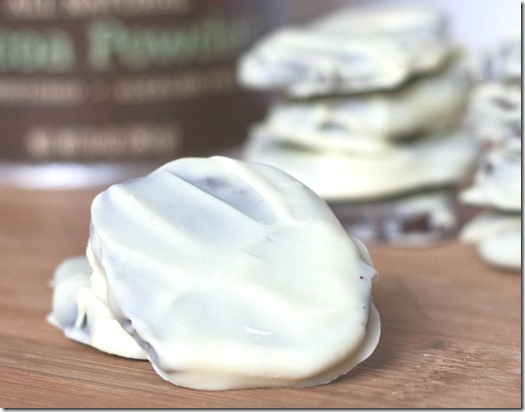
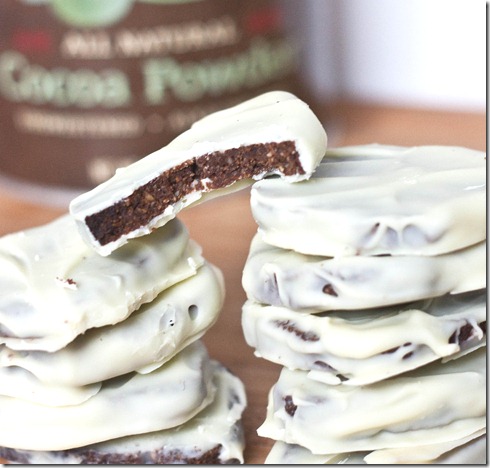
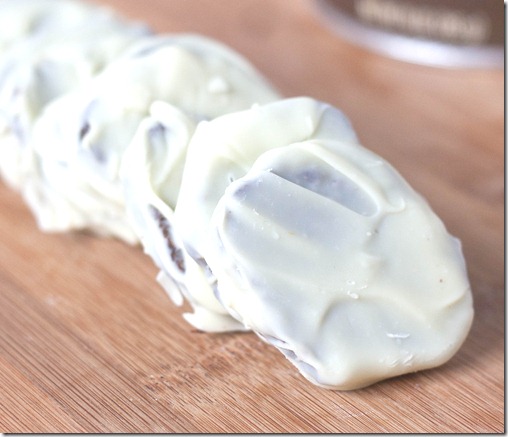
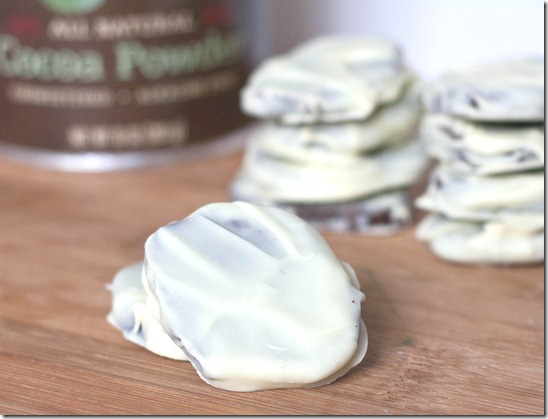
After I made my first batch of gluten-free thin mints, I still had half the batter to bake and no chocolate chips left to coat them with. All I had was a white chocolate baker’s bar, so I used that. And I’m really happy I did.

Typically I’m skeptical of white chocolate. I don’t like it most of the time, but I think there’s something about pairing it with mint that makes it much more palatable. Coating the white chocolate onto the cookies is a little more challenging because where it’s too thin you can see the cookie part coming through; but I don’t think this is really a problem. If anything it adds to the homemade quality of the cookies.

white-chocolate-thin-mints-inside

I provided a link in the ingredients to the recipe for the chocolate cookies I used but you can use any that you prefer, or even store-bought cookies. 

White Chocolate Thin Mints

Prep time: 15 minutes

Cook time: 0 minutes

Ingredients(Makes 24 cookies):

  • 24 chocolate shortbread cookies such as these or your preferred thin mint cookie recipe
  • 12oz white chocolate
  • 1/2 teaspoon mint extract

white-chocolate-thin-mints-row

Method:

  1. Gently melt the white chocolate in a microwave or over a double boiler.
  2. When the chocolate has melted, mix in the extract until it is smooth and incorporated.
  3. If you’re baking the cookies from scratch, be sure to let them cool to room temperature before coating in chocolate.
  4. Dip the cookie into to chocolate, coating both sides. Smooth with a knife if necessary.
  5. Put the cookie on a non-stick surface and repeat until all of the cookies and chocolate are used up.
  6. Keep in the refrigerator for up to 2 weeks.

white-chocolate-thin-mints-2

I can’t believe I’m saying this but I actually preferred these to the dark chocolate Thin Mints. The white chocolate added a butteriness to the cookie that was missing in the others. 

Peanut Butter Chocolate Chip Cookie Cake

peanut-butter-chocolate-chip-cookie-cake

Something hit me when I was browsing TasteSpotting a couple weeks ago: I haven’t had a cookie cake in ages. I decided right then I wanted a cookie cake at my birthday party this year, because clearly I’m 20 going on 12. But then I figured why wait? I could bake a cookie cake for any occasion.

peanut-butter-chocolate-chip-cookie-cake-cutting

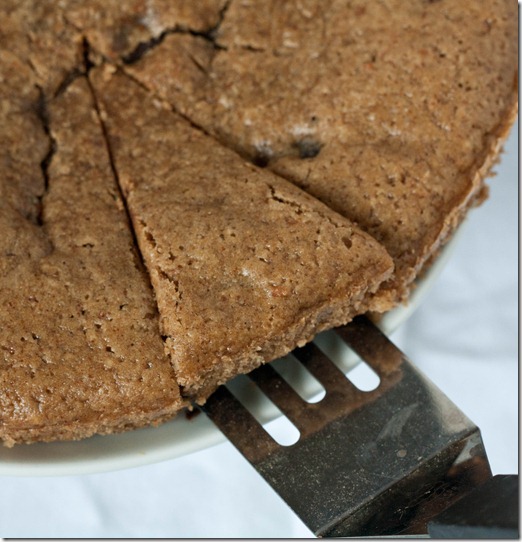
Of course I made mine gluten-free using one of my favorite flours: Almond flour. It also just happens to be dairy-free because I was low on butter that day. The peanut butter helps to act as a binder, makes the cake richer and adds a nutty flavor. You could substitute in almond butter to work around a peanut allergy.

peanut-butter-chocolate-chip-cookie-cake-overhead

I liked mine slightly under-baked because it kept the inside moist and gooey almost like eating cookie dough. If you like your cookies a little crustier, I would recommend adding a few minutes onto the baking time and watching it carefully.

Peanut Butter Chocolate Chip Cookie Cake

Prep time: 10 minutes

Cook time: 20 minutes

Ingredients:

  • 1 cup almond flour
  • 6 Tablespoons cane sugar
  • 1/2 teaspoon baking powder
  • 2 eggs
  • 1/2 cup natural peanut butter
  • 1/4 cup oil
  • 1 teaspoon vanilla extract
  • 1/4 cup water
  • 6 Tablespoons chocolate chips

peanut-butter-chocolate-chip-cookie-cake-middle

Method:

  1. Preheat your oven to 350 degrees
  2. Mix together the almond flour, sugar, and baking powder.
  3. Beat in the eggs, peanut butter, oil, vanilla extract, and water.
  4. Gently fold in the chocolate chips.
  5. Grease an 8-inch cake pan. Pour the batter in and spread it around the bottom into an even layer.
  6. Bake for 20 minutes until the outside is firm and bounces back to the touch.
  7. Let cool slightly before cutting in.

peanut-butter-chocolate-chip-cookie-cake-serving

I thought this could have used a little more sugar, but that’s probably because I love things sweet. If you’re making this for adults, it’ll be fine the way the recipe is. If you’re making this for little children or me, I would add a 1/4 cup of sugar to the recipe.

My Lazy Go-To Meal

eggs-poached-in-tomato-sauce-forkfull

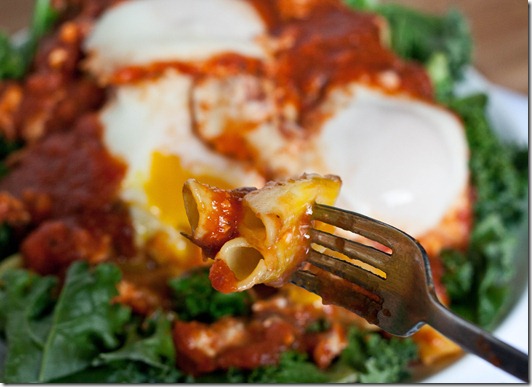
Every time I open a jar of marinara sauce, I feel a little guilty. I worked in an Italian restaurant for 3 months where I made the pasta while homemade tomato sauce was going on the stove every morning. And yet I will choose jarred tomato sauce over making my own every damn time. Trader Joe’s, Prego, Ragu—it doesn’t matter; even bad marinara sauce is still pretty damn good.

eggs-poached-in-tomato-sauce-pasta

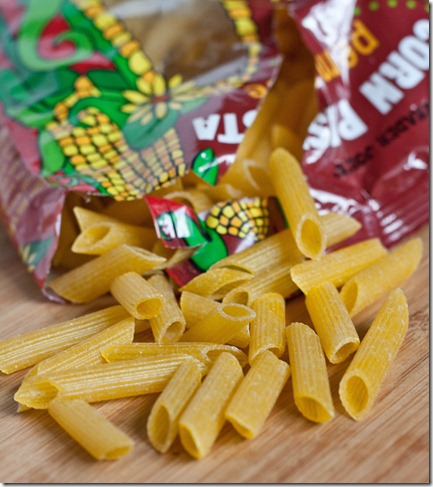
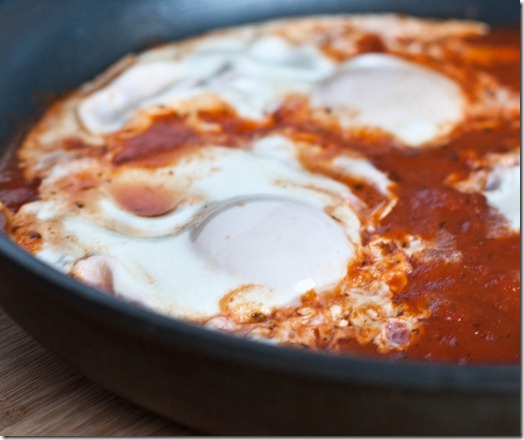
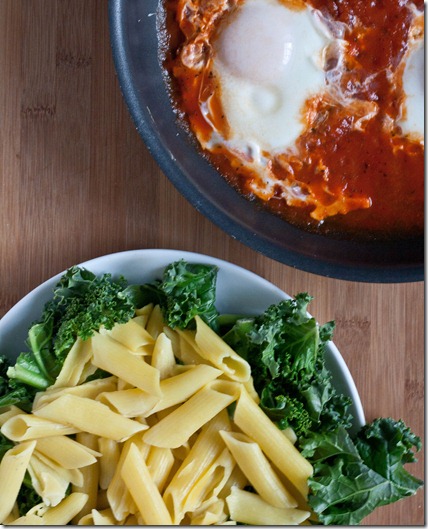
One of my favorite meals to make is eggs poached in tomato sauce over some kind of carbs, usually quinoa but in this case corn pasta I picked up at Trader Joe’s to try out. I had low expectations and it blew me away; I would not have known this were gluten-free if I hadn’t cooked it myself. There isn’t as much fiber or protein as brown rice pasta, but for the genuine taste and texture this pasta completely wins out.

I posted this recipe over the Summer, but I’m posting it again because I think it should be something everyone tries.

Eggs Poached in Tomato Sauce

You’ll need:

  • 2/3 cup marinara sauce
  • 2-4 eggs
  • A large frying pan with a lid

eggs-poached-in-tomato-sauce

Method:

  1. Heat the marinara sauce in the frying pan over medium heat until it’s boiling.
  2. Gently crack the eggs into the sauce and cover the pan.
  3. After about a minute, once the white on top of the yolks have cooked, remove the pan from the heat and serve over pasta.

eggs-poached-in-tomato-sauce-overhead

I could eat this every day; actually, there are probably weeks when I do. I hope you will, too.

Scrambled Tofu

Scrambled-Tofu

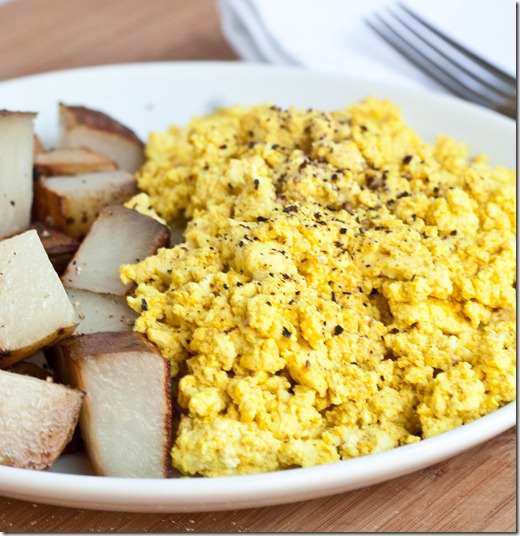
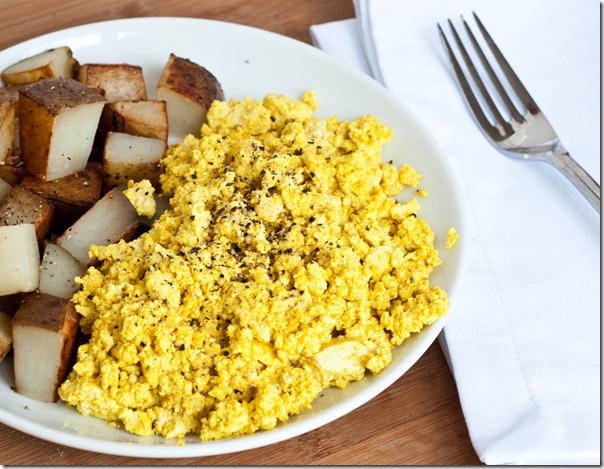
I love eggs. I really do. I have no problem with eating them for every meal. And some days I do. But I also love this vegan version of scrambled eggs, which is just as easy if not easier to make and packs a punch of flavor.

“How do you get tofu to look so much like eggs?” you might think. Tofu is so versatile to begin with; you can get it to be almost any texture and appearance with a little effort. The trick to getting a yellow color is turmeric, which adds very little flavor but a nice eggy look.

Scrambled-Tofu-and-potatoes

Now, this doesn’t taste terribly much like scrambled eggs. In fact, it would be pretty bland if it weren’t for the garlic, onion, and salt. In addition to those, you could add any herbs or other seasonings you might like to enjoy scrambled eggs with; for instance, add some cayenne pepper for a bit of a kick.

Scrambled Tofu

Prep time: 5 minutes

Cook time: 10 minutes

Ingredients(for 2 servings):

  • 1 block firm or extra firm tofu
  • 1/2 Tablespoon olive oil
  • 3/4 teaspoon turmeric
  • 1/2 teaspoon onion powder
  • 1/2 teaspoon salt
  • 1/4 teaspoon garlic powder
  • 1/4 teaspoon black pepper

IMG_0042

Method:

  1. Heat a pan over a burner set to medium.
  2. Mash the tofu with a fork to get it to a scrambled egg texture.
  3. Pour the tofu and all of the rest of the ingredients into the hot pan. Mix together to distribute the seasoning.
  4. Cook for 5-10 minutes until the tofu starts to brown and firm up.
  5. Serve hot with home fries or toast.

Scrambled-Tofu-Wide

I actually like this more than eggs because it’s usually easier to clean the pan afterwards; if that isn’t a good enough reason to make it, I don’t know what is.

Firecracker Guacamole

Firecracker-Guacamole

The Superbowl is coming up; I only know that because The Voice premiers right after it and that’s what I really want to watch. Maybe I’ll sit through 3 hours of football or maybe I’ll just eat chips and dip the whole time and not look up at the TV; the latter sounds more fun.

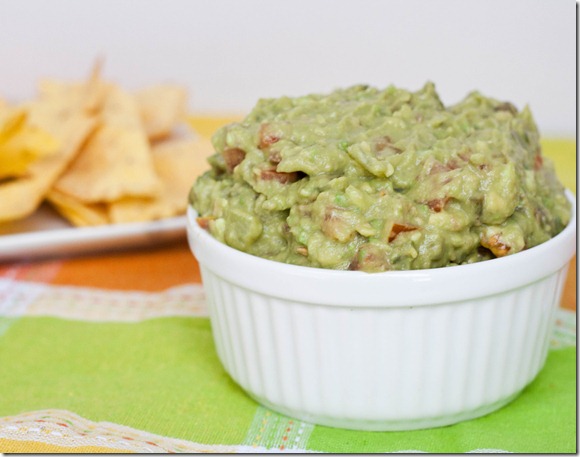
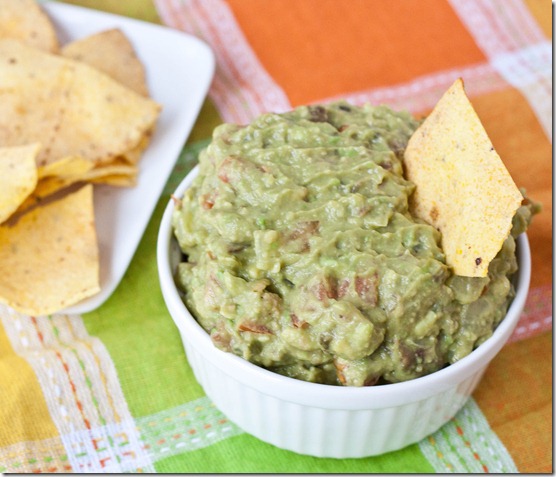
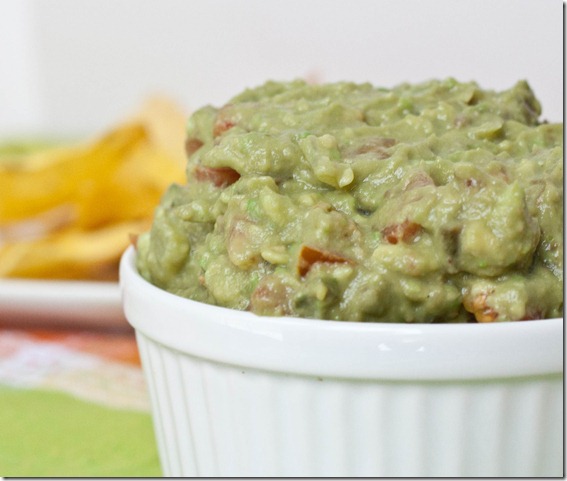
I never really made guacamole before and my first time got off to a rough start: I confused jalapeno and habanero peppers. I’m pretty sure traditional guacamole has jalapenos. This one has habaneros which are a little spicier. I didn’t wear gloves or anything while I was dicing it and ended up sniffling for the rest of the afternoon; those little buggers are hot!

Firecracker-Guacamole-dip

What makes this guacamole unique is that the onions are gently cooked. No one wants raw onion breath, especially at a party. Sautéing them in a pan in some water takes away that bitterness, and since it’s cooked in water and not oil it saves the guacamole from getting too oily. You can include or exclude the cilantro based on your preference; I can’t stand the flavor so I left it out.

Firecracker Guacamole

Prep time: 15 minutes

Cook time: 0 minutes

Ingredients:

  • 3 ripe medium-sized avocadoes
  • 1 small tomato
  • 1/2 yellow onion
  • 1 habanero pepper
  • 1/2 Tablespoon lemon or lime juice
  • 1/2 teaspoon salt
  • 2 Tablespoons chopped cilantro(optional)

Firecracker-Guacamole-close-up

Method:

  1. Peel and mash your avocadoes together in a large bowl.
  2. Carefully dice the onion, tomato, and pepper. Add the tomato and pepper in with the avocado reserving the onion.
  3. Heat a large pan over medium with a little water in the bottom. Quickly sauté the onion in the water for a couple minutes until the diced onions are semi-translucent. Remove from the heat and add in with the avocado.
  4. Add in your citrus and salt and cilantro if using and mix all of the ingredients together.
  5. Serve at room temperature. Store in the refrigerator for up to a day.
Firecracker-Guacamole-Scoop

This wasn’t the spiciest thing I’ve ever tasted but it certainly wasn’t mild, either; it was right around my heat level. Just be careful to wash your hands after handling the pepper. Nobody wants to rub that into their eyes or worse.
The Best Tempeh

the-best-tempeh

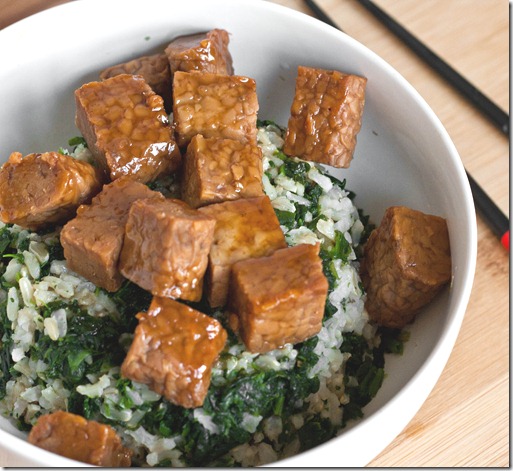
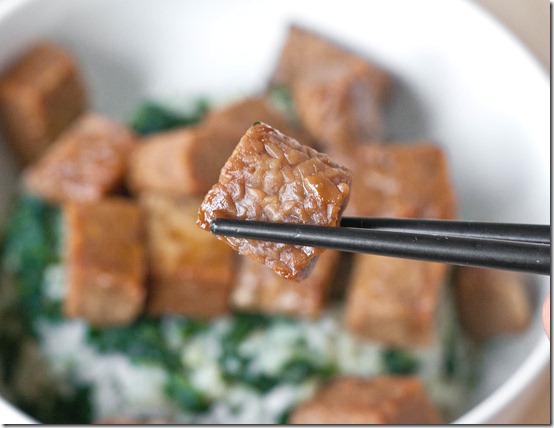
People who are vegetarian or want to eat less meat always ask me how to cook tofu to make it taste less… well, like tofu. Here’s my answer: I don’t really eat tofu all that much; tempeh has a much more natural taste and texture to it and the process for making it is a little less sketchy.
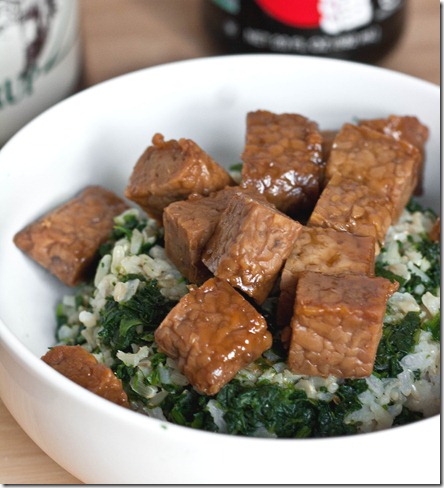
The second part to the answer is this recipe. Sometimes I eat tempeh plain because it tastes fine on its own to me, but when I do cook it I use this sauce. It’s only 2 ingredients and incredibly easy to make; it’s a great one for beginner cooks who aren’t looking to tackle long ingredient lists for flavorful food.

This dish is also really easy to make gluten-free. Just make sure to use wheat-free soy sauce and that the tempeh doesn’t have any grains fermented in it; the ingredients should just be soy beans, vinegar, and salt.

Maple Soy Tempeh

Prep time: 5 minutes

Cook time: 10 minutes

Ingredients(Makes 2 servings):

  • 1 block of tempeh
  • 1/4 cup soy sauce
  • 3 Tablespoons maple syrup

the-best-tempeh-piece

Method:

  1. Dice the tempeh into bite-sized pieces
  2. Heat together the tempeh, maple syrup, and soy sauce in a large pan over medium heat.
  3. Turn the tempeh occasionally as the liquid boils off into a glaze. Make sure all sides get covered in sauce.
  4. When most of the liquid has boiled off, remove the pan from the heat and scoop the tempeh out. Serve hot or cold as leftovers.

the-best-tempeh-plated

If you have trouble cleaning the pan afterwards, simply put it back on the hot burner and pour in some vinegar to loosen the glaze. Wipe the rest off with a folded paper towel or reduce it and pour over as a sauce.

Chocolate Peanut Butter Snack Balls

chocolate-peanut-butter-snack-balls

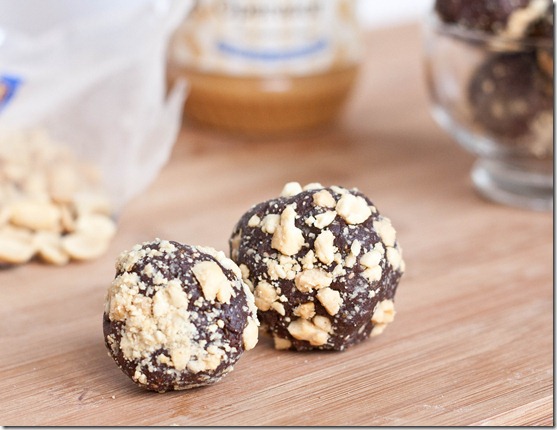
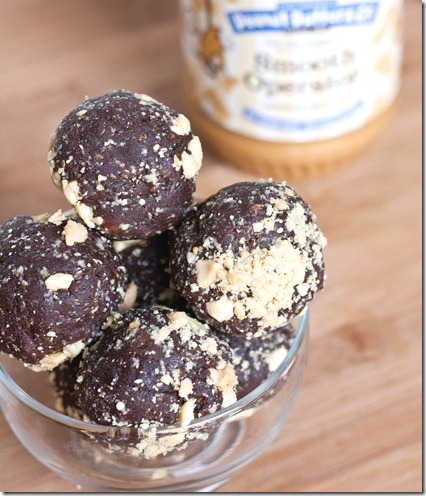
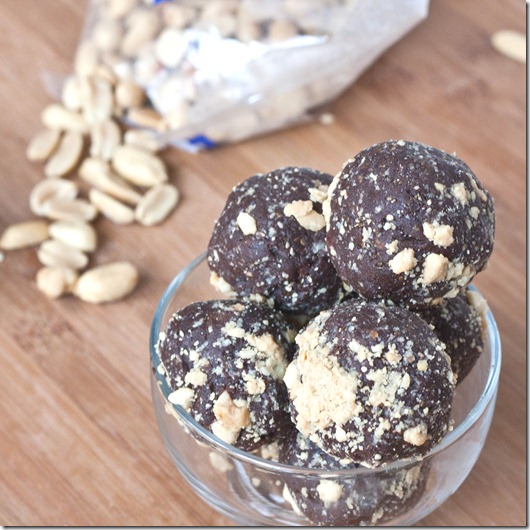
Lately I’ve been obsessed with these raw fruit and nut snacks. And I’m always obsessed with chocolate peanut butter. I can’t understand what took me so long to combine the two.

I’m not going to sugarcoat these and say they taste like Reese’s peanut butter cups; they don’t, and anyone who could get that flavor with just fruit and nuts would be a miracle worker. But these do taste deliciously sweet and salty with a hint of cocoa and silky smooth peanut butter. They’re certainly good enough to satisfy a snack craving. And if you want to take these to the next level, you can always mix some chocolate chips(or peanut butter chips!) into the batter for a real chocolate peanut butter treat.

Chocolate Peanut Butter Snack Balls

Prep time: 10 minutes

Cook time: 0 minutes

Ingredients(makes about 14 balls):

  • 16oz pitted dates
  • 1/2 cup peanut butter
  • 6 Tablespoons cocoa powder
  • 3 Tablespoons chia seeds
  • 1/4 cup peanuts or chocolate chips(optional)

chocolate-peanut-butter-snack-balls-peanut-butter

Method:

  1. Blend the dates in a food processor until they stick together and form a big dough ball.
  2. Add in the peanut butter and cocoa powder and continue mixing until all of the ingredients are blended together.
  3. Stop the processor; move the dough to a separate bowl and add in the chia seeds and any other mix-ins you might want. Knead them in throughout the dough.
  4. Break off 1oz pieces and roll them into 1-inch balls. Store in an airtight container at room temperature for up to a week. 

chocolate-peanut-butter-snack-balls-peanuts