Tag Archive: Cooking

“What Are Capers?”

what-are-capers

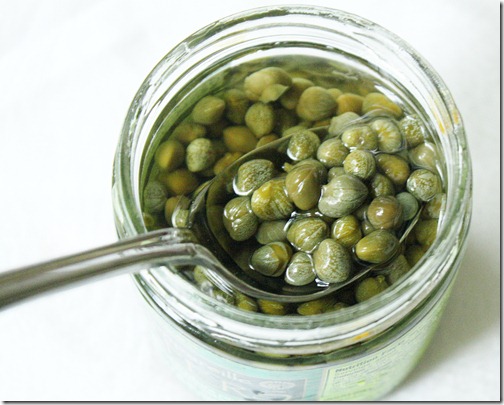
Until I started reading food blogs, I would have sworn capers were a type of fish that came in a can that no one except for old ladies and Nigel Thornberry ate(Does anyone know what I’m talking about?). But then I saw them, green little pearls that sort of look like fish eggs, except they were being used in vegan recipes. That only confused me more.

One day I was working in my restaurant and our job was to make the salsa verde used as a pork topper. The ingredients for it are simple: Parsley, jalapenos, shallots, and capers. I asked my shift manager what capers were, figuring she’d know having gone through culinary school, but her guess was as good as mine.

what-are-capers-trader-joes

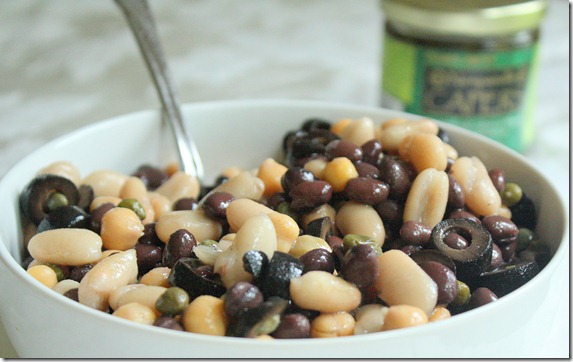
I went home that night and looked it up online and found out that capers are actually buds from the caper bush that are pickled to give a tart flavor to—the perfect touch to any dish(Side note: How did people know things before the internet? Seriously, I have no clue). I was excited to find them in Trader Joes and even more excited to make a dish with them. I’m leaving town on Friday and had a few too many open cans of beans in my refrigerator so I combined them to make this delicious bean salad.

what-are-capers-bean-salad

Bean Salad With Capers

Ingredients(Makes 4 servings:

  • 1 cup chickpeas
  • 1 cup black beans
  • 1 cup cannellini beans
  • 1/3 cup sliced black olives
  • 1 1/2 Tablespoons capers, drained
  • 1 Tablespoon extra virgin olive oil
  • Salt to taste

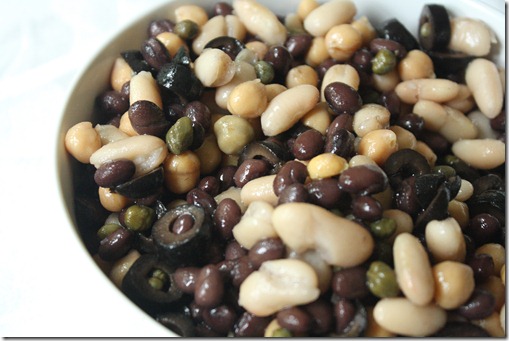
what-are-capers-recipe

Method

  1. In a large bowl, toss together the beans, olives, capers, and oil until evenly mixed.
  2. Taste and add salt if necessary. Serve room temperature.

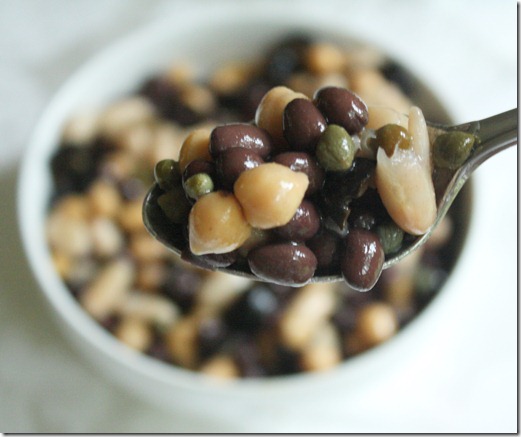
what-are-capers-spoonful

If you want to make this starting with unopened cans of beans, use a full can of chickpeas, black beans, and cannellini, 1/2 cup of olives, 2 Tablespoons of capers and the same amount of oil.

Fess up: Did you know what capers are?

Raw Pad Thai

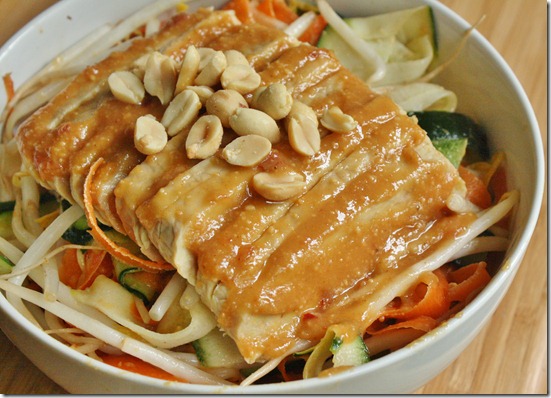
raw-pad-thai

When I shared A Day In The Life Of A Restaurant Intern, a reader wanted to know more about the raw pad Thai bowl I had for lunch. This is something I’ve been making all Summer long and honestly I never blogged about it because I didn’t think it was that exciting. Healthy? Yes. Delicious? No doubt. An excuse to eat peanut butter for every meal? Totally. But not really exciting.

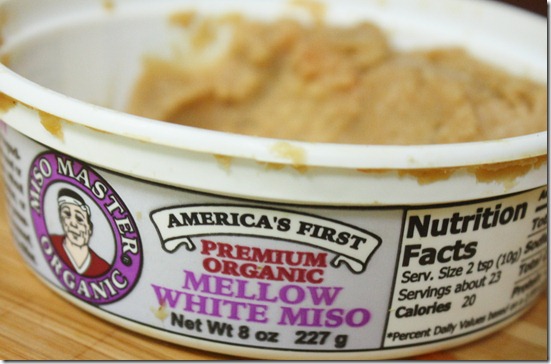
rw-pad-thai-miso

I never really make this the same way, sometimes adding sesame oil, sometimes using chickpeas instead of tempeh—you get the idea. One ingredient I highly recommend investing in is miso paste. I never really knew much about it before a few months ago and certainly never would buy it at the store. Now I wouldn’t keep a refrigerator without it. The salty/savory flavor is truly unique and adds a special depth of flavor that’s crosses cultures. I’ve used this in place of garlic, onions and salt in greens and beans and it tastes just as good. It’s definitely worth the investment.

Raw Pad Thai

Ingredients(For one serving):

  • 1 zucchini
  • 2 carrots
  • 1/2 cup bean sprouts
  • 1/2 block tempeh
  • peanuts to garnish

For the sauce:

  • 2 Tablespoons peanut butter
  • 2 teaspoons maple syrup
  • 1 Tablespoon rice vinegar
  • 1/2 Tablespoon white miso paste
  • 1 teaspoon siracha sauce(optional)

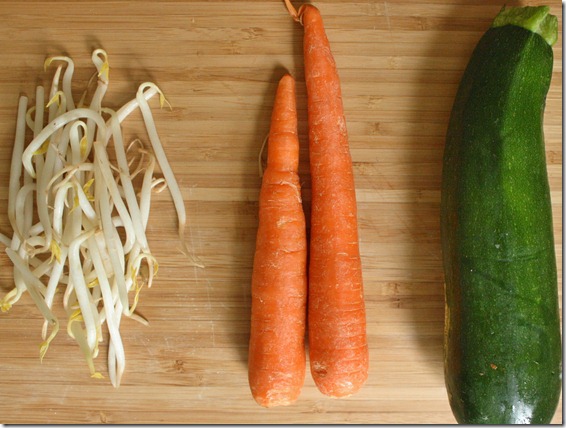
raw-pad-thai-ingredients

Method:

  1. Using a vegetable peeler, peel the zucchini and carrots into long, thin “noodles” using as much of the vegetables as possible.
  2. Make the sauce by mixing together the peanut butter, maple syrup, vinegar, miso, and siracha if using until smooth. If necessary add a few teaspoons of water until the sauce is runny yet thick.
  3. Toss the sauce with the vegetable “noodles” and bean sprouts in a large bowl reserving about a tablespoon of sauce.
  4. Plate the noodles in a bowl.
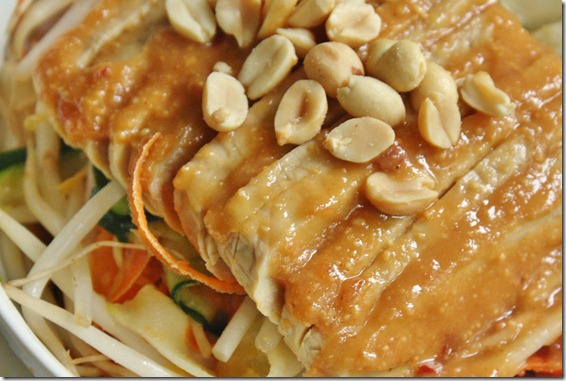
  5. Slice the tempeh on a bias and plate it on top of the sauced noodles.
  6. Spread the reserved sauce on top of the tempeh. Garnish with peanuts if desired.

raw-pad-thai-tempeh

Like I said, you can play around with the ingredients to suit what’s in your pantry. I could eat tempeh and peanut butter all day long so this is how I like it best. 

Hazelnut Chocolate Cake {Raw/Vegan}

hazelnut-chocolate-cake

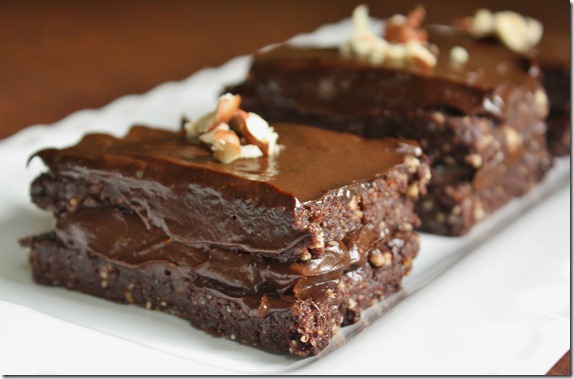
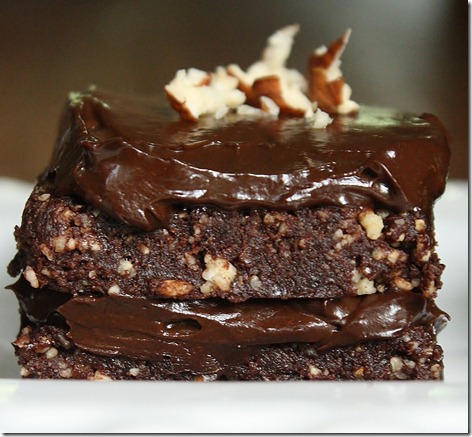
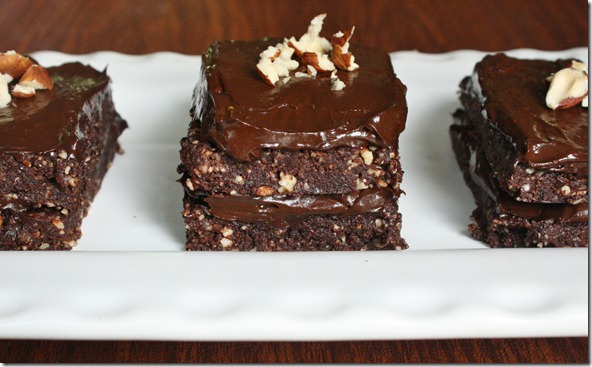
Saturday night we had a special dinner with family friends. For one weekend all 8 of us were around before starting vacations and school again; one of is even spending a year studying at Oxford(no, it’s not me; yes, I’m jealous). That called for cake. I had been wanting to make this recipe for a while and wanted to wait until just the right celebration. Everyone loved it, although when I told them the frosting involved avocado you would have thought I told them my own hair was in it. They started eating it again 2 seconds later when they remembered how good it was and decided you couldn’t taste the avocado.

hazelnut-chocolate-cake-front

I actually made this cake for Father’s Day last year and featured it as a guest post on Gena’s blog. Since then I’d completely forgotten about it and had to go look it up to remember how to make it. Now that I remembered, I kind of wish I could forget again. The ones that we didn’t give away didn’t last long in this house. It’s hard to say no to a piece of cake, and even harder when you can tell yourself it’s “healthy” because it has fruits and nuts in it.

Hazelnut Chocolate Cake {Raw/Vegan}

Prep time: 20 minutes

Cook time: 0 minutes

Ingredients(makes 5 2×3-inch frosted cakes):

  • 2 cups hazelnuts
  • 1 cup pitted dates
  • 3/4 cup cocoa powder, divided
  • 1/2 cup + 2 tablespoons maple syrup, divided
  • 1 medium avocado
  • Crushed hazelnuts for garnish

hazelnut-chocolate-cake-plated

Method:

  1. Pulse the hazelnuts in a food processor until finely ground into a flour
  2. Add in the dates, 1/2 cup cocoa powder, and 1/4 cup maple syrup and process until it forms into a thick dough that sticks together.
  3. Lay the dough out between two sheets of parchment paper and roll to about 3/4-inch thickness.
  4. With a sharp knife, cut the dough into either 8 or 10 equal sized rectangles. If there’s excess dough you can form it into a ball, roll it out, and cut again.
  5. Make the frosting by blending together the remaining maple syrup, cocoa powder, and the meat from the avocado until it’s uniform in color and texture. Taste it and adjust the sweetness if need be.
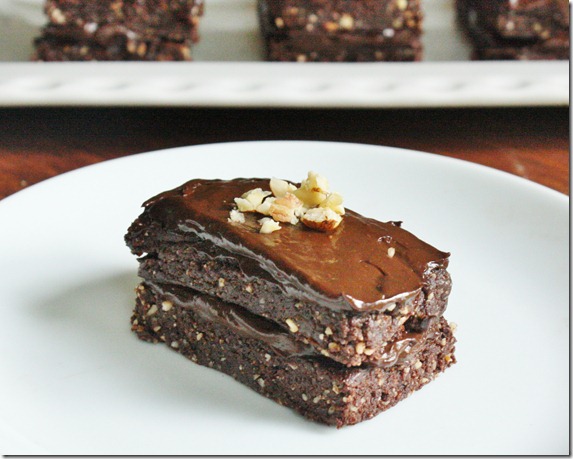
  6. Spread about 2 tablespoons of frosting over half of the cakes. Layer with another slice and spread an equal amount of frosting on top of that piece.
  7. Garnish with crushed hazelnuts.

hazelnut-chocolate-cake-slice

These took from start to finish about 20 minutes to make, maybe a little more than that because I was distracted. Even so these are much quicker to make than traditional cake and certainly have all the show-stopping qualities.

Healthy Chinese Broccoli

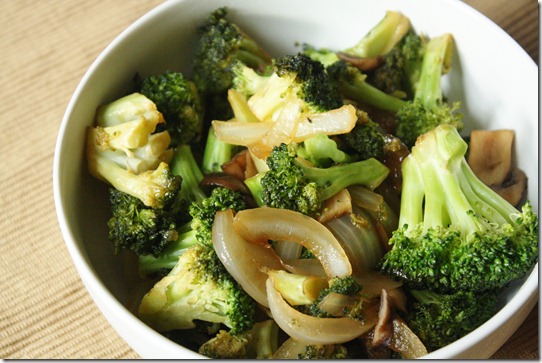
Healthy-Chinese-Broccoli

My favorite Chinese take-out to order has always been broccoli: Beef and broccoli, mushroom and broccoli, bean curd and broccoli. They just know how to do something to broccoli that makes it taste good. No doubt it’s full of sodium and sugar, which is part of why I wanted to make this myself. The other reason is, well, who doesn’t want to have delicious take-out food at half the cost whenever they feel like it?

Whether or not this is “healthy” you can debate. It has added sugar and a modest amount of sodium. Corn starch isn’t too “clean” an ingredient either. But I think making it for yourself, using ingredients you can see and touch, and being aware of what’s in your food is a pretty darn healthy way to live.

Healthy Chinese Broccoli

Ingredients(Makes 4 servings):

  • 4 cups raw broccoli
  • 2 Tablespoons sesame oil
  • 4 garlic cloves, minced
  • 1 yellow onion, julienned
  • 3 Tablespoons sugar
  • 2 Tablespoons rice vinegar
  • 2 Tablespoons soy sauce
  • 2 Tablespoon water
  • 1 Tablespoon corn starch or tapioca starch

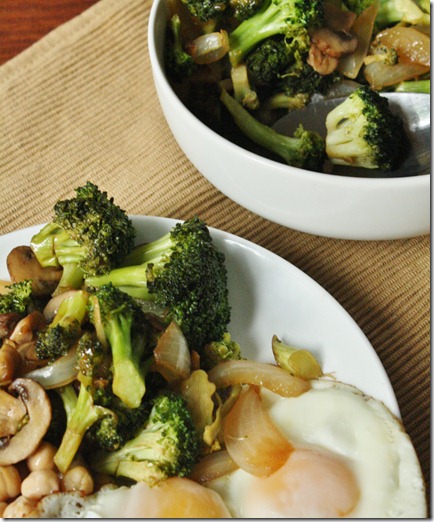
Healthy-Chinese-Broccoli-Dish

Method:

  1. In a large pan, heat the sesame oil over a burner set to medium heat.
  2. Sauté the garlic in the sesame oil until lightly browned.
  3. In a small cup, mix the sugar, rice vinegar, and soy sauce until the sugar has mostly dissolved.
  4. Add the broccoli, onion, and sugar mixture into the pan and cover with a lid until the broccoli has steam cooked and turned bright green.
  5. While continuing to cook, remove the lid and mix together the contents of the pan until everything is covered in sauce.
  6. Dissolve the starch into 2 tablespoons of water and pour it into the pan to mix with the sauce.
  7. Cook until all the excess water has evaporated and the broccoli is covered in sauce. Plate and serve hot. 

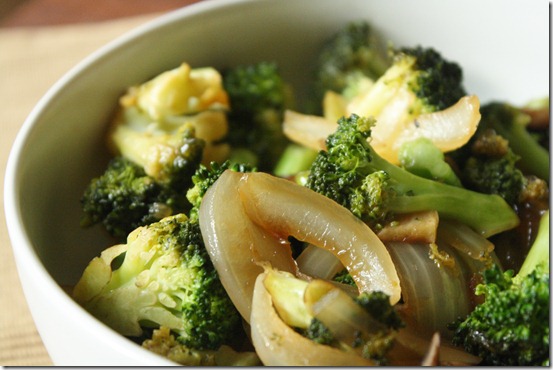
Healthy-Chinese-Broccoli-Bowl

How To Make Mint Simple Syrup

How-to-make-mint-simple-syrup

One thing I’ve had to get used to working in a restaurant this Summer is never having a recipe. Chef’s don’t use recipes, don’t you know; so when I’m doing something for the first time, it’s usually with one or two of the chefs giving me directions one step at a time, not always agreeing with each other on their methods. It’s definitely a “dive in” approach to learning that usually leaves me wanting to sit down, read a recipe through, and then start cooking.

All of that is a roundabout way of saying that I learned how to make simple syrup and now I’m obsessed with the idea. The first one I wanted to make was a mint flavor, because mint makes everything better. With it you can make mint drinks, mint soda,—mint anything. I’m more interested in making frozen desserts with it.

How To Make Mint Simple Syrup

For 1 cup of simple syrup, you’ll need:

  • 1 cup sugar
  • 1 cup water
  • 10 mint leaves

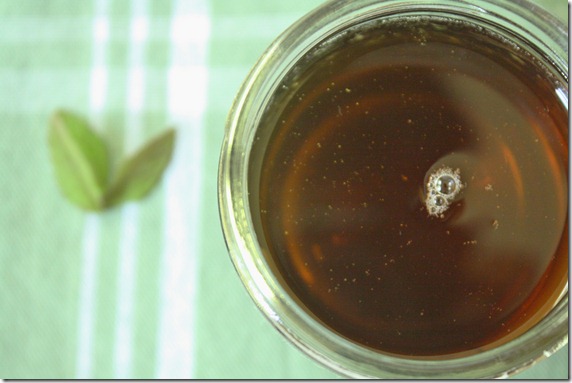
how-to-make-mint-simple-syrup-syrup

Method:

  • Combine all of the ingredients together in a small sauce pan
  • Over a burner, bring the mixture up to a rolling boil keeping an eye that the mixture doesn’t boil over.
  • Once the consistency of the mixture turns from a free-flowing liquid to a syrup(about 10 minutes), turn off the burner and remove the sauce pan from the heat.
  • With a mesh strainer, strain the mint leaves from the syrup while pouring it into a container.
  • Let the syrup cool and store in the refrigerator when not using.

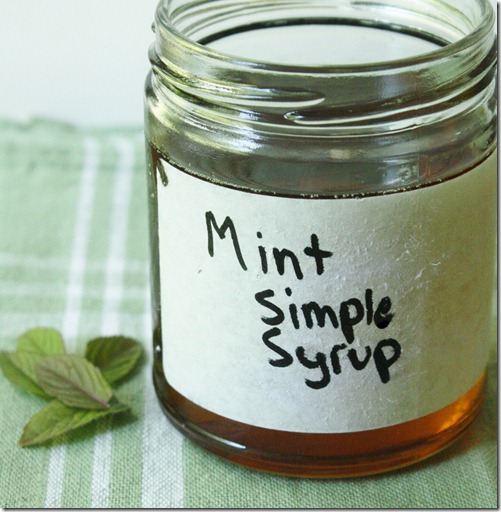
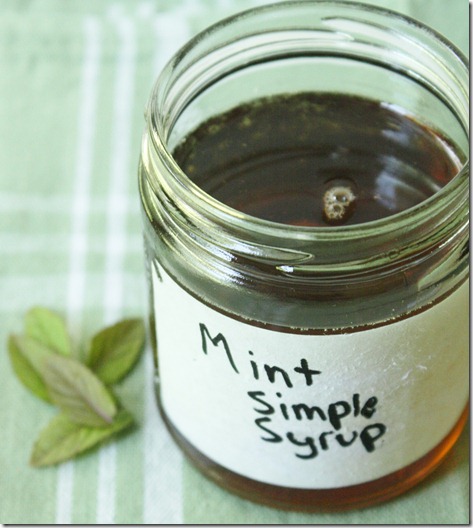
how-to-make-mint-simple-syrup-jar

If you’re curious about the color of the syrup, it comes from the sugar granules. For a clear white syrup, use sugar that’s completely white. I used cane sugar that had a slight beige tint from trace B vitamins which created a darker, amber syrup.

Japanese Sesame Cucumber Salad

Japanese-Sesame-Cucumber-Salad

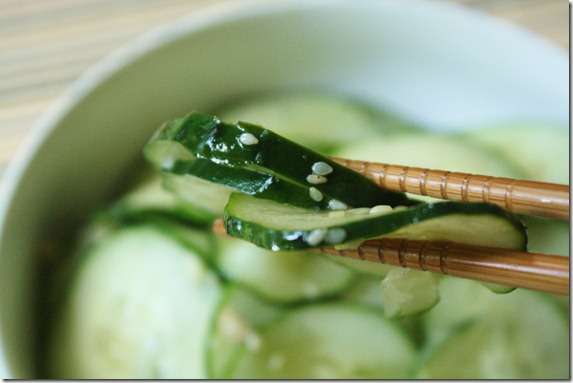
My favorite thing about Japanese food is how little is actually done to it. It might be cut and plated fancily but with hardly any cooking or ingredients they manage to fit in a ton of flavor.

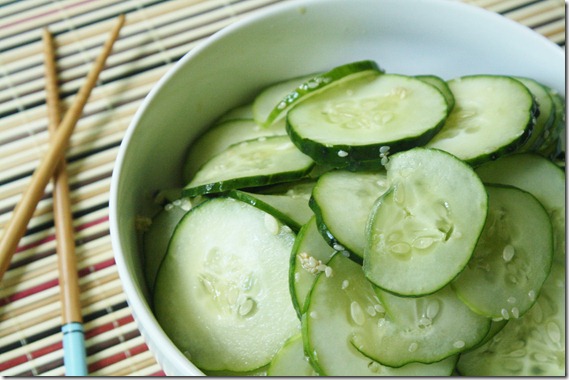
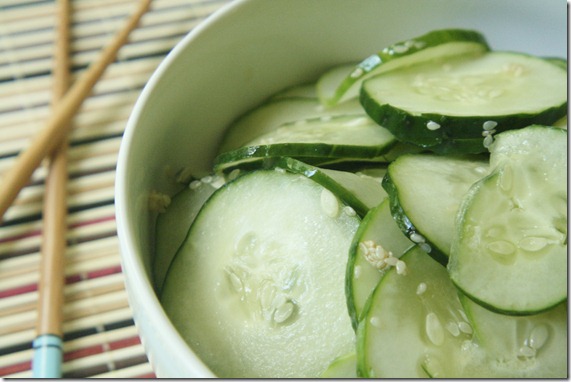
These cucumbers have hardly any ingredients—sesame oil, vinegar, and seasoning—,but they taste better than any cucumbers I’ve ever had. It doesn’t hurt that it’s the Summer and any form of cooking sounds off-putting. All you need to make this refreshing side dish is a sharp knife and a bowl.

Japanese Sesame Cucumber Salad

Ingredients(Makes 4 servings):

  • 2 cucumbers
  • 1 1/2 Tablespoons sesame oil
  • 2 teaspoons rice vinegar
  • 2 Tablespoons sugar
  • 1/4 teaspoon salt
  • 2 Tablespoons sesame seeds

Japanese-Sesame-Cucumber-Salad-bowl

Method:

  1. With a mandolin or sharp knife, slice the cucumbers into circles about 2mm thick.
  2. Combine the cucumbers with the rest of the ingredients in a large bowl and toss together until completely incorporated and the sugar has dissolved.
  3. Serve immediately at room temperature.

Japanese-Sesame-Cucumber-Salad-Slices

Microwave Chocolate Fudge

Microwave-Fudge

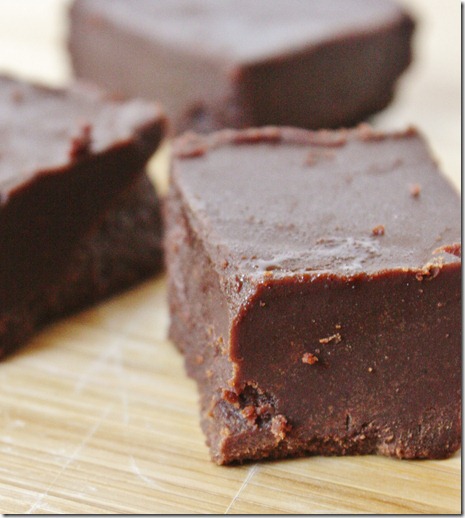
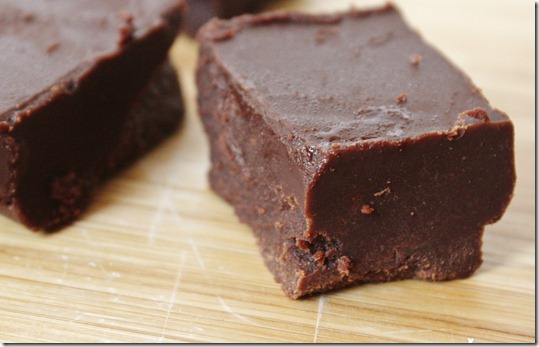
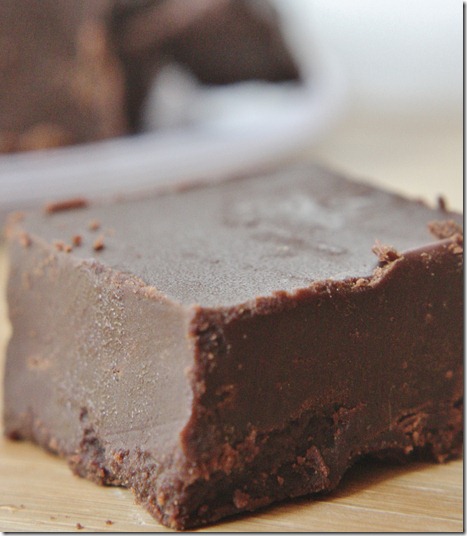
I’m kind of a scatterbrain when it comes to making desserts; there are only a few recipes I can make without having to look at a recipe. Because of that, I usually end up making those same ones again and again like this fudge. It’s hard to forget 4 ingredients and how to use the microwave. You don’t even need to dirty any dishes. On top of that, it tastes just as good as any other fudge I’ve had. That’s probably why I keep making it again and again.

Micrwave-Fudge-Piece

Microwave Chocolate Fudge

Ingredients(Makes 16 servings):

  • 1 cup semi-sweet chocolate chips
  • 1 4oz stick butter(coconut oil and Earth Balance work, too)
  • 1/2 cup powdered sugar
  • 1/4 cup milk(or non-dairy substitute)

Method:

  1. Melt together the chocolate chips and butter.
  2. Sift in the powdered sugar and pour in the milk. Mix until completely uniform.
  3. Pour the hot fudge into a 6 x 6 pan. Refrigerate until set.
  4. Cut into 1 1/2 inch squares and serve slightly chilled.

Microwave-Fudge-Close-Up

Spicy Maple Baked Beans

Spicy-Maple-Baked-Beans

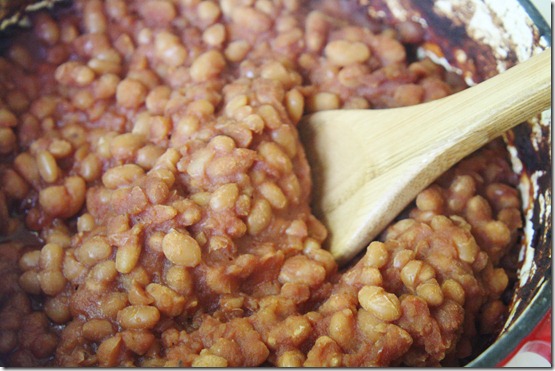
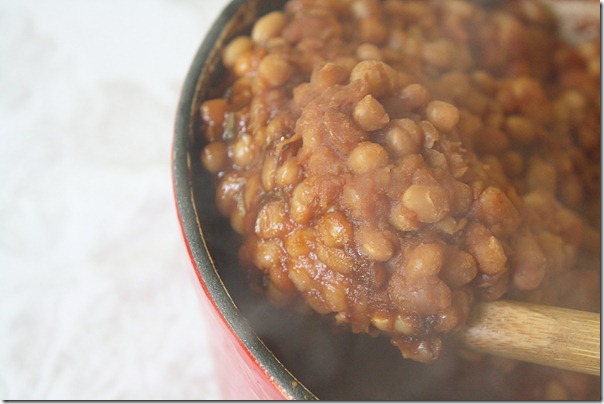
I really love making beans from scratch. It’s kind of like the vegetarian version of roasting a chicken: You take something from inedible to edible making the whole house smell great in the process. I probably hadn’t made this recipe for a good year, which is a shame because I liked it so much the first time. The flavor is incomparable to store-bought brands—truly unique. It’s sweet with a spicy kick that lingers.

There’s also a homemade Worcestershire sauce recipe at the bottom since looking for a bottled vegetarian/gluten-free sauce is sort of like looking for the Holy Grail.

Spicy Maple Baked Beans

Ingredients:

  • 1lb dry white beans
  • 1 yellow onion, peeled and halved
  • 2 bayleaves
  • 1 6oz can of tomato paste
  • 2/3 cup maple syrup
  • 1/3 cup Worcestershire sauce
  • 1/2 cup white vinegar
  • 1 teaspoon salt
  • 3/4 teaspoon ground mustard seed
  • 1/2 tablespoon onion powder
  • 1/2 teaspoon cayenne
  • 3/4 teaspoon paprika

Spicy-Maple-Baked-Beans-Pot

Method:

  1. Soak the beans in water for 8 hours or overnight. Drain the water and put the beans in a large pot with new water, the bayleaves, and the onion.
  2. Boil the beans for 70-80 minutes, scooping off the foam that forms on top of the water. Once done boiling, remove the pot from the stove and drain the beans from the water, also removing the bayleaves.
  3. Combine the beans with the rest of the ingredients in an oven-safe pot or a Crockpot. Bake at 350 degrees for 3 hours or simmer on high for the same period of time until the beans have darkened and most of the moisture has evaporated. If the beans dry out too much, add 1/2 cup of water and continue cooking.
  4. Remove from the oven and serve hot when ready.

Spicy-Maple-Baked-Beans-Stir

Homemade Worcestershire Sauce

Ingredients(Makes about 1/3-1/2 cup):

    • 1/2 cup apple cider vinegar
    • 1/4 cup soy sauce or wheat-free tamari
    • 1 tablespoon cane sugar
    • 1/2 teaspoon ginger
    • 1/2 teaspoon dry mustard
    • 1/2 teaspoon onion powder
    • 1/2 teaspoon garlic powder
    • 1/4 teaspoon cinnamon
    • 1/4 teaspoon pepper

Method:

  1. Combine all of the ingredients in a small pot over the stove.
  2. Keep between a boil and a simmer for 8-10 minutes until reduced to half its original volume.
  3. Use immediately or store in the refrigerator for up to a week.

Chocolate Peanut Butter Rice Crispy Treats

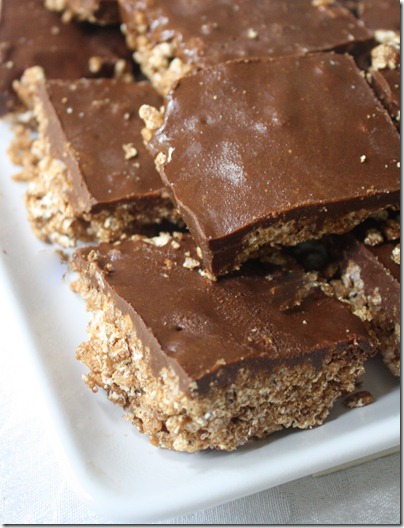
Chocolate-Peanut-Butter-Rice-Crispy-Treats

Here are two things to know about me:

1. I’m a perfectionist.

2. I make mistakes. A lot.

I can’t count the number of times I have a kitchen mishap where something doesn’t go how I think it would. In cooking it’s easy to make that up by adding new ingredients. In baking it usually ends up in the trash.

Chocolate-Peanut-Butter-Rice-Crispy-Treats-Plate

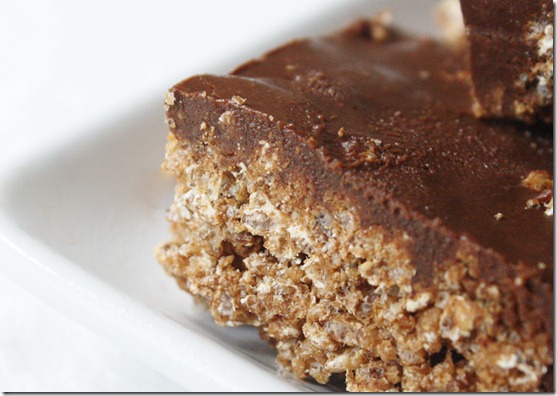
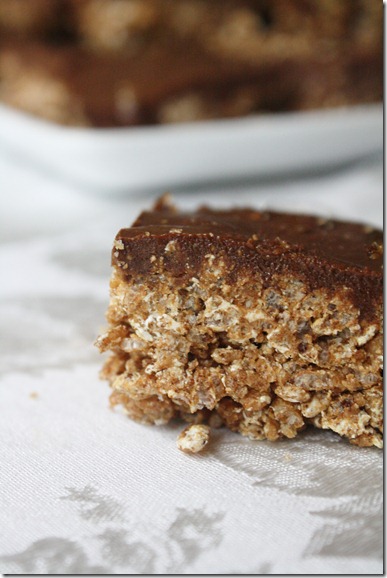
I underestimated how much peanut butter and butter these crispy treats needed. The first time I refrigerated them, they fell apart as soon as I cut in. I had to sweep a few rice crisps off the floor and redo the process, remixing the batter. I don’t think it was as good as if I got it all right from the start. I even debated whether to still serve these, but I’m glad I did because they got two thumbs way up at a party over the weekend. This recipe reflects the fixed version. And you can’t bet I’ll be making these the right way one day soon; what kind of perfectionist would I be otherwise?
Chocolate Peanut Butter Rice Crispy Treats

Ingredients:

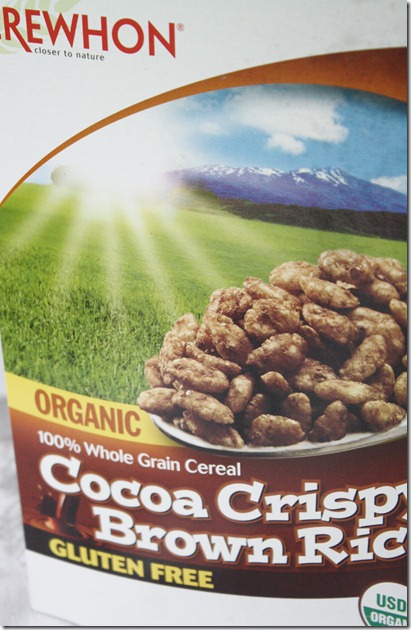
  • 6 cups cocoa crispy rice cereal
  • 1 1/2 cups no-stir peanut butter, divided
  • 1 cup Fluff(or marshmallow crème)
  • 1/4 cup butter
  • 1 cup chocolate chips

Chocolate-Peanut-Butter-Rice-Crispy-Treats-Ingredients

Method:

  1. In a large bowl, melt 1 cup of peanut butter along with the butter until it’s runny. Mix until the two are combined.
  2. Add in the cereal and Fluff and mix until the cereal is completely coated by the wet ingredients. Press the cereal into a 9 x 13 baking pan.
  3. Melt the remaining peanut butter and chocolate together and mix. Pour evenly over the tray of cereal. Refrigerate until set.
  4. Cut into even squares and keep cold until serving.

Chocolate-Peanut-Butter-Rice-Crispy-Treats-Close-Up

Gluten-Free Baked Onion Rings + Twitter popchips Giveaway

July 17th 070

When I was a kid I never liked onion rings. When everyone else was going for bags of Funyuns, I chose potato chips. I didn’t even care that they were fried; they had the word “onion” in them so how could they be good?!

Well, I grew up and so did my taste buds. Now I love onions sautéed, caramelized—however you make them. And when I had my first taste of onion rings in England they were surprisingly good.

July 17th 083

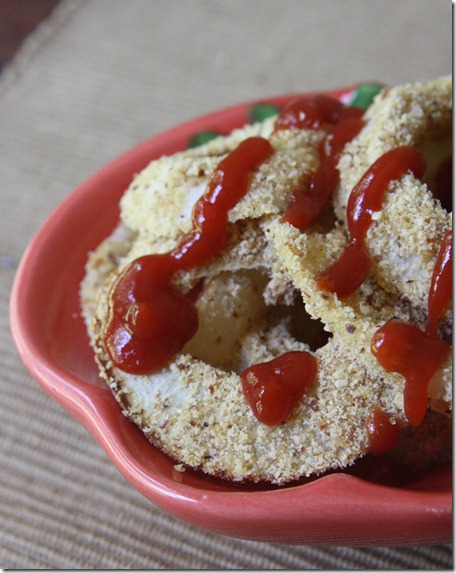
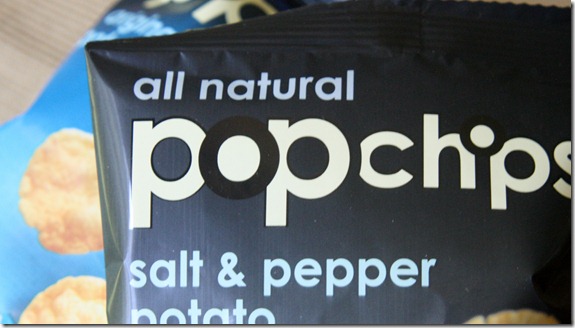
popchips sent me a Summer supply of their tasty all natural snacks, and when I started looking at recipes on their facebook wall these onion rings grabbed my attention. If there’s anything better than potato chips, it’s onion rings. And baking them in a batter with low-fat popchips means they’re better for you than the original, too.

Gluten-Free Baked Onion Rings

Ingredients:

  • 2 onions, sliced and separated
  • 2 eggs
  • 1/2 cup milk or non-dairy substitute
  • 1 teaspoon vinegar
  • 1/2 cup potato chip crumbs*
  • 1/3 cup almond flour

*I used 1 .8oz bag of original popchips and 2 .8oz bags of salt & pepper.

July 17th 001

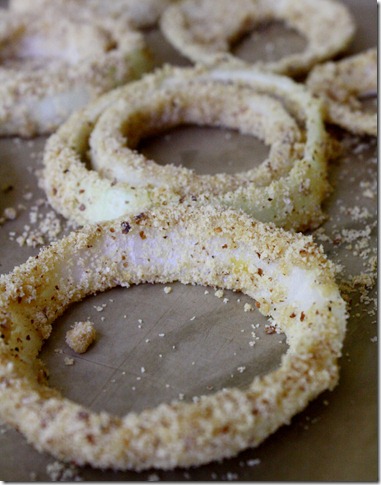
Line 2 sheets of baking trays with parchment paper and preheat your oven to 350 degrees.

Beat together the eggs, milk, and vinegar. In a separate bowl, mix together the almond flour and potato chip crumbs. It’s best to use the finest crumbs you can so running them through a food processor is recommended.

With one hand, lift the onion rings and dredge them in the wet ingredients. Take it and put it in the breading, tossing to coat with your other hand. Using the dry hand, place it on the lined baking tray. Repeat this process for all of the onion rings.

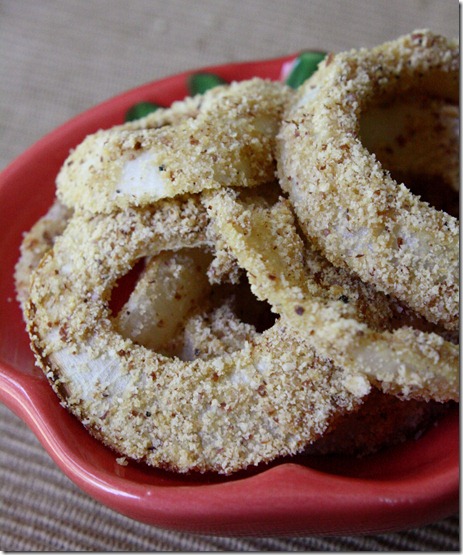
Bake at 350 degrees for 15 minutes. Serve slightly warm with ketchup.

July 17th 067

I wasn’t sure if these would actually taste good. They’re “healthy”, free of grains and low in fat. They’re easy, too, compared to actually frying the onion rings which would require a lot more attention cooking.

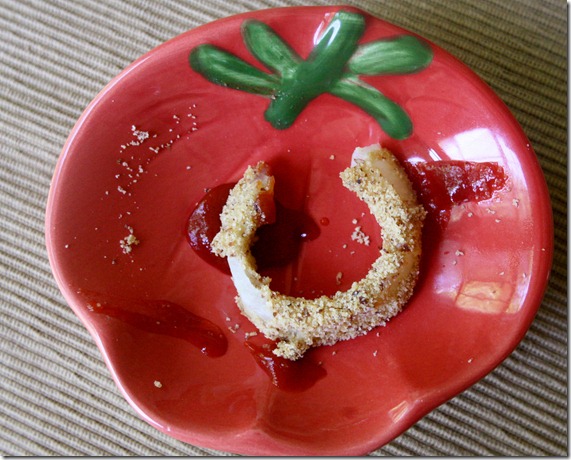
The verdict?
July 17th 073

I had no problem finishing them all. I don’t think it’s too soon for another batch.

popchips wants to give away a Summer supply of popchips to one lucky person on Twitter! To enter, simply tweet between now and next Friday, the 29th, “I snack healthy with ________ @popchipsboston @wannabechefevan” answering the question with your favorite healthy snack or favorite popchips flavor and you’ll be entered to win.