Tag Archive: Chocolate

Readers’ Favorite Brownies

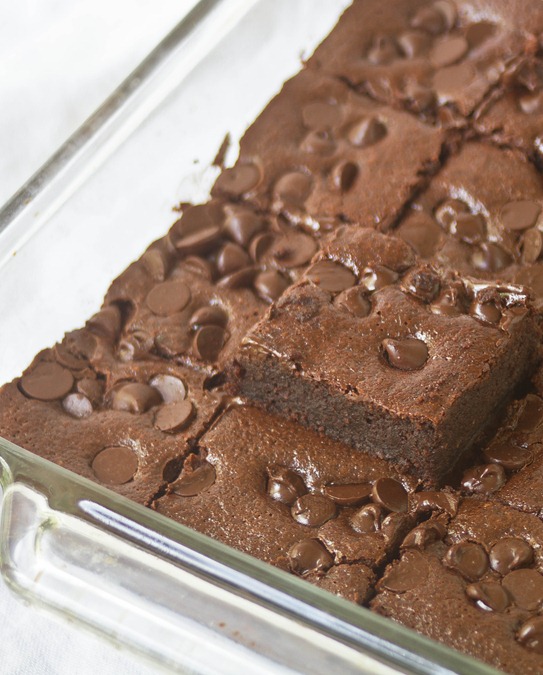
almond flour brownies pan

The best recipes on food blogs are always the ones filled with comments from readers who loved it as well. I’m lucky to say this is one of those recipes.

A lot of readers have stumbled onto my almond flour brownie recipe through google or Pinterest or word of mouth and I get excited every time another person has said they tried them and loved them. I(and most of you) think they really are that good.

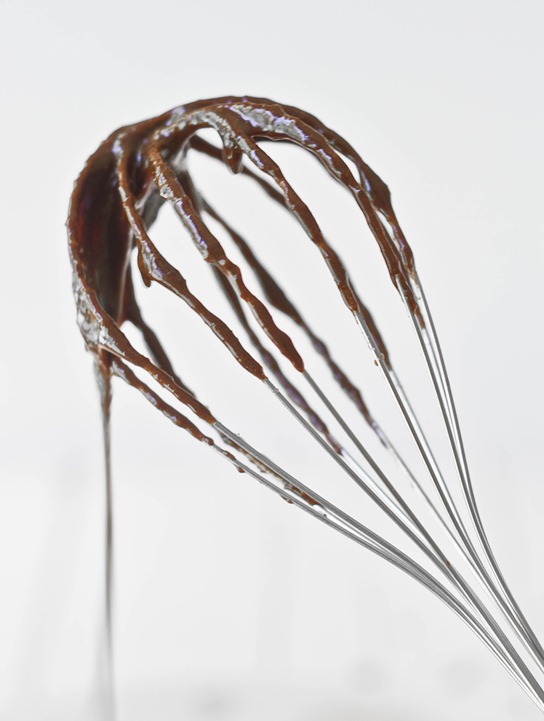
Almond flour brownies whisk

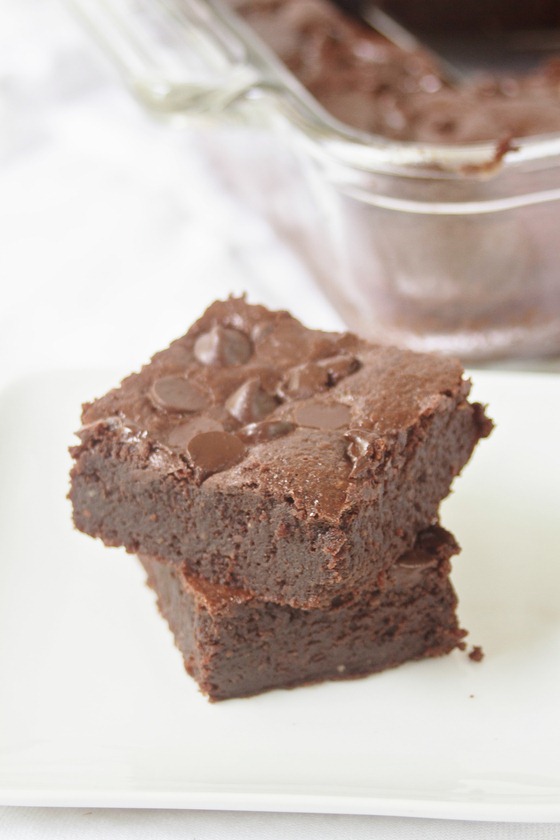
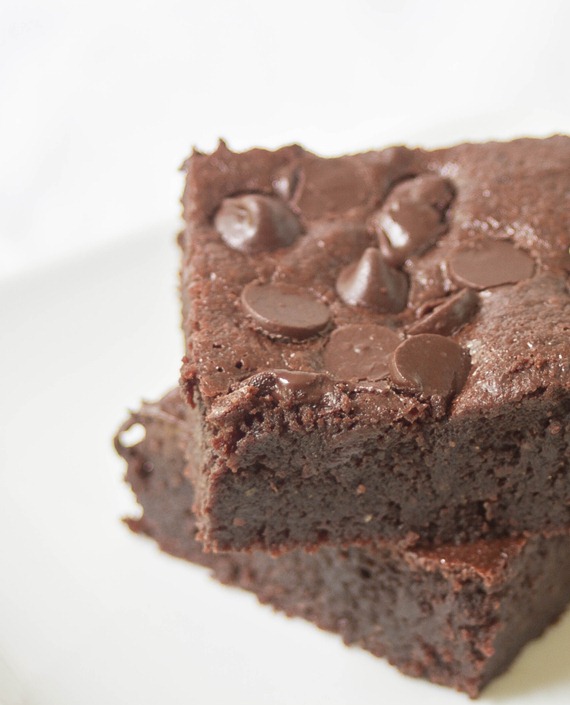
What makes this brownie recipe great is that it doesn’t taste “special”; you couldn’t eat these and tell that they’re made with almond flour or are gluten-free at all. They just taste like a really good, fudgy brownie recipe.

One of my secrets to good brownies is using melted baking chocolate instead of melted chocolate chips in the batter; it’s more reliable for even, smooth melting and has a more decadent chocolate flavor. Another is adding a little bit of coffee into batter just to perk up the flavor.

almond flour brownies stack 2

We had a party a couple weeks ago so I jumped at the chance to make these for the first time in ages, partly because I wanted to take new photos of them but partly because I was just craving brownies. There weren’t any leftovers and I was kicking myself for not making more.

Almond flour brownies

My favorite brownies? They’re actually grasshopper brownies, but I will happily “settle” for these any day. Just be sure to double the batch, especially if you’re expecting company. Oh, and bring ice cream. And caramel sauce.

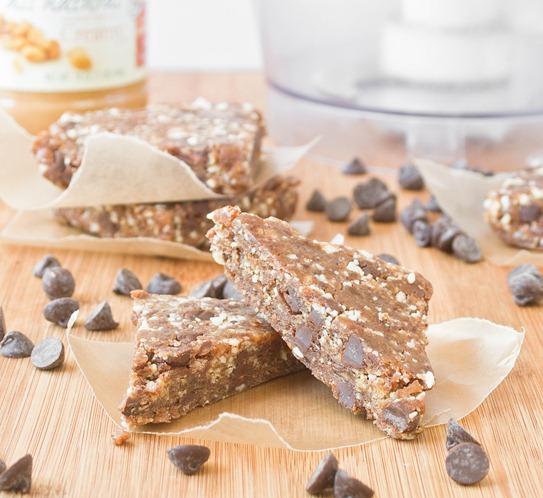
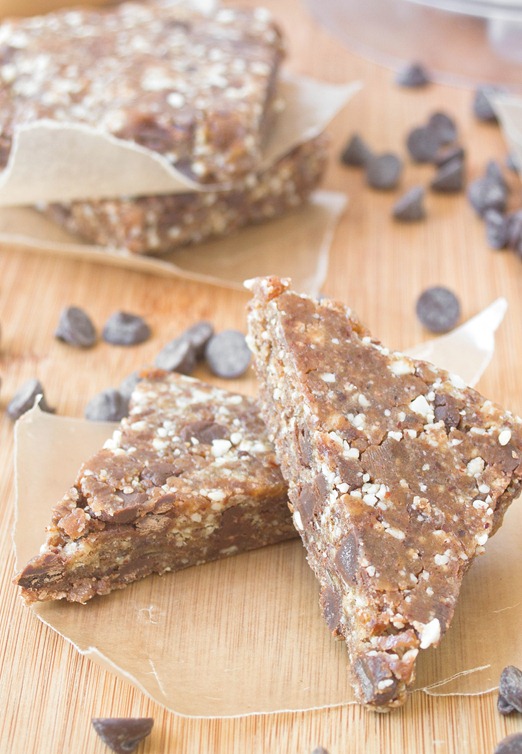
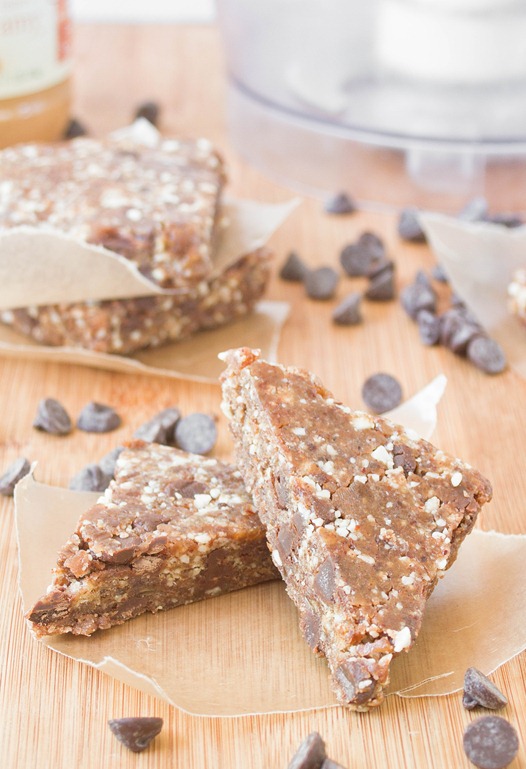
Copycat Peanut Butter Chocolate Chip Larabars

Copycat Peanut Butter Chocolate Chip Larabars

When you’re a food blogger, you end up having some pretty weird “snacks”. Leftover cheesecake in the afternoon? Sure. Chocolate granola for lunch and dinner some times. Anything goes.

That’s all great and delicious but there are times when I wish I ate a little bit healthier. Of course, the answer’s simple; if you want to eat healthy you need to buy and make healthy meals and snacks. So to start I made one of my favorites: peanut butter chocolate chip larabars.

Copycat Peanut Butter Chocolate Chip Larabars Serving

Most pre-portioned snacks at the grocery store are overpriced; they’re even pricier if you get them from kiosks or snack stands. By making your own, you control the costs and quality of the ingredients. Larabars have pretty clean and simple ingredients as is, but by buying dates and using other ingredients I already had I was able to bring the cost down.

You could make your own and use almonds instead of peanuts to adapt these for someone with a peanut allergy.

Copycat Peanut Butter Chocolate Chip Larabars

Prep time: 10 minutes

Cook time: 0 minutes

Ingredients(Makes about 6 bars):

  • 8oz pitted dates
  • 1/2 cup peanuts
  • 2 Tablespoons peanut butter
  • 1/4 teaspoon salt
  • 1/3 cup chocolate chips

Method:

  1. Combine the dates and peanuts in a food processor and blend on high until the ingredients start to form a paste.
  2. Add in the peanut butter and salt and continue blending until a dough begins to form.
  3. Lastly, add in the chocolate chips and pulse a few times.
  4. Line a loaf or baking pan with plastic wrap.
  5. Drop the dough on top of the plastic wrap and press the dough into a square or rectangle about 3/4-inch thick.
  6. Cut into bars or squares. Wrap individually and refrigerate until ready to eat.

Copycate Peanut Butter Chocolate Chip Larabar Cut

I left mine in squares. You could make bars or balls or really any shape you could think of with these.

Coconut Flour Cupcake Recipes

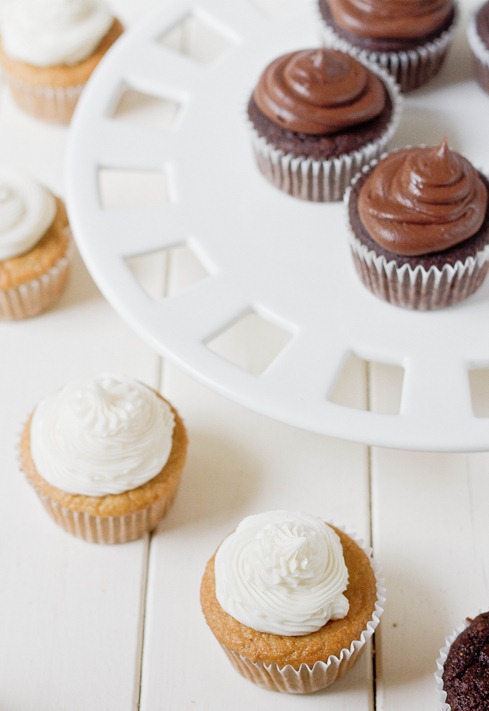
Paleo Chocolate and Vanilla cupcakes1

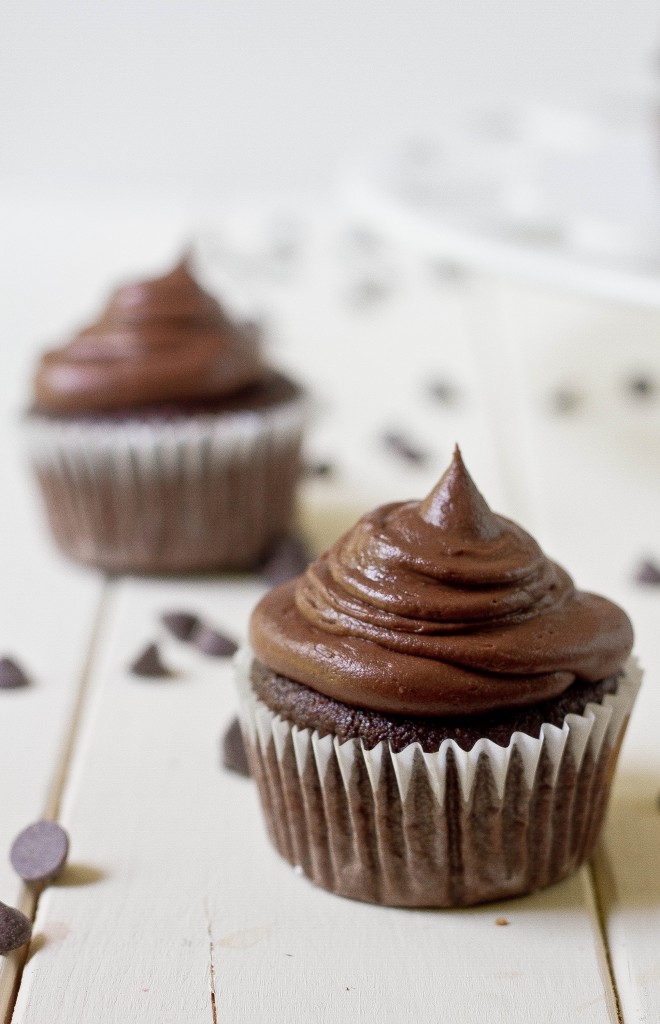
Back in January I finally found a use for the coconut flour that had just been sitting around in my pantry for months; it made the perfect cupcakes. Before then, I’d used some gluten-free baking blends with varying success, but they were never quite as good as “regular” cupcakes. Coconut flour, on the other hand, creates cupcakes that are light and fluffy without any odd starchy flavor. You’d never know they’re gluten-free if you didn’t bake them yourself.

Last month we celebrated several birthdays in my family so I figured it was a chance to revisit these cupcake recipes and taking fresher pictures. I ended up modifying the chocolate cupcake recipe slightly to make them richer and was definitely happy with how they turned out.

These paleo chocolate cupcakes get their depth not from coconut flour but coconut milk. Even without oil or melted chocolate, they stay moist and rich. You can easily perk up the flavor with half a tablespoon of instant coffee granules.

July 12th 046

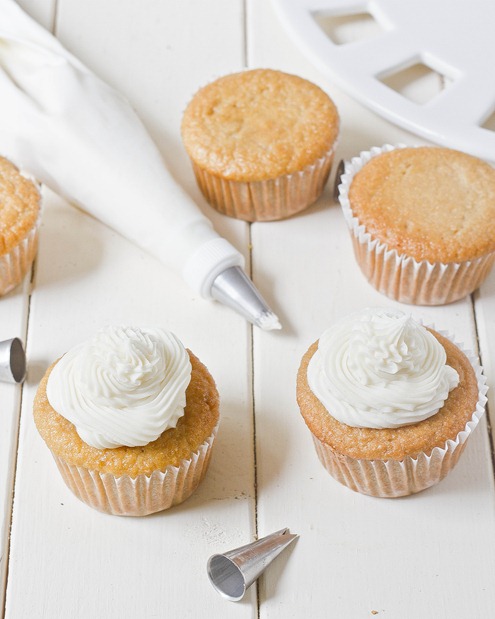
The vanilla paleo cupcakes are simple and sweet. Surprisingly, the coconut ingredients don’t overwhelm the vanilla flavor at all. They’re a perfect canvas for any flavor frosting you can dream up. 

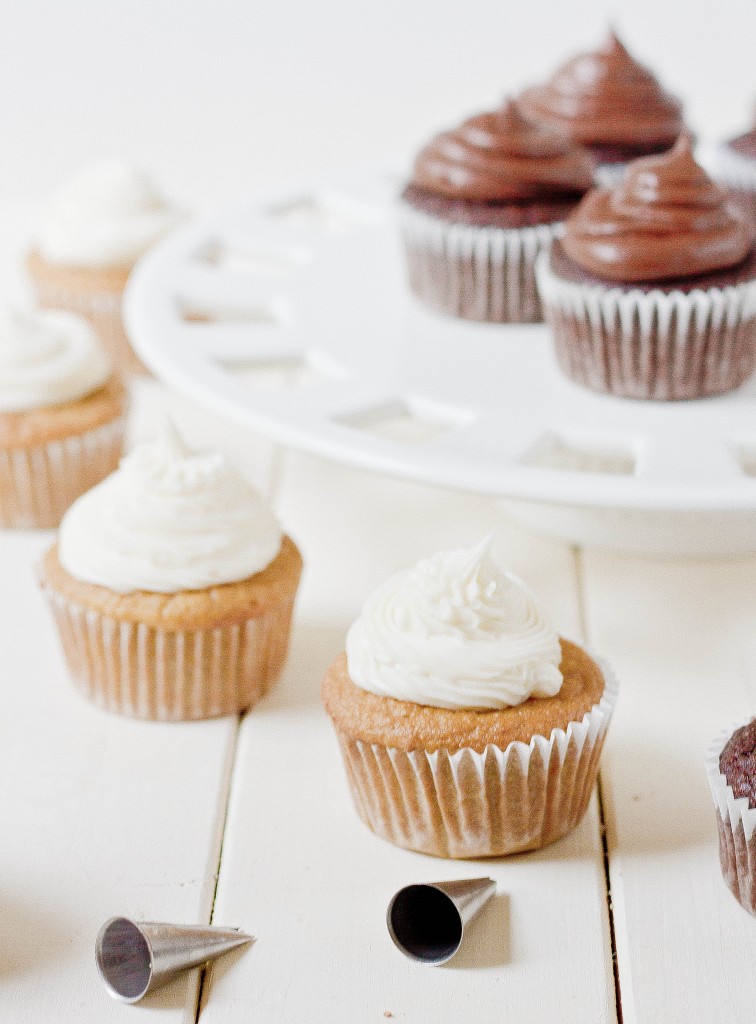
The frosting I use with these cupcakes are just your basic buttercreams. Nothing fancy or paleo; just sugar, butter, melted chocolate, and vanilla. I love the frosting tip set I bought myself a few months ago but I still feel like I need a lot more practice to make them look decent. Does anyone have an August birthday? I’ll bring the cupcakes.

Chubby Hubby Cheesecake

Chubby Hubby Cheesecake

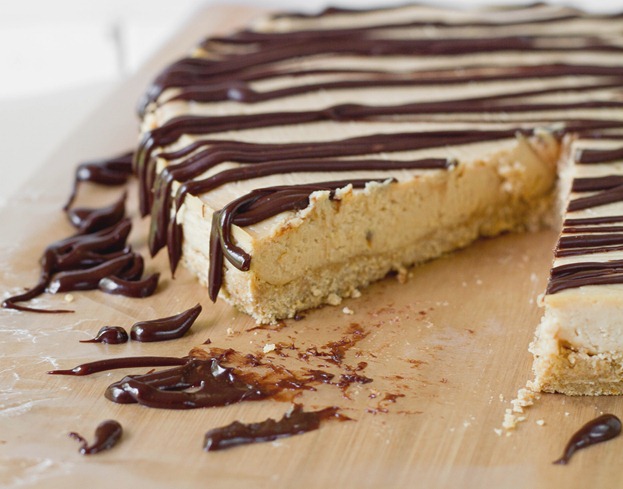
Cheesecake is kind of a magical food. It’s hard to not love a good cheesecake. It’s sweet and tangy and rich and creamy all at the same time; it’s pretty much the perfect dessert.

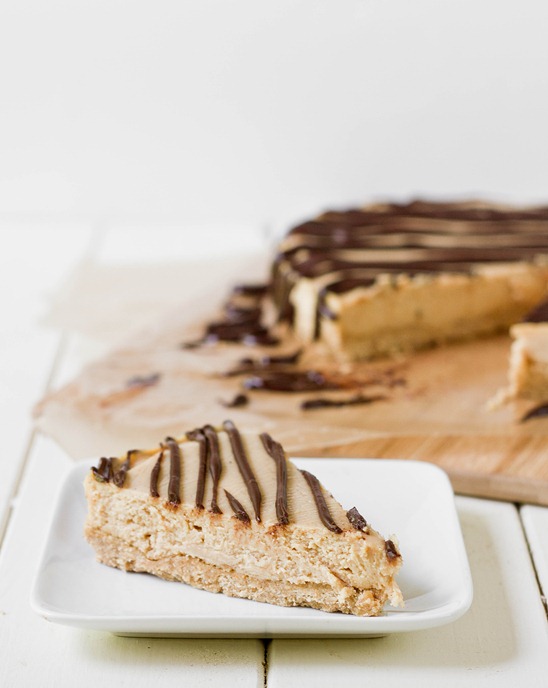
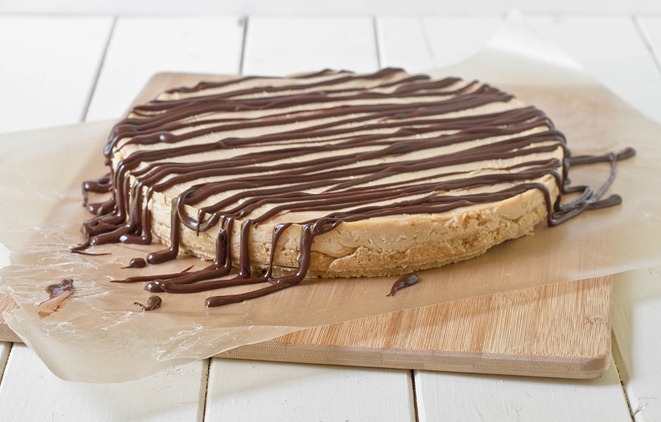
I don’t think I’ve ever had Chubby Hubby ice cream(Phish Food is by far my favorite Ben & Jerry’s flavor), but anything with peanut butter, pretzels, and chocolate has to be good. And that’s exactly what this cheesecake is: A slightly salty pretzel crust with a rich peanut butter cheesecake filling and a sweet chocolate ganache. Ben and Jerry would definitely be proud.

Chubby Hubby Cheesecake Serving

The best thing about this recipe is that it’s no-bake(because, really, who wants to bake at all mid-Summer?). Because of that, the filling isn’t as light and airy as a cheesecake with eggs would be. You could use full-fat cream cheese in this recipe but it gets more than enough richness from the peanut butter.

Chubby Hubby Cheesecake

Prep time: 20 minutes

Cook time: 0 minutes

Ingredients

For the crust:

  • 6oz pretzels(about 2 cups)*
  • 1 stick butter, melted
  • 6 Tablespoons powdered sugar
  • 1/4 cup liquid sweetener(agave, maple syrup, or corn syrup)
  • 1-3 Tablespoons water

For the filling:

  • 2 8oz blocks Neufchatel or low-fat cream cheese, room temperature
  • 1 cup no-stir peanut butter
  • 1 cup powdered sugar
  • 1 teaspoon vanilla extract

For the ganache:

  • 1/2 cup chocolate chips
  • 2 Tablespoons cream or milk
  • 1 Tablespoon liquid sweetener(agave, maple syrup, or corn syrup)

*To make this cheesecake gluten-free, use gluten-free pretzels. I like Snyder’s of Hanover’s pretzel sticks.

Chubby Hubby Cheesecake Plated

Method:

  1. Pulse the pretzels in a food processor until the crumbs form a coarse flour.
  2. Add in the melted butter, powdered sugar, and sweetener and mix.
  3. Slowly add in water until the dough starts to stick to itself. You may not need any water or you may need up to a few tablespoons.
  4. Press the pretzel dough into the bottom of a cake pan firmly and work it into an even layer.
  5. In a separate bowl, mix together all of the filling ingredients on high until the filling is uniform in color and texture.
  6. Pour the filling on top of the pretzel crust and spread it out in an even layer. Put the cheesecake in the refrigerator until the center sets.
  7. While the cheesecake is chilling, melt the chocolate for the ganache in a microwave or over a double boiler.
  8. Whisk in the cream and sweetener.
  9. Let the ganache cool slightly until it’s about the same consistency as a buttercream frosting. Scoop the chocolate into a frosting bag or Ziploc bag with a corner cut out and drizzle it on top of the chilled cheesecake.
  10. Store in a refrigerator. Let the cheesecake sit at room temperature for about 30 minutes before serving.

Chubby Hubby Cheesecake Finished

Next time I make this I might double the filling so that it’d be about as thick as the Cheesecake Factory cheesecakes that have about enough calories to feed a small family for a week. Gluten-free or not, everyone deserves that in their life from time to time.

Dark Chocolate Cherry Zucchini Bread

Dark Chocolate Cherry Zucchini Bread

I love fresh cherries. They’ve been on sale the past few weeks and I’ve been eating them by the pound. As good as cherries are on their own, with chocolate they’re out of this world.

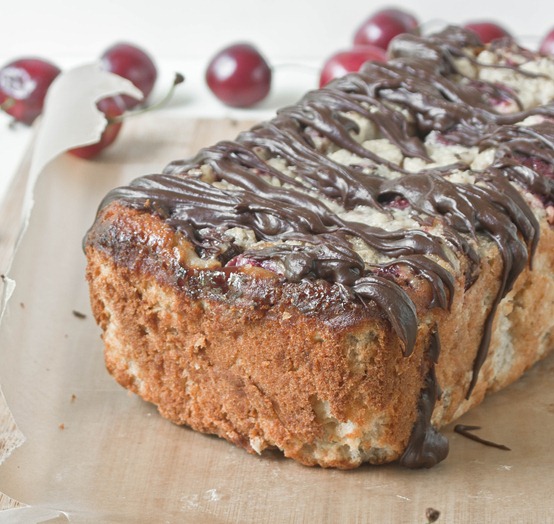
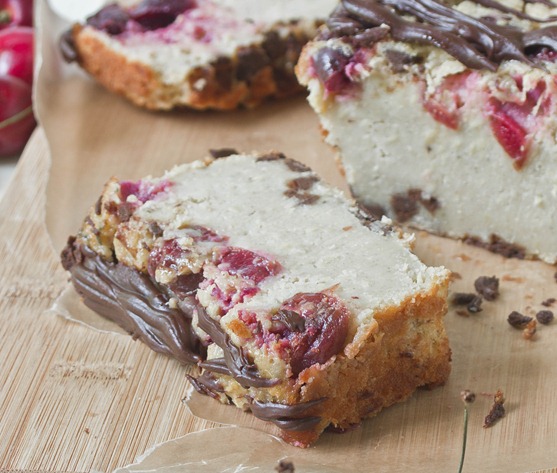
I’d never made zucchini bread before this loaf. Something about a vegetable in a bread doesn’t scream “delicious”. But then again, when you add cherries, chocolate chips, and ganache, what wouldn’t be delicious. I threw a banana into the mix, too, because I thought the fruity flavor would help to mask any taste the zucchini might bring.

Dark Chocolate Cherry Zucchini Bread Loaf

Normally sweet breads are loaded with oil. To reduce the oil and pump up the nutrition I swapped in Greek yogurt to keep it most and also full of protein.

If you have a picky eater in the family who might be turned off by specks of green in their bread, just peel the zucchini with a vegetable peeler before shredding it. 2 medium sized zucchinis should yield about 1 cup.

Dark Chocolate Cherry Zucchini Bread

Prep time: 15 minutes

Cook time: 1 hour 20 minutes

Ingredients(Makes 1 loaf):

  • 1 cup shredded zucchini
  • 1 6oz container plain greek yogurt
  • 3 eggs
  • 2 egg whites
  • 1 banana, mashed
  • 2 Tablespoons oil
  • 1 1/3 cups gluten-free all purpose flour(or regular flour)
  • 3/4 cup light brown sugar
  • 1/2 teaspoon cinnamon
  • 1/4 teaspoon salt
  • 1/2 teaspoon baking soda
  • 1/4 cup chocolate chips
  • 1/2 cup pitted and halved cherries

Dark Chocolate Cherry Zucchini Bread Overhead

Method:

  1. Preheat your oven to 350 degrees.
  2. In a large bowl, mix together the zucchini, yogurt, eggs, egg whites, banana, and oil.
  3. Add in the flour, sugar, cinnamon, salt, and baking soda and mix again.
  4. Lastly, gently fold in the chocolate chips and cherry halves.
  5. Grease a 9-inch loaf pan and pour in the batter.
  6. Bake until the center of the bread has set and the edges begin to brown—about an hour and 20 minutes.
  7. Wait for the bread to cool before cutting. Garnish with melted chocolate or powdered sugar.

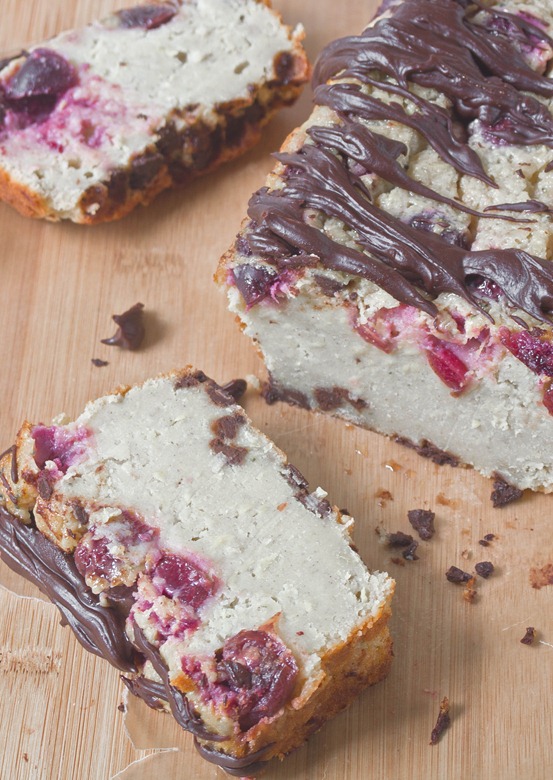
Dark Chocolate Cherry Zucchini Bread Slice

This came out a lot more dense than I anticipated, almost like pound cake(not that that’s a bad thing at all). Like any low-fat bread, I’d recommend eating this within 2-3 days before it turns stale.

Chocolate Covered S’mores

Chocolate Covered S'mores

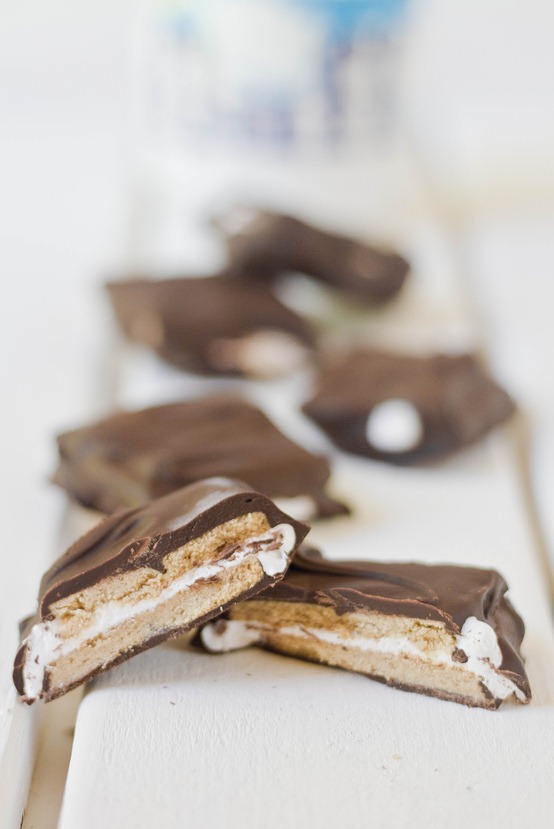
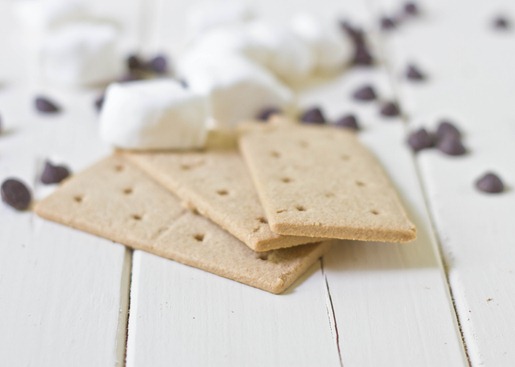
I doubt there’s any way you could reinvent s’mores and have it not be delicious. Food bloggers test this theory every Summer and it always holds true. Here’s one more delicious s’mores recipe to throw into the mix.

By the beaches in Maine there are candy shops that sell just about everything covered in chocolate. Graham crackers covered in chocolate? Sure. Marshmallows covered in chocolate? Mhmm. But no s’mores covered in chocolate. Why not? Beats me. Thankfully, you don’t need to travel farther than your kitchen for something as delicious as this.

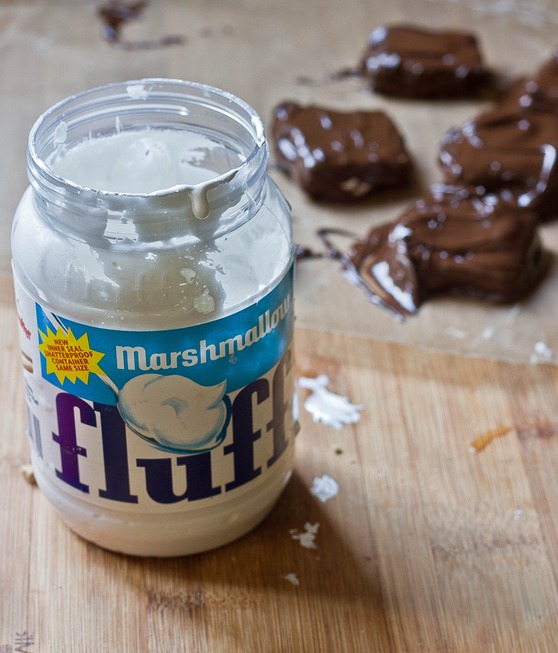
Chocolate Covered S'mores Fluff

Instead of melted marshmallows which would get stale in a refrigerator, this recipe uses marshmallow crème which is soft at room temperature just like a melted marshmallow. My favorite part about this is that Fluff is a naturally vegetarian marshmallow option, so you don’t have to go out and buy a $5 bag of marshmallows to get your s’mores fix.

Chocolate Covered S’mores

Prep time: 15 minutes

Cook time: 0 minutes

Ingredients(Makes 6 squares):

  • 12 graham cracker squares
  • 1/4 cup marshmallow Fluff
  • 6oz chocolate(about 3/4 cup chocolate chips)

Method:

  1. On half of the graham crackers, spread roughly 2 teaspoons of Fluff.
  2. Sandwich each covered graham cracker with an uncovered one and put these aside.
  3. Melt the chocolate in a microwave or over a double boiler until it is smooth and liquid.
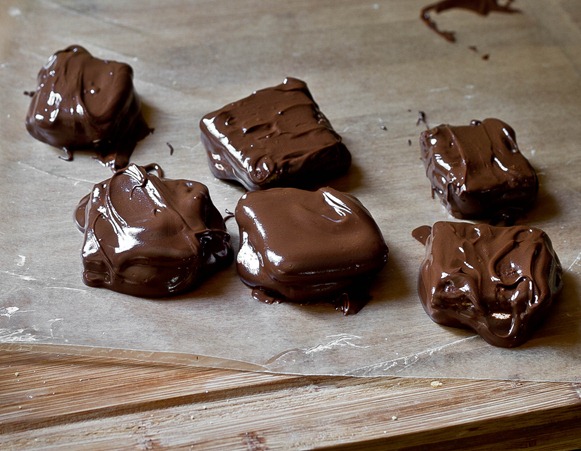
  4. One by one, lower the s’mores into the melted chocolate. Flip once and use a utensil to make sure the sides are covered as well as the top and bottom.
  5. Take the s’mores out of the melted chocolate and put it on a non-stick surface to dry. You can quicken the process by moving them to the refrigerator once you’re done.
  6. Repeat with all the s’mores.
  7. Store in the refrigerator until ready to eat.

Chocolate Covered S'mores Drying

A fun thing to do might be to decorate the outside while the chocolate is melting with graham cracker crumbs and mini-marshmallows. These are the things I think of after I’ve eaten the whole batch. Shame.

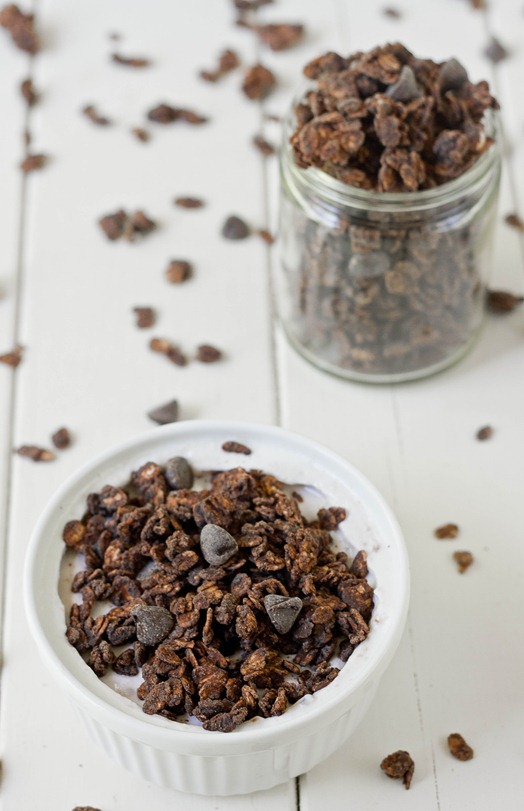
Double Chocolate Granola

Double Chocolate Granola

My favorite flavor of yogurt is pomegranate, followed closely by raspberry. I never expected to love pomegranate yogurt, especially since I don’t love pomegranates on their own, but it’s really won my heart. And the best way to eat it is with something chocolate on top. The creamy, tart and sweet yogurt with deep, dark chocolate is just too good for words.

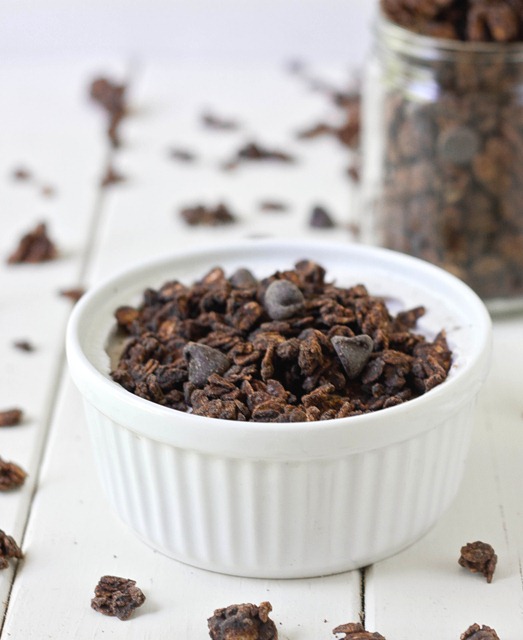
Of course after I loaded up my shopping cart with pomegranate yogurt over the weekend I came home and immediately decided to make chocolate granola. The last time I had chocolate granola it was store-bought and—though good—it was really lacking something: More chocolate. This granola has cocoa powder baked onto the oats, and then is hit with melted chocolate and chocolate chips after it’s done. The result is pure clustery chocolate goodness.

Double Chocolate Granola Serving

Give this granola a nutty twist by mixing in toasted almonds or salted peanuts along with the chocolate chips.

Double Chocolate Granola

Prep time: 10 minutes

Cook time: 35 minutes

Ingredients(Makes about 2 3/4 cups):

  • 2 1/4 cups rolled oats
  • 2 Tablespoons oil
  • 1/3 cup cocoa powder
  • 1/4 cup cane sugar
  • 1/4 teaspoon salt
  • 2 Tablespoons liquid sweetener
  • 2 Tablespoons water
  • 1/2 cup chocolate chips, divided

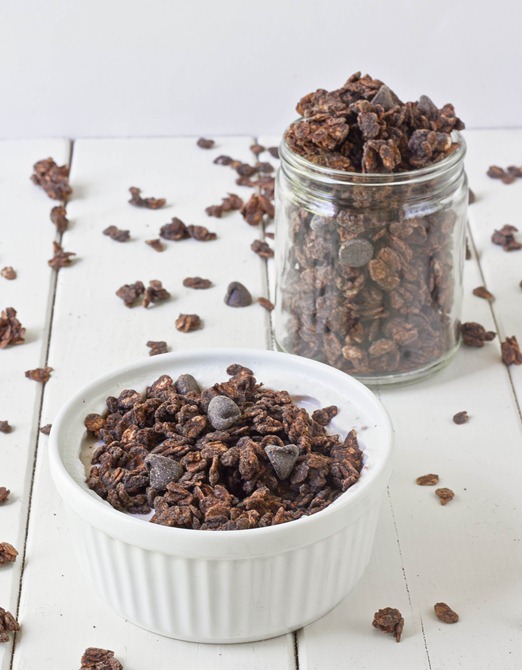
Double Chocolate Granola Clusters

Method:

  1. Preheat your oven to 350 degrees.
  2. In a large bowl, mix together the oats, oil, cocoa powder, cane sugar, salt, sweetener, and water.
  3. Lay the uncooked granola on a non-stick baking tray in a 1/2-inch thick layer.
  4. Bake for 30-40 minutes, breaking up the oats occasionally until they’re stiff and dry.
  5. Transfer the hot granola into a bowl with 1/4 cup of chocolate chips. Mix the granola as the chocolate chips melt, covering them with the melted chocolate.
  6. Once the granola has cooled completely, toss the granola to break apart any large clusters and add in the other 1/4 cup chocolate chips.
  7. Serve in an airtight container at room temperature for up to 2 weeks.  

Double Chocolate Granola 2

I’m going to need more yogurt.

The Ultimate Summer Dessert

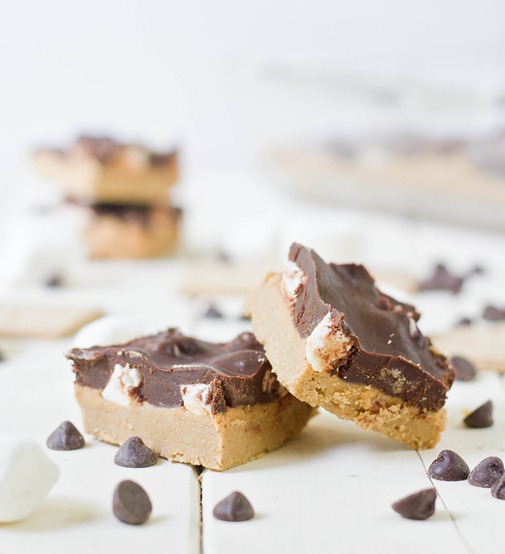
No Bake Peanut Butter S'mores Bars

This is one of my favorite recipes. I’ve blogged about it several times before and now I’m blogging about it again. It’s worth it though; I promise.

A friend mentioned how much he likes s’mores made with Reese’s peanut butter cups. In the back of my mind popped up my recipe for peanut butter s’mores bars and I promised to make them for July 4th.

July 3rd 016

After I made them I took fresh-looking photos and updated the recipe page. A few of the commenters who have made this said that their crusts didn’t stick together the way mine has. I think some of the confusion might come from how many graham crackers to use. I use Kinnikinnick 16 graham crackers(3 are pictured above), which would be the same as 4 sheets of graham crackers. It’s also relevant to mention the peanut butter I use for this recipe is always the kind without added oil so it generally mixes easier.

No Bake Peanut Butter S'mores Bars Close Up

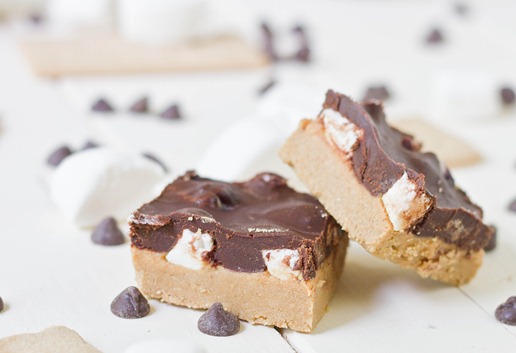
These have all the goodness of s’mores with added peanut butter and put into a portable form. They really are the ultimate Summer dessert. If gluten-free graham crackers didn’t cost an arm and vegetarian marshmallows a leg, I’d probably make these every month. For now they can just be a once in a long-while treat. 

Gluten-Free Chocolate Flag Cake

Gluten-Free Chocolate Flag Cake

Happy (almost) 4th of July! I know I’m five days early, but consider this my obligatory patriotic post.

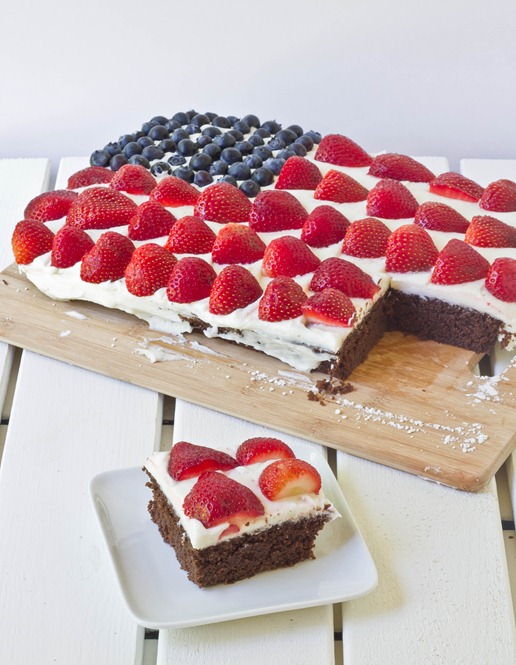
A few weeks ago I went to an American citizenship party for some friends who recently passed the citizenship test. There was grilling and beans and red, white, and blue napkins so of course there had to be flag cake.

Gluten-Free Chocolate Flag Cake Collage 2

A family friend at this party recently had to cut gluten out of her diet; one of her favorite foods is chocolate cake so naturally I knew the cake I made had to be chocolate. I’d never experimented with almond flour and coconut flour in the same recipe but I thought I’d give it a shot. The texture was just like any good ol’ fashioned American sponge cake. You’d never guess it was gluten-free and grain-free.

The frosting also got a lot of praise, too. Then again, how can something with butter, cream cheese, and a pound of sugar not be good?
Gluten-Free Chocolate Flag Cake Slice

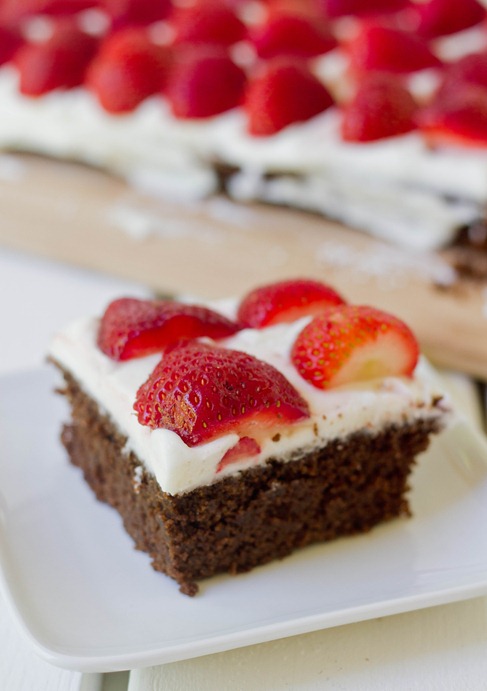
Make sure to use fresh fruit and to assemble it as close to serving as possible. The more the cake sits out, the more the juices from the strawberries runs into the frosting, and no one wants a runny flag.

Gluten-Free Chocolate Flag Cake

Prep time: 30 minutes

Cook time: 35 minutes

Ingredients(Makes 1 9 x 12 cake):

For the cake:

  • 3/4 cup chocolate chips
  • 1 1/4 cup almond flour
  • 1/2 cup coconut flour
  • 3/4 cup sugar
  • 1/2 cup oil
  • 6 extra large eggs
  • 1 teaspoon vanilla extract
  • 1 teaspoon baking soda
  • 1/2 teaspoon salt
  • 1/2 cup + 2 Tablespoons hot water

For the frosting:

  • 1 4oz stick of butter, room temperature
  • 1 8oz block of cream cheese, room temperature
  • 1 teaspoon vanilla extract
  • 1 1lb box of powdered sugar

 Fruit topping:

  • 1 half pint blueberries
  • 1lb fresh strawberries

Gluten-Free Chocolate Flag Cake Collage 3

Method:

  1. Preheat your oven to 350 degrees.
  2. Melt the chocolate in a double boiler or in the microwave.
  3. While the chocolate is melting, mix together the almond flour, coconut flour, sugar, and oil.
  4. Mix the melted chocolate into the flour mixture completely.
  5. Crack the eggs into the batter and beat each in.
  6. Add in the vanilla, baking soda, and salt.
  7. Add in the hot water and mix until the batter is smooth and slightly runny.
  8. Grease a 9 x 12 baking pan. Pour the batter in in an even layer.
  9. Bake for 35-40 minutes until the center of the cake has set. Remove from the oven and let it cool completely before frosting.
  10. Combine the butter, cream cheese, vanilla extract, and half of the sugar in a large bowl.
  11. With an electric mixer, beat together the ingredients until the sugar is entirely incorporated.
  12. Slowly add more sugar into the mix until all of it is mixed into the frosting.
  13. Spread a few tablespoons of powdered sugar on top of the cake and brush it all around to prevent the frosting from tearing the top of the cake.
  14. Spread the frosting out all over the cake in an even layer and around the sides.
  15. Make a square of blueberries in the top left corner of the cake.
  16. Remove the stem from each strawberry and cut each in half. Lay them out top to bottom in horizontal lines in a flag pattern.
  17. Refrigerate until ready to serve.  

Gluten-Free Chocolate Flag Cake Finished

There were practice American citizenship tests at the party. I scored a 12/20. I think that’s good enough not to be deported, right? Too bad how to make a flag cake isn’t part of the test.

Popular Recipes With Fresh New Looks

Anyone who’s been blogging for a while will tell you they cringe a little when they go look through old posts. Often when I go through the archives I find the photos aren’t great, the writing is awkward, and the recipe is poorly explained.

As much as I want to keep putting out new content, I also feel obligated to go back from time to time and put everything I’ve learned from years of food blogging back into those old recipes. So far I’ve started with some of my most pinned and shared recipes to freshen up and I thought I’d share them again since these are too good to sit in the archives and gather dust.
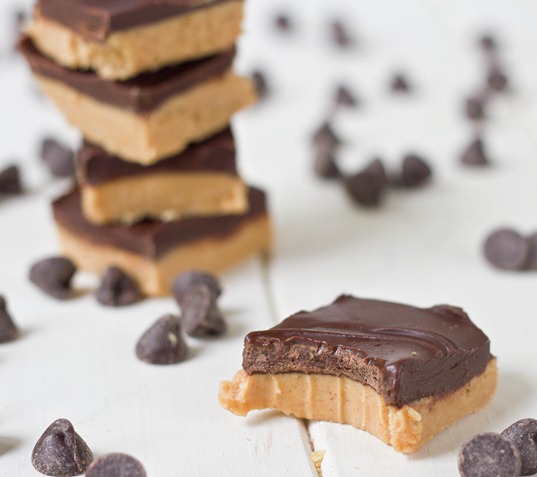
Chocolate Peanut Butter Bars Bite

These chocolate peanut butter bars are one of my favorite desserts ever to throw together. With just 4 ingredients, it’s no hassle either. The last time I made these I used the banana peanut butter I made earlier in the month. I didn’t think it could get better than chocolate and peanut butter but it certainly can.

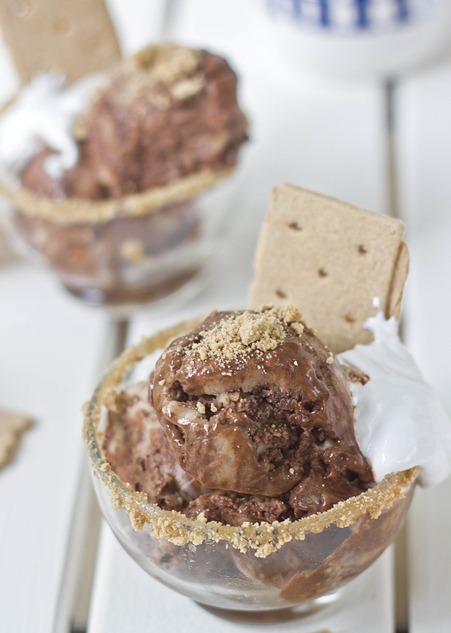
Healthy Frozen S'mores Parfait (2)

The healthy frozen s’mores parfait recipe was a Summer favorite last year and it’s already picking up steam again. Using banana “ice cream” as the base drastically cuts down added sugar and makes it great for the whole family. If gluten-free graham crackers weren’t so expensive, I’m sure I’d be eating these every night.
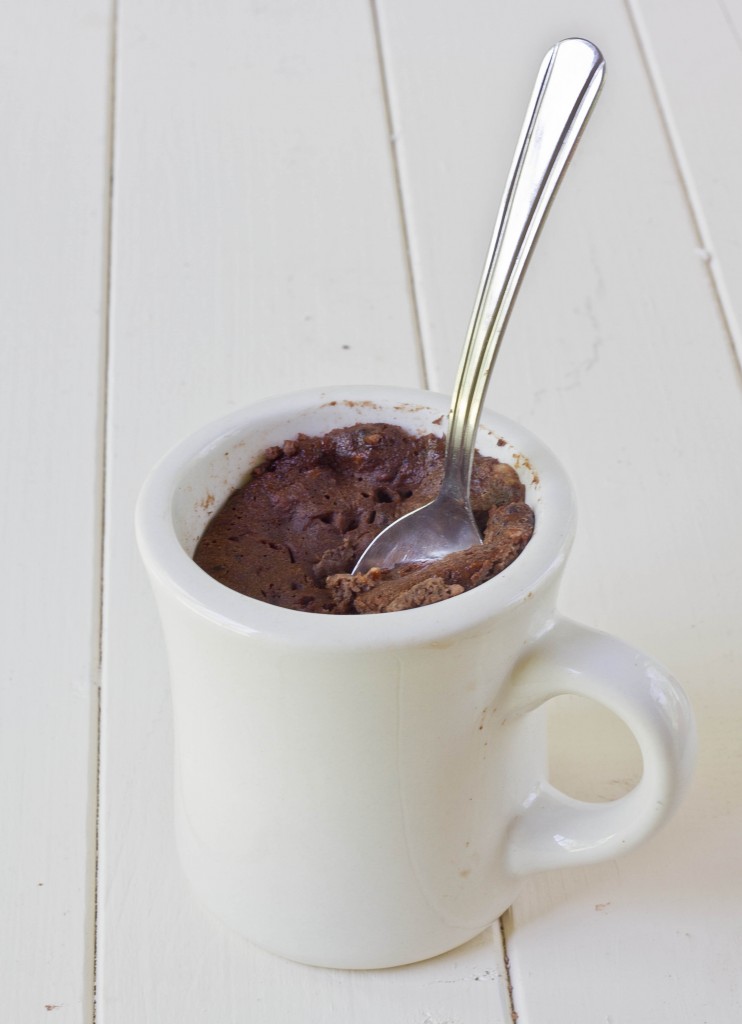
Last but certainly not least, paleo mug cakes never go out of stile. I thought I’d be eating less of them when the weather was warmer and hot desserts are less appetizing but I was very wrong. Again, with bananas as the sweetener and a good serving of protein and healthy fat, this isn’t a bad thing to be eating, either.
I hope sharing these helped someone find a new favorite. Hopefully I’ll continue digging through old posts and sprucing them up and one day I might even find a recipe that doesn’t use chocolate. Maybe.