Tag Archive: Chocolate

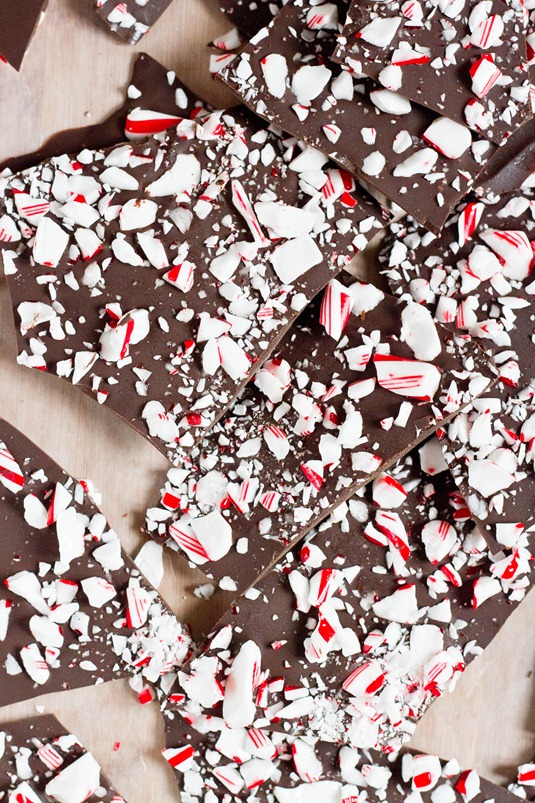
Dark Chocolate Peppermint Bark

Dark Chocolate Peppermint Bark

I love minty things. Mints, candy canes, mint chocolate—any and all of it makes a perfect after-dinner treat. It’s almost as good as brushing your teeth. Well… almost…

As soon as the stores started selling candy canes I bought the ingredients to make this. It’s not hard and all yet impressive enough to give to friends and family.

Dark Chocolate Peppermint Bark Broken

This is hardly a recipe. It’s just 3 ingredients and nearly impossible to screw up(don’t burn the chocolate) but still makes a thoughtful gift. If you want to vary things up, use white chocolate instead of dark.

Dark Chocolate Peppermint Bark

Prep time: 10 minutes

Cook time: 0 minutes

Ingredients(Makes about 16 servings):

  • 10oz dark chocolate, chopped OR 1 1/4 cups bittersweet chocolate chips
  • 1/2 teaspoon peppermint extract
  • 4 candy canes, crushed

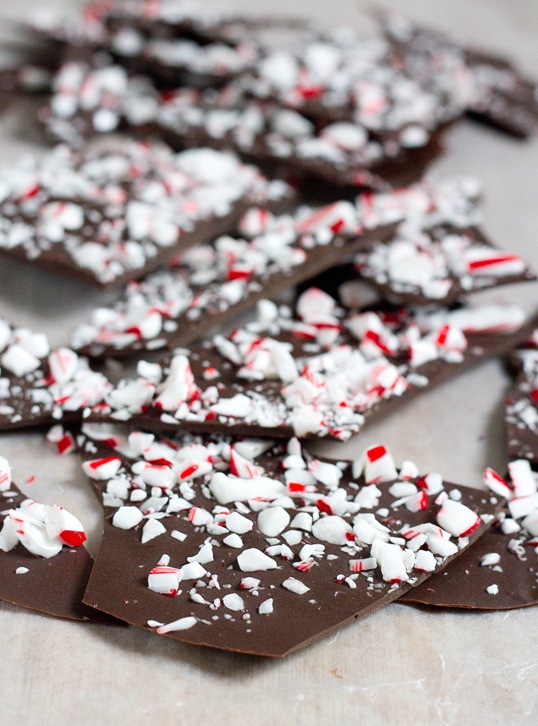
Dark Chocolate Peppermint Bark Yield

Method:

  1. Melt the chocolate in a microwave or over a double boiler.
  2. Once the chocolate is melted, mix in the peppermint extract until the chocolate is smooth.
  3. Pour the chocolate onto a sheet of wax or parchment paper. Spread it out into a thin layer.
  4. Sprinkle the crushed candy canes on top of the chocolate and press it in lightly.
  5. Refrigerate the bark for 20-30 minutes to let it harden.
  6. Break the bark into 15-20 uneven pieces. Keep refrigerated before ready to serve.

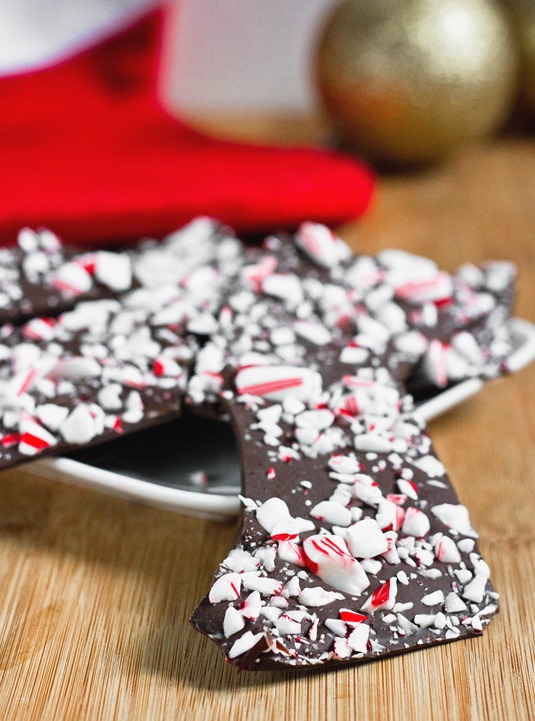
Dark Chocolate Peppermint Bark Serving

‘Tis the season.
Homemade Chocolate Turtles {+ Giveaway}

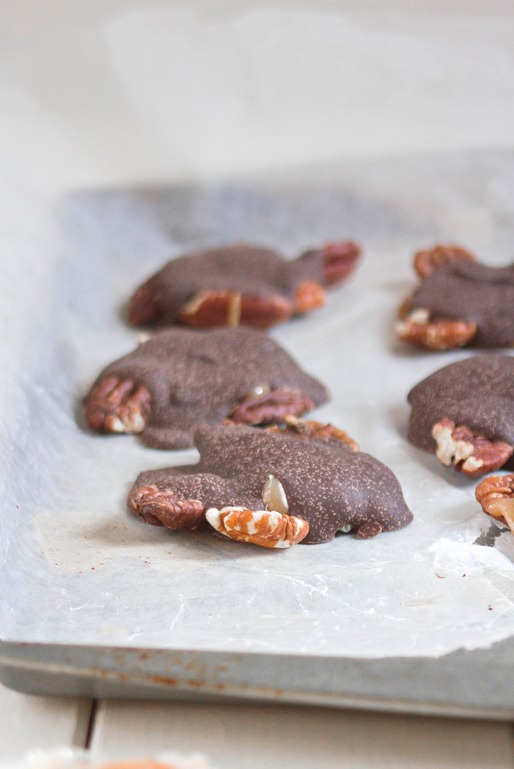
Homemade Chocolate Turtles

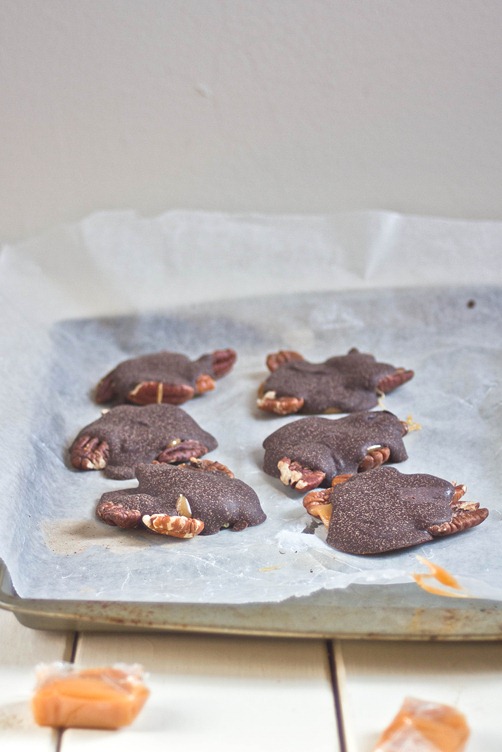
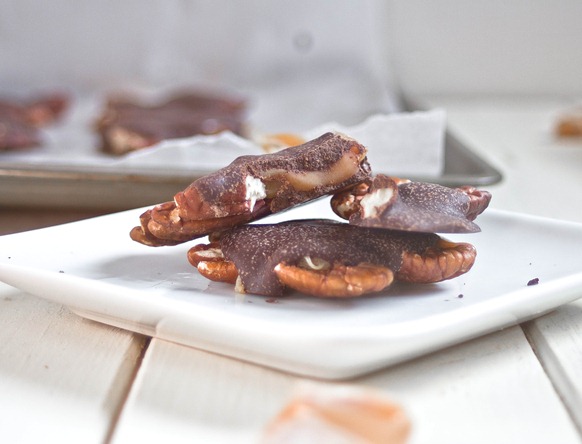
Before Thanksgiving I was thinking of different recipes I could use the American Heritage Chocolate I received on. It’s hard to find old-fashioned recipes that are also gluten-free since I don’t think that was much of a concern in the 18th century. I remembered how much I like old fashioned candy shops and seeing the homemade candies behind a glass case and wanted to try making a favorite: turtles.
I can’t say I went all-out old-fashioned with this recipe because I cheated a little bit and bought wrapped caramels. Learning how to use a candy thermometer well is something I want to do; this didn’t seem like a good time to start practicing, though. Store-bought or not, the end result was delicious and that’s what really matters, right?

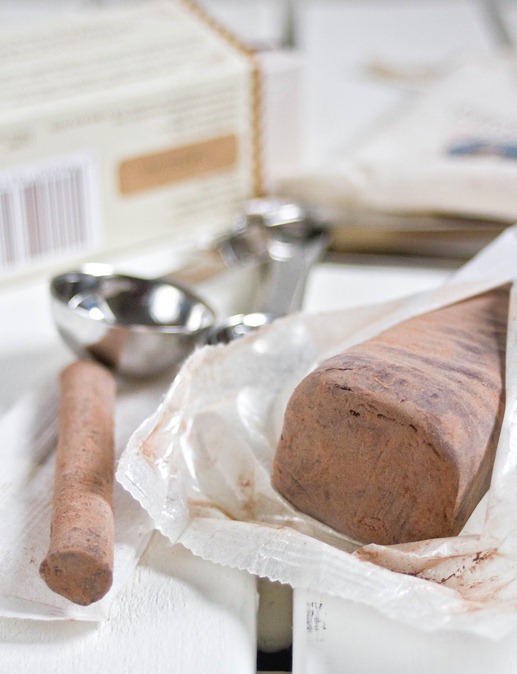
American Heritage Chocolate

Whenever you’re working with high-quality baking chocolate I would suggest melting it over the stove using the double boiler method. Boil water in a small pot and place a fitted bowl on top with the chocolate inside of it, moving the chocolate around to melt it evenly. Chop the chocolate into smaller portions to make it melt faster.

Homemade Chocolate Turtles

Prep time: 15 minutes

Cook time: 0 minutes

Ingredients(Makes 10 turtles)

*I used Trader Joe’s salted old fashioned caramels. Feel free to make your own from scratch if you’re experienced with a candy thermometer.

Homemade Chocolate Turtles Yield

Method:

  1. Lay the pecans out in clusters on a non-stick, greased surface.
  2. Spoon about a Tablespoon of the melted caramel on top of each pecan cluster.
  3. Over a double boiler, melt the chocolate until it is smooth and shiny.
  4. Spoon just enough chocolate on top of the the clusters to cover most of the caramel and pecans.
  5. Move the turtles into the refrigerator or freezer for 20 minutes to set the chocolate.
  6. Serve and store at room temperature.

Homemade Chocolate Turtles Serving

Now for the fun part. American Heritage Chocolate wants to give away some of their finely ground chocolate drink and chocolate sticks to 2 US readers. All you have to do is leave a comment for each entry below and I’ll pick the winners Tuesday, December 4th, at midnight.

Good luck!

Chewy Peanut Butter Cookies {Gluten-Free}

Chewy Peanut Butter Cookies {Gluten-Free}

I came home for the holiday weekend on Wednesday night last week. Normally I cook more for the holidays but by the time I arrived most of Thanksgiving dinner had already been planned. I decided to contribute some ad hoc cookies because, well, when are extra cookies ever a bad thing?

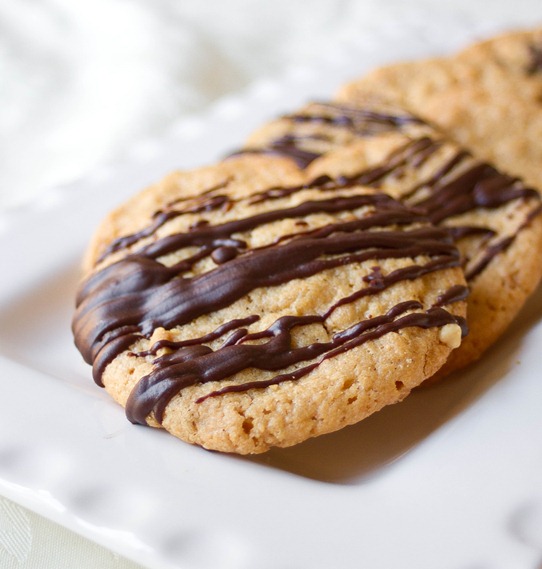
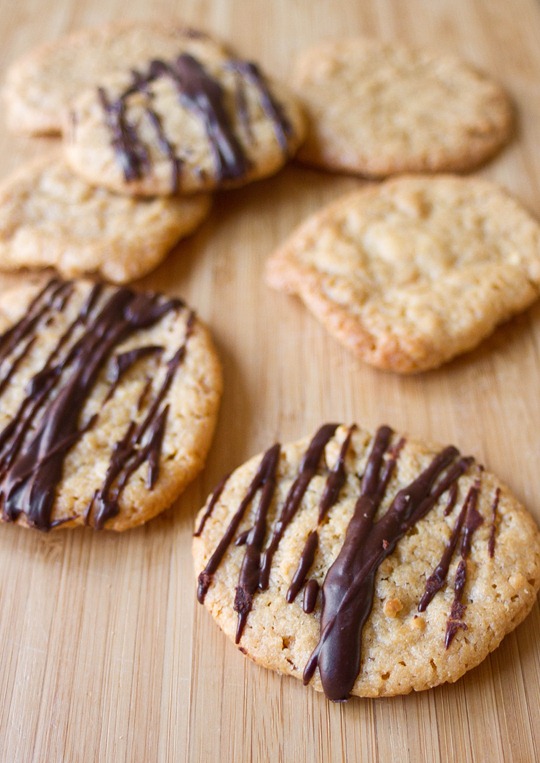
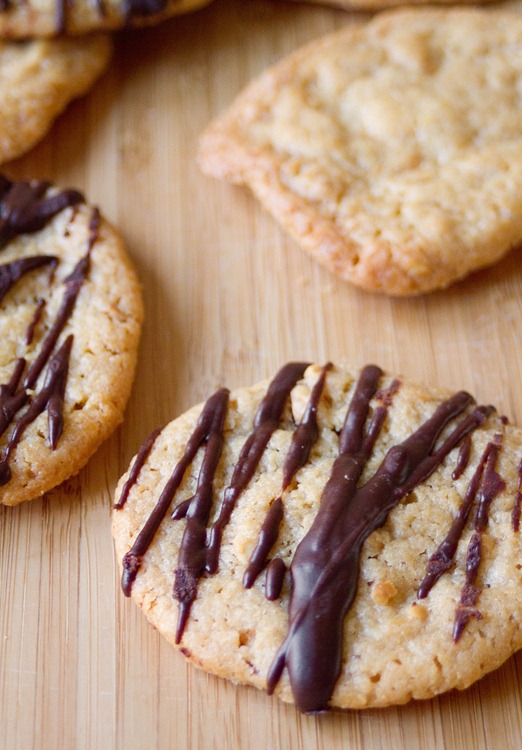
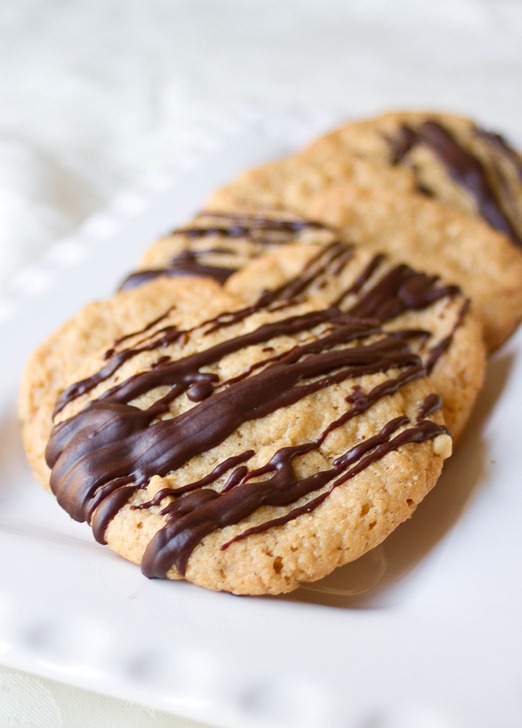
I’m usually a purist when it comes to peanut butter cookies using this recipe. However I wanted to try one with flour and butter for a different texture to mix things up. The added ingredients make a cookie that chewy rather than crispy and slightly richer. On top I added a chocolate drizzle for the chocolate lovers in my family(but mostly for myself).

Chewy Peanut Butter Cookies {Gluten-Free} Yield

Mixed some chopped peanuts or chocolate chips into the batter before baking these for an extra crunch.

Chewy Peanut Butter Cookies {Gluten-Free}

Prep time: 10 minutes

Cook time: 18 minutes

Ingredients(Makes about 14 cookies):

  • 3/4 cup all-purpose gluten-free flour
  • 3/4 cup sugar
  • 1/4 teaspoon salt
  • 6 Tablespoons creamy or chunky peanut butter
  • 1/4 cup butter
  • 1 egg
  • 1/4 cup chocolate chips(optional)

Chewy Peanut Butter Cookies {Gluten-Free} Drizzle

Method:

  1. Preheat your oven to 350 degrees
  2. In a large bowl mix together the sugar, flour, and salt.
  3. In a small bowl, melt together the butter and peanut butter and mix.
  4. Pour the melted butter and peanut butter into the flour mixture and mix it together.
  5. Beat in the egg until all of the ingredients form a dough.
  6. Roll the dough into 1-inch balls and place them 2-3 inches apart on a greased cookie tray.
  7. Bake for 16-18 minutes until the outside is firm to the touch.
  8. Remove from the oven and let the cookies cool completely before moving.
  9. Melt down the chocolate chips and drizzle the melted chocolate on top of the cookies.

Chewy Peanut Butter Cookies {Gluten-Free} Plated

Chocolate Pumpkin Baked Custard

Chocolate Pumpkin Baked Custard

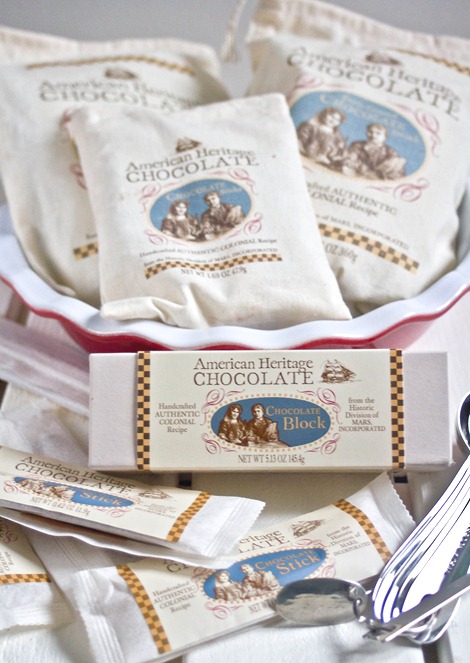
It’s no secret that my favorite food group is chocolate. I could eat it every day and was very excited when American Heritage Chocolate approached me and asked if I’d like to do some baking with their chocolate for Thanksgiving. Their company is all about producing authentic 18th century-style chocolate and what better time to celebrate that then during a holiday established by George Washington himself in the 18th century?

They sent me a package of goodies including hot cocoa mix, chocolate sticks and baking chocolate along with measuring spoons and pie pan. After tasting it and getting familiar with the flavors I tried this recipe and nailed it(if I can say so myself) on the first try.
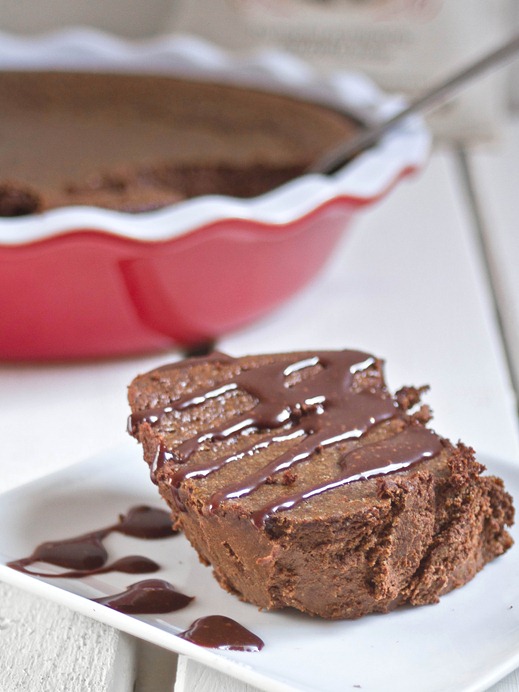
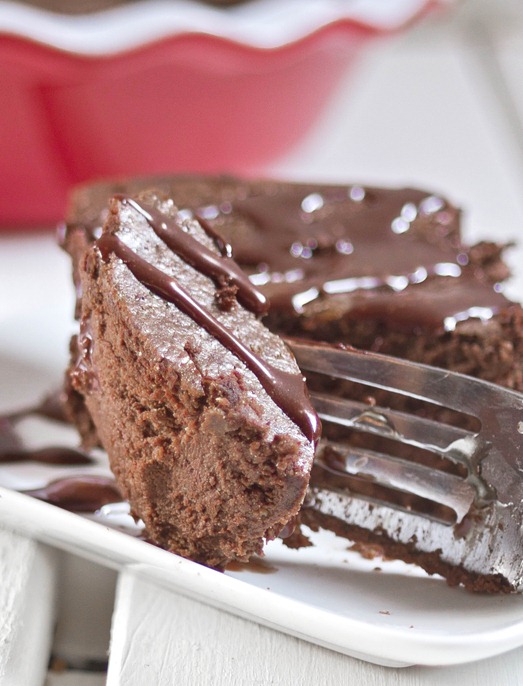
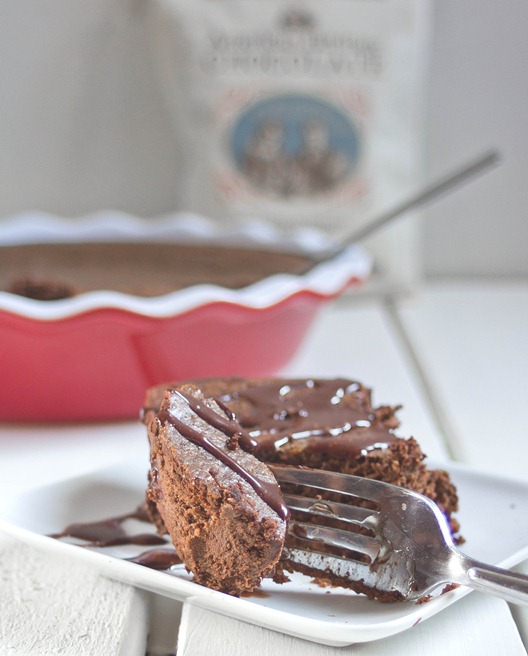
I wasn’t sure exactly what to call this. Technically it’s not a cake since there’s no sort of flour in it, just eggs and dairy which makes it a custard. The texture is very similar to a flourless chocolate cake recipe—super soft and melts in your mouth.

American Heritage Product

My favorite thing about their chocolate is that it’s slightly spicy. They add in anise, cinnamon, nutmeg, orange peel, anise seed, annatto, and red pepper just like chocolate was made in the 18th century, but none of the flavors are too overpowering to take away from the cocoa. If you make this recipe using standard hot cocoa mix, I would recommend adding tiny amounts of any of these spices from your cupboard to make the flavor more enticing.

Chocolate Pumpkin Baked Custard

Prep time: 10 minutes

Cook time: 40-50 minutes

Ingredients(Makes 12-16 servings):

* I roasted and pureed half of a butternut squash. You could also use a canned pumpkin.

Chocolate Pumpkin Baked Custard Fork

Method:

  1. Preheat your oven to 375 degrees.
  2. In a large bowl, beat together all of the ingredients until they’re homogenized. Don’t worry about the chocolate mix dissolving since that will happen as it bakes.
  3. Grease a 9-inch cake or pie pan.
  4. Pour the batter into the pan and bake for 40-50 minutes until the center has set and a cake tester comes out clean.
  5. Remove from the oven and serve hot with whip cream, ice cream, or a chocolate fudge sauce.

Chocolate Pumpkin Baked Custard Bite

Who’s bringing the ice cream?

7 Homemade Candy Recipes

2 days from Halloween and it almost slipped my mind to post about candy recipes. I guess this hurricane talk has really distracted me.

I’ve been noticing some of these recipes getting more attention lately but didn’t realize why until just this weekend. Of course the only thing better than fattening, sugary candy is homemade sugary candy and now is definitely the right time of year to treat yourself.

Here are my 7 favorite candy recipes I’ve made over the past couple years. I don’t think any of them disappoint.

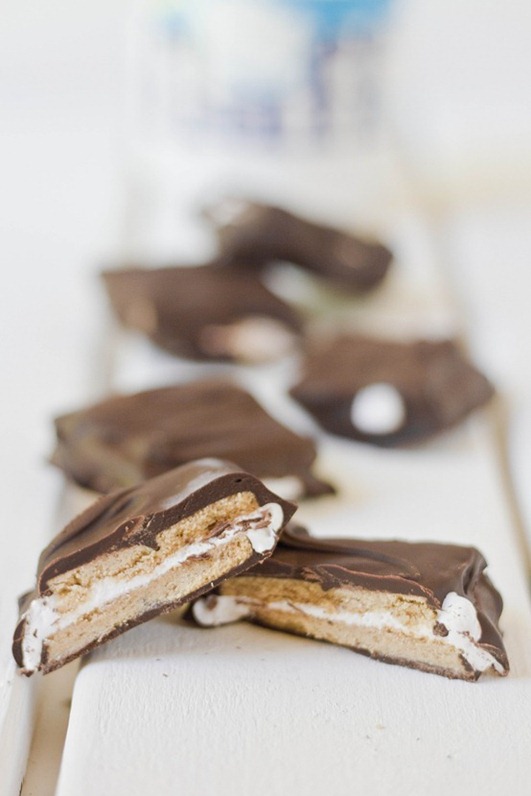
Chocolate-Covered-Smores

Chocolate Covered S’mores

December 31st 043

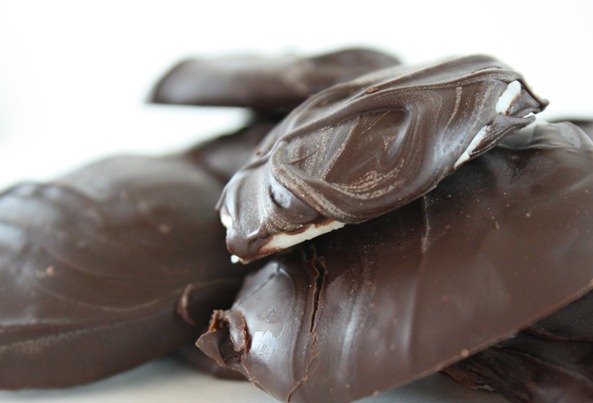
Homemade Peppermint Patties

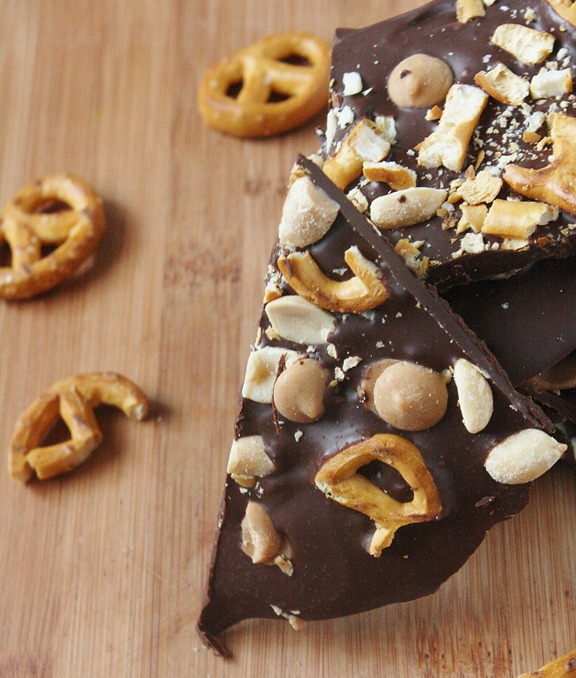
Peanuts-And-Pretzels-Dark-Chocolate-Bark

Peanuts & Pretzels Bark

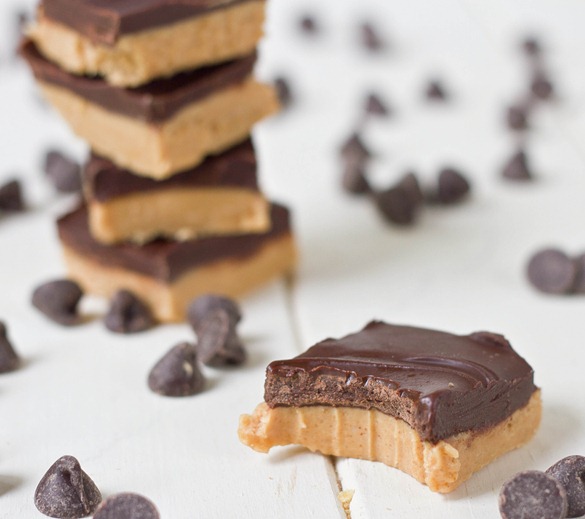
Chocolate Peanut Butter Bars Bite

Chocolate Peanut Butter Bars

White-Chocolate-Candy-Corn-Bark-Broken

White Chocolate Candy Corn Bark

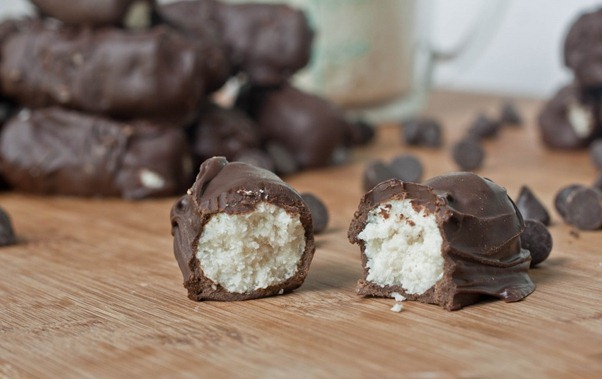
homemade-mounds-bars

Homemade Mounds Bars

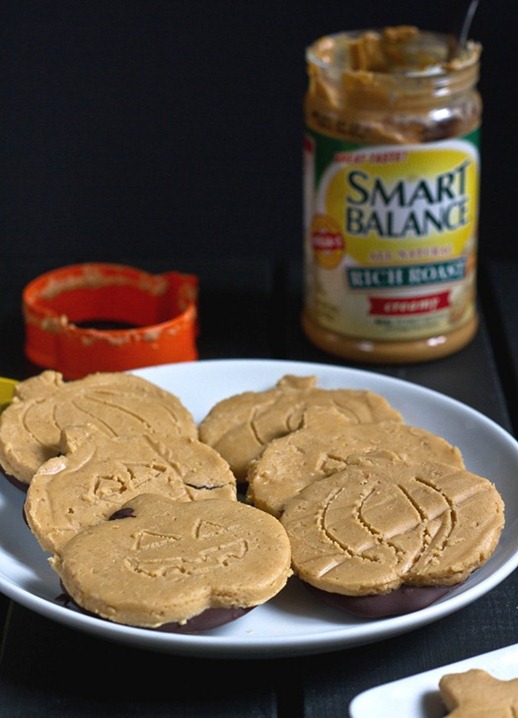
Homemade-Peanut-Butter-Pumpkins

Homemade Peanut Butter Pumpkins

If you make any of these, please comment on the original recipe page and tell how it went! I love hearing from readers who’ve tried recipes.

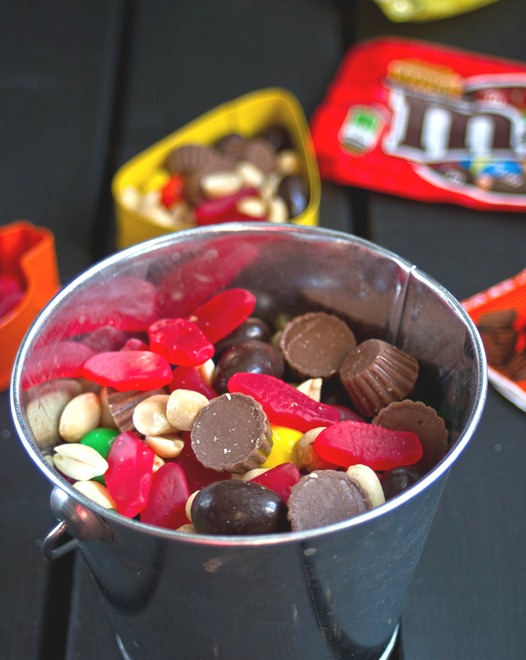
Candy Party Mix

Candy Party Mix

This kind of treat has a lot of names. “Monster mix” and “Trash mix” come to mind; let’s call it a party mix since that sounds more elegant when you’re stuffing your face with candy at 8pm.

After Halloween everyone’s always stuffed with more candy than they know what to do with. This is a great recipe to use it up and have something fun and festive to put out at a party or the office. Adding some salted nuts helps to break up the sweetness and add a little crunch factor without making it into a “healthy, boring” treat.

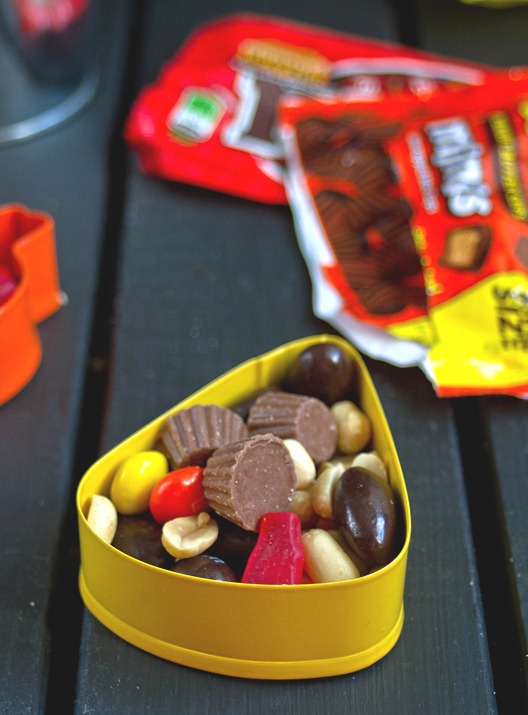
Candy Party Mix Serving

Adapt to use what you have; swap out chocolate covered raisins instead of the almonds or use pretzel M&Ms. It’s entirely versatile.

Candy Party Mix

Prep time: 5 minutes

Cook time: 0 minutes

Ingredients(Makes about 3 cups):

  • 1 cup salted peanuts
  • 1/2 cup chocolate covered almonds
  • 1/2 cup M&Ms
  • 1/2 cup Reese’s miniature peanut butter cups(or regular sized peanut butter cups cut into quarters)
  • 3/4 cup small Swedish Fish

Method:

  1. Mix all of the ingredients together and enjoy.

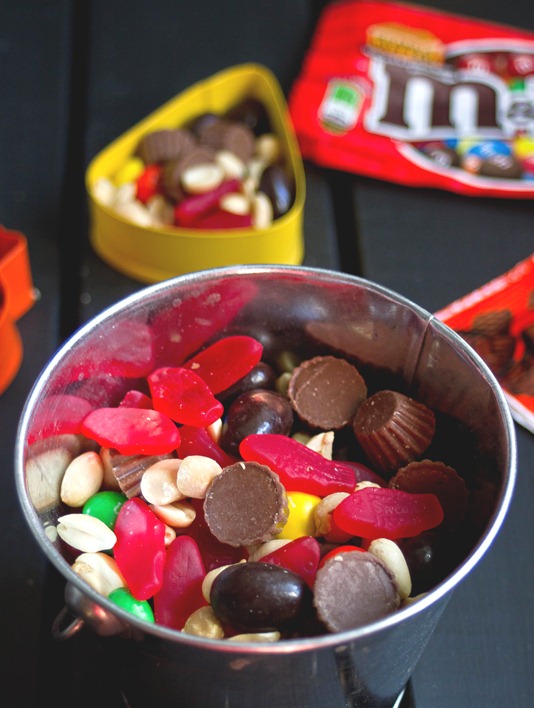
Candy Party Mix 2

You’re welcome for the sugar rush.

White Chocolate Candy Corn Bark

White Chocolate Candy Corn Bark

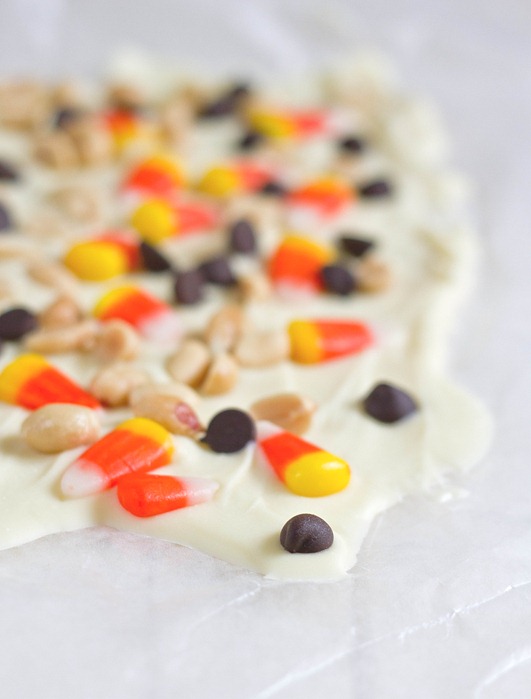
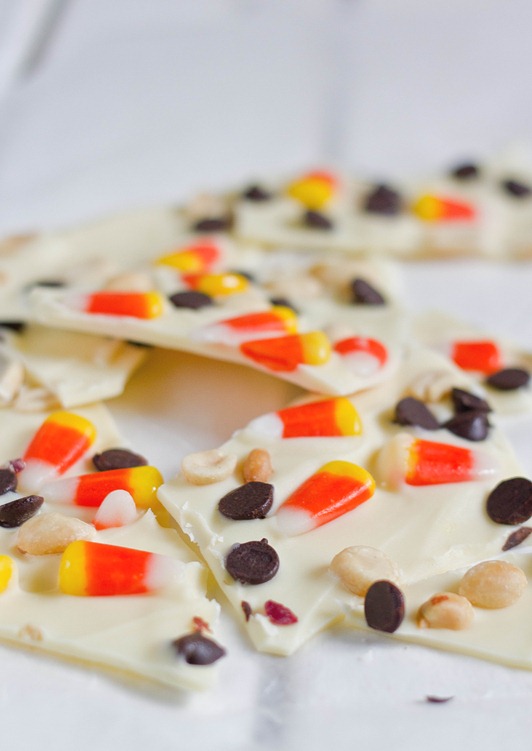
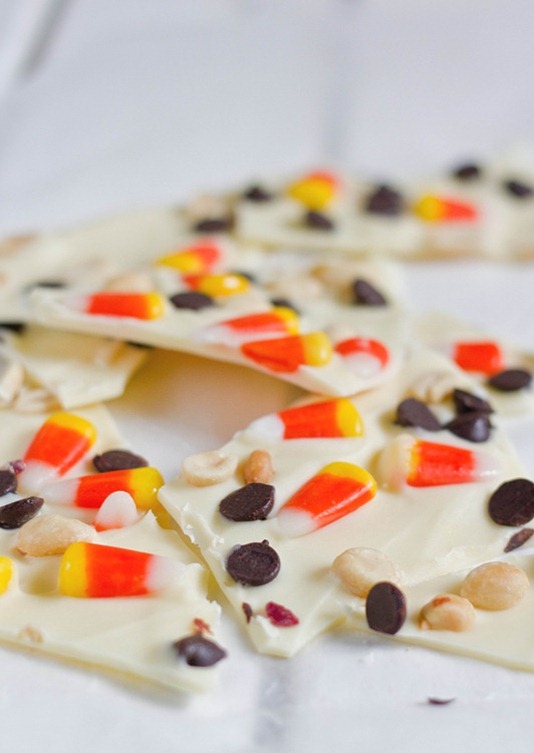
Candy corn seems to be one of those foods that divides families. People either love it or they hate it. Personally, I’m addicted to it. Sometimes it tastes good; other times it tastes like nail polish remover. But I will always eat it.

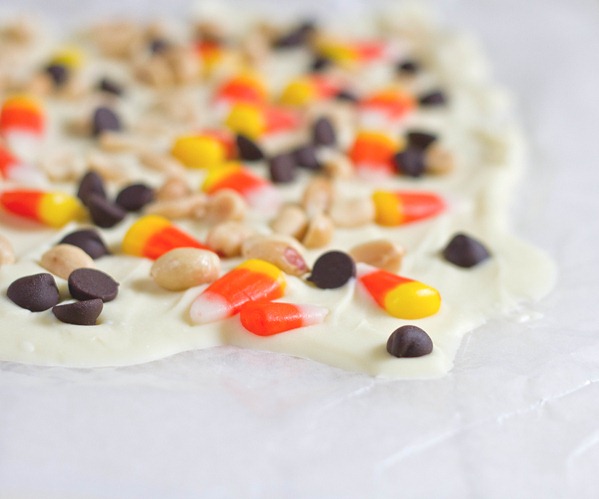
Still, candy corn on its own can be a bit much; I find it’s better with other things like Chex mix or Halloween crack corn that cut through the sweetness. White chocolate isn’t going to do much for that but peanuts and a little bit of dark chocolate definitely do. This bark is all around fun if you like candy corn and sweet treats.

White Chocolate Candy Corn Bark Broken

White Chocolate Candy Corn Bark

Prep time: 10 minutes

Cook time: 0 minutes

Ingredients(Makes about 16 pieces):

  • 8oz(1 cup) white chocolate chips
  • 1/4 cup candy corn
  • 1/4 cup roasted peanuts
  • 1/4 cup chocolate chip

Method:

  1. Melt the white chocolate chips in a microwave or over a double boiler.
  2. Pour the melted chocolate onto a non-stick surface and spread it into a layer about 3/8-inch thick.
  3. Evenly drop the candy corn, peanuts, and chocolate chips onto the bark and press them in gently.
  4. Move the chocolate to the refrigerator or freezer to harden for 15-20 minutes.
  5. Cut the bark with a sharp knife into asymmetrical pieces. Store in the refrigerator when not eating.

White Chocolate Candy Corn Bark Finished

If you serve this at a Halloween party you can make up fun stories like how the white chocolate is ectoplasm and the chocolate chips are ghost droppings. I don’t know what the candy corn and peanuts would be; any ideas?

Reese’s Mini Peanut Butter Cookies

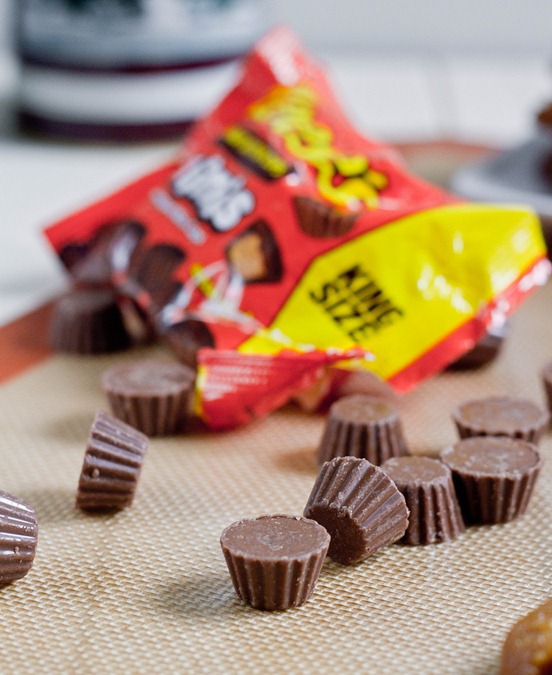
Reese's Peanut Butter Cups Minis

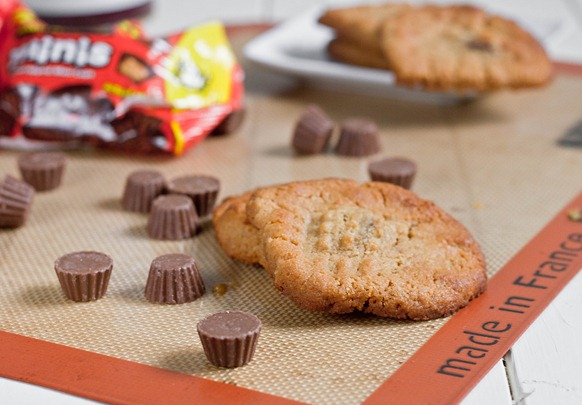
Reese’s have always been my favorite candy for as long as I can remember. They were always the hottest items on Halloween. Their new minis unrwapped peanut butter cups seemed like the perfect candies to bake with—the perfect size and no fussy wrappers.

Obviously a peanut butter and chocolate candy deserves a peanut butter cookie. These cookies are my favorite simple recipe to whip together; you can memorize it and take it wherever you go. You can drizzle these with extra chocolate or making them into ice cream sandwich cookies; and of course they’re gluten-free.

Reese's Peanut Butter Cups Minis Candy

If you can’t find mini Reese’s you can always buy the regular sized candies and chop them up, or swap in a different candy altogether.

Reese’s Mini Peanut Butter Cookies

Prep time: 10 minutes

Cook time: 15 minutes

Ingredients(Makes 14 cookies):

  • 1 cup no-stir peanut butter
  • 3/4 cup sugar
  • 1 egg
  • 1 teaspoon vanilla
  • 1/2 teaspoon baking soda
  • 1 King size Reese’s peanut butter cups mini unwrapped

Reese's Peanut Butter Cup Minis Serving

Method:

  1. Preheat your oven to 350 degrees.
  2. Combine in a large bowl the peanut butter, egg, sugar, baking soda and vanilla and mix.
  3. Add and fold in the mini Reese’s.
  4. Roll the dough into balls about an inch in diameter in between your hands and place them on a non-stick baking tray.
  5. Press down lightly on the dough in a criss-cross pattern with a fork.
  6. Bake for 15 minutes or until the edges start to brown. Remove from the oven and let them cool completely before moving them or otherwise they will break apart.


White Chocolate Cherry Almond Bark

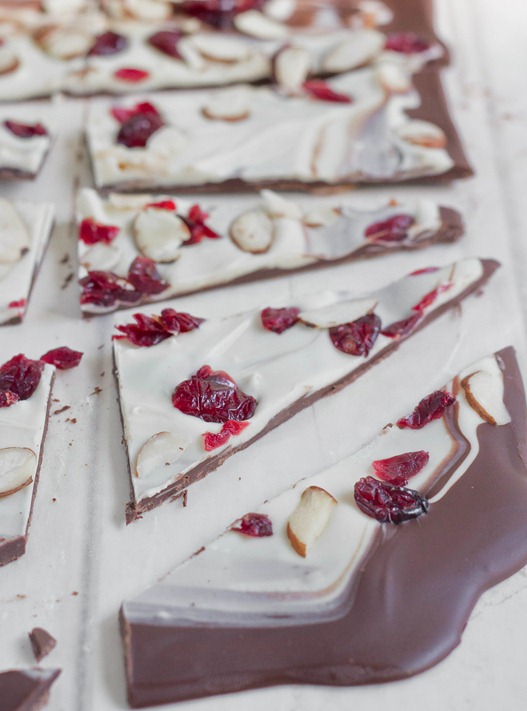
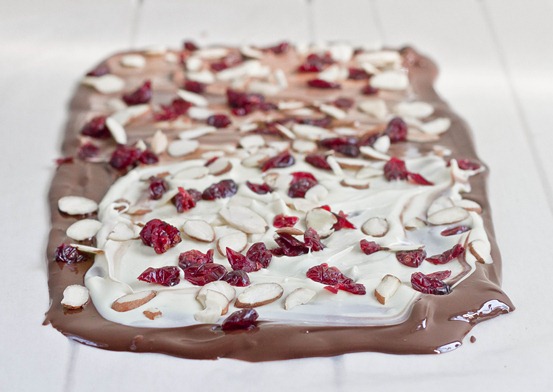
White Chocolate Cherry Almond Bark

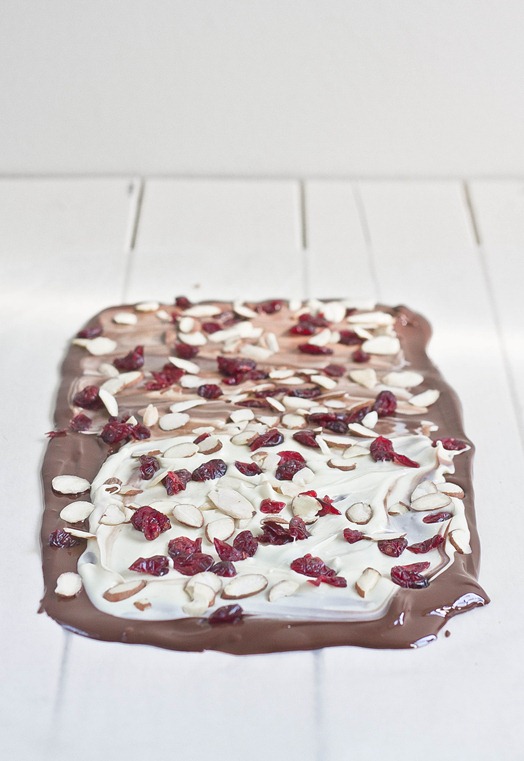
I don’t think bark should be a holiday food. It’s chocolate, nuts, and dried fruit—what’s holiday-like about that?! That sounds like anytime food to me. So feel free to make this whenever you feel like.

This is an actually an old recipe from my archives. Last time I made it I wasn’t happy with the photos so I thought I’d give it another post, not that I need much convincing when chocolate’s involved. I love white chocolate but don’t buy it very often. It’s much better at pairing with other flavors than just on its own.

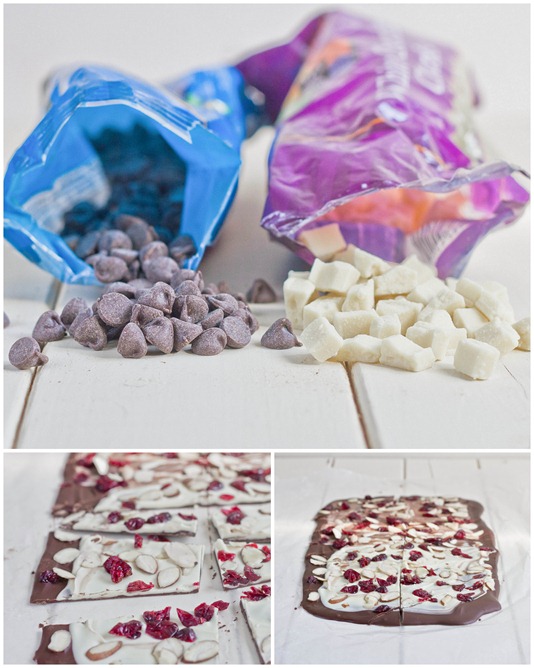
The tart cherries and unsweet almonds help to curb the sweetness of the white chocolate, and the dark chocolate on the bottom adds a bit of bitterness to the mix. Altogether it’s a winning combination.

White Chocolate Cherry Almond Bark Drying

You can use sliced, crushed, or slivered almonds—whatever you have. Also feel free to swap in cherry flavored craisins if you get to the store and realize you don’t feel like paying more for dried cherries; you’d be in good company.

White Chocolate Cherry Almond Bark

Prep time: 10 minutes

Cook time: 0 minutes

Ingredients:

  • 1/2 pound white chocolate
  • 1/2 pound semi-sweet or bitter-sweet chocolate
  • 1/2 cup sweetened or unsweetened dried cherries
  • 1/2 cup shaved almonds

White Chocolate Cherry Almond Bark Collage

Method:

  1. Start by melting either the white or dark chocolate—whichever you want to be the base of the bark(I started with the white)—in a microwave or over a double boiler. Melt until completely smooth.
  2. Lay the chocolate out in a thin layer on a non-stick surface like wax paper.
  3. Melt the other chocolate and carefully spread it on top of the first layer, gently swirling the two together with a utensil.
  4. Sprinkle on the cherries and the almonds all over the chocolate and press them in lightly with your hand.
  5. Freeze the chocolate for about 20 minutes until it has completely hardened.
  6. With a sharp knife, cut the chocolate into unequal pieces. Store for up to 2 weeks.

White Chocolate Cherry Almond Bark Yield

Easy Kahlua Truffles

Easy Kahlua Truffles

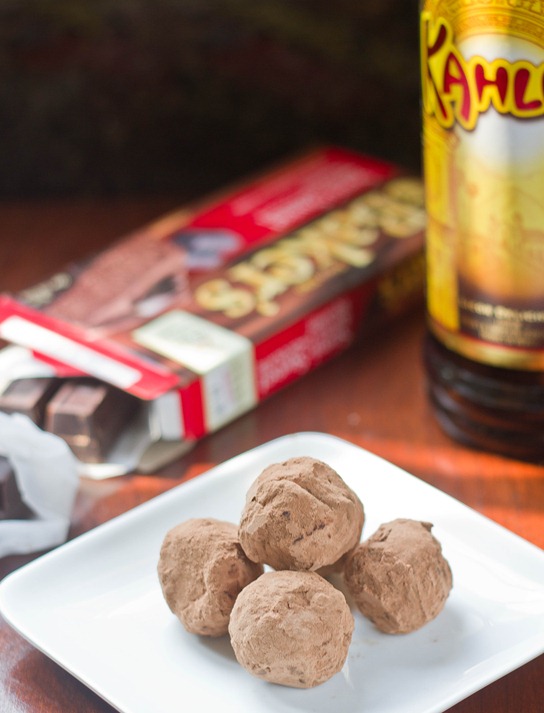
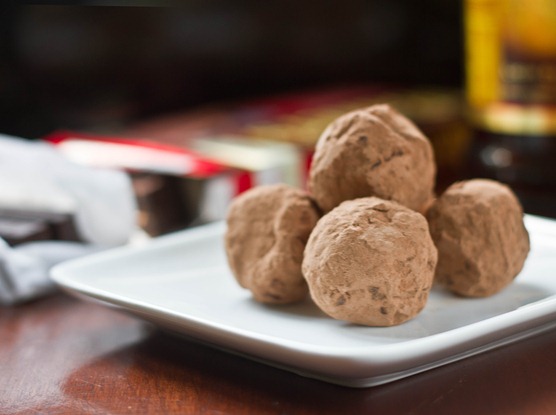
I hate to admit it but even after years of cooking long, detailed ingredient lists and steps still scare me away from a recipe. If there’s a way to do something easier, I’ll take it. These truffles are about as easy as they come; they’re JUST chocolate, butter, and Kahlua. How easy is that?(Shoot, now I probably owe Ina Garten royalties)

The hardest part about these is rolling them in cocoa powder, which isn’t hard at all; you just have to pay attention to the chocolate and and keep coating it until it can’t take in any more cocoa. When you’re done you get a nice, rich center and a mess-free surface.

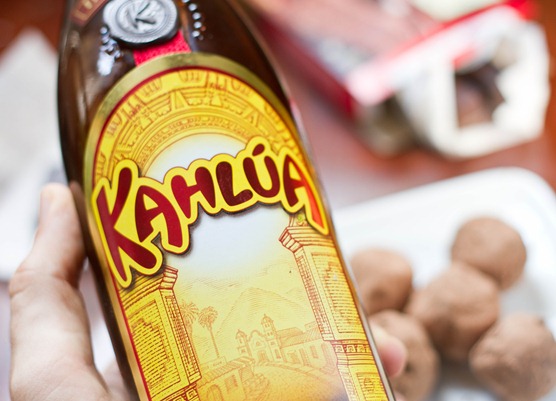
Easy Kahlua Truffles Kahlua

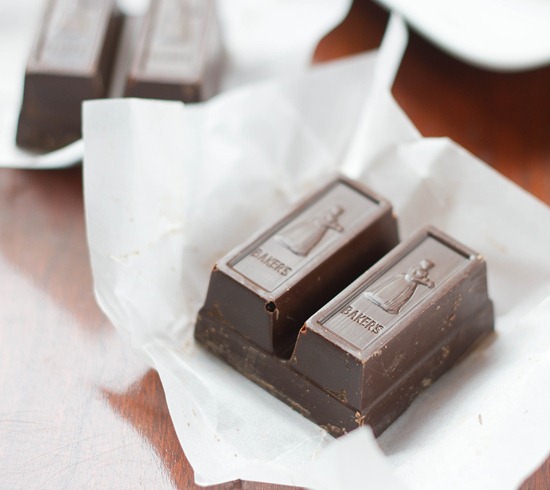
When making anything that involves melting chocolate, it’s better to use a baking chocolate rather than chocolate chips. You can get high-quality baking chocolate near the cheese section in some grocery stores or use Baker’s brand chocolate. Unlike chocolate chips, this will melt easily and smoothly.

Easy Kahlua Truffles

Prep time: 40 minutes

Cook time: 0 minutes

Ingredients(Makes 14 truffles):

  • 8oz semi-sweet or bittersweet chocolate
  • 3 Tablespoons Kahlua liquor
  • 2 Tablespoons butter
  • 1/2 cup cocoa powder

Easy Kahlua Truffles Chocolate

Method:

  1. Melt the chocolate and butter in a microwave or over a double boiler.
  2. Mix the Kahlua into the chocolate and butter and beat until smooth and silky.
  3. Let the chocolate cool in a refrigerator until it’s a semi-soft solid. It shouldn’t be as hard as a rock, but it shouldn’t stick to your hand when you handle it.
  4. Pour about 1/2 cup of cocoa powder onto a flat plate.
  5. With a melon baller, form small balls of chocolate and drop them onto the plate of cocoa powder, rolling them around. Alternatively, you can take small amounts of chocolate, roll it into a ball in between your hands and drop it into the cocoa powder.
  6. Roll the truffle around in the cocoa powder until the outside is entirely coated and place it on a separate, clean plate. Repeat with all of the chocolate.
  7. When the truffles have set and hardened, shake off any excess cocoa powder and store them in a sealed container keeping the truffles at room temperature.

Easy Kahlua Truffles Plated