Tag Archive: Chocolate Chips

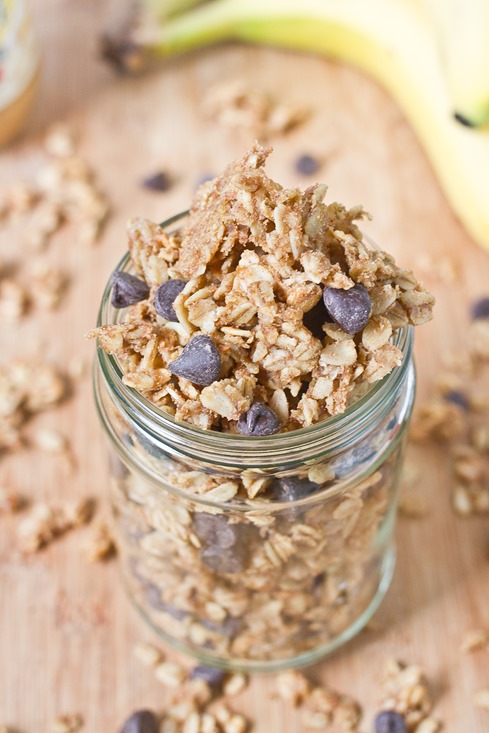
Peanut Butter Banana Granola

Peanut Butter Banana Granola

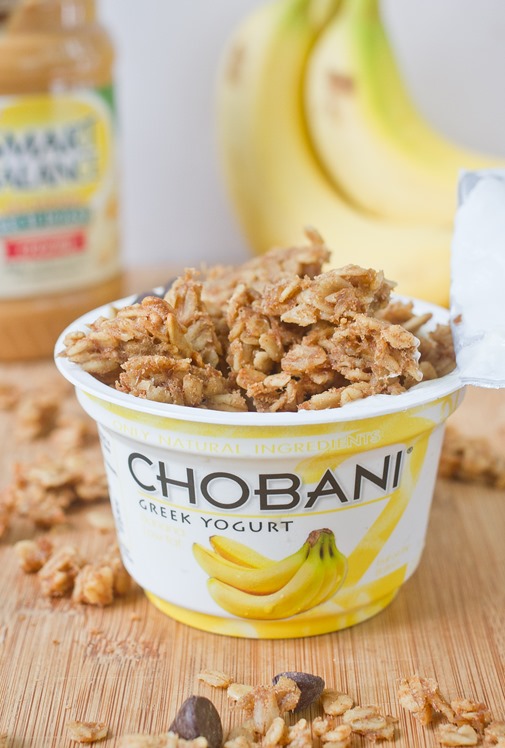
I’ve eaten yogurt, granola and a sliced banana for more meals this past month than I’m willing to admit. I’m not sure if it’s because it’s so good or so easy; it’s probably a bit of both. I never knew if you could cook the banana flavor into the granola until I saw this recipe. That gave me all the confidence I needed to try it out.

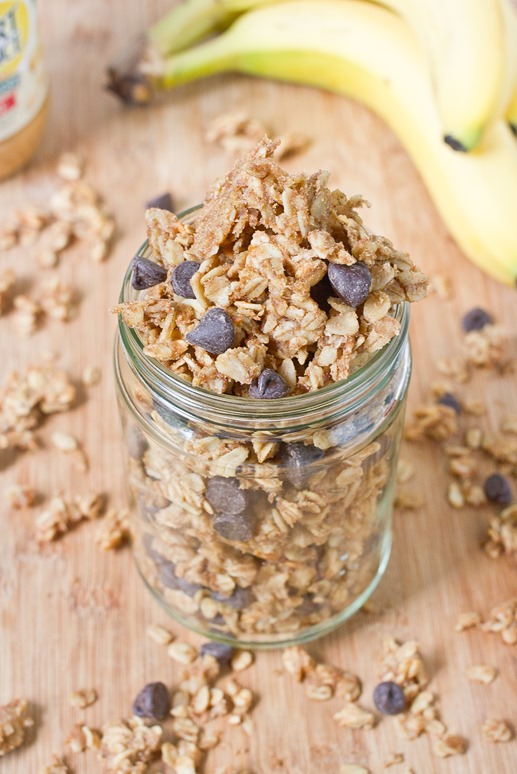
This is the kind of granola I have no trouble eating all by itself. It has every flavor and texture in it you could possibly want. The clusters are slightly softer than normal granola because of the bananas; it reminds me of the crusty outside of slightly overcooked banana bread. It’s great to eat with just about any flavor of yogurt, too.

Peanut Butter Banana Granola Ingredients

This granola tasted fresher than any I’ve tried before. It’s great to make for yourself if you will eat it over the course of a week but might not be the best to give as a gift to someone. Make sure to refrigerate this to keep it its freshest.

Peanut Butter Banana Granola

Prep time: 10 minutes

Cook time: 30 minutes

Ingredients(Makes about 3 cups)

  • 1 banana, mashed
  • 2 cups rolled oats
  • 1/4 cup maple syrup
  • 2 Tablespoons peanut butter
  • 2 Tablespoons oil
  • 1/2 teaspoon cinnamon
  • 1/2 teaspoon vanilla extract
  • 1/4 teaspoon salt
  • 1/2 cup chocolate chips(optional)
  • 1/2 cup chopped nuts(optional)

Peanut Butter Banana Granola Yield

Method:

  1. Preheat your oven to 350 degrees.
  2. In a large bowl, mix together the banana, oats, syrup, peanut butter, oil, cinnamon, vanilla and salt until evenly mixed.
  3. Spread the oats out in a thin layer on a non-stick baking surface.
  4. Bake for 25-30 minutes, breaking up the oats into clusters about 20 minutes into baking.
  5. When the clusters are golden and firm, remove them from the oven and let them cool.
  6. Once the granola has cooled, add chocolate chips or nuts if using. Store in a sealed container in the refrigerator when not eating.  

Peanut Butter Banana Granola Yogurt


Oat Flour Brownies

Oat Flour Brownies

If there’s one thing I could make with my eyes closed, it’s brownies. I think my 6th sense is knowing when brownies are done in the oven without a timer. I can tell this is another brownie recipe I’ll come back to time and time again.

One commenter mentioned that she uses oat flour in recipes that call for almond flour regularly and I wanted to try that for myself with my almond flour brownies recipe. Almond flour is a great gluten and grain-free baking flour but I don’t always keep it handy.

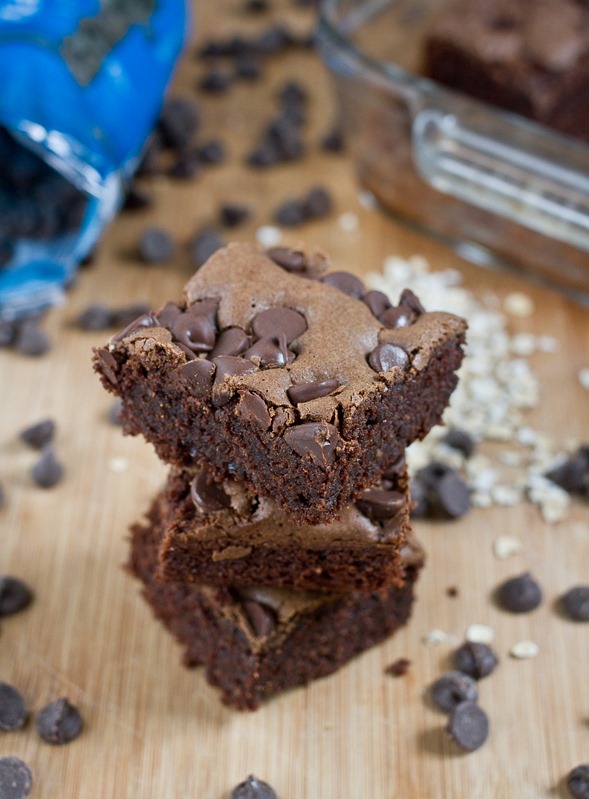
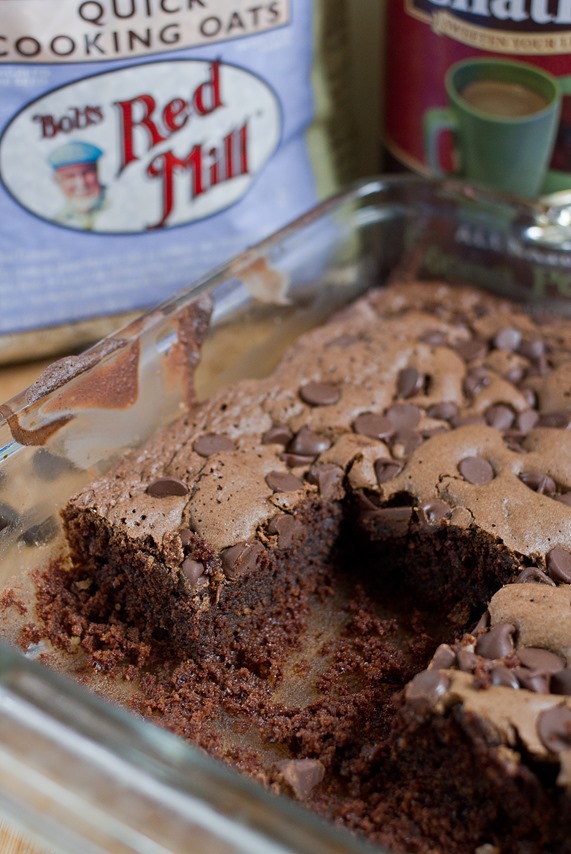
This recipe is basically the same as for almond flour brownies except with a little bit of water added to account for the grains. The brownies came out perfectly moist and chewy. I think the grains made them taste a little bit more like regular brownies than their almond counterpart. They were also slightly cakier than the almond flour brownies but still completely enjoyable for fudgy brownie lovers. Overall these were definitely a winner.

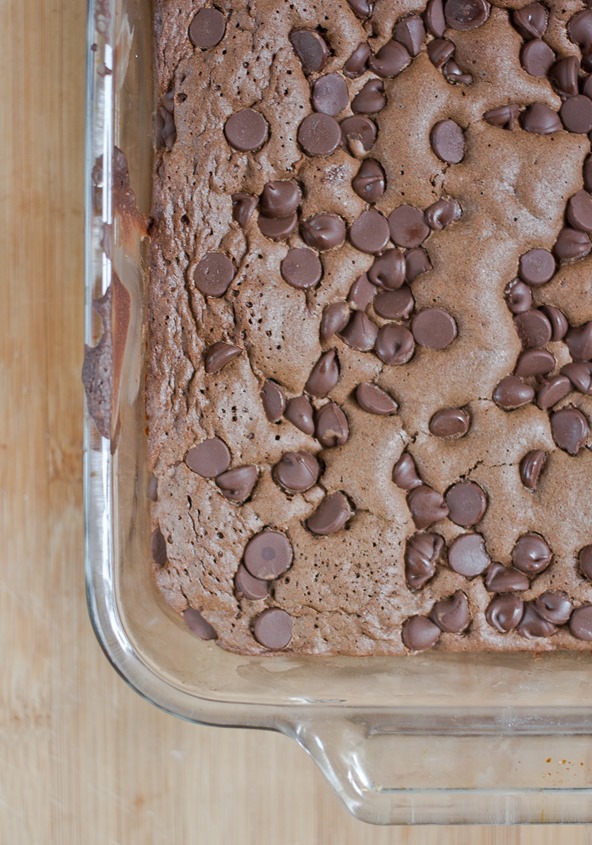
Oat Flour Brownies Overhead

You don’t need to go out and buy a bag of oat flour for this recipe; you can make 3/4 cup oat flour by grinding 1 cup of rolled oats in a food processor or high-speed blender until it’s finely ground. If it’s big enough, you can even use the processor as a mixing bowl and blend the ingredients right in there instead of dirtying more dishes.

Oat Flour Brownies

Prep time: 15 minutes

Cook time: 30 minutes

Ingredients(Makes 1 8 x 8 pan):

  • 3/4 cup oat flour
  • 1/4 teaspoon salt
  • 2 tablespoons unsweetened cocoa powder
  • 1/2 teaspoon baking powder
  • 3/4 cup sugar
  • 3 large eggs
  • 1 teaspoon vanilla
  • 1 teaspoon instant coffee granules(optional)
  • 1/2 cup butter
  • 7oz semisweet or bittersweet baking chocolate, divided OR 3/4 cup chocolate chips
  • 1/4 cup water

Oat Flour Brownies Yield

Method:

  1. Preheat your oven to 350 degrees.
  2. Mix together the oat flour, salt, cocoa powder, and baking powder and set aside.
  3. In a separate bowl, melt together 4 ounces of chocolate or a scant 1/2 cup chocolate chips with the butter.
  4. While the chocolate is melting, beat together the eggs, sugar, vanilla, water, and coffee granules if using.
  5. Slowly pour the melted chocolate and butter into the egg/sugar mixture while whisking until fully incorporated. Don’t go too fast so that the raw eggs don’t cook upon contact.
  6. Add the chocolate mixture in with the dry ingredients and mix completely.
  7. Pour the batter in a greased 8 x 8 pan.
  8. Sprinkle the top with the remaining chocolate and gently press it into the batter.
  9. Bake for 30 minutes or until a toothpick poked into the center comes out clean. Let these cool completely before cutting in.

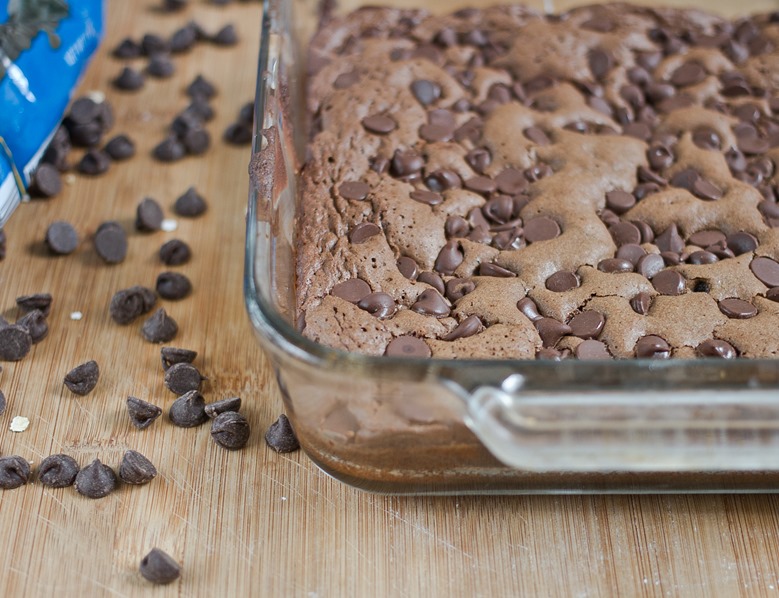
Oat Flour Brownies Pan

Chocolate Peanut Butter Bars

Chocolate Peanut Butter Bars

It’s been a busy month. This blog(and cooking anything without a microwave in general) have taken a bit of a back seat. Hopefully someday soon I’ll have a more regular schedule and school off my shoulders but right now sporadic will have to do.

Thankfully you can make some pretty great things with a microwave and 5 minutes. I forgot about this recipe for almost a year and just thought of it again when I made a run to a mini-mart to stock up on chocolate and Reese’s cups. They’re probably much cheaper and more delicious than Reese’s cups. So far they’ve made a great study snack and given me something to stress eat at 2am.

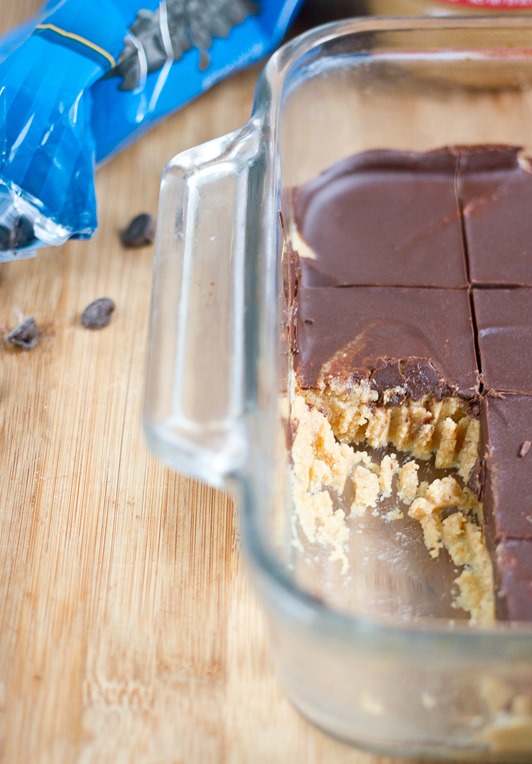
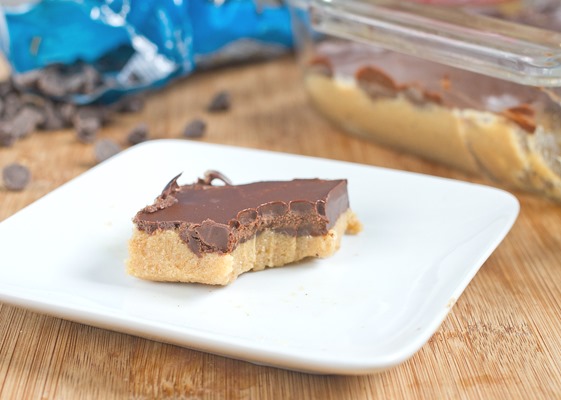
Chocolate Peanut Butter Bars Serving

This recipe is the same as the original post. I tried making it with cane sugar instead of powdered sugar because that’s what I had and—while still delicious—I think the powdered sugar has a much better texture to it. I would also try adding chopped salted peanuts on top of the chocolate if you like a little crunch.

Chocolate Peanut Butter Bars(adapted from Oh Baby Bars)

Prep time: 15 minutes

Cook time: 0 minutes

Ingredients(Makes about 24 servings):

  • 3/4 cup peanut butter, runny or no-stir
  • 7 Tablespoons butter, divided
  • 1 1/2 cups powdered sugar
  • 10oz semi-sweet chocolate chips

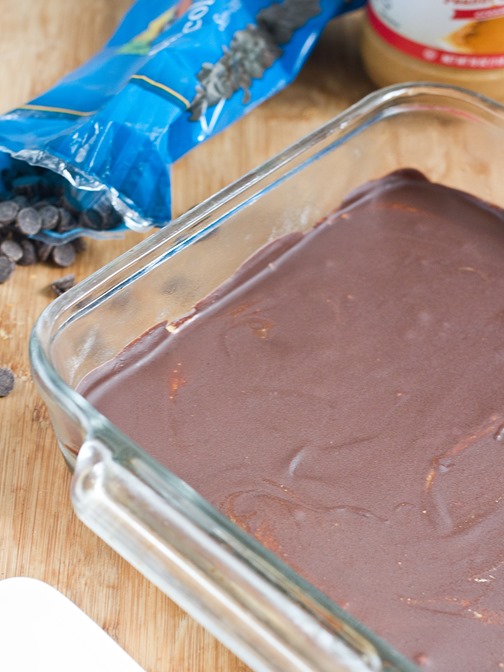
Chocolate Peanut Butter Bars Finished

Method:

  1. In a large bowl, melt 6 tablespoons of butter along with the peanut butter until completely liquid.
  2. Add the powdered sugar into the peanut butter and butter mixture and beat until completely incorporated. Press the peanut butter mixture into a loaf pan or a 9 x 9 pan for smaller portions.
  3. Melt the chocolate chips and remaining tablespoon of butter together and mix. Pour this over the peanut butter layer.
  4. Refrigerate until the chocolate has set. Cut at room temperature into 1 x 1 square servings.

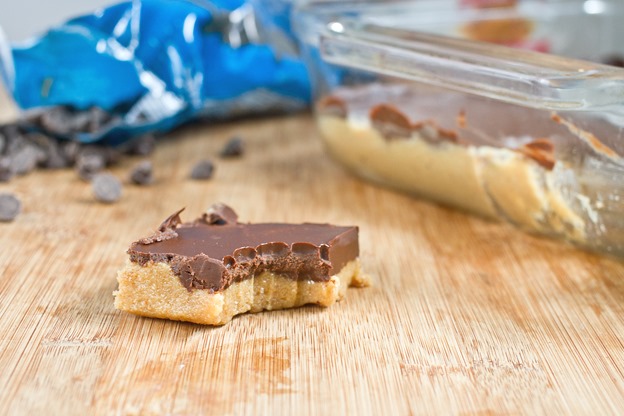
Chocolate Peanut Butter Bars Bite

Almond Flour Chocolate Chip Cookies

Almond Flour Chocolate Chip Cookies

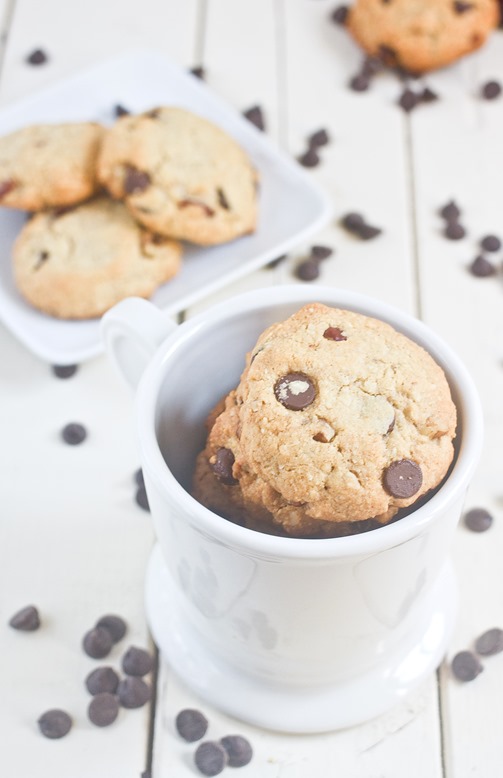
When you find a recipe that just works, you never want to stray from it. This is the third time I’ve posted about these cookies; I didn’t realize that the original recipe post is almost 2 years old until I sat down to write this one. In that time a lot of commenters have made these and enjoyed them and I hope a lot more will continue to.

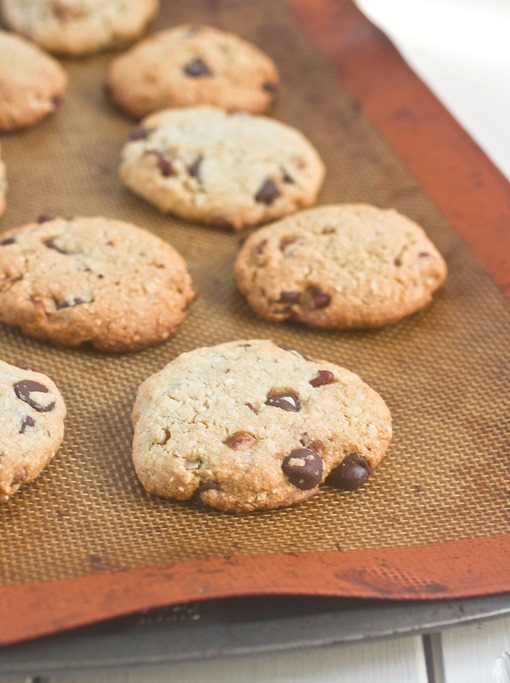
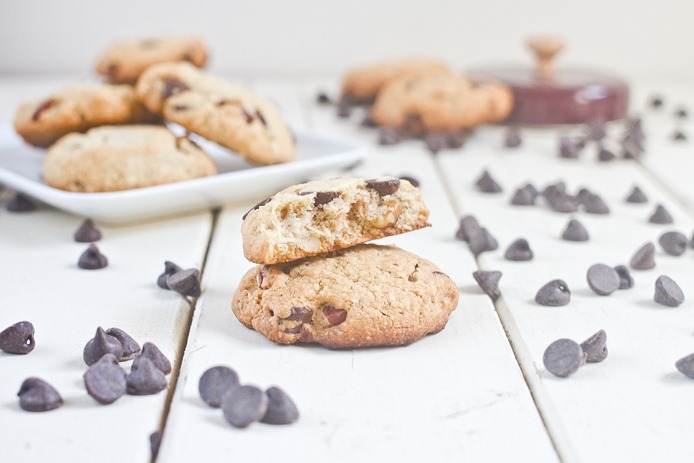
I’ve tried to make other gluten-free cookie recipes in the past and ended up with a tray of flattened, cooked dough; thankfully I’ve never had a problem with these. They bake and spread just like regular chocolate chip cookies. This time I mixed some chopped pecans and walnuts into the batter. I didn’t think that they could actually get better but that proved me wrong.

Almond Flour Chocolate Chip Cookies Cup

I’ve now made this recipe with almond meal(finely ground almonds) and almond flour(finely ground blanched almonds) and can tell you it doesn’t make much of a difference. The ones with almond flour were a little softer as they baked and lighter in color but the end results were pretty much the same.

Almond Flour Chocolate Chip Cookies

Prep time: 10 minutes

Cook time: 12 minutes

Ingredients(Makes about 12 cookies):

  • 1 1/2 cups(6 ounces) almond flour or almond meal
  • 1/4 cup butter, room temperature
  • 1/4 cup sugar
  • 1 egg
  • 1/4 teaspoon salt
  • 1/2 teaspoon vanilla extract
  • 1/4 teaspoon baking soda
  • 1/4 cup chocolate chips
  • 1/4 cup chopped nuts(optional)

Almond Flour Chocolate Chip Cookies Baked

Method:

  1. Preheat your oven to 375 degrees.
  2. In a large bowl, cream together the butter and sugar.
  3. Gradually beat the egg into the butter and sugar mixture.
  4. Add the almond flour, salt, vanilla and baking soda in with the other ingredients and mix well.
  5. Add in the chocolate chips and nuts if using and fold them into the batter.
  6. Roll the dough into 1-inch balls and press them down gently onto a non-stick baking surface.
  7. Bake for 12-15 minutes until the cookies rise and the edges have browned.
  8. Remove the cookies from the oven and let them cool before moving. Store at room temperature in a sealed container.

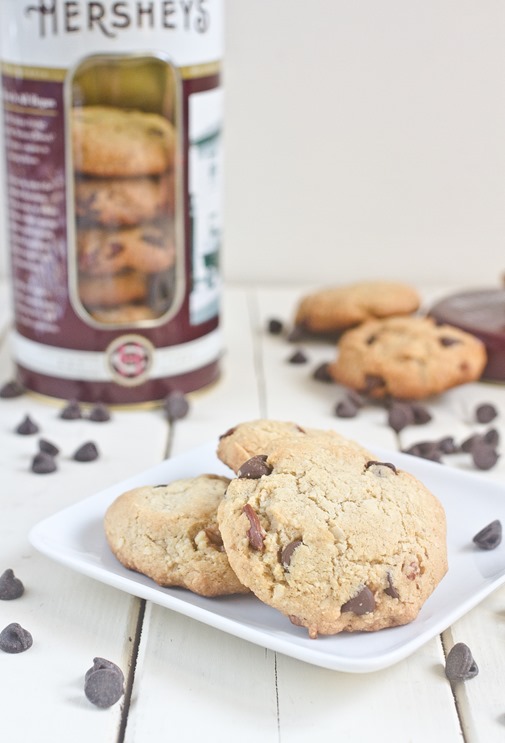
Almond Flour Chocolate Chip Cookies Serving

Bailey’s Hot Chocolate Truffles

Bailey's Hot Chocolate Truffles

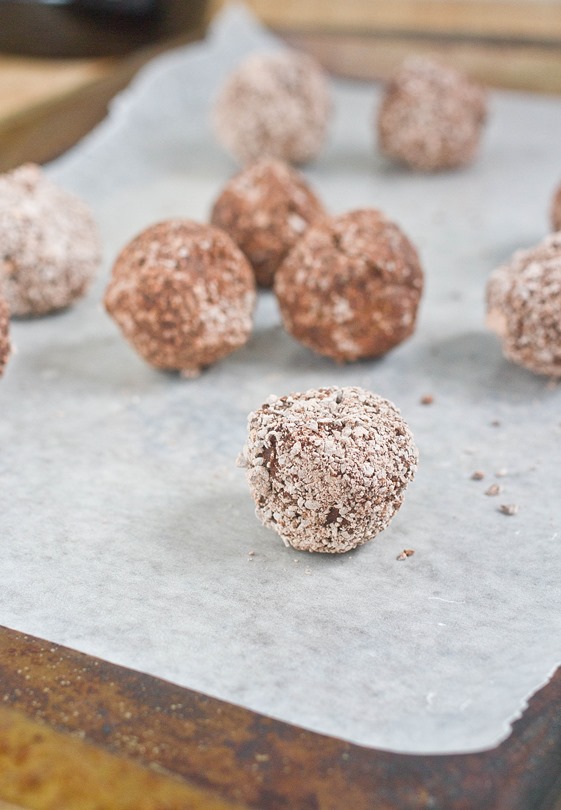
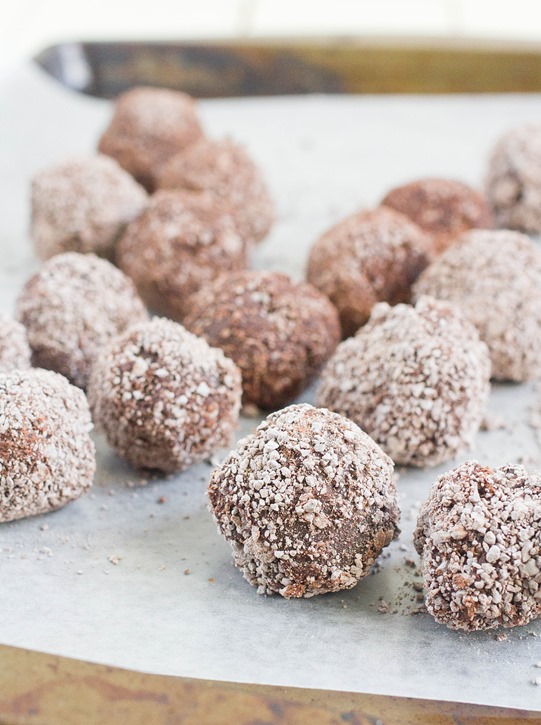
Spring is usually the end of hot chocolate and Bailey’s on the rocks, but with the weather we’ve been having this week I think it’s perfectly alright to keep those on the table for a little while longer.

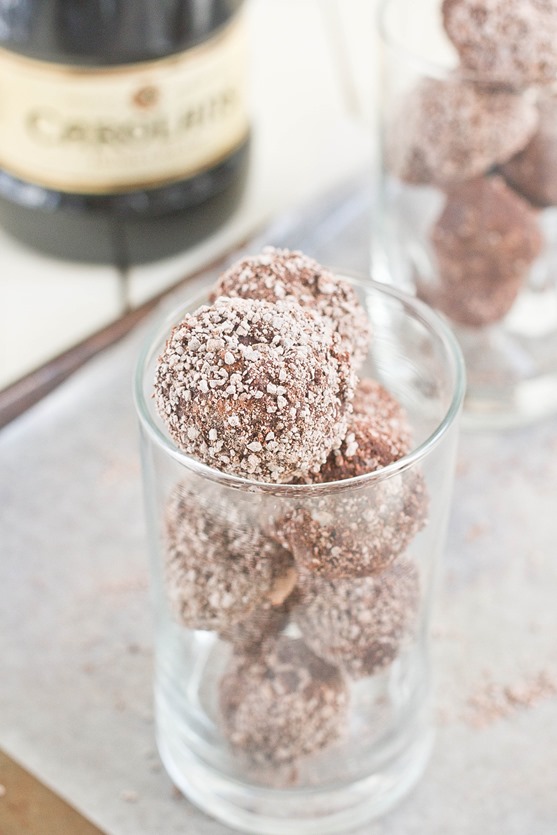
I wanted to make these truffles for a friend and also as an excuse to pick up discounted Irish cream the day after St. Patrick’s day. The alcohol gives them a special warming kick that’s undeniably good. Since I was running low on cocoa powder, I used hot chocolate mix to dust them instead; I think they turned out a lot better than usual because they don’t have that bitter bite that cocoa powder tends to give.

Bailey's Hot Chocolate Truffles Individual

I used American Heritage chocolate drink mix for the coating which was rich and flavorful. I wouldn’t recommend using a mix that is overly processed or full of chemicals. You could also mix 6 Tablespoons of sugar and 2 Tablespoons of cocoa powder for a nearly identical coating.

Bailey’s Hot Chocolate Truffles

Prep time: 25 minutes

Cook time: 0 minutes

Ingredients:

  • 1 cup(8.5oz) semi-sweet chocolate chips
  • 6 Tablespoons Irish cream
  • 2 Tablespoons butter
  • 1/2 cup powdered hot chocolate mix*

*See paragraph above 

Bailey's Hot Chocolate Truffles Yield

Method:

  1. Melt the chocolate chips and butter together in a microwave or over a double boiler.
  2. Mix the Irish cream into the melted chocolate until it’s smooth and shiny.
  3. Refrigerate or freeze the chocolate until it’s semi-soft and doesn’t stick to your hands. You want it to be a little colder than you think it should be since your hands will warm it over time.
  4. Pour the hot chocolate mix into a small bowl or onto a small plate.
  5. With a melon-baller or a spoon, carve out pieces of chocolate about 1-inch in width. Roll the chocolate into as round a ball as you can and drop it into the hot chocolate mix.
  6. Roll the ball around in the hot chocolate mix until the sides are all covered and move it to an air-tight container.
  7. Refrigerate the truffles for 30 minutes for the right consistency before eating.  Keep them refrigerated when not enjoying.

Strawberry Chocolate Chip Smoothies

Strawberry Chocolate Chip Smoothies

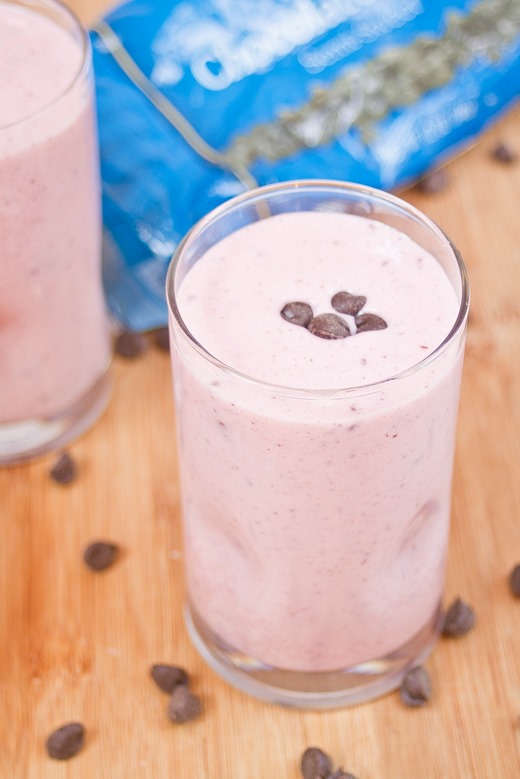
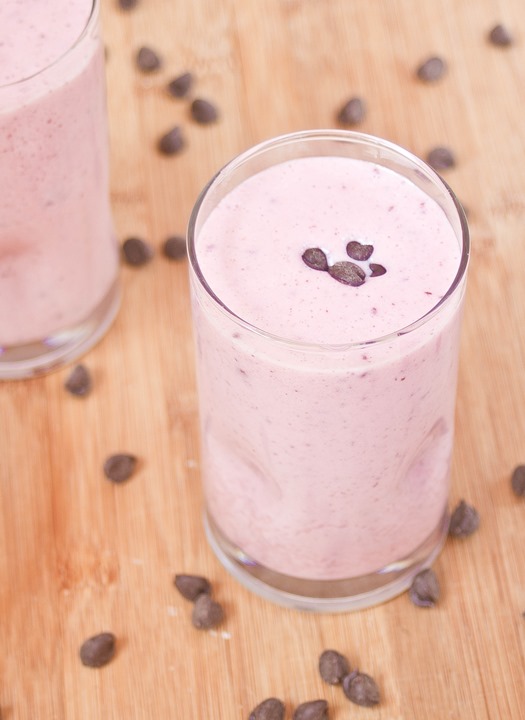
Winter is sadly not a great time for fresh fruit and vegetables in New England. When I go to the store I usually pick up all different kinds of frozen produce. Frozen fruit will unfortunately never taste as good as fresh when thawed and eaten but thankfully makes a delicious smoothie.

This is good to have in the morning if you’re in a rush to get out the door or even at night after dinner for something healthy and delicious. If you use a Greek style yogurt you can really pump up the protein in this drink.

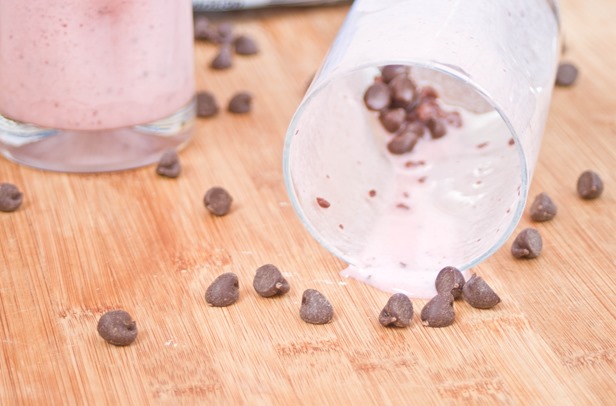
Strawberry Chocolate Chip Smoothies Finished

If you use a flavored yogurt instead of plain you can skip the added sweetener altogether. Try using white chocolate chips for a different flavor.

Strawberry Chocolate Chip Smoothies

Prep time: 5 minutes

Cook time: 0 minutes

Ingredients(Makes 2 servings):

  • 1/2 cup plain yogurt
  • 1 cup frozen strawberries
  • 1 cup milk
  • 1 Tablespoon agave nectar
  • 2 Tablespoons chocolate chips

Strawberry Chocolate Chip Smoothies Serving

Method:

  1. Combine the yogurt, strawberries, milk and agave nectar in a blender and blend until smooth.
  2. Add in the chocolate chips and pulse a few times until they’re broken into smaller pieces.
  3. Pour and serve immediately.

Almond Butter Fudge + Giveaway

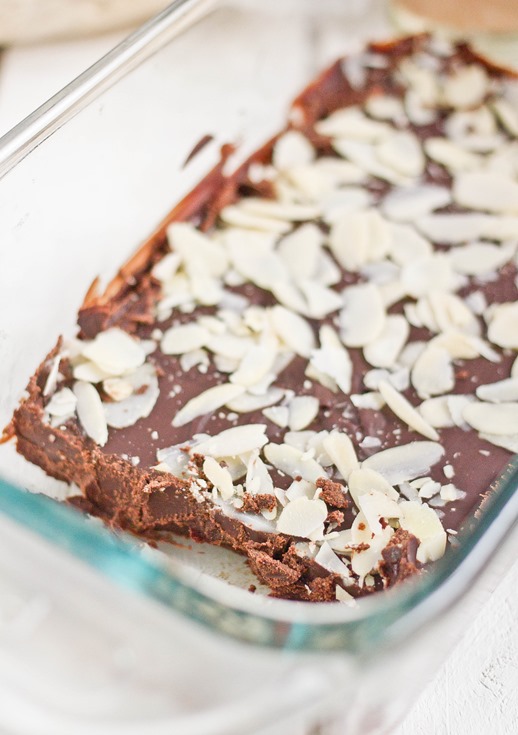
Almond Butter Fudge Yield

It’s no surprise that I’m a fan of almonds in all form on this blog, whether its almond butter, almond flour or just almonds. I’m still trying to wrap my mind around where the milk comes from though.

The Almond Board of California alerted me that tomorrow, February 16th, is National Almond Day and what better way to celebrate than with a recipe and a giveaway?

I came across this crazy delicious recipe for coconut fudge on the Whole Foods recipe blog and had to try it out with almonds. I knew if the finished result tasted anything like chocolate covered almonds it would be right up my alley.

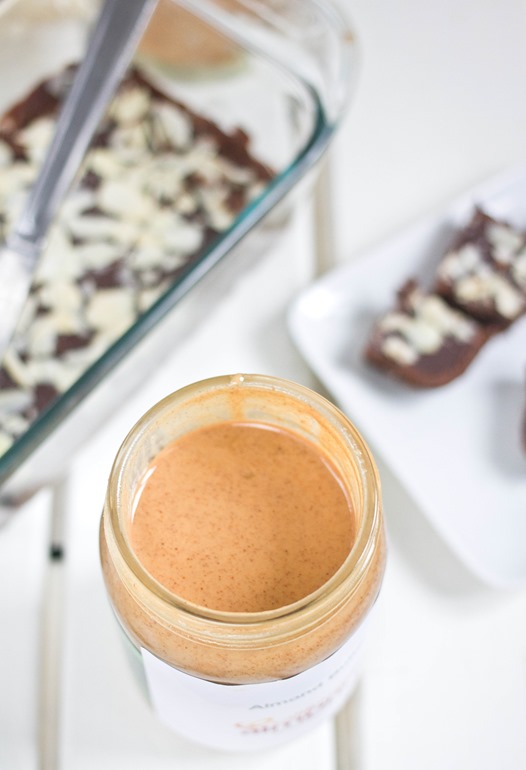
Almond Butter Fudge Almond Butter

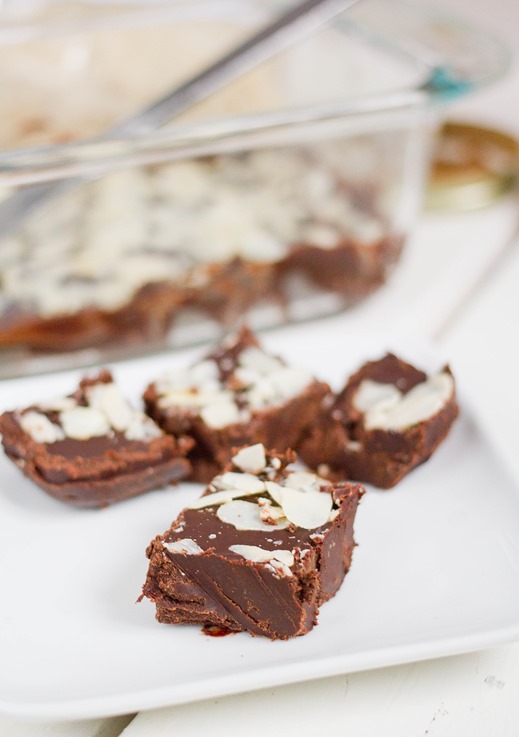
Salt and almonds are the perfect way to dress up a simple fudge recipe. You could add a little sugar into the melted chocolate but the simple flavor and crunch of the almonds shine through without anything added.

Almond Butter Fudge

Prep time: 15 minutes

Cook time: 0 minutes

Ingredients(Makes about 20 servings):

  • 1 1/4 cups chocolate chips
  • 3 Tablespoons butter
  • 2 Tablespoons natural almond butter
  • 3 Tablespoons water
  • 1 teaspoon vanilla extract
  • 1/2 teaspoon sea salt
  • 1/4 cup shaved almonds

Almond Butter Fudge

Method:

  1. In a medium-sized bowl, melt together the chocolate chips and butter until they are runny and smooth.
  2. In a separate bowl, beat the almond butter, water, vanilla extract and salt together until evenly mixed.
  3. Stir the wet mixture into the melted chocolate and mix until smooth.
  4. Grease the bottom and sides of an 8-inch loaf pan or other small Tupperware.
  5. Pour the fudge into the load pan and lightly shake until it has set in an even layer.
  6. Sprinkle the sliced almonds over the top of the fudge and press them in gently.
  7. Refrigerate for 30 minutes until the fudge has set before cutting into 1-inch squares.

Almond Day Giveaway

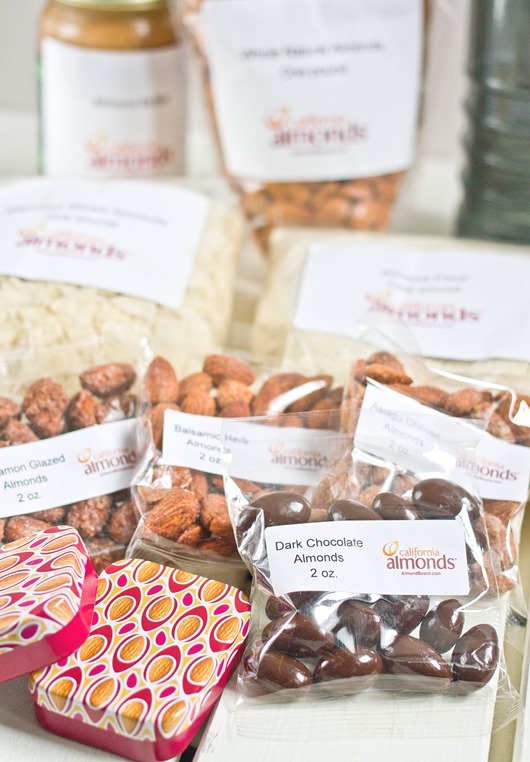
Now for the exciting part. The Almond Board of California is giving away an almond prize pack to one random US reader. You’ll get the same package I received including almond butter, almonds, slivered almonds, almond flour, and flavored almonds. To enter, leave a comment for each entry below.

The giveaway is open until Wednesday, February 20th. Good luck!

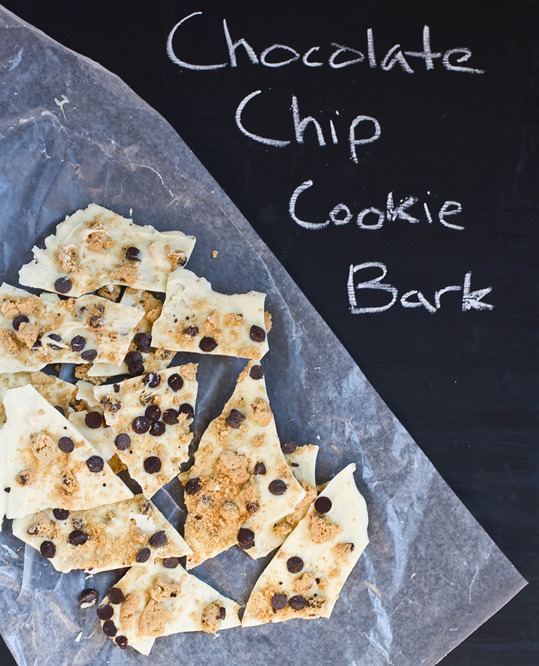
Chocolate Chip Cookie Bark

Chocolate Chip Cookie Bark

Whoever decided Cookies N’ Cream would get so much attention? There are Cookies N’ Cream ice creams, milk shakes, chocolate bars, granola bars—everything–Cookies N’ Cream.

I’m a bigger fan of the classic chocolate chip cookie; there’s nothing that you shouldn’t be able to do with a chocolate chip cookie. With chocolate, brown sugar, butter, and vanilla, there aren’t any other flavors you could ask for.

This bark, like most others, is simple to make but always a huge hit. Anyone who likes the taste of a chocolate chip cookie won’t be able to pass it up.

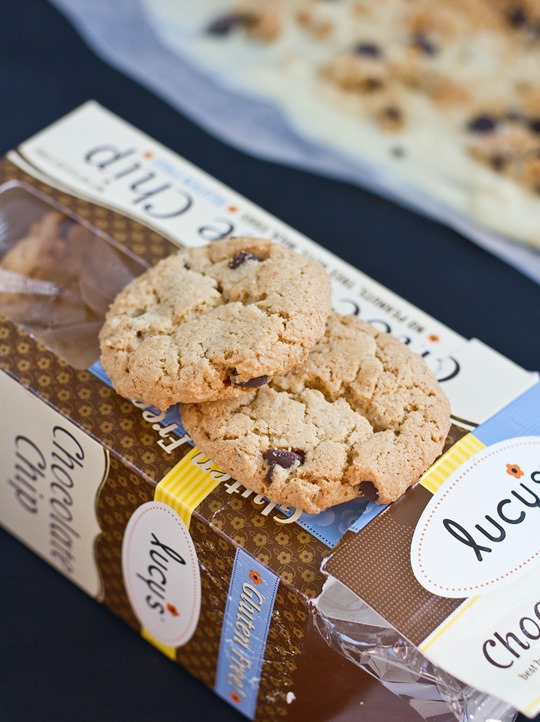
Chocolate Chip Cookie Bark Cookies

For this recipe you don’t want to use your grandmother’s fresh-out-of-the-oven chocolate chip cookies but instead something from the store shelf like Chips Ahoy! or Lucy’s that’s crunchy and won’t get stale in the bark.

Chocolate Chip Cookie Bark

Prep time: 15 minutes

Cook time: 0 minutes

Ingredients(Makes 16-20 servings):

  • 8.5 ounces white chocolate OR 1 cup white chocolate chips
  • 1/4 cup chocolate chips
  • 5 chocolate chip cookies, broken into pieces

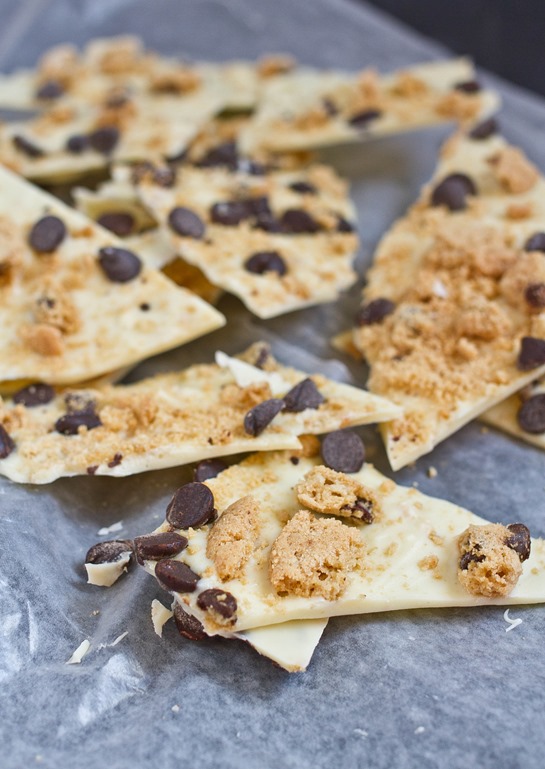
Chocolate Chip Cookie Bark Yield

Method:

  1. Melt the white chocolate chips in a microwave or over a double boiler.
  2. Spread the melted chocolate out onto non-stick wax paper in a thin layer.
  3. Spread the broken chocolate chip cookie pieces out on top and then the chocolate chips so that they evenly cover the bark.
  4. Lightly press the toppings into the bark.
  5. Refrigerate or freeze the bark for 20-30 minutes until it has solidified. Break the bark into equal-sized pieces to serve.
  6. Keep refrigerated when not eating.
Brown Rice Flour Banana Bread

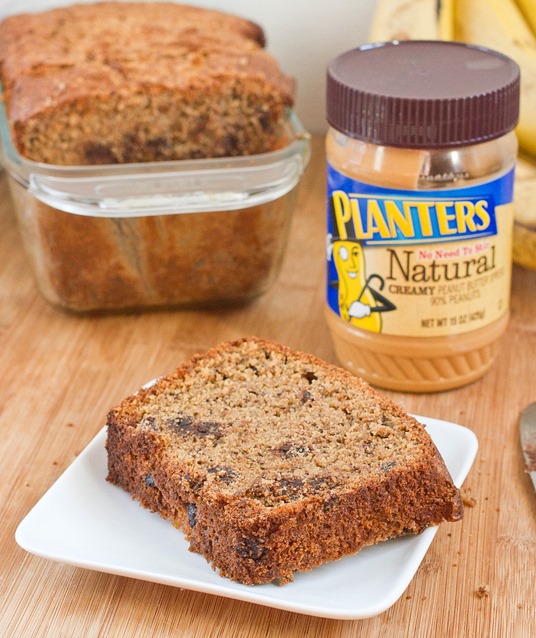
Gluten-Free Peanut Butter Banana Bread

I’ll be the first to admit that gluten-free baking is tougher than baking with flour. Instead of just wheat you have a hundred different varieties of flour and starches to work with and if you’ve never used them before you have no idea how they work in recipes. It’s a hassle.

I’m always drawn to making recipes that use just one type of flour because I don’t like to have to go out and buy 6 or 7 to make a single loaf of bread. This recipe only uses brown rice flour, which is a gluten-free whole grain flour that bakes well and doesn’t overpower any of the other flavors. You’ll have a hard time telling this bread is gluten-free.

Gluten-Free Peanut Butter Banana Bread Serving

I used Bob’s Red Mill’s brown rice flour for this recipe which is the least grainy I’ve found and has a great texture when baked. In baking, weight’s always the most reliable measure so if you can

Gluten-Free Peanut Butter Banana Bread

Prep time: 15 minutes

Cook time: 60 minutes

Ingredients(Makes 1 loaf):

  • 2 large bananas
  • 4 eggs
  • 3/4 cups sugar
  • 1/2 cup peanut butter
  • 1/3 cup vegetable oil
  • 1 1/2 cups(240 grams) brown rice flour
  • 1/2 Tablespoon baking soda
  • 1 teaspoon cinnamon
  • 1 teaspoon vanilla extract
  • 1/2 cup chocolate chips
  • 1/2 cup water

Gluten-Free Peanut Butter Banana Bread Slice

Method:

  1. Preheat your oven to 350 degrees.
  2. Mash the bananas until they’re completely smooth.
  3. In a large bowl, stir together the bananas, eggs, sugar, peanut butter, and oil until mixed.
  4. Add in the flour, baking soda, cinnamon, vanilla, and chocolate chips and stir.
  5. Slowly add the water until the batter has a loose consistency.
  6. Grease a 9-inch loaf pan.
  7. Pour the batter into the loaf pan and bake for 60 minutes until the center has set.
  8. Remove from the oven and let the loaf cool before cutting in.

I found my loaf got stale sitting on the counter after a day but microwaving a slice for 60 seconds between two paper towels made it taste fresh out of the oven.

Coconut Pistachio Bark

Coconut Pistachio Bark Pieces

I know Christmas was almost a month ago but bear with me for one more Christmas recipe. It’s easy to find delicious red food but green? Not so much. Unless you want to sneak spinach, kale, or peppers into a dessert, it’s hard to get the red and green theme naturally.

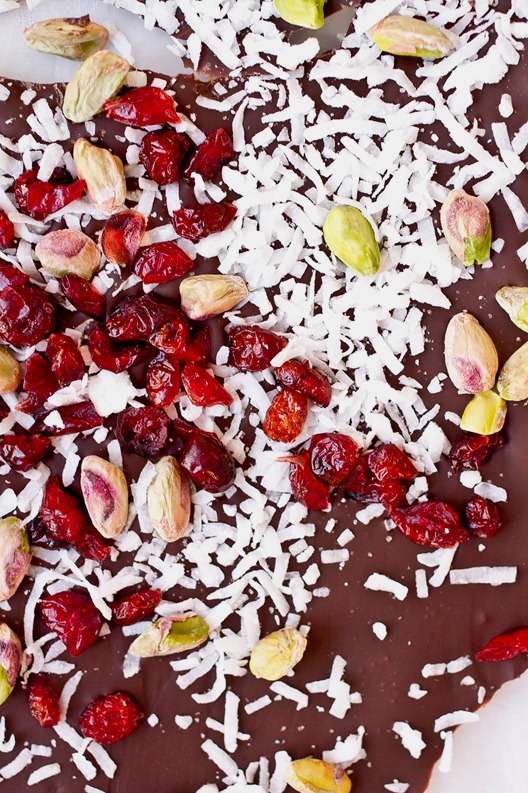
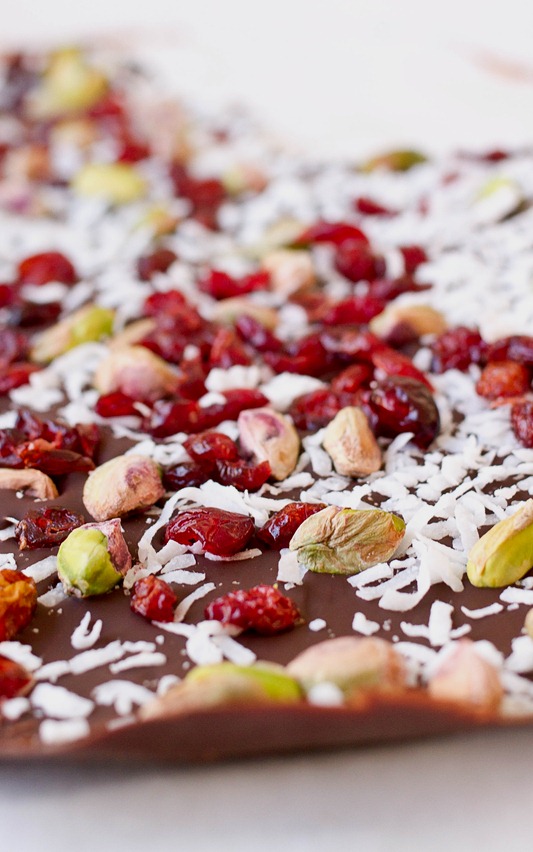
This bark looks like Christmas. The coconut seems like snow on the ground while the green and red toppings make it fun and festive. And it’s as fun to eat as it is to look at. The meaty pistachios and coconut match up against the tart craisins and bitter chocolate.

Coconut Pistachio Bark Overhead

This bark shouldn’t last long, but if you happen to have leftovers make sure to keep them in the refrigerator to keep the chocolate solid.

Coconut Pistachio Bark

Prep time: 15 minutes

Cook time: 10 minutes

Ingredients(Makes about 16 servings):

  • 8.5oz dark chocolate OR 1 cup chocolate chips
  • 1/4 cup sweetened shredded coconut
  • 3 Tablespoons dried cranberries
  • 3 Tablespoons pistachios

Coconut Pistachio Bark Unbroken

Method:

  1. Melt the chocolate in a microwave or over a double boiler.
  2. Spread the melted chocolate out on a sheet of wax paper or other non-stick surface.
  3. Sprinkle the coconut, cranberries and pistachios out along the surface of the chocolate.
  4. Gently press the toppings into the bark to make sure they stick to the chocolate.
  5. Refrigerate the chocolate for 20-30 minutes until it has set.
  6. Remove the bark from the wax paper and break it apart into 16-20 uneven pieces.