Tag Archive: Chocolate

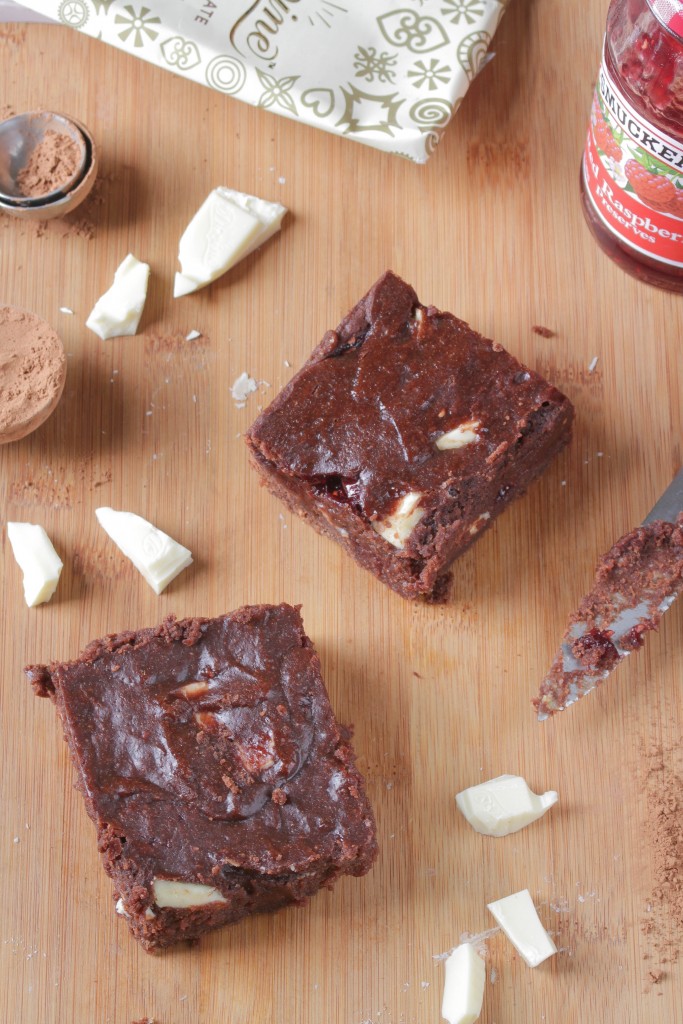
Divine White Chocolate Raspberry Brownies

Divine White Chocolate Raspberry Brownies

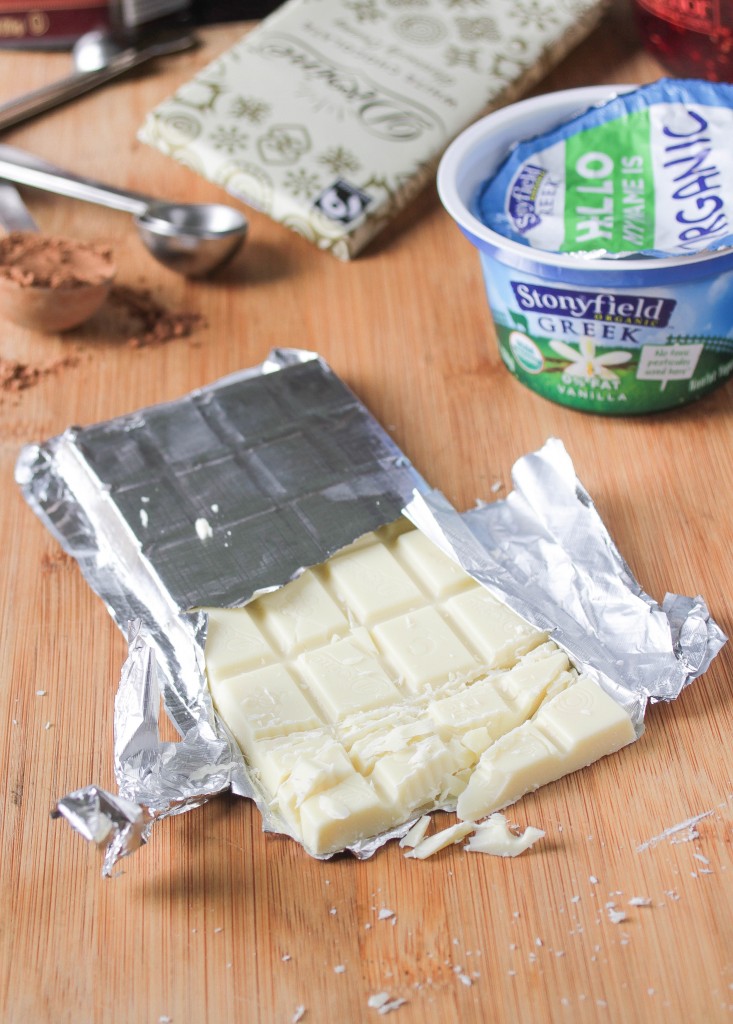
The best part of Valentine’s Day is undoubtedly the chocolate, so I was excited when Stonyfield asked their bloggers to make a dessert that paired yogurt with Divine chocolate. Yogurt’s a great addition in brownies to replace some fat and keep them moist. Like the chocolate, these brownies will melt in your mouth. 

My local grocery store only had Divine’s white chocolate in stock. White chocolate can be difficult to bake with because cheaper brands melt of burn but the chocolate chunks came out smooth and full of flavor. Spreading the jam in a layer in the middle instead of mixing it into the batter adds a little bit in every bite. 

Divine White Chocolate Raspberry Brownies

Divine White Chocolate Raspberry Brownies

Prep time: 15 minutes

Cook time: 35 minutes

Ingredients(Makes 1 8 x 8 pan):

  • 1 1/3 cup all-purpose or gluten-free flour
  • 1/2 cup unsweetened cocoa powder
  • 1/2 teaspoon baking powder
  • 3/4 cup sugar
  • 2 large eggs
  • 1 5.3oz Stonyfield vanilla greek yogurt
  • 1 3.5oz Divine White Chocolate bar, roughly chopped
  • 1/2 cup vegetable oil
  • 1/2 cup raspberry jam
  • 2 Tablespoons water

Method:

  1. Preheat your oven to 350 degrees.
  2. Mix together the flour, cocoa powder, baking powder, and sugar.
  3. Beat in the eggs, Stonyfield yogurt, oil, and 2 Tablespoons of jam.
  4. Add in the chopped chocolate and mix. 
  5. Pour half of the batter in a greased 8 x 8 pan.
  6. Mix the remaining raspberry jam with 2 Tablespoons of water. Spread the jam over the top of the brownie batter covering all parts.
  7. Add the rest of the batter layered on top of the jam. 
  8. Bake for 30 minutes or until a toothpick poked into the center comes out clean. Let these cool completely before cutting in.

A Lighter Holiday Treat

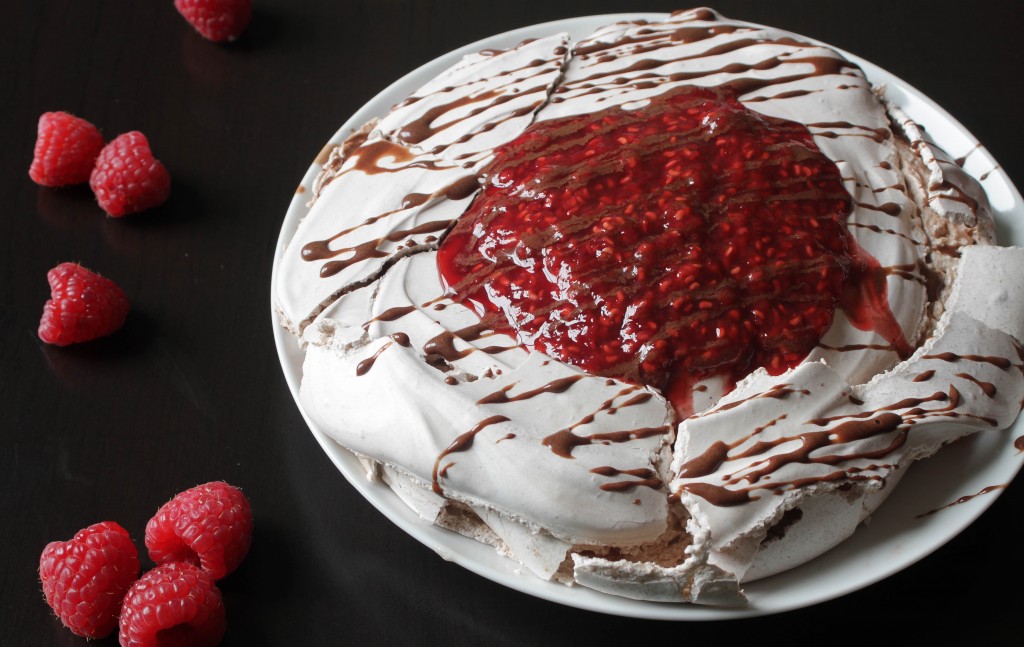
Chocolate Raspberry Pavlova

Happy holidays! If you’ve been feeling stuffed from holiday parties and Reese’s Christmas trees, this recipe is for you.

My latest recipe on Life By Dailyburn is a light dessert that’s sure to be a hit. The Cocoa Raspberry Pavlova is completely fat-free and uses some natural sweeteners and real fruit to make it delicious(along with a healthy dose of powdered sugar). The outside comes out crisp and crunchy while the inside is soft and sweet like a mousse. No one has to know it’s actually easy to make!

Head over to the full recipe and check it out!

Raw Brownies With Avocado Frosting

Raw Brownies With Avocado Frosting

As much as I don’t like the cold, Winter and Fall are some of the best baking months because there’s sometimes nothing to do but stay in and sit next to the heater. Now that Spring’s here and the heat waves, too, no-bake recipes are suddenly ten times more appealing. 

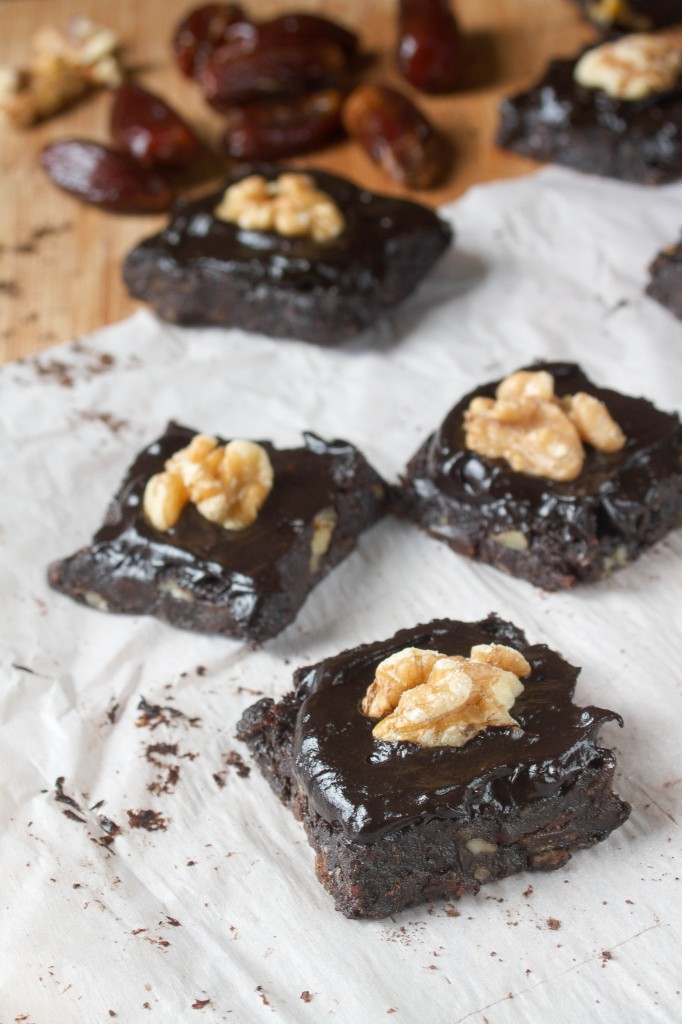
I made these “brownies” over the weekend for a sweets fix that wouldn’t involve sifting flours and melting chocolate. It’s pretty much the same recipe I made 3 years ago with an extra avocado frosting on top. Avocados and dates definitely don’t sound like dessert ingredients, but you’d be surprised how rich and chocolaty these come out. 

Raw Brownies With Avocado Frosting

These are easier to stash and store without the frosting, which does go bad about as quickly as guacamole, so if you’re planning on waiting a while to eat these wait until the last minute to make the frosting. It’ll taste better if you do.   

Raw Brownies With Avocado Frosting

Prep time: 15 minutes

Cook time: 0 minutes

Ingredients(Makes 8-12 brownies):

  • 2 cups pitted dates
  • 1 cup walnuts
  • 1/4 cup cocoa powder
  • 1 1/2 Tablespoons coconut butter(optional but recommended)
  • 1-2 Tablespoons water
  • 1/2 a ripe avocado
  • 2 Tablespoons agave or honey

Method:

  1. Blend the dates in a food processor until they are pulverized and start to stick together. The dates don’t have to be fresh but make sure you’re not using dry and stale ones or they won’t stick.
  2. Add the walnuts and coconut butter and continue blending until the dough starts to stick to itself. Add the water as necessary if your ingredients are too dry to clump.
  3. Lastly add 3 Tablespoons of cocoa powder and continue blending until it’s mixed in.
  4. Dump the processed ingredients onto a piece of parchment paper. With your hands, clump them together into a square or rectangle.
  5. Freeze the dough for 5-10 minutes until it’s firm and cut it into even sized squares. Store in the refrigerator for freshness.
  6. To make the “frosting”, mash the avocado into a smooth puree. Add the agave and remaining cocoa powder and mix thoroughly.
  7. Spread an even amount on top of each brownie square. Garnish with any extra walnuts.

5 Gluten-Free Easter Desserts

Easter’s not a holiday that’s know for its desserts. That’s probably because after too many Peeps and lackluster chocolate eggs, more chocolate doesn’t seem all that appealing. I promise you these desserts are better than any Peep you’ve ever had(although unless you’re a hardcore Peep fan that’s probably not saying much).

Once you’re done serving ham and asparagus, try slicing out some of these Spring dessert recipes. Some might require special gluten-free flours, but others do not or could even be made with regular all-purpose flour. All of these can be made in advance and set aside so you can sit back and enjoy the day.

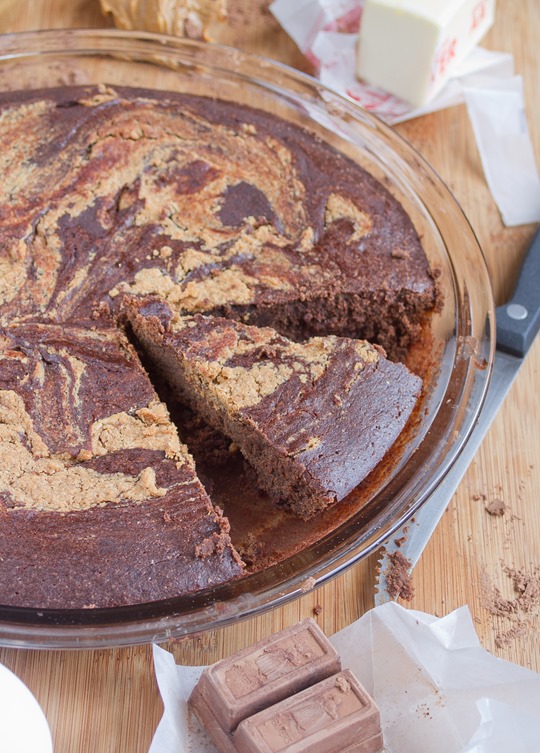
Peanut Butter Swirl Brownies

Gluten-Free Peanut Butter Swirl Brownies aren’t necessarily an Easter dessert, but you can never go wrong serving some. Add in some ice cream and hot fudge and you might want to consider skipping Easter dinner to save space.

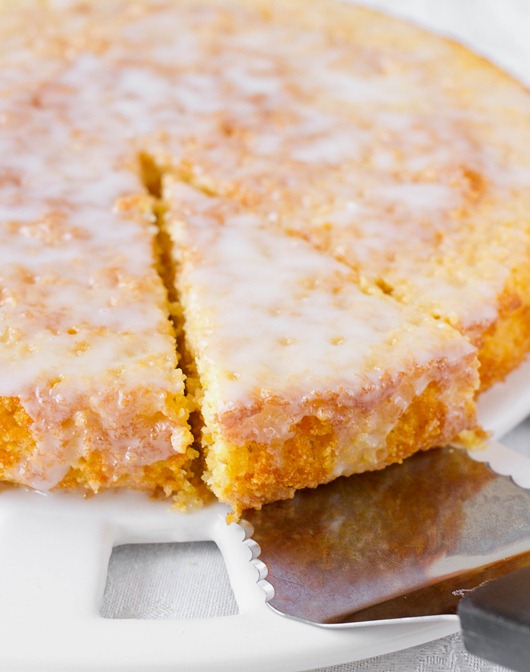
Lemon Cornmeal Cake

Lemon Cornmeal Cake is definitely a dessert to welcome Spring. The slightly-coarse cornmeal gives a rustic and homemade touch to a simple dessert, and you can even save a slice for a sweet breakfast the next day.

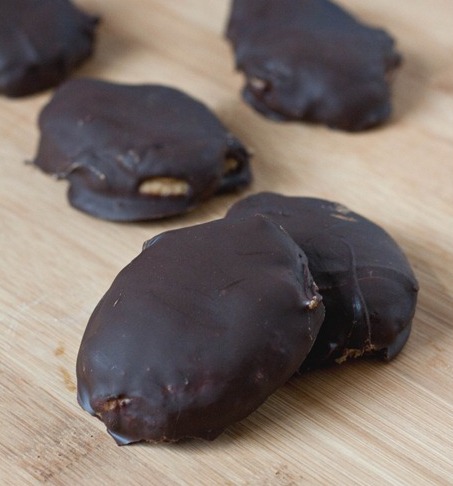
Homemade Reese's Peanut Butter Eggs

Homemade Reese’s Peanut Butter Eggs are the DIY solution to possibly the best drug store candy ever. The peanut butter to chocolate ratio beat out all the other variations hands down. Since these are fresh and homemade though, they might melt in your hand so best to keep these wrapped until dessert time.

Grain-Free Carrot Cake

Grain-Free Carrot Cake isn’t quite your traditional carrot cake, but it’s equally as spiced and delicious. This cake uses almond flour instead of regular, and has all my favorite fixings for carrot cake: Carrots, raisins, spices, pecans, and–of course–cream cheese frosting. It’s long overdue to be remade on this blog.

Gluten-Free Lemon Crinkle Cookies

Nothing says Easter dessert more like lemon and powdered sugar. If you don’t feel like cake or something time intensive, Gluten-Free Lemon Crinkle Cookies are a perfect light dessert with coffee or goodie bag gift. You can make a big batch and keep the extras for yourself, too.

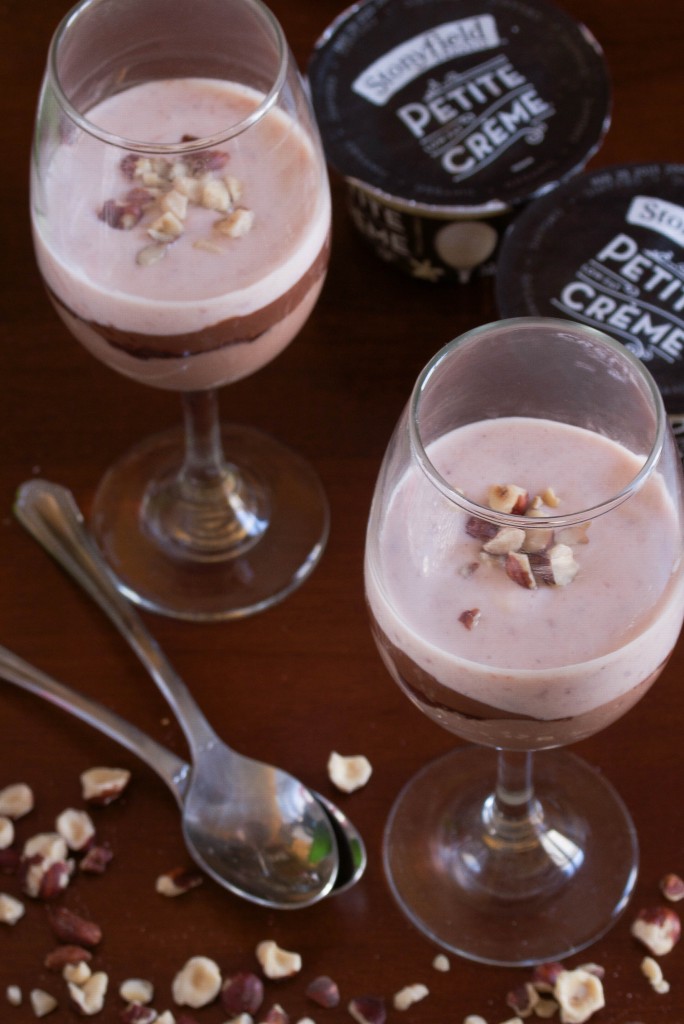
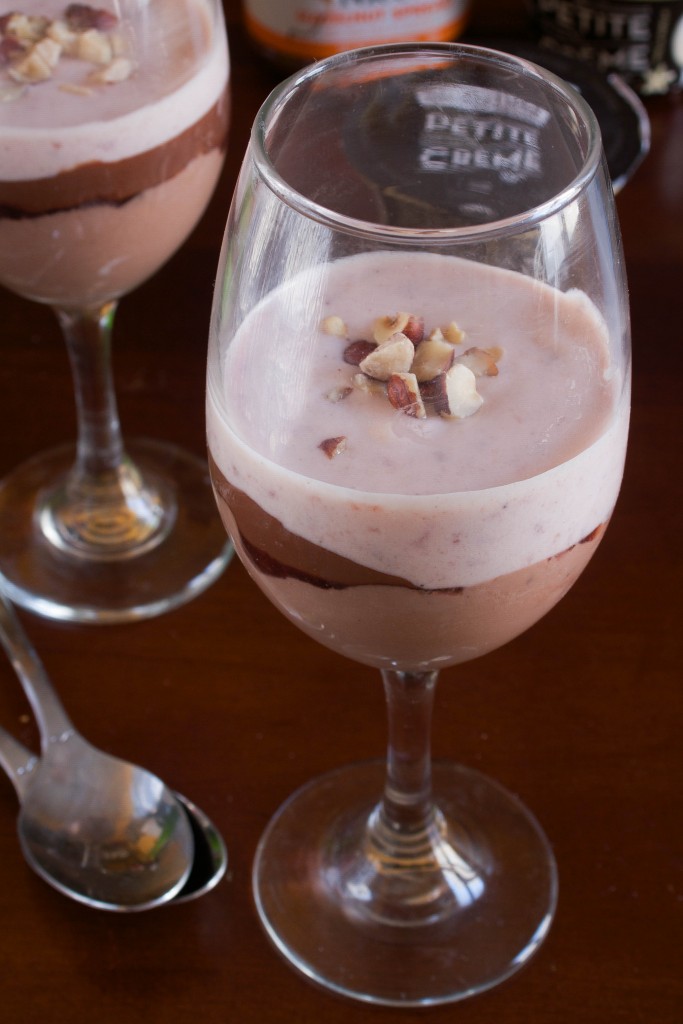
Strawberry Hazelnut Creme Parfaits

Strawberry Hazelnut Creme Parfaits

Valentine’s Day usually marks the last good dessert you can eat and not feel guilty about during the holiday season before you have to wait another 8 months for Thanksgiving to roll around. You might as well make it a really good one.

Last year I got to go to Stonyfield‘s launch party for Petite Creme and sample all the flavors served along champagne, puff pastries, and fine wine. There’s definitely something special about Petite Creme. It’s creamy and elegant in a way most yogurts aren’t. Making a faux “mousse” for this parfait with it is definitely a kitchen cheat no one will mind. 

Strawberry Hazelnut Creme Parfaits

Using the vanilla bean flavor here (my personal favorite) makes the strawberry and Nutella a little more complex in my opinion. Make sure to use a flavorful strawberry jam for the best results. I made this into two servings and it was almost too rich to finish. It’s definitely a hefty dessert, so if you’re looking for something lighter try splitting this between 4 shot glasses and having taster desserts.

Strawberry Hazelnut Creme Parfaits

Prep time: 15 minutes

Cook time: 0 minutes

Ingredients(Makes 2 large servings or 4 tasters):

  • 2 5.2oz vanilla bean Petite Creme
  • 1/4 cup Nutella 
  • 1/4 cup strawberry jam
  • 2 Tablespoons chopped hazelnuts

Method:

  1. In one bowl, mix together 1 container of vanilla petite creme and 2 Tablespoons Nutella.
  2. In a separate bowl, mix together 1 container of vanilla petite creme and 2 Tablespoons strawberry jam.
  3. Divide the Nutella mousse between 2 to 4 small parfait glasses. Shake gently so that the top is level.
  4. Gently melt the remaining Nutella in a microwave until it’s liquid. Pour the liquid Nutella over the Nutella mousse and spread out gently with a spoon in an even layer.
  5. Mix the remaining strawberry jam with enough water (about 2 teaspoons) to make it fluid. Pour gently over the Nutella in the parfaits and spread out lightly with a spoon.
  6. Add 1/2 Tablespoon of chopped hazelnuts on top of each parfait.
  7. Scoop the strawberry mousse gently into the parfait glasses and shake lightly to make level.
  8. Refrigerate the parfaits for 10-15 minutes to cool slightly.
  9. Remove from the refrigerator and garnish with any remaining chopped hazelnuts.

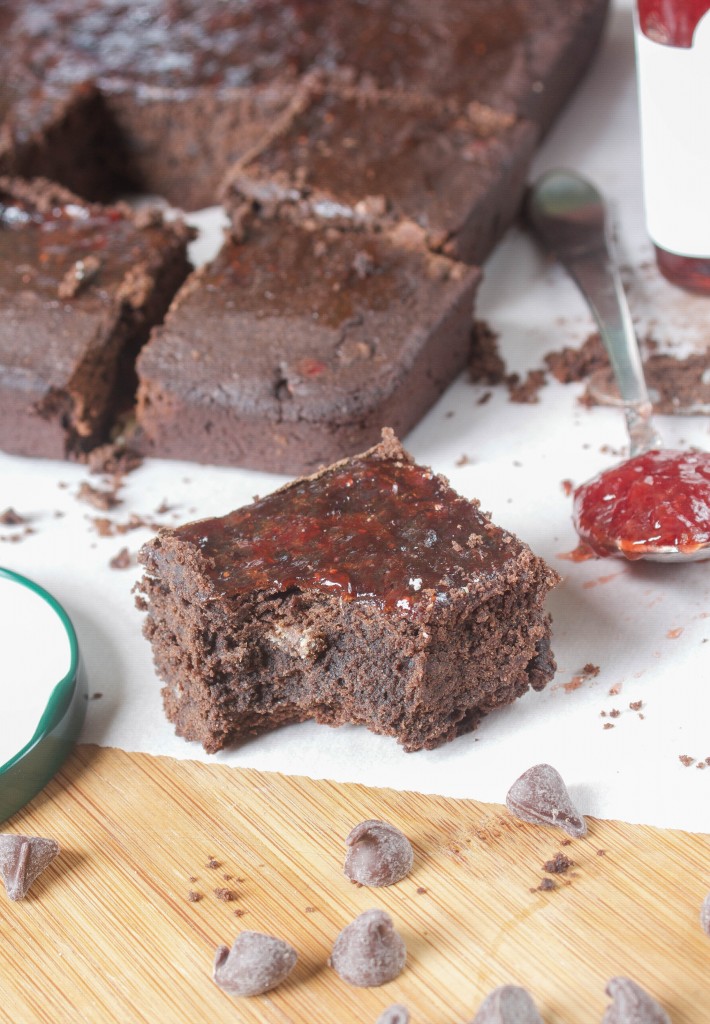
Strawberry Jam Brownies

Strawberry Jam Brownies

When you’re gluten-free, picking through Ben & Jerry’s flavors just isn’t as exciting. I’m sure that they make amazing cookie dough-infused moose tracks with fudge-covered red velvet cake chunks, but I’ll never know what that’s like. Just when I was ready to stop rifling through their section they came out with their Core flavors and reeled me back in.

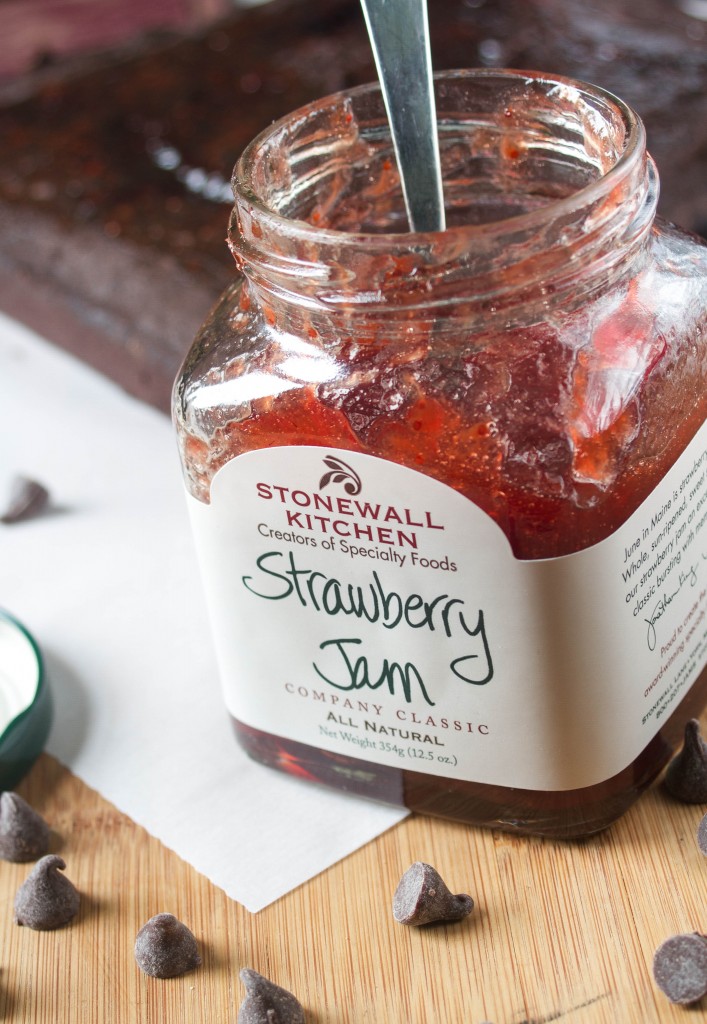
I can’t get enough of their That’s My Jam chocolate ice cream with a core of pure jam. I’ve always liked the pairing of chocolate and jam before but now chocolate just tastes boring without some preserves spread on top. I tried to make a brownie as close as you can get without visiting the freezer. 

Strawberry Jam

Strawberry Jam Brownies

Prep time: 15 minutes

Cook time: 30 minutes

Ingredients(Makes 1 8 x 8 pan):

  • 1 cup all-purpose or gluten-free flour
  • 2 Tablespoons unsweetened cocoa powder
  • 1/2 teaspoon baking powder
  • 3/4 cup sugar
  • 2 large eggs
  • 1 teaspoon vanilla
  • 4oz baking chocolate
  • 1/2 cup butter
  • 1/2 cup strawberry jam
  • 1/3 cup chocolate chips(optional)
  • 1/4 cup chopped hazelnuts(optional)

Method:

  1. Preheat your oven to 350 degrees.
  2. Mix together the flour, cocoa powder, and baking powder.
  3. Beat in the eggs, sugar, and vanilla until mixed.
  4. In a separate bowl, melt together 4 ounces of chocolate along with the butter.
  5. Slowly pour the melted chocolate and butter into the batter while whisking until fully incorporated. Add in 1/4 cup of jam and the chips and hazelnuts if using and stir until mixed. 
  6. Pour the batter in a greased 8 x 8 pan.
  7. Add the rest of the jam on top of the batter and spread out in a thin layer on top, reaching to all the edges.
  8. Bake for 30 minutes or until a toothpick poked into the center comes out clean. Let these cool completely before cutting in.
No Flour Peanut Butter Cookies

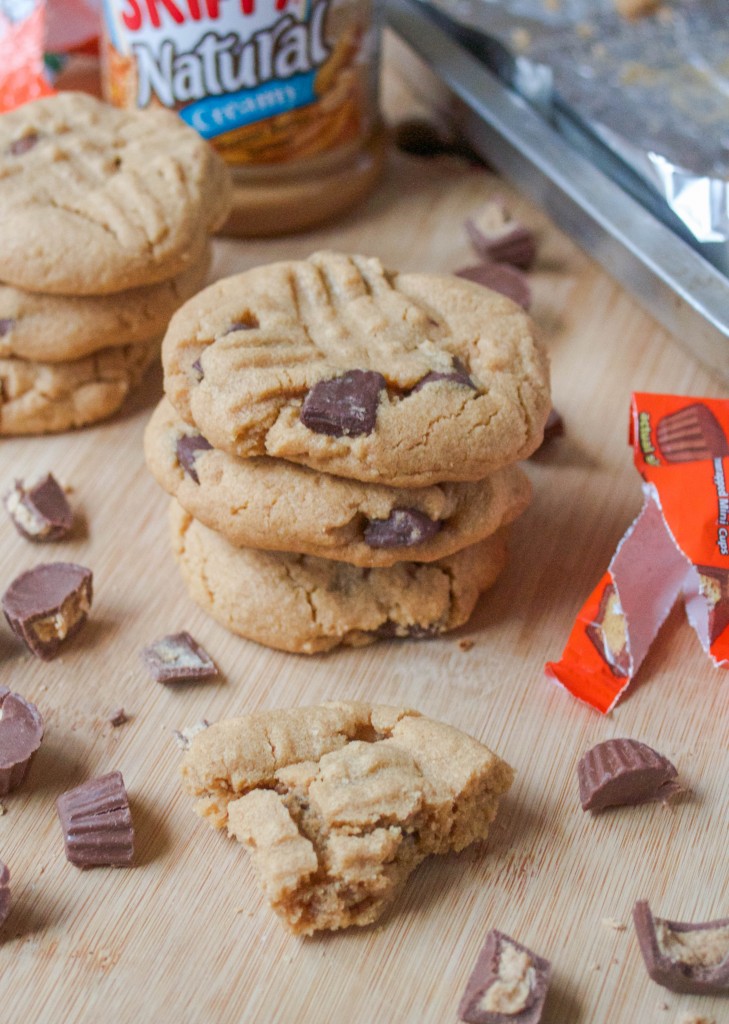
IMG_7532-2

At a holiday party, I brought just a jar of peanut butter to make cookies with. Since everyone knows I’m gluten-free, they asked me what kind of flour I needed. Why didn’t I bring any? Apparently not everyone knows this peanut butter cookie recipe, which is a shame because everyone should.

Unlike most gluten-free recipes that have you mixing chickpea flour with potato starch and xantham gum, these cookies just use peanut butter, eggs, and sugar as their base. I grew up having these long before I was gluten-free.

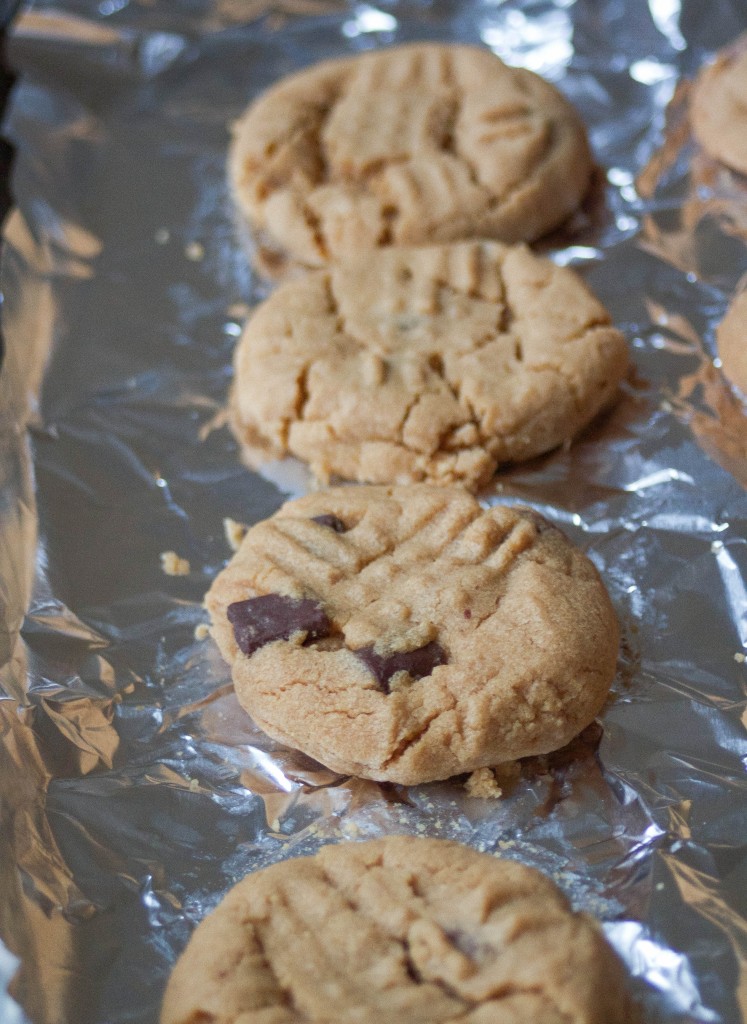
As far as peanut butter cookies go they’re probably the best you’ll have, too. They’re sweet and nutty and melt in your mouth without any flours to make them tough. I’ve made this recipe plenty of times and you should, too.

IMG_7522-2

No Flour Peanut Butter Cookies

Prep time: 10 minutes

Cook time: 15 minutes

Ingredients(Makes 24 Servings):

  • 3/4 cup non-stir peanut butter
  • 1 cup white sugar
  • 1 egg
  • 1/2 teaspoon baking powder
  • 1/2 teaspoon vanilla extract
  • 1/3 cup dark chocolate chips
  • 1/3 cup chopped Reese’s cups

Method:

  1. Preheat your oven to 350 degrees.
  2. In a large bowl, stir together the peanut butter, egg, sugar, vanilla, and baking soda until well mixed.
  3. Fold in the chocolate chips and Reese’s until evenly distributed. If the dough is too wet still, sugar by the Tablespoon until the dough doesn’t stick to your hands.
  4. Roll the dough into 1-inch balls and flatten slightly. Place on a non-stick baking tray.
  5. Bake for 12-15 minutes until the edges turn golden. Remove from the oven and let cool completely before moving.

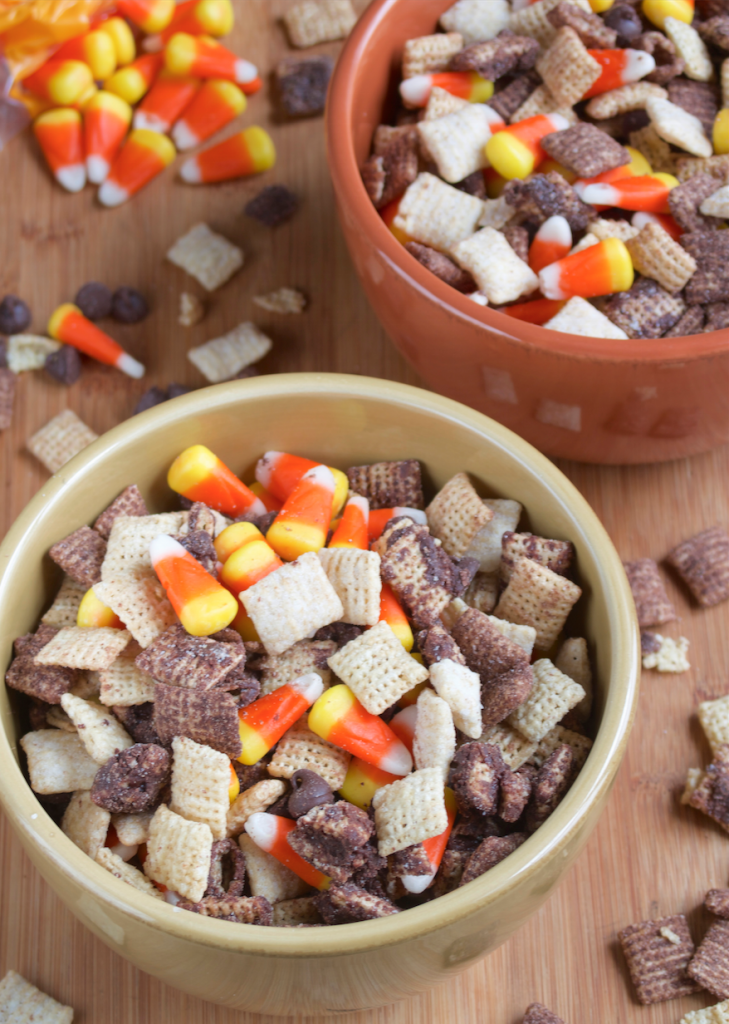
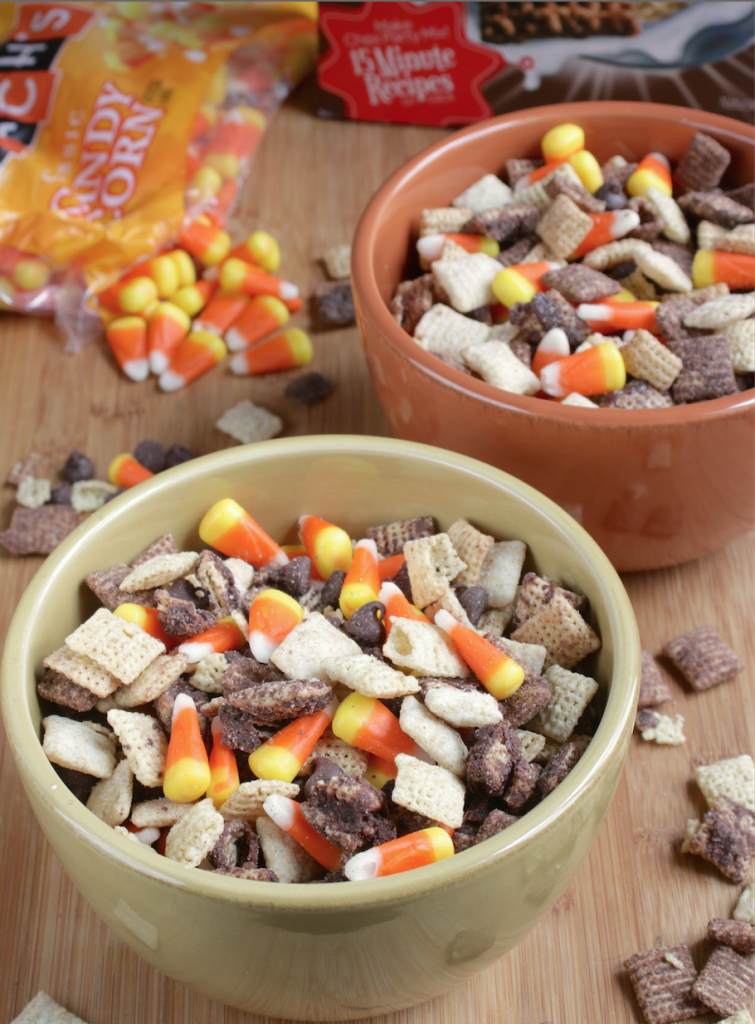
Halloween Chex Mix

Halloween Chex Mix

Candy corn is a polarizing food. People usually either can’t get enough of it or can’t stand the stuff.

I love it and would eat a whole bag in one sitting. Since that’s probably not the best idea you have to find ways to mix it up and make it a little more filling. This Chex mix isn’t health food but it’s just the right balance of sweet and sweeter for a party or just an afternoon. 

Coating some of the Chex cereal with melted chocolate adds an unexpected layer and makes it slightly more decadent. You can make this more fun at a Halloween party by creating different names for the ingredients like bat droppings and witch’s nails. 

Halloween Chex Mix

A note from the last batch of Halloween Chex Mix I made: If gelatin’s a problem ingredient for you, some manufacturers don’t use it in their candy corn. Instead of Brachs, try CVS store brand candy corn. 

Halloween Chex Mix

Prep time: 15 minutes

Cook time: 0 minutes

Ingredients(Makes 12 squares):

  • 2/3 cup chocolate chips, divided
  • 2  1/2 cups Chocolate Chex, divided
  • 1 Tablespoon butter
  • 1 Tablespoon milk
  • 1 1/2 cups Vanilla Chex
  • 1/2 cup candy corn

Method:

  1. Melt 1/3 cup chocolate chips gently, set the rest aside.
  2. When melted, stir in the butter and milk until silky and smooth.
  3. In a large bowl, mix 1 1/2 cups Chocolate Chex cereal with the melted chocolate until covered.
  4. Lay the cereal out on a non-stick tray and refrigerate for 10 minutes until the chocolate has set. Once set, break apart any clusters of cereal stuck together. 
  5. In a large bowl, toss together the remaining chocolate chips, remaining Chocolate Chex, Vanilla Chex, and candy corn. 
  6. Serve or store in an air-tight container at room temperature. 

My First Life By Dailyburn Recipe

Low Sugar Chocolate Hazelnut Granola

The internet is a crazy awesome place because it’s full of resources for any life you want to live, whether it’s gluten-free recipes, vegetarian restaurant hot spots, of just a chocolate-filled life.

I’m excited that Dailyburn‘s blog Life By Dailyburn asked me to be a recipe contributor for their site. They’re an amazing resource for anyone looking to be healthier and get whipped into shape.

The first recipe I made for them will hopefully pique your interest. If you want to cut out sugar in the morning but still eat flavorful food making your own is a must. This cocoa hazelnut granola recipe only uses maple syrup for sweetness to keep the flavor but ditch the processed sugars. It also tastes great and can save you money–what’s not to love?

And if you’re also looking for a healthier life and haven’t yet, follow them on Facebook and Pinterest for some daily inspirations to eat great and workout.

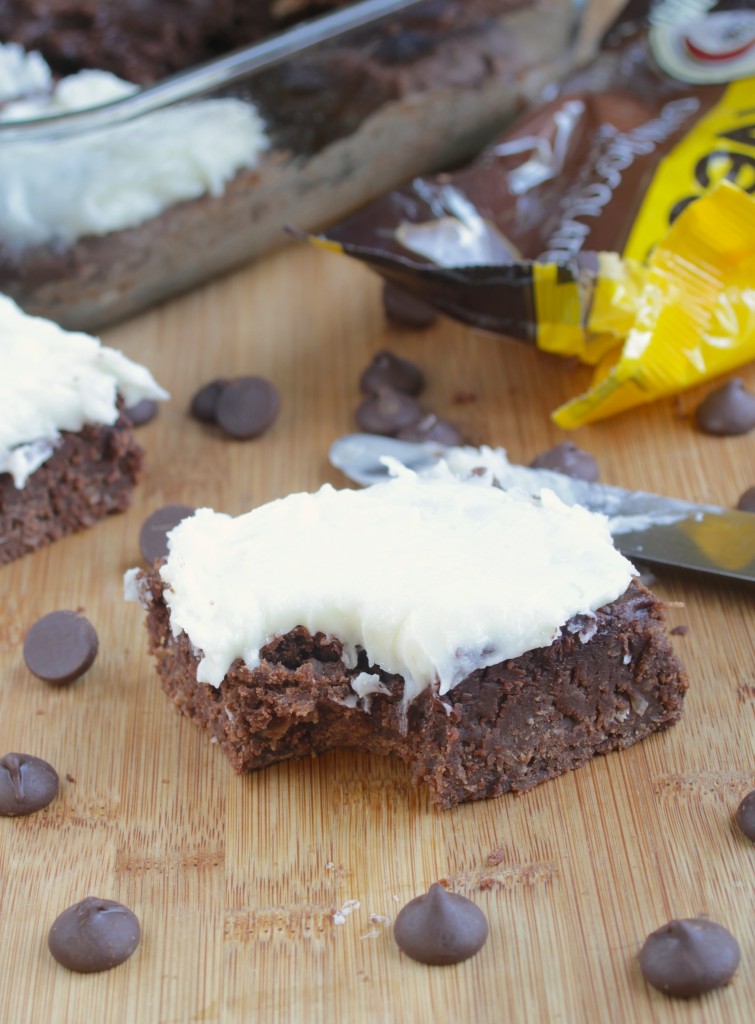
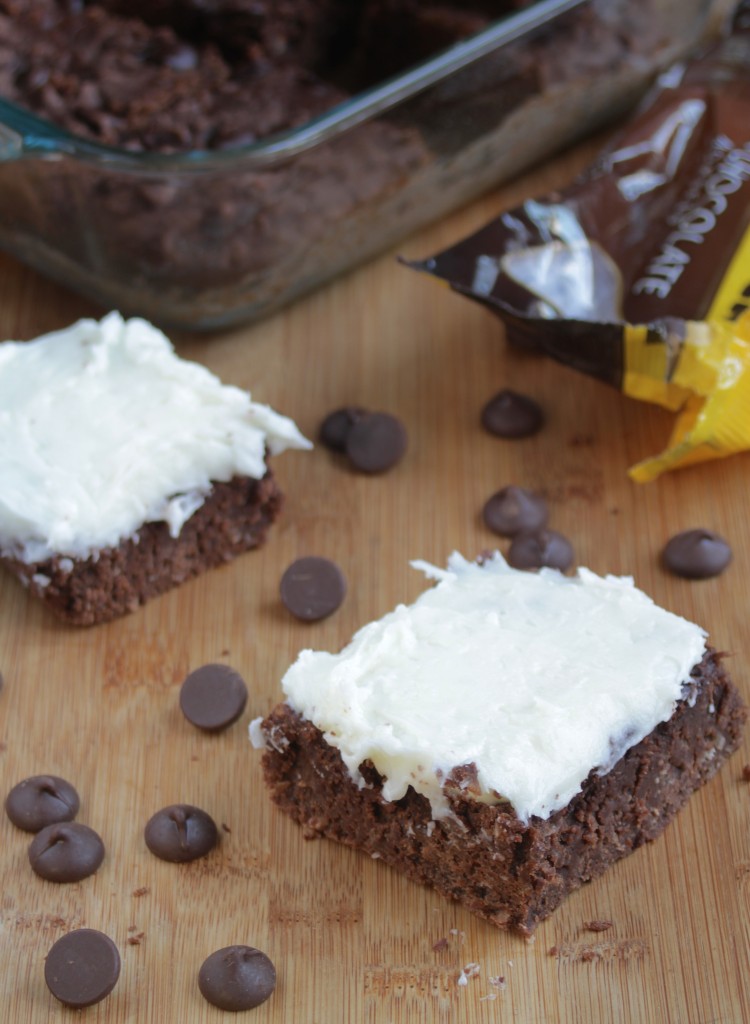
Gluten-Free Coconut Brownies

Gluten-Free Coconut Brownies

I’ll look for excuses to make frosting, and they’re not that hard to find.

Cakes are great to make and frost when there’s a birthday, a party, or… a birthday party. But when it’s the weekend and you just want something sweet and fast for me, myself, and I, frosted brownies are the best way to go. 

My favorite brownie recipes are always on the traditional side. Forget about expensive olive oil and pine nuts; sweetened shredded coconut is in every grocery store and adds just as interesting a flavor and richness. Finish with some good vanilla and you’re good to go. 

Gluten-Free Coconut Brownies

What makes these brownies special besides the shredded coconut and spoon-licking frosting? Absolutely nothing, so if you want to use a quick gluten-free or regular boxed brownie recipe and fancy it up with shredded coconut and this frosting recipe, go right ahead–everyone will be too busy eating to mind.

Gluten-Free Coconut Brownies

Prep time: 15 minutes

Cook time: 30 minutes

Ingredients(Makes 1 8 x 8 pan):

  • 3/4 cup oat flour
  • 1/4 teaspoon salt
  • 2 tablespoons unsweetened cocoa powder
  • 1/2 teaspoon baking powder
  • 1/2 cup sugar
  • 1/2 cup sweetened shredded coconut
  • 2 large eggs
  • 1 teaspoon vanilla
  • 1/2 cup butter
  • 7 oz bittersweet baking chocolate, divided OR 3/4 cup chocolate chips
  • 1/4 cup water

For the frosting

  • 1/2 cup butter, room temperature
  • 2 1/4 cups powdered sugar
  • 1 Tablespoon milk
  • 1/4 cup sweetened shredded coconut

Method:

  1. Preheat your oven to 350 degrees.
  2. Mix together the oat flour, salt, cocoa powder, and baking powder and set aside.
  3. In a separate bowl, melt together 4 ounces of chocolate or a scant 1/2 cup chocolate chips with the butter.
  4. While the chocolate is melting, beat together the eggs, sugar, shredded coconut, vanilla, and water.
  5. Slowly pour the melted chocolate and butter into the egg/sugar mixture while whisking until fully incorporated. Don’t go too fast so that the raw eggs don’t cook upon contact.
  6. Add the chocolate mixture in with the dry ingredients and mix completely.
  7. Pour the batter in a greased 8 x 8 pan.
  8. Sprinkle the top with the remaining chocolate and gently press it into the batter.
  9. Bake for 30 minutes or until a toothpick poked into the center comes out clean. Let these cool completely before frosting.
  10. With a beater, beat together the butter, sugar, and coconut until smooth.
  11. Spread gently and generously over the pan of brownies.
  12. Slice the brownies into even squares and serve within a couple days of baking.