Tag Archive: Baking

Peanut Butter Corn Flakes Cookies

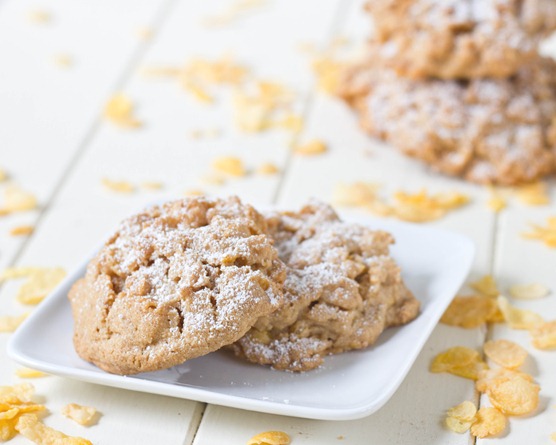
Peanut Butter Corn Flakes Cookies

When you start baking gluten-free, one thing you get used to is using anything for a flour-substitute. Gluten-free cereals are one of my favorites since you can use them in baked or no-bake desserts and the flavor’s always familiar.

Good ol’ fashioned corn flakes add a nice crunch and chewiness to traditional peanut butter cookies. The flavor is better than any bowl of cereal I’ve ever had.  

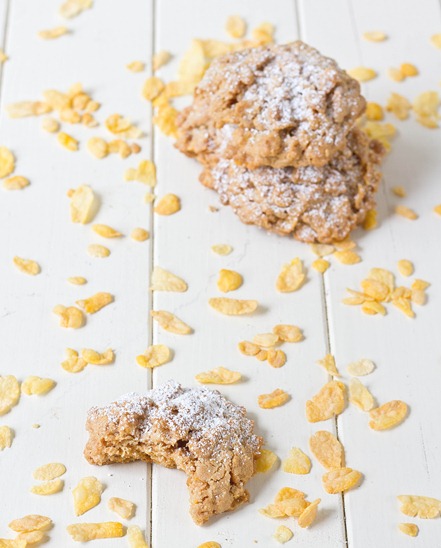
Peanut Butter Corn Flakes Cookies Bite

If you don’t have powdered sugar but still want to give these cookies a special feel to them, drizzle melted chocolate on instead.

Peanut Butter Corn Flakes Cookies

Prep time: 10 minutes

Cook time: 20 minutes

Ingredients(Makes 12 large cookies):

  • 1 cup peanut butter
  • 1 cup brown sugar
  • 1 egg
  • 2 teaspoons vanilla extract
  • 1 teaspoon baking soda
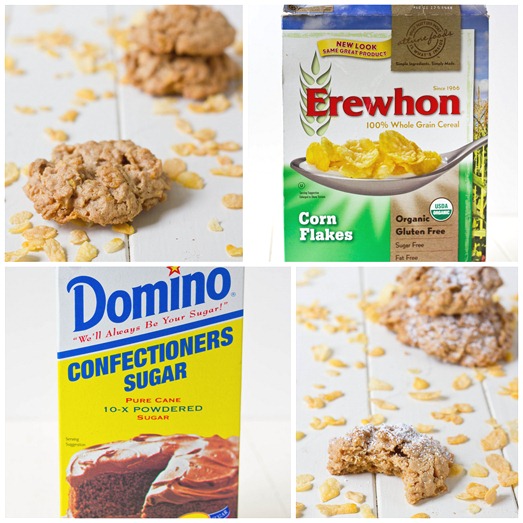
  • 2 cup corn flakes(I used Erewhon brand)
  • Powdered sugar for dusting

Peanut Butter Corn Flakes Cookies Collage

Method:

  1. Preheat your oven to 350 degrees.
  2. In a large bowl, mix together the peanut butter, sugar, egg, vanilla, and baking powder.
  3. Add in the corn flakes and continue mixing until the dough forms one large ball.
  4. Drop mounds of dough onto a greased baking tray(I used an ice cream scoop to form the mounds).
  5. Bake for 15-18 minutes until the cookies are firm to the touch.
  6. Remove from the oven and let the cookies cool completely.
  7. Dust with powdered sugar before serving.

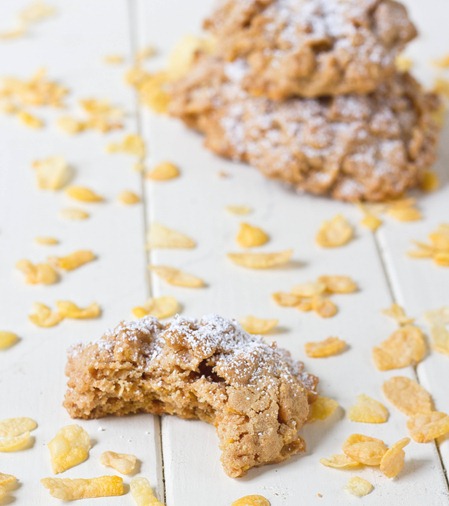
Peanut Butter Corn Flakes Cookie Close-Up

These cookies beg to be eaten with a cold glass of milk or almond milk.

Gluten-Free Cookie Dough Truffles

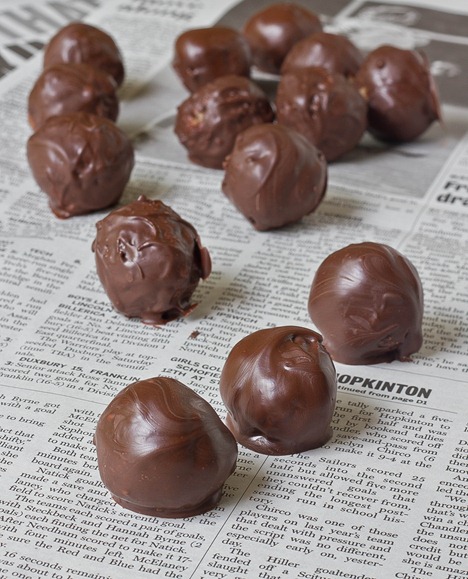
Gluten Free Cookie Dough Truffles newspaper

I tried to hold out on the cookie dough truffle craze. I really did. But all the cookie dough recipes floating around blogs these days and now a whole cookie dough cookbook wore me down.

Anyone who’s tried gluten-free baking knows that—while the baked result may be delicious—gluten-free flours make the raw dough taste horrible. That’s a problem for truffles where the whole point is to be eating raw dough. Thankfully, almond flour has virtually no flavor and works perfectly in this recipe.

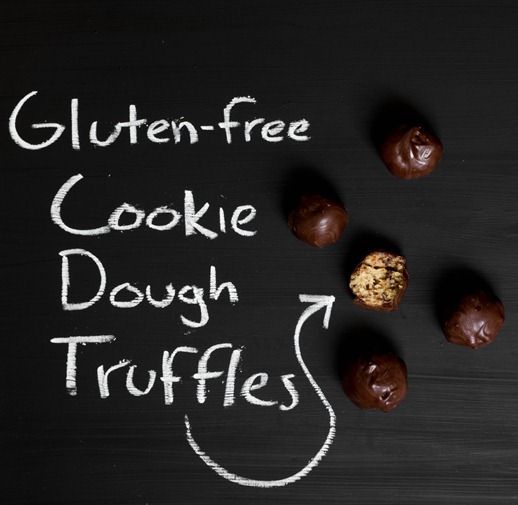
Gluten Free Cookie Dough Truffles Chalkboard

You can use almond flour or almond meal interchangeably in this recipe. You could even get away with 1 cup of almond butter in a pinch if it’s not too oily.

Gluten-Free Cookie Dough Truffles

Prep time: 15 minutes

Cook time: 0 minutes

Ingredients(Makes about 24 truffles):

For the dough:

  • 1/2 cup butter
  • 1/2 cup brown sugar
  • 1/2 cup powdered sugar
  • 1 teaspoon vanilla extract
  • 1/4 teaspoon salt
  • 2 cups almond flour or almond meal
  • 1/2 cup mini chocolate chips or chocolate shavings

For the coating:

  • 1 cup semi-sweet or bittersweet chocolate chips
  • 2 Tablespoons coconut oil(butter or shortening would work, too)

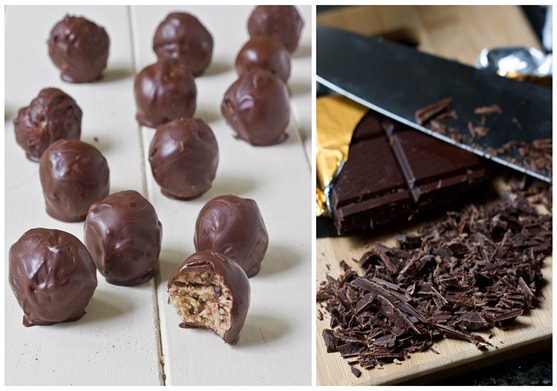
Gluten Free Cookie Dough Truffles Collage

Method:

  1. Cream together the butter, brown and powdered sugars.
  2. Mix in the vanilla, salt, and almond flour.
  3. Fold the chocolate chips into the batter.
  4. Roll ounces of dough into 1-inch balls and put them into the refrigerator or freezer to chill.
  5. Melt the chocolate chips for the coating in your microwave or over a burner.
  6. Add in the coconut oil and stir until smooth and runny.
  7. One by one, dip the chilled dough balls into the melted chocolate and turn them to coat.
  8. Place the truffles onto a non-stick surface to cool.
  9. Store in the refrigerator for up to 2 weeks. Serve at room temperature.

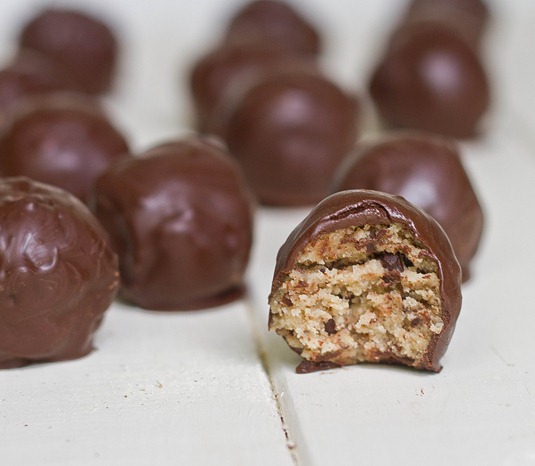
Gluten Free Cookie Dough Truffles

Now I get what all the fuss is about.

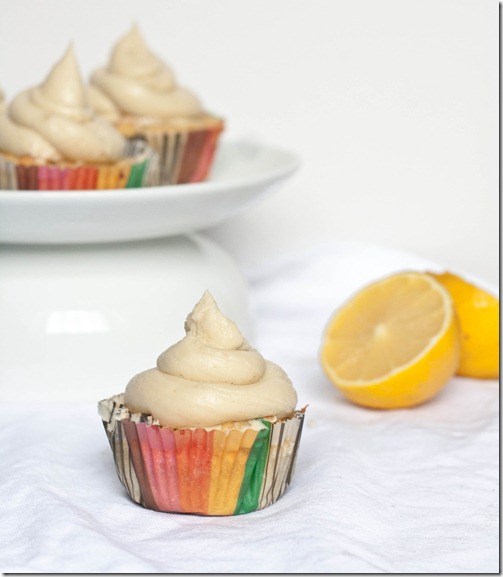
Gluten-Free Lemon Cupcakes

gluten-free-lemon-cupcakes

I really love lemon desserts. Unfortunately they tend to disappear in the winter. Why is that? We still have lemons. I guess their flavor is too bright when it’s cold and you want something warm and comforting. But now it’s Spring and we can eat all the lemons we want.

To make these cupcakes, I took my favorite paleo vanilla cupcake recipe and added lemon. Pretty simple, huh? There’s also a lemon buttercream because—of course—you can’t really have too much lemon. They’re perfect for a lightly flavored dessert, and I would bet even better with some lemoncello.

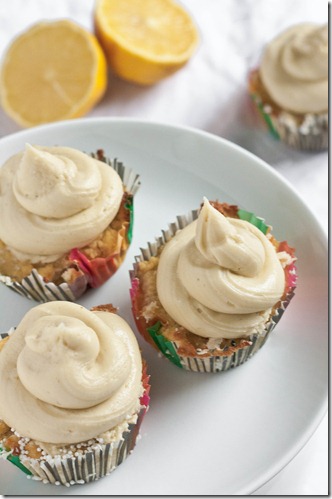
gluten-free-lemon-cupcakes-plated

This recipe uses coconut flour. There really isn’t any substitute for it. It’s a high-fiber, starchy flour that simulates the binding properties of gluten in wheat really well. I’d consider it a must-have for any gluten-free bakers.

Gluten-Free Lemon Cupcakes

Prep time: 10 minutes

Cook time: 30 minutes

Ingredients(Makes a dozen cupcakes):

  • 1/2 cup plus 2 Tablespoons coconut flour
  • 4 eggs
  • 2 egg whites
  • 1/2 cup cane sugar
  • 1 cup coconut milk
  • 1 Tablespoon lemon juice
  • Zest from one lemon
  • 1/2 teaspoon baking soda

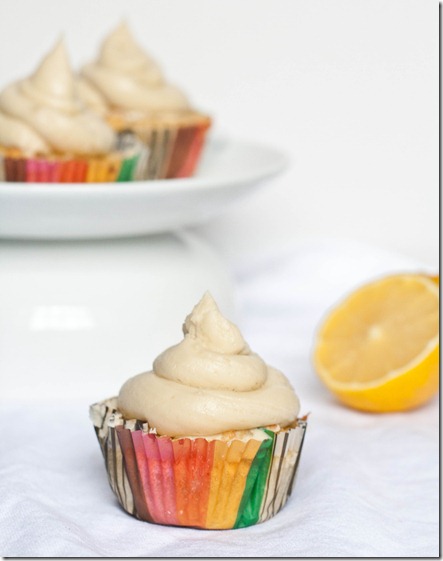
gluten-free-lemon-cupcakes-2

Method:

  1. Preheat your oven to 350 degrees and line a dozen cupcake holders.
  2. Combine all of the ingredients together in a large bowl and mix until it forms an even batter.
  3. Scoop equal amounts of the batter into each cupcake well.
  4. Bake for 25-30 minutes or until the tops are firm to the touch.
  5. Remove from the oven. Let the cupcakes cool completely before frosting them.

Lemon Buttercream

Prep time: 10 minutes

Cook time: 0 minutes

Ingredients:

  • 1/2 cup room temperature butter
  • 2 1/2 cups powdered sugar
  • 1 Tablespoon lemon juice OR 1/2 Tablespoon lemon extract and 1 Tablespoon cream
  • Lemon zest for garnish(optional)

Method:

  1. Beat together the butter, 1 1/2 cups of sugar, and the lemon juice until mix. Slowly sift in the extra sugar until it’s all used up.
  2. Scoop the frosting into a Ziploc bag and snip off one edge. Squeeze the frosting through the cut out corner onto cupcakes in a swirling motion.

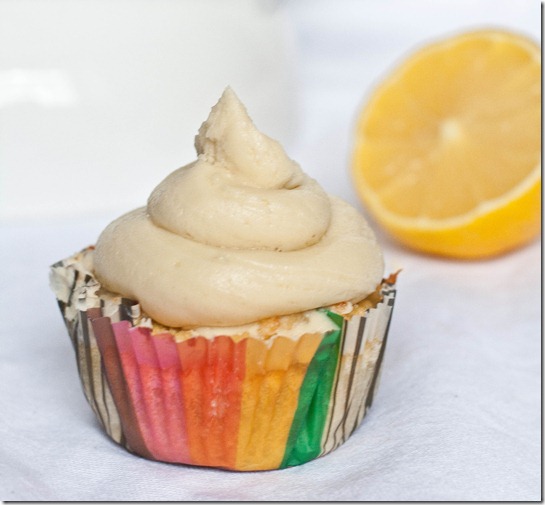
gluten-free-lemon-cupcakes-serving

Who else is excited for Spring?

Tempting Trail Mix Cookies

tempting-trail-mix-cookies

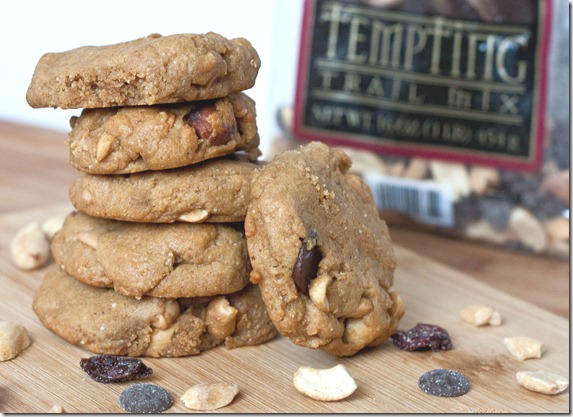
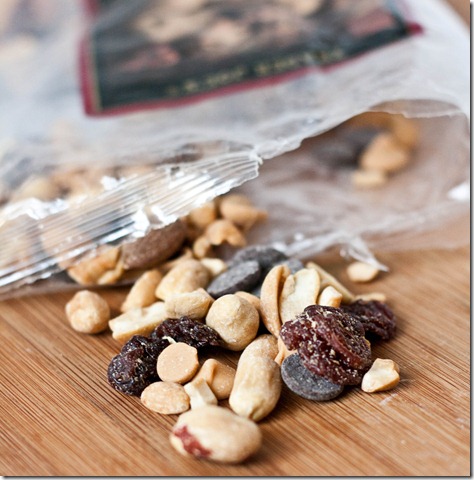
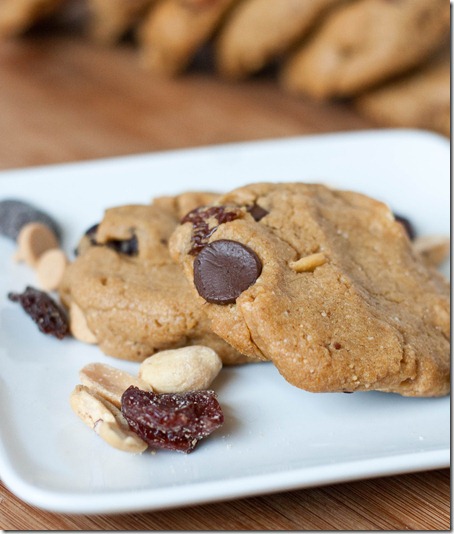
Trader Joe’s makes the best trail mix. It’s called Tempting Trail Mix. The name really doesn’t do it justice; it won’t last long enough in your pantry to be tempting. Normally with trail mix I’ll just pick out the chocolate bits until there’s only fruit and nuts left, but not this one. It has chocolate chips, peanut butter chips, peanuts, cashews, almonds, and dried cherries. What’s not to love?

tempting-trail-mix-cookies-trail-mi

See, nothing but good.

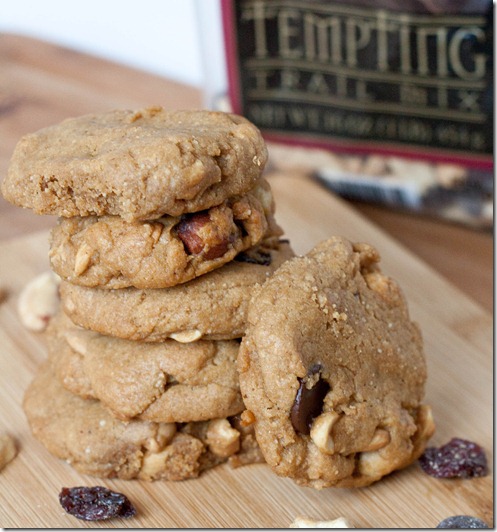
Obviously these needed to be made into cookies to be enjoyed all the time. I mixed some of the trail mix into a super simple gluten-free peanut butter cookie batter; the peanuts and peanut butter chips in the trail mix and peanut butter in the cookie dough make for a delicious triple dose of peanuts.

tempting-trail-mix-cookies-silpat

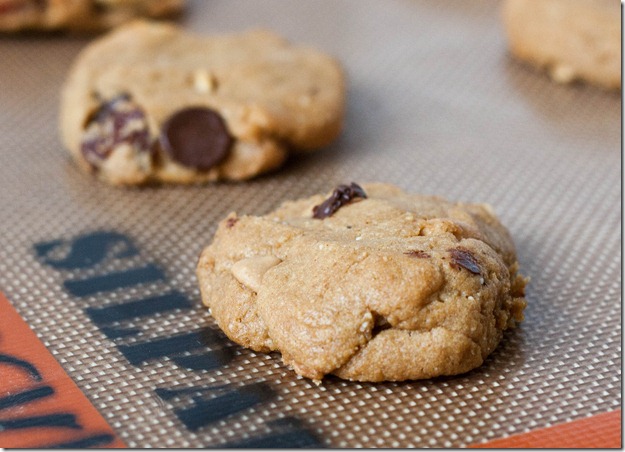
I used 2 egg whites in place of the egg since I wanted to use up a container of egg whites and the cookies were slightly puffier and softer than normal and the batter was also looser to work with. I wouldn’t say one version was better than the other but I would be aware that subtle changes like that can change the end result.

Tempting Trail Mix Cookies

Prep time: 10 minutes

Cook time: 15-20 minutes

Ingredients(Makes 20 cookies):

  • 1 cup peanut butter
  • 2/3 cup cane sugar
  • 1 egg
  • 1 teaspoon vanilla extract
  • 3/4 teaspoon baking soda
  • 1 cup Tempting Trail Mix

tempting-trail-mix-cookies-overhead

Method:

  1. Preheat oven to 350 degrees.
  2. In a large mixing bowl, mix all of the ingredients together.
  3. Take off pieces of dough and roll into 1-inch balls. place the balls on a lined baking tray and flatten lightly. Repeat with all of the dough.
  4. Bake for 15-17 minutes until the tops of the cookie are firm to the touch.
  5. Remove from the oven and let cool slightly before moving.

tempting-trail-mix-cookies-plate

These came out just as good—if not better—than the trail mix. I had trouble not just eating the batter. The chocolate chips melted perfectly in the oven and had just the right bitter flavor for the lightly-sweet dough. I also can’t get enough of how easy a Silpat mat makes baking. I don’t know what took me so long getting with the times.

Gluten-Free Thin Mints

Gluten-Free Thin Mints

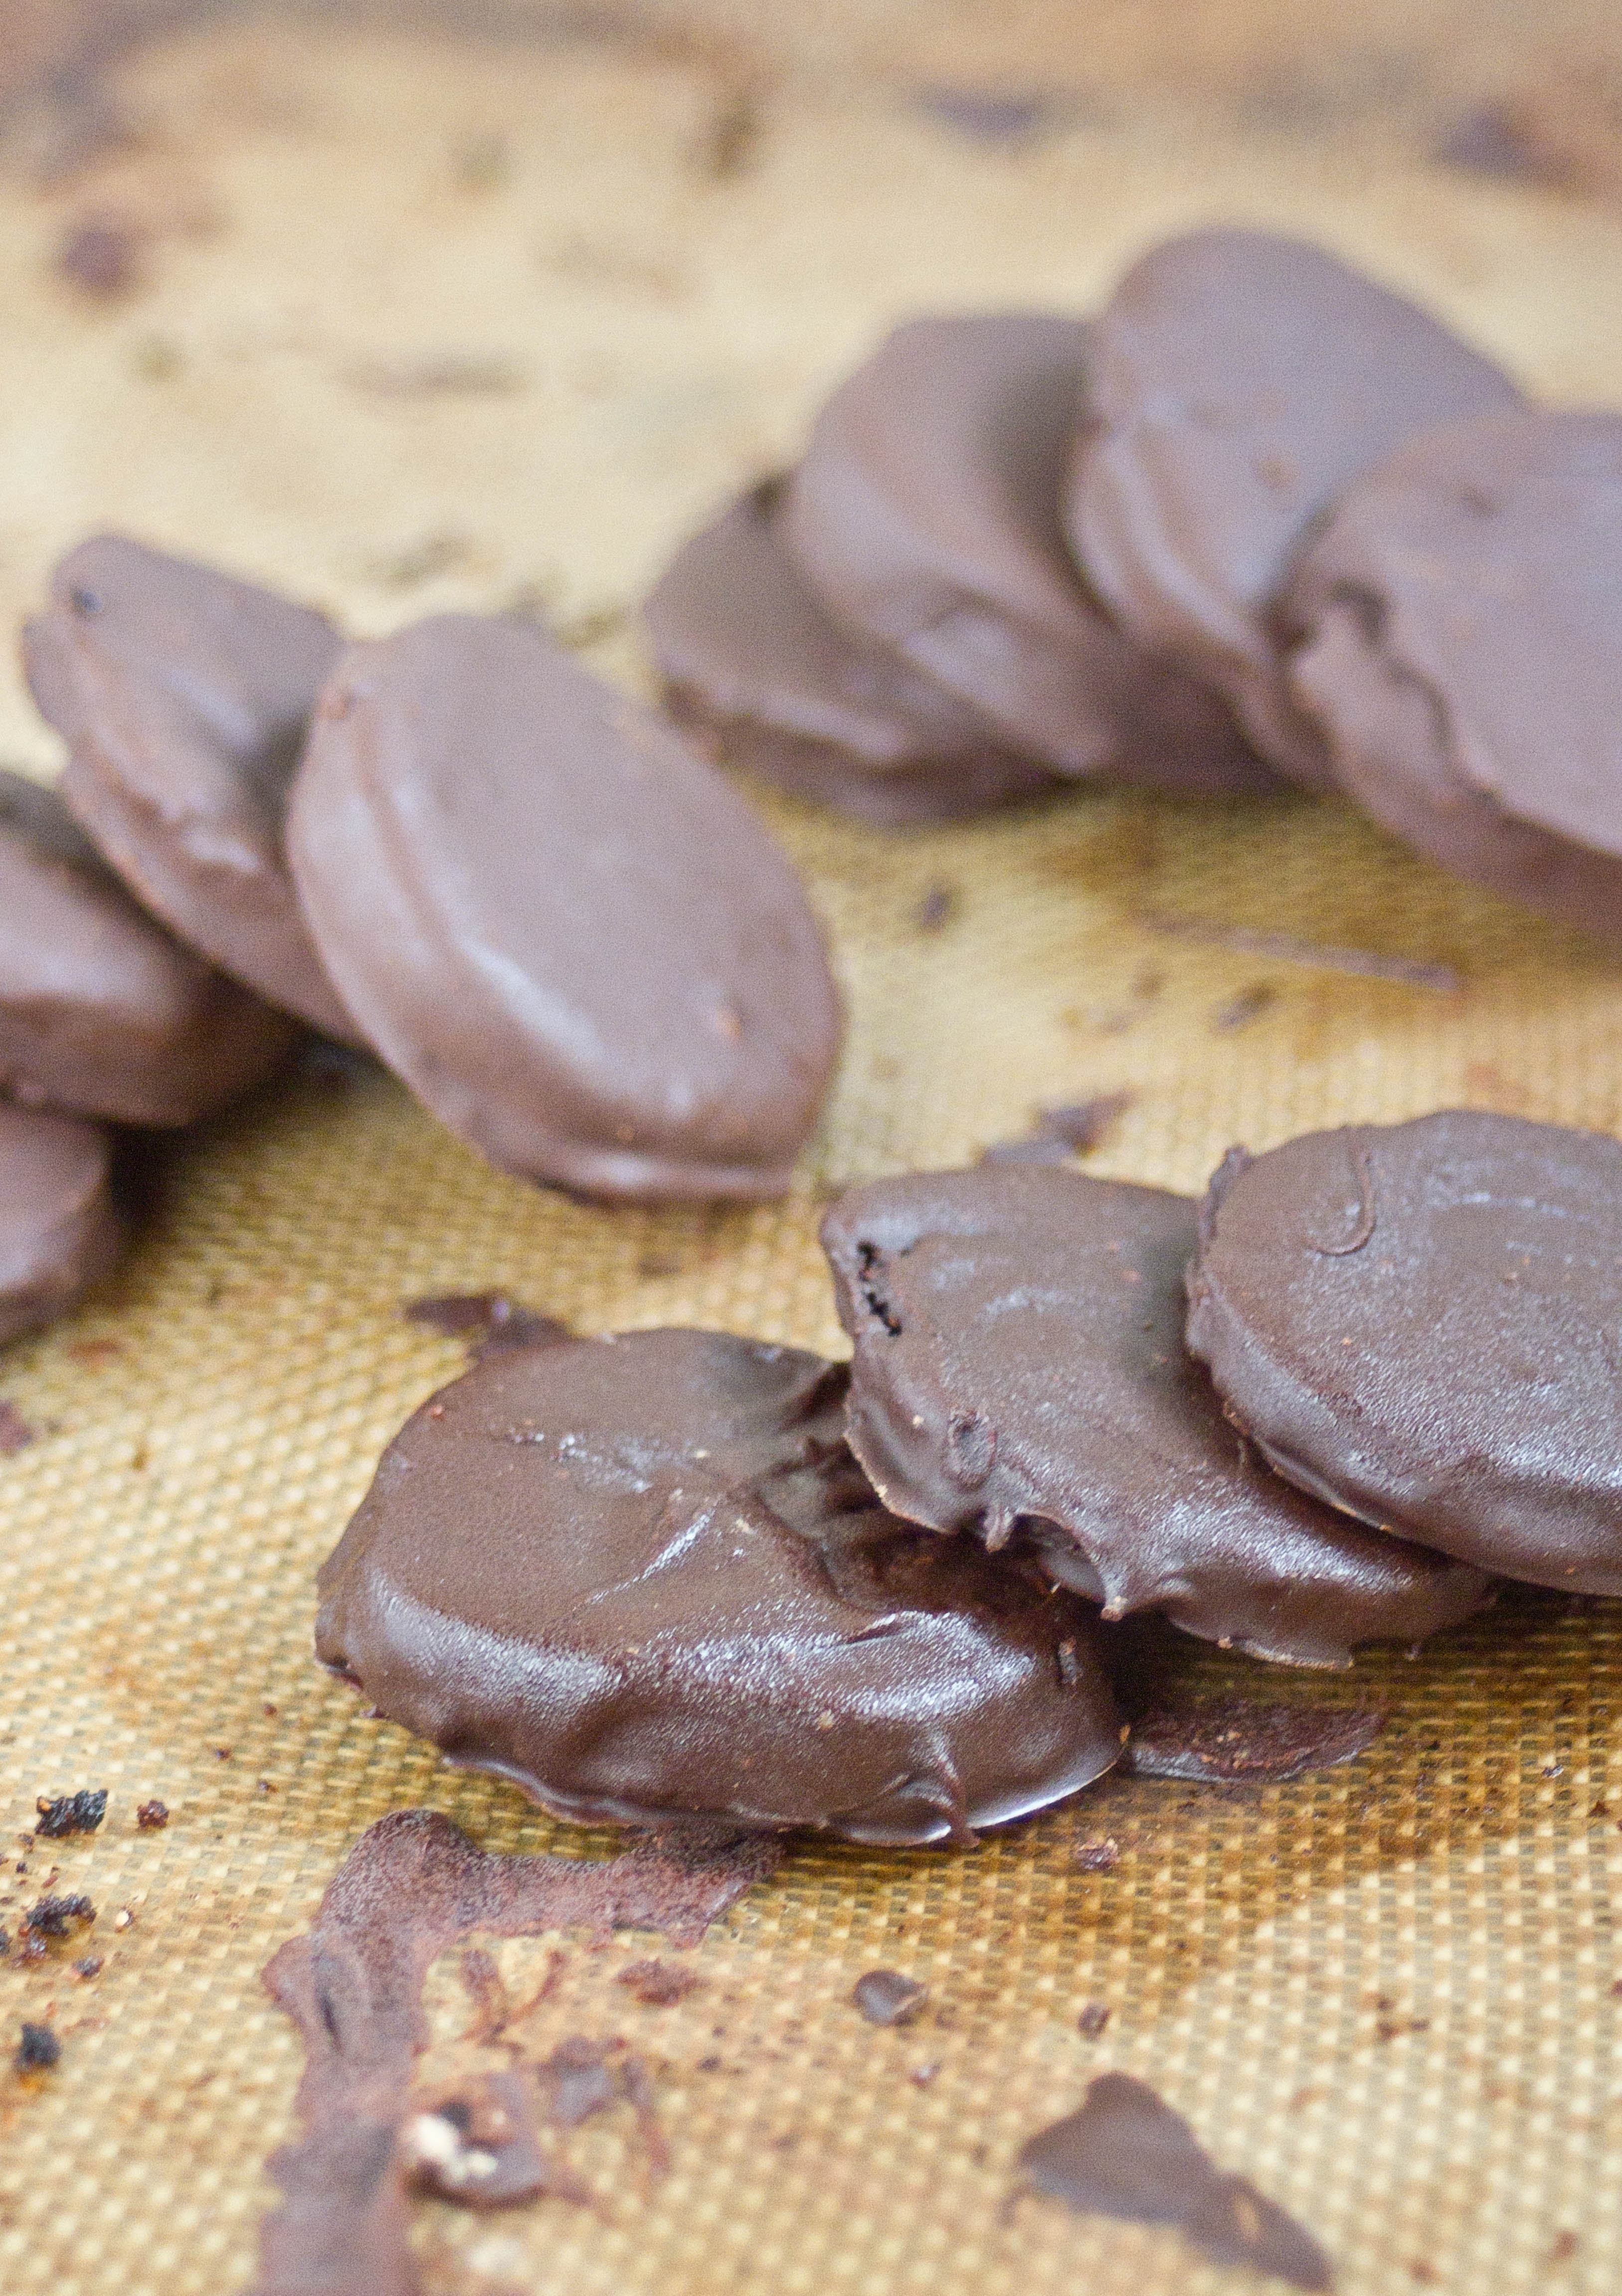
It’s Girl Scout cookie time again. At first I wanted to resist it; but then seeing the flood of tweets and Facebook statuses about them I knew I couldn’t and would have to give in. If the Girl Scouts ever start selling a gluten-free cookie, I’d be happy to support them; until then I guess I’ll be making my own. That feels like dangerous knowledge.

My favorite Girl Scout cookie has always been the Thin Mints. Have you ever eaten one straight out of a freezer? That’s good stuff. I also liked the lemon cream-filled shortbread cookies, but I hear they stopped making those. That doesn’t seem like a smart business plan, Girl Scouts.

Gluten-Free Thin Mints Piles

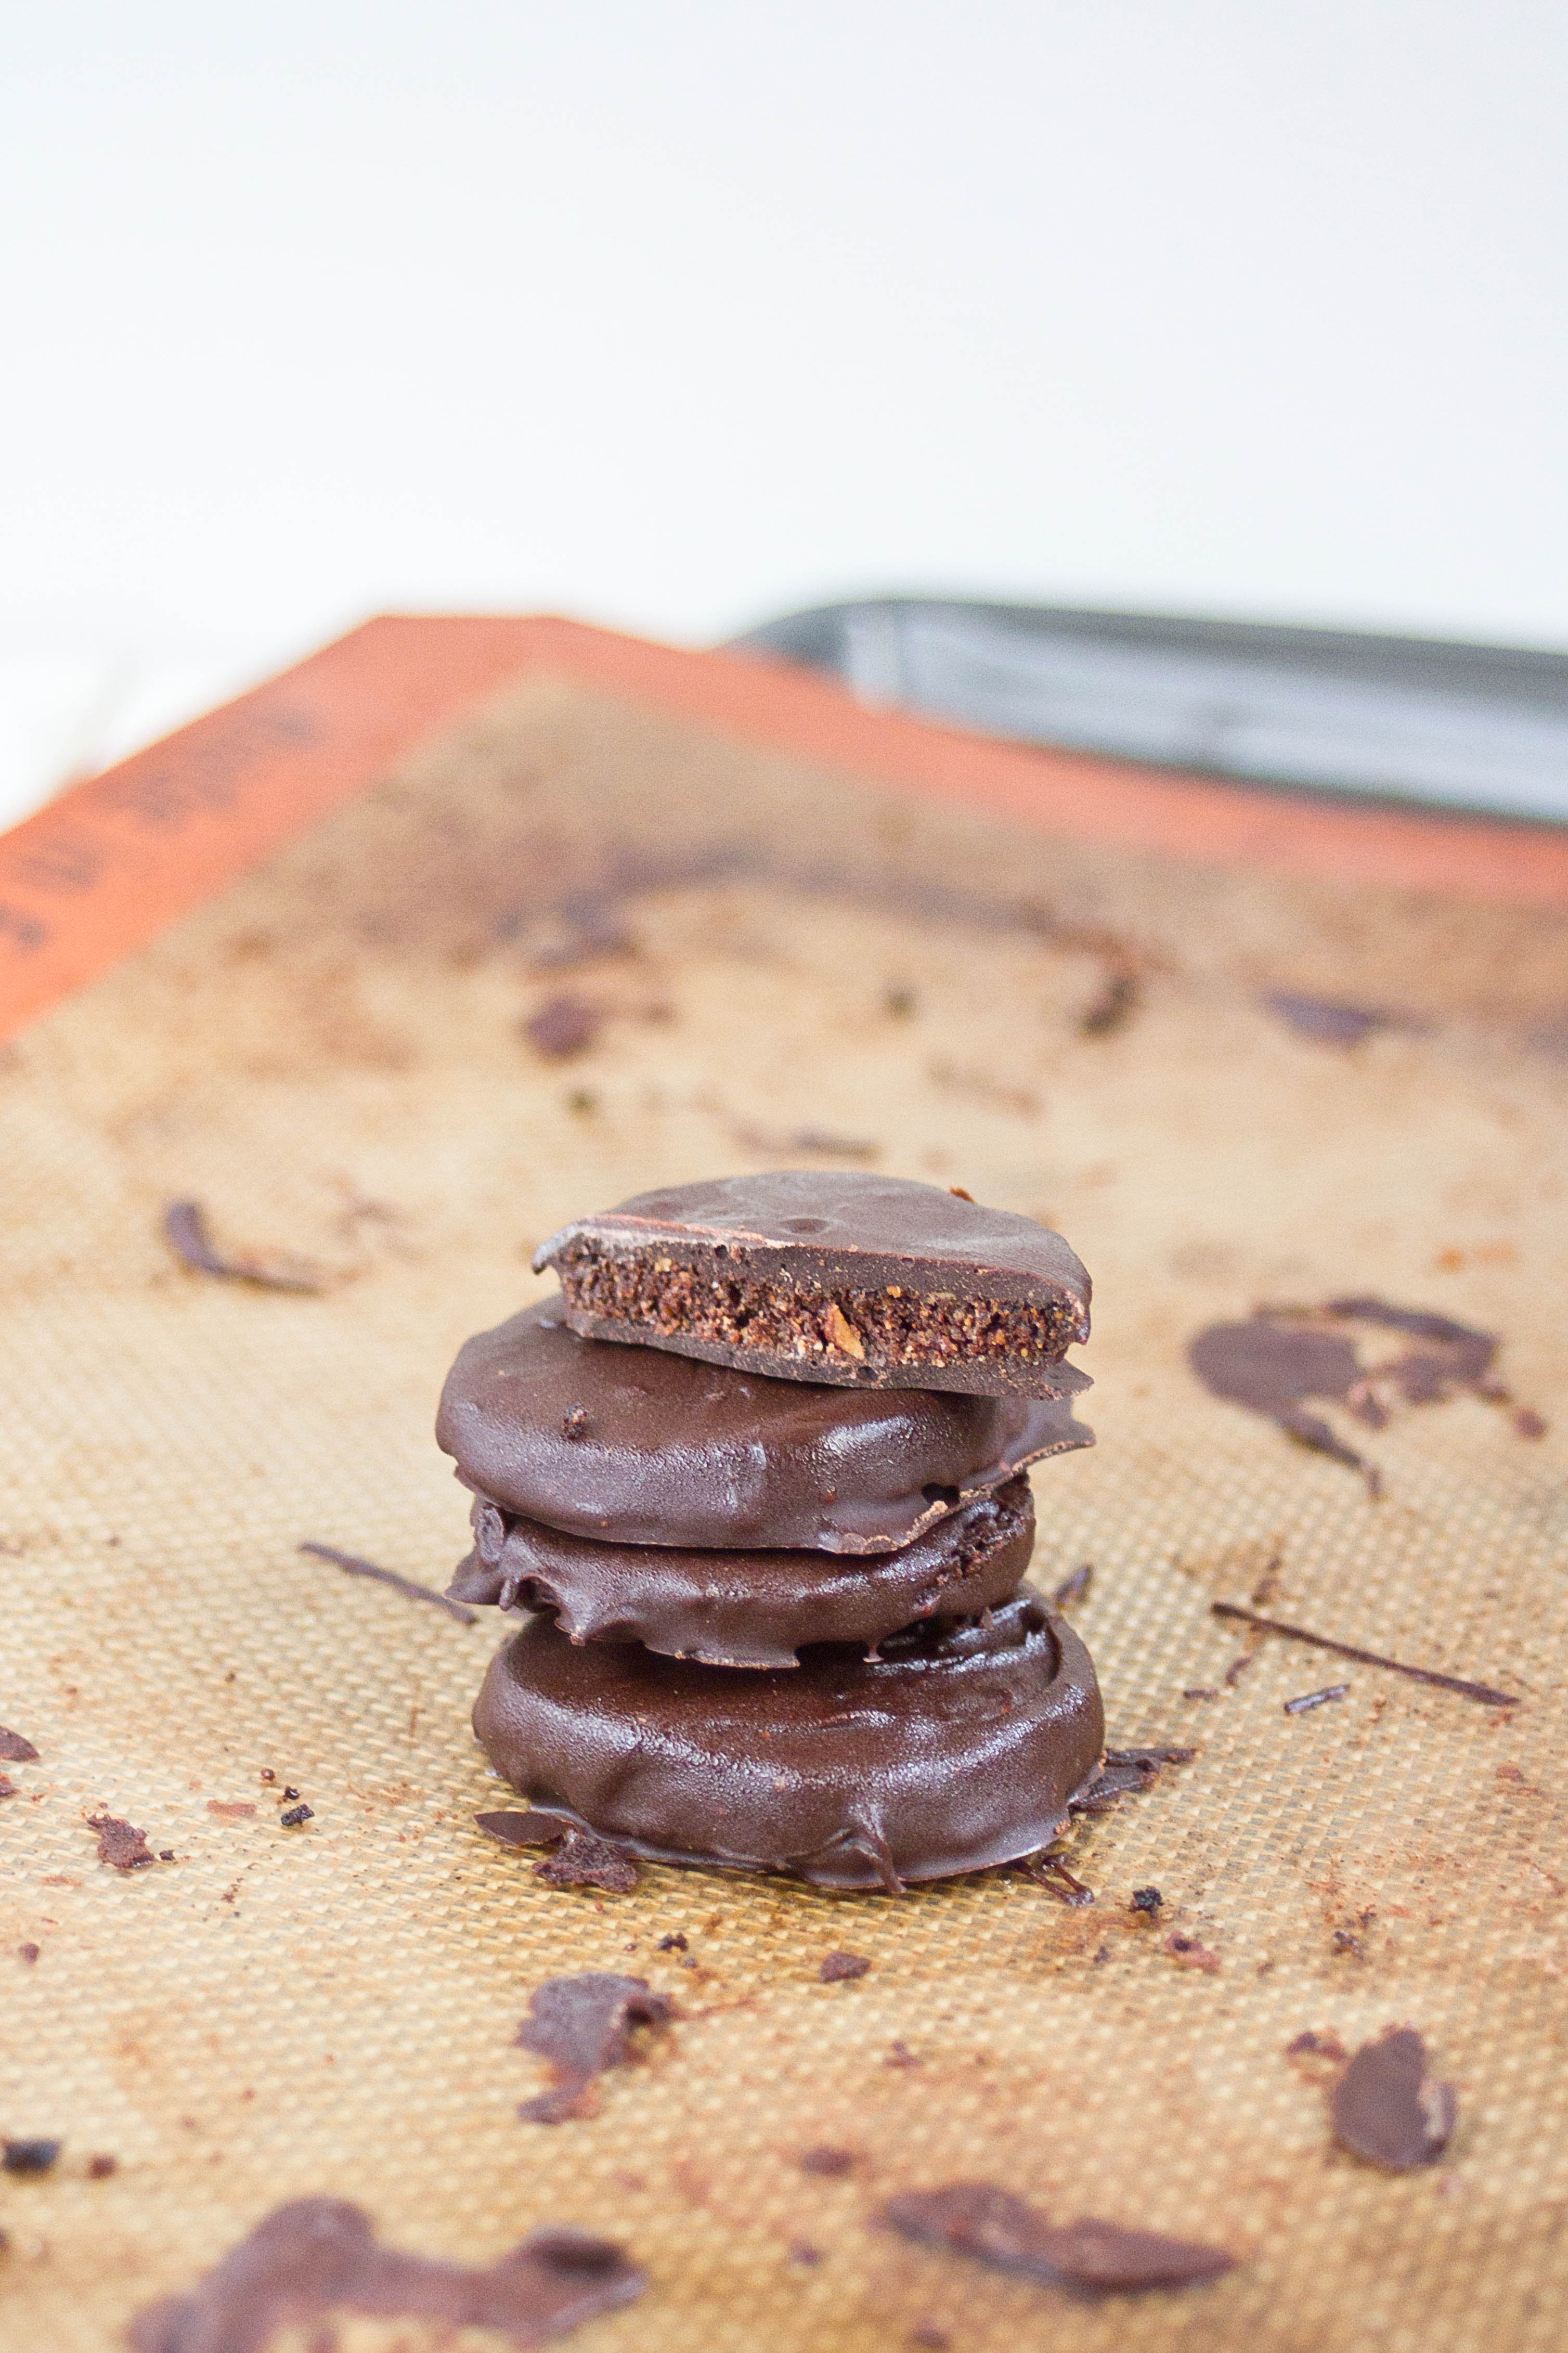
 To make these I used coconut and almond flour, which are two of my favorite gluten-free flours to bake with. They also happen to be grain-free and could presumably pass as a “paleo dessert” even though that’s a bit of an oxymoron. Remember to give yourself a little extra time making these because the dough needs to chill before it can be baked.

Gluten-Free Thin Mints

Prep time: 45 minutes

Cook time: 20 minutes + more to coat

Ingredients(Makes 24 cookies):

  • 1 cup almond flour
  • 1/4 cup coconut flour
  • 1/2 cup sugar
  • 1/4 cup cocoa powder
  • 1/4 teaspoon salt
  • 1 egg
  • 1 stick(4oz) butter, melted
  • 1 bag(12oz) semisweet or bittersweet chocolate chips
  • 1 teaspoon peppermint extract, divided

Method:

  1. Sift together the almond flour, coconut flour, cocoa powder, salt, and sugar until it’s all mixed.
  2. Add in the egg, butter, and 1/2 teaspoon of peppermint extract and mix until it forms a dough.
  3. Roll the dough into a log on some parchment paper and put in the refrigerator or freezer to chill.
  4. Preheat your oven to 375 degrees.
  5. When the dough is solid, using a sharp knife, cut out cookies that are roughly 3/8-inch thick. Lay the cookies out on a baking tray(don’t worry if they’re close together since they don’t really really spread)
  6. Bake for 18-20 minutes.
  7. Remove the cookies from the oven. Let them cool until they’ve hardened.
  8. Make the coating by melting the chocolate chips and mixing in the remaining 1/2 teaspoon of extract.
  9. One by one, dip the cookies into the melted chocolate to coat both sides. The chocolate should be fairly runny and only coat in a small layer. If the chocolate is thicker, heat it up until it melts more.
  10. Lay the cookies onto parchment paper and refrigerate to fully harden. These will keep 2 weeks in the refrigerator.

Gluten-Free Thin Mints Stack

What’s your favorite Girl Scout cookie? While I love thin mints, Tagalongs are a close second. I get the sense I might have to try my hand at making those.

Peanut Butter Chocolate Chip Cookie Cake

peanut-butter-chocolate-chip-cookie-cake

Something hit me when I was browsing TasteSpotting a couple weeks ago: I haven’t had a cookie cake in ages. I decided right then I wanted a cookie cake at my birthday party this year, because clearly I’m 20 going on 12. But then I figured why wait? I could bake a cookie cake for any occasion.

peanut-butter-chocolate-chip-cookie-cake-cutting

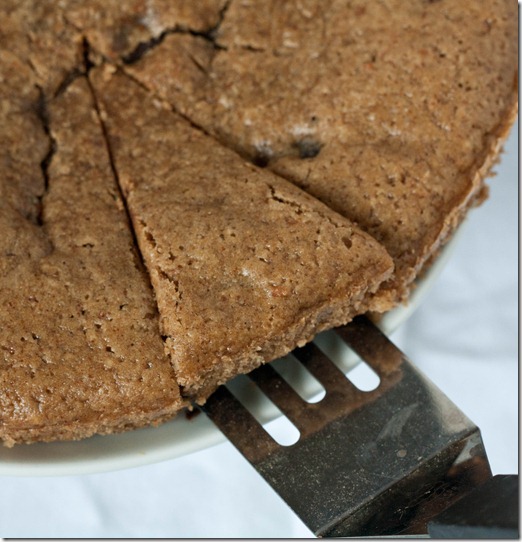
Of course I made mine gluten-free using one of my favorite flours: Almond flour. It also just happens to be dairy-free because I was low on butter that day. The peanut butter helps to act as a binder, makes the cake richer and adds a nutty flavor. You could substitute in almond butter to work around a peanut allergy.

peanut-butter-chocolate-chip-cookie-cake-overhead

I liked mine slightly under-baked because it kept the inside moist and gooey almost like eating cookie dough. If you like your cookies a little crustier, I would recommend adding a few minutes onto the baking time and watching it carefully.

Peanut Butter Chocolate Chip Cookie Cake

Prep time: 10 minutes

Cook time: 20 minutes

Ingredients:

  • 1 cup almond flour
  • 6 Tablespoons cane sugar
  • 1/2 teaspoon baking powder
  • 2 eggs
  • 1/2 cup natural peanut butter
  • 1/4 cup oil
  • 1 teaspoon vanilla extract
  • 1/4 cup water
  • 6 Tablespoons chocolate chips

peanut-butter-chocolate-chip-cookie-cake-middle

Method:

  1. Preheat your oven to 350 degrees
  2. Mix together the almond flour, sugar, and baking powder.
  3. Beat in the eggs, peanut butter, oil, vanilla extract, and water.
  4. Gently fold in the chocolate chips.
  5. Grease an 8-inch cake pan. Pour the batter in and spread it around the bottom into an even layer.
  6. Bake for 20 minutes until the outside is firm and bounces back to the touch.
  7. Let cool slightly before cutting in.

peanut-butter-chocolate-chip-cookie-cake-serving

I thought this could have used a little more sugar, but that’s probably because I love things sweet. If you’re making this for adults, it’ll be fine the way the recipe is. If you’re making this for little children or me, I would add a 1/4 cup of sugar to the recipe.

What Makes A Good Brownie Recipe

March 13th 073

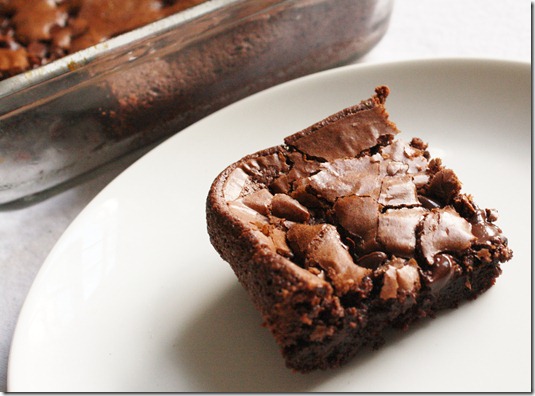
I’ve gotten a name for posting brownie recipes. I don’t think I post them that often, but there are plenty of worse things to be called than “Brownie blogger” so I’ll take it. I do love brownies(I don’t know who wouldn’t). And I’ve made them often enough to know a good brownie recipe from a bad one when I see it.

But first I should probably clarify what I mean by “good”, because with something like brownies that can be very subjective. A good brownie to me is dense and fudgy with a dark and complex flavor—not too sweet—, and not at all cakey. If I wanted something cakey I’d bake a cake. A good recipe could set even a novice baker up to making the best brownies of their life.
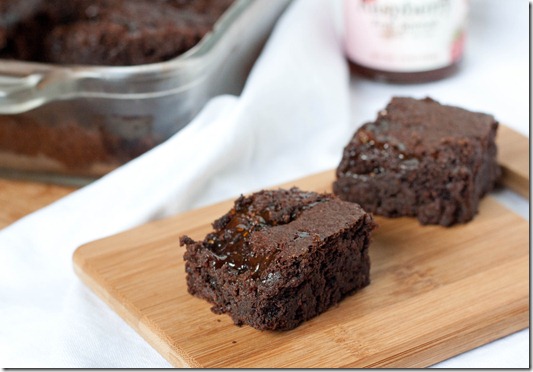
gluten-free-raspberry-swirl-brownies

A good brownie recipe should have melted chocolate in the batter. If a recipe only has cocoa powder but no melted chocolate, just keep looking. It’s not going to be as fudgy or dark a flavor without the cocoa butter.

A good brownie recipe should have butter. Real butter. Now, no offense to vegans because I love vegan baking, too. But butter really makes all the difference in the flavor of brownies. I’d stay clear of a recipe that uses all oil, margarine, or even applesauce or yogurt. It’s dessert; it’s not meant to be healthy.
IMG_0677

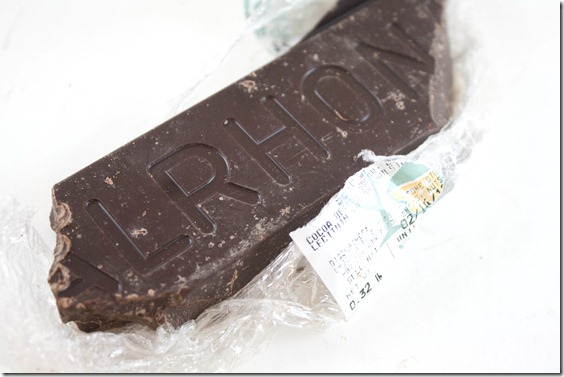
The quality of your chocolate/butter matter. One of the simplest things you can do to elevate any brownie recipe is use really good chocolate. Chocolate chips may work in cookies, but they aren’t really right for melting into brownie batter. A high quality baking chocolate is going to have a much better texture and flavor. I would recommend using whatever you would eat on its own(I say that as someone who regularly eats chocolate chips from the bag but let’s pretend I don’t). Some good brands I’d recommend that would make really impressive brownies are Scharffen Berger, Callebaut, and Valrhona. There are plenty others, too.

The butter also matters and is something often overlooked. A European butter or butter made from grass-fed cows has a much stronger flavor than something like Land O Lakes that comes through in the finished recipe. I suggest Kerrygold or Smor.

almond-flour-brownies

The flour matters. Brownies made with whole wheat flour are going to be tougher and cakier than ones made with cake flour, which is more refined. If you insist on a whole grain flour, look for pastry flour for something a little lighter. Better yet, skip the gluten altogether and bake gluten-free with almond flour, which doesn’t act as a binder and so won’t make your brownies tough. Avoid starchy gluten-free flours like coconut flour or garbanzo bean flour that will also make the brownies tough.
January 19th 050

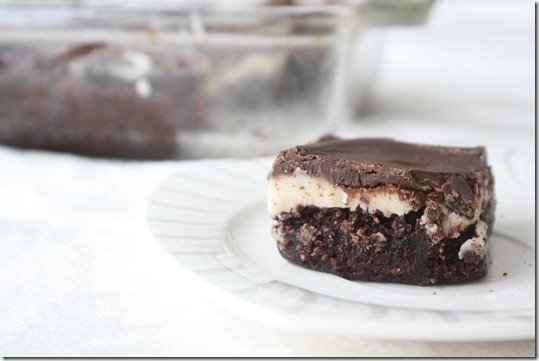
The little touches matter. Most brownie recipes will be improved with a little vanilla extract, some instant coffee granules, and a pinch of salt. Even if the recipe doesn’t call for any of those, don’t be shy to add them in and boost the flavor; you should always keep these on hand when baking with chocolate. And just because they’re brownies doesn’t mean they couldn’t use a frosting or ganache.

Did I forget anything? What makes your favorite brownie recipe the best brownie recipe?

On a completely separate note, this is the last weekend to vote in the Nutty About Yogurt contest hosted by Stonyfield Farm and Peanut Butter & Co. If you haven’t voted yet, I would really appreciate your vote for my muffin recipe. And you’ll be entered to win a Stonyfield and Peanut Butter & Co. prize pack, too.

Gluten-Free Raspberry Swirl Brownies

gluten-free-raspberry-swirl-brownies

I’m not really a fan of Valentine’s Day. There are so many other holidays I’d rather celebrate, like Arbor Day or the Ides of March. But if celebrating means baking and devouring delicious red and black brownies, then I will reluctantly celebrate.
gluten-free-raspberry-swirl-brownies-stack

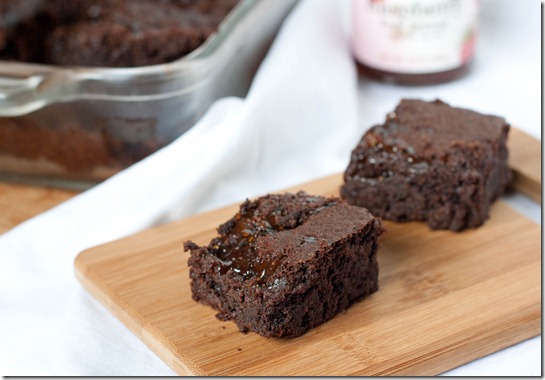
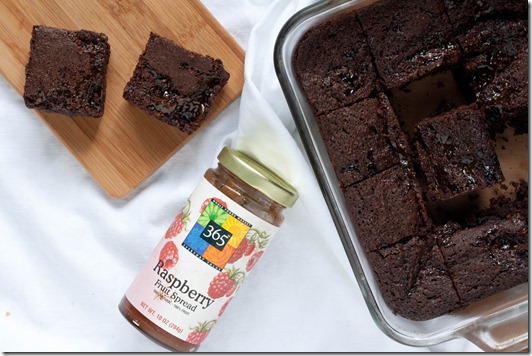
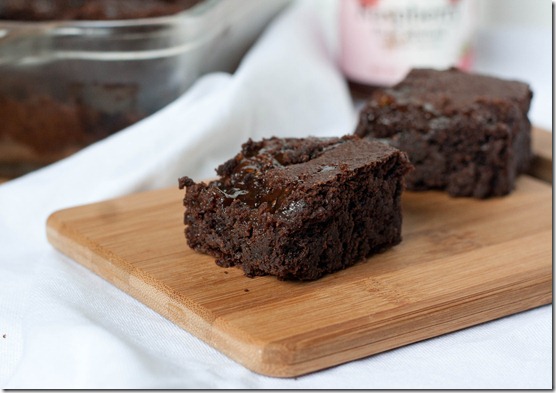
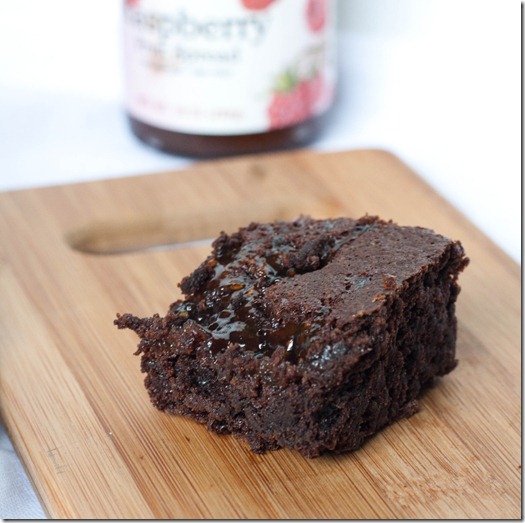
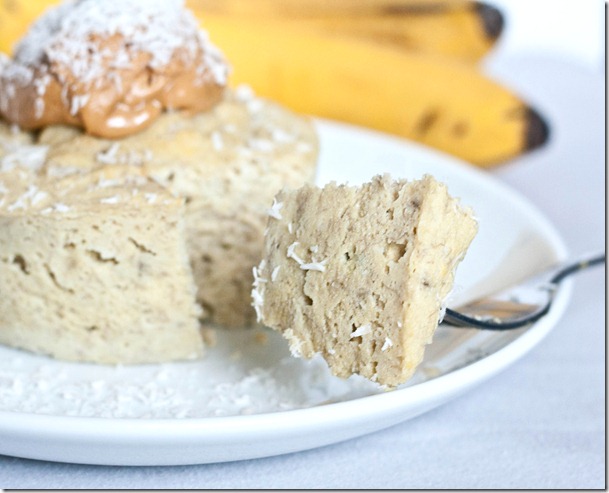
Starbucks used to(or maybe they still do?) sell these terrific fudgy brownies with raspberry sauce artfully swirled in on top and I would get them most days after school. I’d honestly choose raspberries and chocolate over peanut butter and chocolate most days; I think the pairing is that good.

gluten-free-raspberry-swirl-brownies-overhead

For this recipe, I just used my standard gluten-free brownie recipe and added in the raspberry preserves to elevate it to those Starbucks brownies. If you have a favorite brownie recipe—gluten-free or not—you can always use that and just follow the last couple of steps to add the raspberry in.

Gluten-Free Raspberry Swirl Brownies

Prep time: 15 minutes

Cook time: 30-40 minutes

Ingredients(Makes 1 8 x 8 pan):

  • 3/4 cup almond flour
  • 1/4 teaspoon salt
  • 2 tablespoons unsweetened cocoa powder
  • 1/2 teaspoon baking powder
  • 3/4 cup sugar
  • 3 large eggs
  • 1 teaspoon vanilla
  • 4oz baking chocolate
  • 1/2 cup butter
  • 1/2 cup raspberry preserves

gluten-free-raspberry-swirl-brownies-close-up

Method:

  1. Preheat your oven to 350 degrees.
  2. Mix together the almond flour, salt, cocoa powder, and baking powder.
  3. Beat in the eggs, sugar, and vanilla until mixed.
  4. In a separate bowl, melt together 4 ounces of chocolate along with the butter.
  5. Slowly pour the melted chocolate and butter into the batter while whisking until fully incorporated.
  6. Pour the batter in a greased 8 x 8 pan.
  7. Drop the raspberry preserves on top and swirl around lightly into the batter to cover most but not all of the top(If you want to do this more artfully than I did, put the jam into a plastic bag, cut off one of the corners and squeeze it into lines across the top of the brownies. Then run a knife along the top in lines perpendicular to the jam to create a swirl effect).
  8. Bake for 30-40 minutes or until a toothpick poked into the center comes out clean. Let these cool completely before cutting in.

gluten-free-raspberry-swirl-brownies-serving

OK, maybe Valentine’s Day won’t be so bad. So long as I get to eat all the brownies.

Coconut Flour Breakfast Bake

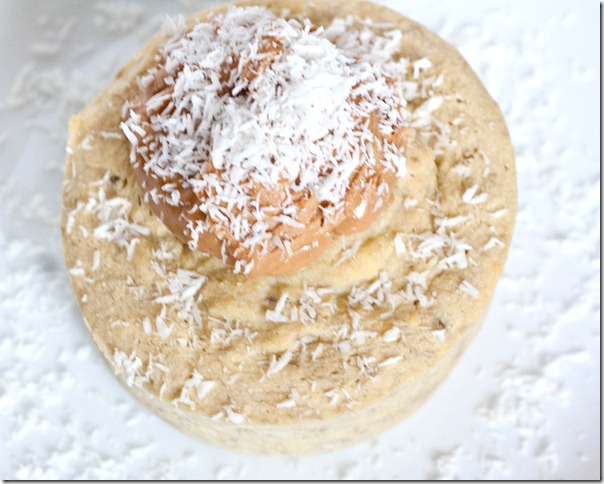
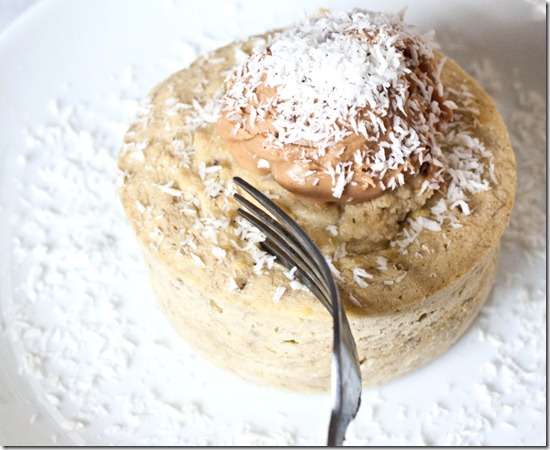
coconut-flour-breakfast-bakes

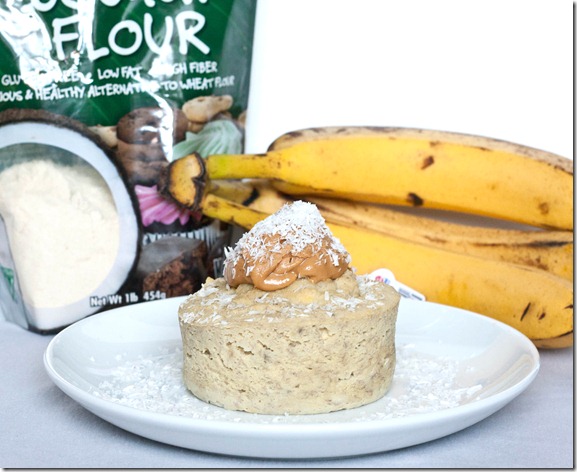
I’ve really come around to loving coconut flour over the past few months. At first I made vanilla cupcakes, then chocolate ones; then at some point I realized I needed to learn to make something else with coconut flour besides cupcakes or else I’m going to be having a lot of dessert. Since coconut flour is so healthy, I thought why not make a breakfast with it?

coconut-flour-breakfast-bakes-bite

2 Tablespoons of coconut flour have 6g of fiber and 3g of protein. That’s already more than most breakfast cereals. Combined with some eggs for extra protein, banana for sweetness(because the thought of starting my day with something savory makes me shudder), and nut butter for healthy fats it’s a really filling way to start the day. Besides, coconut and banana just belong together. And rum. But I’m not quite sure for breakfast.

I don’t actually bake these because I have a microwave that I love and use but if you were to bake these set the oven to 350 degrees and bake for 15 minutes or until the center has set.

Coconut Flour Breakfast Bake

Prep time: 5 minutes

Cook time: 3 minutes

Ingredients(For one serving):

  • 2 Tablespoons coconut flour
  • 2 or 3 eggs
  • 1 ripe banana, mashed
  • Pinch of salt
  • 1/2 teaspoon vanilla extract(optional)
  • 1/4 teaspoon lemon zest(optional)

coconut-flour-breakfast-bakes-garnish

Method:

  1. In a small bowl, mix together all of the ingredients you’re using into a smooth and even batter. If the batter is too thick, slowly add water until it’s mixable.
  2. Pour the batter into a 6oz or 8oz ramekin depending on the number of eggs you used.
  3. Microwave at high for 3 minutes.
  4. Remove from the microwave. Top with dried fruits, nuts, or nut butter. Enjoy hot or at room temperature.

coconut-flour-breakfast-bakes-slice

With 3 eggs and 2 Tablespoons of peanut butter, this has about 30g of protein, 11g of fiber, and plenty of healthy fats to fill up and let you focus on other things throughout your morning.

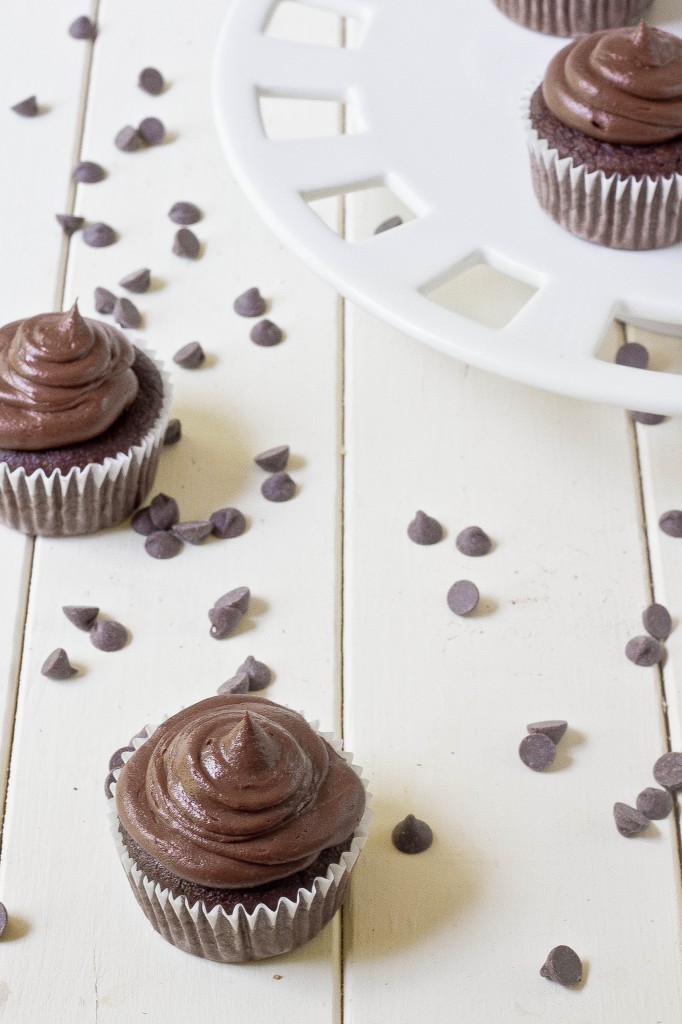
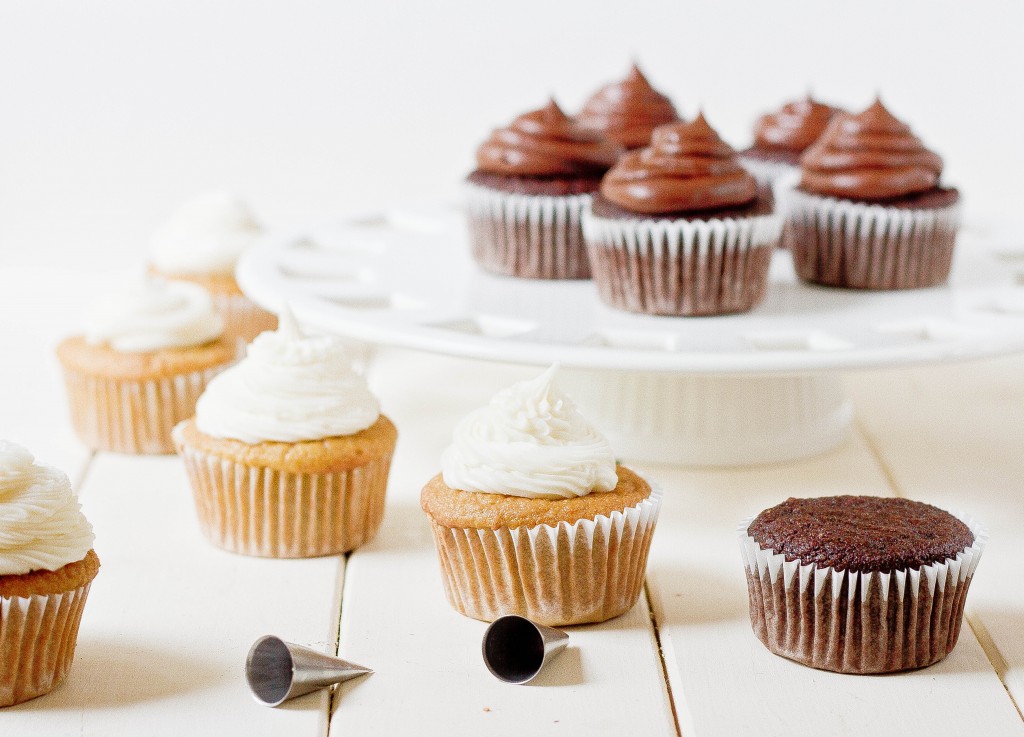
Paleo Chocolate Cupcakes

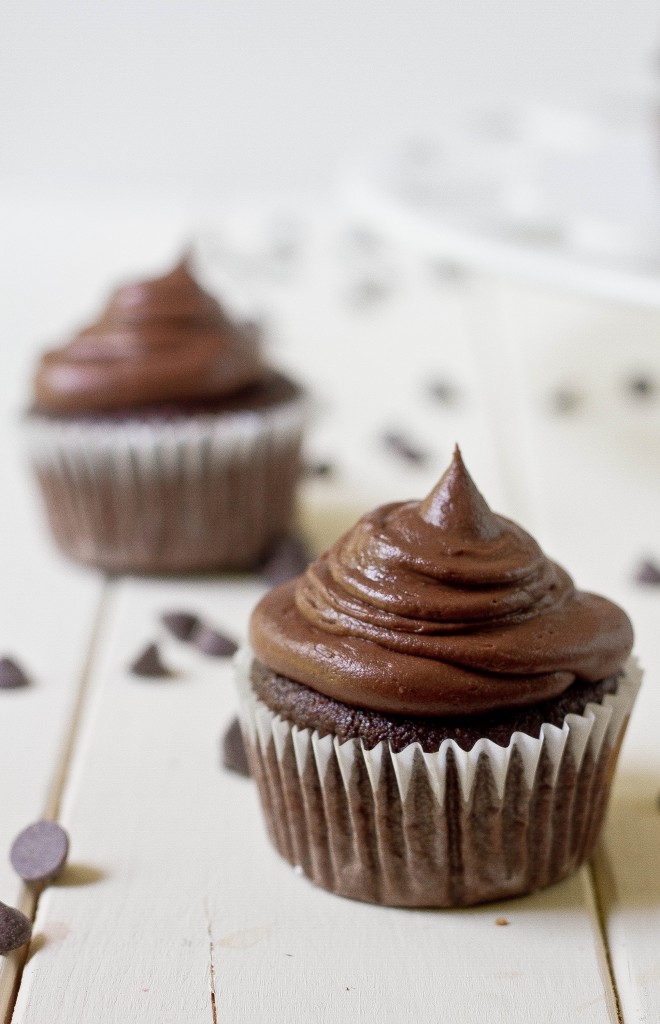
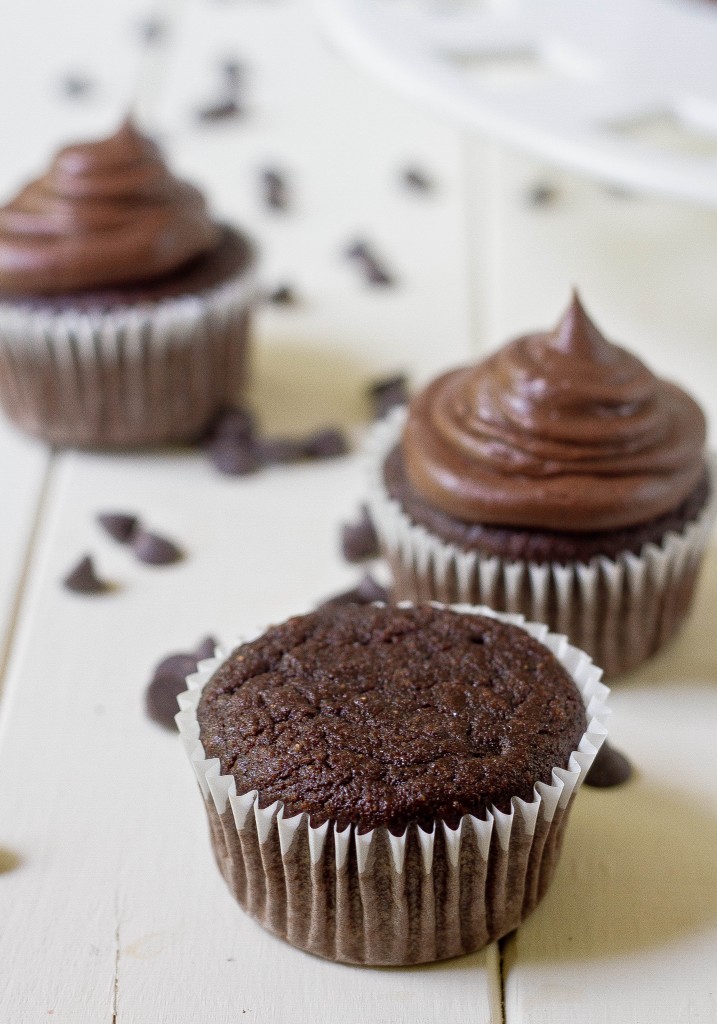
After the vanilla cupcakes were all gone, I was feeling empty inside. Well, not totally empty—just a little snackish. You know when you want something sweet but not anything really healthy. And since I still had my bag of coconut flour, I thought why not try some chocolate cupcakes?

These are just as good as the vanilla ones if you ask me. They do have a stronger taste of coconut, but I think it helps since the cocoa powder needs a fatty flavor to give it some chocolaty richness.

Paleo Chocolate Cupcakes

Prep time: 10 minutes

Cook time: 35 minutes

Ingredients(Makes a dozen cupcakes):

  • 1/2 cup +2 Tablespoons coconut flour
  • 4 eggs
  • 2 egg whites
  • 1/3 cup cocoa powder
  • 1/2 cup cane or palm sugar
  • 1 cup coconut milk
  • 1/2 teaspoon baking soda
  • 1 teaspoon vanilla extract

Method:

  1. Preheat your oven to 350 degrees and line 12 cupcake holders with paper liners.
  2. Mix together the coconut flour, eggs, egg whites, cocoa powder, sugar, coconut milk, baking soda, and vanilla extract in a large bowl.
  3. Slowly add just enough water so that the batter is slightly runny and easy to mix by hand without exerting too much effort.
  4. Scoop the batter evenly into the cupcake liners. Hit the pan against the counter a few times to even the batter and knock out any air bubbles.
  5. Bake for 30-35 minutes until the tops are firm to the touch.

If you like these cupcakes, you might like my paleo vanilla cupcake recipe.