Tag Archive: Baking

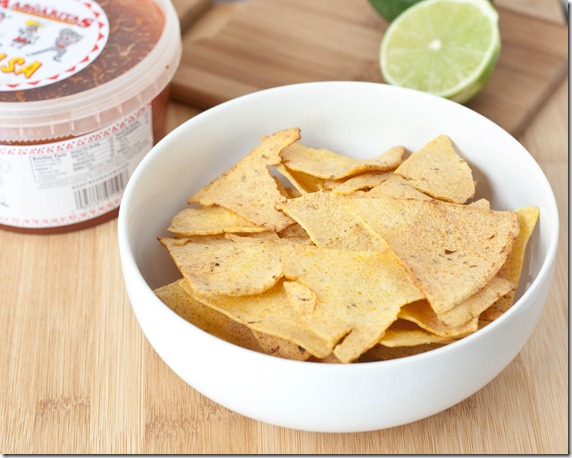
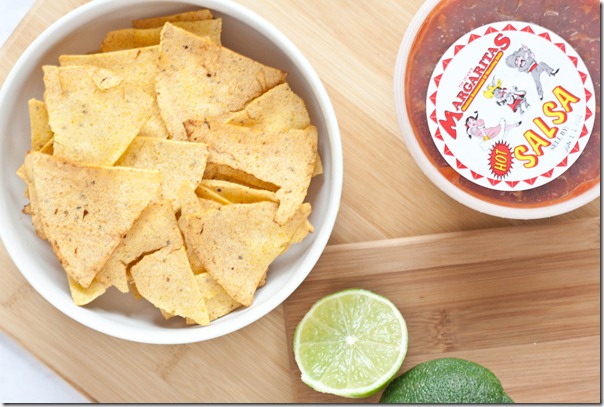
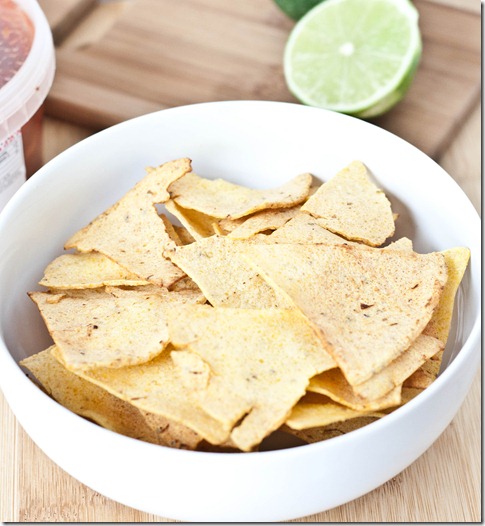
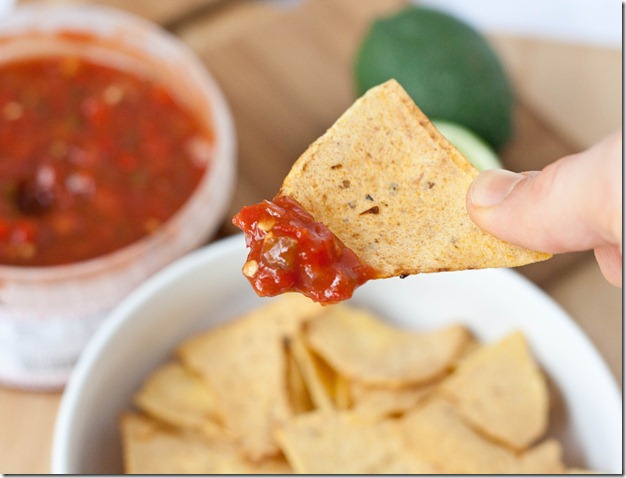
Homemade Lime Tortilla Chips

homemade-lime-tortilla-chips

One of my favorite snacks used to be tortilla chips “with a hint of lime”. You know the ones that were so salty it was borderline sickening but you couldn’t stop snacking on them? I assume they still sell those even though I haven’t shopped for them in ages. But one day it hit me: Why not make my own?

homemade-lime-tortilla-chips-salsa

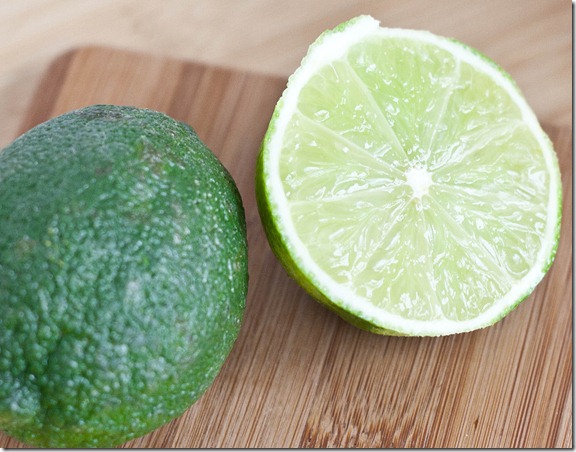
These aren’t made completely from scratch; to start you use corn tortillas, which you can get practically at any grocery store. They’re one of my new favorite things to pick up because they’re so versatile and naturally gluten-free. Besides that you just need some limes and a few other common pantry items.

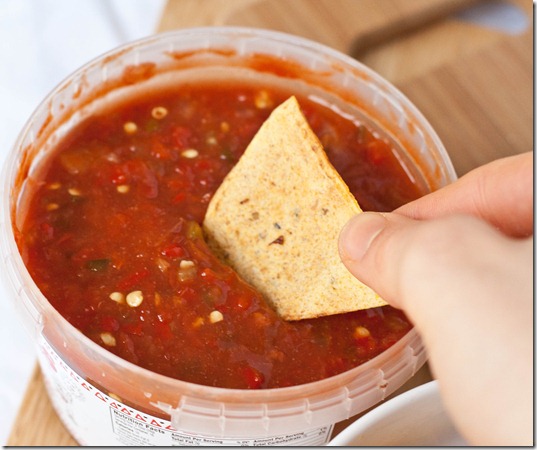
Because they’re baked, they’re also a little healthier than your average tortilla chip. They’re flavorful enough to be eaten on their on, or go really well with salsa or guacamole.

homemade-lime-tortilla-chips-limes

Homemade Lime Tortilla Chips

Prep time: 10 minutes

Cook time: 30 minutes

Ingredients:

  • 10 6-inch corn tortillas
  • 1 Tablespoon oil
  • 1/2 teaspoon salt
  • Zest from 1 lime
  • Juice from 1/2 lime(about 1 Tablespoon)

homemade-lime-tortilla-chips-over-head

Method:

  1. Preheat your oven to 350 degrees.
  2. Cut your tortillas into halves and then thirds.
  3. In a large bowl, toss all of the ingredients together until the chips are covered in juice.
  4. Lay the chips out on a baking tray lined with parchment paper. They don’t need to be in a single layer but do your best to keep overlap to a minimum.
  5. Bake for 25-30 minutes until the tortilla chips turn golden and are crisp.
  6. Remove them from the oven and pick the chips apart so that they don’t stick to each other. Serve hot with salsa or guacamole or on their own.

homemade-lime-tortilla-chips-finished-product

Next time I might add a bit of sugar to enhance the lime flavor since a little sugar is never a bad thing. Otherwise, I was really happy with these; they were extremely crisp and held up to dipping perfectly.

homemade-lime-tortilla-chips-dipped

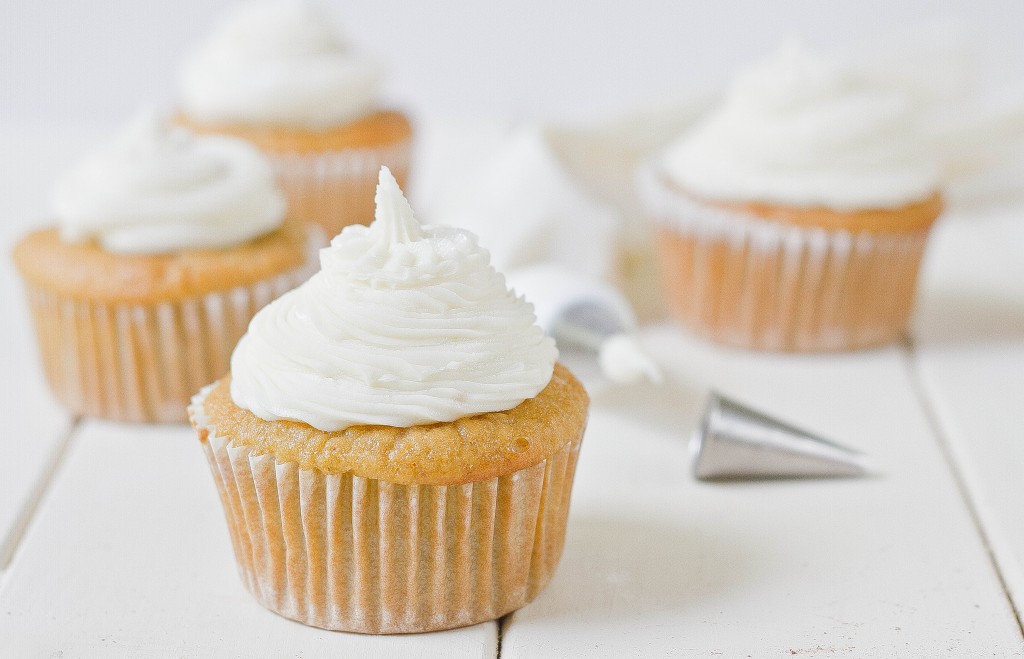
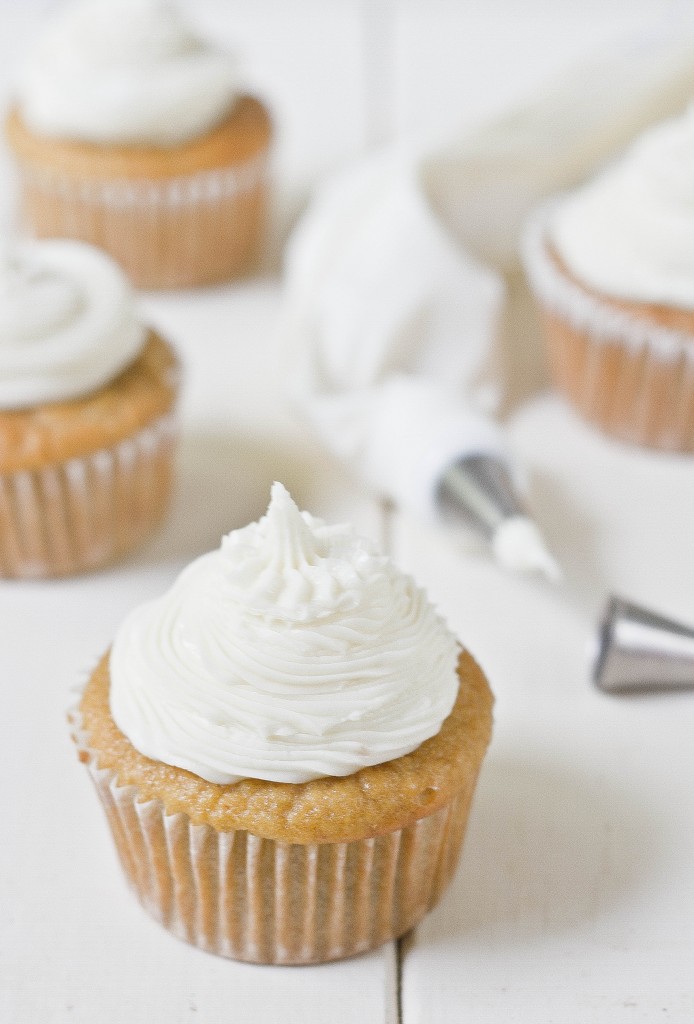
Paleo Vanilla Cupcakes

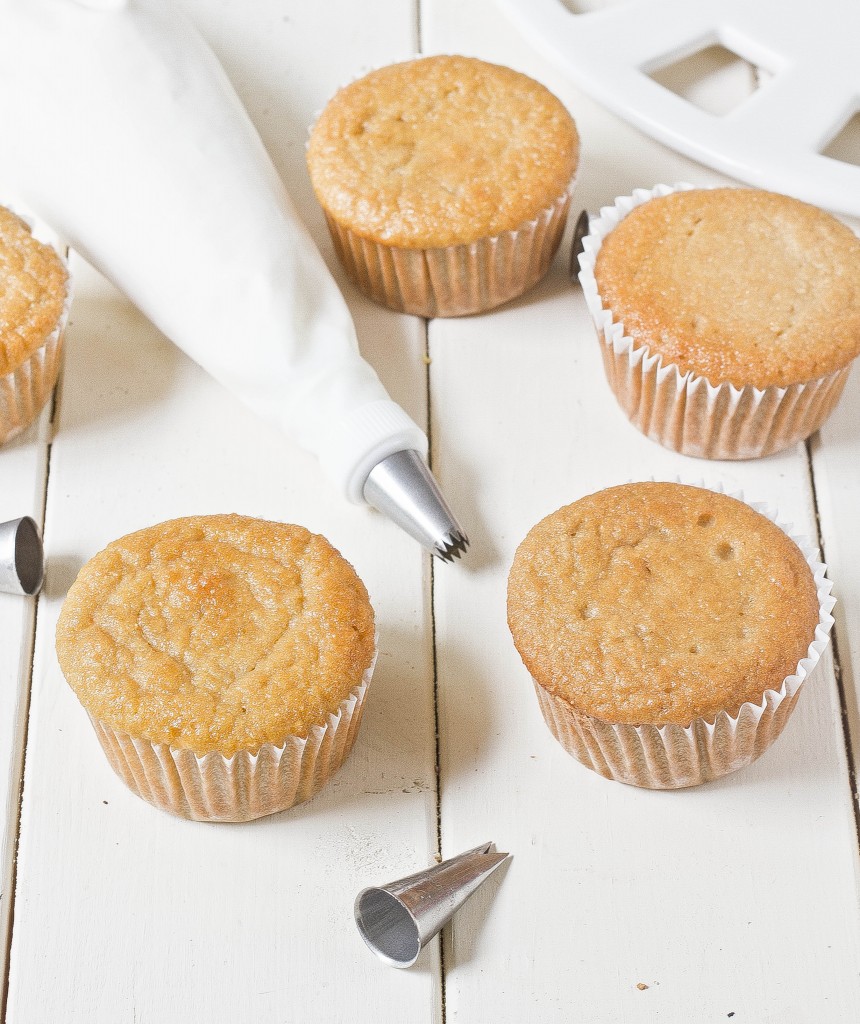
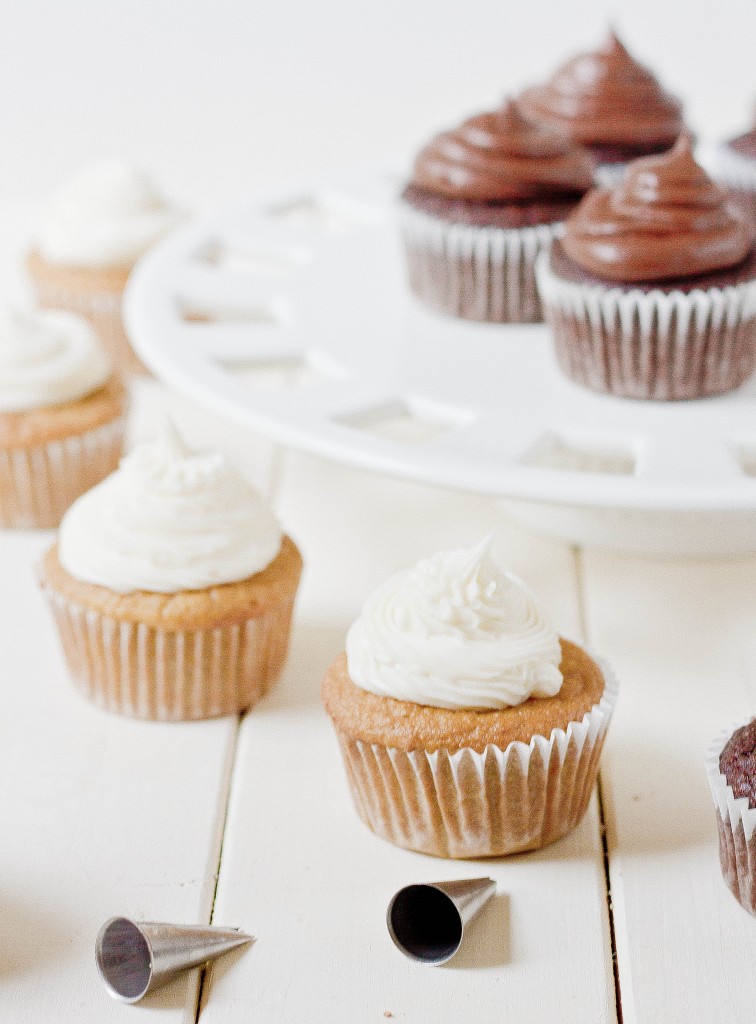
Last week was my parents’ anniversary. To celebrate I got them a cheesy present and made dessert; it’s what I do. I figured a cake would be a bit much for 3 people so I went with cupcakes using a secret ingredient I picked up last month at the store.

I’ve had coconut flour before but didn’t bake much with it. It’s really high in fiber so it makes a great cake batter. In most paleo recipes I’ve seen using it, the main structure comes from coconut flour and eggs so that’s what I copied.

The texture of these was perfect—very similar to angel food cake. Surprisingly there wasn’t much coconut flavor to them at all. You could swap any extract for vanilla and have a tasty cupcake I would bet. If you wanted to make these strictly paleo, substitute a low-glycemic sweetener like palm sugar in for the cane sugar.

Paleo Vanilla Cupcakes

Prep time: 10 minutes

Cook time: 30 minutes

Ingredients(Makes a dozen cupcakes):

  • 1/2 cup plus 2 Tablespoons coconut flour
  • 4 eggs
  • 2 egg whites
  • 1/2 cup cane sugar
  • 1 cup coconut milk
  • 2 teaspoons vanilla extract
  • 1/2 teaspoon baking soda

Method:

  1. Preheat your oven to 350 degrees and line a dozen cupcake holders.
  2. Combine all of the ingredients together in a large bowl and mix until it forms an even batter.
  3. Scoop equal amounts of the batter into each cupcake well.
  4. Bake for 25-30 minutes or until the tops are firm to the touch.
  5. Remove from the oven. Let the cupcakes cool completely before frosting them.

I cut the recipe in half when I made these and got 6 cupcakes, which was perfect because we’re only 3 people. It’s a really easy recipe that anyone starting out gluten-free baking could do without problem.

If you like this recipe, you might also like paleo chocolate cupcakes.

Chocolate Hazelnut Brownies

chocolate-hazelnut-brownies

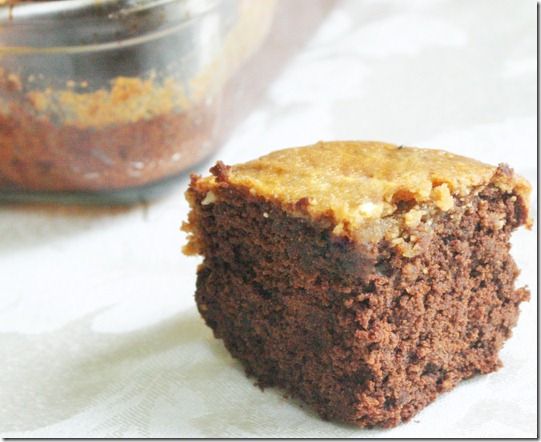
What better way to finish off a week than with chocolate? After I made chocolate hazelnut butter, my first thought was to make chocolate hazelnut brownies. For some reason, that sounded familiar; sure enough I looked back through the recipe pages to see that I made those last Winter. I made a few changes to the recipe this time around and took some higher quality photos to show you just how good these are.

chocolate-hazelnut-brownies-overhead

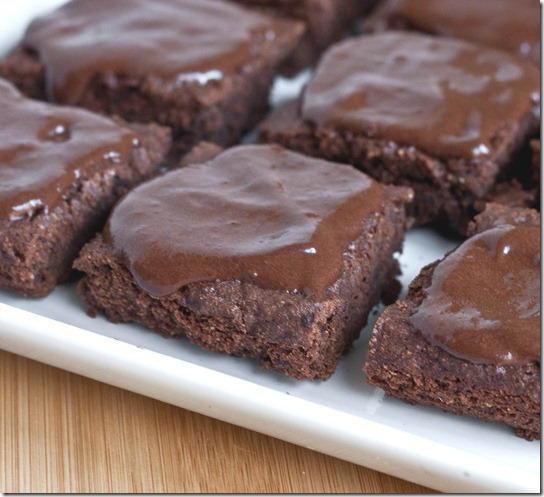
These brownies aren’t quite cakey but aren’t quite fudgy, either; they’re in between. You can use store-bought or homemade chocolate hazelnut spread. Since the recipe doesn’t call for eggs to begin with, these are really easy to make vegan; simply swap out the butter for non-dairy margarine and use water or a non-dairy milk for the liquid.

Chocolate Hazelnut Brownies

Prep time: 15 minutes

Cook time: 30 minutes

Ingredients(Makes 16 brownies):

  • 1/2 cup chocolate hazelnut spread
  • 1/4 cup room temperature butter
  • 3/4 cup cane sugar
  • 1 1/4 cups all-purpose flour(I used all-purpose gluten-free flour)
  • 1/3 cup cocoa powder
  • 1/4 teaspoon baking soda
  • 1/2 cup water or milk
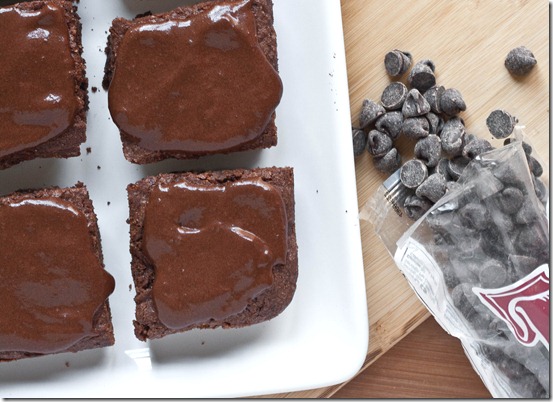
  • 1/4 cup + 1 tablespoon chocolate chips(optional)
  • 1/2 cup toasted hazelnuts(optional)

chocolate-hazelnut-brownies-mix-ins

Method:

  1. Preheat your oven to 350 degrees
  2. In a large bowl, cream the chocolate hazelnut butter, sugar, and butter together.
  3. Sift in the flour, cocoa powder, and baking soda.
  4. Pour in your liquid and mix until the batter comes together uniformly.
  5. Fold in any chocolate chips or hazelnuts you might be using.
  6. Grease an 8×8 baking pan and press the batter in in an even layer.
  7. Bake for 28-30 minutes until a toothpick inserted into the center comes out clean.
  8. Take out of the oven and let cool completely before cutting in.

chocolate-hazelnut-brownies-serving

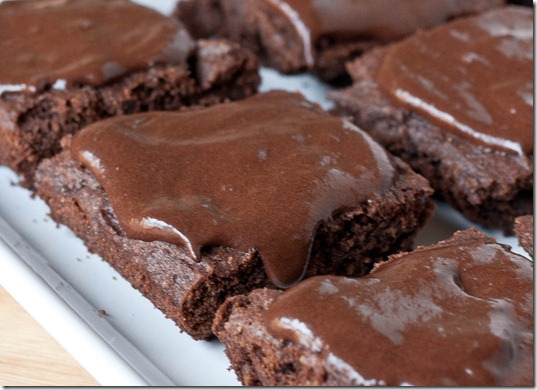
I didn’t add hazelnuts or chocolate chips into the batter and since that felt a little boring I gave these a chocolate icing to make them a little more special. Mission accomplished.

Classic Peanut Butter Cookies

IMG_8377

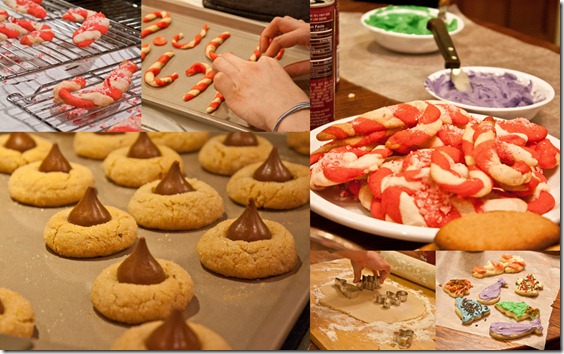
Last week I got together with old friends for an annual cookie baking party. Good company, tons of sugar, and frosting—what’s not to love?
Lightroom Photos2

For my part I offered to bring peanut butter and make peanut butter cookies. The hostess knows I’m allergic to wheat and when she asked what we could make that was gluten-free, this recipe popped into my mind because of how simple and crowd-pleasing it is; who doesn’t love peanut butter cookies?
…Well, probably people who are allergic to peanut butter, but thankfully no one there was. If you are allergic to peanut butter, you can easily substitute almond butter or sunflower seed butter in these for a similar taste and texture.

Classic Peanut Butter Cookies

Prep time: 10 minutes

Cook time: 12 minutes

Ingredients(Makes 24 cookies):

  • 2 cups salted peanut butter
  • 2 eggs
  • 1 1/2 cups sugar
  • 1 teaspoon vanilla extract
  • 1 teaspoon baking powder

IMG_8298

Method:

  1. Preheat your oven to 350 degrees.
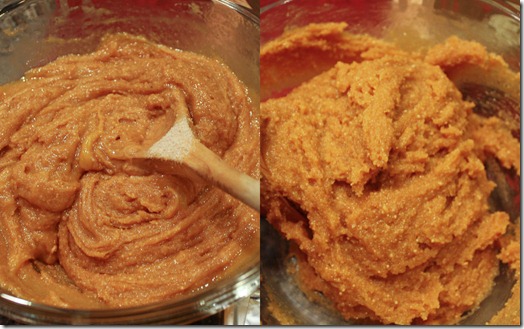
  2. Mix together all of the ingredients in a large bowl until the dough is thick and sticks to itself.
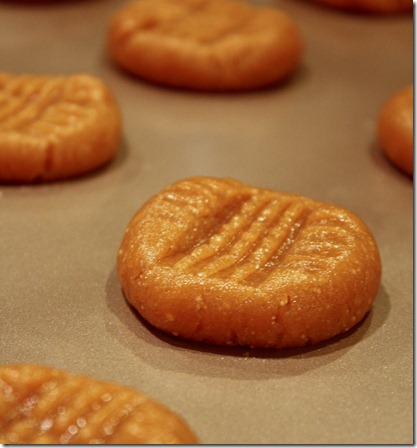
  3. Break about an ounce of dough off and roll it into a ball in between your hands. Place on a non-stick cookie tray and press down lightly with a fork in a criss-cross pattern. Repeat with all of the dough.
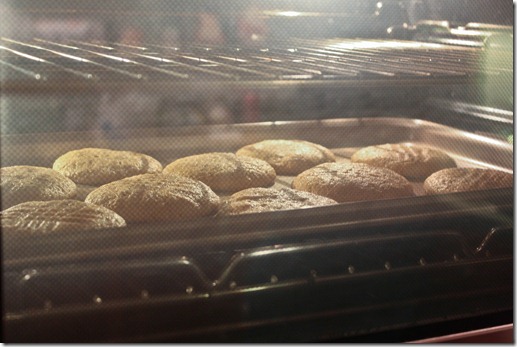
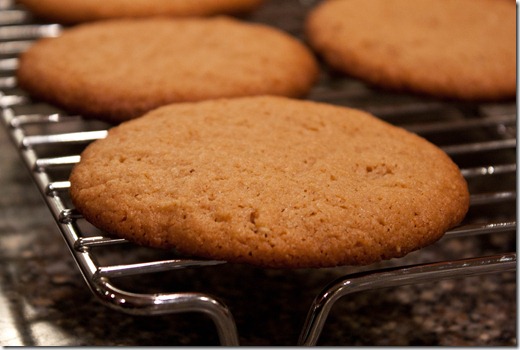
  4. Bake for 12-15 minutes until the edges begin to darken. Remove from the oven and let them cool on a wire rack until the outside has crisped.
  5. Store at room temperature in a sealed container for up to a week.

IMG_8307

IMG_8314

Mine came out a little flat, probably because I didn’t measure any of the ingredients and only looked at the recipe after the fact. Oh well, they still tasted great, and there was definitely no shortage of cookies that night.

Lightroom Photos

Peanut Butter Buttercream Sandwich Cookies

peanut-butter-buttercream-sandwich-cookies

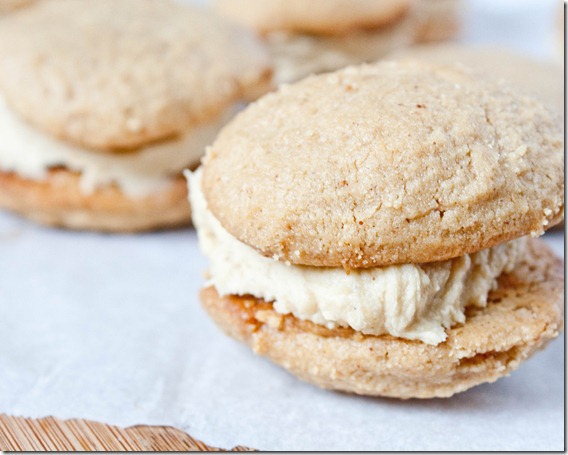
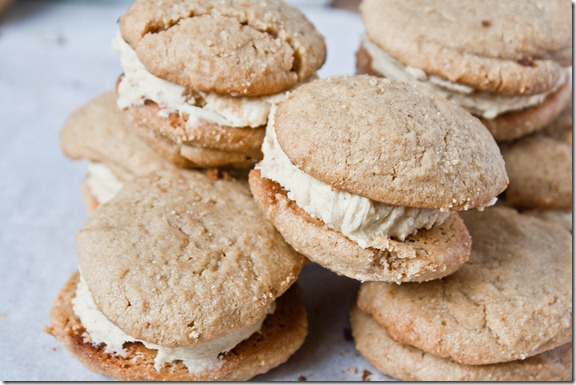
Like I’ve said before, I’m not a big cookie fan. I’m a frosting person. I was the kid who would break apart an Oreo or maple leaf cookie, lick out the inside, and put the cookie halves back in the box. You can’t imagine how much that thrilled my parents.

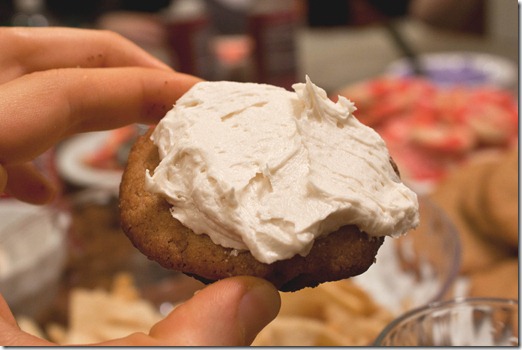
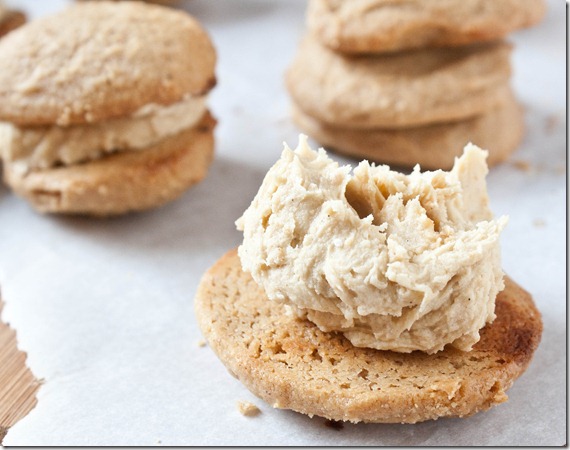
I was going to fill these with a soft chocolate ganache, but since the cookies are rather unsweet on their own I thought a sweeter filling would contrast nicely and let all the flavors show. Because of that I went with my favorite kind of frosting: Buttercream. The filling is rich, sweet, and creamy adding a whole new level to the cookies.

peanut-butter-buttercream-sandwich-cookies-filling

I give a suggested recipe for the cookies to use but you can really do this with any cookie recipe. Again, this is really easy to make vegan by simply substituting a dairy-free margarine for the butter.

Peanut Butter Buttercream Sandwich Cookies

Prep time: 5 minutes

Cook time: 0 minutes

Ingredients(Makes 9 sandwich cookies):

  • 1 batch peanut butter cookies
  • 3 Tablespoons no-oil added peanut butter
  • 3 Tablespoons butter, room temperature
  • 3/4 cup powdered sugar
  • 1 1/2 teaspoons vanilla extract

peanut-butter-buttercream-sandwich-cookies-stacking

Method:

  1. Cream together the peanut butter, butter, powdered sugar and vanilla extract until it makes a smooth and thick buttercream.
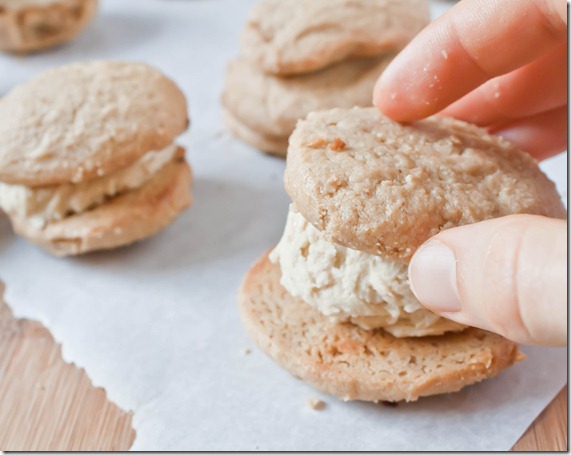
  2. Scoop 1 tablespoon of buttercream onto the flat side of a cookie and sandwich together with an equally sized cookie. Repeat until all of the cookies and frosting are gone.

peanut-butter-buttercream-sandwich-cookies-pile

Egg-Free Peanut Butter Cookies

egg-free-peanut-butter-cookies

Well I made it 4 days into December before breaking down and making Christmas cookies. I couldn’t hold up to the pressure any longer.

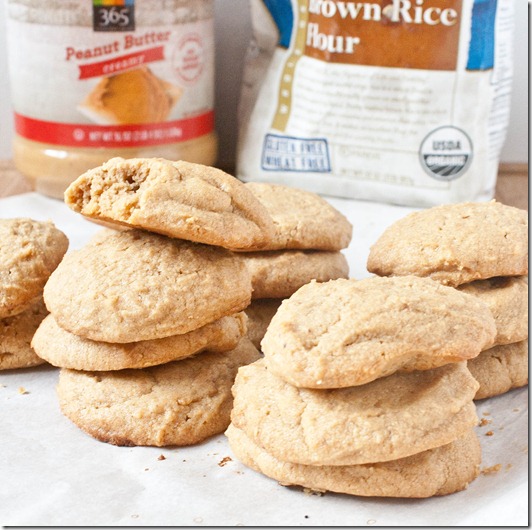
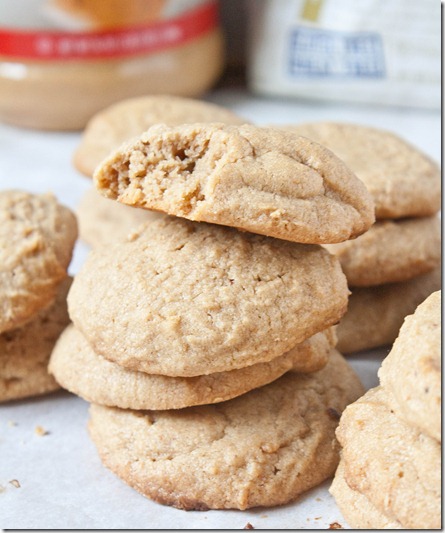
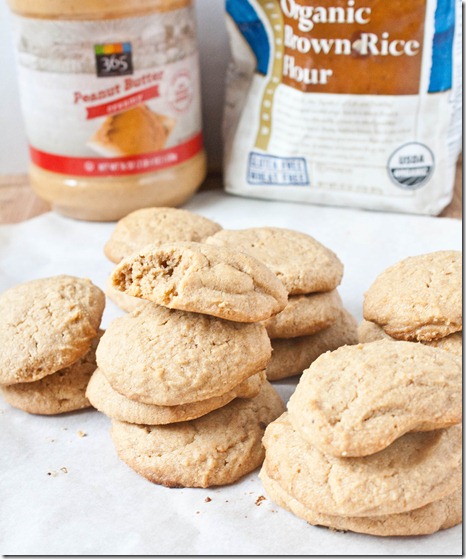
The truth is I’m not the biggest cookie fan. I have my favorites(like peanut butter cookies) but on the whole would rather have something else. One cookie I love is the peanut butter cookie from Wildflour Bakery which is gluten-free and vegan. It’s so sweet and soft and falls apart in your mouth. I thought I might try to make a cookie like theirs; this isn’t nearly the same, but I like it in its own respect which is why I’m posting the recipe. It’s less sweet but much more peanut buttery; it almost tastes like eating a spoonful of peanut butter in cookie form.

This recipe can easily be made vegan by using a dairy-free butter substitute. I would not recommend subbing in coconut oil for the butter in a 1:1 ratio because they do not act the same in baking and I can’t say for how it would turn out.

Egg-Free Peanut Butter Cookies

Prep time: 30 minutes

Cook time: 16-18 minutes

Ingredients(Makes about 1 1/2 dozen cookies):

  • 1 cup no-oil added peanut butter
  • 1/4 cup butter
  • 3/4 cup maple syrup
  • 3/4 cup brown rice flour
  • 1/4 cup tapioca starch(or corn starch)

egg-free-peanut-butter-cookies-stack

Method:

  1. Preheat your oven to 350 degrees and line a couple baking trays with parchment paper.
  2. Beat together all of the ingredients. Put the batter in the refrigerator of freezer to harden until you can handle the dough and roll it into balls.
  3. Once the dough has reached that stage, scoop the dough and roll it into balls. Place the balls about 2 inches apart on the baking trays.
  4. Bake for 16-20 minutes until the outside is golden. The cookies will still be very soft to the touch when they’re done.
  5. Remove the cookies from the oven and let them cool completely before handling. As they cool, the outside will harden up and make them less fragile.
  6. Store sealed in an airtight container at room temperature when not eating.

egg-free-peanut-butter-cookies (2)

Graham Cracker Peanut Butter Bars With Dark Chocolate Ganache

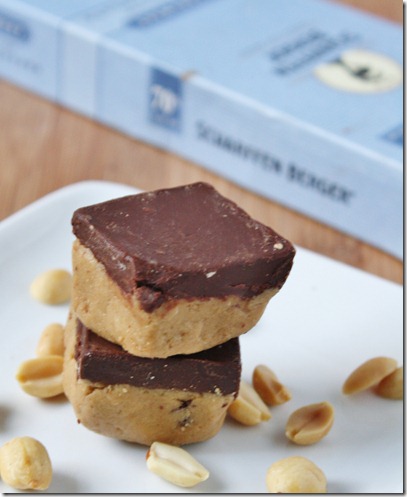
Graham-Cracker-Peanut-Butter-Bars-With-Dark-Chocolate-Ganache

I’m sorry that the name for this recipe is such a mouthful that you’ll probably finish half the batch before you say it. More accurately I’d call these “White Chocolate Peanut Butter Graham Cracker Bars With Dark Chocolate Ganache” but with a name like that you’d have to come up for air at some point.

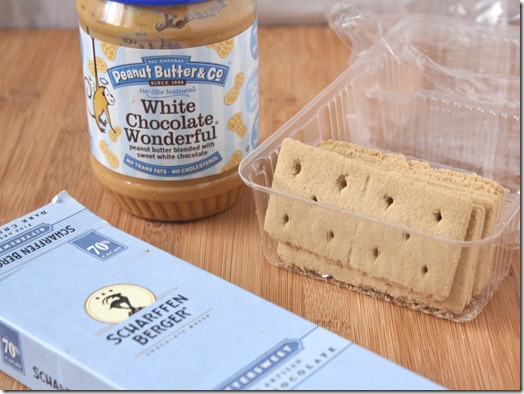
Graham-Cracker-Peanut-Butter-Bars-With-Dark-Chocolate-Ganache-ingredients

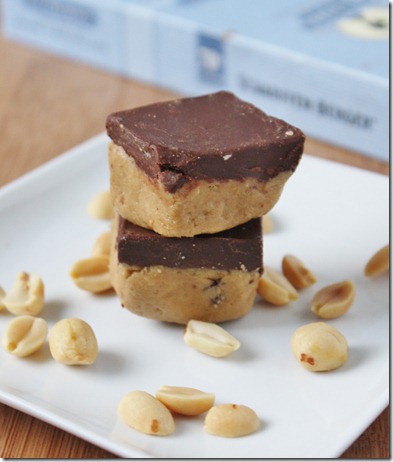
This recipe is made with a few of my favorite things. PB&Co.’s White Chocolate Wonderful is one of the best vegan “white chocolate” anything I’ve ever had. It actually tastes like white chocolate without any dairy. For the ganache, I used Scharffen Berger’s 70% baking chocolate, which is delicious and smooth to eat both on its own and in recipes. You can taste the quality in it and—I warn you—it’s addicting stuff.

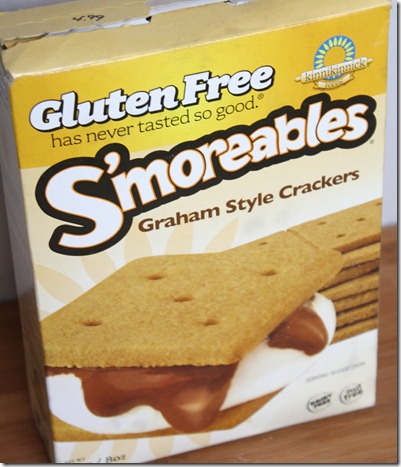
Normally, when I make peanut butter bars I use this recipe which is naturally gluten-free. However I’ve seen a lot of peanut butter bar recipes that use graham crackers as a binding(most recently this one) and I figured if so many people are doing it there must be something to it, right? So I broke out the ol’ gluten-free graham crackers and got cooking. I didn’t expect to like these as much as I do. The earthy spices in the graham crackers pair really well with the sweet and nutty peanut butter and add a pleasantly crunchy texture.

Graham Cracker Peanut Butter Bars With Dark Chocolate Ganache

Prep time: 15 minutes

Cook time: 0 minutes

Ingredients(Makes 18 1-inch squares):

*You can use any peanut butter so long as it’s the no-stir kind. If you want the white chocolate flavor but don’t have White Chocolate Wonderful, use 1/2 cup of natural peanut butter mixed with 3 Tablespoons melted white chocolate.

**This is easy to make at home. Simply pulse 9 sheets of graham crackers in a food processor until it makes a smooth flour.

Graham-Cracker-Peanut-Butter-Bars-With-Dark-Chocolate-Ganache-graham-crackers

Method:

  1. Gently melt the butter and 1/2 cup peanut butter either in the microwave or over the stove until it’s smooth and liquid.
  2. Once the ingredients are melted, sift in the powdered sugar and pour in the graham cracker crumbs and mix it together until emulsified.
  3. Grease a 3×8 loaf pan and press the peanut butter mixture into the pan in an even layer.
  4. In the microwave or over the stove, melt together the remaining 2 Tablespoons of peanut butter and chocolate. Once they’re melted, mix them together.
  5. Pour the ganache over the peanut butter layer and refrigerate until hardened(at least 30 minutes).
  6. 10 minutes before serving, remove these from the refrigerator to soften. Once soft, gently cut into 1-inch squares with a sharp knife and serve. Leftovers can be stored in the refrigerator for up to a week.

Graham-Cracker-Peanut-Butter-Bars-With-Dark-Chocolate-Ganache-beauty-shot

One of my favorite things about recipes like these is that they’re so easily adaptable for different allergens. I made mine gluten-free simply by using gluten-free graham crackers. To make them vegan you can use a dairy-free margarine in place of the butter and make sure to use vegan graham crackers.

Almond Flour Pumpkin Bread

almond-flour-pumpkin-bread

Christopher Columbus discovered America.

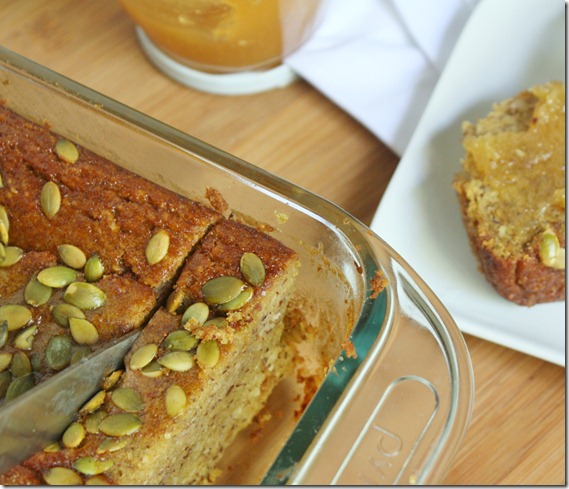
I discovered that you can make a moist and delicious pumpkin bread that’s gluten and grain-free. Not to belittle Mr. Columbus’ achievement, but I think that’s pretty damn good.

almond-flour-pumpkin-bread-cutting

Maybe I’m just a little too excited because I wasn’t sure this could be done. A few hours before I pulled this loaf out of the oven, it was literally just a bunch of almonds and a whole pumpkin. Not pumpkin puree. Not almond meal. Just the raw ingredients.

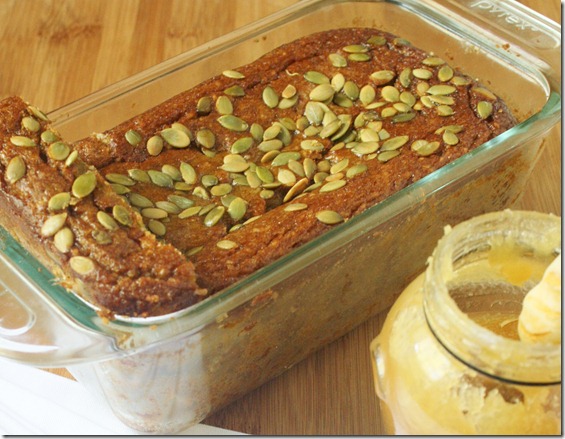
After roasting + pureeing the pumpkin and grinding the almonds, I threw these ingredients together and hoped for the best. Luckily, the best is what I got. This pumpkin bread is sweet, soft, moist(I hate that word but it really is) and spicy. It’s one of the best pumpkin breads I’ve had ever; it just happens to be gluten-free.

Almond Flour Pumpkin Bread

Prep time: 10 minutes

Cook time: 75 minutes

Ingredients(Makes 1 loaf):

  • 2 cups almond flour
  • 3/4 cup brown sugar
  • 3/4 cup pumpkin puree
  • 4 eggs
  • 6 Tablespoons oil
  • 1/4 cup tapioca starch(or corn starch)
  • 1/4 cup water
  • 1/2 teaspoon baking powder
  • 1/2 teaspoon cinnamon
  • 1/4 teaspoon nutmeg
  • 1/4 teaspoon cloves
  • 1/4 teaspoon ginger
  • pepitas to garnish(optional)

almond-flour-pumpkin-bread-smeared

Method:

  1. Preheat your oven to 350 degrees.
  2. Add all of the ingredients except for the pepitas into a large bowl and mix until fully combined. Stir extra well to ensure there aren’t any clumps.
  3. Grease a medium-sized loaf pan and pour the batter in.
  4. Bake for 75 minutes or until the center is cooked through.
  5. Remove and let cool for an hour before removing from the pan.

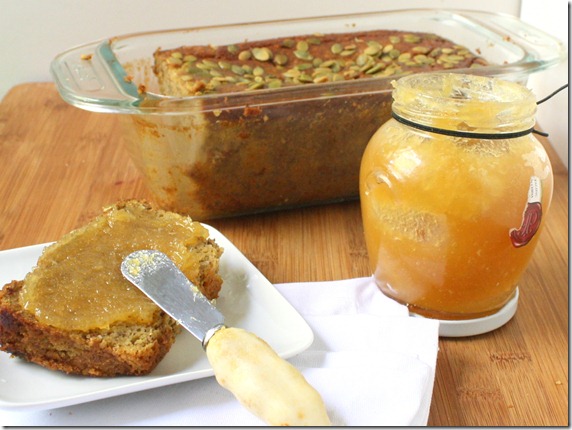
almond-flour-pumpkin-bread-loaf

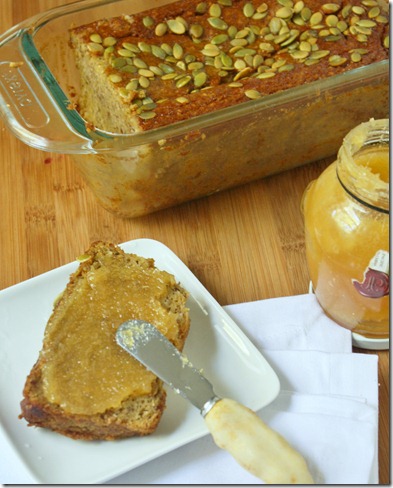
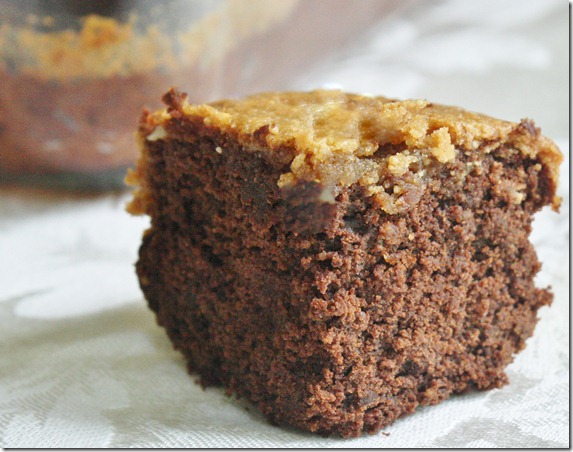
On top I spread a little(or a lottle) ginger jam. Have you seen this stuff? It’s made by Ginger People; it’s basically crystallized ginger made into a jam, and it’s heaven. A little goes a long way, though, which is why that jar has lasted me almost 2 years. This would also be good with pumpkin butter, cream cheese, peanut butter, or plenty of other spreads.

Chocolate Peanut Butter Swirl Brownies

The last time I posted was 5 days ago. There’s a reason for my absence. I spent all week in Philadelphia at the Healthy Living Summit living it up with some great friends. I learned and did so many things in Philly that I can’t wait to share. But not yet. I got home late last night and my head(and bedroom floor) are currently a mess.

chocolate-peanut-butter-swirl-brownies

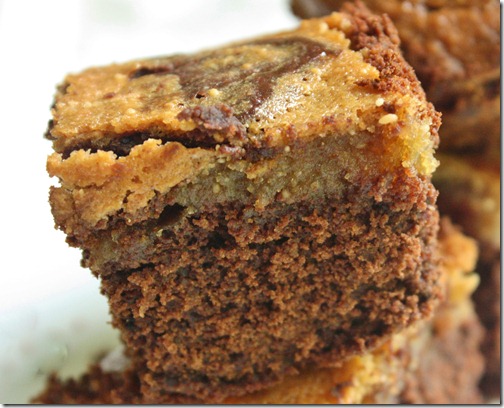
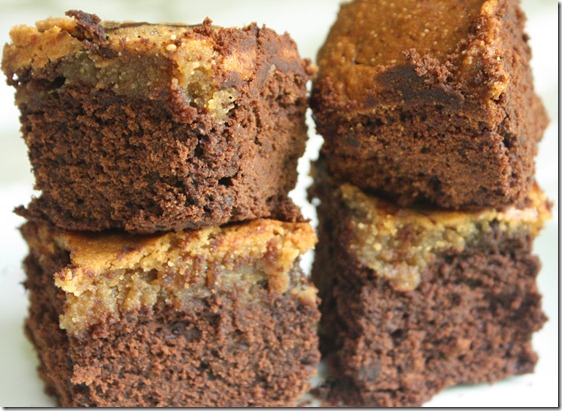
One thing I can share is this brownie recipe. Like the almond flour brownie recipe, I baked these and packed them up to bring to Philly and share with bloggers. Most of all I was excited to share these with Cynthia, who also has food allergies(gluten, soy, almond, hazelnut, refined sugar, and dairy). I didn’t have a recipe that avoided all of those allergens, so I made one up and said a little prayer. At first I worried they came out too cakey for my preference, but one taste and I was sold. The only question remaining was how would other people like them.

Capture

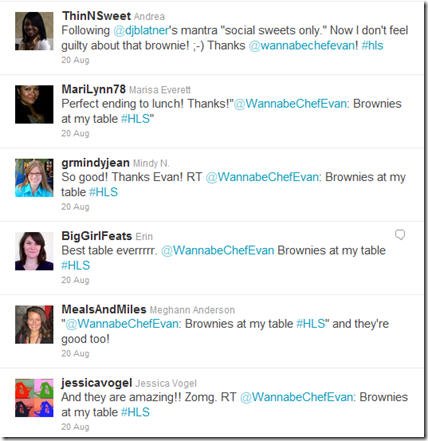
The response to these was overwhelming. As soon as I tweeted out, the brownies started selling like hotcakes(but way better because they’re brownies, duh). Cynthia really enjoyed them, as did Meghann, Julie, and too many other bloggers to count. I don’t care how good food tastes; nothing feels as good as sharing it with others. 

If you’re baking for someone with a peanut or tree nut allergy, sunflower seed butter makes a great substitute for peanut butter.

chocolate-peanut-butter-swirl-brownies-top

Chocolate Peanut Butter Swirl Brownies

Prep Time: 20 minutes

Cook Time: 40 minutes

Ingredients(makes 16 brownies):

  • 4.5oz unsweetened baking chocolate(I used Scharffen Berger because it’s soy-free)
  • 1 3/4 cups maple syrup, divided
  • 1 cup unsweetened peanut butter, divided
  • 1/4 teaspoon baking powder
  • 1/8 teaspoon salt
  • 1 cup all-purpose flour(I used Bob’s Red Mill gluten-free all purpose flour)
  • 1/4 cup cocoa powder
  • 3 eggs
  • 1/3 cup water

chocolate-peanut-butter-swirl-brownies-stack

Method:

  1. Preheat your oven to 350 degrees.
  2. Melt the chocolate and whisk in 1 1/4 cup maple syrup and 1/2 cup peanut butter. Set aside.
  3. In a large bowl, sift together the baking powder, salt, flour, and cocoa powder. Whisk in 2 eggs and 1/3 cup of water.
  4. Mix the chocolate-peanut butter mixture into flour and eggs until completely combines. Pour this into a greased 8×8 baking pan. If the batter is too thick to pour, add extra water until it’s runny but still thick.
  5. Make the peanut butter part by whisking together the remaining maple syrup, peanut butter, and egg.
  6. Pour the peanut butter mixture on top of the brownies and lightly swirl the two batters together a couple times, making sure not to over mix them.
  7. Bake for 40 minutes or until a cake tester inserted in the center comes out clean.
  8. Cool completely before cutting.

chocolate-peanut-butter-swirl-brownies-slice

Make sure to share these after making them. That way they’ll taste all the better.

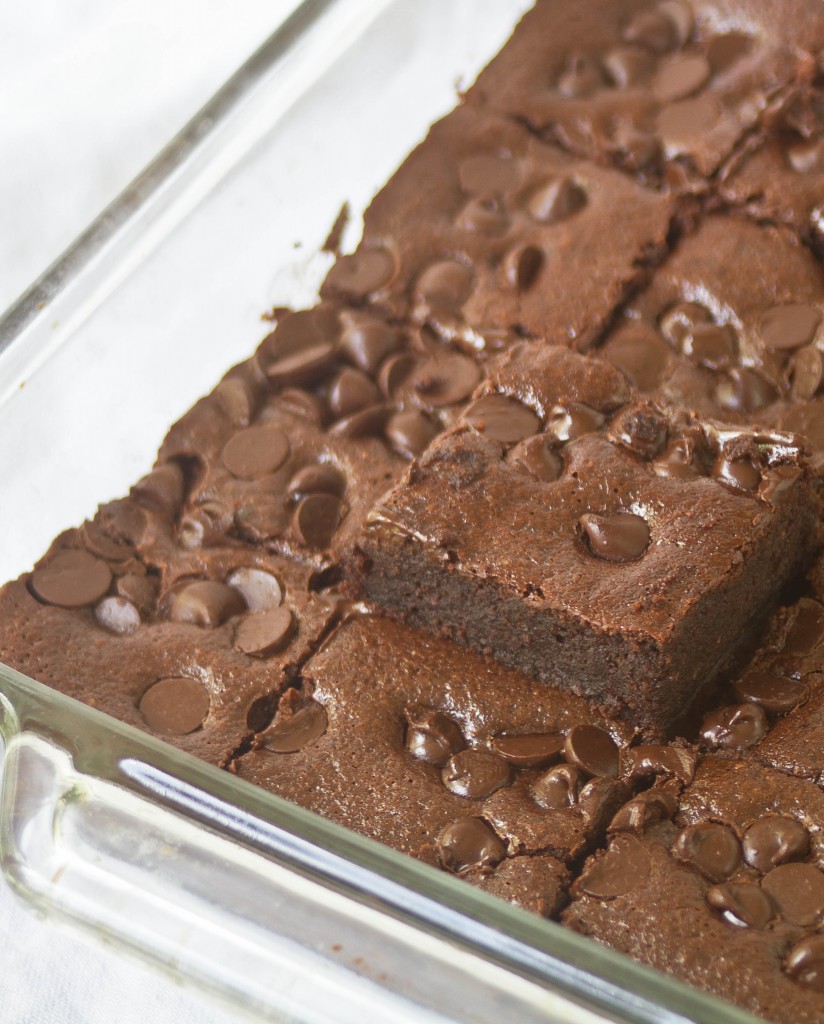
Almond Flour Brownies

This week I made brownies for the first time in months. MONTHS. Who am I? The thing is these aren’t even for me; I’m still trying to get in better shape for marathon training. The last thing I need on my plate(literally) is brownies.

I’m not saying I didn’t steal a taste, but as soon as these were cooled, cut, and photographed I sealed them up to bring to the Healthy Living Summit to share with friends and this girl for hosting me for a night. If you’re going, too, please find me and say hi. I’ll be the one trying to buy friends with brownies.

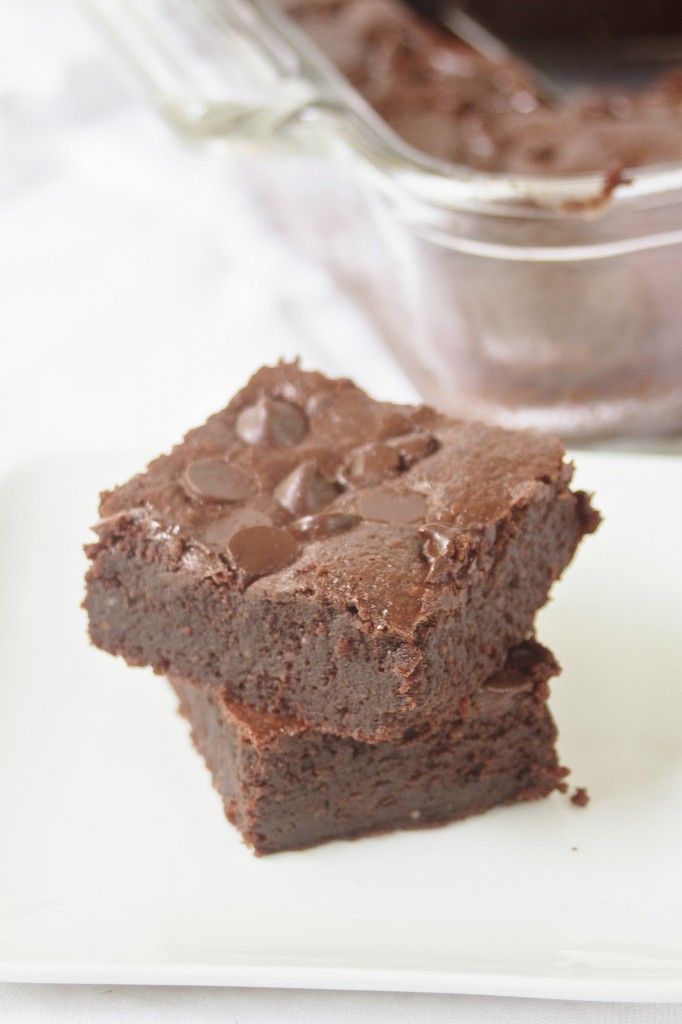
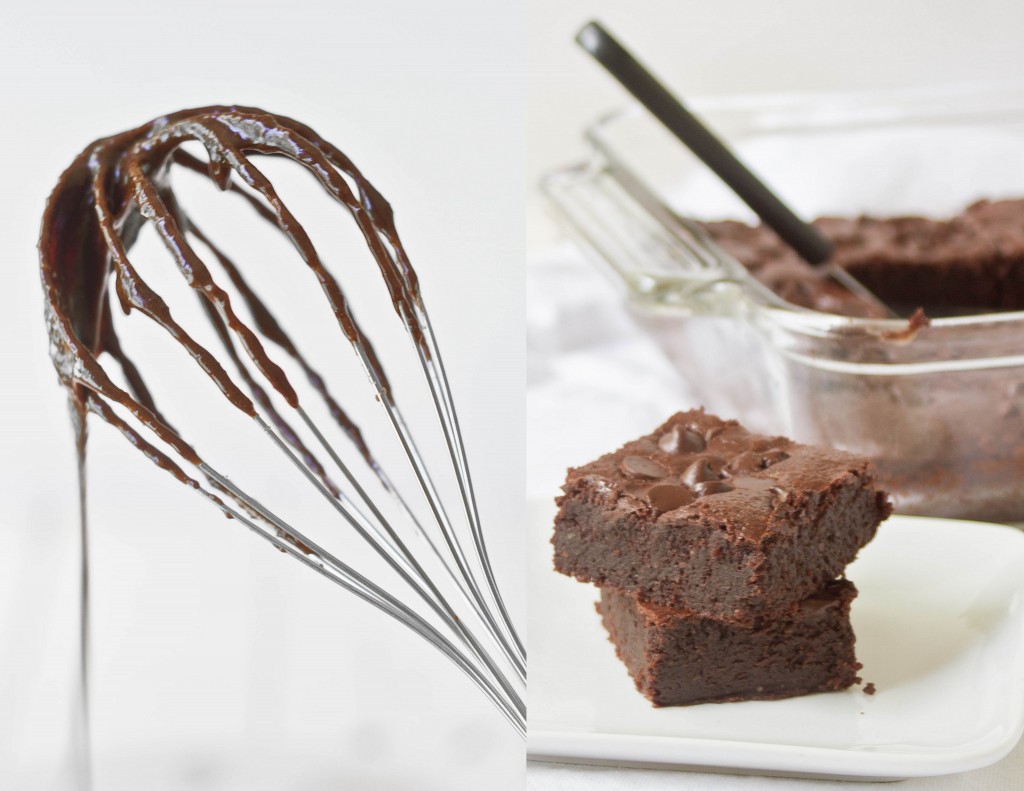
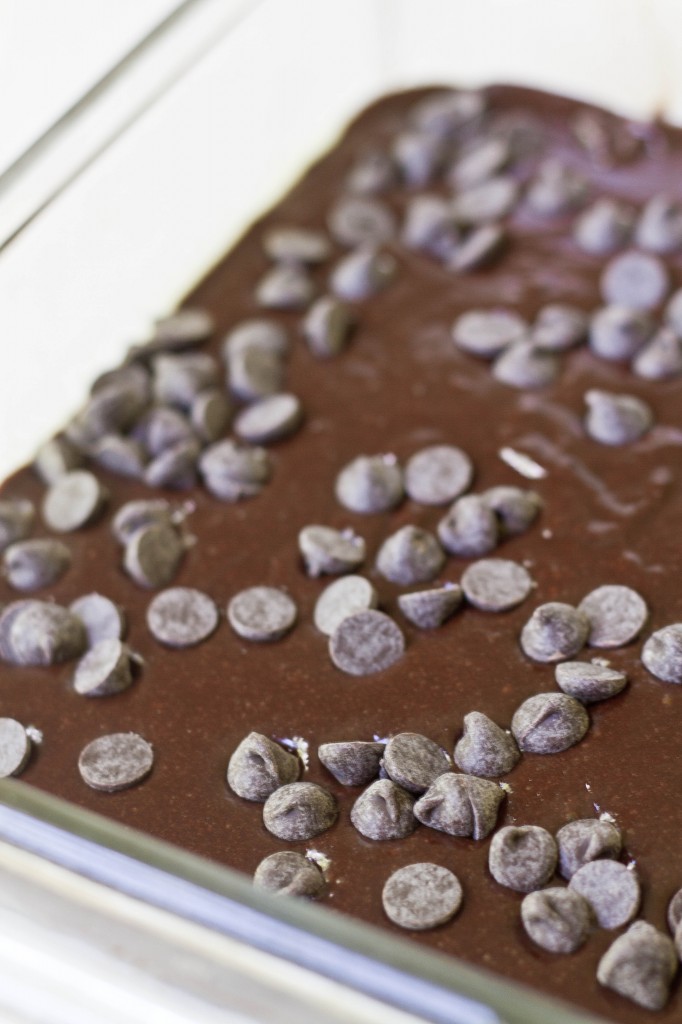
 I made these by modifying my outrageous triple chocolate brownies recipe and—dare I say?—I like these better. Cooked they taste the same but the raw batter is much more delicious since it doesn’t have that funky gluten-free flavor to it. And it requires no special flour/starch blend, just plain old almond flour. Since I always keep these ingredients on hand, I can tell this will be my new go-to brownie recipe. 

Almond Flour Brownies

Prep time: 15 minutes

Cook time: 30 minutes

Ingredients(Makes 1 8 x 8 pan):

  • 3/4 cup almond flour
  • 1/4 teaspoon salt
  • 2 tablespoons unsweetened cocoa powder
  • 1/2 teaspoon baking powder
  • 3/4 cup sugar*
  • 3 large eggs
  • 1 teaspoon vanilla
  • 1 teaspoon instant coffee granules(optional)
  • 1/2 cup butter
  • 7oz semisweet or bittersweet baking chocolate, divided OR 3/4 cup chocolate chips

*You can replace the cane sugar in this recipe with 1/2 cup + 2 Tablespoons of liquid sweetener like maple syrup, honey, agave, or corn syrup. 

Method:

  1. Preheat your oven to 350 degrees.
  2. Mix together the almond flour, salt, cocoa powder, and baking powder and set aside.
  3. In a separate bowl, melt together 4 ounces of chocolate or a scant 1/2 cup chocolate chips with the butter.
  4. While the chocolate is melting, beat together the eggs, sugar, vanilla and coffee granules if using.
  5. Slowly pour the melted chocolate and butter into the egg/sugar mixture while whisking until fully incorporated. Don’t go too fast so that the raw eggs don’t cook upon contact.
  6. Add the chocolate mixture in with the dry ingredients and mix completely.
  7. Pour the batter in an 8 x 8 pan.
  8. Sprinkle the top with the remaining chocolate and gently press it into the batter.
  9. Bake for 30 minutes or until a toothpick poked into the center comes out clean. Let these cool completely before cutting in.

The first time I made these I took them out of the oven after only 25 minutes. 2 hours later I cut in to a gooey and basically raw center. Oops. I stuck them back into the oven and—of course—got distracted, baking them a little too long and burning the tops of the ones towards the back. The lesson is bake as I say, not as I do.