Tag Archive: Baking

Divine White Chocolate Raspberry Brownies

Divine White Chocolate Raspberry Brownies

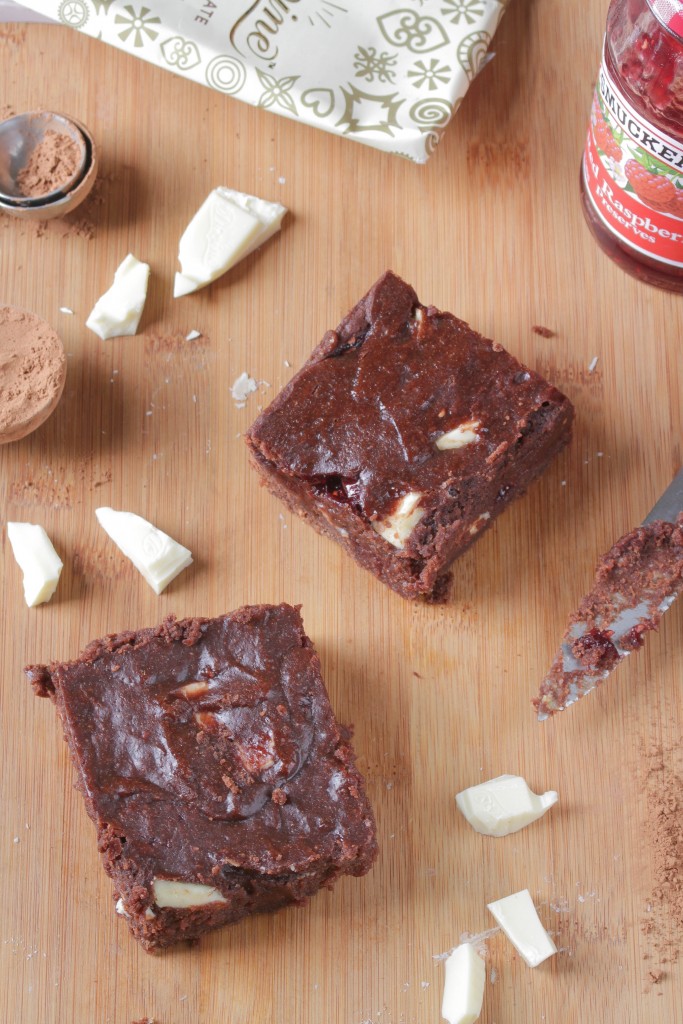
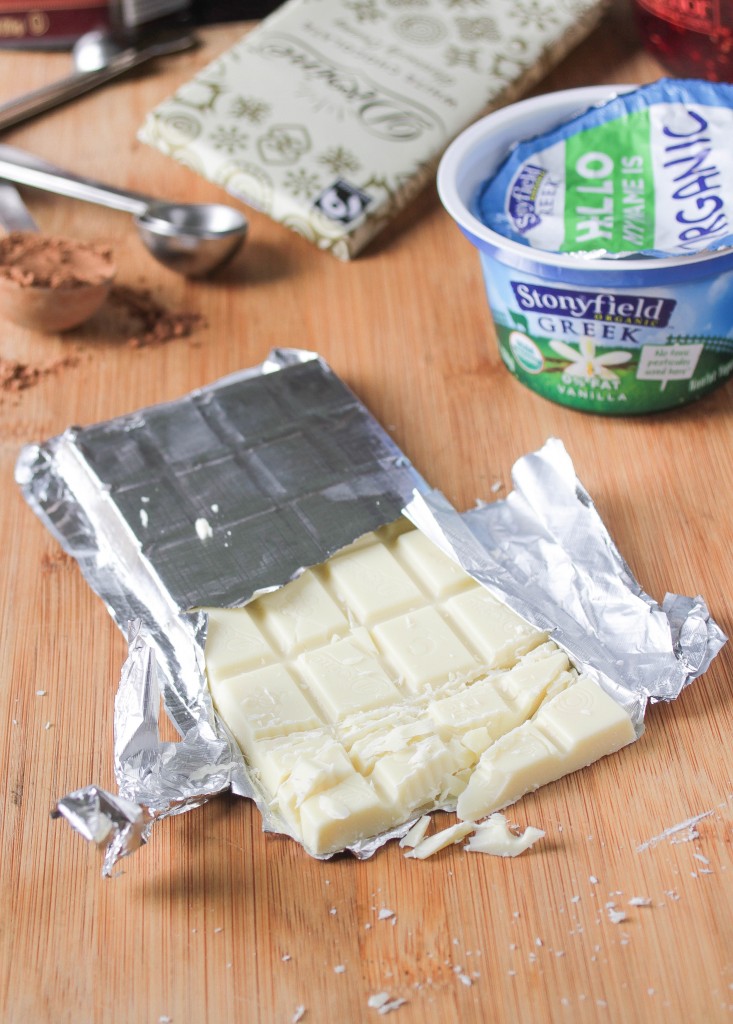
The best part of Valentine’s Day is undoubtedly the chocolate, so I was excited when Stonyfield asked their bloggers to make a dessert that paired yogurt with Divine chocolate. Yogurt’s a great addition in brownies to replace some fat and keep them moist. Like the chocolate, these brownies will melt in your mouth. 

My local grocery store only had Divine’s white chocolate in stock. White chocolate can be difficult to bake with because cheaper brands melt of burn but the chocolate chunks came out smooth and full of flavor. Spreading the jam in a layer in the middle instead of mixing it into the batter adds a little bit in every bite. 

Divine White Chocolate Raspberry Brownies

Divine White Chocolate Raspberry Brownies

Prep time: 15 minutes

Cook time: 35 minutes

Ingredients(Makes 1 8 x 8 pan):

  • 1 1/3 cup all-purpose or gluten-free flour
  • 1/2 cup unsweetened cocoa powder
  • 1/2 teaspoon baking powder
  • 3/4 cup sugar
  • 2 large eggs
  • 1 5.3oz Stonyfield vanilla greek yogurt
  • 1 3.5oz Divine White Chocolate bar, roughly chopped
  • 1/2 cup vegetable oil
  • 1/2 cup raspberry jam
  • 2 Tablespoons water

Method:

  1. Preheat your oven to 350 degrees.
  2. Mix together the flour, cocoa powder, baking powder, and sugar.
  3. Beat in the eggs, Stonyfield yogurt, oil, and 2 Tablespoons of jam.
  4. Add in the chopped chocolate and mix. 
  5. Pour half of the batter in a greased 8 x 8 pan.
  6. Mix the remaining raspberry jam with 2 Tablespoons of water. Spread the jam over the top of the brownie batter covering all parts.
  7. Add the rest of the batter layered on top of the jam. 
  8. Bake for 30 minutes or until a toothpick poked into the center comes out clean. Let these cool completely before cutting in.

Easy Lemon Buttercream

Easy Lemon Buttercream

One of the best parts about living in NYC is that there are now vending machines where you can get cupcakes. It’s dangerously convenient for anyone. They have 1 gluten-free option, a red velvet with cream cheese frosting, that’s completely delicious. That being said, who can live with just one flavor?

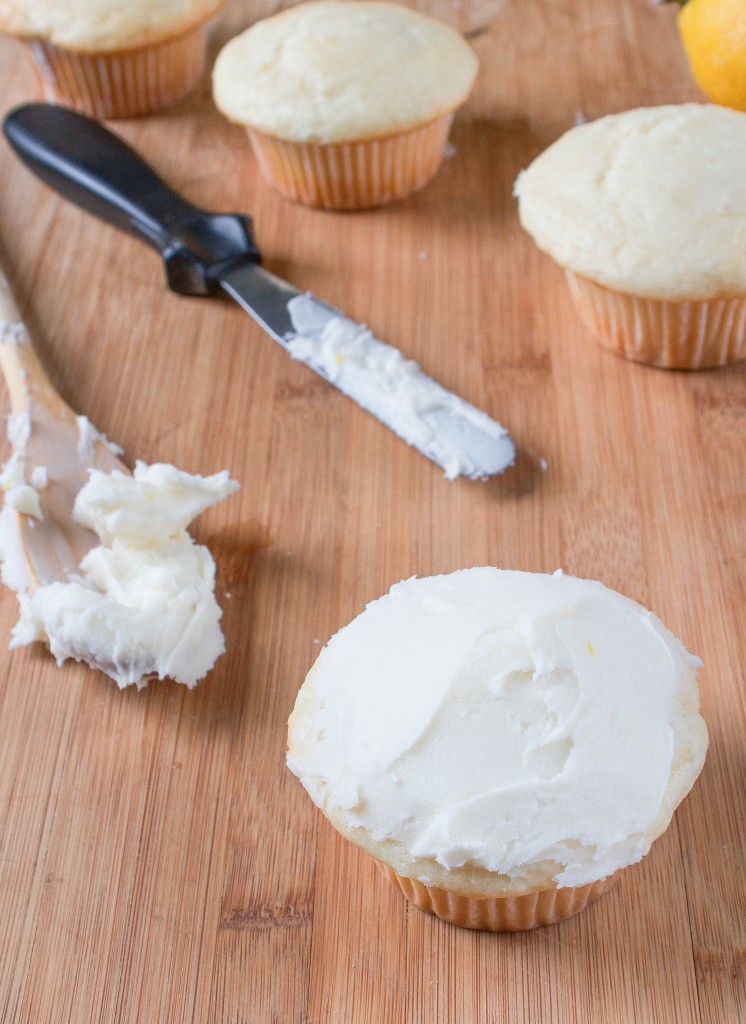
When my birthday rolled around a few weekends ago I made these cupcakes a few days early to bring into work–just a premade vanilla cake mix, coconut milk instead of whole milk, and shredded coconut and lemon zest added in. 

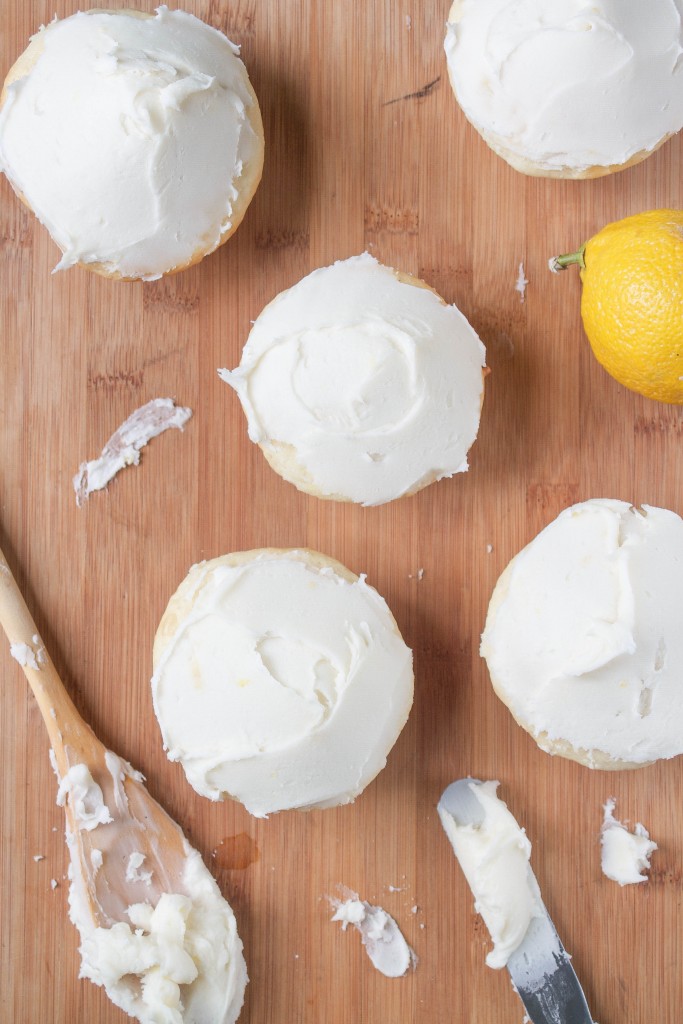
The frosting I made was from scratch but came out just as easy and delicious. Using vanilla extract and lemon zest gives it an extra layer of flavor that you’ll want to lick off the bowl. 

Easy Lemon Buttercream

This frosting works well with any number of lighter-flavored cupcakes. You can try it on cupcakes with vanilla, coconut, berries, or even white chocolate.

Easy Lemon Buttercream

Prep time: 15 minutes

Cook time: 0 minutes

Ingredients(Makes enough for 18 cupcakes):

  • 1 stick butter, room temperature
  • 2 1/4 cup powdered sugar, sifted
  • 1/2 teaspoon vanilla extract
  • 1 1/2 Tablespoons whole milk or half & half
  • 1 teaspoon finely zested lemon

Method:

  1. In a large bowl, combine all of the ingredients. Make sure to use an extra fine zester with the lemons to avoid chunks in the frosting. 
  2. Beat with an electric beater until mixed and the frosting’s smooth and silky. If the powdered sugar stops mixing in, add milk by the teaspoon until it reaches the right consistency.
  3. Frost using a frosting spreader or a pastry bag. If you’re using a pastry bag, add an extra teaspoon of milk before beating to make the frosting smoother and easier to squeeze out. 

Almond Butter Granola Snackers

Almond Butter Granola Snackers

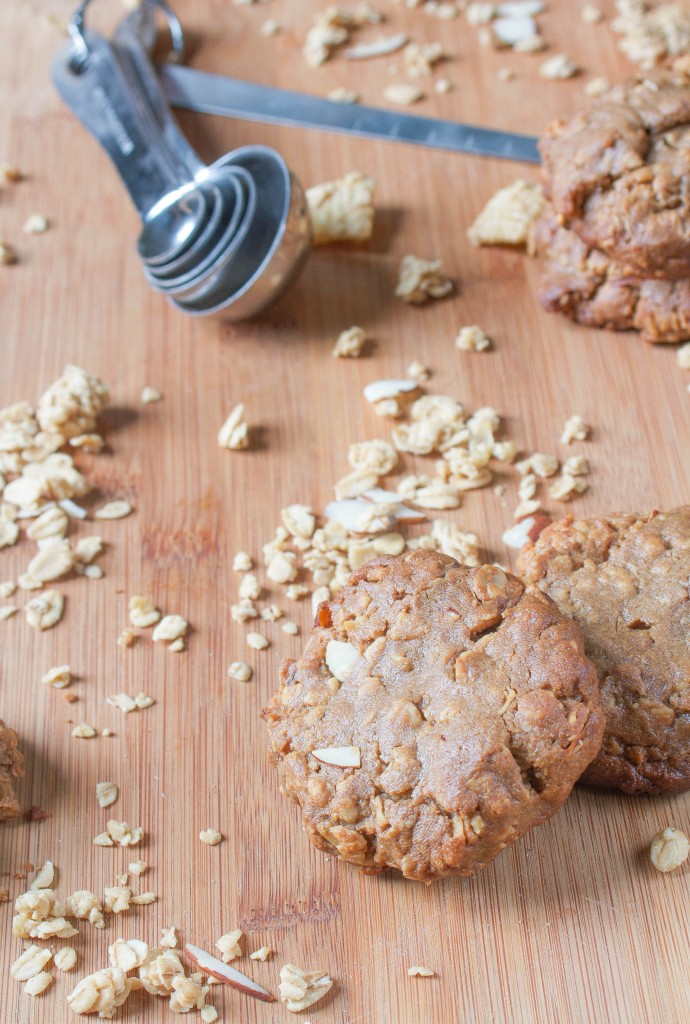
The best part about being gluten-free in this decade is the endless supply of new products available(not to mention whole restaurant menus and online websites). Chex just came out with two new products to add to that list: Honey Nut Granola and Mixed Berry Granola, made with gluten-free oats and clusters of Chex cereal.

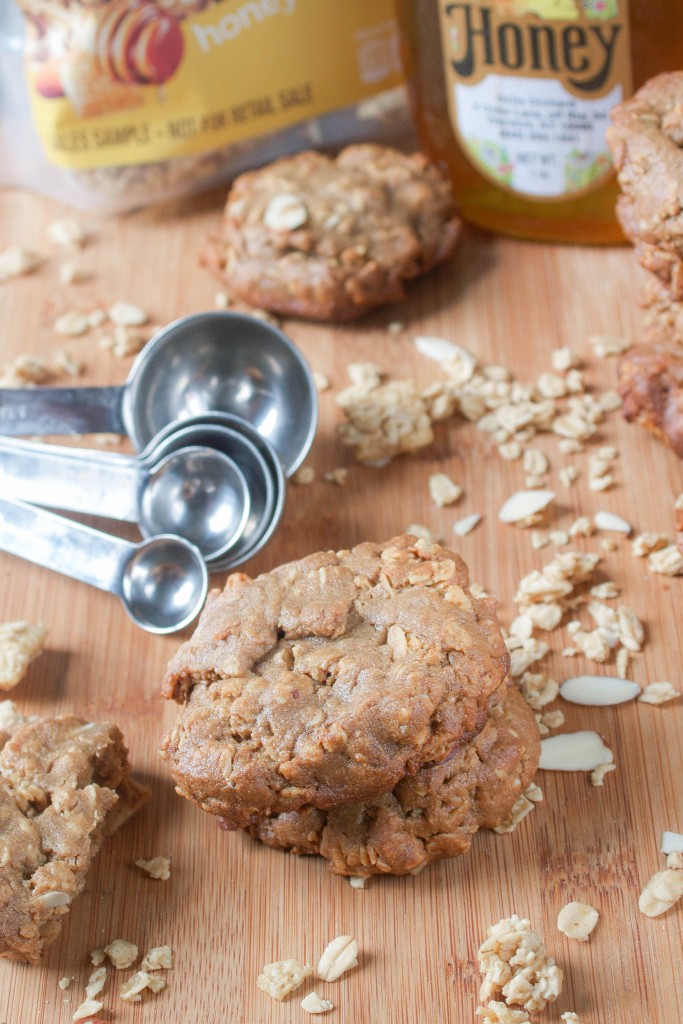
I got to try both and the honey nut was definitely my favorite–just the right amount of sweetness to go with any flavored yogurt and chunks of almonds and real Chex baked together. After eating half the bag, I made these cookies with the rest to make the granola more portable. These snackers are the perfect fix for an afternoon snack or along with breakfast.

Almond Butter Granola Snackers

I used almond butter for these because it goes perfectly with the almond slivers in the granola but you could also use peanut butter or even sunflower seed butter.

Almond Butter Granola Snackers

Prep time: 10 minutes

Cook time: 15 minutes

Ingredients(Makes 18 Snackers):

  • 3/4 cup almond butter
  • 2 Tablespoons honey
  • 1/2 cup sugar
  • 1 egg
  • 1/4 teaspoon salt
  • 1/4 teaspoon baking powder
  • 3/4 cup Honey Nut Chex granola
Method:
  1. Preheat your oven to 350 degrees.
  2. In a large bowl, stir together the almond butter, honey, sugar, egg, salt, and baking powder until well mixed.
  3. Add in the granola and fold it in completely.
  4. Roll the dough into 1 1/2-inch balls and flatten slightly between the palms of your hands. Put each round of dough on a non-stick baking surface.
  5. Bake for 15 minutes. Remove from the oven when the outside starts to turn brown and is slightly firm to the touch.
  6. Let cool slightly before moving. Store in an air-tight container.

No Flour Peanut Butter Cookies

IMG_7532-2

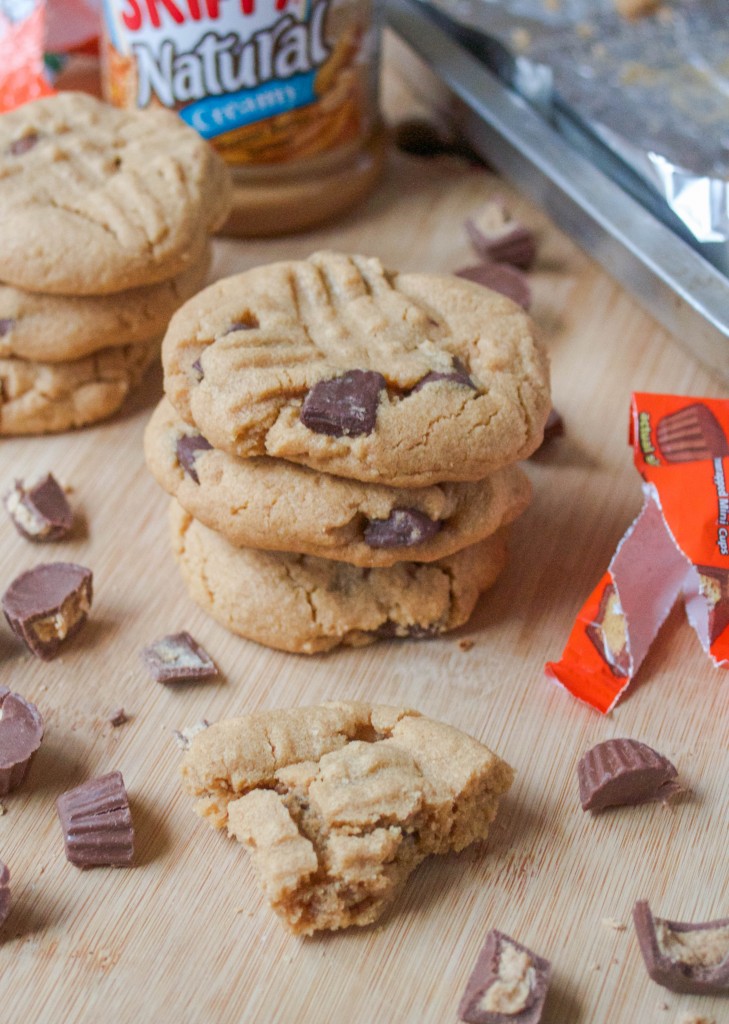
At a holiday party, I brought just a jar of peanut butter to make cookies with. Since everyone knows I’m gluten-free, they asked me what kind of flour I needed. Why didn’t I bring any? Apparently not everyone knows this peanut butter cookie recipe, which is a shame because everyone should.

Unlike most gluten-free recipes that have you mixing chickpea flour with potato starch and xantham gum, these cookies just use peanut butter, eggs, and sugar as their base. I grew up having these long before I was gluten-free.

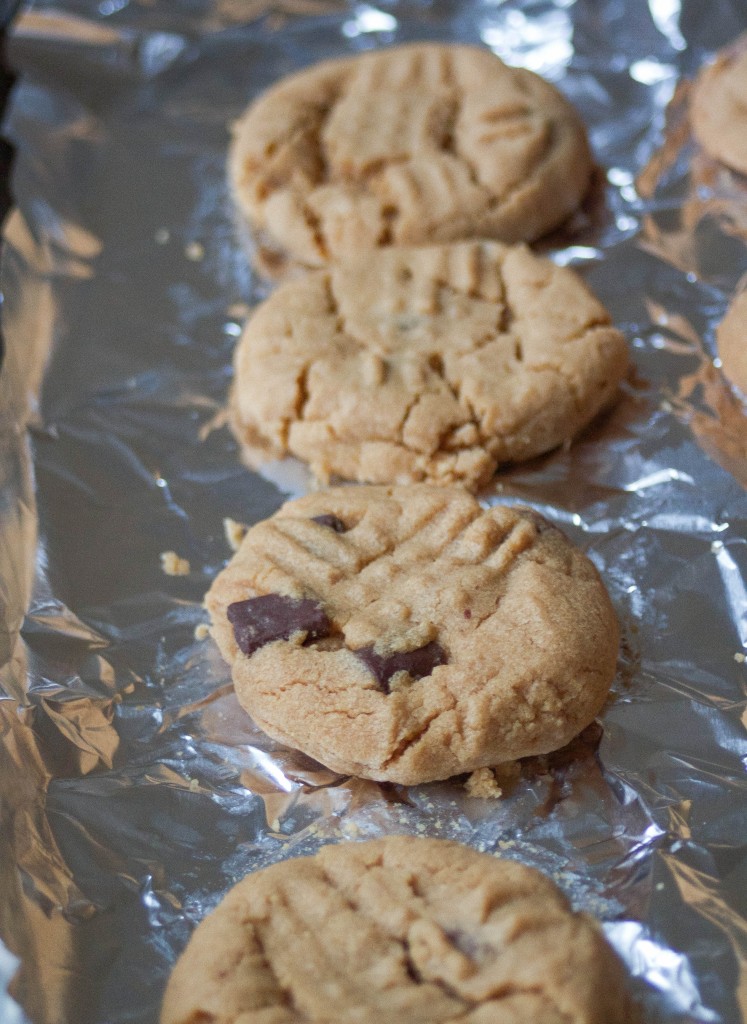
As far as peanut butter cookies go they’re probably the best you’ll have, too. They’re sweet and nutty and melt in your mouth without any flours to make them tough. I’ve made this recipe plenty of times and you should, too.

IMG_7522-2

No Flour Peanut Butter Cookies

Prep time: 10 minutes

Cook time: 15 minutes

Ingredients(Makes 24 Servings):

  • 3/4 cup non-stir peanut butter
  • 1 cup white sugar
  • 1 egg
  • 1/2 teaspoon baking powder
  • 1/2 teaspoon vanilla extract
  • 1/3 cup dark chocolate chips
  • 1/3 cup chopped Reese’s cups

Method:

  1. Preheat your oven to 350 degrees.
  2. In a large bowl, stir together the peanut butter, egg, sugar, vanilla, and baking soda until well mixed.
  3. Fold in the chocolate chips and Reese’s until evenly distributed. If the dough is too wet still, sugar by the Tablespoon until the dough doesn’t stick to your hands.
  4. Roll the dough into 1-inch balls and flatten slightly. Place on a non-stick baking tray.
  5. Bake for 12-15 minutes until the edges turn golden. Remove from the oven and let cool completely before moving.

Fennel Roasted Brussels Sprouts

Fennel Roasted Brussels Sprouts

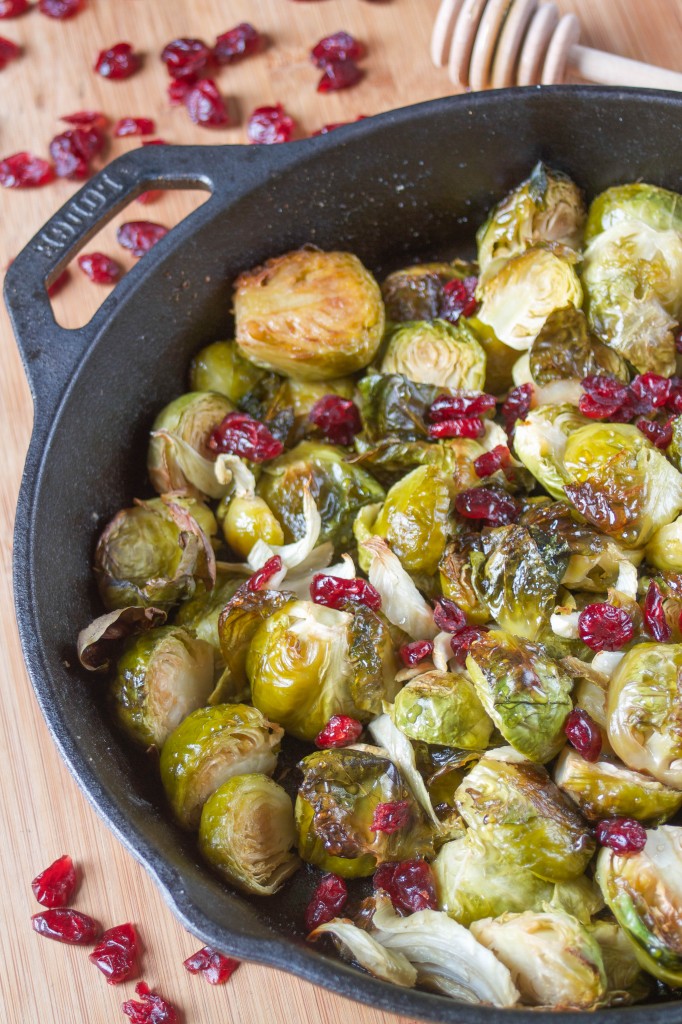
Brussels sprouts are one of my–like so many others’–favorite vegetables. Fennel? Not so much. It’s a vegetable I’m slowly growing to like that’s better sweet than savory.

These sprouts are a little sweet and a little salty; its a tasty balance that’s also healthy. This time of year you could probably also find fresh cranberries and make this recipe a little more natural, but I love eating the extra craisins while I’m cooking for something to chew on.

You can serve this hot or cold but I prefer it hot. It really depends what you’re eating it with.

Fennel Roasted Brussels Sprouts

Prep time: 10 minutes

Cook time: 45 minutes

Ingredients(Makes 6 Servings):

  • 4 cups Brussels sprouts, washed and halved
  • 1 fennel bulb sliced
  • 3 Tablespoons olive oil
  • 1/2 teaspoon salt
  • 1/4 cup craisins
  • 1 1/2 Tablespoons honey

Method:

  1. Preheat your oven to 375 degrees.
  2. Toss the sprouts, fennel, oil, and salt in a large bowl.
  3. Lay the sprouts out in a pan or cast iron skillet.
  4. Roast for 30 minutes, then mix the sprouts with a utensil and roast for 15 minutes more.
  5. Once done, remove the sprouts from the oven. Sprinkle on the craisins and drizzle the whole pan with honey.

Gluten-Free Pumpkin Spice Loaf Cake

Gluten-Free Pumpkin Spice Loaf Cake

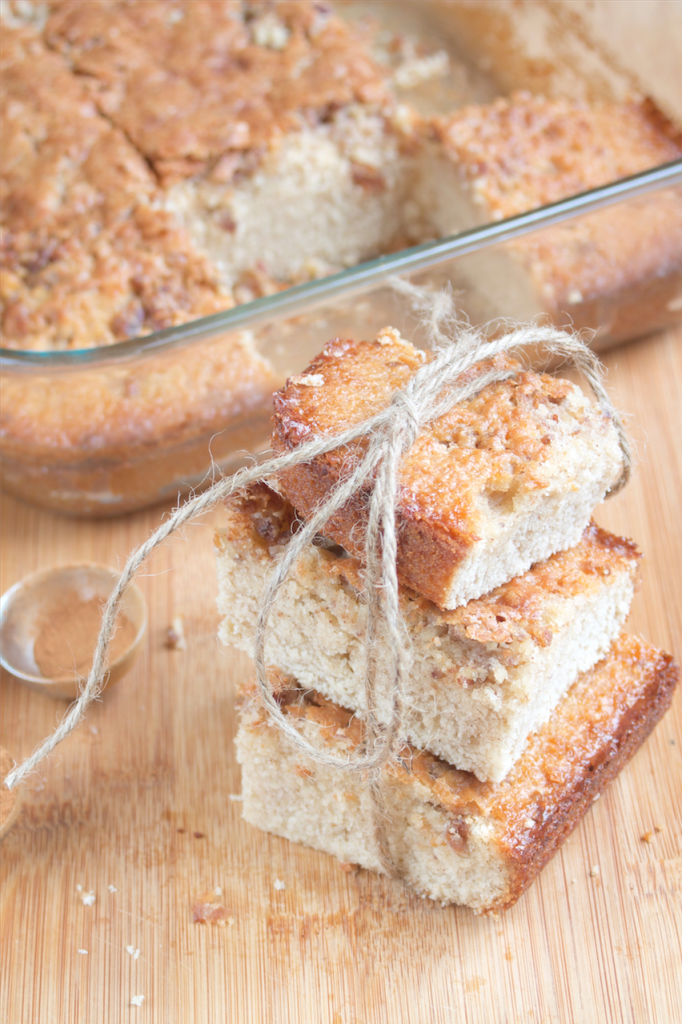
Baking is just more fun in the Fall and Winter. You get to stand near the oven to stay warm, make something delicious, and wear oversized sweaters to hide how much you’ve been eating. What’s not to love?

My favorite things to bake on the weekend is anything I can have for breakfast or take to work and eat with a cup of coffee. Put this next to a cup of coffee and a spoon of almond butter and you won’t be disappointed.

Pumpkin spice is just a mix of a bunch of other spices, so if you don’t have it on hand just use cinnamon, nutmeg, allspice, and/or cloves. This recipe doesn’t actually have any pumpkin in it but neither do pumpkin spice lattes and that’s never bothered anyone.

Gluten-Free Pumpkin Spice Loaf Cake

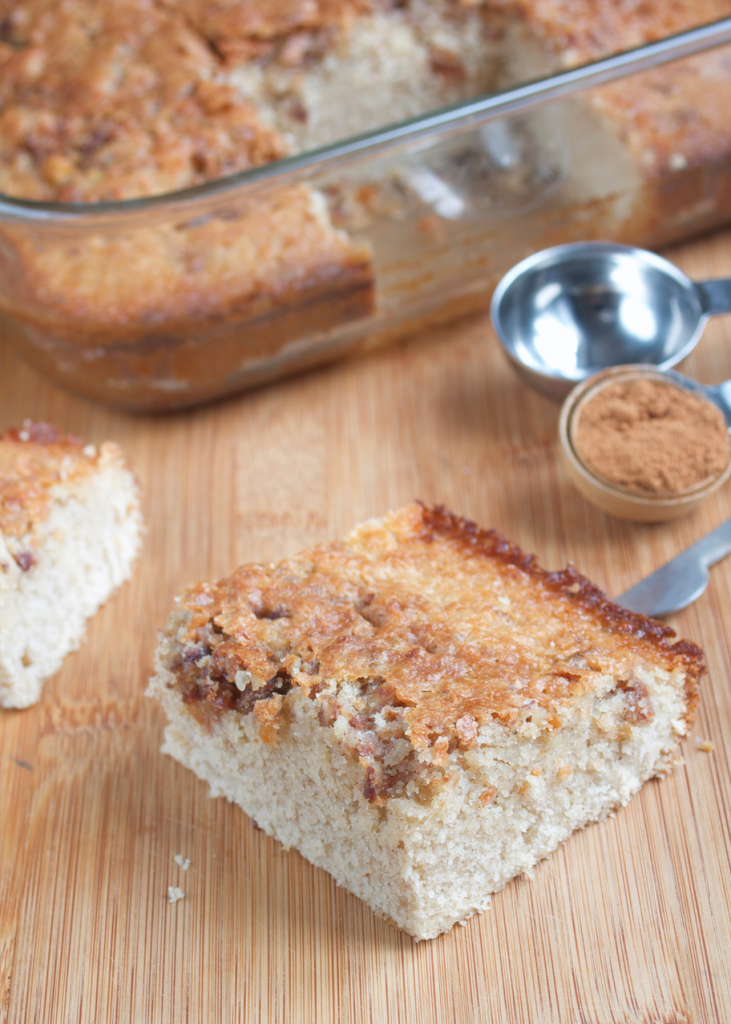
I really liked this more like a crumb cake with chopped pecans and raisins to add some texture, but it’d also be great without any mix-ins and covered with a cream cheese frosting.

Gluten-Free Pumpkin Spice Loaf Cake

Prep time: 15 minutes

Cook time: 30 minutes

Ingredients(Makes 12 squares):

  • 1 cup white sugar
  • 1/3 cup brown sugar
  • 1 cup all-purpose gluten-free flour
  • 1/2 teaspoon baking soda
  • 1/2 cup milk
  • 1/2 cup butter, melted
  • 2 eggs
  • 1/2 teaspoon vanilla extract
  • 1 Tablespoon pumpkin spice
  • 1/2 cup finely chopped walnuts or pecans(optional)

Method:

  1. Preheat your oven to 350 degrees.
  2. In a large bowl, mix together all of the sugar, flour, and baking soda.
  3. Add in the milk, butter, eggs, extract, and spice and mix well until it forms a batter.
  4. Mix in the chopped nuts if using.
  5. Grease an 8 x 8 baking pan thoroughly.
  6. Pour the batter into the baking tray.
  7. Bake for 25-30 minutes until the center is cooked through.
  8. Remove from the oven and let cool before cutting.

Easy Maple-Curry Acorn Squash

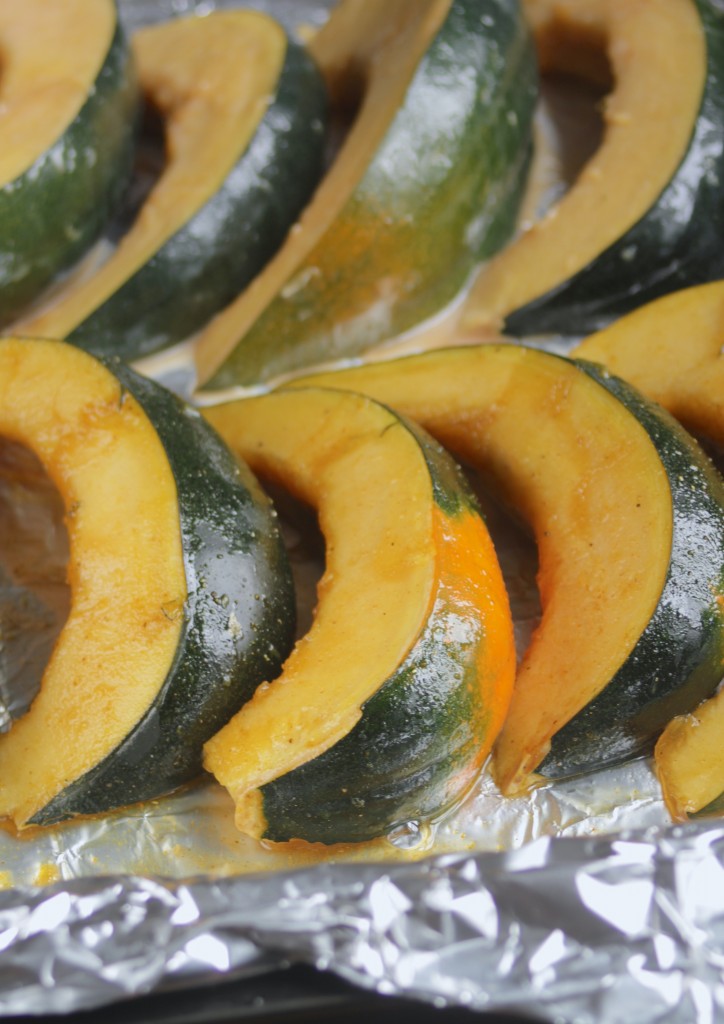
Maple Curry Acorn Squash

When you live in the city, it’s sometimes hard to tell exactly what season it is. That’s what Starbucks limited edition drinks are for.

After I saw it was pumpkin spice latte season already, I knew it was time to start digging up old squash recipes. This recipe I’ve posted an annoying amount of times but still come back to again and again.

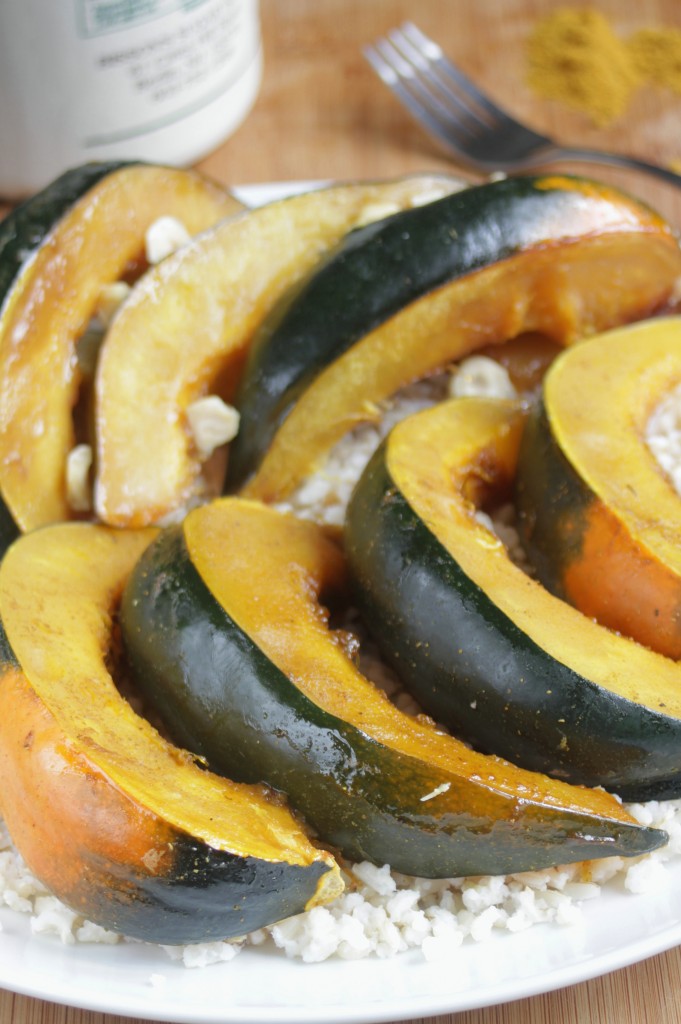
It’s one that I always make because I know how easy and delicious it is. Using curry powder to flavor the squash adds an untraditional kick that keeps the squash anything but boring. Still it’s familiar enough that semi-picky eaters will enjoy. 

Maple Curry Acorn Squash

You can really use this coating on any type but I prefer acorn the best for this since I think it has the mildest flavor. Butternut and winter squash tends to be sweeter on their own. 

Maple-Curry Acorn Squash

Prep time: 5 minutes

Cook time: 45 minutes

Ingredients(Makes 4 servings):

  • 1 Large acorn squash
  • 3 Tablespoons maple syrup
  • 1 Tablespoon curry powder
  • 1/2 teaspoon salt*

*omit if your curry powder is already salted.

Method:

  1. Preheat your oven to 375 degrees and line a baking tray
  2. Cut the squash in half to remove all the seeds. Once de-seeded, cut along the ridges into thin wedges.
  3. In a large bowl, toss the wedges with the maple syrup, curry powder, and salt so that the squash is evenly coated.
  4. Lay the squash out on the baking tray and roast for 45 minutes or until fork tender.
  5. Remove from the oven and serve hot.

My First Life By Dailyburn Recipe

Low Sugar Chocolate Hazelnut Granola

The internet is a crazy awesome place because it’s full of resources for any life you want to live, whether it’s gluten-free recipes, vegetarian restaurant hot spots, of just a chocolate-filled life.

I’m excited that Dailyburn‘s blog Life By Dailyburn asked me to be a recipe contributor for their site. They’re an amazing resource for anyone looking to be healthier and get whipped into shape.

The first recipe I made for them will hopefully pique your interest. If you want to cut out sugar in the morning but still eat flavorful food making your own is a must. This cocoa hazelnut granola recipe only uses maple syrup for sweetness to keep the flavor but ditch the processed sugars. It also tastes great and can save you money–what’s not to love?

And if you’re also looking for a healthier life and haven’t yet, follow them on Facebook and Pinterest for some daily inspirations to eat great and workout.

Homemade Peach Applesauce

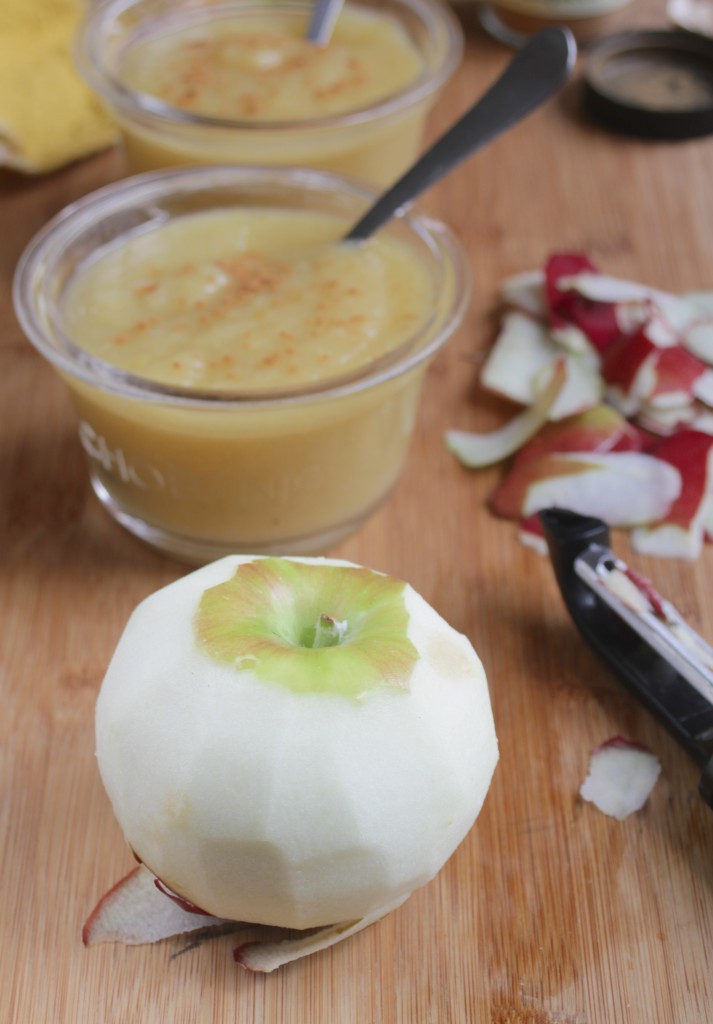
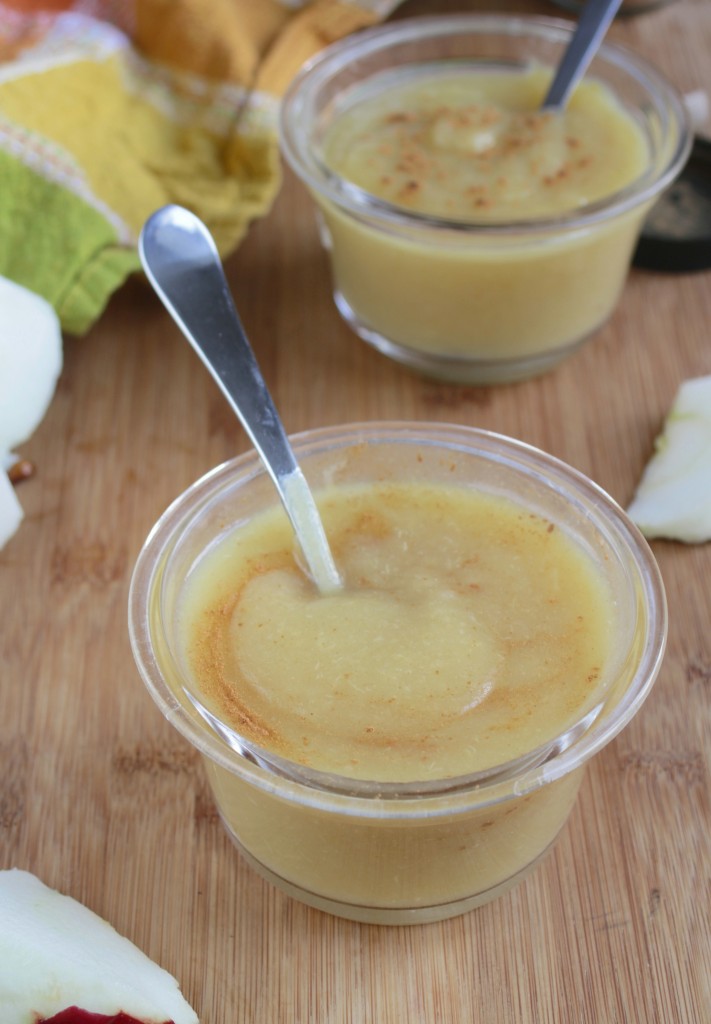
Homemade Peach Applesauce

I’ve eaten more applesauce over the last weekend than I probably had over the last decade. If there was a bright side to getting my wisdom teeth taken out Friday, it was rediscovering how good applesauce can be(and mashed potatoes but I already knew that).

Before my surgery I bought a jar of applesauce–that was gone by the second day. By the third day I had a bunch of recently picked peaches I couldn’t bite into to save my life. Making them into more applesauce was a no-brainer.

This recipe has a lot less added sugars than it looks at first when you consider most of it gets poured out with the water. The final recipe has a much lower sweetness than the store-bought kind which the fresh, natural flavors make up for. 

Homemade Peach Applesauce

The peaches in this aren’t an overwhelming flavor. If you want more of a peachiness to this, I’d recommend replacing a few more of the apples with peaches and making sure they’re slightly over ripened. You can also use the same recipe with no peaches and have a great, basic applesauce.

Homemade Peach Applesauce

Prep time: 10 minutes

Cook time: 15 minutes

Ingredients(Makes 6 servings):

  • 5 Macintosh apples, cored and peeled
  • 4 medium sized peaches, pitted and peeled
  • Water
  • 1 cup sugar
  • 1 Tablespoon honey
  • 3/4 teaspoon cinnamon
  • 1/4 teaspoon nutmeg

Method:

  1. Add all of the apples and peaches into a large boiling pot that has a lid to it.
  2. Cover with just enough water that the fruit begins to float.
  3. Add in the sugar and stir gently.
  4. Boil the fruit and water on high heat until the apples turn slightly brown and are tender to touch(about 15 minutes)
  5. Drain as much of the water from the pot as you can.
  6. Put the fruit into a high-speed blender. Add in the honey, cinnamon, and nutmeg.
  7. Pulse until the sauce is smooth.
  8. Remove from the blender and let cool before serving. Store in an airtight container in the refrigerator for up to a week.

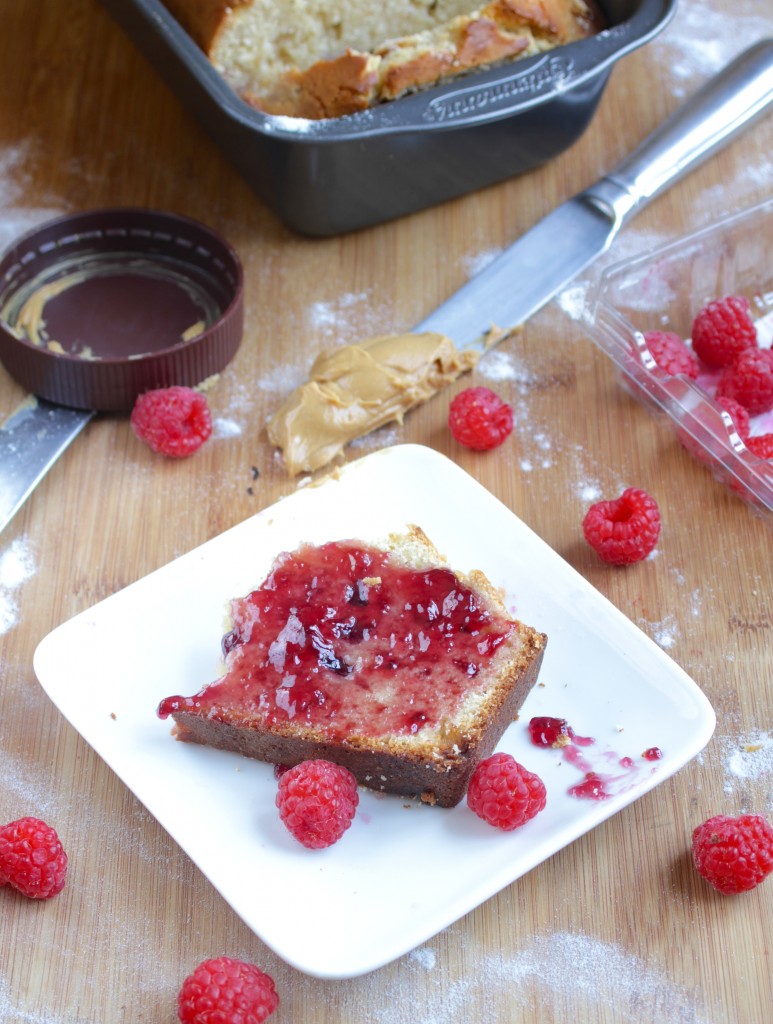
Gluten-Free White Chocolate Raspberry Loaf

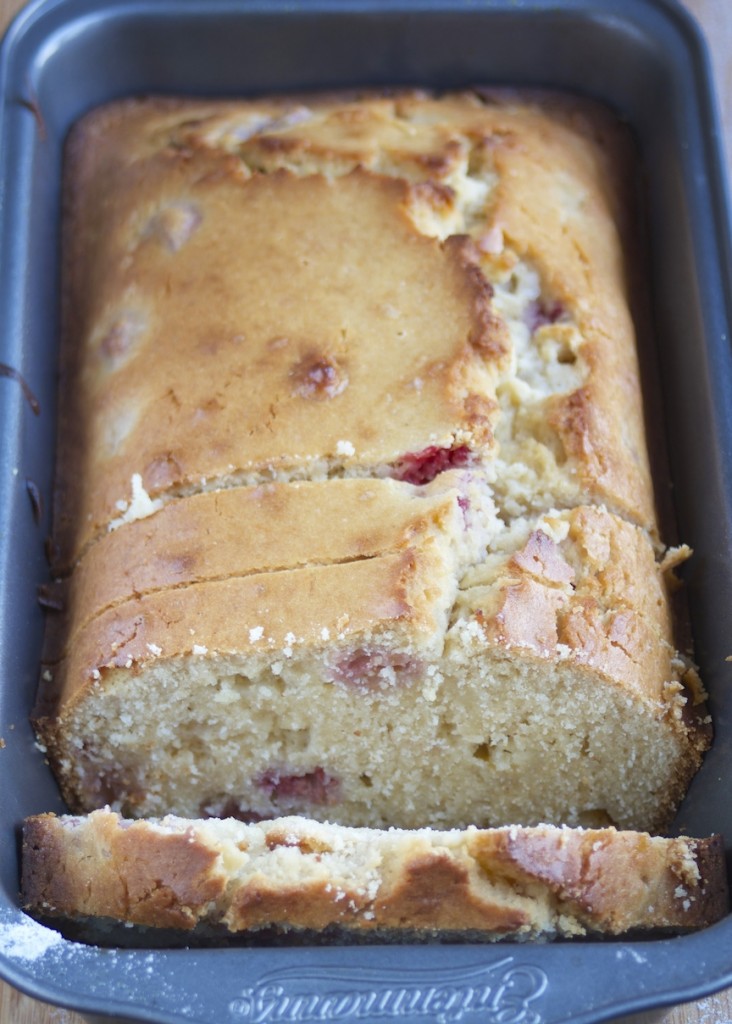
Gluten-Free White Chocolate Raspberry Loaf

I like to think I know everything but I don’t (of course). For instance, I don’t know if this is “bread” or a “cake”; I don’t even know if it’s a breakfast or dessert. But maybe not knowing is best because it means you can have it for both. 

As much as I love fresh berries for their sweetness, raspberries are by far my favorite for their sour punch. Fresh raspberries are an excuse for something special, like a hot sweet loaf straight out of the oven. 

This is right on par with Starbuck’s banana bread and pumpkin bread (or my very own). The addition of white rice flour gives it a light, airy texture. It’s sweet and moist and falls apart in your mouth. It’s as good in the morning heated up with some peanut butter as it is at night with a scoop of ice cream on top.

Gluten-Free White Chocolate Raspberry Loaf

3/4 cup milk is more of a guestimate than an exact number. Go for a soft, semi-fluid bater that you can pour into a loaf pan but that fights to leave the bowl a little. Depending on what kind of flour you’re using, you might need an extra 1/4 or 1/2 cup. 

Gluten-Free White Chocolate Raspberry Loaf 

Prep time: 15 minutes

Cook time: 50 minutes

Ingredients(Makes one loaf):

  • 1 3/4 cups gluten-free all purpose flour
  • 1 cup white rice flour
  • 3/4 cup brown sugar
  • 3/4 teaspoon baking powder
  • 1 5oz vanilla yogurt
  • 1/2 cup vegetable oil
  • 3 eggs
  • 3/4 cup milk
  • 3/4 cup fresh raspberries
  • 1/2 cup white chocolate chips

Method:

  1. Preheat your oven to 350 degrees.
  2. In a large bowl mix together the flours, sugar, and baking powder.
  3. Add in the oil, yogurt, eggs, and milk and beat well.
  4. Add in the rest of the ingredients and continue mixing until it forms a batter.
  5. Lightly grease a 9-inch loaf pan with oil.
  6. Pour the batter into the pan.
  7. Bake for 50 minutes or until the bread rises and sets.
  8. Remove from the oven and let cool before slicing. Store in a cool place when not enjoying.