Popular Recipes

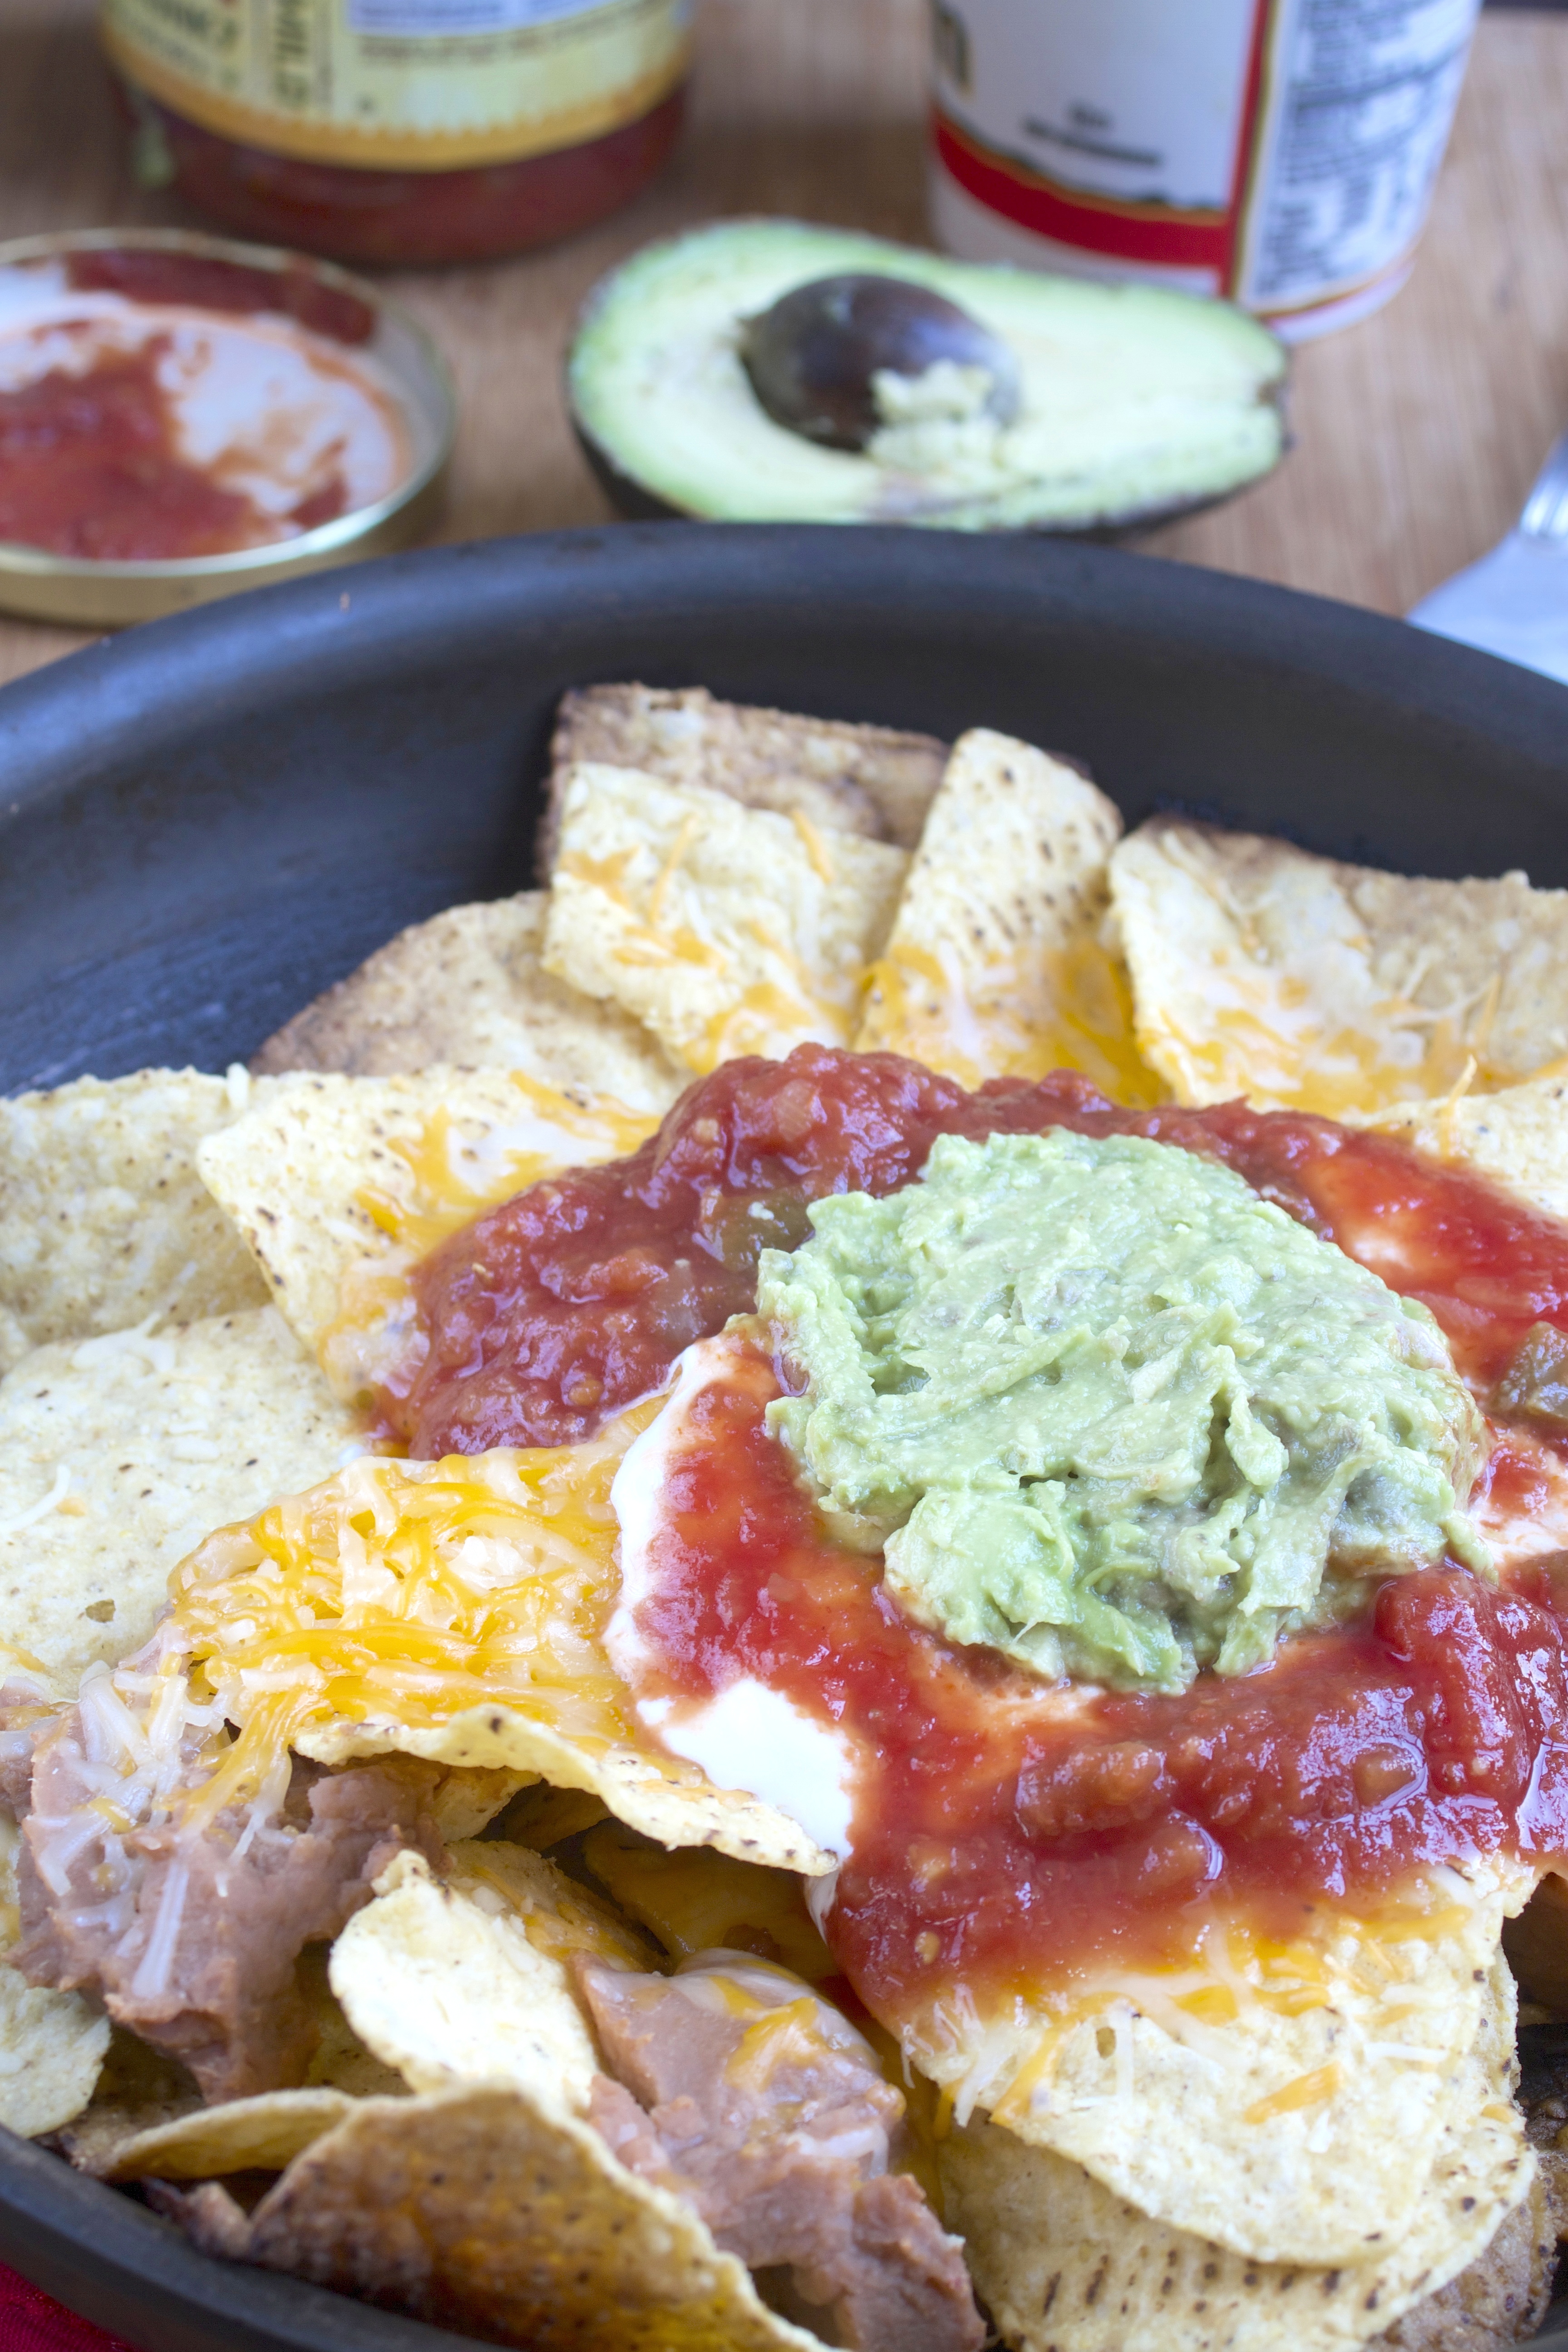
How To Cook Nachos At Home

How To Cook Nachos At Home

Happy seis de Mayo!

Nachos are my favorite bad food. You can get them anywhere(and I have), especially anywhere worth going. After a few drinks there’s nothing else I’d rather have–not even Reese’s cup brownies.

Making them at home, though, has never been as simple as it out to be. You can’t put them in the microwave or the chips get soggy. I’ve literally set a pan on fire in the oven not understanding how a burner works. Bad bad bad.

Skillet Nachos

These are the most satisfying nachos I’ve made at home. They’re warm and melty on top while the chips stay hot and crisp–not soggy. It’s easy to make and you can eat it from the pan so you don’t have to dirty dishes. What could be better?

Skillet Nachos

Prep time: 5 minutes

Cook time: 5 minutes

  • 1-2 Tablespoons oil
  • 4 handfuls of tortilla chips
  • 1/2 cup refried beans
  • 1/2 cup shredded cheese*
  • 1/4 cup salsa
  • 1/4 cup sour cream
  • 1/4 cup guacamole

*Make sure to use a cheese that melts well since you don’t want this on the burner for too long. Avoid processed shredded cheeses with lots of added ingredients and stabilizers.

Method:

  1. Rub a pan with a cover with oil to make sure the tortillas won’t stick or burn.
  2. Add the chips into the pan. Add the beans and cheese around on top evenly.
  3. Turn the burner onto a medium heat and cover immediately with a pan cover.
  4. Cook for 1-2 minutes until the cheese has melted and remove from the burner immediately.
  5. Add the salsa, sour cream, and guacamole and enjoy.

Raw Chocolate Fudge Pie

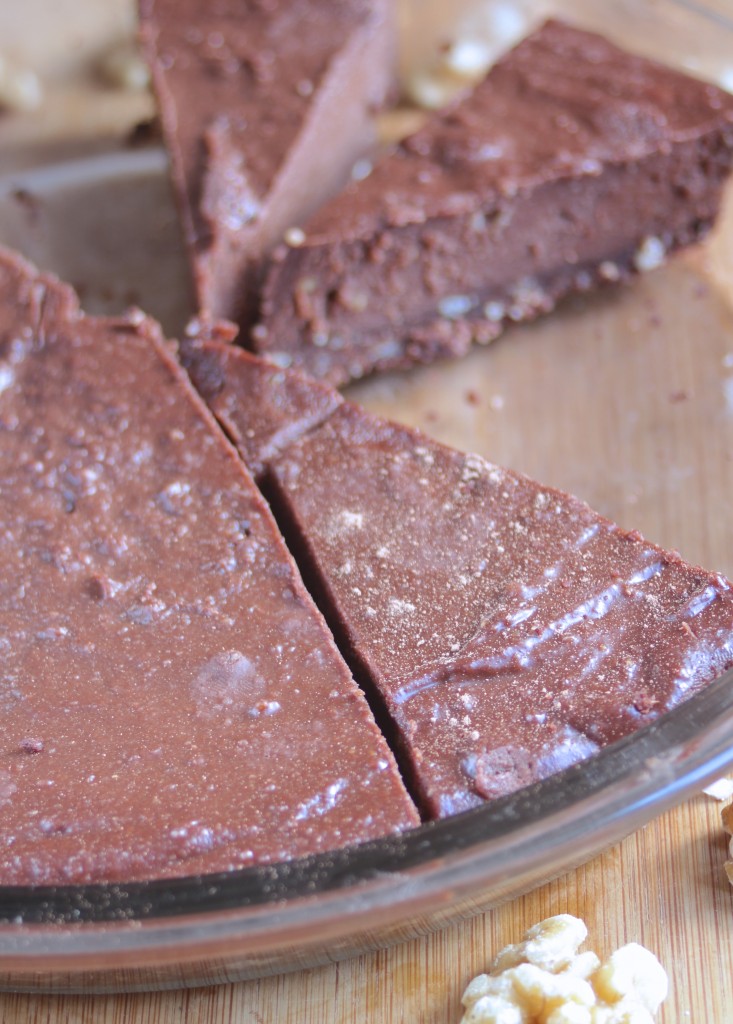
Rich raw chocolate fudge pie

If there’s any way to make peace after 2 weeks of not posting it’s this recipe.

Spending the weekend with friends or family is great but usually leads to a week without recipes. Last weekend was the exception. My friend Eury visited and stayed with me and insisted(she’s going to hate that word–“suggested”) we make the raw fudge pie recipe she’s been working on.

Whether you’re gluten-free or gluten-full, vegan or a meat lover, there’s no denying raw desserts are just better than regular ones. They’re always fudgier, creamier, more flavorful, and easy to convince yourself they’re healthy so you can go back for seconds.

Rich raw chocolate fudge pie

With permission I’m sharing Eury’s recipe which’ll easily win over the staunchest crowd. The cashew filling has the same taste and texture as any milk chocolate fudge.  If you do not care about the health benefits of eating raw and only make this because raw desserts have amazing flavors and textures, feel free to substitute the maple syrup for honey, corn syrup, or simple syrup. 

Raw Chocolate Fudge Pie

Prep time: 20 minutes

Cook time: 0 minutes

Ingredients(Makes 16 servings):

For the crust:

  • 3/4 cup almonds
  • 1/2 cup walnuts
  • 1/4 cup + 2 Tablespoons unsweetened cocoa powder
  • 3 Tablespoons maple syrup
  • 1 teaspoon vanilla extract

For the filling:

  • 2 cups cashews
  • 1/2 cup maple syrup
  • 1/2 cup water
  • 1/2 cup coconut oil
  • 3/4 cup unsweetened cocoa powder
  • 2 teaspoons vanilla

Method:

  1. Pulse the almonds and walnuts in a food processor until finely chopped.
  2. Add in the syrup, cocoa powder, and vanilla for the crust and continue processing until it forms a mixed dough.
  3. Press the dough into a 9-inch pan until the bottom’s about 1/4-inch thick.
  4. For the filling, process the cashews into a fine powder. Make sure not to over blend them into cashew butter.
  5. Add in the maple syrup and water and continue blending until smooth.
  6. Add in the rest of the ingredients and process until it forms a smooth liquid filling.
  7. Pour the filling over the crust and spread into an even layer.
  8. Refrigerate for ~4 hours until the center has set. Cut with a sharp knife into servings. Refrigerate when not enjoying.

4 Egg-Filled Easter Brunch Recipes

4 Egg-Filled Easter Brunch Recipes

Easter doesn’t make a lot of sense when you think about it. There’s a bunny but bunnies don’t lay eggs, so why are you searching for them? And where does the candy come in?

Assuming you’re not having plastic eggs filled with dollar bills and chocolate candies, you might want to have something a little more satisfying. Maybe for a brunch crowd–maybe for just yourself. Here are 4 of my favorite egg-cellent(I’m already sorry I made that pun) brunch recipes for you. 

For something traditional…

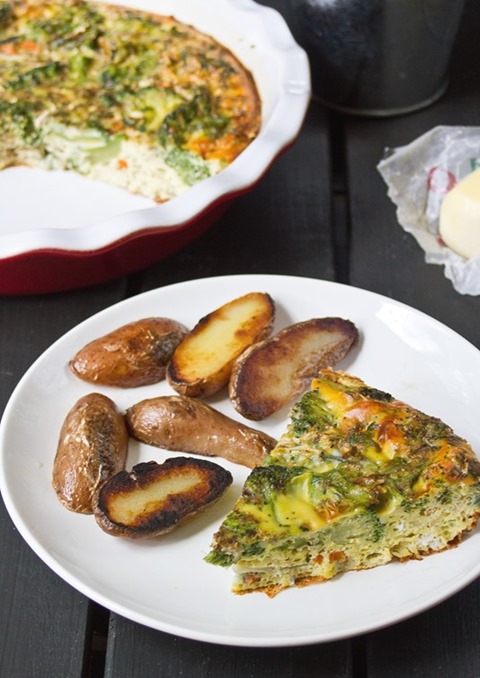
Easy Broccoli Frittata Serving

Easy Broccoli Frittata is a great way to feed a crowd something healthy and satisfying. I’m a big fan of frittatas for breakfast or dinner. Even as just one person, they’re good to make on the weekend and heat up through the week. Add some potatoes or toast and you’re golden.

For just two(or one—no judging)…

Mushroom and Herb Cheese Omelette

I’d never make omelettes for a crowd because they’re hard to keep warm while the rest cook, and if you have other distractions going on in the kitchen they’re a nightmare. But a Mushroom and Herb Cheese Omelette is satisfying and just the right amount of food for one or two people and goes great with just about any side. 

For something spicy…

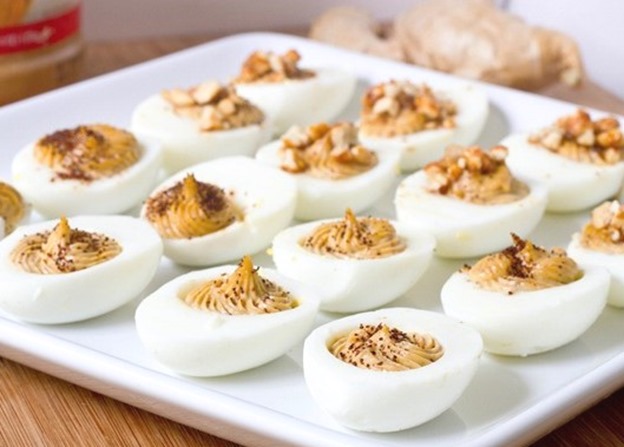
Thai Deviled Eggs

Thai Deviled Eggs have just the right amount of flavor and kick mixed with tradition to please just about anyone. I assumed I didn’t like deviled eggs until I toughened up and tried some. Hopefully the peanut butter and kick of these will get a few deviled egg nay-sayers to bite. 

For something sweet…

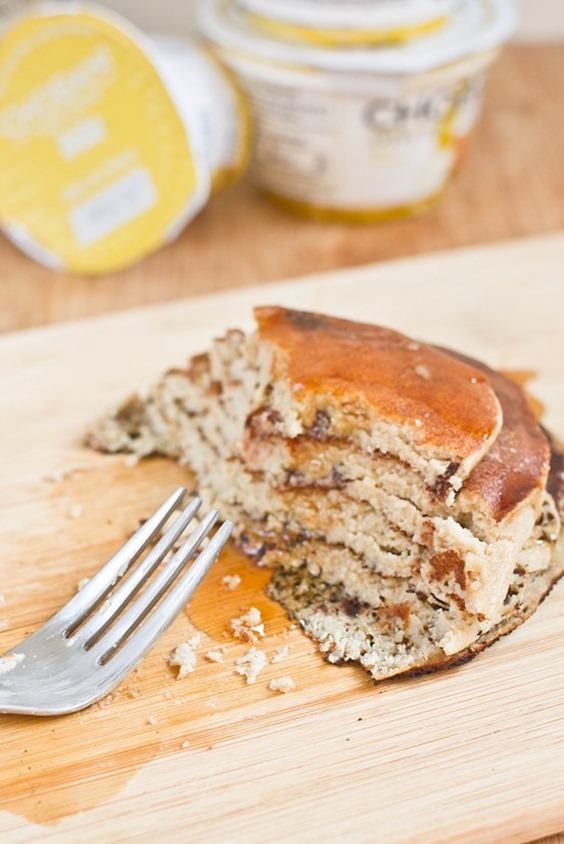
Gluten Free Chobani Pancakes

Chobani Pancakes may not be egg-filled but the egg helps to make almond flour and greek yogurt into a delicious, hearty, and gluten-free breakfast. It’s a much better option than the white flour pre-made pancake mixes. And at the end of the day who doesn’t like pancakes for brunch?

Happy Easter!

Peanut Butter Banana Refuel Smoothie

Peanut Butter Banana Smoothie

Marathon Monday is just a week away. Growing up in Massachusetts, it was always a big deal. I was shocked to find out it wasn’t actually a national holiday and most people work on Marathon Monday.
This year Stonyfield Greek is the official yogurt of the 2014 Boston Marathon. They asked their Clean Plate Club members to write how Stonyfield Greek helps us through the marathon of life.

When I was marathon training, there were 4 foods I constantly ate: Peanut butter, bananas, oatmeal, and greek yogurt. After so many weeks you learn the little ways to not make every snack or meal taste like the last.

Even though I haven’t registered for a marathon since 2011, I still make working out and running a routine. Making a smoothie instead of a meal is an easy, tasty way to refuel and move on to the next part of my day.

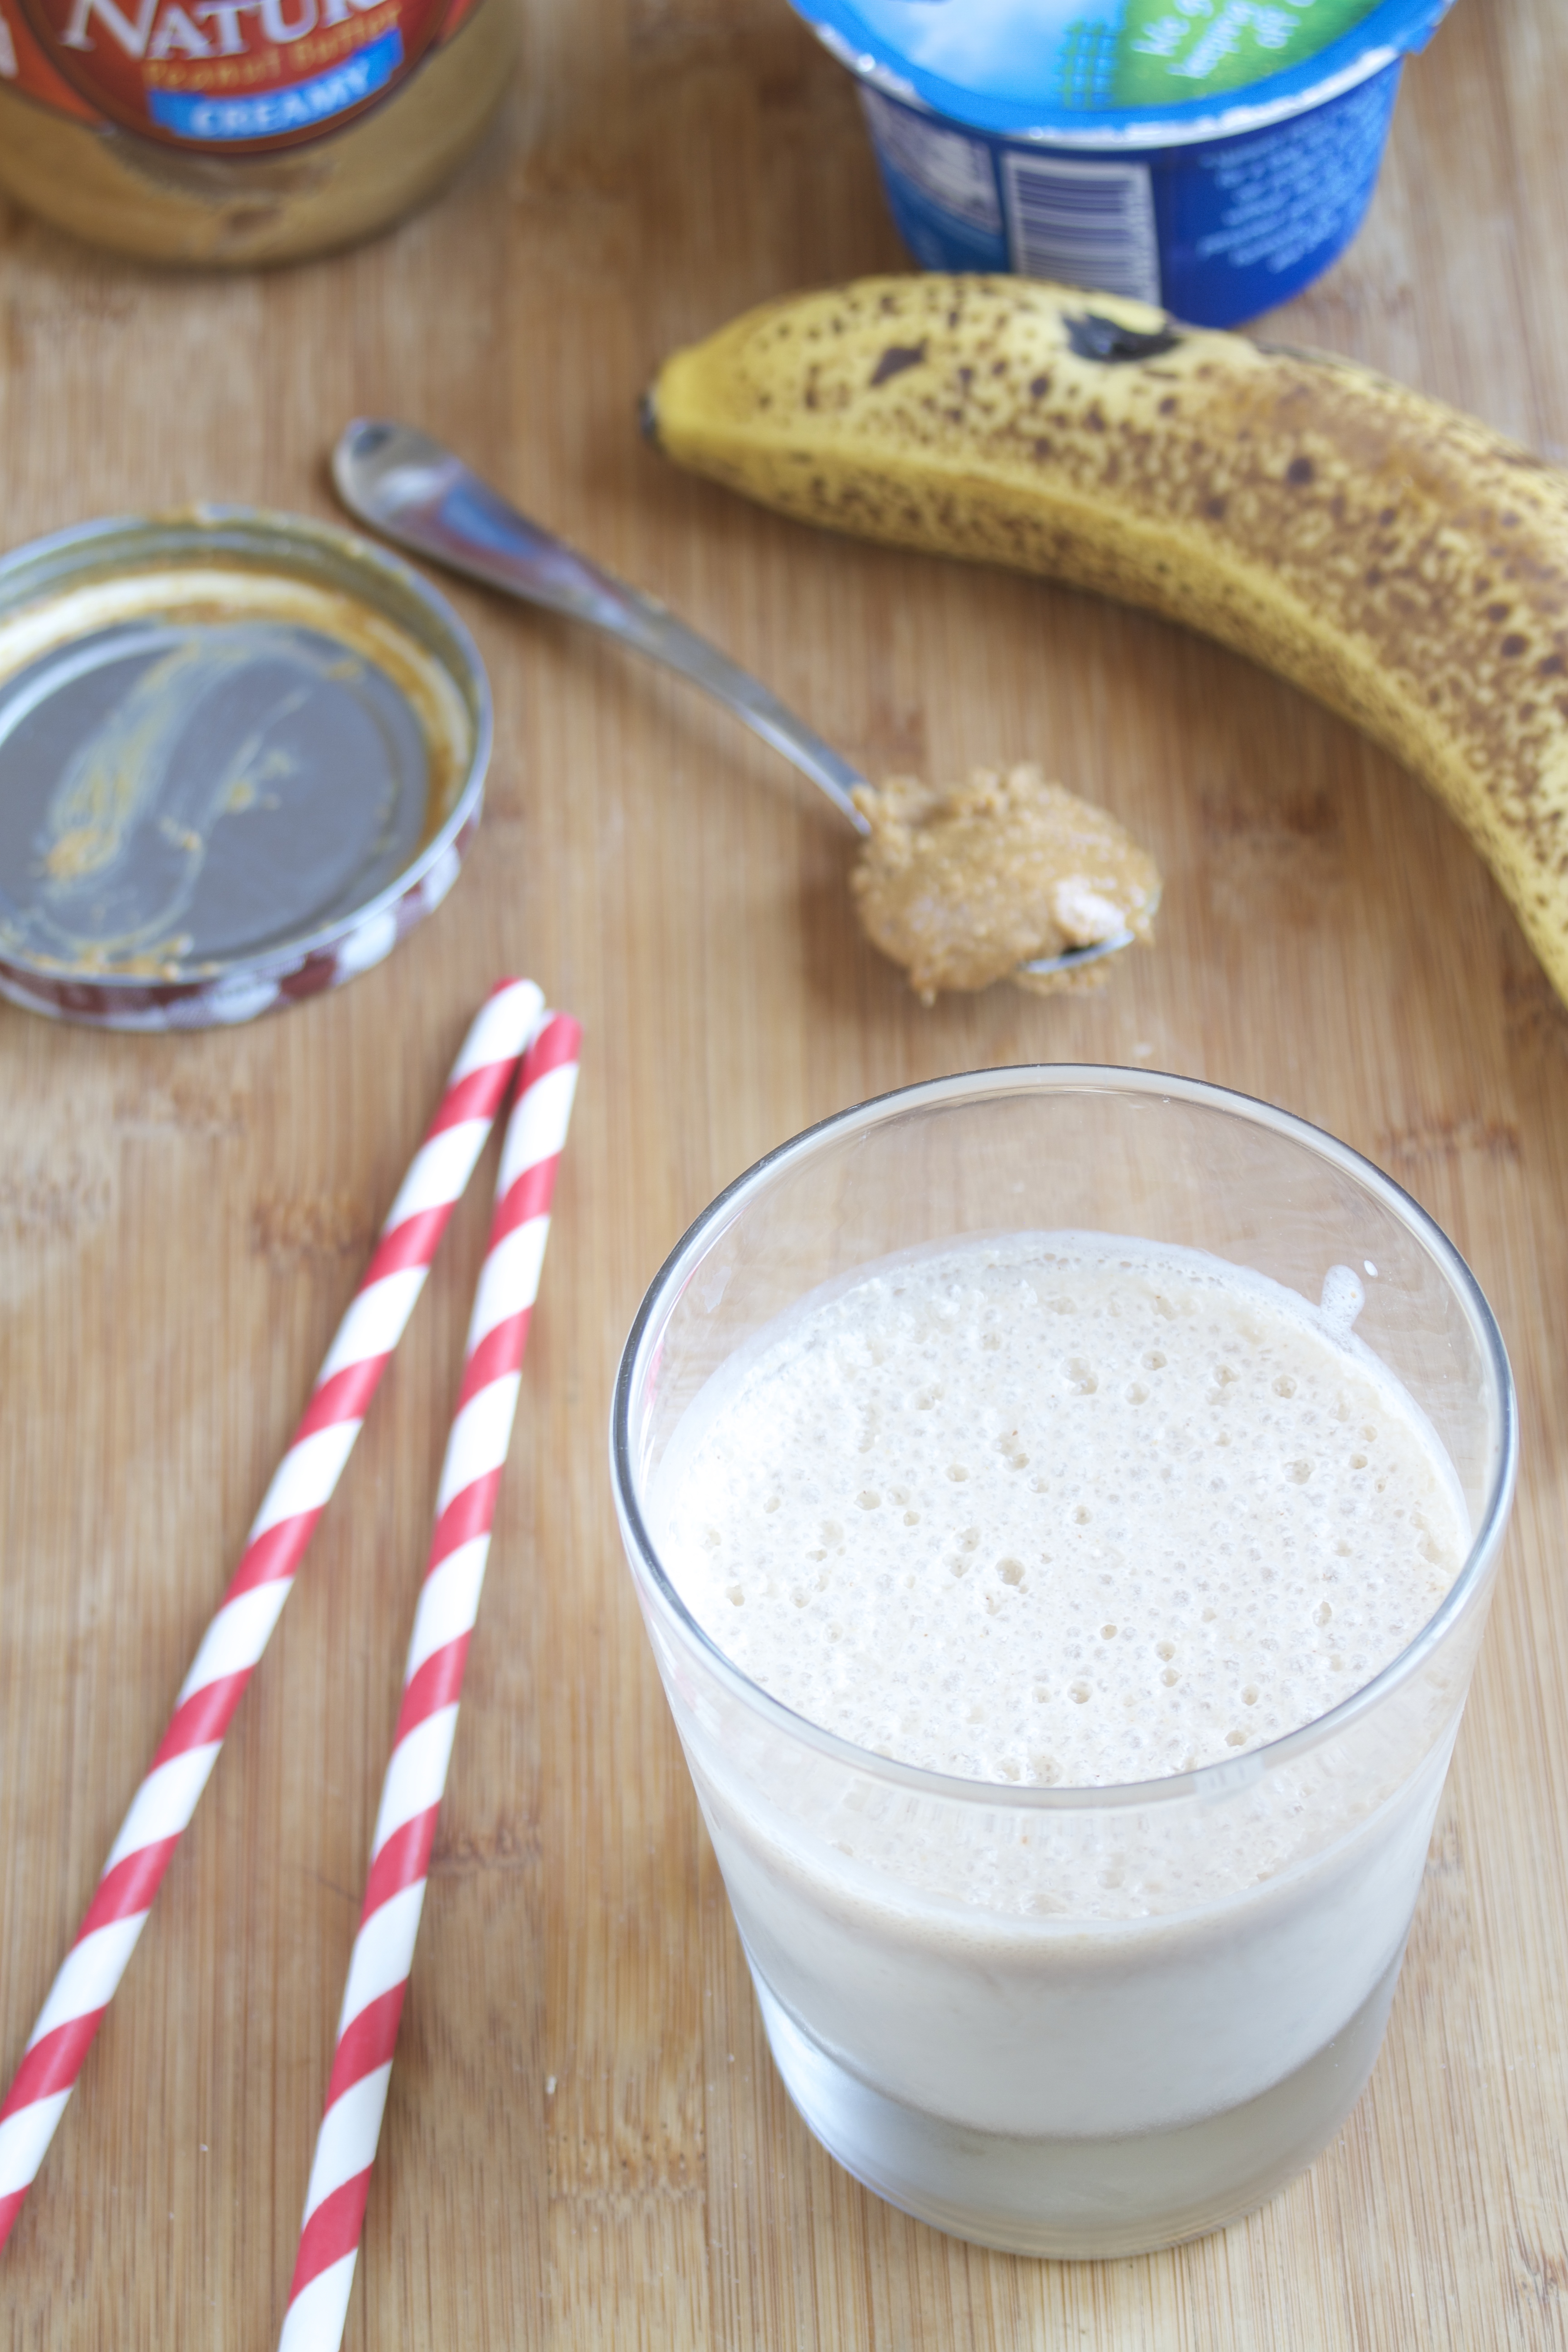
Peanut Butter Banana Smoothie

I never get tired of this recipe. It’s not too sweet or overly peanuty; it’s just the right balance of ingredients to be healthy and perfectly flavorful.

Peanut Butter Banana Smoothie

Prep time: 5 minutes

Cook time: 0 minutes

Ingredients(Makes 1 big or 2 small servings):

  • 1 banana, sliced
  • 1 Tablespoon peanut butter
  • 1 5.oz Stonyfield vanilla yogurt
  • 1/2 cup milk
  • 6-8 ice cubes

Method:

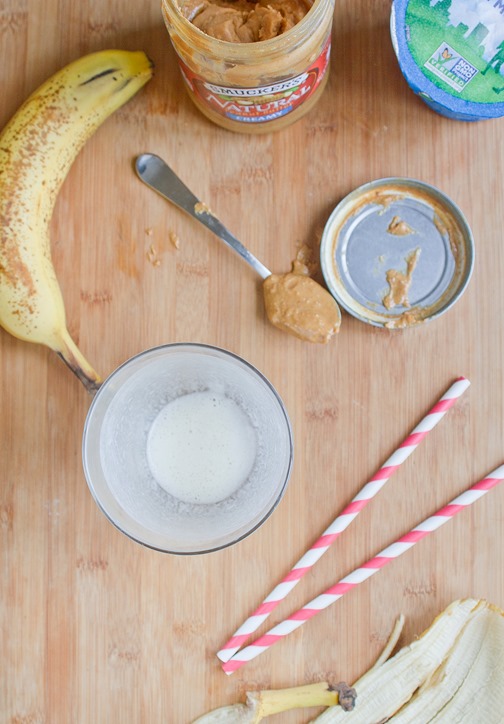
  1. Combine the banana, peanut butter, yogurt, and milk in a blender and mix until smooth.
  2. Add in the ice cubes and continue blending until they’re completely crushed and mixed in.
  3. Pour and serve cold.

Peanut Butter Banana Smoothie

Packed Lunch: Rice & Bean Bowl

Homemade rice and bean bowls for a healthy and affordable packed lunch

I’m one of those people at the office who brings in lunch every day. The same lunch every single day. The Huffington Post wrote an article about us.

Sure packing a lunch every day can get tiresome, but it’s cheaper and healthier to do it yourself. It’s hard to argue with that.

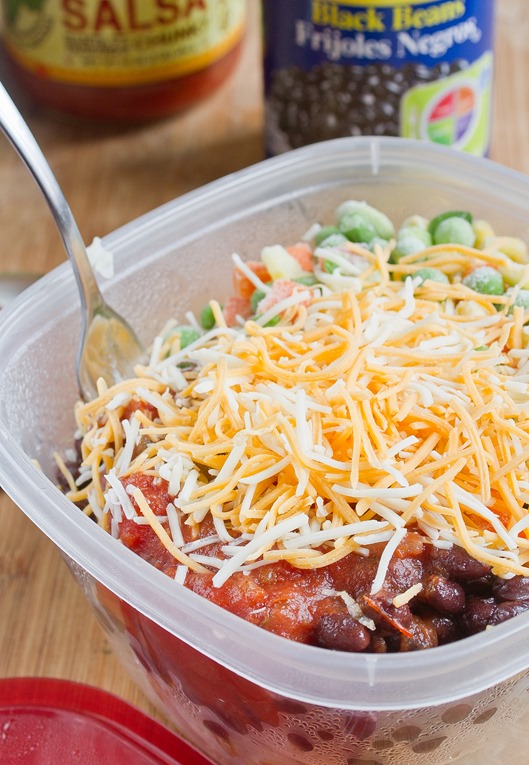
If you’re on board the lunch-packing train, even just a few days a week, this lunch will definitely keep you satisfied. It’s just as good as a Chipotle bowl but costs about $2 or less. It’s also perfect for packing on a Sunday night to have later in the week since you don’t have to worry about sogging bread or spoiling meat.

For a simple step-by-step photo guide, scroll below the recipe.

Rice & Bean Bowl

Prep time: 5 minutes

Cook time: 4 minutes

Ingredients(Makes 1 lunch):

  • 1 cup cooked brown rice
  • 3/4 cup(1/2 can) black beans
  • 3/4 cup fresh or frozen vegetables
  • 1/4 cup salsa
  • 1/4 cup shredded cheese

Method:

  1. In a microwavable bowl, layer the rice, beans, vegetables, salsa, and cheese in that order.
  2. Cover tight with a lid. Don’t keep at room temperature for more than 6 hours.
  3. When ready, microwave on full power for 3-4 minutes.

An easy, healthy and affordable meal you can pack for lunch every day

Peanut Butter Buttercream

Peanut Butter Buttercream

These are not the best cupcakes I had for my birthday. In fact, the cake part didn’t come out all that well since I made them on the fly without measuring anything(only to be surprised Saturday night with a batch of homemade banana cupcakes with Nutella frosting). But they were entirely edible if only because of the frosting.

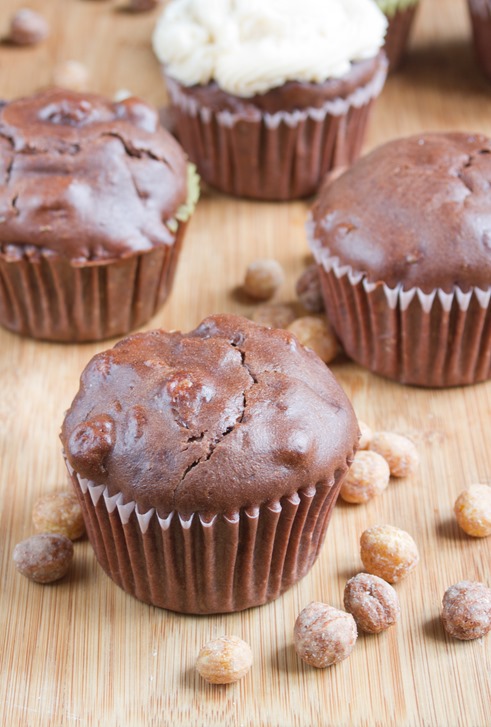
This frosting though was just right. It’s sweet and vanilla at first with a nutty peanut butter finish. It’d be great on just about any cake or cupcake, and it’s easy to decorate with chocolate chips or Reese’s Puffs.

For this recipe, look for natural peanut butter without any added oils or stabilizers. It’ll mix in with the other ingredients the easiest and have a better, stronger flavor.

Peanut Butter Buttercream Unfrosted

Peanut Butter Buttercream

Prep time: 10 minutes

Cook time: 0 minutes

Ingredients:

  • 6 Tablespoons butter, room temperature
  • 2 1/4 cups powdered sugar, sifted
  • 2 Tablespoons all natural no oil peanut butter
  • 1/4 teaspoon vanilla
  • 1-2 Tablespoons cream or whole milk

Method:

  1. In a large bowl, mix together the butter, sugar, peanut butter, and vanilla with an electric beater.
  2. Slowly add just enough milk until the ingredients make a thick but smooth buttercream.
  3. Scoop into a pastry bag and use immediately.

20 Times I Loved As A 22-Year Old

Tomorrow’s my birthday. If I have the energy I might make a carrot cake or a flourless chocolate cake. More likely I’ll yelp a bakery where they sell gluten-free cupcakes and call it a day.

Here are 20 times I’ll miss from being 22, but I know there are 40 more waiting for me at 23.

1. Moving to New York

2. Every time I’ve found a bar with drinks under $8 in New York

Capture

3. When I visited The Today Show for the first time

4. When I became sort-of-kind-of Pinterest-famous

5. The day Buzzfeed quizzes started

6. The day I graduated college

Reese’s Lover’s Bark Whole

7. Every moment that involved Reese’s

8. Whenever I met new friends

9. Whenever I re-met old ones

10. Whenever this song played

11. When I wrote a viral Buzzfeed post

Drinking

12. When I found this gif

13. When I found Nutella for $3.29

14. When I discovered Freaky Eaters on Netflix(Watch all of the episodes. Right now)

Eldeflower Cocktail

15. The day I discovered Elderflower liqueur

16. The two weeks spent on my couch watching athletes compete in Sochi

17. When I found out how easy making caramel sauce is and vowed to do it more often(I haven’t done it since)

Oct 20th 039

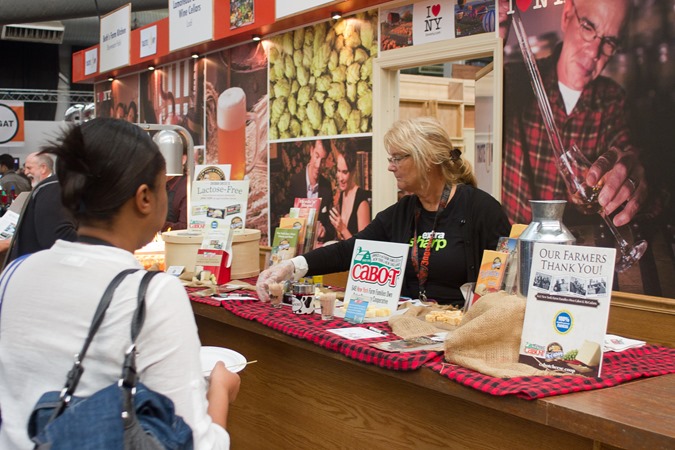
18. When General Mills invited me to the NYC Wine & Food Festival

IMG_6486

19. And also any time I stuffed my face with Chex mix

And of course

20. That one time Starbucks spelled my name right

Let there be cake.

Low-Fat Chocolate Coconut Loaves

IMG_6544-2

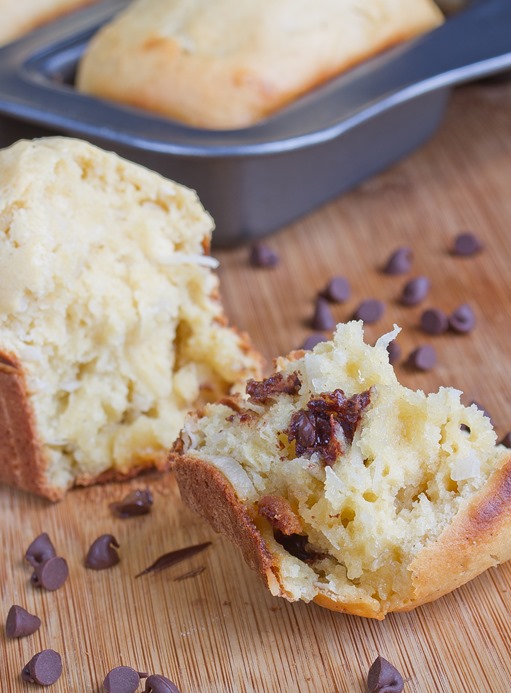
I hate the word low-fat, because instantly it conjures up thoughts of dried pastries and a total lack of flavor. That’s nothing anything like these loaves are, soft and bursting with a sweet flavor right out of the oven.

Instead of butter or oil, these are made with two favorite tricks: Greek yogurt and evaporated milk. They’re much better options in baking than low-fat or non-fat margarine because of the simple ingredients and don’t change the flavor.

I used a mini-loaf pan because that was what I had, and the portioning worked out perfectly. Just reheat one at a time and it’s like having a freshly baked breakfast. Since low-fat pastries dry out faster, I’d recommend freezing half of the batch and thawing it later in the week(if you think the first batch will last that long).

Low-Fat Chocolate Coconut Loaves

Low-Fat Chocolate Coconut Loaves

Prep time: 15 minutes

Cook time: 25 minutes

Ingredients(Makes 8 mini-loaves or 1 large loaf):

  • 1 3/4 cups +2 Tablespoons gluten-free all purpose flour(or wheat flour)
  • 3/4 cup sugar
  • 1/2 teaspoon baking soda
  • 1/2 cup chocolate chips
  • 1/2 cup sweetened coconut flakes
  • 1 5oz can fat-free evaporated milk
  • 1 5.3oz vanilla Stonyfield Greek
  • 3 eggs

Method:

  1. Preheat your oven to 350 degrees.
  2. In a large bowl, mix together the flour, sugar, baking soda, chocolate chips, and coconut flakes until well mixed.
  3. Add in the rest of the ingredients and beat until it forms a thick batter.
  4. Grease 8 mini-loaf pans or one large one and pour the batter in.
  5. Bake for 25 minutes or until the loaves rise and the center has set. If you’re making one large loaf, wait 40-50 minutes before checking if it’s done.
  6. Remove from the oven and let cool before removing from the pan and slicing.

Savory Garlic Green Beans

IMG_6519

A lot of the time I’m asked if this is purely a dessert blog. It’s not, but I can see where the confusion comes from between brownies and bark and cookies.

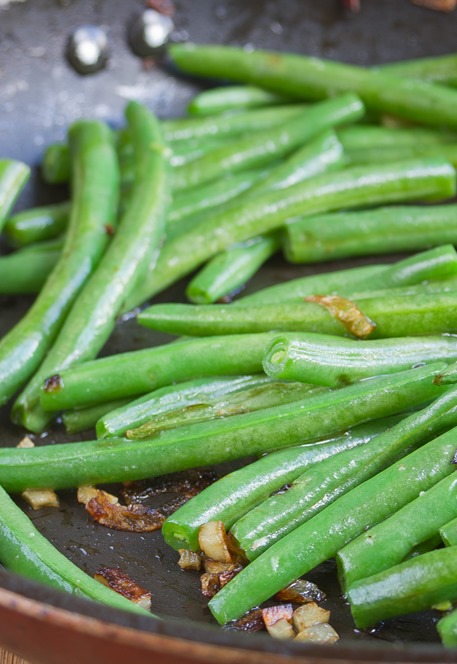
Desserts are just easier to photograph. You don’t have to worry about them cooling too much. You can even wait a whole day before cutting a slice. But spend 10 minutes photographing green beans and all you’re left with are mediocre pictures and cold vegetables.

You’ll only get one mediocre picture from this blog post, but a darn good recipe. If you like vegetables—or even if you don’t—using garlic and shallots and just the right amount of salt makes these greens addictive.

Savory Garlic Green Beans

Prep time: 10 minutes

Cook time: 5 minutes

Ingredients(Makes 2-3 servings):

  • 3 Tablespoons olive oil
  • 1/2 shallot, diced
  • 2 cloves garlic, chopped finely
  • 1lb fresh green beans, end chopped
  • 1/2 teaspoon salt

Method:

  1. Heat 2 tablespoons of oil in a pan over medium heat.
  2. Add in the shallots and garlic and cook until they begin to brown.
  3. Add in the rest of the oil and the green beans. Sauté moving constantly so that the green beans cook on all sides.
  4. Season with salt and toss before removing from the pan. Serve while hot.

Reese’s Peanut Butter Cup Brownies

Reese’s Peanut Butter Cup Brownies

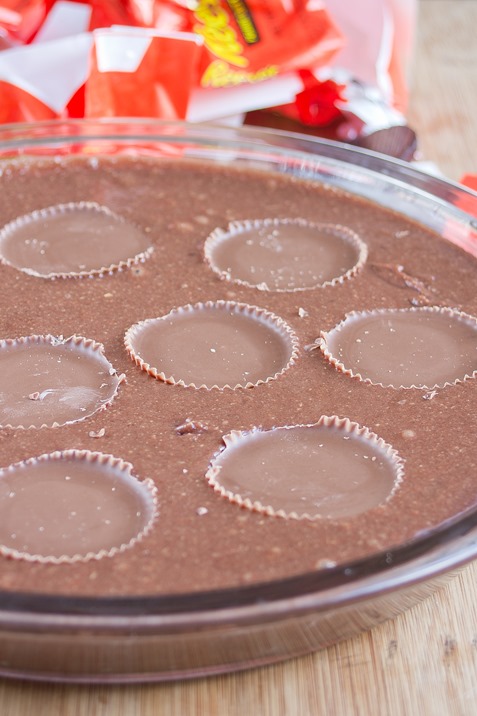
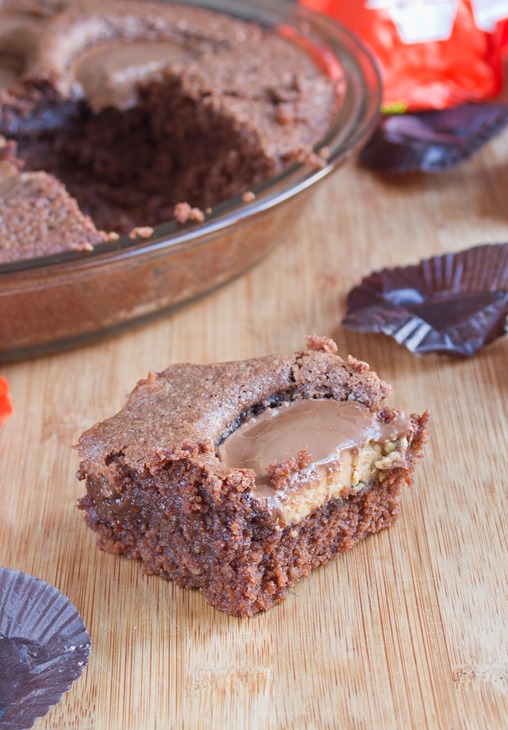
I can’t believe I haven’t made something this simple yet. Brownies + Reese’s cups. What more do you need?

When it comes to brownie recipes, I have a few favorites that I stick by. On occasion I’ll try a mix, but homemade usually comes out better.

Whether you’re making your own or using a mix, this batch will definitely come out better. Seriously, with peanut butter cups how could you go wrong? Once these cool, the milk chocolate sets again and the peanut butter has a roasted, nuttier flavor. It’ll definitely be a hit with your peanut butter lovers.

Reese’s Peanut Butter Cup Brownies

Reese’s Peanut Butter Cup Brownies

Prep time: 10 minutes

Cook time: 25 minutes

Ingredients(Makes 16 servings):

Method:

  1. Preheat your oven to 350 degrees.
  2. Prepare your brownie recipe according to directions.
  3. Grease an 8×8 baking pan well and pour the batter into the pan.
  4. Unwrap the peanut butter cups and place them evenly around the pan on top of the batter pressing them in gently.
  5. Bake for 20-25 minutes according to directions.
  6. Remove and let them cool completely before cutting.