Popular Recipes

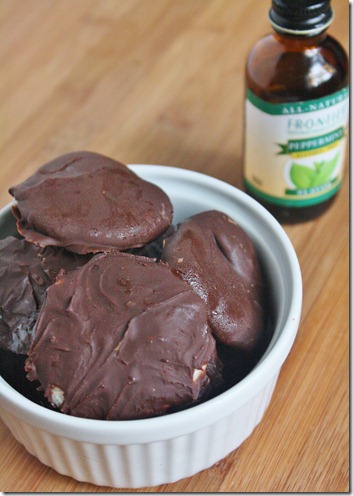
Homemade Peppermint Patties

homemade-peppermint-patties

While I definitely have a sweet tooth, you could count the different candies I like with one hand: peanut butter cups, Snickers, Swedish fish, and Peppermint Patties. Oh, and candied ginger, but that doesn’t really count; I mean, it has ginger in it so that practically makes it a medicine.

homemade-peppermint-patties-plate

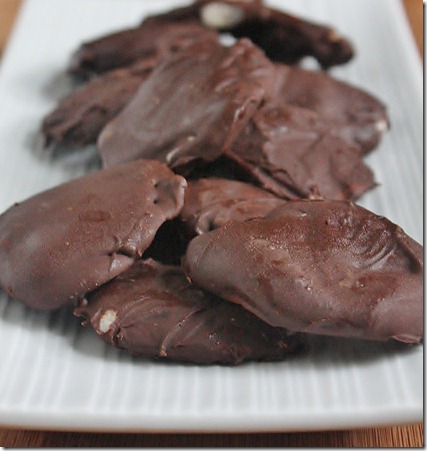
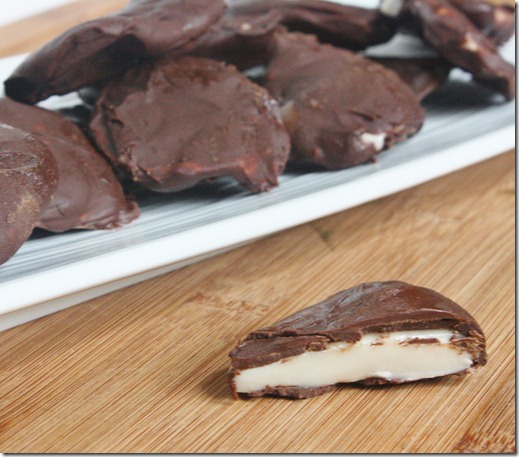
I might be jumping the gun with Halloween still over a month away, but I’ve been really excited to make my own candy for a while. The last time I made these peppermint patties was for a New Years Eve party, so almost 9 months ago. That’s way too long for something this good. The filling is soft, smooth, and refreshing while the outside is dark and crunchy. Well I don’t need to tell you—you’ve probably had a Peppermint Patty before, and these taste just like the real deal!

Homemade Peppermint Patties(gluten-free/vegan) recipe here.

Recipe notes:

  • I had to use more than the amount of powdered sugar listed in the ingredients. My best guess is that the temperature affected the dough since the last time I made them was the dead of Winter. Just keep adding powdered sugar by the 1/4 cup until you can break off a piece and roll it into a ball without the sugar sticking to your hand.
  • I froze completely the filling part before dipping it in chocolate, which I think made the process easier.
  • I used chocolate chips again, but I think real bakers chocolate would be better since the coating had some trouble staying hard after being melted.
  • I froze the filling and finished patties on aluminum foil and it didn’t stick like I thought it might.

homemade-peppermint-patties-cross-section

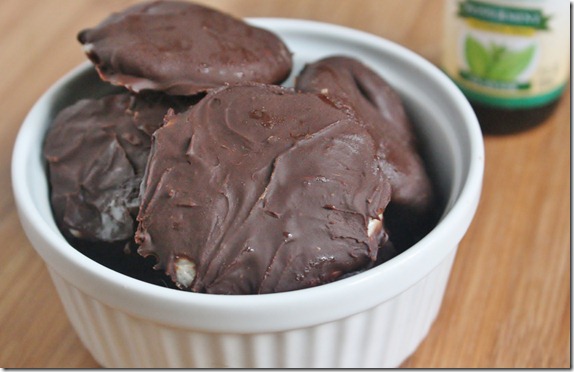
I was debating covering the tops with white non-perils but the chocolate hardened before I got a chance so I didn’t bother. You could spend the extra time to make sure all the sides are covered evenly and the coating is smooth; I, however, like when not every dessert is identical or perfect. It shows that it’s homemade and unique.

homemade-peppermint-patties-bowl

Baked Butternut Squash Mash

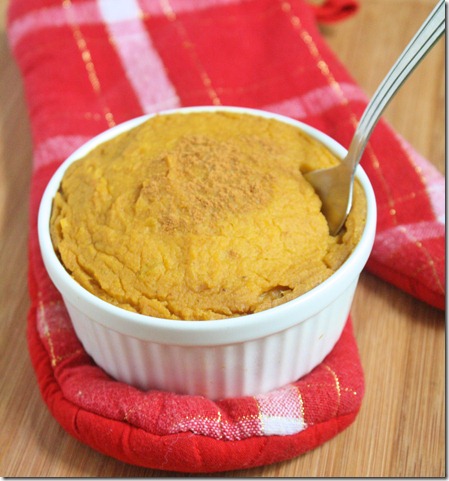
Baked-Butternut-Squash-Mash

Now is my favorite time of the year, for food at least. I love pumpkin, squash, mashed potatoes, sweet potatoes—basically anything starchy that looks like baby food. Naturally I was excited to see local squash at the farmers’ market last week and picked out the biggest, most obscene looking butternut squash I could find.

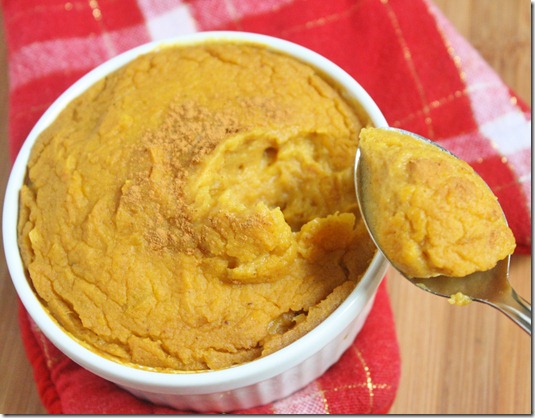
Baked-Butternut-Squash-Mash-spoonful

Like I said, this is basically glorified baby food: Smooth squash puree mixed with amber maple syrup, rich cream, and nutty spices. It’s reminiscent of a pie filling but without the overpowering sweetness so you can feel good about eating this with dinner. It’s definitely a new favorite that I’ll probably turn to time and time again the next few months; it’s good enough that I’d invite it to the Thanksgiving table!

Baked Butternut Squash Mash

Prep time: 5 minutes

Cook time: 30 minutes

Ingredients(Makes 4 servings):

  • 3 cups butternut squash puree*
  • 1/2 cup almond cream(recipe below) or regular cream or other non-dairy cream
  • 3 Tablespoons maple syrup
  • 1/2 teaspoon salt
  • 1/2 teaspoon cinnamon
  • 1/4 teaspoon nutmeg

*This is easy to make yourself. Roast a medium-sized butternut squash until the inside is soft. Scoop the flesh out from the skin and puree it in a food processor until smooth.

For the almond cream:

  • 3 Tablespoons smooth almond butter
  • 5 Tablespoons water

Method:

  1. In a small bowl, whisk together the almond butter and water until it forms a rich and smooth liquid.

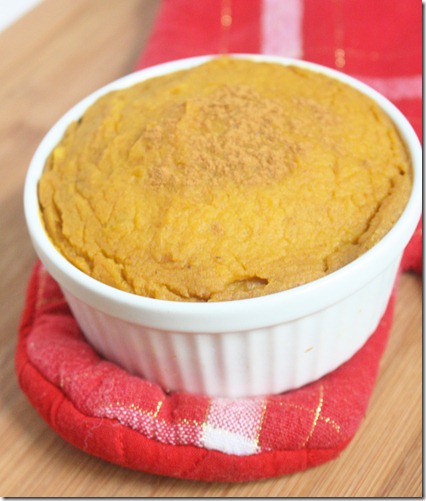
Baked-Butternut-Squash-Mash-out-of-oven

Method:

  1. Preheat your oven to 375 degrees
  2. Stir together the butternut squash puree, cream, maple syrup, salt, cinnamon, and nutmeg until completely combined.
  3. Scoop the squash into a large casserole dish or individual ramekins. Bake for 20-30 minutes until the squash is heated through and the top has goldened slightly and begun to crack.
  4. Garnish with cinnamon and serve hot.

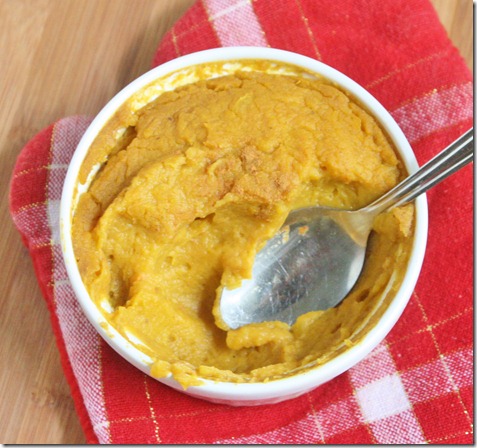
Baked-Butternut-Squash-Mash-bowl

There were no leftovers, but I figured a picture of a half-eaten bowl was better than an empty bowl.

Now what other squash can I find?

Raw Chocolate Ganache Tortes

raw-chocolate-ganache-torte

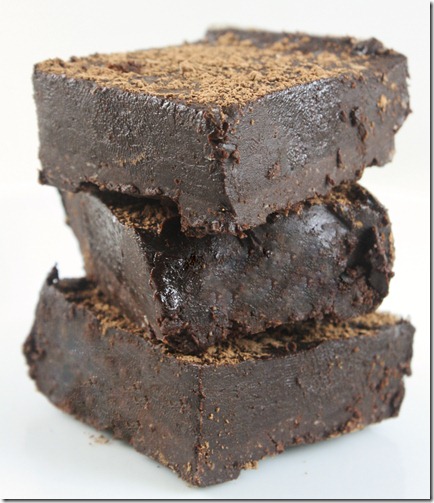
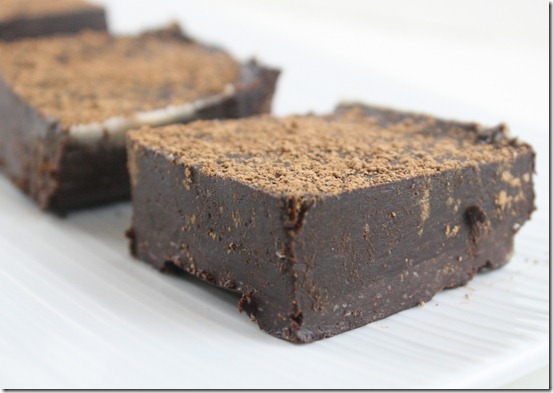
If you’ve been following this blog for any length of time you’d know I’m obsessed with the raw chocolate ganache torte(pictures here) from Wildflour bakery. Time and time again I’ve tried to make my own, but it just never comes out as good as there’s.

Until now.

raw-chocolate-ganache-torte-2

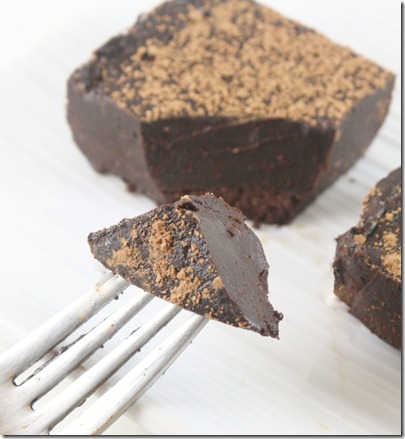
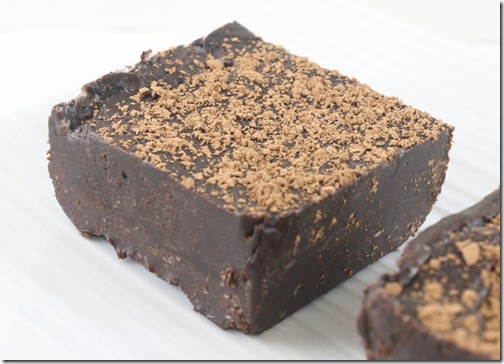
I can honestly say this is one of the best things I’ve ever eaten. The raw chocolate taste so much more intense than anything that comes in a wrapper. And the crust and filling blend seamlessly together for a smooth, nutty bite. It’s perhaps my favorite recipe to share and I hope becomes this site’s most popular, because it truly deserves the attention.
You can use any nut butter in place of the almond butter. Just don’t leave it out. It helps to lower the solidity temperature of the coconut oil so that the dessert is easily cut through straight from the refrigerator.

Raw Chocolate Ganache Tortes(adapted from this recipe and inspired by Wildflour)

Prep time: 15 minutes

(Un)cook time: 2 hours

Ingredients(Makes 8 small tortes):

For the crust:

  • 6 Tablespoons almond flour
  • 1/4 cup cocoa powder
  • 2 Tablespoons coconut oil, softened or melted
  • 2 Tablespoons agave nectar

For the filling:

  • 1/2 cup cocoa powder + more for dusting
  • 1/4 cup coconut oil, melted completely
  • 7 Tablespoons agave nectar
  • 2 Tablespoons almond butter

raw-chocolate-ganache-torte-on-fork

Method:

  1. Combine all of the crust ingredients and mix until a uniform dough forms.
  2. Press the dough in an even layer into the bottom of a small loaf pan. Alternatively, you could make these in a muffin tin and have them be round.
  3. For the filling, beat together all of the ingredients until it makes a soft ganache.
  4. Pour the ganache over the crust base. Refrigerate for 2 hours.
  5. Sift extra cocoa powder over the torte. Cut with a sharp knife into 8 equal-sized tortes.

Sep 21st 019

I will never pay for another raw chocolate ganache torte again. I will, however, still pay for their carrot cake truffles, chocolate pound cake, raw macaroons, raw cheesecake, raw oreos and rum balls, so I wouldn’t worry about them losing much business.

Fried Quinoa

fried-quinoa

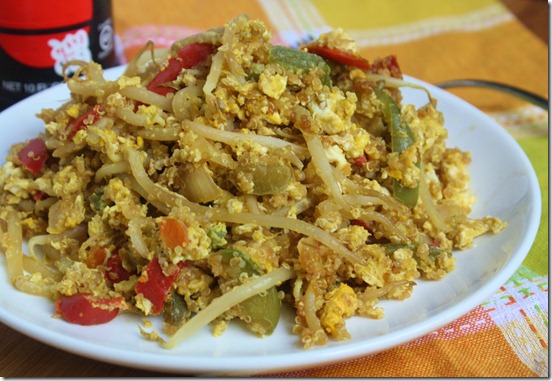
The downside(or benefit depending on how you look at it) of making things like quinoa in big batches is that you have the same old food meal after meal. Luckily, quinoa is one grain that’s easy to dress up. You can eat it in the morning in place of oatmeal, or later on in place of rice. Here I used it to make a tasty, higher protein version of fried rice.

fried-quinoa-plated

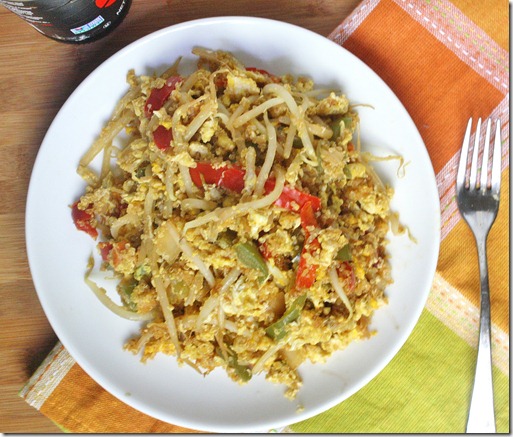
I’ve never really found rice interesting, even as fried rice from a halfway decent Chinese takeout restaurant. This, however, I could eat meal after meal. The vegetables and egg add a play of textures and the quinoa has a nice nutty flavor to it to compliment the sesame oil. Add some stir-fried tofu or chicken and you’re good to go.

Of course, if you have leftover rice you could make the same recipe subbing in rice for quinoa and have a more traditional dish.

Fried Quinoa

Prep time: 5 minutes

Cook time: 10 minutes

Ingredients(makes 2 servings)

  • 1 cup cooked quinoa
  • 2 Tablespoons toasted sesame oil
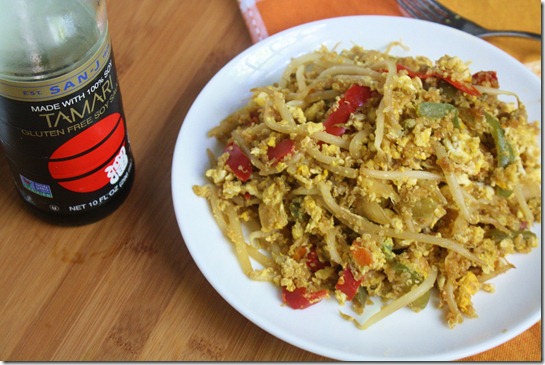
  • 3 Tablespoons soy sauce(use wheat-free tamari for a gluten-free meal)
  • 1/2 an onion, diced
  • 1 bell pepper, chopped into bite-sized chunks
  • 1/2 cup bean sprouts
  • 4 eggs

fried-quinoa-soy-sauce

Method:

  1. Heat the oil and soy sauce in a large frying pan over medium-high heat until the oil starts to bubble.
  2. Add in the onion and sauté until translucent.
  3. Add in the quinoa, pepper, and bean sprouts. Toss the pan to mix. Cook until all the liquid has been absorbed and the quinoa on the bottom of the pan begins to pop.
  4. Crack the eggs directly into the pan. Lightly mix them in with the other ingredients. Continue mixing until the all the whites and yolks have cooked through.
  5. Plate and serve hot. Can be kept in the refrigerator and reheated as leftovers for up to 3 days.

fried-quinoa-fork

I ate this as leftovers and it was most definitely better the next day, with a strong, nutty sesame flavor and crunchy bean sprouts.

How To Cook Quinoa In A Rice Cooker

how-to-cook-quinoa-in-a-rice-cooker

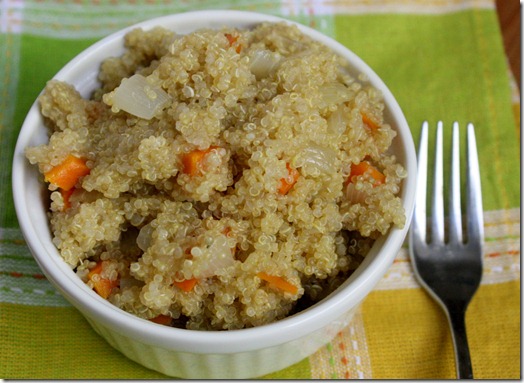
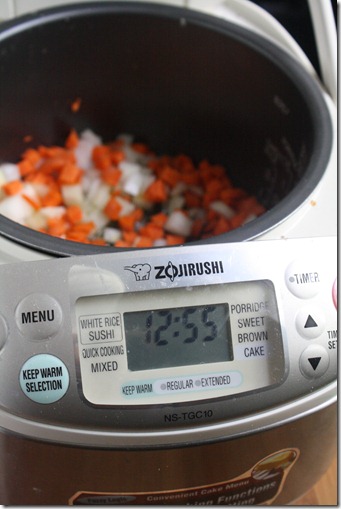
Last year around this time I bought a rice cooker. Since then I’ve made rice approximately 2 times, both being for other people. I just don’t care for rice. Why’d I buy it then? To cook other things like quinoa.

Quinoa is traditionally made in a pot on the stove. That method works well if you have a full kitchen, but there are definitely benefits to using a rice cooker, too.

    • You don’t have to watch a rice cooker as much as a burner.
    • Rice cookers with “keep warm” settings make it easy to serve warm food even during a busy party.
    • You can use a rice cooker almost anywhere there’s an electrical outlet—even in a dorm room.

how-to-cook-quinoa-in-a-rice-cooker-brand

I use a Zojirushi rice cooker. They’re one of the more expensive brands but totally worth the extra cost. This will last for years and years, is easy to clean, and has plenty of cooking features. I’ve made a number of different things in it, from quinoa to date paste. It’s worth the investment if you’re in the market for a rice cooker.

How To Cook Quinoa In A Rice Cooker

Prep time: 5 minutes

Cook time: 30 minutes

Ingredients(Makes 4 servings):

  • 1/2 an onion, small diced
  • 1 large carrot, small diced
  • 2 Tablespoons olive oil
  • 1 cup quinoa, rinsed and drained
  • 2 1/2 cups water or stock
  • 3/4 teaspoon salt(omit if using salt)

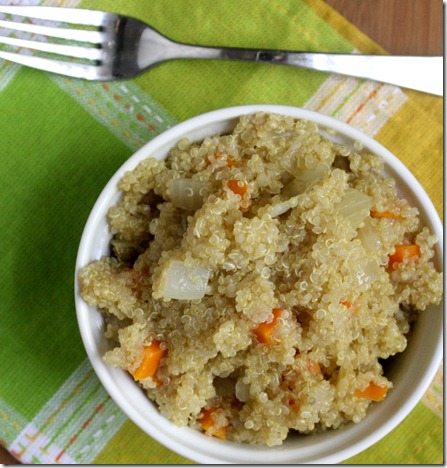
how-to-cook-quinoa-in-a-rice-cooker-finished

Method:

  1. “Sauté” the carrots and onion in the bottom of the rice cooker by cooking them in the oil on a high-heat setting until the onions are translucent.
  2. Add in the quinoa, liquid, and seasoning if using. Close the lid on the rice cooker and cook on high for 15-20 minutes until the liquid has boiled off. The quinoa will be ready when it has doubled in volume and a “tail” sprouts from the end.
  3. Fluff the quinoa with a serving spoon and serve hot or let cool and store in a sealed container in the refrigerator for 2-3 days.

how-to-cook-quinoa-in-a-rice-cooker-overhead

Once you get comfortable preparing basic quinoa, you can make more complex recipes, all while still using your rice cooker. Here are a few of my favorites that I have picked to make for Fall:

Vegged-Out Quinoa

The Best Quinoa Dressing

Savory Pumpkin Quinoa

Fava Bean Salad

fava-bean-salad

Fava beans are one of my favorite beans; they’re also probably the most underrated. It doesn’t help their reputation that they’re best known from Hannibal Lecter’s line in Silence of the Lambs where he boasts eating them alongside human liver and chianti. I promise this recipe has no liver or chianti. Well, you can add chianti if you’d like. But not liver. Not human at least.

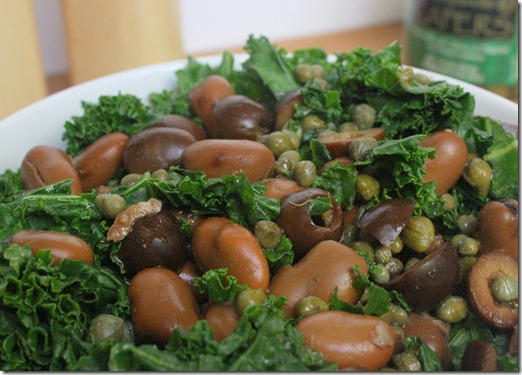
fava-bean-salad-close-up

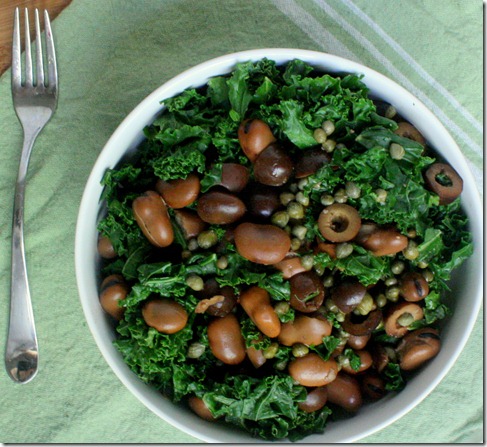
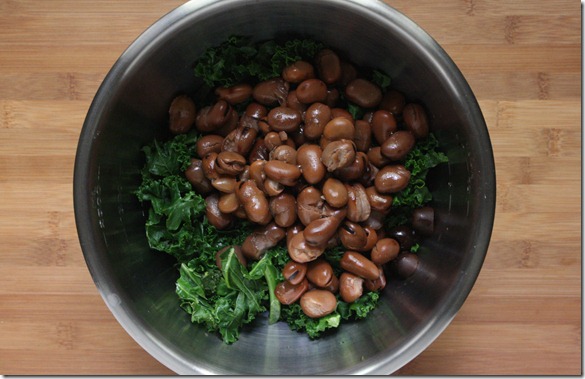
Fava beans have a much meatier texture and flavor to them than most other beans. Because of this I think they’d be more appealing to meat eaters than a chickpea or cannellini bean. They’re also able to hold their own against the boldness of kale, olives, and capers in a way that most other beans wouldn’t. 

Fava Bean Salad

Prep time: 5 minutes

Cook time: 0 minutes

Ingredients(Makes 2 servings):

  • 1 can cooked fava beans, drained
  • 1/4 cup sliced black olives
  • 3 Tablespoons capers
  • 2 cups kale, wilted
  • 1 Tablespoon olive oil(optional)

fava-bean-salad-ingredients

Method:

  1. Combine all of the ingredients together in a large bowl.
  2. Toss all of the ingredients together. Salt to taste if necessary. Serve cold or at room temperature.

fava-bean-salad-bowl

Since olives and capers are traditionally brined, you don’t need to season the salad with salt or vinegar and still have a flavorful dish with just 4 or 5 ingredients.

How To Prepare Beets + A Beet Salad Recipe

How-To-Prepare-Beets

When I worked in a restaurant over the Summer, I spent more time with beets than I’d ever thought I would. I would work on preparing them for service for hours. I thought I’d never touch them again until I saw them at the farmers’ market last week and decided to grab some to share my knowledge.

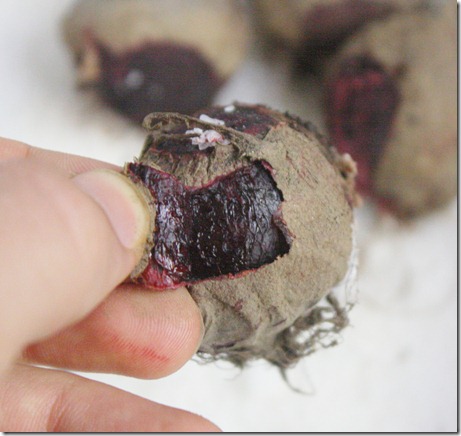
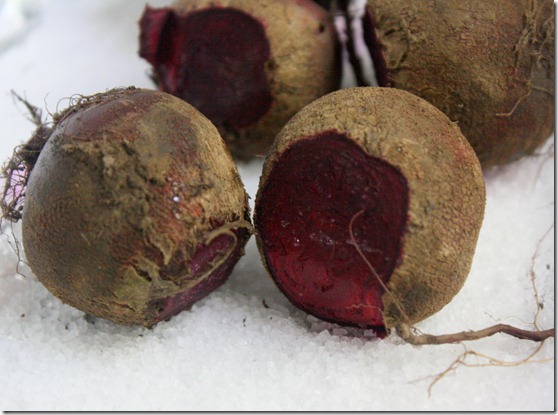
Beets aren’t exactly difficult to prepare, just a bit tedious. First we roasted them in a salt bath. The theory is that the beets absorb the salt, making their sweetness more potent. Whether that worked or not we constantly debated. Once they came out of the oven, we had to peel them, all done by hand while still piping hot. It was not the most fun job to have to do for an hour, and my fingers often looked like I had just committed a murder afterwards.

How-To-Prepare-Beets-Stem

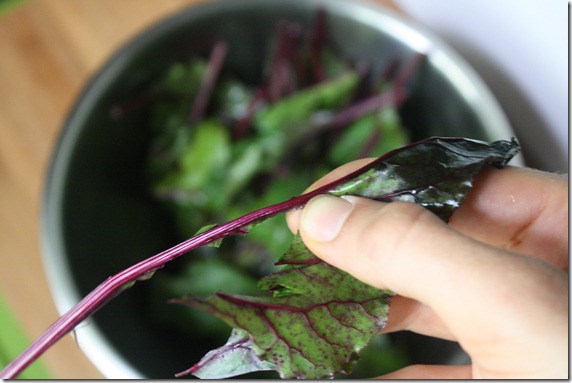
The other part of beet preparation was the greens. I didn’t know beet greens were even edible; I had always thrown mine away thinking they were poisonous like radish leaves. The proper way to peel a beet green is to pinch the leaves and remove the long, thick, purple spine in the middle. Doing this with one bunch of beets isn’t too troubling; doing it with 30 bunches of beets—well, that was anther story.

Roasted Beets

Prep time: 5 minutes

Cook time: 1 hour 10 minutes

Ingredients:

  • 1 bunch of beets, stems removed
  • 1/2 cup salt

How-To-Prepare-Beets-Raw

Method:

  1. Preheat your oven to 400 degrees.
  2. Pour the salt down on a baking tray.
  3. Lay the beets down on top of the salt. Roast for 60-70 minutes until a fork can pass through easily.
  4. Remove the tray from the oven and let cool slightly for 5 minutes or so.
  5. Gently peel the skin off of the beets using your hands. You might want to use a dish towel to protect your hands from the heat and dye of the beets.

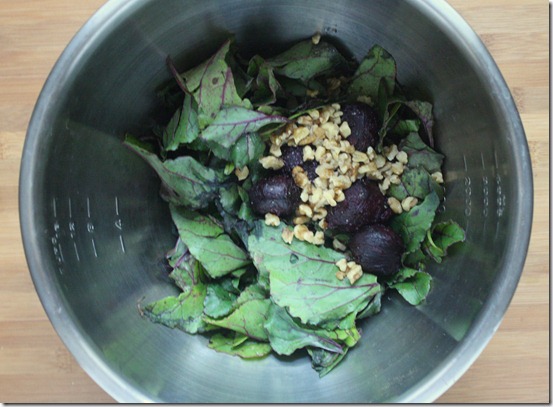
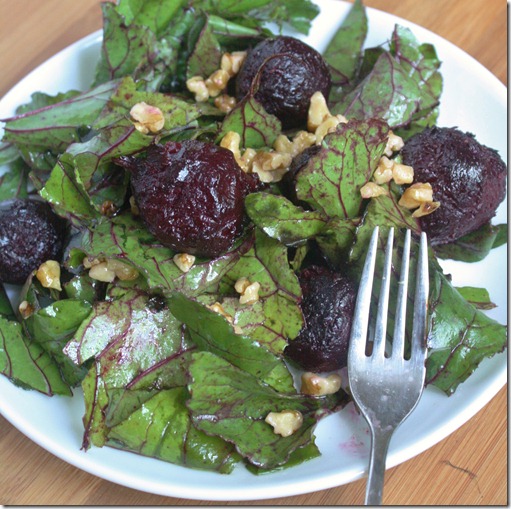
We served our beets in the restaurant in a salad. The salad prepared there had goat cheese and pistachios in it. Since I don’t eat cheese and didn’t have pistachios, I made a modified version with oil and walnuts. The recipe below could work for either variation.

Roasted Beet Salad

Prep time: 5 minutes

Cook time: 0 minutes

Ingredients(for 1 serving):

  • 6 medium-sized roasted beets, cooled to room temperature
  • Greens from one bunch of beets, washed and deveined
  • 1/4 cup crumbled goat cheese(optional)
  • 1/4 teaspoon salt(omit if using goat cheese)
  • 1 Tablespoon olive oil(omit if using goat cheese)
  • 2 Tablespoons crushed walnuts or pistachios

How-To-Prepare-Beets-Ingredients

Method:

  1. Combine all of the ingredients in a large bowl
  2. Toss the ingredients until thoroughly mixed together.
  3. Plate and serve at room temperature.

How-To-Prepare-Beets-Salad

If my restaurant experience taught me anything, it’s that I’m perfectly happy eating canned beets. They’re cheaper, more convenient, and just as nutritious. That being said, preparing your own beets from scratch makes for an impressive dish.

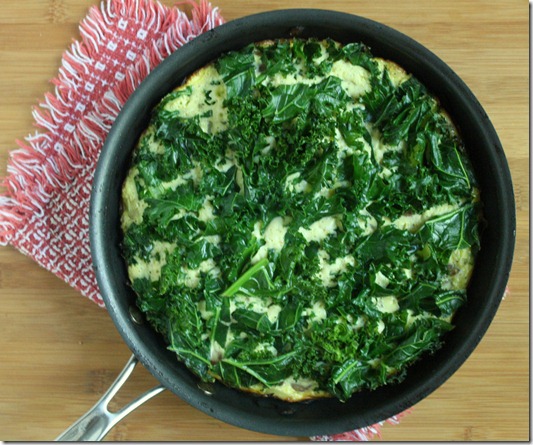
Stovetop Kale And Mushroom Frittata

Stovetop-Kale-And-Mushroom-Frittata

This school year I’m doing something different. For the first time, I’m completely off of meal plan. That means I’m making every meal for myself, 3(who am I kidding? 5) times a day.

I did enjoy dropping into the cafeteria and piling up options from the salad bar from time to time, or bumping into friends to have dinner with. But this undoubtedly feels better for me. I feel comfortable grocery shopping and making meals for myself, even if half of those meals are made in a microwave and completely unphotogenic. And it’s still easy to eat meals with friends, just at different places.

Stovetop-Kale-And-Mushroom-Frittata-Overhead

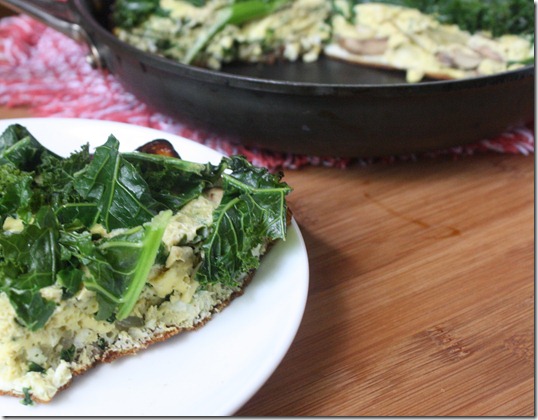
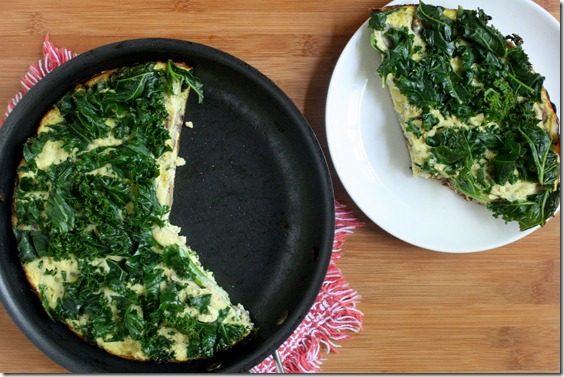
There are times, however, when it’s inconvenient. Tuesday and Thursdays I have class all day. There’s simply no time to cook. Because of that, I usually make meals like this frittata the day before to heat up and serve when I’m in a rush—a much better option than fast food. While a traditional frittata is baked, this one is made entirely on the stovetop; it’s for no reason other than I hate moving things around, and this is easy enough that anyone can do it. . 

Stovetop Kale And Mushroom Frittata

Prep time: 5 minutes

Cook time: 20 minutes

Ingredients(Makes 3 or 4 servings):

  • 12 medium eggs
  • 3/4 cup mushrooms
  • 1/2 an onion, diced
  • 2 Tablespoons oil
  • 1 cup chopped kale
  • Salt to taste

Stovetop-Kale-And-Mushroom-Frittata-Cooking

Method:

  1. In a large bowl, crack and beat the eggs. Set aside.
  2. Heat the oil in a 9 or 10-inch frying pan with a lid over medium heat. Sauté the onions and mushrooms until both are cooked. Remove these from the pan briefly.
  3. Put the pan back on the stove and pour in the beaten eggs. After 10 seconds or so, evenly distribute the mushrooms and onions throughout the batter.
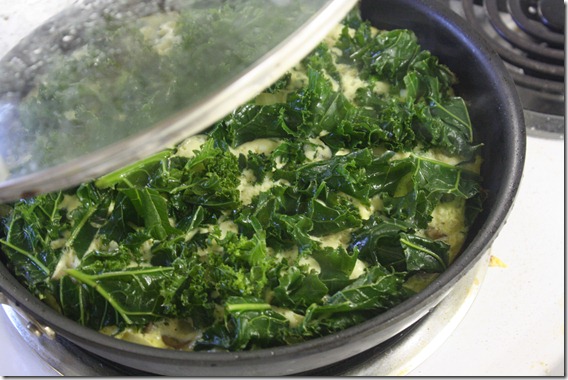
  4. Gently press the kale on top into the raw egg and put the lid on the pan.
  5. Leave the frittata on the stove for 10 or 15 minutes undisturbed as it cooks. It will be ready when the egg in the center of the pan has set.
  6. When cooked, remove the pan from the stove and gently jiggle it to unstick the frittata from the bottom. Move to a plate to cut and serve.

Stovetop-Kale-And-Mushroom-Frittata-Pan

I get about 3 meals out of one pan. Frittatas are great because they work for any meal of the day. I’d happily eat this for all 3.

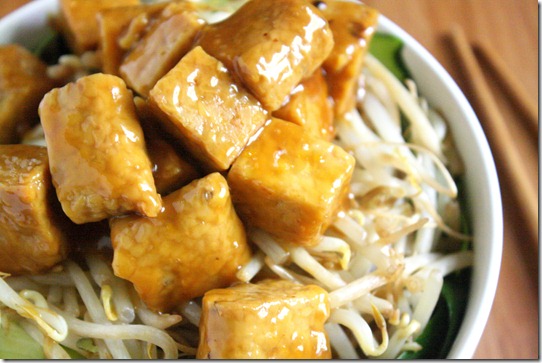
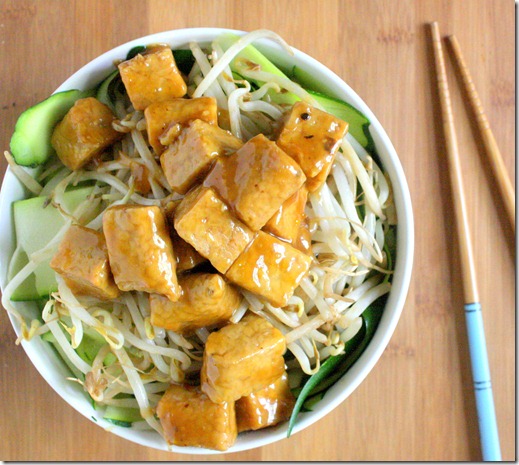
Orange Tempeh

orange-tempeh

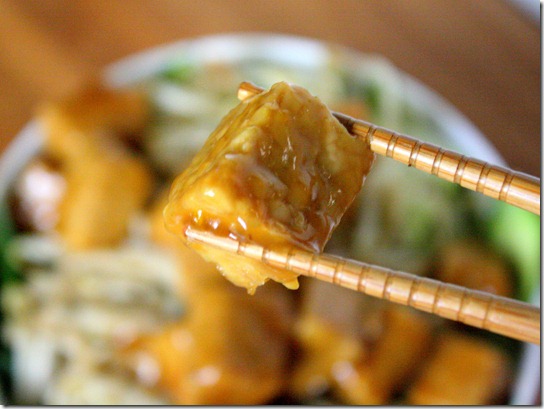
When I was in high school, we didn’t really have a traditional cafeteria; instead, we used a college campus’ union where they had tons of food options inside. Between my freshman and sophomore year, Burger King was moved out and in their place came a Panda Express. I wasn’t quite sure how to feel about that, since I loved the Burger King frozen chocolate pies so much. But one taste of Panda Express’ orange chicken and it was love at first bite.

I can’t count how many times I got that order over the next couple of years. Now I sometimes go back and get a little nostalgic just looking at the Panda Express sign. But since gluten and meat are out, Panda Express’ orange chicken is, too. So that inspired me to make my own; if I could make something half as good as their orange chicken without chicken or wheat, I’d be happy. Luckily I think I came upon with something half as good and more.

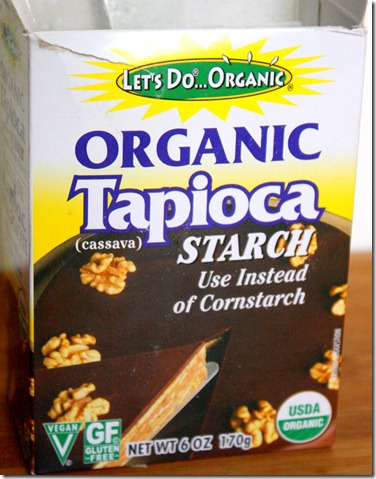
orange-tempeh-ingredient

I used tapioca starch for a corn-free dish I was a little worried it wouldn’t be a good replacement, but it worked exactly the same. It’s something I now keep on hand at all times for gluten-free/grain-free baking and cooking.

Orange Tempeh

Prep time: 5 minutes

Cook time: 10 minutes

Ingredients(for 2 servings):

  • 1 block of tempeh, cubed
  • Juice of 1/2 an orange(about 2 Tablespoons)
  • 2 Tablespoons agave, or any sweetener
  • 1 Tablespoon soy sauce(or wheat-free tamari)
  • 1/2 Tablespoon sesame oil
  • 2 teaspoons rice vinegar
  • 1/4 teaspoon salt
  • 1 teaspoon siracha sauce(optional)
  • 1/2 Tablespoon tapioca or corn starch mixed with 2 Tablespoon water

orange-tempeh-bowl

Method

  1. In a small dish, mix together the orange juice, agave, soy sauce, vinegar, salt, sesame oil and siracha if using.
  2. Pour the mixture into a frying pan and heat over a burner set to medium.
  3. When the liquid is hot, add in the tempeh. Brown the tempeh on all sides in the sauce until half the liquid has boiled off, about 5 minutes.
  4. Pour the dissolved starch into the pan and mix it around with the tempeh and sauce to thicken up. If the sauce becomes too thick, add a couple tablespoons of hot water into the pan and mix it in until more of the starch has dissolved and adjust it until it forms a coating over the tempeh.
  5. Remove from the heat. Serve over vegetables or rice.

orange-tempeh-cube

This sauce is slightly less sweet and more orange-flavored than Panda Express’, which I like in terms of complexity but not quite fitting for a Chinese take-out craving. You can play with the sweetness and saltiness by adding more sugar or soy sauce and adjust to taste.

Mixfest 2011

Sep 18th 038

I’m interrupting the regular foodiness of this blog to bring you something way cooler. Yesterday I went to my first Mixfest hosted on the Esplanade.

Growing up around Boston and a regular listener of Mix 98.5/104.1, I had always been aware of Mixfest as an awesome star-studded concert but never gone since tickets were usually pricy and hard to come by. This year, however, the concert was free. And since my friends wanted to see the concert just as bad as I did, we planned out a day trip to Boston and made it happen.

Sep 18th 028

We got to the hatchshell wicked early(can you spy the Bostonism?) and had a couple hours to kill before the performances started.

Sep 18th 052

Cotton candy was an obvious snack choice. I’d like to say I don’t eat it much but this was my second time this week. I just love sugar so much.

Sep 18th 044

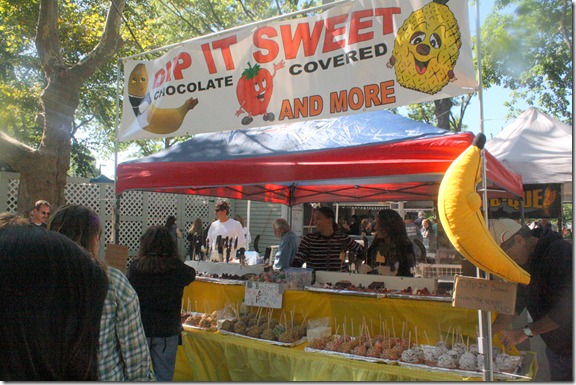
There was also a stand that sold just about everything imaginable on a stick and covered and chocolate which a lot of my friends got. I was really in the mood for cotton candy, so I stuck with that. But if they set up shop in Providence, there’d be trouble.

Sep 18th 055

Finally Javier Colon took the stage, winner of last season’s The Voice. I admittedly was a Dia Frampton fan but he did an amazing job singing songs like Time After Time and Stitch By Stitch and hit some incredible notes.

Sep 18th 060

Next up was Michelle Branch, which would have been the highlight of my 2000’s childhood. It was a blast singing along to her older songs; I was surprised just how many hits she had and that I could remember all the words.

Sep 18th 092

After Michelle was perhaps the highlight and main reason we decided to come to Mixfest: Sara Bareilles. I saw Sara a few weeks ago also in Boston so I knew to expect a spot-on performance. She sings JUST like she sounds on her album and always gets the crowd up and dancing. An easy favorite.

Sep 18th 097

After Sara was Grace Potter & the Nocturnals. Admittedly I had never heard of them before. By the end of their set though, I was a fan. She brought the most energy out of any performer and rocked the house. Her fans were equally as amusing to watch; for a second it looked more like Woodstock than Mixfest.

Sep 18th 102

During her first few songs I helped myself to a dinner of pink cotton candy. I think I prefer the blue flavor, described on the bag as “Boo Blue.” Yum, how do I make that at home?

Sep 18th 129

The last performance of the night was Lifehouse. This could have gone either way but they ended up being really good and closing the night strong. Another band that I forgot had a huge number of hits. I think I lost my voice somewhere during Hanging By A Moment.

Sep 18th 141

Start to end, the whole trip was 11 hours long. And then we ended up back in Providence dancing to some very different music with a very different crowd for a few hours. Today’s going to have to be pretty low key to recover from it all.