Popular Recipes

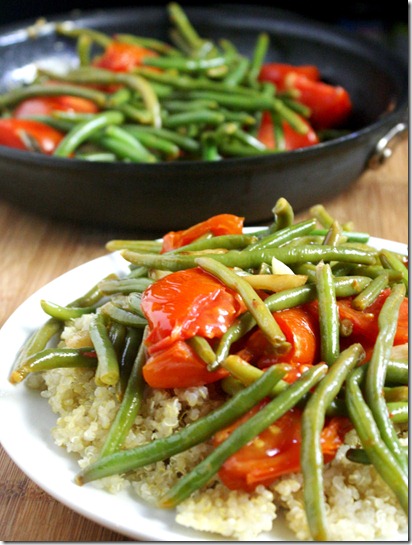
Green Beans Provencal

green-beans-with-garlic-and-tomatoes

When you’re around Italian cooking a lot, you start to pick up the unspoken rules of Italian cooking. These are the rules that tell you how to pair sauce with a specific shape of pasta, not to pair cheese with a fish dish, and to never put a red sauce over green vegetables.

green-beans-with-garlic-and-tomatoes-pan-and-plate

Lucky for me this isn’t Italian, it’s French. There’s also no red sauce, just whole tomatoes. But I’m not sure that exception would fly in Italy. But what no Italian can deny is that when tomatoes combine with garlic and olive oil magic happens and whatever comes out of the pot will undoubtedly be good.

Green Beans Provencal

Prep time: 10 minutes

Cook time: 15 minutes

Ingredients(Makes 4 servings):

  • 1lb green beans, trimmed
  • 3 medium tomatoes
  • 5 cloves of garlic
  • 3 Tablespoons olive oil, divided
  • Salt and pepper to taste

green-beans-with-garlic-and-tomatoes-tomatoes

Method:

  1. Heat 2 Tablespoons of oil in a large pan over medium heat.
  2. Slice the garlic cloves thinly lengthwise. Add the slices into the hot oil and sauté just until the edges begin to brown.
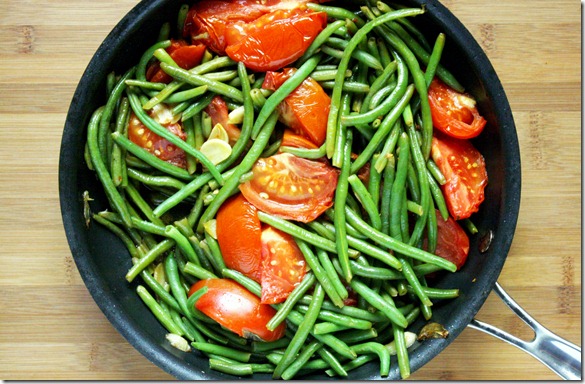
  3. Add the green beans into the pan and toss with the oil. Continue cooking until the green beans cook and darken their color.
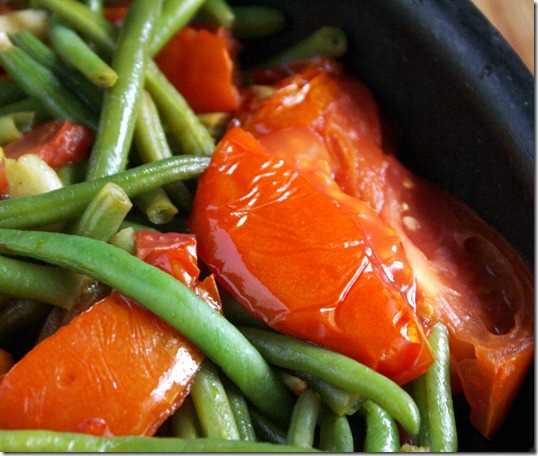
  4. Slice the tomato into halves and then quarters so that each tomato yields 8 slices. Add those to the pan and toss with the green beans.
  5. Continue cooking until the tomatoes blister. Remove the pan from the heat and drain off any water that’s cooked out. Add in the remaining tablespoon of oil, salt and pepper and toss one last time. Move to a serving dish and serve hot.

green-beans-with-garlic-and-tomatoes-pan

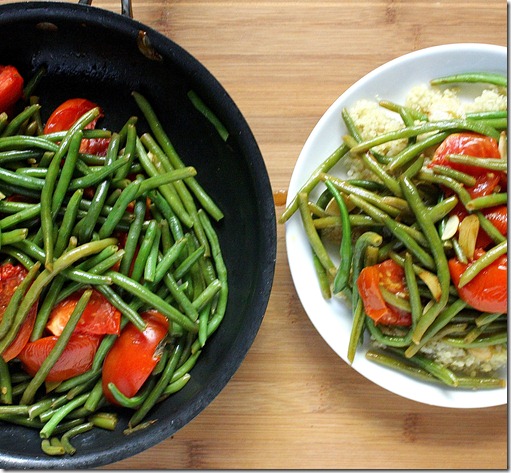
My original plan was to serve this with spaghetti squash. By the time I finally cooked it, I had eaten all the spaghetti squash and had it with quinoa instead, which is a grain that always reminds me of quinoa. I guess what I’m getting at is that this makes a great dish with any pasta.

Peas And Carrots Quinoa

peas-and-carrots-quinoa

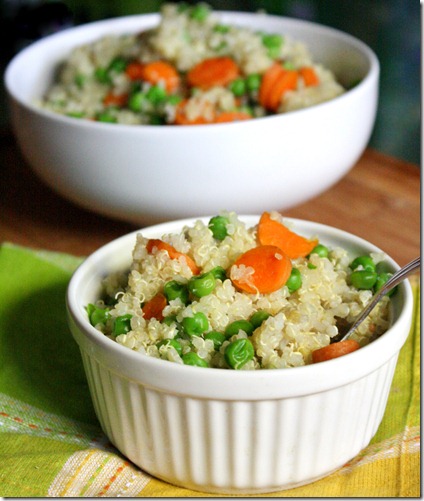
I’ve never understood why there are so many pea blogs out there, and then it hit me: I can’t remember ever trying peas before. I’ve had snap peas, but never peas out of their pod—at least not ever since I’ve been old enough to remember. I used to ice my legs with frozen peas I stole from a common room refrigerator, but that doesn’t count I don’t think. I even went to London where I was promised there would be mushy peas and I never saw any. What a disappointment. So when I went to Trader Joe’s and saw a bag of frozen peas for fairly cheap I thought I’d try them out.

peas-and-carrots-quinoa-serving

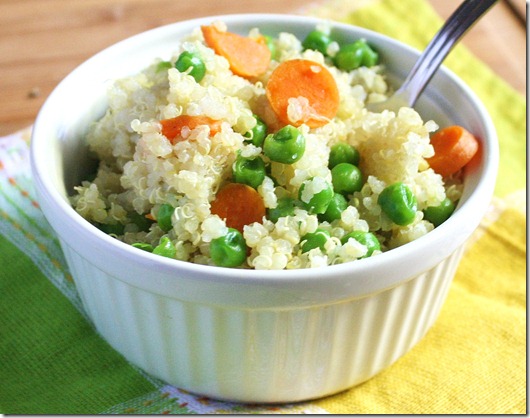
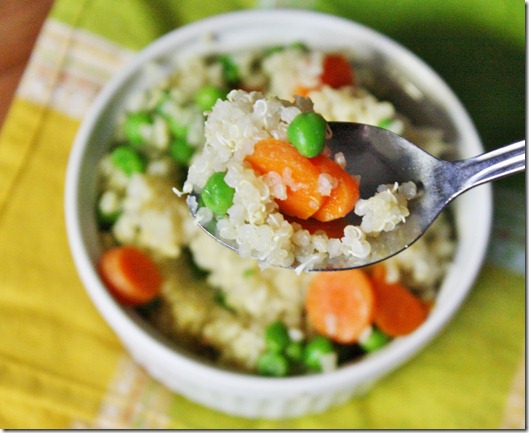
Peas and carrots seem to be the quintessential baby food. I’m not sure why; they’re two vegetables that just about anyone can enjoy. Dressed up with quinoa, they’re perfectly good for adults, too. And these were good. Now I see why all the fuss over peas. I can’t believe I’ve gone so long without trying them! Never again. I find their sweet, earthy pop of flavor addicting. I absolutely couldn’t get enough of this when I made it, and you won’t be able to either.

Peas And Carrots Quinoa

    Prep time: 5 minutes

    Cook time: 15 minutes

    Ingredients(Makes 4 servings):

    • 1 cup uncooked quinoa, washed and drained
    • 1/2 cup cooked peas
    • 1 carrots, sliced thinly
    • 1/2 teaspoon salt
    • 1 Tablespoon honey(optional)

peas-and-carrots-quinoa-over-head

    Method:

  1. Bring the quinoa and 2 cups of water to a boil over the stove.
  2. Add in the carrots and cook until the quinoa has soaked up all of the water.
  3. Add in the peas, salt, and honey. Mix and fluff the quinoa. Move to a serving bowl and serve hot.

peas-and-carrots-quinoa-spoonfull

More peas, please.

Almond Flour Pumpkin Bread

almond-flour-pumpkin-bread

Christopher Columbus discovered America.

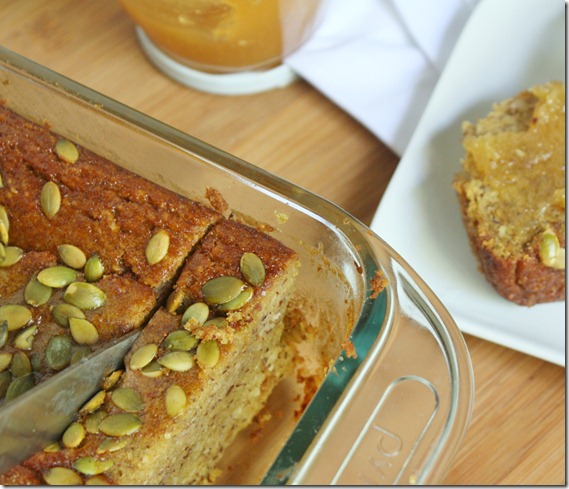
I discovered that you can make a moist and delicious pumpkin bread that’s gluten and grain-free. Not to belittle Mr. Columbus’ achievement, but I think that’s pretty damn good.

almond-flour-pumpkin-bread-cutting

Maybe I’m just a little too excited because I wasn’t sure this could be done. A few hours before I pulled this loaf out of the oven, it was literally just a bunch of almonds and a whole pumpkin. Not pumpkin puree. Not almond meal. Just the raw ingredients.

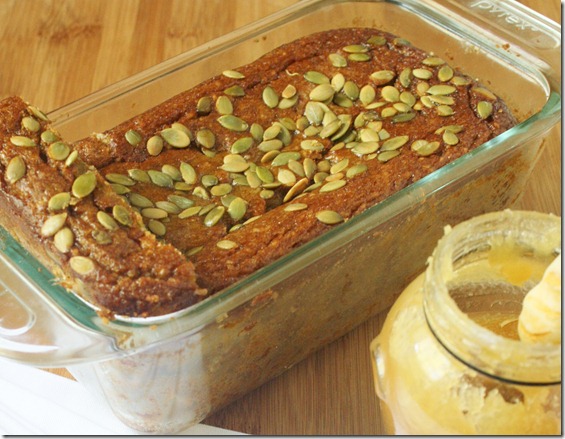
After roasting + pureeing the pumpkin and grinding the almonds, I threw these ingredients together and hoped for the best. Luckily, the best is what I got. This pumpkin bread is sweet, soft, moist(I hate that word but it really is) and spicy. It’s one of the best pumpkin breads I’ve had ever; it just happens to be gluten-free.

Almond Flour Pumpkin Bread

Prep time: 10 minutes

Cook time: 75 minutes

Ingredients(Makes 1 loaf):

  • 2 cups almond flour
  • 3/4 cup brown sugar
  • 3/4 cup pumpkin puree
  • 4 eggs
  • 6 Tablespoons oil
  • 1/4 cup tapioca starch(or corn starch)
  • 1/4 cup water
  • 1/2 teaspoon baking powder
  • 1/2 teaspoon cinnamon
  • 1/4 teaspoon nutmeg
  • 1/4 teaspoon cloves
  • 1/4 teaspoon ginger
  • pepitas to garnish(optional)

almond-flour-pumpkin-bread-smeared

Method:

  1. Preheat your oven to 350 degrees.
  2. Add all of the ingredients except for the pepitas into a large bowl and mix until fully combined. Stir extra well to ensure there aren’t any clumps.
  3. Grease a medium-sized loaf pan and pour the batter in.
  4. Bake for 75 minutes or until the center is cooked through.
  5. Remove and let cool for an hour before removing from the pan.

almond-flour-pumpkin-bread-loaf

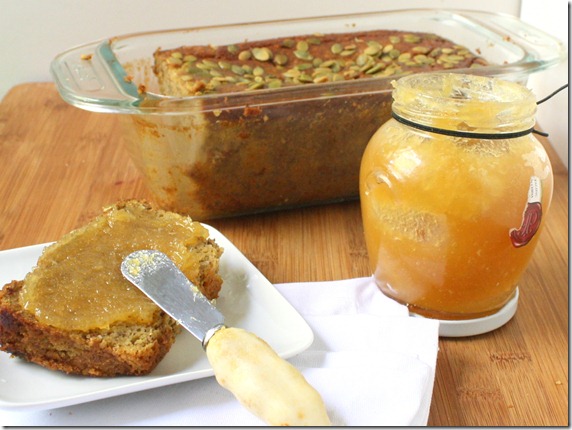
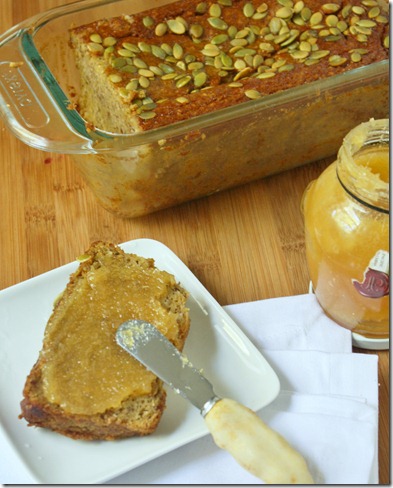
On top I spread a little(or a lottle) ginger jam. Have you seen this stuff? It’s made by Ginger People; it’s basically crystallized ginger made into a jam, and it’s heaven. A little goes a long way, though, which is why that jar has lasted me almost 2 years. This would also be good with pumpkin butter, cream cheese, peanut butter, or plenty of other spreads.

Philadelphia Marathon Update

Funny Encouragement Ecard: Good luck not hitting the wall and shitting your pants in public.

I’ve been getting a lot of questions about my marathon training lately, questions like “Are you still running that marathon?” or even “You’re running a marathon? Since when?” Oops. I guess that’s a fair thought since I haven’t mentioned this in months. Hopefully this will satisfy any questions.

For those of you who don’t know, I really like running and even ran a marathon last March. It wasn’t the marathon of my dreams, but I finished; getting over an injury and training in just 12 weeks made my original goal of a sub-4:00 marathon overambitious and while I proudly finished it was no picnic. I even told myself while I was still running “I’m never doing one of these again.” And then 5 days later I signed up for the Philadelphia marathon on the first day of registration. Here we go again.

232323232-fp73396-nu=338;-347-476-WSNRCG=3377--977;343nu0mrj

From the National Marathon expo with Madeline and Holly

Since there were almost 8 months in between registration and race day, I didn’t think about training for most of the Summer. I decided that training would begin the day of a local half marathon I was running for fun. A week after that I went to Philadelphia for the Healthy Living Summit and to scope out the city to get a feel of what it would be like for the marathon.

Sun Mon Tues Wed Thu Fri Sat
13.1 Fitness 24 (Bike) Rest 10 Rest 10
Fitness Fitness 10 Rest Fitness Rest 16
Rest Rest 12 Rest 10 Rest 10
Fitness 10 Fitness 25 (Bike) 10 30 (Bike) Fitness
Rest 10 Fitness 10 Fitness Fitness 12
Fitness 10 Rest Fitness Rest 17 Rest
Fitness 10 Rest 10 Rest Fitness 12
Fitness 10 Rest Fitness Rest 20 Fitness
10 Fitness Rest 10 Rest Fitness 10
Fitness 10 Rest Fitness Rest 20 Fitness
10 Fitness Rest 10 Rest Fitness 10
Fitness 10 Rest Fitness Rest 20 Fitness
10 Fitness Rest 10 Rest 13.1 Fitness
10 Fitness Rest 10 Rest 10 Fitness
8 Fitness Rest Fitness Rest Rest Rest
26.2


I wouldn’t say I’ve really been following a training “plan” since then, though here’s what my routine has looked like. I knew I wanted to fit 3 20-mile runs into this training cycle and built the rest of it around that and to fit my schedule. Besides the long runs I do, the rest of my workouts are pretty standard. As anyone can see from looking at this I love running 10 miles and easily fall into a routine.

So what is “Fitness”? Since I’ve been trying to burn fat and build muscle over the past 8 months or so, I’ve been doing more cross-training with weights. When I didn’t have a gym over the Summer, I got accustomed to doing Jillian’s Shred(which I highly recommend) followed by a 25-minute yoga routine with plenty of lifting. Now that I have a gym membership again, I usually do 20 minutes of HIIT on the elliptical and 30 minutes of free weight exercises which I basically stole from all 3 levels of Jillian’s Shred so I won’t go into describing them.
Capture

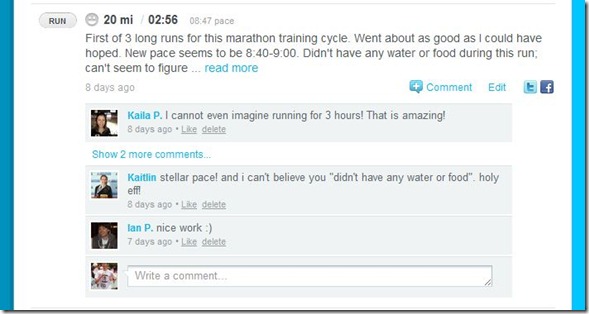
The runs this time around have been nothing but stellar—a complete 180 from my last training cycle. Since my goal is a sub-4:00 marathon, I’ll need to run at or below a 9:00 pace, which has been no problem as of lately. The one 20-miler I’ve done so far I finished almost 30 minutes faster than the 20-miler I ran back in March in preparation for my first marathon. Where is this speed coming from? I don’t really know.

With the marathon 6 weeks from today I’m feeling confident, maybe even a little cocky. My first 20-miler was a breeze and I’m hoping #2 and #3 will be even faster. My pace has quickened significantly lately even on the days I’m feeling “off” and I have no clue why. Maybe it’s the cooler temperatures, maybe I’m getting faster, or maybe the cross-training is working.

Funny Seasonal Ecard: The arrival of sweater season has coincided perfectly with my new habit of eating every carb I can possibly wedge inside my body.

One speed bump I have hit lately is eating healthy in the month of September. In between moving back to Providence and new stresses appearing there were a lot of times last month where I wasn’t making the best decisions. Even though my runs have gotten faster, a lot of the muscle definition I built up over the Summer went away over night(or over 30 nights). Since last weekend I’ve made changes to try and eat better to burn fat but still fuel well for workouts which has been nothing if not a learning process. But that can wait for another post.

If you want to stalk follow my training more closely, friend me on Dailymile. I’m also happy to answer any further questions below in the comments.


Southwestern Stovetop Frittata

Oct 6th 142

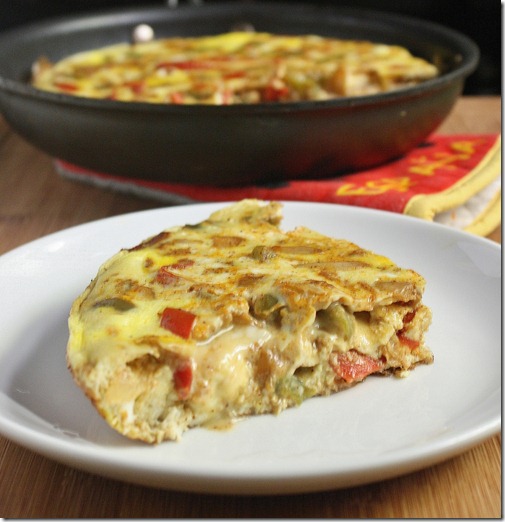
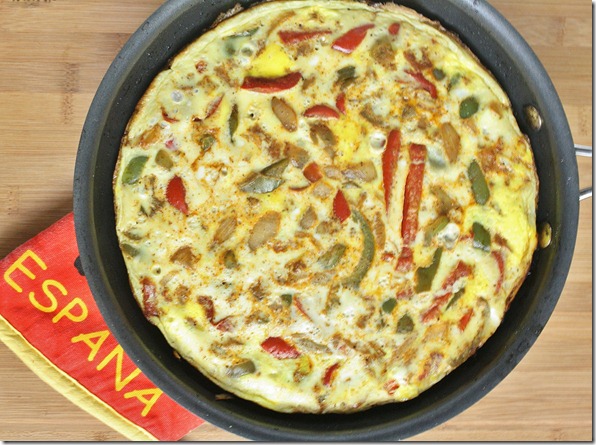
My weekly schedule is a little funny. Tuesday and Thursday are always go-go-go and I hardly have time to sit down and eat let alone cook. But on Wednesday I have all the time in the world if I work enough over the weekend to take my time and lounge around. This Wednesday I realized I didn’t have very much food to get me through the next couple of days, so what did I do? Cook. A lot.

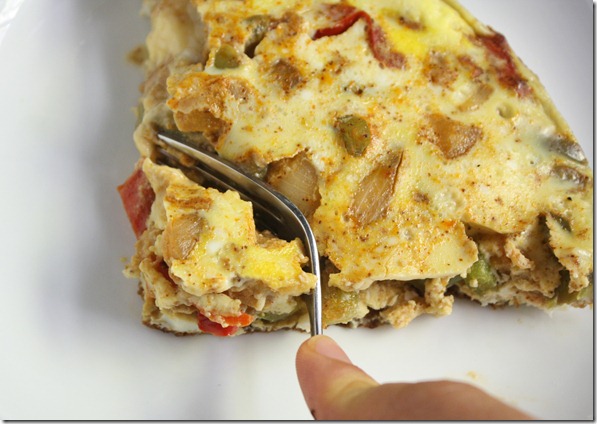
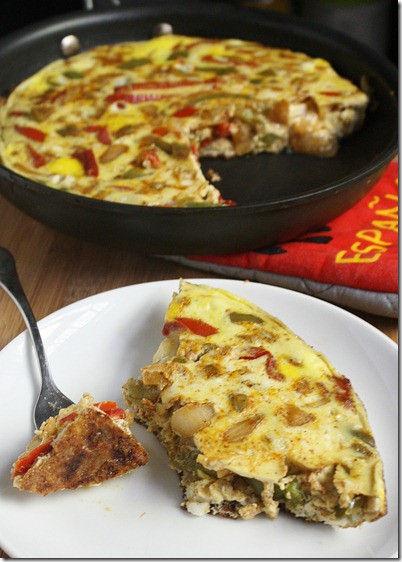
On top of lunch and dinner, I roasted a spaghetti squash, acorn squash, and used up a dozen eggs in this frittata. My 3-foot fridge might have been bursting open with squash that night, but it’s made my next couple days a breeze. I ate 3 servings of this frittata yesterday and still wanted more after dinner. I can tell I’ll be making another again soon. 

Oct 6th 122

If you don’t feel like cutting the peppers and onion yourself, check in the frozen section of your grocery store for something called a “southwestern vegetable blend” and substitute the vegetables here for 1 cup of the vegetable blend.

Southwestern Stovetop Frittata

Prep time: 15 minutes

Cook time: 10 minutes

Ingredients(Makes 4 servings):

  • 12 medium eggs
  • 1 red bell pepper, julienned
  • 1 green bell pepper, julienned
  • 1 yellow onion, diced
  • 1 Tablespoon oil
  • 1/4 teaspoon chili powder
  • 1/4 teaspoon cayenne pepper
  • 1/4 teaspoon cumin
  • 1/4 teaspoon garlic powder
  • 1/2 teaspoon salt
  • 1/2 cup shredded Mexican blend or cheddar cheese(optional)

Oct 6th 148

Method:

  1. Heat the oil in an 8’ non-stick pan with a fitting lid over medium heat.
  2. Add in the peppers, onion, spices and salt and sauté until the onion is translucent. Make sure to mix the ingredients to evenly distribute the spices.
  3. In a large bowl, crack and beat all of the eggs.
  4. Remove the onion and peppers from the pan and pour in the beaten eggs(if you’re using a pan that’s not non-stick, it’s a good idea to add a little oil to the bottom before doing this).
  5. Wait 10 seconds and then distribute the onion and peppers and cheese if using into the egg batter.
  6. Put a lid on the pan and leave untouched for 10 minutes until the egg has cooked through. You’ll be able to tell it’s done when the egg in the center has set.
  7. Remove from the pan and cut into quarters. Serve hot.

Oct 6th 171

Next time I try this I think I’ll add some cheddar-style Daiya, because if it’s that good without cheese it can only be better with.

Banana Breakfast Quinoa

banana-breakfast-quinoa

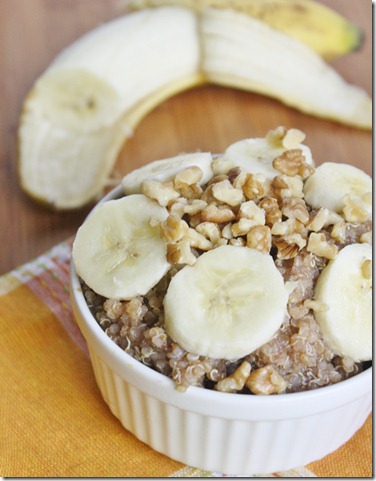
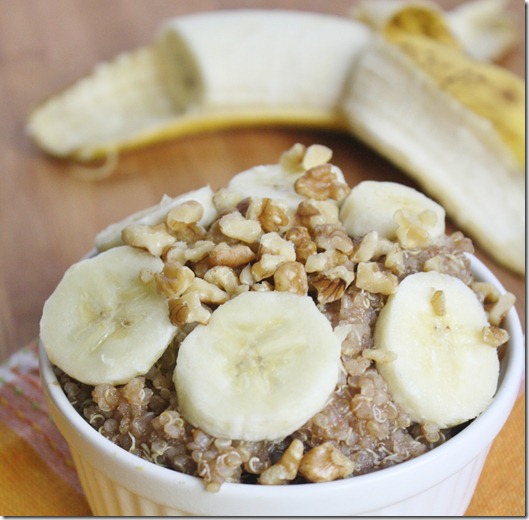
Breakfast is almost never a planned meal around here. I’ll wake up and see what I can cook in the microwave and have ready to eat in less than 5 minutes. That works most of the time, but once and a while it’s nice to change things up and eat something that actually has some thought put into it, like this breakfast quinoa.

banana-breakfast-quinoa-spoon

There’s no reason to just eat quinoa for lunch or dinner. It has a fairly plain taste on its own and can easily be made savory or sweet. It’s especially good as an oatmeal replacement for gluten-free people because you don’t need to worry about buying gluten-free quinoa the way you do rolled oats. For as good as it tastes, this bowl is really easy to whip up, too, using leftover quinoa from your last meal.

If you don’t have leftover quinoa for this but still want to make it, cooking a batch only takes 15 minutes. For each 1/2 cup cooked quinoa you’ll need 1/4 cup uncooked quinoa and 1/2 cup water brought to a boil and covered until all the water’s been absorbed.
Banana Breakfast Quinoa

Prep time: 5 minutes

Cook time: 0 minutes

Ingredients(Makes 1 serving):

  • 1/2 cup cooked quinoa
  • 1 banana, plus more for garnish
  • 1/2 teaspoon cinnamon
  • 1/4 teaspoon salt
  • 1 Tablespoon maple syrup(optional) plus more for drizzling
  • 2 Tablespoons crushed walnuts

banana-breakfast-quinoa-overhead

Method:

  1. Using a fork, mash the banana in a bowl into a smooth puree.
  2. Add in the quinoa, cinnamon, and salt and mix together. If the quinoa’s not sweet enough, add the maple syrup to enhance the flavor.
  3. Move into a serving bowl and add on top the walnuts and more banana and maple syrup if desired. Serve as a cold breakfast or—if you prefer—heat it up in the microwave or oven like a hot cereal.

banana-breakfast-quinoa-toppings

You can really top this with anything. It’s especially good served hot with a melting dollop of PB&Co.’s Mighty Maple on top.

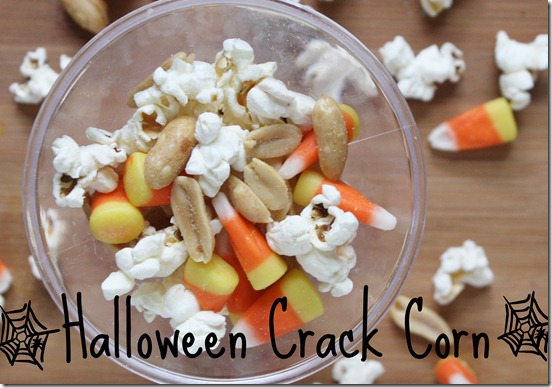
Halloween Crack Corn

halloween-crack-corn

I must have been living under a rock or sheltered as a child because I never knew the amazing combination of candy corn and peanuts until Holly posted about it. I really should have guessed that two of my favorite food groups(because they definitely deserve their own food groups) would only be even better put together. And combined with popcorn it’s a crunchy, crackly, filling snack that tastes eerily like kettle corn. 

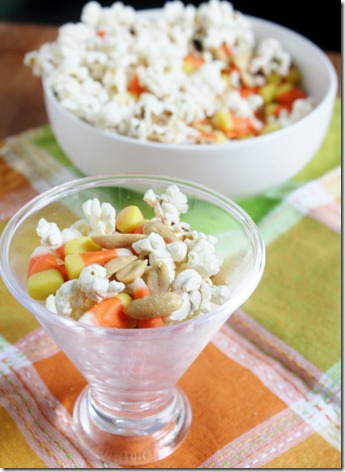
halloween-crack-corn-portion

The truth is I don’t see a time when this wouldn’t be good. You can make it as an afternoon snack or a dessert late at night, put it in a bowl and serve it at a Halloween party or put it into goodie bags to give out at a kid’s party. There’s no one who wouldn’t like this.

Halloween Crack Corn(inspired by Holly’s post)

Prep time: 5 minutes

Cook time: 0 minutes

Ingredients(for 2 servings):

  • 3 cups of popcorn(click here to see how to DIY)
  • 1/2 cup candy corn
  • 1/2 cup peanuts

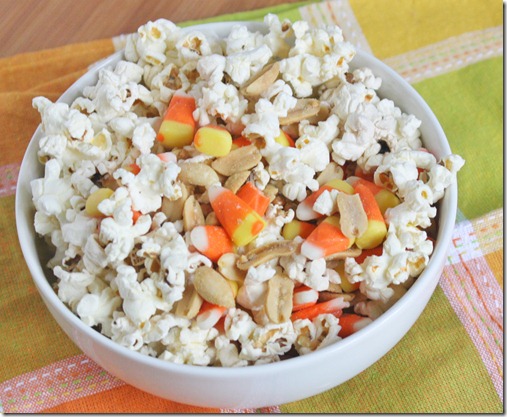
halloween-crack-corn-bowl

Method:

  1. Combine all of the ingredients together and toss until evenly mixed. Pour into a serving bowl and eat up immediately.

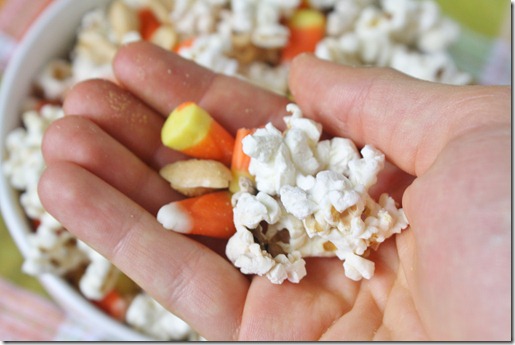
halloween-crack-corn-handful

This makes for a very filling afternoon snack when you eat the whole thing yourself. That is until you remember you have all the ingredients to make more.

Orange And Herb Quinoa

orange-and-herb-quinoa

I’ve gotten into a practice—a good practice—where I make a big batch of quinoa over the weekend using this method to heat and serve throughout the week. It saves me a lot of time and dramatically increases my options for meals when I don’t really have the patience to cook or turn on the oven.

orange-and-herb-quinoa-scoop

I usually cook the quinoa in just water(as opposed to veg stock) because I’m never quite sure what I’m going to use it for. Sometimes I like it dressed up in Asian flavors like in this fried quinoa recipe and other times with more Western ingredients like this recipe, which I could just as easily see served with roasted chicken and mashed potatoes. It’s an easy way to dress up leftovers so that it doesn’t taste anything like it started as.

Orange and Herb Quinoa

Prep time: 5 minutes(longer if you aren’t using leftover quinoa)

Cook time: 0 minutes

Ingredients(Makes 4 servings):

  • 2 cups cooked quinoa(or 1 cup uncooked quinoa and 2 cups water)
  • Juice from 1/2 an orange(2-3 Tablespoons)
  • Zest from 1/2 an orange
  • 1 Tablespoon extra virgin olive oil
  • 3/4 teaspoon herbs de Provence(or any other seasoning blend)
  • 1/2 teaspoon salt
  • 2 Tablespoons sugar(optional)

orange-and-herb-quinoa-bowl

Method:

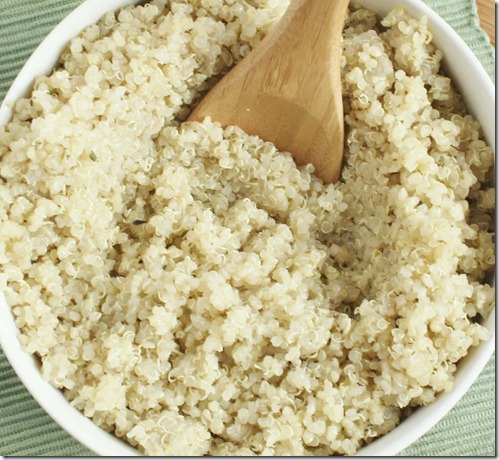
  1. If using uncooked quinoa, bring to a boil over the stove with the 2 cups of water and cover with a lid until the water’s been absorbed and the quinoa shows that it’s cooked like above.
  2. Mix the cooked quinoa with all of the other ingredients thoroughly. Adjust the taste by adding more salt or sugar.
  3. Serve cold or heat up briefly in the microwave or oven for a warm side dish.

orange-and-herb-quinoa-plated

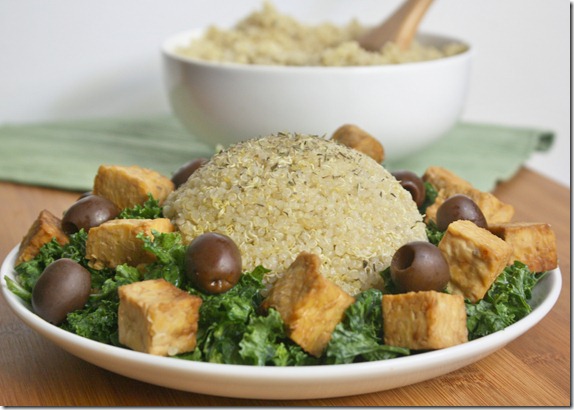
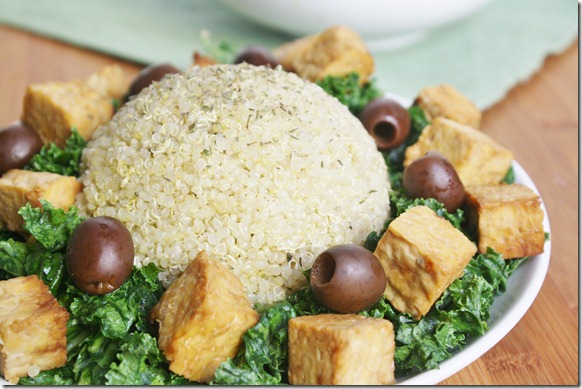
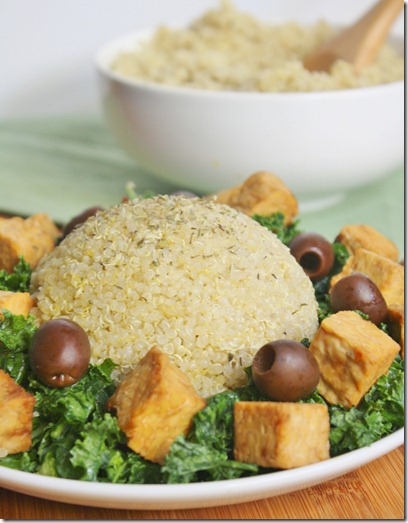
Shown with kale, tempeh cooked in soy sauce, and black olives.

Make Your Own Microwave Popcorn

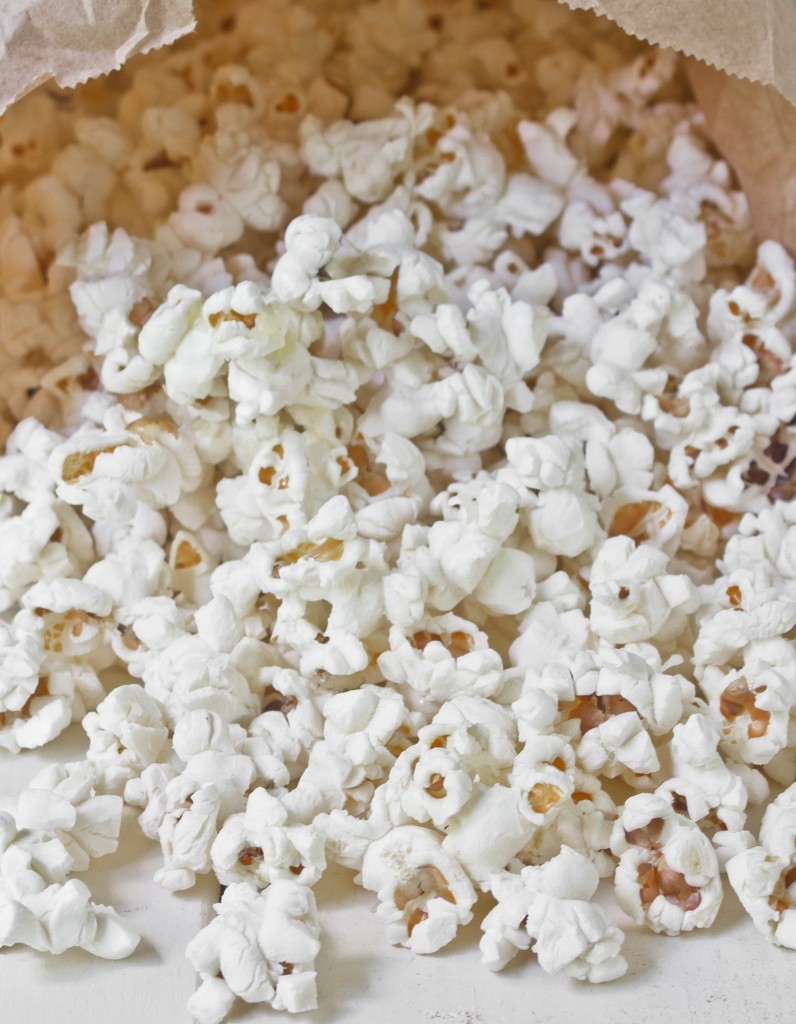
I really couldn’t wait to share this one. If you’ve made your own microwave popcorn before, you know why; it’s almost too simple and too good to be true.
My family used to make our own popcorn in an air-popper machine that cost $20 at some department store. While it was nice, it was always a burden to take it out from the cupboards and put it back in. This method eliminates all that fuss. I wish I could remember and credit where I first saw the idea a few months ago; it might have came from the Healthy Eats blog. Anyway, I vaguely remembered what you needed and went from there.

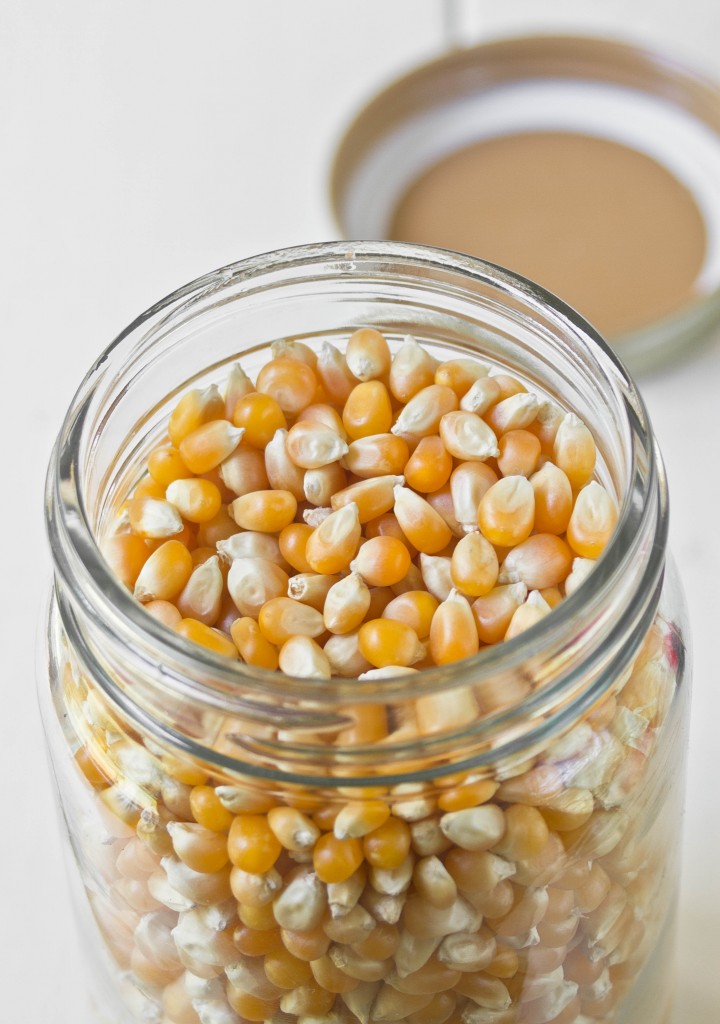
Essentially all you’ll need to buy are popcorn kernels and brown paper bags. I got organic kernels from the bulk bin section of my grocery store for $1.59/lb and the bags from CVS also for pretty cheap. That means for less than $5, maybe enough for 2 boxes of store-brand microwave popcorn bags, I got enough for ~20 servings to make myself. And it’s really not any much more trouble to do.

Make Your Own Microwave Popcorn

You’ll need…

  • Popcorn kernels
  • Brown paper bags
  • A stapler
  • A microwave
  • Oil, salt, butter, or whatever else you want on your popcorn

Measure out the amount of popcorn you’ll need. I’d say about 1/4 cup is a good single snack serving. I wouldn’t put more than 1/3 cup in a bag or there won’t really be enough room.

Pour the kernels in the bag along with a tablespoon of butter or oil(optional) and salt(also optional) to flavor the popcorn. If you’re going to add toppings to your popcorn like parmesan cheese or nutritional yeast or herbs a little oil will help it stick to the popcorn instead of singing to the bottom of the bag.

Staple the bag shut and microwave it for 2-3 minutes until most of the kernels have popped and it only makes sound every second or so—just like you would a store-bought bag of popcorn!

Open the bag up and add any toppings you might want on the popcorn. Close it and shake the bag to move things around before pouring it into a serving bowl.

It’s really that simple! And even better your microwave will smell like popcorn for the next day or so.

Lollihop Review + Giveaway

Sep 28th 137

You probably haven’t heard of Lollihop; I know I hadn’t until recently when they contacted me. That’s because it’s a brand new company dedicated to introduce their customers to new healthy foods. In there own words,

Lollihop is a brand new subscription service where, every month, you’ll receive a box of the tastiest, most organic and nutritious snacks on the market (and some not even on the market yet)! 

Each treat is carefully selected by a team of nutritionists, so you can rest assured that you’re being sent only the best snacks. Also, we’ll tell you why the snacks are good for you, and share exclusive Lollihop content on how to live your life better, healthier, and happier.

Sep 28th 160

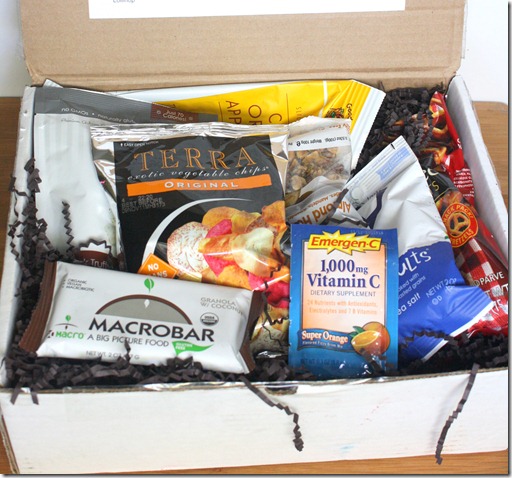
Subscriptions are $19-$23 a month depending on how long you subscribe for. As you can see, you get a good variety of snacks that would probably cost around that amount if you were out and bought a snack from a convenience store. Lollihop also does a good job at introducing snacks that you might not have otherwise heard of or have the opportunity to try.

Sep 28th 150

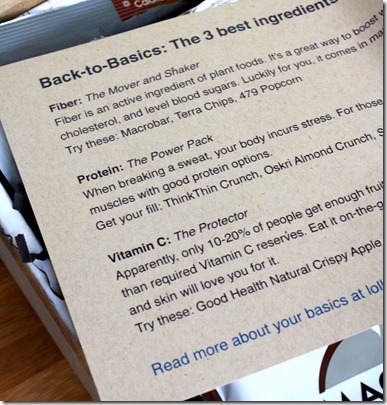
Each box is customized and varied month to month with different snacks for different areas of well-being. The note inside explaining their product choices made it feel very personalized.

2011-09-28 Sep 28th

I loved that all of the snacks were carefully selected from natural brands, some familiar and others unfamiliar. I also loved that most of the selected items were free from food allergens like gluten; 7 of the 9 samples I could actually eat, way more than I expected. It’s unclear from their website if you can adjust your box to suit different diets but it sounds as though they plan to arrange that if they haven’t already. You can read more on their How We Select page.  

Would I subscribe to Lollihop for myself? Probably not, but that doesn’t mean I wouldn’t recommend it. Since I have to deal with a gluten allergy and am just otherwise a pretty picky eater, a program like this just doesn’t suit me as well as buying all my own food. For people who want to discover new brands, who are open to trying just about anything, who like surprises and convenient groceries dropped off right at their door—for them I would recommend Lollihop. If it’s not for you, a subscription would also make a great holiday gift for any adventurous foodie.

Giveaway


Lollihop is giving away a one-month subscription to one lucky reader. You’ll get a box like I received, but since the products change month to month it will be a completely different variety. There are three ways to enter; please leave a separate comment for each entry. I’ll pick a winner Tuesday night, October 4th, and notify them by Wednesday.

  • Visit the Lollihop website and tell me one company you see affiliated with them that you like.
  • Like Lollihop on Facebook
  • Tweet “I want to win a @Lollihop subscription”

Good luck!