Popular Recipes

Gluten-Free Raspberry Swirl Brownies

gluten-free-raspberry-swirl-brownies

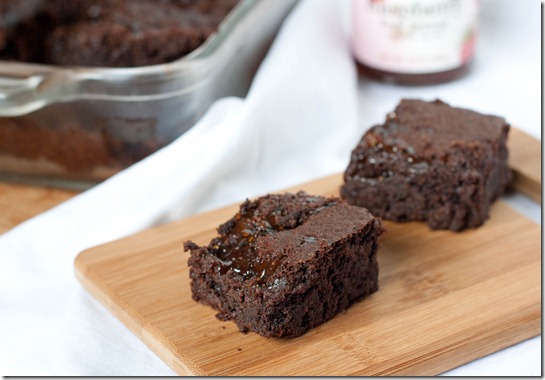
I’m not really a fan of Valentine’s Day. There are so many other holidays I’d rather celebrate, like Arbor Day or the Ides of March. But if celebrating means baking and devouring delicious red and black brownies, then I will reluctantly celebrate.

gluten-free-raspberry-swirl-brownies-stack

Starbucks used to(or maybe they still do?) sell these terrific fudgy brownies with raspberry sauce artfully swirled in on top and I would get them most days after school. I’d honestly choose raspberries and chocolate over peanut butter and chocolate most days; I think the pairing is that good.

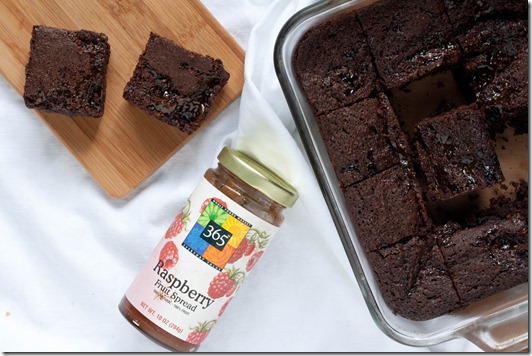
gluten-free-raspberry-swirl-brownies-overhead

For this recipe, I just used my standard gluten-free brownie recipe and added in the raspberry preserves to elevate it to those Starbucks brownies. If you have a favorite brownie recipe—gluten-free or not—you can always use that and just follow the last couple of steps to add the raspberry in.

Gluten-Free Raspberry Swirl Brownies

Prep time: 15 minutes

Cook time: 30-40 minutes

Ingredients(Makes 1 8 x 8 pan):

  • 3/4 cup almond flour
  • 1/4 teaspoon salt
  • 2 tablespoons unsweetened cocoa powder
  • 1/2 teaspoon baking powder
  • 3/4 cup sugar
  • 3 large eggs
  • 1 teaspoon vanilla
  • 4oz baking chocolate
  • 1/2 cup butter
  • 1/2 cup raspberry preserves

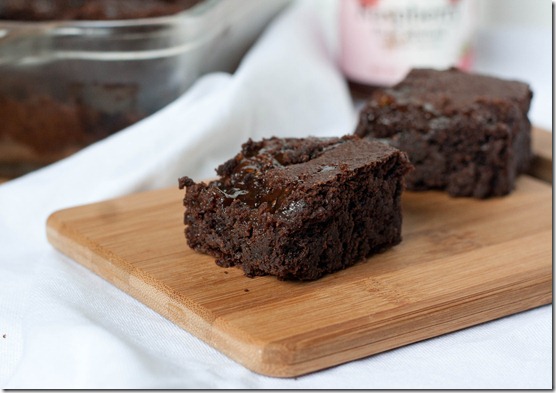
gluten-free-raspberry-swirl-brownies-close-up

Method:

  1. Preheat your oven to 350 degrees.
  2. Mix together the almond flour, salt, cocoa powder, and baking powder.
  3. Beat in the eggs, sugar, and vanilla until mixed.
  4. In a separate bowl, melt together 4 ounces of chocolate along with the butter.
  5. Slowly pour the melted chocolate and butter into the batter while whisking until fully incorporated.
  6. Pour the batter in a greased 8 x 8 pan.
  7. Drop the raspberry preserves on top and swirl around lightly into the batter to cover most but not all of the top(If you want to do this more artfully than I did, put the jam into a plastic bag, cut off one of the corners and squeeze it into lines across the top of the brownies. Then run a knife along the top in lines perpendicular to the jam to create a swirl effect).
  8. Bake for 30-40 minutes or until a toothpick poked into the center comes out clean. Let these cool completely before cutting in.

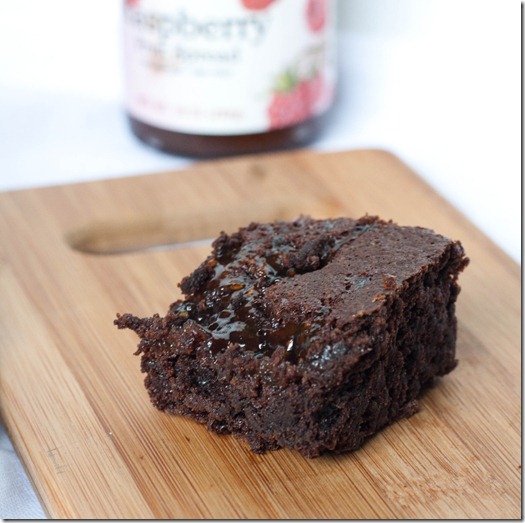
gluten-free-raspberry-swirl-brownies-serving

OK, maybe Valentine’s Day won’t be so bad. So long as I get to eat all the brownies.

Pumpkin Seed Trail Mix

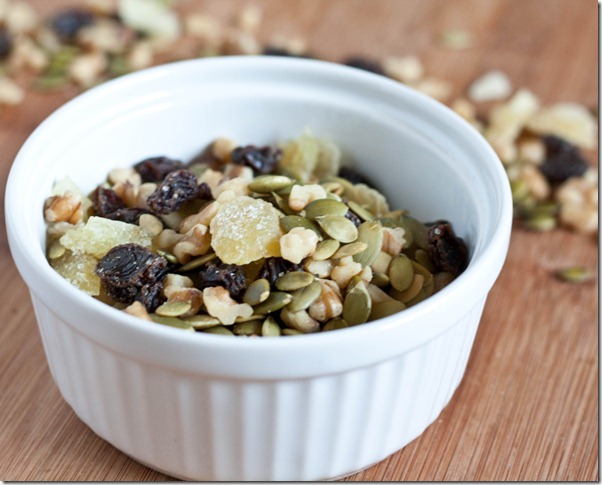
pumpkin-seed-trail-mix-4

I’m constantly eating during the day. I can never understand those people who “forget” to have a meal or go 6-7 hours without eating; the roaring of my stomach would not let me or anyone else in the room forget to eat. It just wouldn’t happen.

On Monday I have a class for 5 straight hours in the afternoon. Considering I can’t go 2 hours without needing to eat something, that alarmed me at first. I knew I’d need snacks—lots and lots of snacks—to keep focus. Something portable and nutritious, just like trail mix.

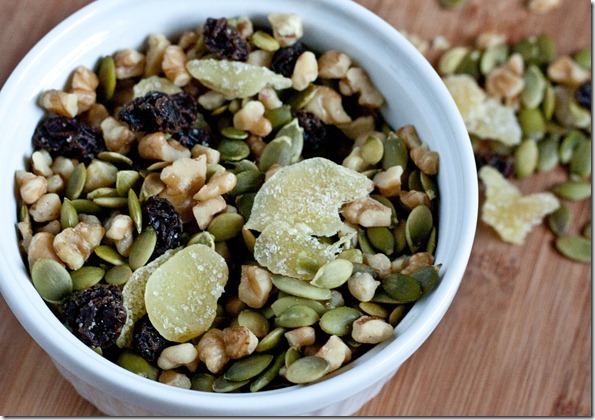
pumpkin-seed-trail-mix

Trail mix can really be anything. When I was thinking of what to make mine like, I thought about the pumpkin seeds I had in the pantry and all the things I’d put in pumpkin bread: walnuts, ginger, raisins, chocolate if I felt like it. So why not make a pumpkin bread trail mix? Only without the bread. Because bread doesn’t make great trail mix.

Besides being delicious, this trail mix has a lot to offer. Iron-deficiency is commonly associated with vegetarianism because of the lack of red meat. But that doesn’t have to be the case with a good diet. Pumpkin seeds and raisins are both high in iron*. Walnuts are a great source of omega-3s as everyone knows by now. And ginger is a cold-fighting ingredient(not to mention tastes great when it’s candied, just like anything else).

Pumpkin Seed Trail Mix

Prep time: 5 minutes

Cook time: 0 minutes

Ingredients:

  • 1/2 cup shelled pumpkin seeds
  • 1/2 cup walnuts
  • 1/4 cup raisins
  • 1/4 cup diced candied ginger
  • 1/4 cup dark chocolate, white chocolate, or cinnamon chips

Method:

  1. Toss all of the ingredients together and enjoy.

pumpkin-seed-trail-mix-5

*I got all of those facts about iron off of Wikipedia, just like a good student would.

Easy Vegan Cheese Sauce

easy-vegan-cheese-sauce

I used to have a teacher who loved Cheese Wiz so much, he kept a tube at his desk. I’m pretty sure there’s no actual cheese in Cheese Wiz, just like there’s no actual cheese in this recipe. But I promise you this is a much healthier way to get a cheesy fix.

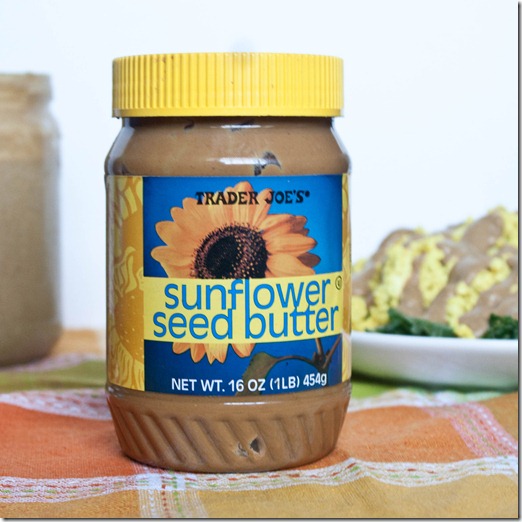
I didn’t like sunflower seed butter the first couple of times I tried it. I think most people feel the same way if you try to enjoy it like peanut butter or almond butter or even cashew butter; it’s oddly savory and unenjoyable. But once I tried it in savory ways it grew on me.

easy-vegan-cheese-sauce-sunflower-seed-butter

Sunflower seed butter makes a better “cheese” sauce than any other nuts I’ve tried. It gives the sauce a rich and velvety texture, and the nutritional yeast and seasonings create a flavor that doesn’t taste exactly like the real thing but delicious nonetheless. 

Easy Vegan Cheese Sauce

Prep time: 5 minutes

Cook time: 0 minutes

Ingredients(Makes about 3/4 cup sauce):

  • 6 Tablespoons sunflower seed butter
  • 3 Tablespoons water
  • 1/4 cup nutritional yeast
  • 1/2 teaspoon onion powder
  • 1/2 teaspoon garlic powder
  • 1/2 teaspoon salt

easy-vegan-cheese-sauce-mixed

Method:

  1. Mix all of the ingredients together.
  2. Store in an sealed container in the refrigerator. As it cools, the sauce will get thicker. Either bring it to room temperature before using or mix in a little extra water until it gets to the desired consistency.

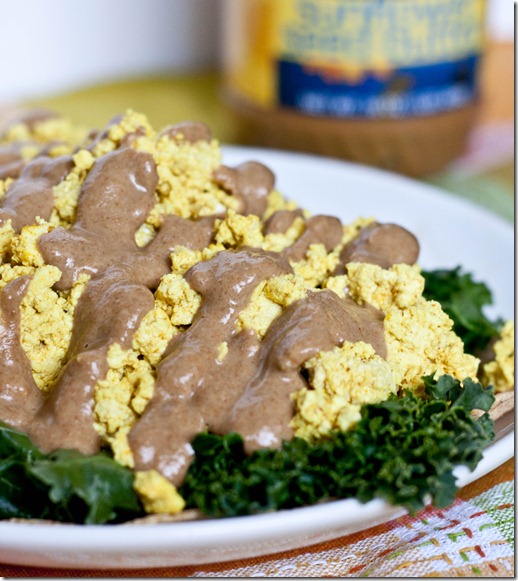
easy-vegan-cheese-sauce-tofu-scramble

There are plenty of ways that this would taste good. I made cheesy vegan burritos with corn flour tortillas, scrambled tofu, and steamed kale.

Raw Chocolate Raspberry Ganache

raw-chocolate-raspberry-ganache

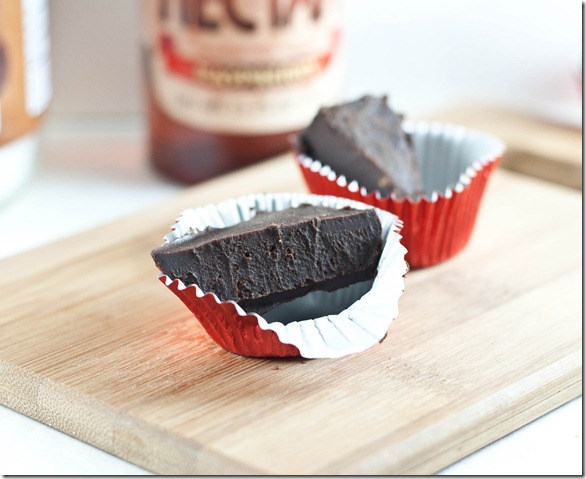
From time to time I like to make “chocolate” with coconut oil, agave, and cocoa powder to keep in the refrigerator for a snack. It’s tasty and I can almost tell myself it’s healthy because I made it from scratch instead of peeling off a wrapper and eating a whole Hershey’s bar.

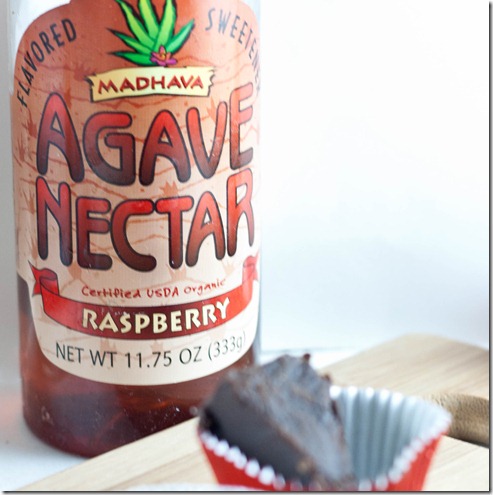
The last time I went to make it, I remembered about the flavored agave nectar I picked up a while back and had yet to use. Have you seen these? They’re popping up more and more places; I think I found mine at Ocean State Job Lot or Market Basket but now even Whole Foods is making their own store brand flavored sweeteners.

raw-chocolate-raspberry-ganache-agave-nectar

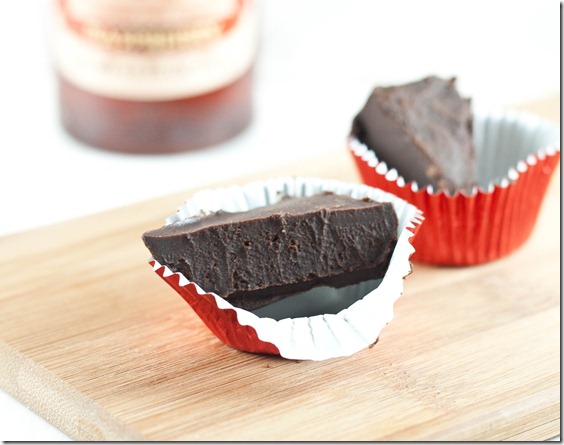
And then I remembered the best dessert ever and decided why make chocolate when you can make ganache? Adding a little almond butter into chocolate prevents the coconut oil from fully hardening and gives it a nice, soft, fudgy texture.

If you don’t want to buy specialty flavored agave, you can substitute that for 6 Tablespoons of plain agave and 2 Tablespoons of seedless raspberry jam. If you want to keep this fully raw, you can use 2 Tablespoons of raspberry puree instead. I haven’t tried either of these yet but I’m fairly confident they’d work, albeit with a slightly less intense flavor.

Raw Chocolate Raspberry Ganache

Prep time: 10 minutes

Cook time: 0 minutes(allow 30 minutes to harden)

Ingredients(Makes 36 1-inch squares):

  • 1/2 cup coconut oil, melted
  • 1/2 cup raspberry agave nectar
  • 1/2 cup + 2 Tablespoons cocoa powder
  • 1 1/2 Tablespoons creamy almond butter

raw-chocolate-raspberry-ganache-white-out

  1. Mix the coconut oil and agave nectar together.
  2. Slowly incorporate the cocoa powder until it’s completely mixed in, too.
  3. Lastly, add in the almond butter and mix to completion.
  4. Pour the ganache into a 6×6 pan.
  5. Refrigerate for 10 minutes until it’s semi-soft. While it’s still soft, cut the ganache into 1-inch squares. Then continue to refrigerate for another 20-30 minutes until it’s completely cooled.

raw-chocolate-raspberry-ganache-bite

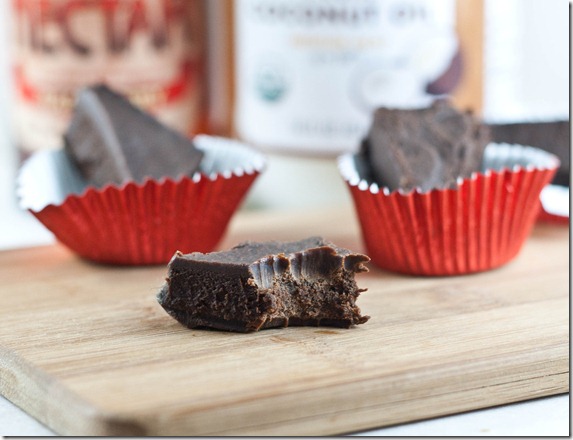
I just put this into a pan and let it harden and have been eating it like a fudge, but you could make a crust and use it as the filling for a chocolate torte, or even use it as a filling for some chocolate wafers and make sandwich cookies. There’s really no way this wouldn’t taste good.

The Amateur Gourmet’s Quinoa Converter

the-amateur-gourmet's-quinoa-converter

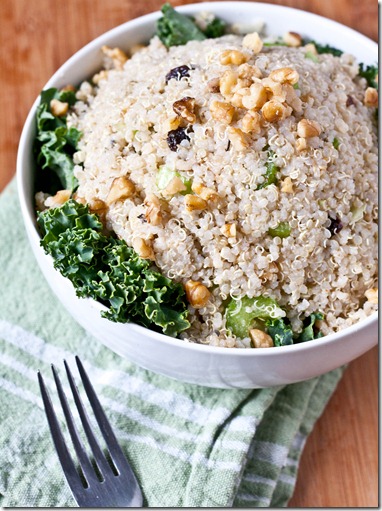
If you’ve been reading this blog for any amount of time, you probably know that I love quinoa, have for a long time, and certainly don’t need to be “converted” to it. But when I saw Adam’s Quinoa Converter recipe(and hilarious cartoon), I knew I wanted to give that recipe a try because it just looked so darn good.

the-amateur-gourmet's-quinoa-converter- mound

I’ve made quinoa for breakfast, lunch, and dinner. I don’t understand how you couldn’t love it. Sure, it’s plain; that just makes it easier to add other flavors to spice it up. And yes, it is something of a “health food” food; Adam, if you’re reading this then you can have a laugh over the fact that I made this after coming home from yoga.

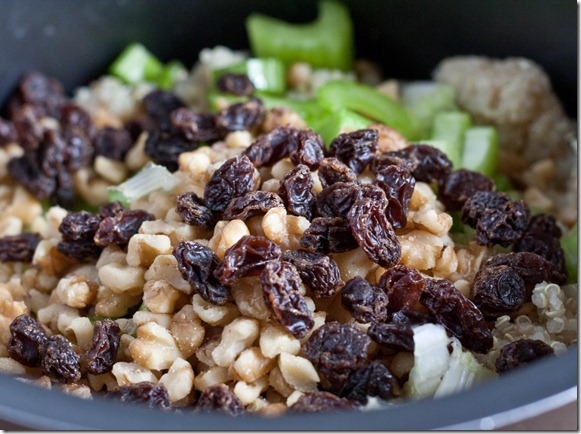
the-amateur-gourmet's-quinoa-converter-raisins-walnuts

I only made a few changes to the recipe. I used 2 Tablespoons each of apple cider vinegar and olive oil for the vinegar and oil listed in the recipe to cut down on the fat. And instead of the fresh parsley I used about 2 Tablespoons of dried Herbes de Provence.

the-amateur-gourmet's-quinoa-converter-mixed

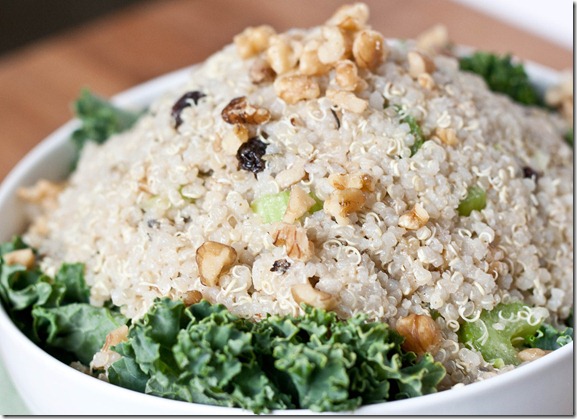
This reminded me a lot of tuna salad, which I used to love. I find vegetarian/vegan “tuna” salads are usually hit or miss, and this was definitely a hit. Swapping in mayo for the oil next time wouldn’t be a bad improvisation.

the-amateur-gourmet's-quinoa-converter-shot

This was pretty damn delicious. Every time we have relatives over I usually make my vegan quinoa stuffing; now I have a new recipe to work into the rotation. If you still need convincing to try quinoa, try this recipe.

Coconut Flour Breakfast Bake

coconut-flour-breakfast-bakes

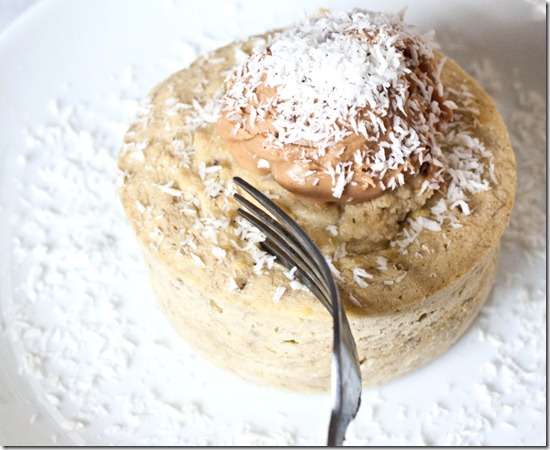
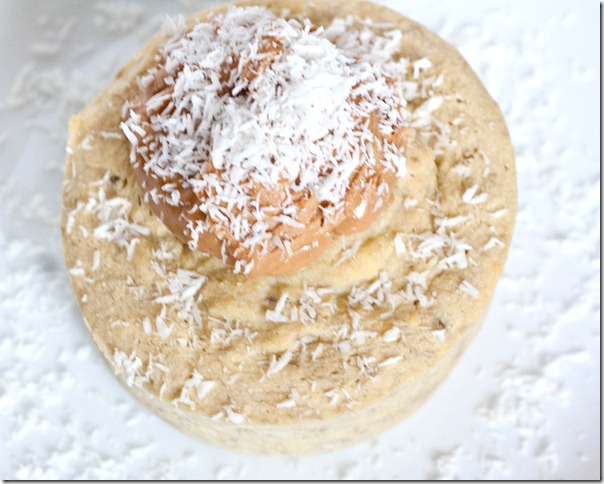
I’ve really come around to loving coconut flour over the past few months. At first I made vanilla cupcakes, then chocolate ones; then at some point I realized I needed to learn to make something else with coconut flour besides cupcakes or else I’m going to be having a lot of dessert. Since coconut flour is so healthy, I thought why not make a breakfast with it?

coconut-flour-breakfast-bakes-bite

2 Tablespoons of coconut flour have 6g of fiber and 3g of protein. That’s already more than most breakfast cereals. Combined with some eggs for extra protein, banana for sweetness(because the thought of starting my day with something savory makes me shudder), and nut butter for healthy fats it’s a really filling way to start the day. Besides, coconut and banana just belong together. And rum. But I’m not quite sure for breakfast.

I don’t actually bake these because I have a microwave that I love and use but if you were to bake these set the oven to 350 degrees and bake for 15 minutes or until the center has set.

Coconut Flour Breakfast Bake

Prep time: 5 minutes

Cook time: 3 minutes

Ingredients(For one serving):

  • 2 Tablespoons coconut flour
  • 2 or 3 eggs
  • 1 ripe banana, mashed
  • Pinch of salt
  • 1/2 teaspoon vanilla extract(optional)
  • 1/4 teaspoon lemon zest(optional)

coconut-flour-breakfast-bakes-garnish

Method:

  1. In a small bowl, mix together all of the ingredients you’re using into a smooth and even batter. If the batter is too thick, slowly add water until it’s mixable.
  2. Pour the batter into a 6oz or 8oz ramekin depending on the number of eggs you used.
  3. Microwave at high for 3 minutes.
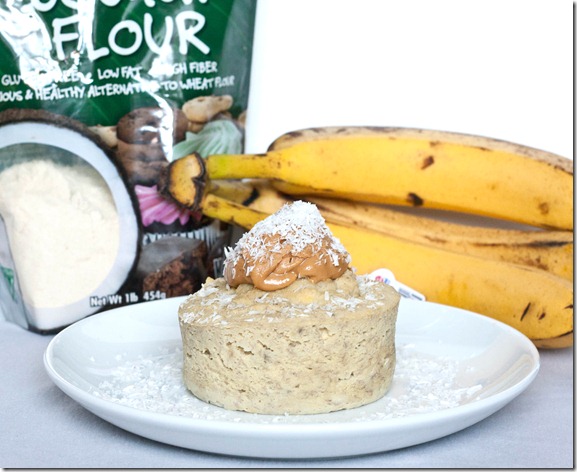
  4. Remove from the microwave. Top with dried fruits, nuts, or nut butter. Enjoy hot or at room temperature.

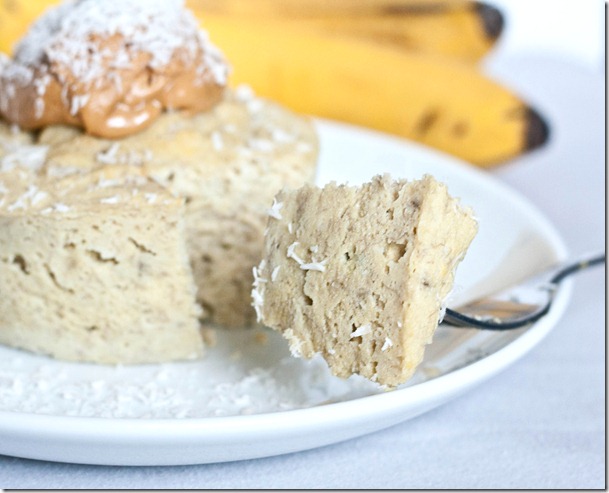
coconut-flour-breakfast-bakes-slice

With 3 eggs and 2 Tablespoons of peanut butter, this has about 30g of protein, 11g of fiber, and plenty of healthy fats to fill up and let you focus on other things throughout your morning.

3 Healthy Foods For College Cooking

Even though I’ve been cooking at college for almost 3 years now, this is only my second semester being completely off meal plan. Last semester I spent a lot of time figuring out what was “reasonable”; sure, it’d be nice to cook dinner from scratch every night, but when the kitchen is 3 floors away and you’re tired from classes that’s just not happening. So I learned how to plan better and what the right foods were to keep around. And I also learned you can cook just about anything in the microwave. That was a pretty damn important life lesson.

But back to the food. I found out which foods worked best for me and on a budget. Whenever I seem to talk to people about going off meal plan, they have it in their head that they could eat out for every meal. I tell them the same thing each time: “That’s just not affordable.” But here’s what is.
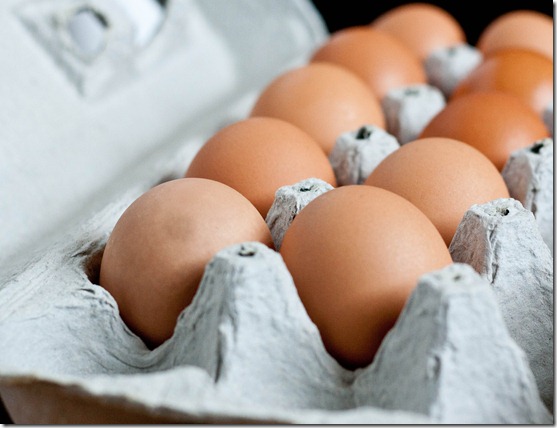
3-healthy-foods-for-college-cooking-eggs-2

Eggs:

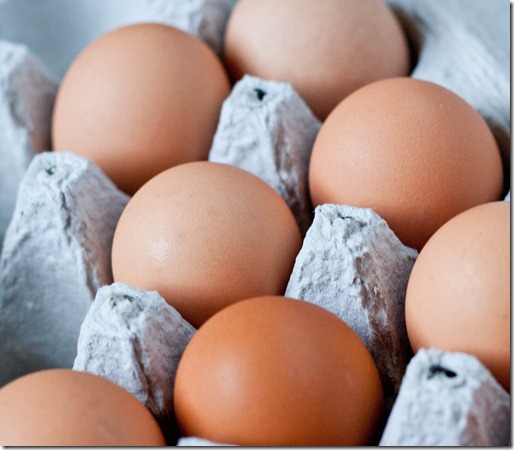
Since I became a vegetarian I’ve been eating more and more eggs. They’re versatile enough for breakfast, lunch, or dinner, and a great source of protein. Best yet is that they’re cheap. I tend to get the 18-count pack at Whole Foods since I know I’ll go through them. I don’t worry about the cholesterol of the yolks since most science shows that it’s the saturated fats—not cholesterol—in foods that raises your own cholesterol and eggs are fairly low in saturated fats.
3-healthy-foods-for-college-cooking-eggs-1

There’s also a million ways to cook eggs, so you’ll never get tired of them. They’re an easy way to add calories to breakfast oatmeal or make into a meal scrambled and combined with sauce. And if you’re feeling really lazy, you can always scramble them and pop them in the microwave.

For more ideas take a look at the egg recipe page.

3-healthy-foods-for-college-cooking-grains

Whole Grains:

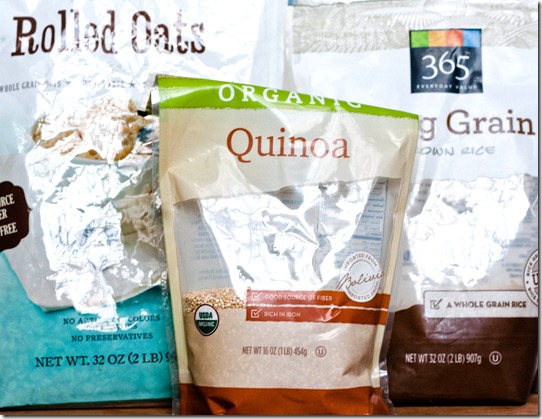
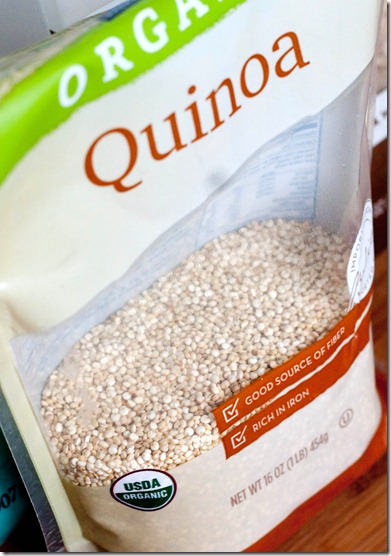
Gluten-free whole grains are one of my pantry staples. They last forever so you can save a lot by buying in bulk. I’ll usually cook a pound at a time ration it out through the week so I don’t need to keep cooking more every day. And since there’s a huge variety, you’ll never get bored with what to eat. My favorites are oatmeal, quinoa, popcorn, and brown rice, which are all full of fiber and nutrients.

3-healthy-foods-for-college-cooking-quinoa

These are great for college students because grains are budget friendly and all you need to cook them is a standard rice cooker(I use a Zojirushi), which makes it a dorm-room friendly food.

For ideas, look at the quinoa recipe page or learn how to season rice to make it tastier without much effort.

3-healthy-foods-for-college-cooking-trail-mix

Trail Mix(or nuts and dried fruit):

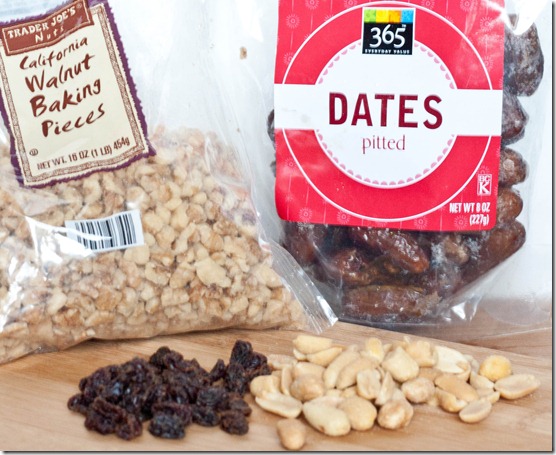
Calorie for cost, dried fruit and nuts are some of the best things for your budget. And they’re healthy, too! Just be sure to avoid ridiculously priced ones like goji berries or raw mammoth pecans; good old raisins and peanuts will treat your body just as well.

3-healthy-foods-for-college-cooking-eggs-raisins-peanuts

You could just grab a handful and eat it as a snack, or use Ziploc baggies and portion them out into servings to take around with you. That way they’re much cheaper than most portioned snacks.

If you happen to have a food processor, I love mixing them into homemade Larabars and energy balls for something with a different taste and texture. Some good recipes to try are raw salted almond brownies, PB&J balls, honey peanut butter, and homemade Nutella.

If you have any other healthy bargain foods to add to the list in the comment section, I’m sure others(not to mention myself!) would love to hear!

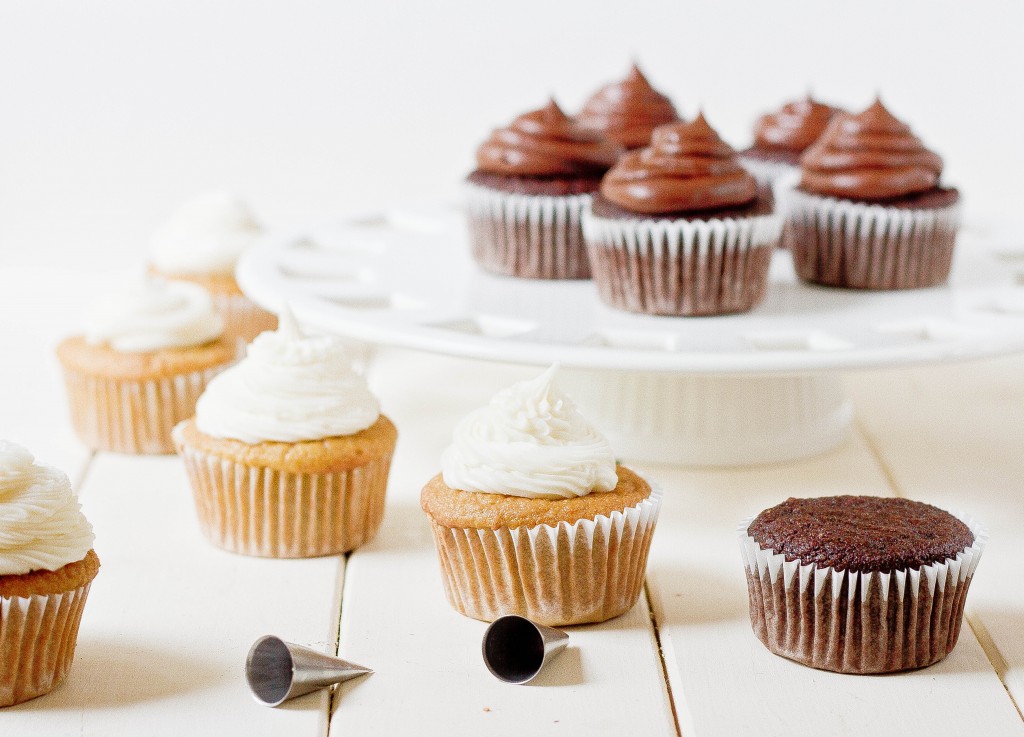
Paleo Chocolate Cupcakes

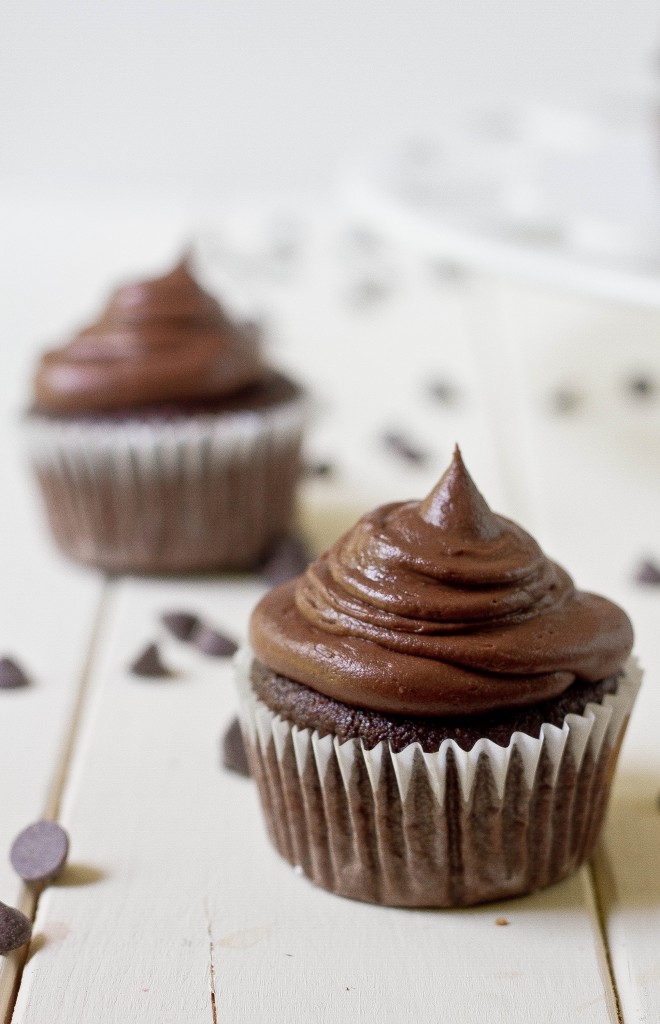
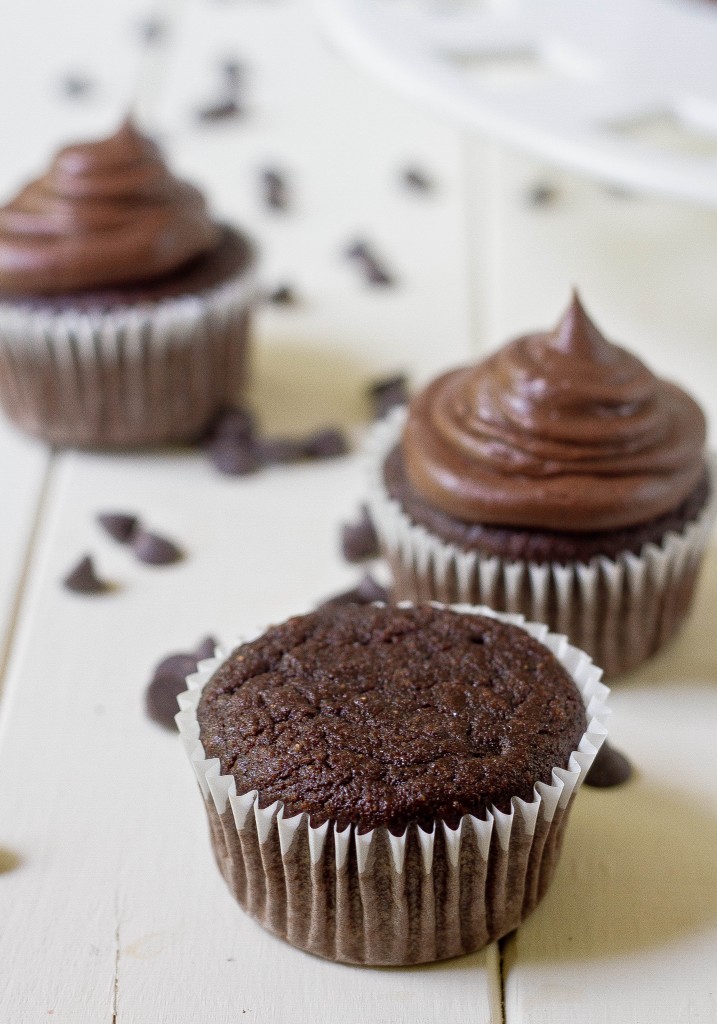
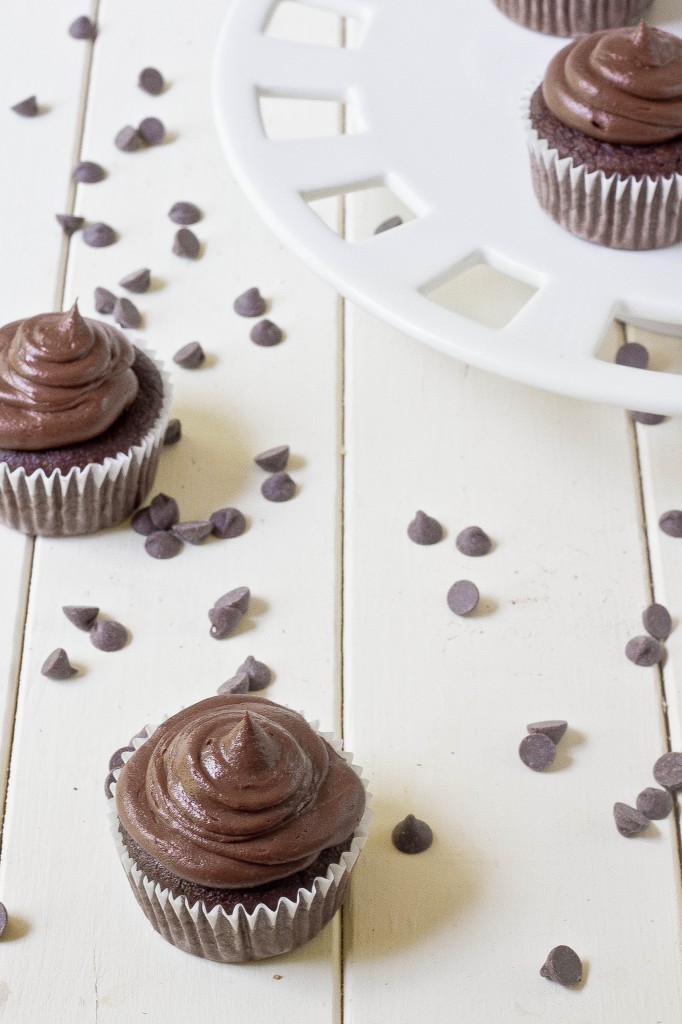
After the vanilla cupcakes were all gone, I was feeling empty inside. Well, not totally empty—just a little snackish. You know when you want something sweet but not anything really healthy. And since I still had my bag of coconut flour, I thought why not try some chocolate cupcakes?

These are just as good as the vanilla ones if you ask me. They do have a stronger taste of coconut, but I think it helps since the cocoa powder needs a fatty flavor to give it some chocolaty richness.

Paleo Chocolate Cupcakes

Prep time: 10 minutes

Cook time: 35 minutes

Ingredients(Makes a dozen cupcakes):

  • 1/2 cup +2 Tablespoons coconut flour
  • 4 eggs
  • 2 egg whites
  • 1/3 cup cocoa powder
  • 1/2 cup cane or palm sugar
  • 1 cup coconut milk
  • 1/2 teaspoon baking soda
  • 1 teaspoon vanilla extract

Method:

  1. Preheat your oven to 350 degrees and line 12 cupcake holders with paper liners.
  2. Mix together the coconut flour, eggs, egg whites, cocoa powder, sugar, coconut milk, baking soda, and vanilla extract in a large bowl.
  3. Slowly add just enough water so that the batter is slightly runny and easy to mix by hand without exerting too much effort.
  4. Scoop the batter evenly into the cupcake liners. Hit the pan against the counter a few times to even the batter and knock out any air bubbles.
  5. Bake for 30-35 minutes until the tops are firm to the touch.

If you like these cupcakes, you might like my paleo vanilla cupcake recipe.

Scrambled Tofu

Scrambled-Tofu

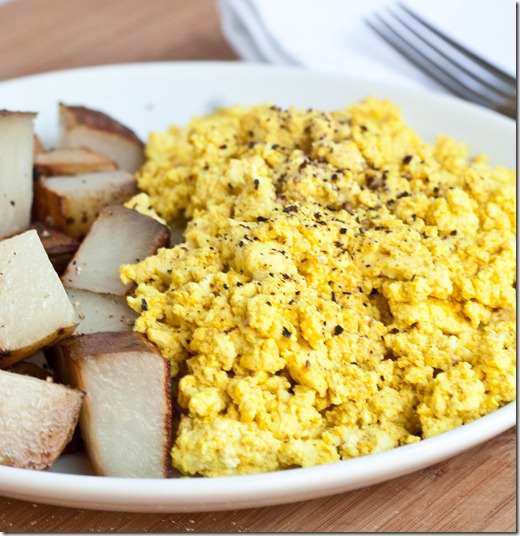
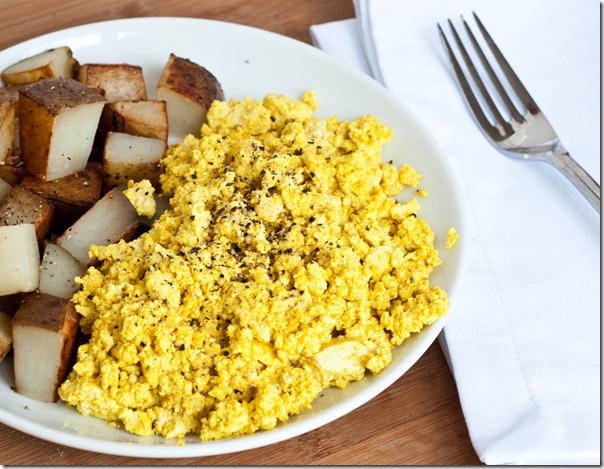
I love eggs. I really do. I have no problem with eating them for every meal. And some days I do. But I also love this vegan version of scrambled eggs, which is just as easy if not easier to make and packs a punch of flavor.

“How do you get tofu to look so much like eggs?” you might think. Tofu is so versatile to begin with; you can get it to be almost any texture and appearance with a little effort. The trick to getting a yellow color is turmeric, which adds very little flavor but a nice eggy look.

Scrambled-Tofu-and-potatoes

Now, this doesn’t taste terribly much like scrambled eggs. In fact, it would be pretty bland if it weren’t for the garlic, onion, and salt. In addition to those, you could add any herbs or other seasonings you might like to enjoy scrambled eggs with; for instance, add some cayenne pepper for a bit of a kick.

Scrambled Tofu

Prep time: 5 minutes

Cook time: 10 minutes

Ingredients(for 2 servings):

  • 1 block firm or extra firm tofu
  • 1/2 Tablespoon olive oil
  • 3/4 teaspoon turmeric
  • 1/2 teaspoon onion powder
  • 1/2 teaspoon salt
  • 1/4 teaspoon garlic powder
  • 1/4 teaspoon black pepper

IMG_0042

Method:

  1. Heat a pan over a burner set to medium.
  2. Mash the tofu with a fork to get it to a scrambled egg texture.
  3. Pour the tofu and all of the rest of the ingredients into the hot pan. Mix together to distribute the seasoning.
  4. Cook for 5-10 minutes until the tofu starts to brown and firm up.
  5. Serve hot with home fries or toast.

Scrambled-Tofu-Wide

I actually like this more than eggs because it’s usually easier to clean the pan afterwards; if that isn’t a good enough reason to make it, I don’t know what is.

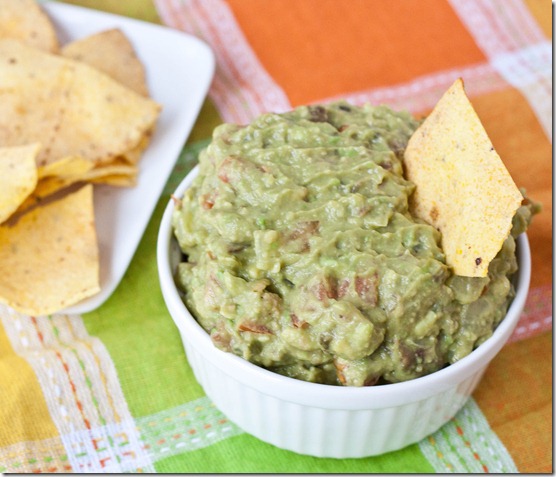
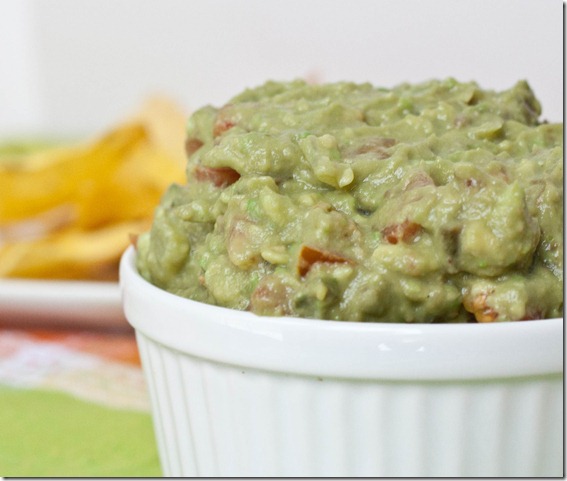
Firecracker Guacamole

Firecracker-Guacamole

The Superbowl is coming up; I only know that because The Voice premiers right after it and that’s what I really want to watch. Maybe I’ll sit through 3 hours of football or maybe I’ll just eat chips and dip the whole time and not look up at the TV; the latter sounds more fun.

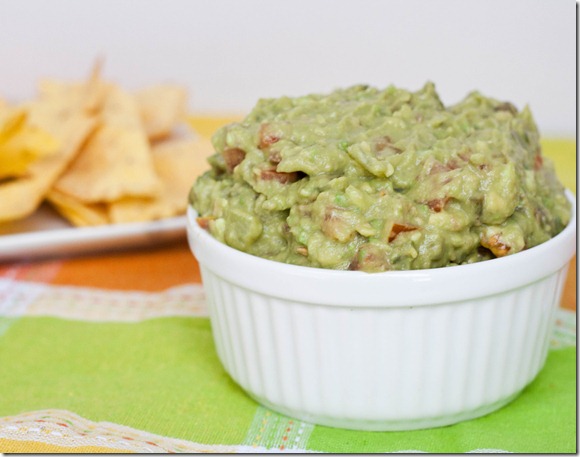
I never really made guacamole before and my first time got off to a rough start: I confused jalapeno and habanero peppers. I’m pretty sure traditional guacamole has jalapenos. This one has habaneros which are a little spicier. I didn’t wear gloves or anything while I was dicing it and ended up sniffling for the rest of the afternoon; those little buggers are hot!

Firecracker-Guacamole-dip

What makes this guacamole unique is that the onions are gently cooked. No one wants raw onion breath, especially at a party. Sautéing them in a pan in some water takes away that bitterness, and since it’s cooked in water and not oil it saves the guacamole from getting too oily. You can include or exclude the cilantro based on your preference; I can’t stand the flavor so I left it out.

Firecracker Guacamole

Prep time: 15 minutes

Cook time: 0 minutes

Ingredients:

  • 3 ripe medium-sized avocadoes
  • 1 small tomato
  • 1/2 yellow onion
  • 1 habanero pepper
  • 1/2 Tablespoon lemon or lime juice
  • 1/2 teaspoon salt
  • 2 Tablespoons chopped cilantro(optional)

Firecracker-Guacamole-close-up

Method:

  1. Peel and mash your avocadoes together in a large bowl.
  2. Carefully dice the onion, tomato, and pepper. Add the tomato and pepper in with the avocado reserving the onion.
  3. Heat a large pan over medium with a little water in the bottom. Quickly sauté the onion in the water for a couple minutes until the diced onions are semi-translucent. Remove from the heat and add in with the avocado.
  4. Add in your citrus and salt and cilantro if using and mix all of the ingredients together.
  5. Serve at room temperature. Store in the refrigerator for up to a day.

Firecracker-Guacamole-Scoop

This wasn’t the spiciest thing I’ve ever tasted but it certainly wasn’t mild, either; it was right around my heat level. Just be careful to wash your hands after handling the pepper. Nobody wants to rub that into their eyes or worse.