Popular Recipes

How To Make Brown & Powdered Sugar

May 29th 028

I’m not the best at planning ahead for what I want to bake. Not by a long shot. Sometimes that means “interesting” substitutions like strawberries for blueberries or carob for chocolate; other times it’s just a pain.

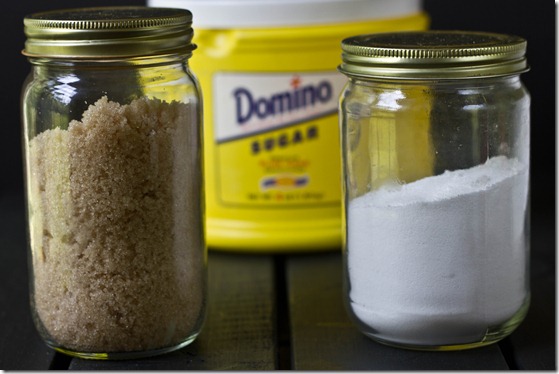
The kind of sugar you use in recipes is very important. Besides being sweet, each type offers its own flavor and texture. You use powdered sugar in frosting recipes so that the result is smooth and not grainy while you use brown sugar in cookie recipes to get a rich, dark buttery flavor.

If you’re in a pinch and only have white sugar on hand, you’re in luck. With standard cane sugar you can make both brown and powdered sugar.

How To Make Brown Sugar

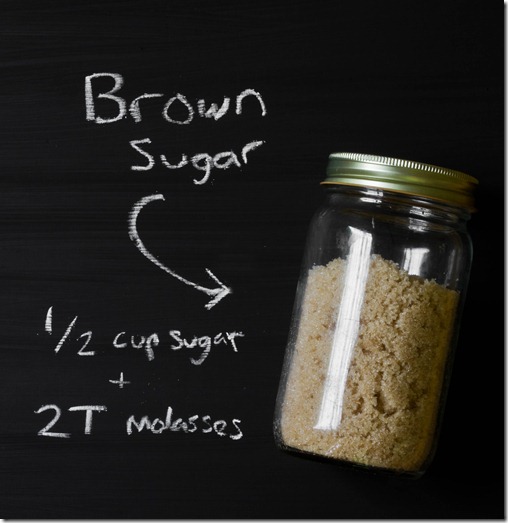
How to make brown sugar

Prep time: 5 minutes

Ingredients:

  • 1/2 cup white sugar
  • 2 Tablespoons molasses

Method:

  1. Mix both of the ingredients thoroughly.
  2. Store in an airtight container in the refrigerator for up to a month

You can also use this process to make maple sugar by substituting maple syrup in for the molasses. While the nutritional benefits of maple sugar can’t be imitated, the light, amber flavor comes through.

How To Make Powdered Sugar

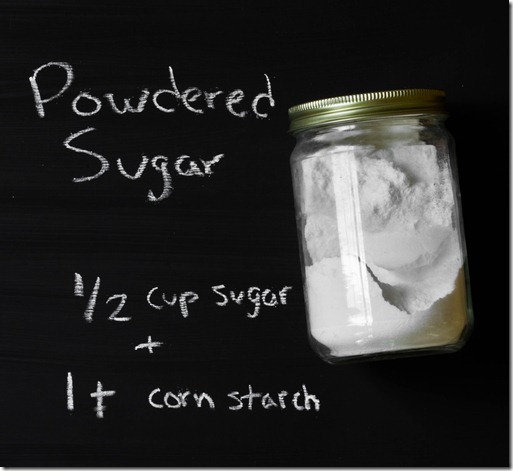
How to make powdered sugar

Prep time: 5-10 minutes

Ingredients:

  • 1/2 cup white sugar
  • 1 teaspoon corn or tapioca starch

Method:

  1. Combine the sugar and starch in a food processor or high-powered blender.
  2. Mix on high for 5-10 minutes until the sugar is pulverized to the consistency of powdered sugar.
  3. Store at room temperature in an airtight container.

If you have the option, buy and stock up on these types of sugar at the store; while these homemade ones are good last minute substitutions, they aren’t exactly the same quality you can buy. Also make sure that you’re starting out with white sugar and not something with color like turbinado sugar which has too much moisture in it. 

Hope you found this post helpful. Now that Summer’s here and backyard barbeques are back, I for one will be going through bags of sugar like crazy.

Gluten-Free Pizzelles

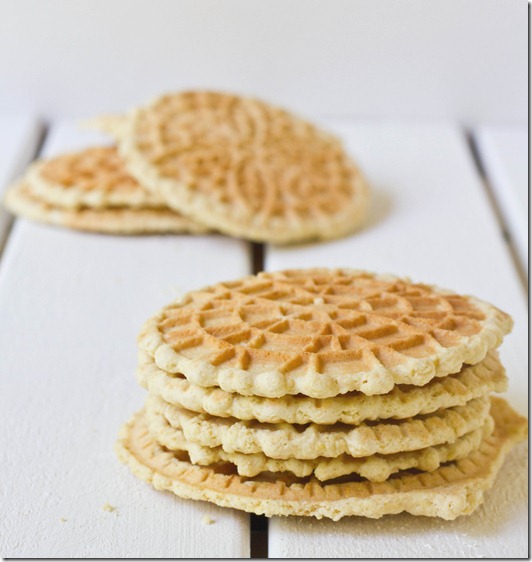
gluten-free-pizzelles

Over the weekend I made Christmas cookies. In May. But really, who’s complaining when there’s cookies involved?

This recipe was actually one of the very last ones I made before I got my first DSLR cameras. Since then I’ve been meaning to make them and take pictures again. I somehow never got around to making them last Christmas so now I’m fixing that mistake.

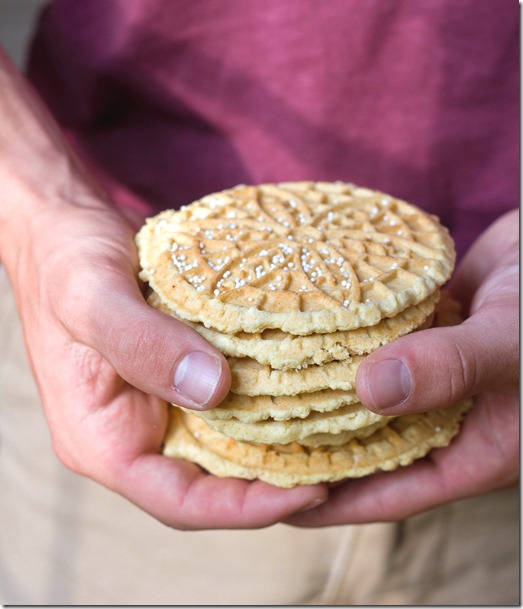
gluten-free-pizzelles-hands

I had a friend help me make these and take some home afterwards. Clearly one of the best things about Christmas cookies is making many many dozens and giving them away to friends and family(but also keeping a stash for yourself because—hell—you baked them and deserve some cookies, too).

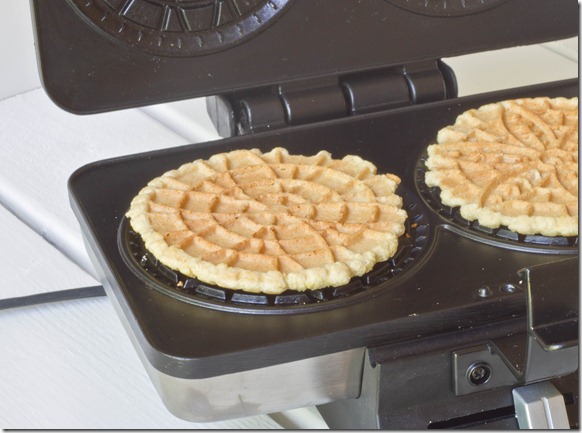
The one special piece of equipment you need to make pizzelles is a pizzelle press. The one I used is made by Cuisinart. You can easily use this recipe to make non-gluten-free pizzelles by substituting regular all purpose flour in for the gluten-free mix in a 1:1 ratio.

Gluten-Free Pizzelles

Prep time: 5 minutes

Cook time: 15 minutes

Ingredients(Makes about 20 pizzelles):

  • 3 eggs
  • 1/4 cup neutral flavored oil
  • 2 teaspoons anise extract
  • 3/4 cup sugar
  • 2 1/2 cups all-purpose gluten-free flour mix

gluten-free-pizzelles-pizzelle-maker (2)

Method:

  • Beat all of the ingredients together in a large bowl until smooth.
  • Heat an electric pizzelle maker according to manufacturer’s instructions until it’s ready to cook.
  • Take about an ounce of dough and roll it into a smooth ball in between your hands. Place the ball on the center of the pizzelle press, doing the same for both sides if your machine is double sided, and press the cover down.
  • Cook for about 45 seconds to a minute or until your pizzelle maker says that the cookies are done.
  • Lift the lid and carefully move the cookies to a separate plate to cool using a fork or other tool.
  • Repeat until all of the dough is used.
  • Store at room temperature in an airtight container for up to a few days.

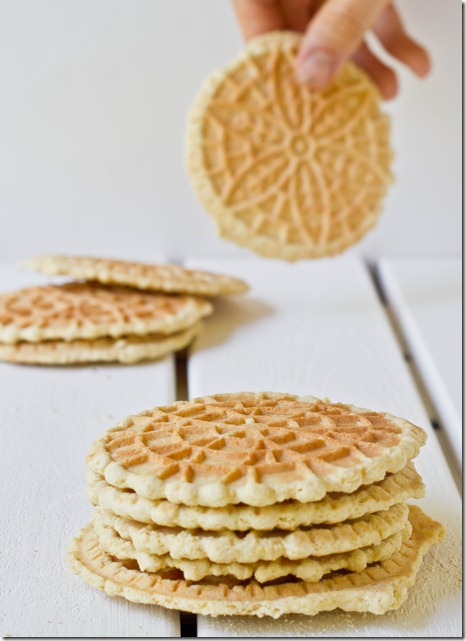
gluten-free-pizzelles-hand2

These are definitely too good to save just for Christmastime. My family’s favorite way of eating them is with a cup of coffee or tea and cream and dipping the edge in to soften right before each bite.

Thai Deviled Eggs

Thai-Deviled-Eggs

Happy Memorial Day! Hopefully you’re all set to relax on the beach, but if you’re in need of a quick appetizer or beach snack this might fit your bill.

I used to hate hard-boiled eggs(and by “used to” I mean about a year ago); the texture of the cooked yolks sort of freaked me out. And deviled eggs? Well, I’m a little suspicious of mayo still, so no thank you.

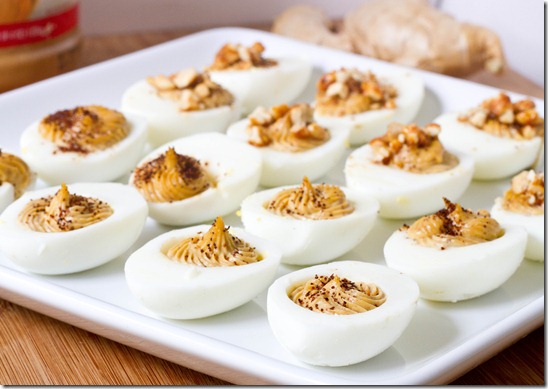
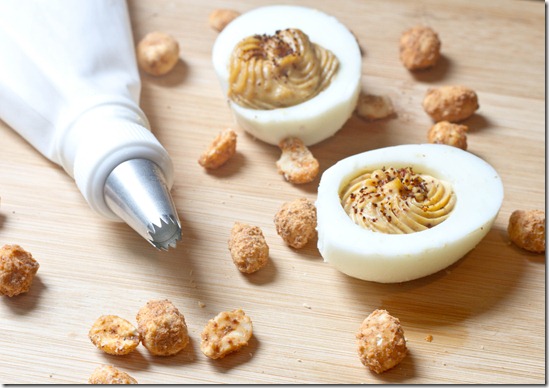
Thankfully at some point I saw the light(about hard boiled eggs—not mayonnaise. That’s still on my gross list). Instead of mayo, this recipe mixes the egg yolks with peanut butter, spices, and coconut milk for a light yet rich mousse-like filling. The peanut butter also boosts the protein in addition to being incredibly flavorful.

Thai-Deviled-Eggs-filling

I used a frosting piper to fill the centers, but you could use a Ziploc bag with a corner cut off to get a similar effect.

Thai Deviled Eggs

Prep time: 20 minutes

Cook time: 10 minutes

Ingredients(Makes 2 dozen):

  • 1 dozen eggs
  • 1/4 cup peanut butter
  • 3/4 teaspoon salt
  • 1 Tablespoon sugar
  • 2 teaspoons rice vinegar(or white vinegar in a pinch)
  • 1/2 teaspoon chili powder
  • 1/2 teaspoon cayenne pepper
  • 1/4 teaspoon paprika
  • 1/2 teaspoon ginger powder OR 1/4 teaspoon fresh grated ginger
  • 3-4 Tablespoons coconut milk(any kind of milk would do)
  • Crushed peanuts and extra chili powder to garnish

Thai-Deviled-Eggs-eggs

Method:

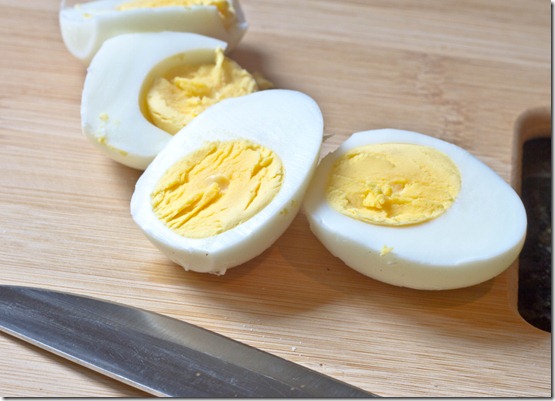
  1. Boil the eggs in a pot full of water for 9 minutes. Drain the eggs from the water and submerge in cold water to bring them down to room temperature.
  2. Peel the shells from all of the eggs and split them in half.
  3. Scoop out the yolks from the egg whites.
  4. Combine the yolks, peanut butter, salt, sugar, vinegar, and spices in a food processor and blend until smooth.
  5. Slowly add your liquid until the filling takes on the texture of a mousse.
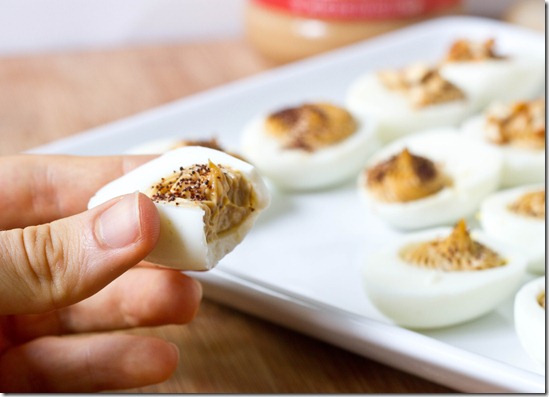
  6. Either scoop the filling directly into the egg whites or use a pastry bag to squeeze them in.
  7. Garnish with peanuts and/or chili powder. Serve at room temperature. 

Thai-Deviled-Eggs-bite

Now go out there and enjoy the weather. But pack your deviled eggs first.

Chocolate Covered Strawberries

Chocolate-Covered-Strawberries

Happy Memorial Day weekend!

I’m really horrible at remembering these federal holidays. I had no idea Monday was a holiday until a friend told me it was last weekend. Back in February I told another friend to have a good Martin Luther King day on Presidents’ Day… while he was in another country that celebrates neither of those. I really need to start looking at a calendar more.

Chocolate-Covered-Strawberries-Hands

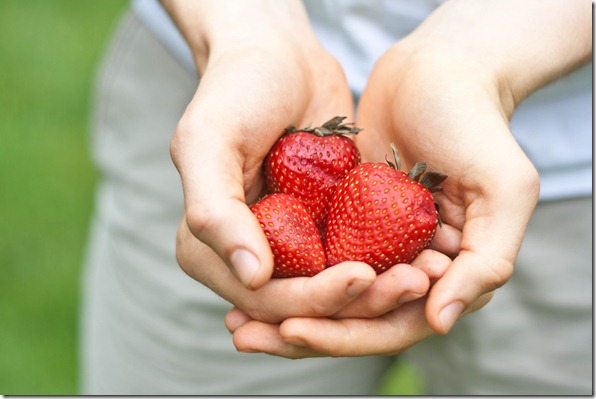
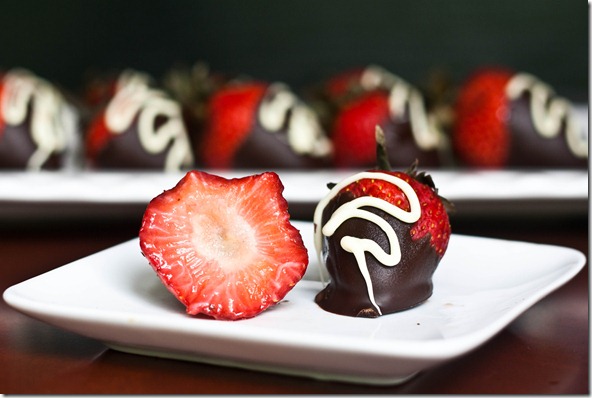
Back to the food—Chocolate covered strawberries are one of those classics that get done again and again but they never get old. They’re so simple you don’t even need a recipe(but you’re getting one). You can make them last minute and they’re near impossible to screw up, so if you’re in a pinch for dessert this Memorial Day then these could be the perfect solution.

Chocolate Covered Strawberries

Prep time: 10 minutes

Cook time: 0 minutes

Ingredients(Makes 2 dozen):

  • 2 dozen large strawberries
  • 10oz semi-sweet chocolate
  • 3oz White chocolate(optional)

Chocolate-Covered-Strawberries-Plated

Method:

  1. Gently melt the chocolate in a small bowl until it’s smooth.
  2. Dip each strawberry into the chocolate and swirl around to cover completely.
  3. Lift the strawberries out of the chocolate and let the excess fall back into the bowl. Place them individually on a non-stick surface.
  4. If using the white chocolate, melt it carefully and put it in a pastry bag or Ziploc with a tiny whole cut out one edge.
  5. Drizzle the white chocolate across each strawberry from side to side.
  6. Refrigerate the strawberries until the chocolate has hardened. Plate and serve still slightly cold.

Chocolate-Covered-Strawberries-Bite

When life gives you lemons, make lemonade. And when life gives you strawberries, cover them in chocolate before eating them.

Almond Joy Fudge

Akmond-Joy-Fudge

There are few things better than fudge or candy, except maybe fudge that tastes like candy.

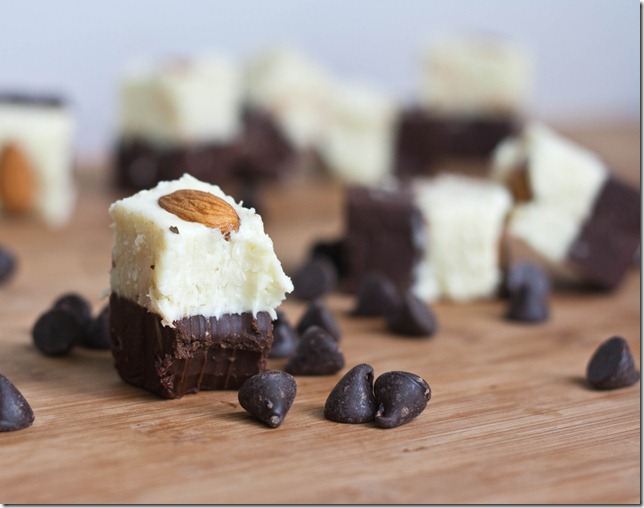
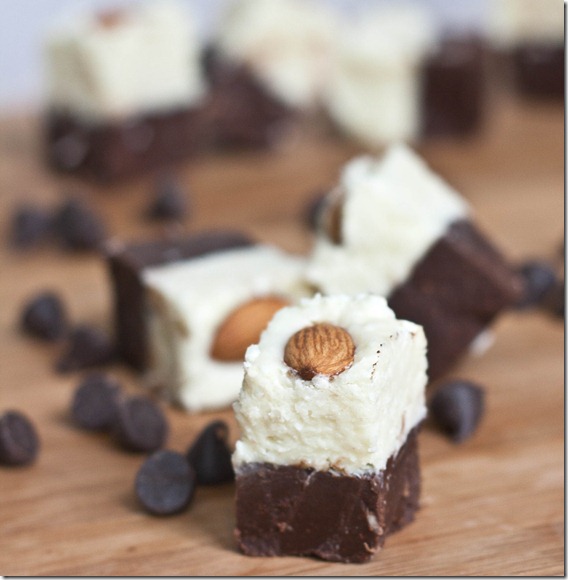
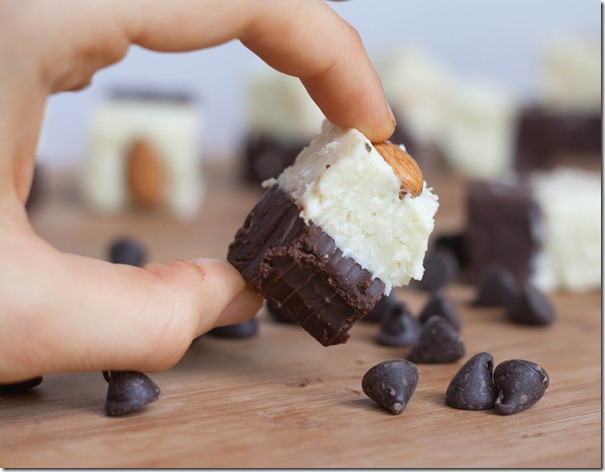
Coconut tends to be one of those touchy flavors; people either love it or hate it. Alone I think it’s pretty good—nothing special. Combine it with chocolate and sugar, though, and you’ve got a clear winner. This fudge has a standard chocolate base but with a layer of coconut-white chocolate fudge on top, topped with an almond. If you omit the almonds it’ll taste just like a Mounds bar.

The best part about this dessert? It can all be made in the microwave so you can enjoy it any time. OK, maybe that’s not such great news…

Almond Joy Fudge

Prep time: 15 minutes

Cook time: 0 minutes

Ingredients(Makes 16 servings):

  • 1/2 cup + 2 Tablespoons semi-sweet or bitter-sweet chocolate chips
  • 1/4 cup unsalted butter
  • 1/4 cup + 2 Tablespoons coconut milk
  • 1/2 cup powdered sugar
  • 1/2 cup white chocolate chips
  • 1/3 cup shredded coconut, sweetened or unsweetened
  • 16 almonds

Almond-Joy-Fudge-2

Method:

  1. Melt the chocolate chips in a microwave or over the stove.
  2. Mix into the melted chocolate 2 Tablespoons of butter, 3 Tablespoons of coconut milk, and 1/4 cup of sifted powdered sugar until the chocolate is smooth.
  3. Pour the fudge into the bottom of a non-stick 6×6 pan. Put the pan in a refrigerator temporarily to cool the chocolate.
  4. Melt the white chocolate using the same method, keeping an eye on it making sure that it doesn’t burn.
  5. Mix in the remaining butter, coconut milk, powdered sugar, and coconut until smooth.
  6. Take the pan out of the refrigerator and spread the coconut layer on evenly(It won’t be runny but shouldn’t be too solid to spread either).
  7. Place each almond about an inch apart in a 4×4 square pattern.
  8. Refrigerate the fudge for 20-30 minutes until it’s solid. Cut into 16 squares with an almond at the center of every square and serve cold.

Almond-Joy-Fudge-Hand

By itself the top layer tastes too much of white chocolate(I wasn’t aware that was even possible) to be like the coconut center of a Mounds Bar. But eaten together the chocolate and coconut fudge taste eerily similar to the candy joy. You might want to use an even larger pan such as 8×8 for flat rectangular pieces of fudge.

homemade-mounds-bars

And as long as we’re on the topic of coconut and chocolate, recently I updated the recipe page for Homemade Mounds Bars with better pictures and easier to read steps. It’s one of the most pinned dessert recipes I have so I can’t be the only one who thinks they’re amazing.

Gluten-Free Vegan Mac N’ Cheese

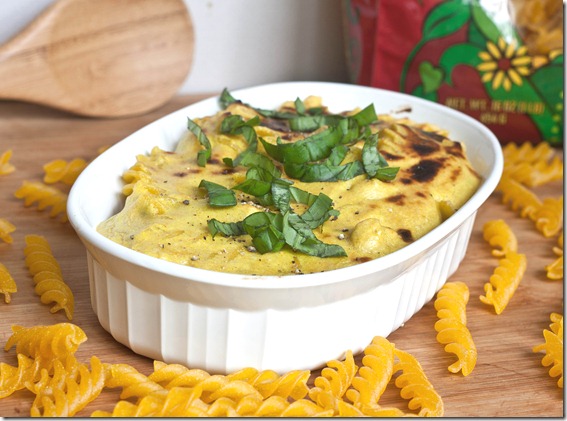
Gluten-free-vegan-mac-and-cheese

Thanks for sticking with me the past couple of weeks. I’ve moved home and (almost) unpacked and finally can get back to cooking and food blogging. And did I mention how nice it is to have a full kitchen again? It’s very nice.

One of the last things I ate before I moved was a frozen Amy’s rice macaroni and cheese. Blog-worthy? No. But incredibly delicious. I’d forgotten how good macaroni and cheese could be. Naturally I had it on the brain as soon as I got home and decided to make it almost immediately.

Gluten-free-vegan-mac-and-cheese-collage

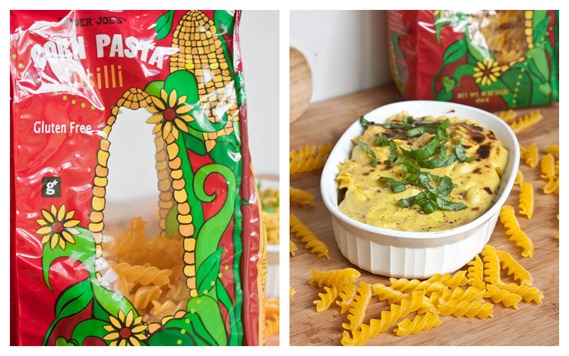
Trader Joe’s corn pasta is one of the few gluten-free pastas I like; you can’t even tell from the taste or texture that it’s gluten-free. It’s that good. Nutritionally, it’s not the best. But if you’re trying to win over a picky eater—gluten-free or not—it’s a safe bet.

This cheese sauce is made with cashews so it’s not only dairy-free but also soy-free. The nuts also add fiber and protein to the dish. You could substitute 3 Tablespoons of cashew butter in a pinch if that’s what you have on hand.

Gluten-Free Vegan Mac N’ Cheese

Prep time: 10 minutes

Cook time: 15 minutes

Ingredients(Makes 2 servings):

  • 3/4 cup gluten-free macaroni
  • 1/4 cup + 2 Tablespoons raw cashews
  • 7 Tablespoons(or a scant 1/2 cup) water
  • 2 Tablespoons nutritional yeast
  • 1/2 teaspoon salt
  • 1/4 teaspoon onion powder
  • 1/4 teaspoon garlic powder
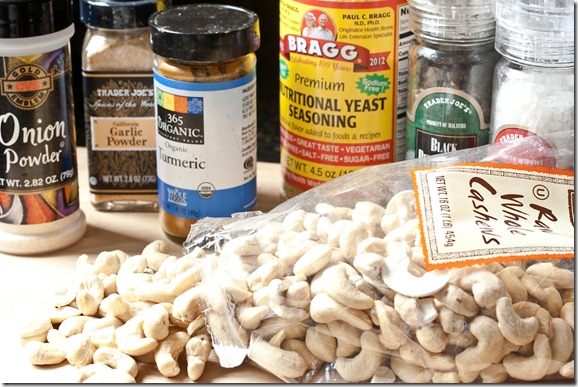
  • 1/4 teaspoon turmeric(for color only)
  • 1/4 teaspoon pepper
  • Pepper and basil for garnish

Gluten-free-vegan-mac-and-cheese-sauce-ingredients

Method:

  1. Prepare the macaroni by submerging it in salt water and boiling for 8-10 minutes. Undercook the macaroni slightly.
  2. While the macaroni cooks, make the cheese sauce by blending the cashews in 2-3 Tablespoons of water in a food processor.
  3. Once the cashews are pureed smoothly, add the rest of the water and all of the spices and seasonings. Continue blending until well-mixed.
  4. Drain the macaroni from the water and divide it between two small ramekins. Pour the cheese sauce on top evenly.
  5. Broil at 400 degrees for 5 minutes until the top starts to brown.
  6. Garnish with cracked pepper and chiffonade basil. Serve hot.

Gluten-free-vegan-mac-and-cheese-fork

The basil and pepper help to lighten up the flavor, since no one wants a heavy mac n’ cheese dish in the Summer. The healthy fats in the sauce fill you up for hours and yet taste wholly satisfying. It’s not quite as easy as a frozen meal but well worth the effort.

Using Your DSLR For Food Photography

chickpea-flour-pancakes-serving

More pancakes anyone?

Like I said, I haven’t been cooking much this week. So instead of a recipe I’m hoping a post on photography with pictures of food is almost as good.

I got my Canon Rebel for Christmas in 2010. I wasn’t really into photography back then but I figured I should get one like any good food blogger, and I’m pretty sure I’d dropped my old digital camera on the ground one too many times. For a long time I shot in automatic, because that was really easy and the pictures looked fine. But the more I used it, the more comfortable I felt playing with the buttons and nobs. And this year in my photography class using Manual was required, so the training wheels came off and I haven’t looked back. 
IMG_2920-2

There are 3 functions to keep in mind in a camera, and they all work together proportionally: ISO, shutter speed, and aperture.

The shutter speed is how fast the shutter opens and closes. The longer it’s open, the more light that gets in. It’s the easiest thing to control and usually the last thing you want to decide for a photo. If your shutter speed is too slow(1/30th of a second or slower) you might have to start worrying about shaking the camera and getting a blurry photo.

ISO is simply the quality the picture will have. A low ISO like 100 has a lot of detail, even if you make the picture big. A high ISO like 1600 comes out grainy when you try to stretch the photo. However, if you use 1600 ISO, your camera’s shutter speed can shoot 4 times faster than at 100 ISO, so it can be useful to stop blur. Generally, 400 ISO is a good compromise between quality and speed because it’s half way between 100 and 1600(I know it sounds like it’s a quarter way between the two, but trust me. It’s half).

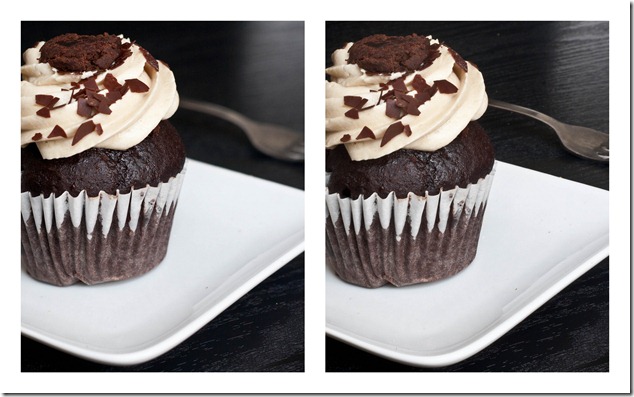
Aperture is the depth of field of a photo, or how much of the photo is in focus. This is easier seen then told:
Lightroom Photos5

The left one has a low aperture(5.0) and the right one a high aperture(22). You can see much more is in focus in the right one. Because of this, the shutter speed on the right one had to be about 10 times as long, which is when a tripod really comes in hand.
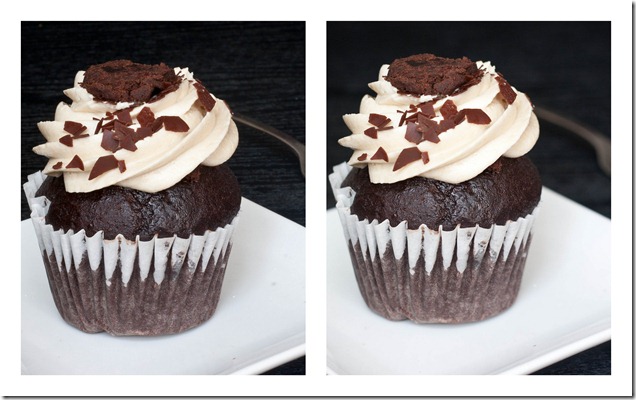
Lightroom Photos4

This time, the one on the left has a high aperture(22 again) and the one on the right has the low aperture(5.0).

In this case, I think the pictures with the low aperture look better, mostly because you can’t see the faux wood board I’m using as a table. Also, if you didn’t have a tripod, you’d want to use the lower aperture so that your hand won’t shake while you’re taking the picture. But neither one is universally better than the other; it all depends on what you’re shooting and what effect you’re going for.
Perk-Me-Up-Trail-Mix-coffee

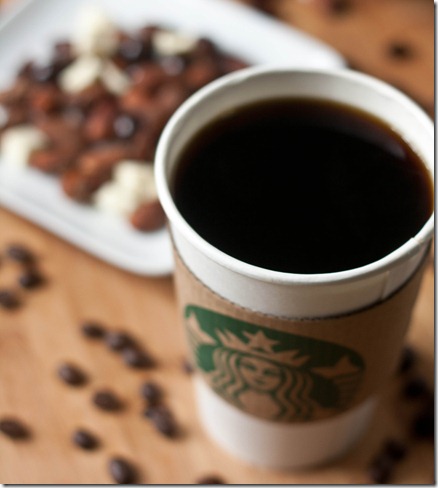
This photo has a really low aperture(2.8) so that only the lip of the cup is in focus. In this case, that was too low and I should have used a higher aperture for a better photo. A general rule is that, when there’s something in the foreground and something in the background, what’s in the foreground should be in focus over everything else. Then again, rules can be broken and no one’s going to arrest you for a bad photo; if that were the case I’d have a life sentence by now. 

So how do you know if you’ve got it all right besides taking a photo and seeing how it looks on the back of your camera?

image

You’ve probably seen this little meter at the bottom of the screen when you look through the view finder. It measures the light in the photo before you actually take the photo. If the exposure is right, the arrow at the center should be at the middle(generally for food photos I think they look a little better if it’s closer to the 1 but that’s another story). If you’re letting too much light into camera, the arrow will be on the + side and you should either lower the shutter speed, lower the ISO, or raise the aperture. If there isn’t enough light in the photo, the arrow will be on the – side and you should slow down the shutter speed, raise the ISO, or lower the aperture.

IMG_2849

*Not a food photo*

When you’re taking pictures of family or friends(or dogs), this can be a lot to keep track of and you might be tempted to put your camera back on automatic. Compromise. Put your camera on AV, which stands for aperture priority. This lets you choose what aperture you want and it will automatically calculate the rest which makes it almost just as easy and you get total control of what’s in focus.

If all of this sounds confusing and overwhelming, that’s OK. This is much easier learned through practice than reading it on a computer screen, so pick up your camera and just start snapping. It’ll all make sense with enough practice under your belt.

Chickpea Flour Pancakes

chickpea-flour-pancakes

I’ve been neglecting a lot lately.

Neglecting writing blog posts this week because I’ve been swamped with finals.

Neglecting eating healthy most of this semester because it’s easier to make excuses than roast vegetables.

Neglecting restarting the 30 day Shred workouts because I don’t like being yelled at through my own TV.

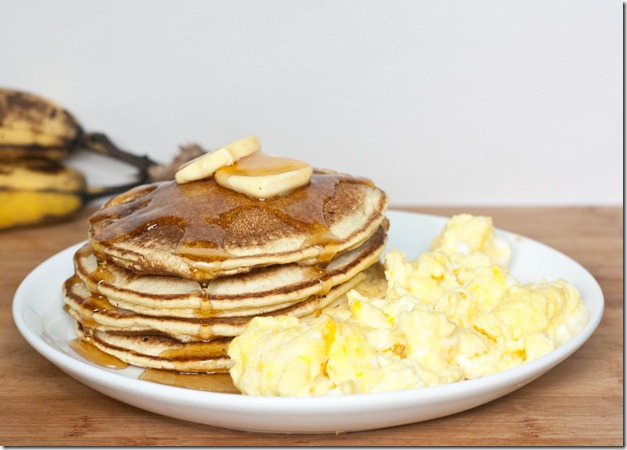
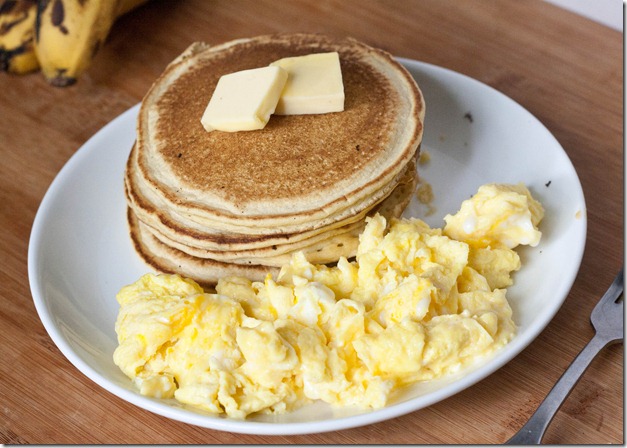
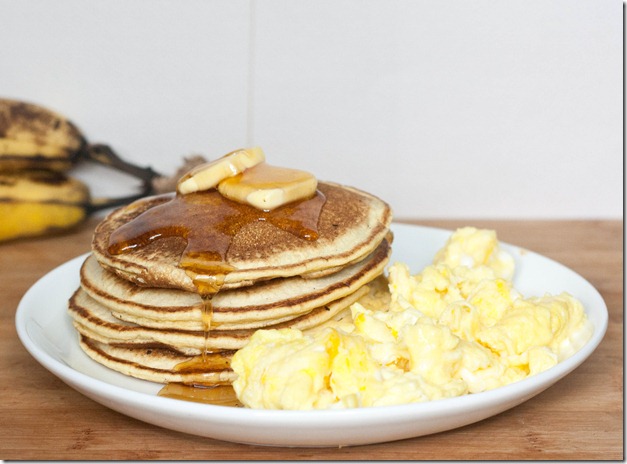
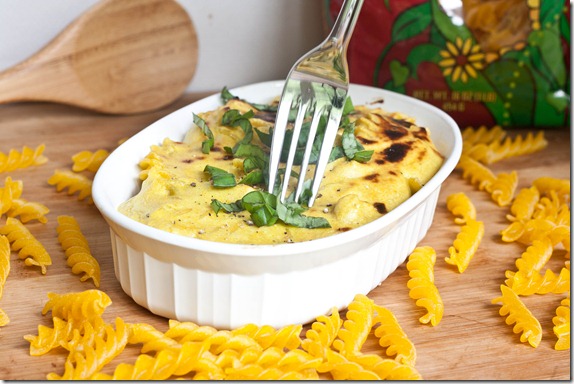
But most significantly I’ve been neglecting this pancake recipe. And that’s the biggest shame of all; no one should go pancake-less for months at a time. I usually eat oatmeal in the morning because that’s quick and I can make it in a microwave. But sometimes breakfast is worth making a fuss over and that’s when a reliable recipe like this comes in handy.

chickpea-flour-pancakes-serving

For the record, chickpea flour does not actually taste like chickpeas at all. It has a really neutral flavor to it. You can find chickpea flour in some specialty markets. The kind I used is by Bob’s Red Mill.
Chickpea Flour Pancakes

Prep time: 5 minutes

Cook time: 5 minutes

Ingredients(Makes 4 medium-sized pancakes):

  • 1/2 cup chickpea flour
  • 1 egg
  • 1/3 cup water
  • 1 (heaping) Tablespoon sugar
  • 1/4 teaspoon baking soda
  • Pinch of salt
  • Butter or oil for greasing

chickpea-flour-pancakes-over

Method:

  1. Whisk together the flour, water, egg, sugar, baking soda, and salt until all the clumps are gone from the batter.
  2. Heat a pan or skillet over a burner set to medium with some butter or oil.
  3. Scoop about 3 Tablespoons-1/4 cup of batter into the pan.
  4. Cook until the edges firm up and bubbles come through the batter. Flip and cook for another 15-20 seconds until the other side has set. Repeat until all the batter is used up.
  5. Serve while still hot with syrup, sauce, and/or butter.

chickpea-flour-pancakes-pouring

Here’s to a Summer of not neglecting.

9 Lessons From My Photography Class

For the past 12 weeks I’ve been taking a photo course at RISD; our final presentations are on Monday and to say I’ve learned a lot would be an understatement.

The class itself is a black and white film course. I thought there was no way the skills used in film photography could carry over to what I like to do in digital. I couldn’t have been more wrong. I know so much more about how to set up a shot, how my digital camera works, and even how to edit photos on a computer because of the work we did with film. The two pretty much go hand in hand and I feel like I take stronger photos because of it. 

Here are the 9 most valuable tips I’ve learned from the past semester; I’d suggest that you don’t just read them, but take them in, grab a camera, and practice. The best thing you can do to strengthen your photos is get hands on experience, and no amount of reading can match that.

mint-carob-cupcakes-batch

Check the light meter

That little thing in the bottom of your viewfinder actually turns out to be incredibly helpful. Before I was shooting in manual but always looking at the screen to see how I needed to adjust the shutter speed. That meant having a lot of shots that were horribly, horribly exposed. Using the light meter has cut down on bad shots tremendously.

Food photos in general look better overexposed by a stop I think but with a properly exposed file there’s nothing you can’t do in a digital editing software.

IMG_1872

Pay attention to lighting

Lighting is pretty much everything in a photo. The best way to practice finding good lighting isn’t taking pictures at all; just simply observe the light in a space at different times during the day to see how it changes and how the shadows make things look. Lighting really is essential to taking a good photo so figure that out before anything else.

Also, avoid flash whenever possible. It just makes people’s skin look like reflective vests and that’s never attractive.

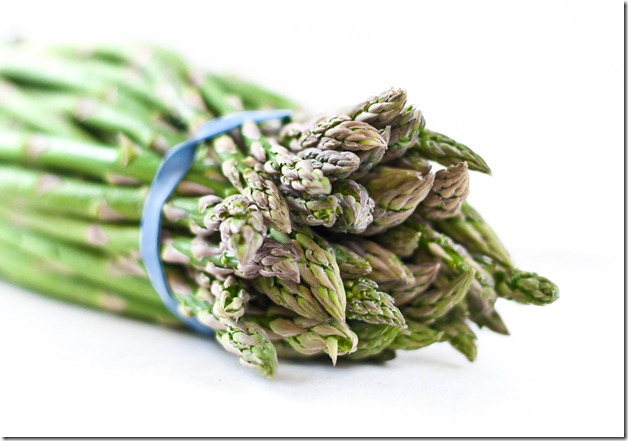
roasted-asparagus-ingredient

Crank down the ISO

I was always shooting in 1600 ISO because I thought that was “good enough”, but after working with photos in 400 ISO the quality isn’t even comparable. ISO measures the amount of detail in a photo, the lower the ISO meaning the more detail. Setting your ISO to 400 means you’ll have to use a slower shutter speed, but for well-lit shots like outdoor photos on a sunny day there’s no reason not to use it.

IMG_1984

The whole frame matters

It’s easy to get caught up in a subject and start taking pictures not paying attention with what’s around it. The problem is other people will pay attention to it when they look at the photos. If it’s not meant to be part of the photo, it probably is just a distraction and shouldn’t be there. You could crop it out during editing, but it’s so much easier to pay attention to the whole frame when you’re shooting than manipulating things after the fact.

IMG_2346-3-2

Tripods are your friend

I got a tripod for Christmas this past December. I hardly used it at all until a few weeks ago, and now I can’t stop. It’s just so much better for when you want to take low ISO photos and the lighting isn’t that great. It doesn’t have all the mobility of using your hands, but if you’re savvy you can get some pretty great shots. I’ll definitely be using mine most of the time when I’m taking food photos from now on.

IMG_2366

“Stealing” is fine

Stealing a recipe from one website and posting it on another is bad. Stealing a car is worse. But “stealing” a photo is fine—or rather, the concept of the photo. Stealing in art just means seeing something that someone else did well and that you like and trying to recreate it yourself. So if you have a particular favorite photographer who does great work, why not try to make your photos look just like theirs? As long as you’re the one taking the photo, it’s not breaking any rules.

IMG_1978

Prints are never out of fashion

With everything being digital today, no one has prints of their photos anymore. They’re a lot of fun to keep around, put on display, or even give as gifts. Get your favorite digital photos printed once and a while and do something fun with them; otherwise they only live on your computer and where’s the fun in that?

IMG_2351-3

Find your style and stick to it

Everyone has a different style. Even after 12 weeks of class with people I never knew before, it’s easy to tell who took what photos based on the subject matter and style. Likewise, I can spot a lot of my favorite food bloggers just by how their photos look because they’ve stuck with one style and gotten really good with it. It’s great to try new things but start with a strong foundation by working on your own look.

IMG_1806

Get feedback

Of course you should always please yourself with your work, but sometimes we get too attached to make objective decisions; that’s when having people who are going to tell you the truth is most important. Don’t go asking your mom or best friend who’s never said a mean thing in her life how your photos are—find someone unbiased who knows a thing or two about photos and ask what you could do to improve. Most of the time, we aren’t our best critic. In the words of Tina Fey, “If you’re ever feeling too good about yourself, there’s this thing called the internet.”


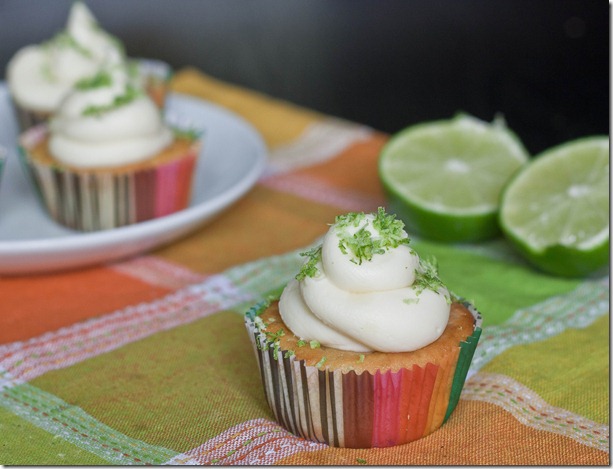
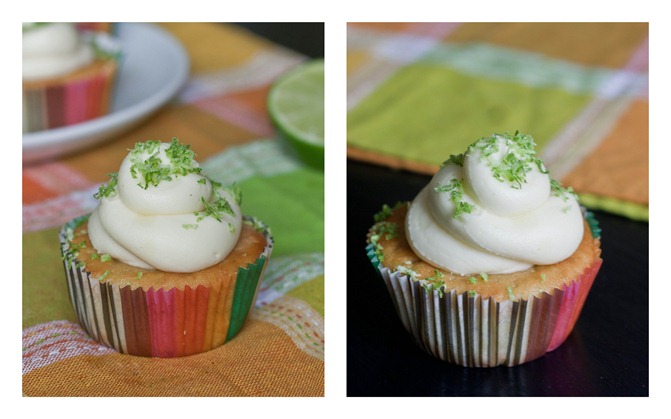
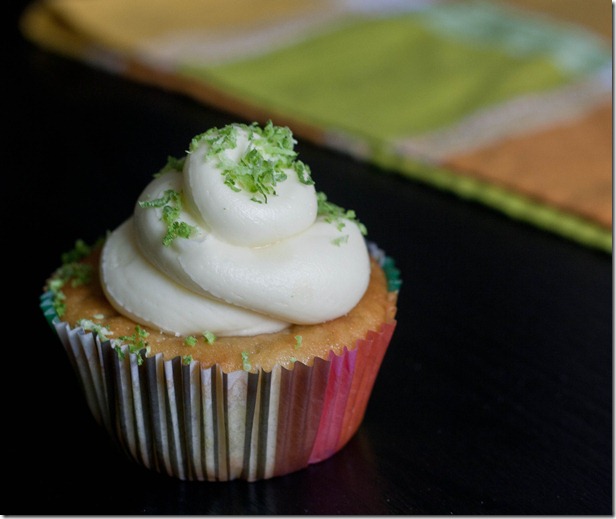
Lime In The Coconut Cupcakes

lime-in-the-coconut-cupcakes-2

I apologize this recipe is coming on nueve de Mayo and not last week when it might have been more fitting. If it’s any consolation, I made these on cinco de Mayo and ate a few on seis de Mayo and they were still delicious, so I’m sure whenever you make these they’d be a hit.

Lime and coconut go perfectly together. Since I always make my cupcakes with coconut flour, adding lime was a no-brainer. These are just the right amount of sweet and citrusy to be light and refreshing.

Lightroom Photos3

I kept the coconut flavor downplayed but if you want to liven them up you can add shredded sweetened coconut flakes to the batter of frosting for an extra layer of flavor. I also think fresh mint would work really well in the buttercream with the lime if you happen to make these at a time of year when that’s available.

Lime In The Coconut Cupcakes

Prep time: 10 minutes

Cook time: 35 minutes

Ingredients(Makes 12 cupcakes):

  • 1/2 cup plus 2 Tablespoons coconut flour
  • 4 eggs
  • 2 egg whites
  • 1/2 cup cane sugar
  • 1 cup coconut milk
  • 2 Tablespoons lime juice(or 1/2 Tablespoon lime extract if you can find it)
  • 1 Tablespoon lime zest
  • 1/2 teaspoon baking soda

lime-in-the-coconut-cupcakes-close-up

Method:

  1. Preheat your oven to 350 degrees and line a dozen cupcake holders.
  2. Combine all of the ingredients together in a large bowl and mix until it forms an even batter.
  3. Scoop equal amounts of the batter into each cupcake well.
  4. Bake for 30-35 minutes or until the tops are firm to the touch.
  5. Remove from the oven. Let the cupcakes cool completely before frosting them.

lime-in-the-coconut-cupcakes-serving

For the frosting, I used roughly 1/2 cup of softened butter, 2 1/2 cups powdered sugar, 1 1/2 Tablespoons of coconut milk, and plenty of lime zest. I say roughly because I did it mostly by eye. I’ve stopped putting effort into making just the right frosting until I get a fancy set of tips like these since they always look blah no matter what I do.