Popular Recipes

My Favorite Store-Bought Sauces

The food bloggers who cook everyday and love making time-consuming sauces and stews amaze me.

I’m nothing like that.

Sure, I like making desserts and even occasionally a dinner or two, but a lot of the time I have no problem phoning in meals. Cereal and yogurt for dinner is more than fine with me. But occasionally I like to pick up pre-made products at the store to help me make something easy and delicious that’s also a little bit more impressive than cereal.

Here are a few of the trusty, reliable, go-to sauces I’m sure to have in my pantry.

Trader Joe’s Marinara Sauce

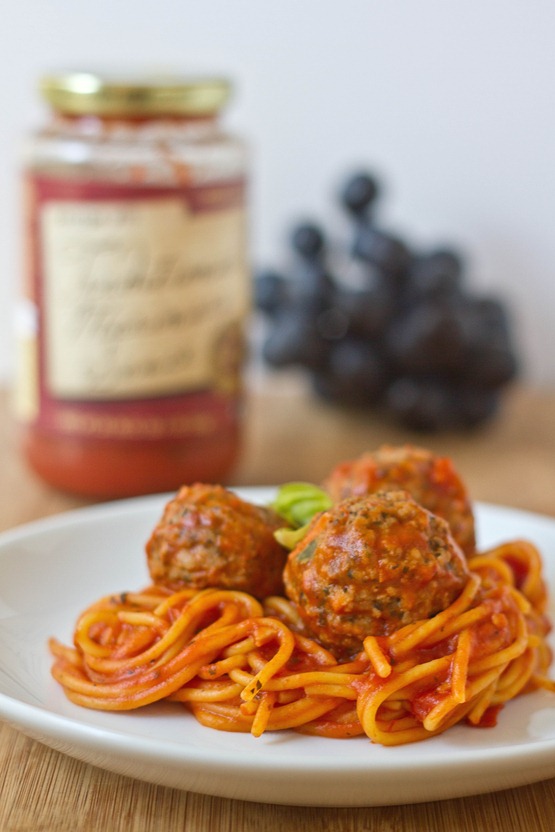
Trader Joe's Traditional Marinara Sauce

Trader Joe’s sells my favorite marinara sauce. I would happily serve this to guests and not say a thing. It’s delicious, cheap, and has all vegan and gluten-free ingredients. I usually have 3-4 in my pantry at any time because that’s how many I’ll go through in between shopping trips.

Trader Joe's Traditional Marinara Sauce Pasta

Of course it’s good with (corn) pasta and (soy) meatballs. I also like poaching eggs in the sauce and putting that over pasta or rice or quinoa. Just add some fresh herbs and you’ll forget it ever came from a jar.

Thai Kitchen Curry Paste

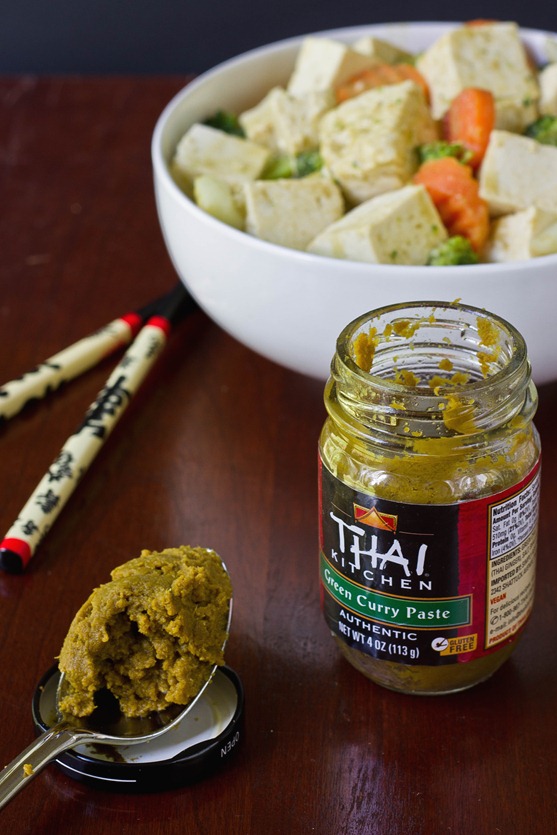
Thai Kitchen Green Curry Paste

I really have no clue about Thai cooking and yet I love eating it; that’s where the Thai Kitchen curry paste comes in handy. All you need to do is mix it over a stove with coconut milk and it turns into a curry sauce—super simple. All the ingredients are vegan and gluten-free, too! I like it more than the bottled curry sauces because it lasts longer and the ingredients are simpler. Again, this is something I usually have in my pantry waiting to be used.

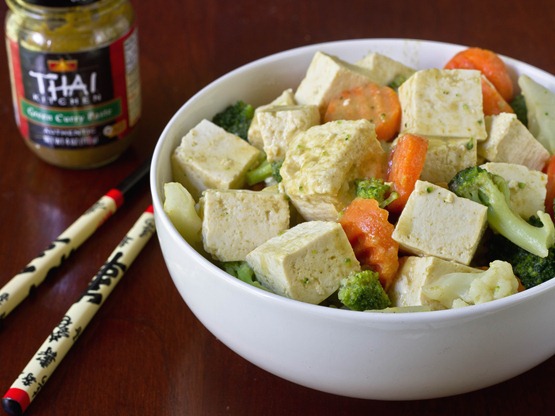
Thai Kitchen Green Curry Paste Bowl

I always have tofu and frozen vegetables on hand and usually have some leftover brown rice in my refrigerator. When you mix them all together it’s a perfect combination.

San-J Stir-Fry Sauces

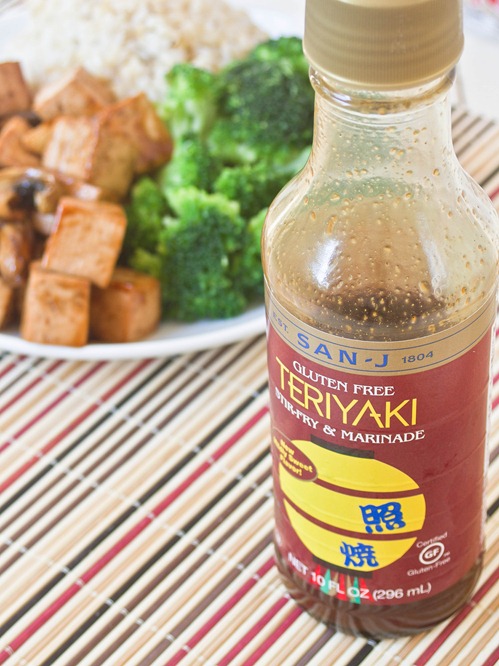
San-J Teryaki Sauce

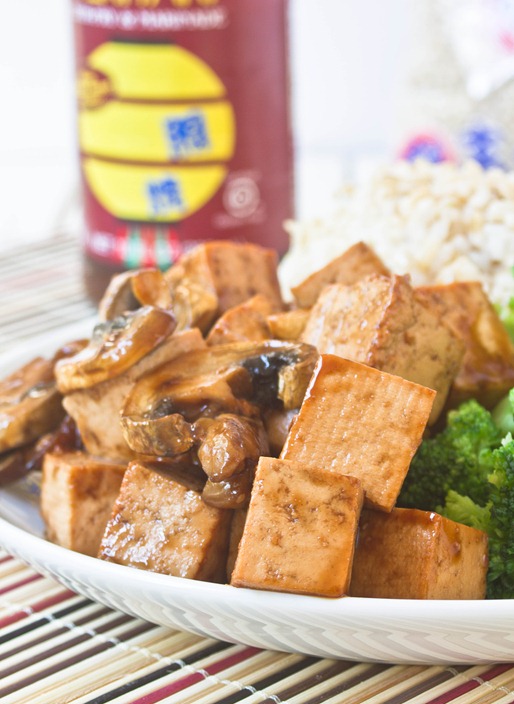
Like I mentioned, tofu, vegetables, and rice are big in my diet so I like anything that makes those tastier without lots of pressing and cooking. San-J stir-fry sauces are great because you just have to dice a block of tofu and sauté it in a pan in the sauce. It’s also hard to find sauces that use gluten-free soy sauce and I love the fact that they have a variety of flavors that are all gluten-free.

San-J Teryaki Sauce Tofu

Perfect.

Have any favorite sauces I should try? By the way, none of these were given to me or offered compensation. I just really like the sauces.

“It’s What You Do With What We Do”

September 1st 055

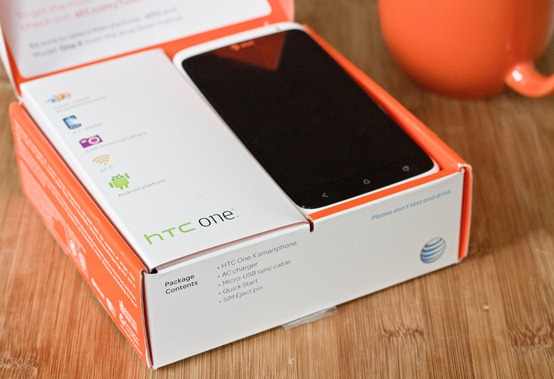
A couple weeks ago I got an email with a fun opportunity from Megan and AT&T. Their new campaign and tagline, “It’s what you do with what we do”, is all about how people from different walks of life can customize their technology to fit their lifestyle. Megan offered to send me an HTC One X with a month of service to share my honest feedback and share how the technology fit my work as a food blogger and I jumped at the chance.

To be honest I’d been thinking about getting a new phone for a while now, and not because of any service or dropped call issues. Engaging in social media is a big part of being a food blogger, whether it’s tweeting, pinning, facebooking or instagramming. The HTC One X drew me in with it’s 4G speed(faster than my 3G) and an impressive 8 megapixel camera. My hopes were that the HTC One X would encourage me to share more food candids from grocery shopping to cooking and photographing and everywhere in between. So far it’s gotten me to reclaim my Instagram account after a year of inactivity and begin posting again; that’s definitely a start.

September 1st 038

Setting up the phone was rather simple. It easily tied into my email and social media accounts to get a lot of contact information from there. Even better, I could use their website to set up the interface and change things around instead of having to do it all directly on the phone itself. The breadth of options of widgets and apps was slightly overwhelming, but in a good way. All in all I spent over 3 hours setting up the phone, but at the end I felt like I truly had a device that would work best for how I wanted to use it.

It was really easy to move things around on the different panels, get rid of the apps I know I wouldn’t use and highlight the ones I want to keep going back to. I also have a panel for my photo gallery and a panel for text messages(You could also easily add a panel with all of your contact numbers just in case you forgot that this was actually a phone).

photo (21)

When I was last looking for a smartphone a few years ago, a major factor in my decision was the availability of mobile apps. I chose an Apple product because the Android app selection had a reputation for being thin. I was really happy to see that that’s changed over the past few years because I felt like all the major apps I was looking for were there.

The camera on this phone(really the main attraction for me) is nothing short of amazing for a mobile device. The quality(8 megapixels) blows away the one on my old phone which actually encourages me to use it more. Even without an apps, the camera comes with options that allow you to create vignettes, change the ISO or switch to a fisheye lens, which is all pretty cool, too. It’s certainly not a DSLR but I feel like I can carry this phone around and capture moments with friends without having to lug around my actual camera.

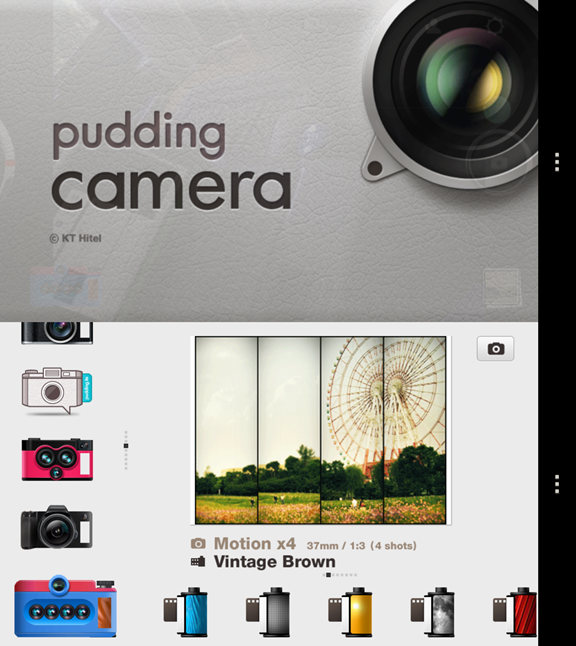
Screenshot_2012-08-31-13-28-25

One of my favorite photography apps so far has been Pudding Camera. It’s a free app I hadn’t heard of before that comes with a fun interface letting you swap between “cameras”(framing) and “films”(tones). It’s missing a social component like Instagram has but the photos and filters always seem to come out clearest when I use this app.

At the end of the month I’m going to share my thoughts on the phone and the photo apps I’ve tried and host a giveaway for a brand new white HTC One X. After just a few days I’m starting to love mine and I’m excited to offer the opportunity for one of you to fall in love with it, too.

Gluten-Free Baked Falafel

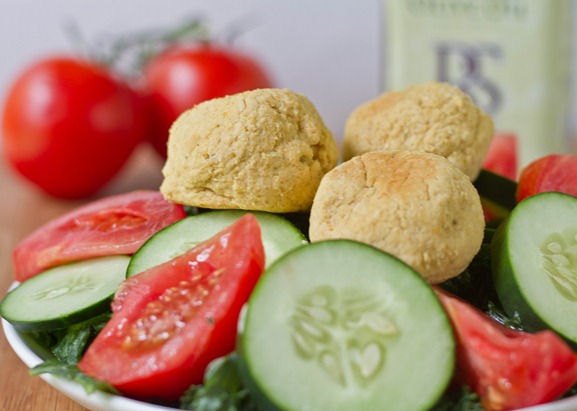
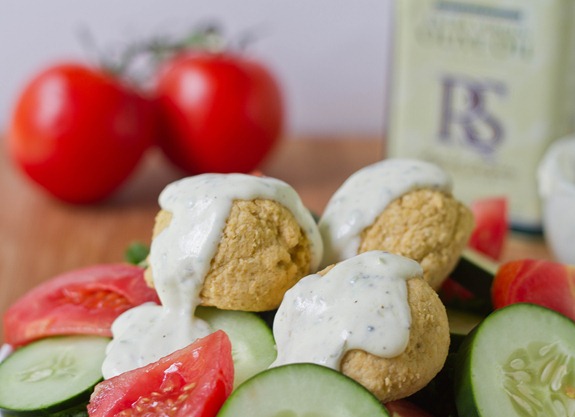
Gluten-Free Baked Falafel

“Are falafels gluten-free?”

It was a good question. I had no idea. To be honest, falafels were one of those foods I’ve wanted to try for a while but I’ve never gotten while out because I’ve heard conflicting answers on whether it’s gluten-free or not.

Well, sadly they probably aren’t. Most of the recipes I’ve found online use flour as a binder, and if they’re fried in oil that’s also used for chicken fingers or other breaded items that would make them contaminated. The good thing I learned is that they’re incredibly easy to make gluten-free. I was considering making them with chickpea flour for a while and when I heard that reader Carolyn has had success with that, too, I felt good enough to try it out.

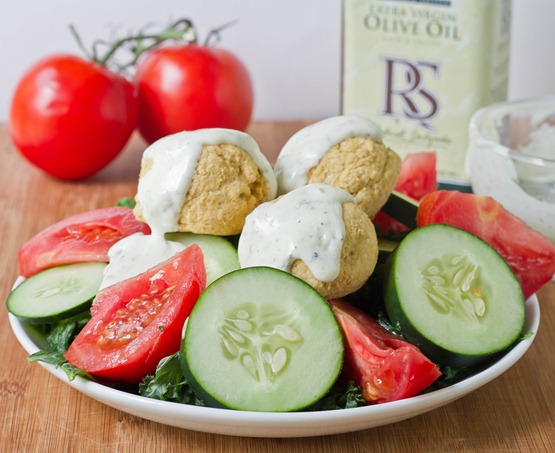
Gluten-Free Baked Falafel Serving

All you really need to make these are a food processor and an oven. I didn’t fry them mostly because that’s messy and I don’t like cleaning surfaces, you know? Also, they end up healthier this way—double plus.

I didn’t know what a falafel was supposed to taste like when I first ate a bite so I wasn’t sure how I’d know if it was a “good falafel”. Well, I don’t have anything to compare it to, but I think the fact that I went back to finish it off at 10pm when I’m usually not a savory person at all says something. I started off with this recipe and went from there. I would gladly make these again and maybe finish them off with a little oil in a pan to give them a brown crust.

Gluten-Free Baked Falafel

Prep time: 10 minutes

Cook time: 40 minutes

Ingredients(Makes about 6 falafels):

  • 1/2 onion, roughly chopped
  • 1 small clove of garlic
  • 1 Tablespoon olive oil
  • 1 15 oz can chickpeas, drained
  • 1 Tablespoon lemon juice
  • 2 Tablespoons fresh parsley, chopped
  • 2 Tablespoons oregano, chopped
  • 1/2 teaspoon salt
  • 1 teaspoon coriander
  • 3/4 teaspoon cumin
  • 2-3 Tablespoons chickpea flour

Gluten-Free Baked Falafel Sauced

Method:

  1. Preheat your oven to 350 degrees.
  2. In a food processor, blend the onion, garlic and olive oil until the garlic and onion are minced.
  3. Add in the chickpeas and lemon and blend until the chickpeas are pureed.
  4. Add in the parsley, oregano, salt, cumin, and coriander and continue blending to incorporate them in.
  5. Add the chickpea flour in a tablespoon at a time until the dough thickens enough that it can be shaped and won’t stick to your hands or a utensil.
  6. Form 6 or 7 balls of dough and place them on a lined baking tray. You can flatten them into patties if desired.
  7. Bake for 40 minutes until the outside starts to brown turning them halfway through.
  8. Remove from the oven and serve hot.

Another good question: Is falafel the singular or the plural? or both?

Gluten-Free Carrot Bread

Gluten-Free Carrot Bread

I’m a sucker for sweet breads. So far this Summer we’ve made banana bread and zucchini bread. That got me wondering what other fruits and vegetables you can bake into bread?

As unglamorous as they are, carrot desserts are some of my favorites; I’ve had carrot cakes at multiple birthdays throughout the years. Some people think they sound too healthy to make a good dessert, but if you slap enough cream cheese frosting onto anything it will taste good, right?

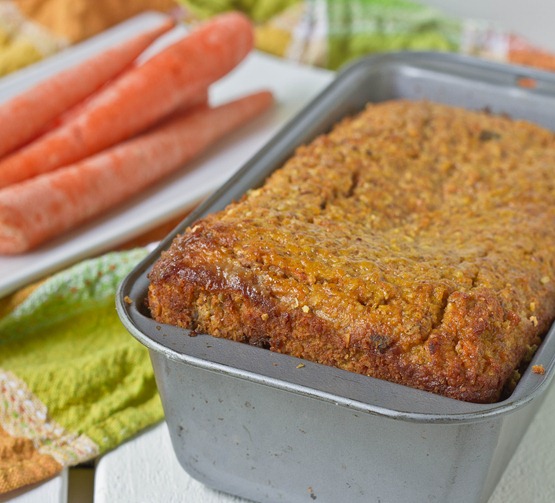
Gluten-Free Carrot Bread Loaf

This bread isn’t quite as sweet as a carrot cake or carrot cake muffin would be; I like that because the last thing I need in the morning is a sugar coma. Instead it’s rather spicy with jewels of sweetness from the raisins. You can swap in toasted walnuts for the coconut for a nuttier flavor and added crunch. Of course you can also add white chocolate chips and cream cheese frosting; it’s all about how decadent you want to go.

Gluten-Free Carrot Bread

Prep time: 15 minutes

Cook time: 50 minutes

Ingredients(Makes 1 loaf):

  • 1 1/4 cup almond flour
  • 1/2 cup brown sugar
  • 3/4 cup tightly packed shredded carrot
  • 1/4 cup vegetable oil
  • 1 6oz container plain yogurt
  • 4 extra large eggs
  • 1/4 cup raisins
  • 1/4 cup shredded coconut
  • 1/4 teaspoon salt
  • 1/2 teaspoon baking powder
  • 1/2 teaspoon cinnamon
  • 1/2 teaspoon nutmeg

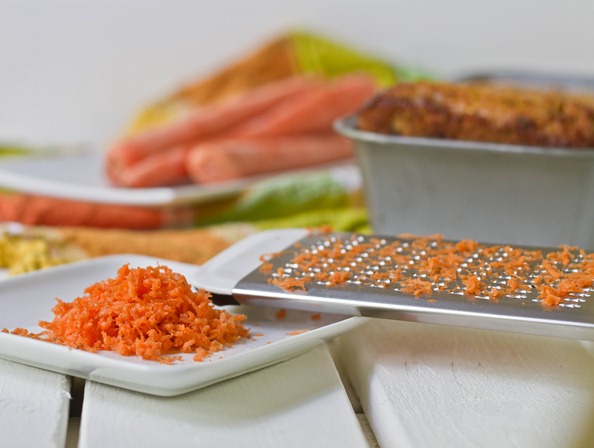
Gluten-Free Carrot Bread Shredded Carrot

Method:

  1. Preheat your oven to 350 degrees.
  2. In a large bowl, beat together the almond flour and brown sugar to make sure there aren’t any clumps.
  3. Add in the carrots, oil, yogurt, and eggs and mix completely.
  4. Toss in the raisins, coconut, salt, baking powder and spices and mix again.
  5. Pour the batter into a greased 9-inch loaf pan.
  6. Bake for 50 minutes or until the center of the loaf has set.
  7. Remove from the oven and let cool completely before cutting into slices.
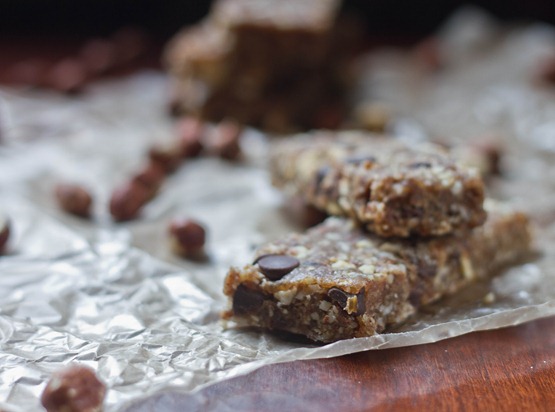
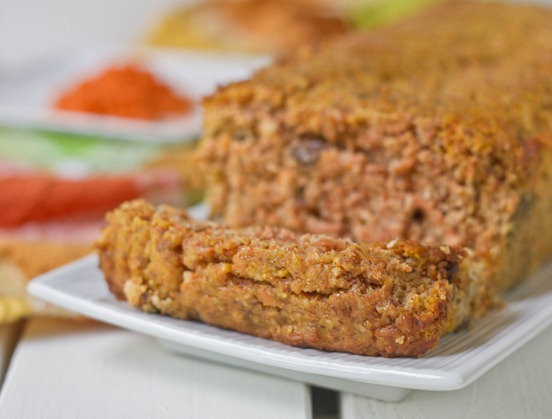
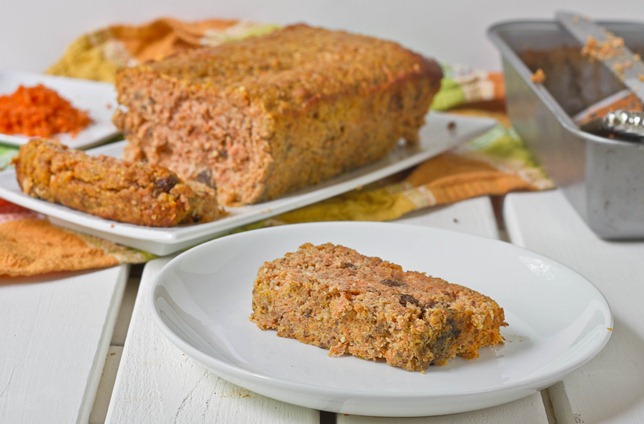
Gluten-Free Carrot Bread Slice

It didn’t take me very long to mix some powdered sugar and cream cheese and spread it onto a hot slice. It didn’t take me long at all.

Copycat Chocolate Hazelnut Larabars

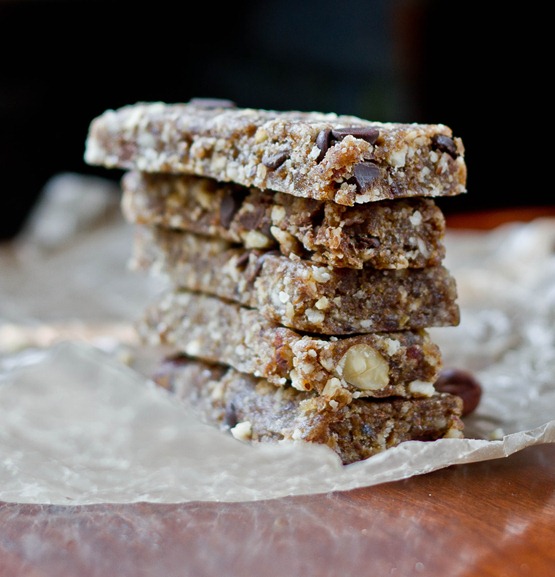
copycat chocolate hazelnut larabars

One of my most popular recipes is the raw/vegan chocolate cake I made last Summer, and every time someone new comments on the post or makes it for themselves and blogs their own mouth-watering photos(I’m looking at you, Texanerin) it makes me want it again.

Well, cake every week is a bit much, even if it’s raw and vegan. But as soon as I finished eating my chocolate chip peanut butter “Larabars” I was thinking of what flavor I could make next, and chocolate hazelnut seemed like the perfect answer.

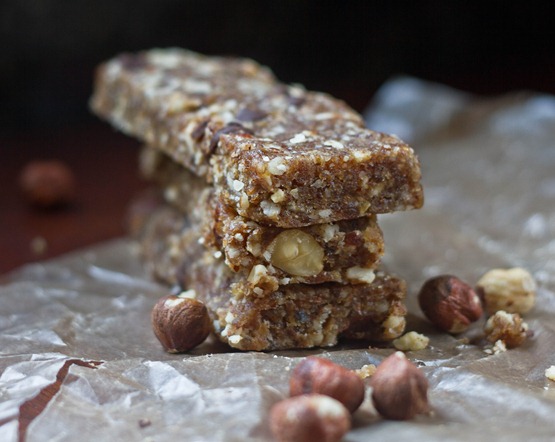
copycat chocolate hazelnut larabars stack

These are definitely healthy enough to have every day but also can easily satisfy a candy craving. You can use raw or roasted hazelnuts, skin on or off. Roasted will definitely have a nuttier and stronger flavor. To make them truly raw, use cacao nibs in place of the chocolate chips. 

Copycat Chocolate Hazelnut Larabars

Prep time: 10 minutes

Cook time: 0 minutes

Ingredients(Makes about 7 bars):

  • 8oz(about 2 cups) pitted dates
  • 3/4 cup hazelnuts
  • 1/4 teaspoon salt
  • 1/4 cup chocolate chips

copycat chocolate hazelnut larabars yield

Method:

  1. In a food processor, blend the dates until they clump together and form a sticky dough ball.
  2. Add the hazelnuts and salt into the food processor and pulse until the nuts are broken into a coarse flour.
  3. Transfer all the contents of the food processor into a large bowl with the chocolate chips and massage by hand until the hazelnut pieces and chocolate chips are completely mixed into the dates.
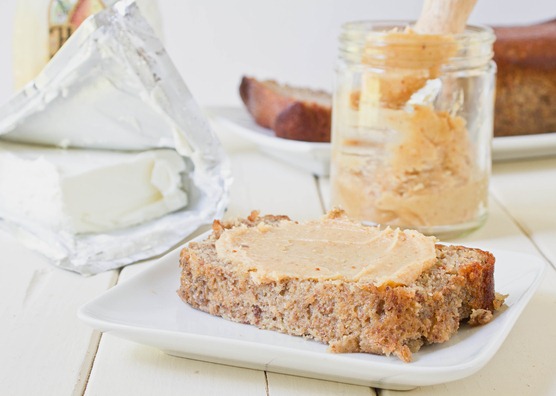
  4. Form the dough into equal-sized bars, squares, or balls. Store in the refrigerator until ready to eat.
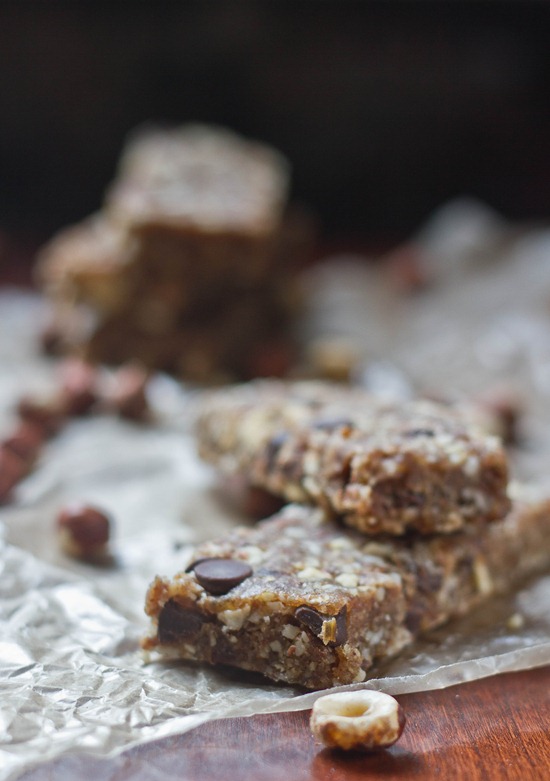
copycat chocolate hazelnut larabars bars

OK, it’s no raw chocolate cake with avocado buttercream, but it will definitely satisfy a late-night sweet tooth.

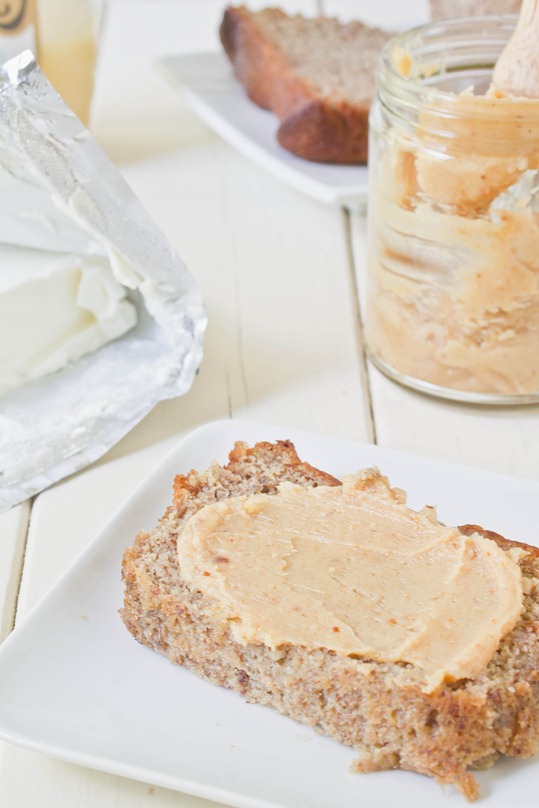
Peanut Butter Cream Cheese

peanut butter cream cheese

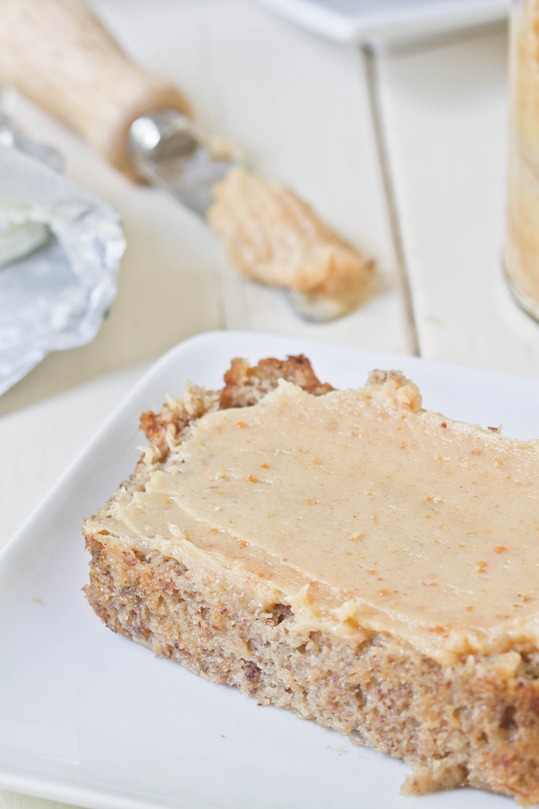
Last week I made another loaf of almond flour banana bread. It didn’t have any chocolate chips or walnuts or Nutella swirls so it definitely needed something to make it more decadent.

I was reminded of when I made a chubby hubby cheesecake last month and finally shared the recipe with the people I served it to: “You mean my whole family has been fighting over peanut butter and cream cheese?” Hey,what can I say? It’s a winning combination.

peanut butter cream cheese long

You can easily adjust the sweetness by adding more or less honey. I like it when it’s not too sweet so that you still taste the slight tartness of the cream cheese. Add a sprinkling of raw sugar for a little bit of crunch.

Peanut Butter Cream Cheese

Prep time: 5 minutes

Cook time: 0 minutes

Ingredients:

  • 1/4 cup cream cheese
  • 1/4 cup peanut butter*
  • 2 Tablespoons honey
  • 1/2 teaspoon cinnamon(optional)

*If you’re using no-stir peanut butter, be sure to soften it in the microwave quickly before mixing.

Method:

  1. Mix together all of the ingredients.
  2. Store in a sealed container in the refrigerator when not using. Let it soften at room temperature briefly before spreading because the cream cheese will harden when chilled. 

peanut butter cream cheese serving

I think I need to stock up on gluten-free bagels because this is too good not to eat every morning. It’s creamy and nutty—the perfect combination of the best two breakfast spreads.

Asian Stir-Fry Rice And Veggie Burgers

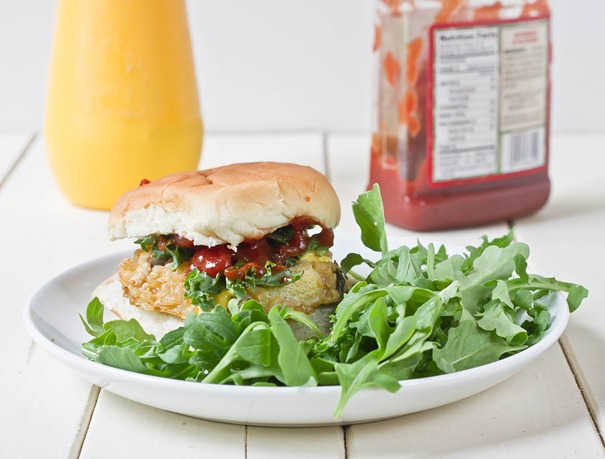
Asian Stir-Fry Rice And Veggie Burgers

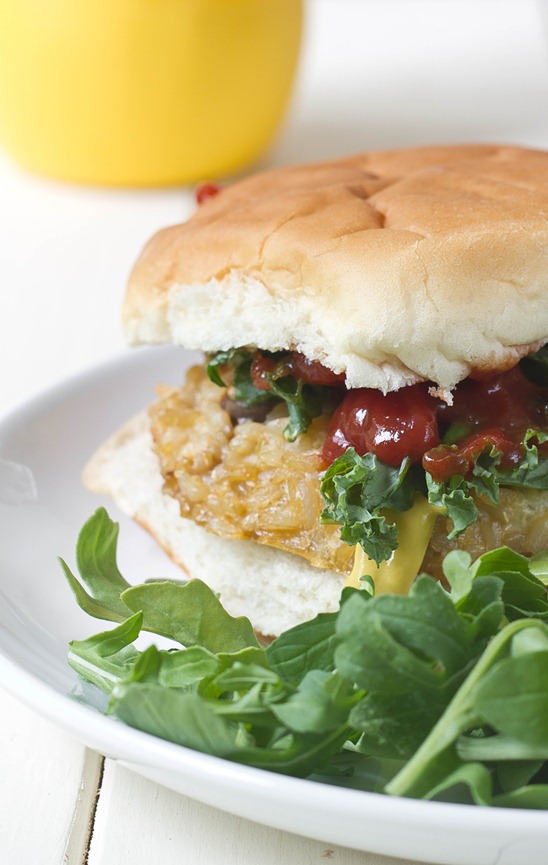
The term “veggie burgers” have become an oxymoron these days; veggie burgers have just about everything but vegetables in them. Soy protein, artificial flavors, and wheat gluten—yes. But veggies? Nope. They hardly live up to the health halo surrounding them.

The best thing you can do is make your own. It’s cheaper, healthier, and the possibilities for ingredients are endless. The first time I made these was a complete accident of stir-fry gone wrong. I ended up liking them so much that I made them again. The brown rice makes these filling while the vegetables add a fresh crunch—way better than anything you’ll find in the freezer aisle. 

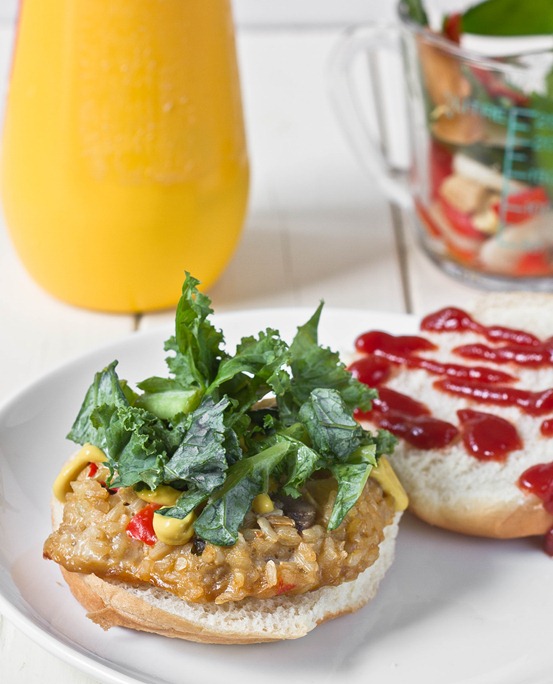
Asian Stir-Fry Rice And Veggie Burgers Assembling

You can get fresh stir-fry vegetables in a package in the produce department, but I like getting the frozen vegetable packs which are usually cheaper and stay fresh until you use them.

Asian Stir-Fry Rice And Veggie Burgers

Prep time: 10 minutes

Cook time: 50 minutes

Ingredients(Makes 10 burgers):

  • 2 1/2 cups cooked brown rice
  • 1 cup stir-fry vegetables, steamed
  • 2-3 Tablespoons soy sauce
  • 1 Tablespoon sesame oil
  • 2 X-large or 3 medium eggs

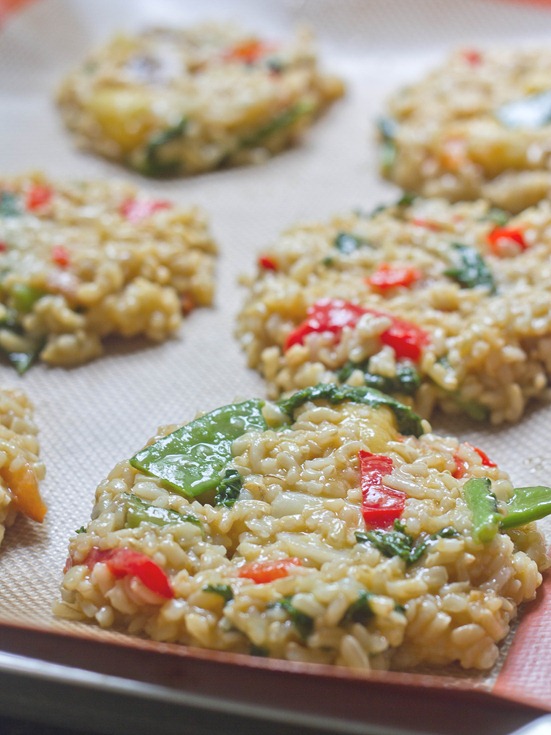
Asian Stir-Fry Rice And Veggie Burgers Prepped

Method:

  1. Preheat your oven to 350 degrees.
  2. In a large bowl, mix together all the ingredients until the eggs are well beaten and incorporated.
  3. Line or grease a baking tray. With a large utensil, make dense patties on the tray with about 1/3 cup of rice mixture roughly an inch apart from one another.
  4. Bake for 25 minutes on one side, flip, and bake for another 25 minutes. The patties should be cooked enough after 25 minutes that they hold together when you flip them to cook the other side.
  5. Remove from the oven and let the patties cool. When ready to eat, heat them up in a microwave, pan, or on a grill. You can freeze extra patties to thaw later.

Asian Stir-Fry Rice And Veggie Burgers Serving

Since these have an untraditional flavor to begin with, I’d recommend getting untraditional with the condiments, too. Pineapple relish and kimchi, anyone?

Easy Kahlua Truffles

Easy Kahlua Truffles

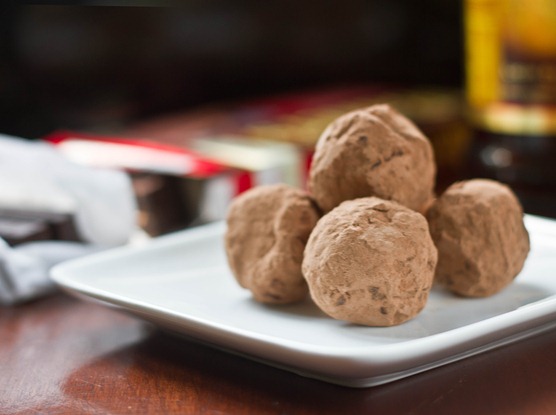
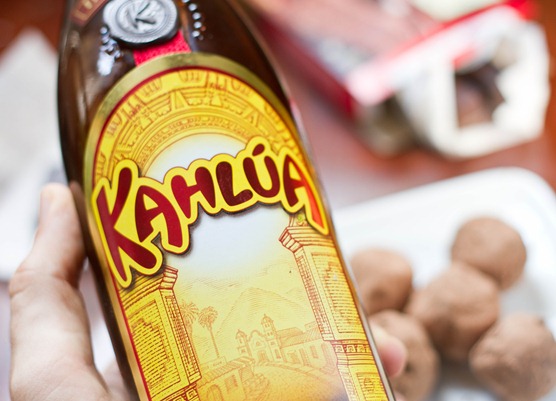
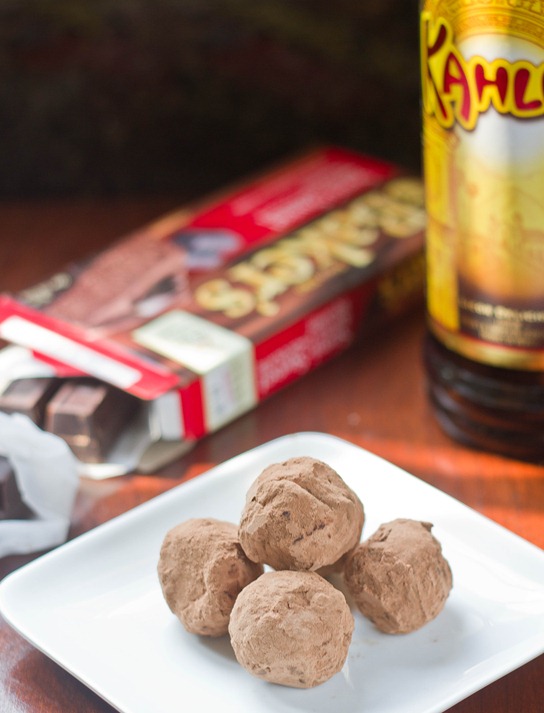
I hate to admit it but even after years of cooking long, detailed ingredient lists and steps still scare me away from a recipe. If there’s a way to do something easier, I’ll take it. These truffles are about as easy as they come; they’re JUST chocolate, butter, and Kahlua. How easy is that?(Shoot, now I probably owe Ina Garten royalties)

The hardest part about these is rolling them in cocoa powder, which isn’t hard at all; you just have to pay attention to the chocolate and and keep coating it until it can’t take in any more cocoa. When you’re done you get a nice, rich center and a mess-free surface.

Easy Kahlua Truffles Kahlua

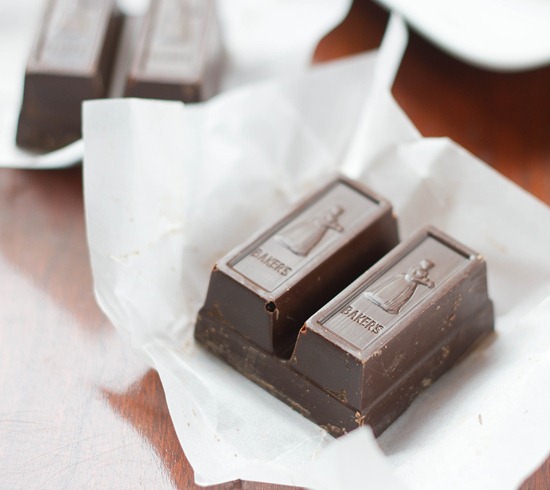
When making anything that involves melting chocolate, it’s better to use a baking chocolate rather than chocolate chips. You can get high-quality baking chocolate near the cheese section in some grocery stores or use Baker’s brand chocolate. Unlike chocolate chips, this will melt easily and smoothly.

Easy Kahlua Truffles

Prep time: 40 minutes

Cook time: 0 minutes

Ingredients(Makes 14 truffles):

  • 8oz semi-sweet or bittersweet chocolate
  • 3 Tablespoons Kahlua liquor
  • 2 Tablespoons butter
  • 1/2 cup cocoa powder

Easy Kahlua Truffles Chocolate

Method:

  1. Melt the chocolate and butter in a microwave or over a double boiler.
  2. Mix the Kahlua into the chocolate and butter and beat until smooth and silky.
  3. Let the chocolate cool in a refrigerator until it’s a semi-soft solid. It shouldn’t be as hard as a rock, but it shouldn’t stick to your hand when you handle it.
  4. Pour about 1/2 cup of cocoa powder onto a flat plate.
  5. With a melon baller, form small balls of chocolate and drop them onto the plate of cocoa powder, rolling them around. Alternatively, you can take small amounts of chocolate, roll it into a ball in between your hands and drop it into the cocoa powder.
  6. Roll the truffle around in the cocoa powder until the outside is entirely coated and place it on a separate, clean plate. Repeat with all of the chocolate.
  7. When the truffles have set and hardened, shake off any excess cocoa powder and store them in a sealed container keeping the truffles at room temperature.

Easy Kahlua Truffles Plated

Just Photos: Wells, Maine

June 18th 010

July 16th 010-4

July 16th 028

July 16th 054

July 16th 080

June 23rd 004

Readers’ Favorite Brownies

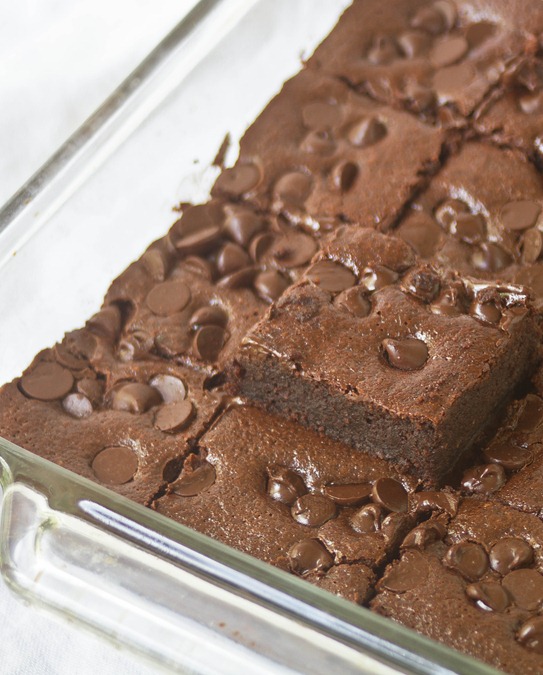
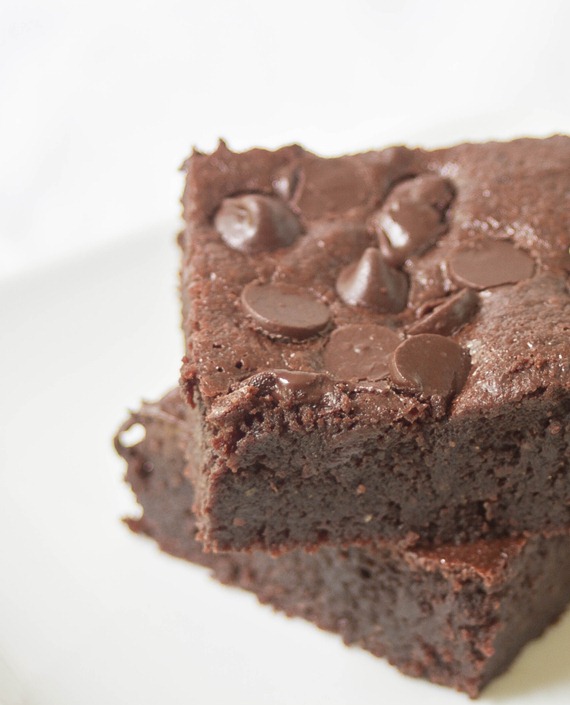
almond flour brownies pan

The best recipes on food blogs are always the ones filled with comments from readers who loved it as well. I’m lucky to say this is one of those recipes.

A lot of readers have stumbled onto my almond flour brownie recipe through google or Pinterest or word of mouth and I get excited every time another person has said they tried them and loved them. I(and most of you) think they really are that good.

Almond flour brownies whisk

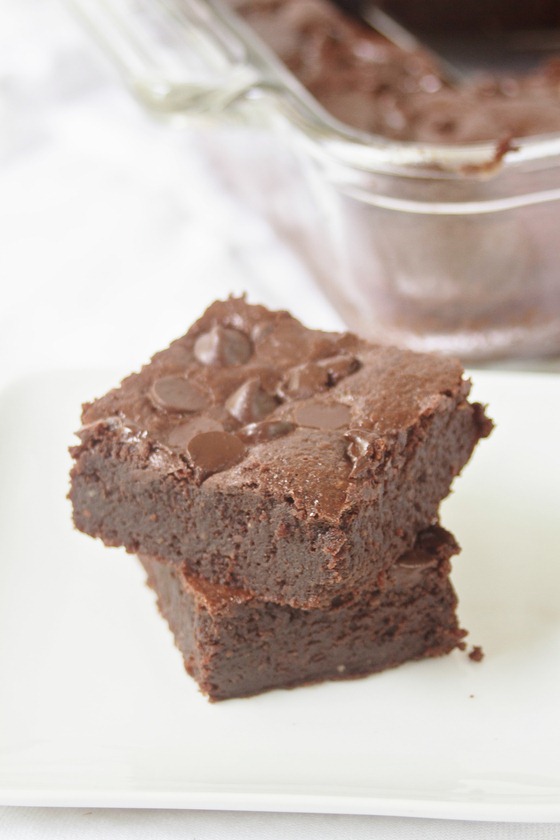
What makes this brownie recipe great is that it doesn’t taste “special”; you couldn’t eat these and tell that they’re made with almond flour or are gluten-free at all. They just taste like a really good, fudgy brownie recipe.

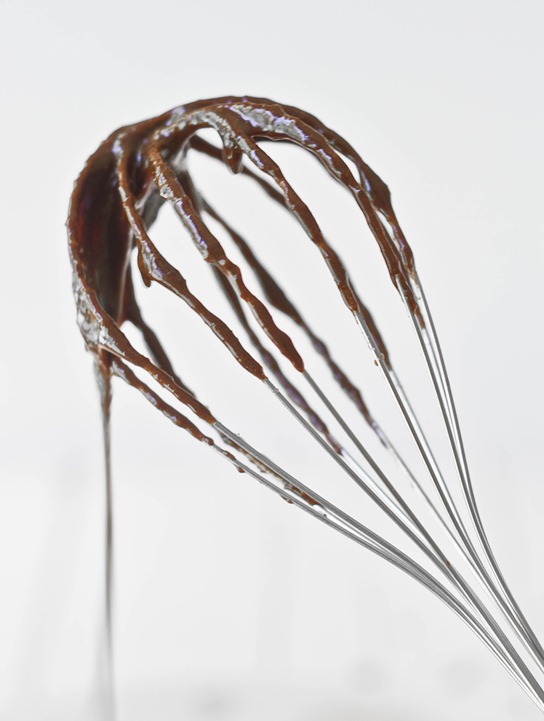
One of my secrets to good brownies is using melted baking chocolate instead of melted chocolate chips in the batter; it’s more reliable for even, smooth melting and has a more decadent chocolate flavor. Another is adding a little bit of coffee into batter just to perk up the flavor.

almond flour brownies stack 2

We had a party a couple weeks ago so I jumped at the chance to make these for the first time in ages, partly because I wanted to take new photos of them but partly because I was just craving brownies. There weren’t any leftovers and I was kicking myself for not making more.

Almond flour brownies

My favorite brownies? They’re actually grasshopper brownies, but I will happily “settle” for these any day. Just be sure to double the batch, especially if you’re expecting company. Oh, and bring ice cream. And caramel sauce.