Popular Recipes

Low-Fat Cake Balls

Low-Fat Cake Balls Serving

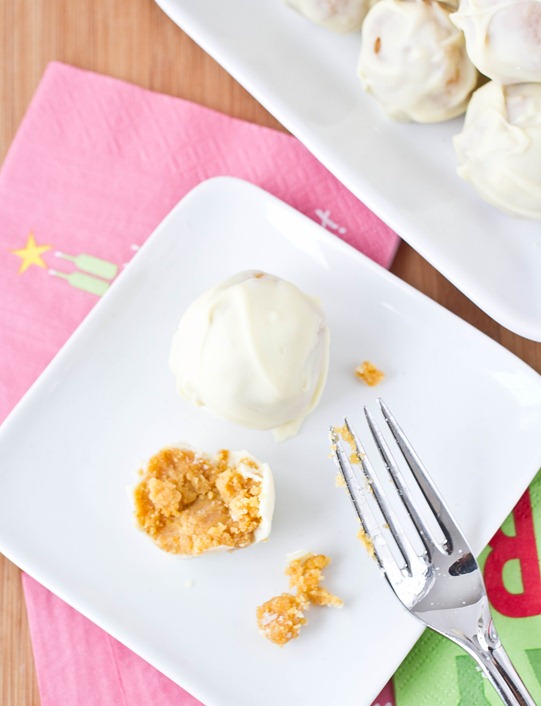
Cake pops are one of my favorite recent food trends, not because I think they taste all that much better than regular old cake, but because once and a while we all make that cake that doesn’t rise or come out just how we planned and won’t serve to people but can’t bear to throw away.

That’s the beauty of cake pops: They’re very forgiving. You can start out with dry or crumbly cake and still come out with something delicious.

Low-Fat Cake Balls Chobani

Chobani sent me a few of their 32oz yogurt containers for their Just Add Good cooking campaign. They’ve added a new Kitchen page to their website full of yogurt recipes and beautiful photos to get your gears turning.

When I made these cake balls, I swapped out the oil in the cake recipe for an equal amount vanilla Greek yogurt. For the frosting I mixed the cake with, I swapped out the butter for 1/2 the amount called for of plain 2% greek yogurt. The result was just as moist and delicious as any cake ball I’ve made before.

Low-Fat Cake Balls White Chocolate

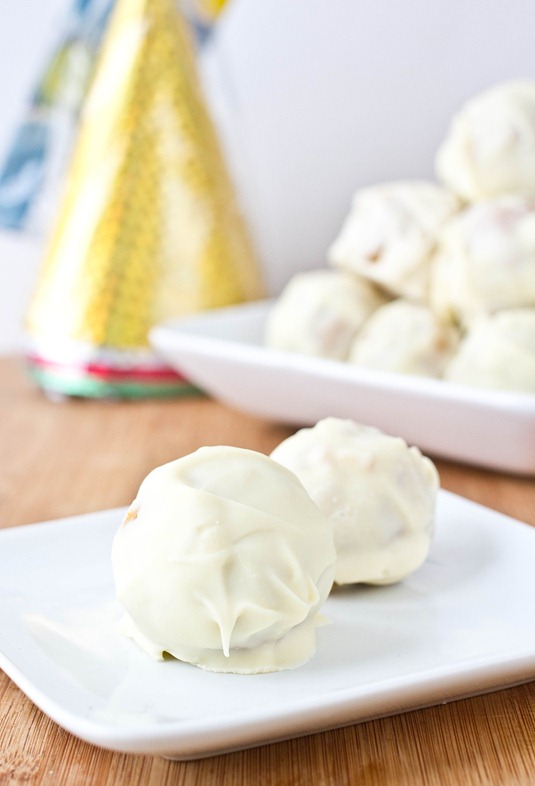
Since you lose richness when you cut the fat out of a recipe, this works better with bitter or spicy cake flavors like chocolate, pumpkin, or carrot cake. I used a gluten-free pumpkin spice cake with a white chocolate coating. 

Low-Fat Cake Balls

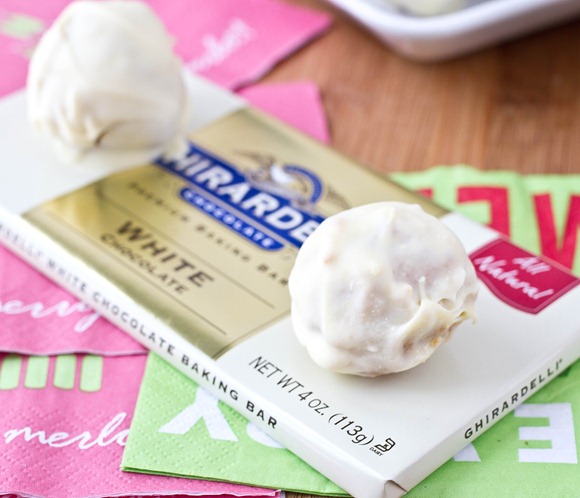
Don’t forget when melting chocolate to look for baking chocolate instead of chocolate chips. Baking chocolate melts smoother and makes a better coating for the cake pops.

Vegan Rosemary Hasselback Potatoes

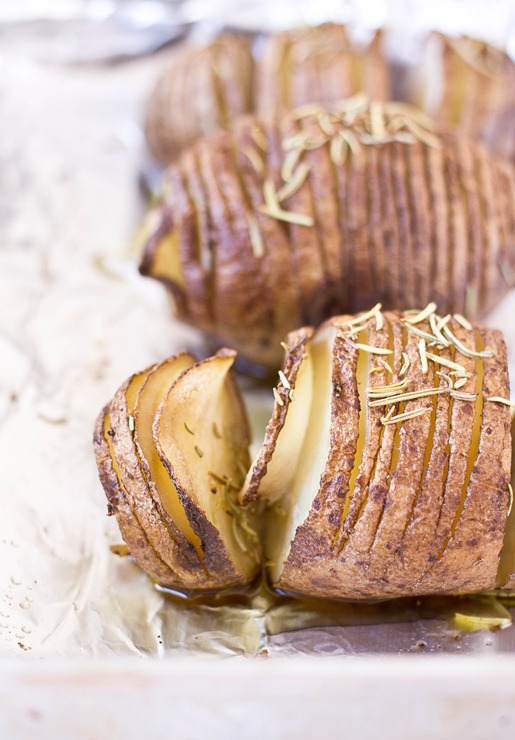
Vegan Rosemary Hasselback Potatoes

Potatoes are one of my favorite foods. You can mash them, hash them, fry them, roast them—cook them just about any way imaginable(you can also distill them and make vodka but that’s a whole different blog post entirely). And they’re so healthy, too. It’s funny how many times I get asked if I can eat potatoes and if they’re gluten-free; they’re probably one of the foods I eat the most.
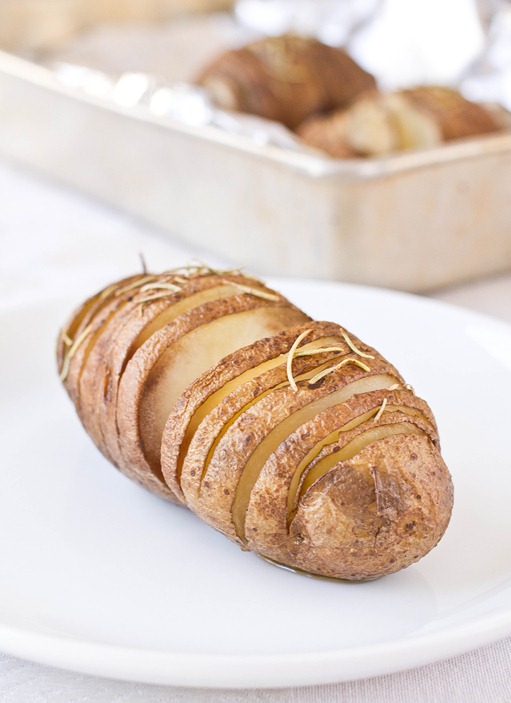
Hasselback style is just one more ingenious way to enjoy potatoes. Slicing them creates more surface area for the fat to coat the potatoes and cook in, adding tons of flavor. It also gives the potatoes a nice presentation that’s sure to brighten up a meal.

Vegan Rosemary Hasselback Potatoes Cooked

You can use any oil or solid fat in making these. Truffle oil would be a great way to add an expensive flavor. If you want to use butter or a butter substitute, melt it first before mixing it with the salt and rosemary and pouring it onto the potatoes.

Vegan Rosemary Hasselback Potatoes

Prep time: 10 minutes

Cook time: 1 hour

Ingredients(Makes 4 servings):

  • 4 medium-sized russet potatoes
  • 1/4 cup olive oil
  • 3/4 teaspoon kosher salt
  • 1 Tablespoon dried rosemary

Method:

  1. Preheat your oven to 350 degrees.
  2. Slice each potato about 1/4-inch apart most of the way through without cutting through the entire potato.
  3. Place the potatoes on a baking tray.
  4. In a small bowl, quickly whisk together the olive oil, salt, and rosemary.
  5. Drizzle the infused oil over each potato, letting the oil drip into the slices.
  6. Bake for 60-70 minutes until the potato is cooked through and the edges are crispy.
  7. Serve hot.

Vegan Rosemary Hasselback Potatoes Serving

Enjoy!

Roasted Broccoli Quinoa

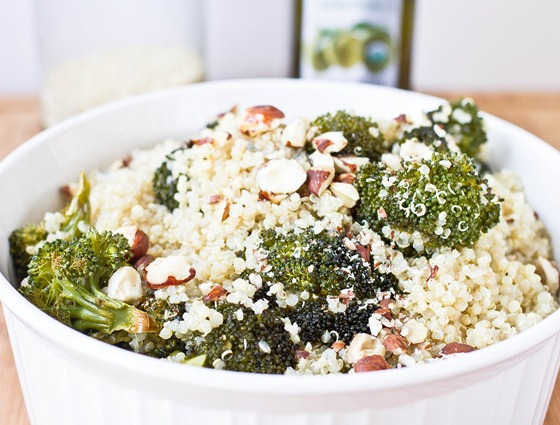
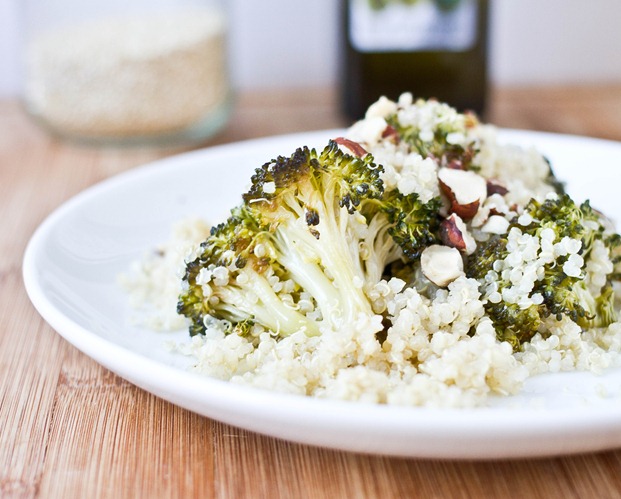
Roasted Broccoli Quinoa

Happy New Year! We’ve survived the holidays and a Mayan apocalypse only to be told we need to lose 10lbs before February again. It’s silly the detox diets that people come up with, like raw green juice only for a week or “The Cookie Diet”(sounds promising but it’s not).

I definitely could use less desserts after last month and will probably try to post more healthy vegetable recipes. But that doesn’t mean you should be stuck on juices. Whole foods like broccoli and quinoa are perfectly good for you.

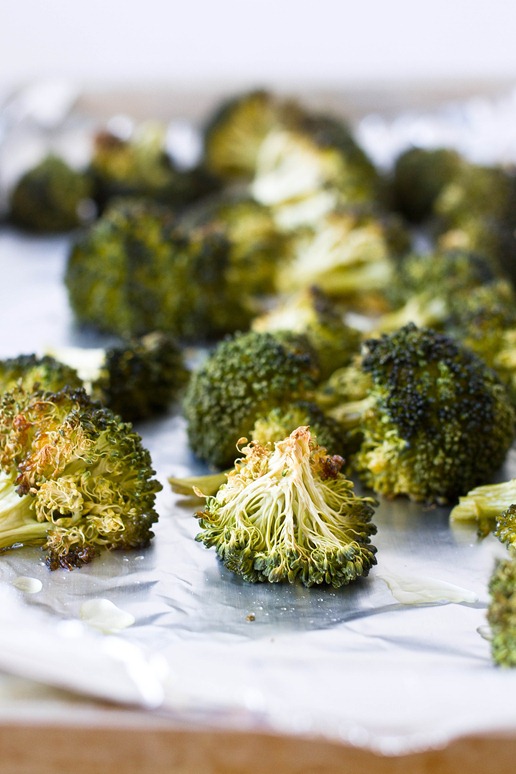
Roasted Broccoli Quinoa Broccoli

I read on a blog that quinoa was one of those 2012 “food fads” that ought to fade away in 2013. I hope that’s not true because it’s a great way to vary things up in the kitchen like roasted broccoli.

Roasted Broccoli Quinoa

Prep time: 15 minutes

Cook time: 45 minutes

Ingredients(Makes 4-6 servings):

  • 1 cup dry quinoa, washed
  • 2 cups broccoli florets
  • 1/4 cup olive oil, divided
  • 1/2 cup chopped roasted hazelnuts(optional)
  • 1/4 cup craisins(optional)
  • 1/2 teaspoon salt
  • 1/4 teaspoon black pepper

Method:

  1. Preheat your oven to 375 degrees.
  2. Lay the broccoli florets out on a baking tray and drizzle with 3 Tablespoons of olive oil.
  3. Roast for 45 minutes until the broccoli begins to brown.
  4. While the broccoli’s roasting, combine the quinoa with 2 cups of water in a pot and bring it to a boil. Add a lid and turn off the heat and wait for the quinoa to cook.
  5. In a large bowl, toss together the cooked quinoa, roasted broccoli, remaining olive oil, hazelnuts and craisins if using, and salt and pepper.
  6. Add extra seasoning as desired. Serve hot or cold.

Roasted Broccoli Quinoa Serving

Much better than green juice.

12 Months Of Recipes

It’s hard to believe the final week of 2012 is here. I wanted to do a round-up of some of my favorite recipes from the year but wasn’t sure how to go put it together. I decided to go with my favorite recipe from each month of 2012. Needless to say, there’s a lot of peanut butter and chocolate involved. I’m hopeful that I’ll get to make and share each of these again in 2013, especially the ones I haven’t made for almost a year; recipes only live as long as somebody’s making them.

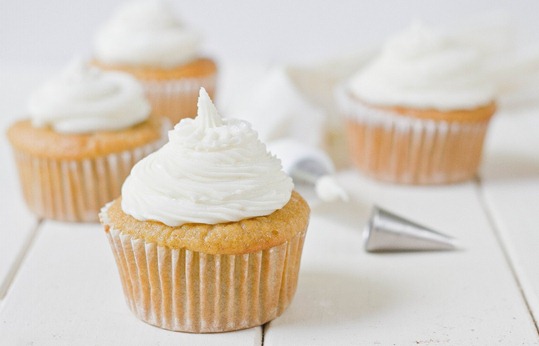
Paleo-Vanilla-Cupcakes

January: Paleo Vanilla Cupcakes

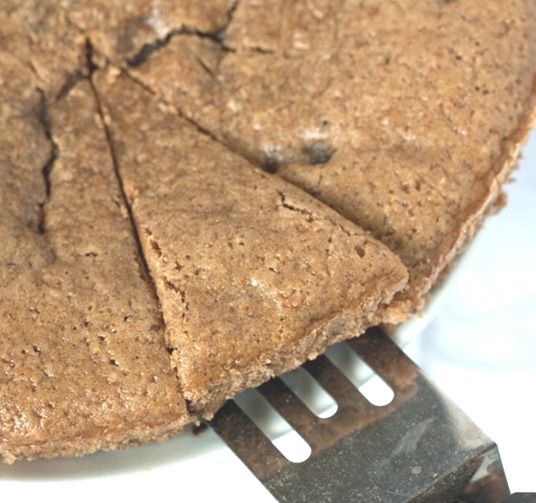
peanut-butter-chocolate-chip-cookie-cake-cutting

February: Peanut Butter Chocolate Chip Cookie Cake

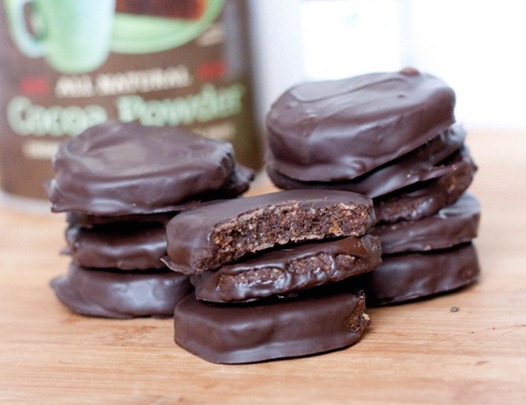
gluten-free-thin-mints-bite

March: Gluten-Free Thin Mints

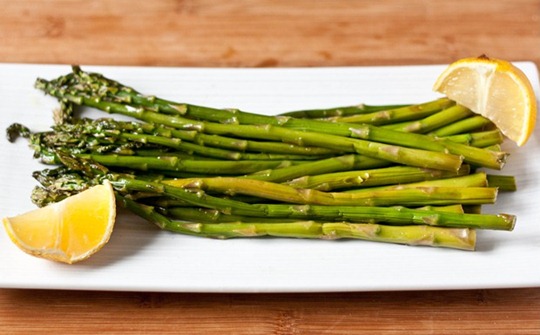
roasted-asparagus-plated

April: Roasted Asparagus

Perk-Me-Up-Trail-Mix-top

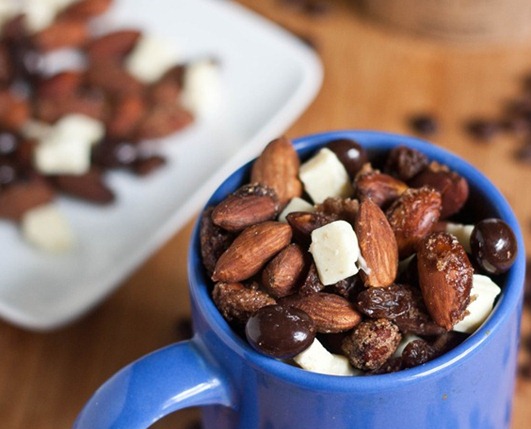
May: Perk-Me-Up Trail Mix

Perfect-Grilled-Potatoes-Grilling-Rack

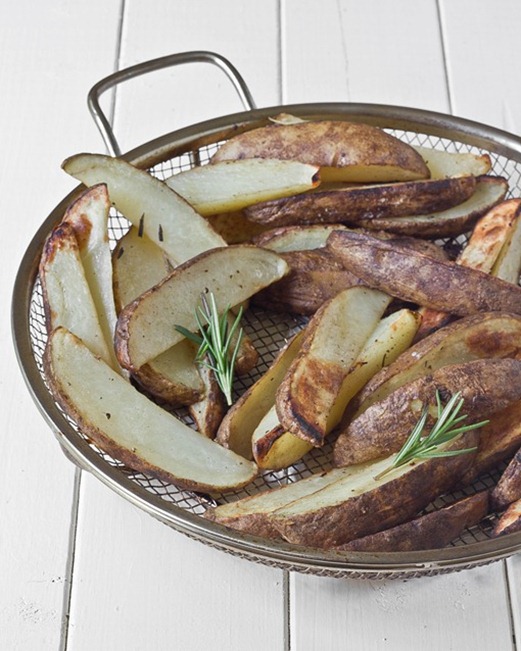
June: Perfect Grilled Potatoes

Maple-Almond-Granola1

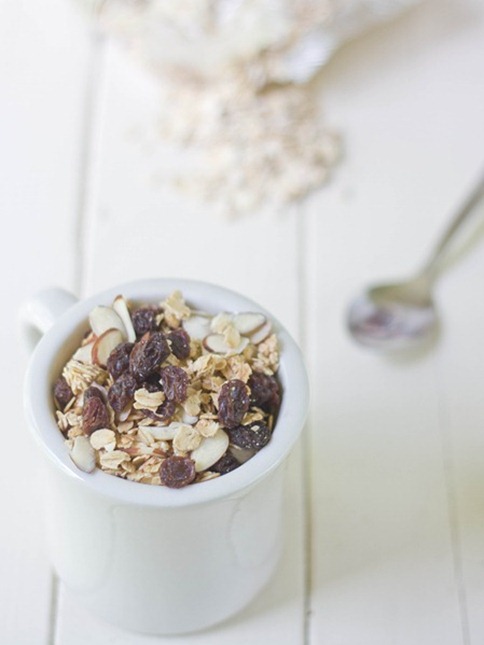
July: Maple Almond Granola

Chubby-Hubby-Cheesecake-Plated1

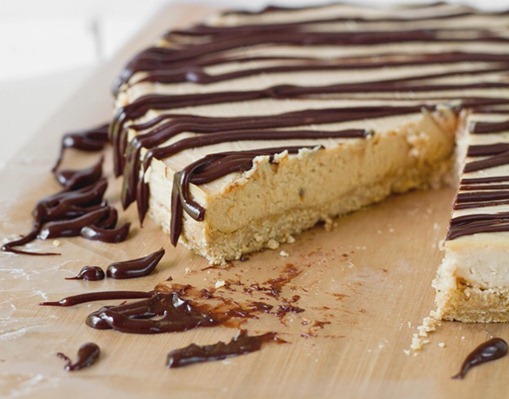
August: Chubby Hubby Cheesecake

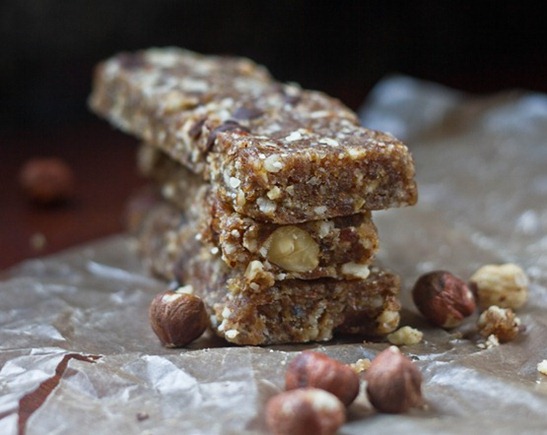
copycat-chocolate-hazelnut-larabars-stack

September: Copycat Chocolate Hazelnut Larabars

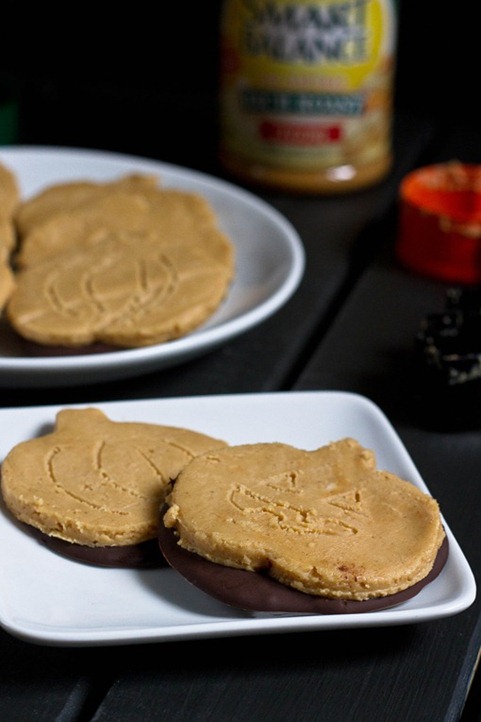
Homemade-Peanut-Butter-Pumpkins-Finished

October: Homemade Peanut Butter Pumpkins

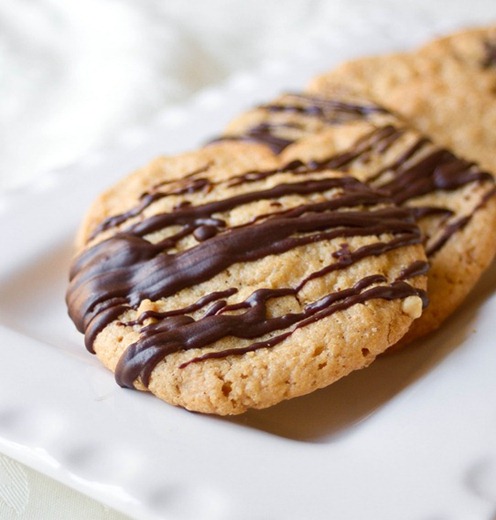
Chewy-Peanut-Butter-Cookies-Gluten-Free

November: Chewy Peanut Butter Cookies

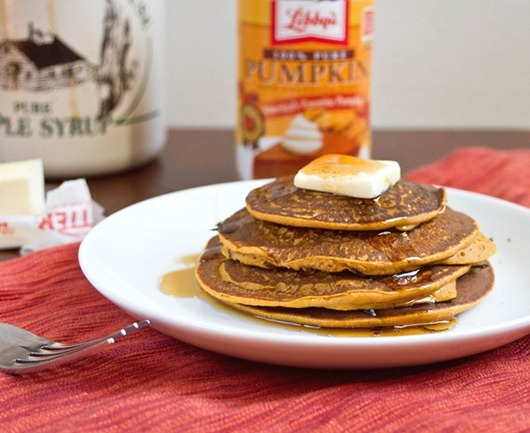
gluten-free-pumpkin-pancakes-plated1

December: Gluten-Free Pumpkin Pancakes

Here’s to another delicious year!

Iced Vanilla-Almond Butter Cookies

Vanilla-Almond Butter Cookies

I never understood why Christmas cookies are a thing, why cookies take priority over cake or mousse or any other number of desserts. But in reality who ever has time to sit down for desserts around Christmastime? Between cooking, opening presents, and talking everyone is usually standing or in the other room, and cookies are the perfect grab-and-go dessert for that.

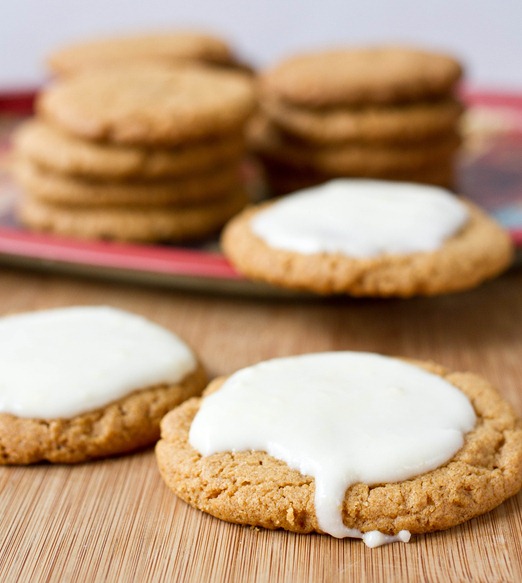
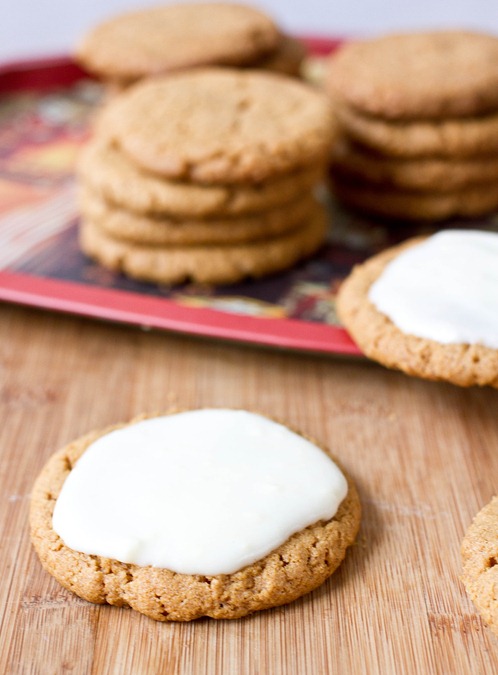
When I think of iced cookies, I usually think of the stale ones from the grocery store with neon pink frosting that taste like pure sugar. I would always eat the frosting(because who doesn’t love pure sugar?) but the cookie usually got left behind. These are far from those iced cookies. There’s nothing quite like a fresh cookie with a smooth and soft icing on top to step up the game for the rest of the desserts.

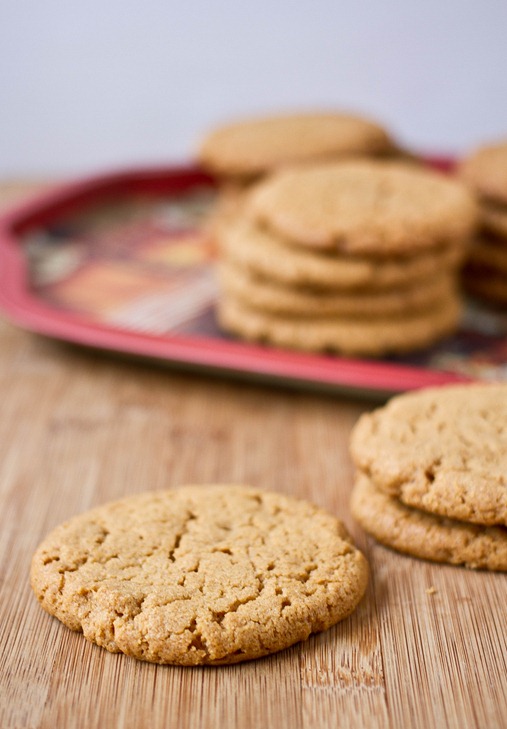
Vanilla-Almond Butter Cookies Naked

The almond extract is the special ingredient that makes these cookies irresistible. If you don’t have any it’s worth running out to the store to find. Making an icing that’s part butter adds a touch of richness to the balance out the sweet.

Iced Vanilla-Almond Butter Cookies

Prep time: 15 minutes

Cook time: 15 minutes

Ingredients(Makes about 18 cookies):

  • 1 cup almond butter
  • 3/4 cup + 2 Tablespoons sugar
  • 1 egg
  • 1/2 teaspoon vanilla extract
  • 1/2 teaspoon baking powder
  • 1/4 teaspoon salt

For the icing:

  • 1/4 cup butter, softened
  • 2 1/2 Tablespoons milk
  • 2 cups powdered sugar
  • 1/4 teaspoon vanilla extract
  • 1/4 teaspoon almond extract

Vanilla-Almond Butter Cookies Icing

Method:

  1. Preheat your oven to 350 degrees.
  2. In a large bowl, mix together the almond butter, sugar, eggs, vanilla extract, baking powder, and salt.
  3. Roll the dough into 1-inch balls and put them on a non-stick baking tray. Press down on the balls lightly to flatten them to about 1/2-inch.
  4. Bake for 12-15 minutes until the edges of the cookies begin to brown.
  5. Remove the cookies from the oven and let them cool.
  6. Combine the butter and milk in a medium-sized bowl.
  7. Sift the powdered sugar into the bowl.
  8. Beat together the sugar, butter, and milk until smooth. Add in the vanilla and almond extract and continue mixing until smooth.
  9. Spread a Tablespoon of frosting on top of each cookie. Let the cookies sit at room temperature uncovered until the frosting sets.

Vanilla-Almond Butter Cookies Yield

You can decorate these with green and red or white sprinkles to make them a little more festive.


Chocolate Cranberry Pavlova

Chocolate Cranberry Pavlova

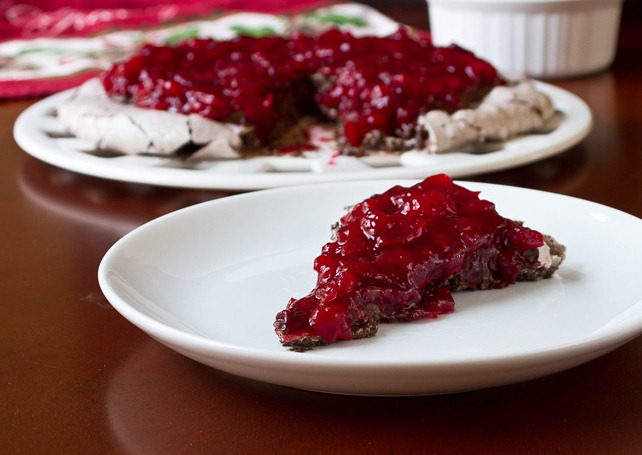
Merry Christmas and happy holidays! Lately it’s felt like Christmas is a week and not just a day. This is a dessert I made a couple of days for friends. It was so good I thought about making it again for Christmas Day.

Pavlovas are a light and simple gluten-free dessert. You just need to have enough foresight to make them the night before so that the meringue can set overnight. On their own they don’t have much flavor, but add anything on top and they become much more exciting.

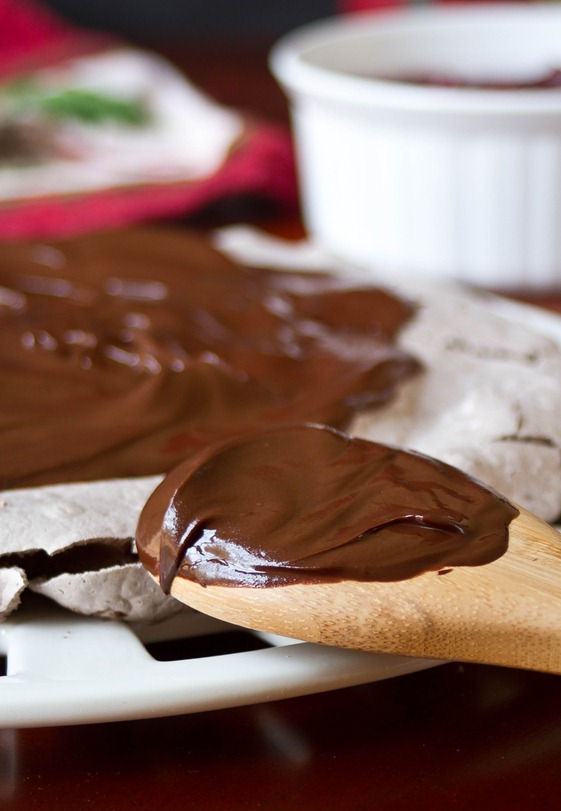
Chocolate Cranberry Pavlova Chocolate

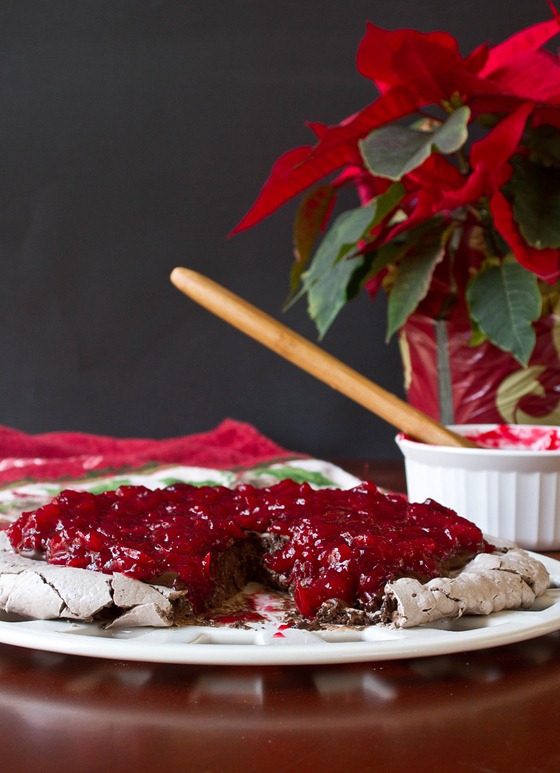
This dessert has a lot of flavors and textures going on in it. The meringue is crunchy on the outside and gooey on the inside. The chocolate is velvety and bitter and the cranberry sauce is slightly chunky and tart. There’s a little something for everyone.

Chocolate Cranberry Pavlova

Prep time: 25 minutes

Cook time: 8 hours

Ingredients(Makes about 8 servings)

  • 4 egg whites
  • 2 cups powdered sugar
  • 1/4 cup cocoa powder
  • 1/4 teaspoon cream of tarter
  • 2 cups fresh cranberries
  • 1/2 cup sugar
  • 1/4 teaspoon salt
  • 1 Tablespoon corn starch
  • 6 Tablespoons chocolate chips
  • 3 Tablespoons butter

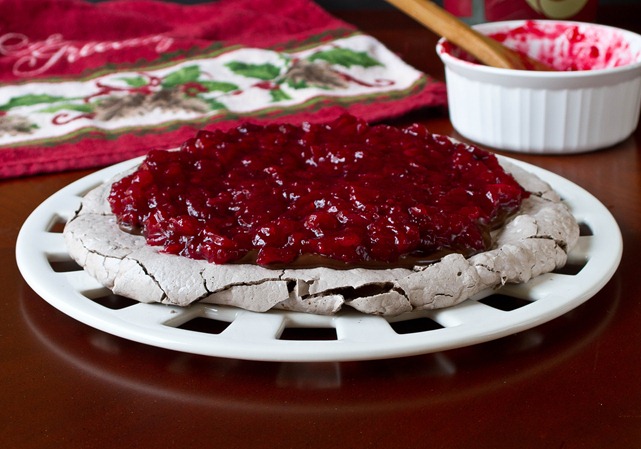
Chocolate Cranberry Pavlova Cranberry Sauce

Method:

  1. Preheat your oven to 350 degrees.
  2. Beat the egg whites in a large glass bowl until they’re frothy.
  3. In a separate bowl, sift together the powdered sugar, cocoa powder, and cream of tartar.
  4. While beating the egg whites, slowly add in the sugar and cocoa powder mixture until it’s fully incorporated. Continue beating until soft peaks form.
  5. Spread the meringue out on a non-stick baking tray. Place the tray in the oven, turn it off and leave the oven door shut overnight or for 8 hours until the meringue has set.
  6. Combine the cranberries and about 2 cups of water in a medium pot over the stove and boil for 10 minutes with a lid on the pot.
  7. After 10 minutes, drain most of the water leaving just a thin layer to cover the bottom.
  8. Add in the sugar and salt and stir. Continue boiling for 2-3 minutes until the sugar is dissolved.
  9. Mix the corn starch with 2 Tablespoons of warm water until it’s dissolved and add it to the cranberry sauce.
  10. Remove the cranberry sauce from the heat and mix it well until it thickens. Set aside to cool.
  11. Melt the chocolate and butter in a small bowl and mix together until smooth.
  12. To assemble the pavlova, spread the chocolate out in an even layer on top of the meringue.
  13. Add the cranberry sauce on top of the chocolate and spread it out to cover the top.
  14. Serve at room temperature.

Chocolate Cranberry Pavlova Slice

Just Photos: Christmas Party

Dec. 22nd 020

Dec. 22nd 030

Dec. 22nd 066

Dec. 22nd 063

Dec. 22nd 041

IMG_3115

IMG_3119

How To Dress Up Hot Chocolate

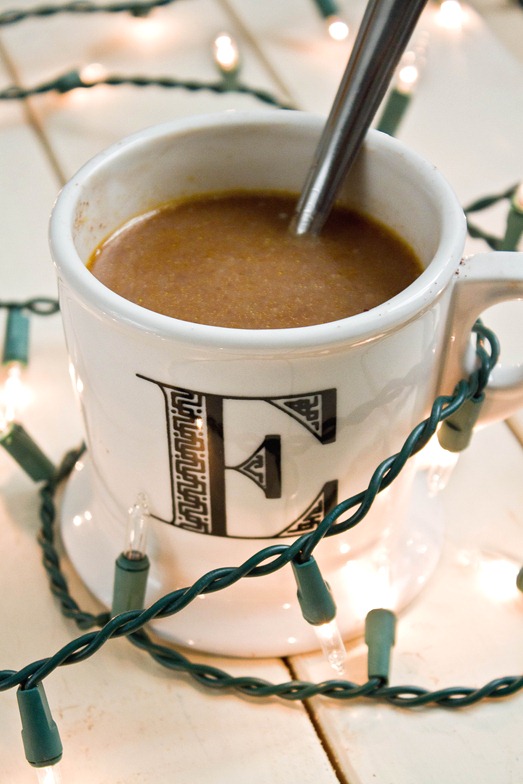
How To Dress Up Hot Chocolate

One of my favorite things about this time of year is the endless holiday parties. But that’s also one of the more stressful things about the holidays, too. When you have a different party to go to every night, it’s hard to think of something unique and delicious to bring that’s going to stand out. Hot chocolate is always a crowd pleaser but gets a little boring after the 4th or 5th time with just marshmallows to dress it up.

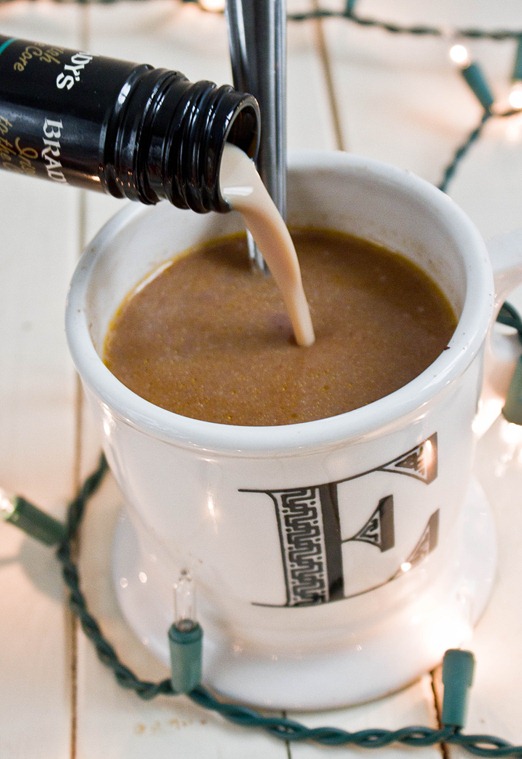
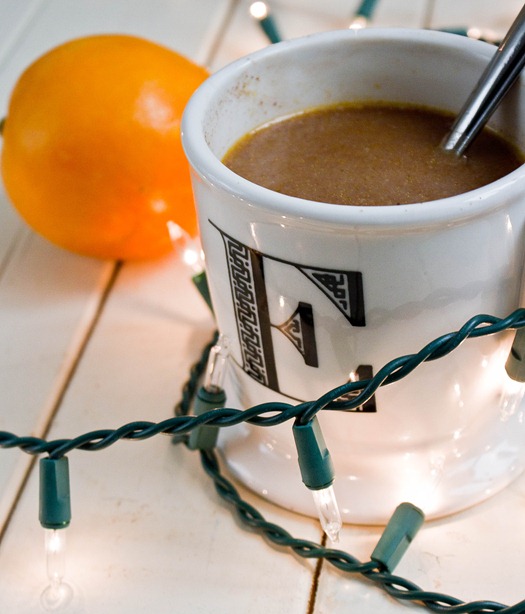
How To Dress Up Hot Chocolate Alcohol

Chocolate doesn’t have to go with just marshmallows. There are plenty of ways to flavor hot chocolate that go beyond vanilla. Whether you’re using milk or water, cocoa mix or from scratch, you can always infuse more flavor into the chocolate with one or two ingredients.

How To Dress Up Hot Chocolate

You’ll need:

  • Hot chocolate recipe or mix(preferably for 2 cups or more of hot chocolate)
  • Orange zest
  • Coconut milk
  • Spices: Cinnamon, Nutmeg
  • Baileys or Amaretto

How To Dress Up Hot Chocolate Orange

Orange Hot Chocolate:

One great flavor combination is orange and chocolate. Add about a 1/4 Tablespoon of orange zest for every 1/2 cup of hot chocolate you’re making to the boiling milk or water. Right before you serve the hot chocolate, strain it to get the orange solids out. The oils will stay and flavor the hot chocolate.

Orange-Coconut Hot Chocolate

For every 2 cup of water or milk you would use to make the hot chocolate, use 1/4 cup less. Use the same technique for orange hot chocolate but add 1/4 cup full-fat coconut milk after the hot chocolate is made.

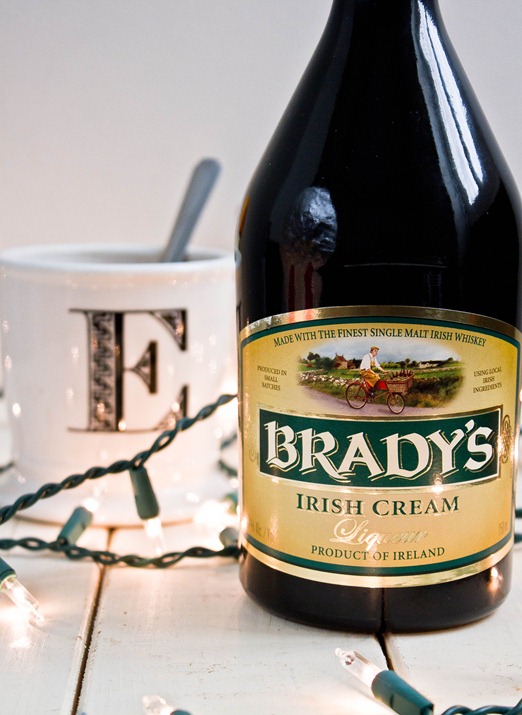
How To Dress Up Hot Chocolate Brady's

Adult Hot Chocolate:

I feel like we all know how to make these. Just add a few splashes of Irish cream or amaretto into your hot chocolate and enjoy.

Cinnamon Hot Chocolate:

Another great way to make your hot chocolate is spicy. For every 2 cups of hot chocolate, add in 1/4 teaspoon of cinnamon and a pinch of nutmeg and mix them in well.

Gluten-Free Pumpkin Pancakes

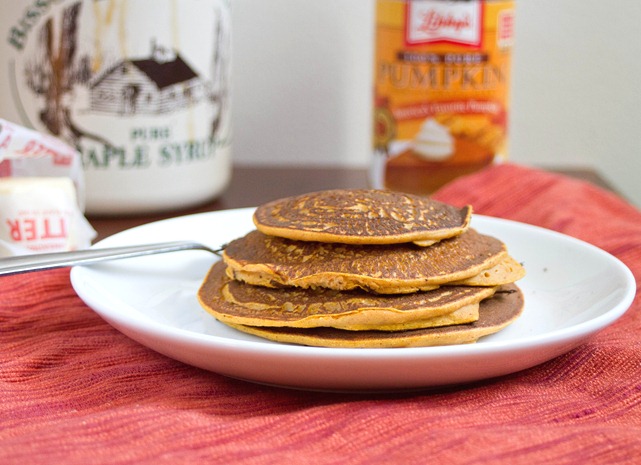
gluten-free pumpkin pancakes

This recipe has been a long time coming. I bought a can of pumpkin at the start of November and it’s been sitting in my pantry unused since then. Finally when I realized I didn’t have anything to cook for dinner one night I remembered I had the ingredients for these pancakes and whipped some up.

They were so good I made them again the next morning and took pictures. My only regret is that I didn’t have chocolate chips at the time to mix into the batter.  Add some of those and you’d have perfection.

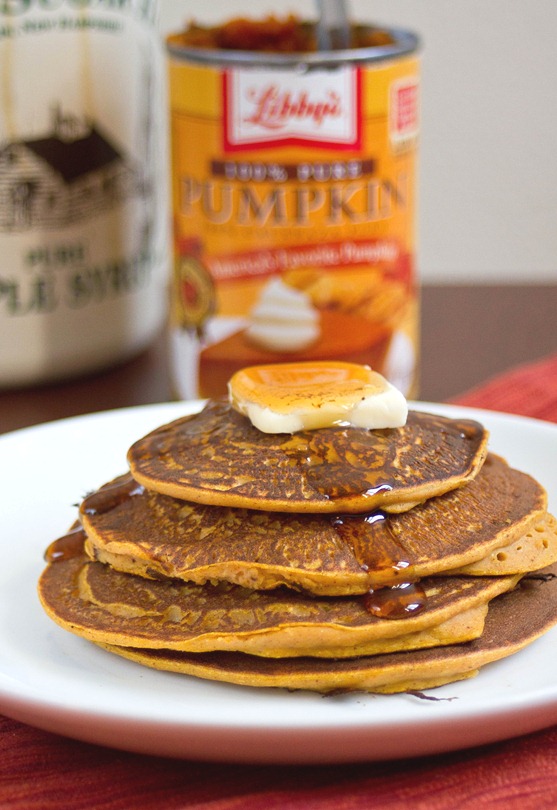
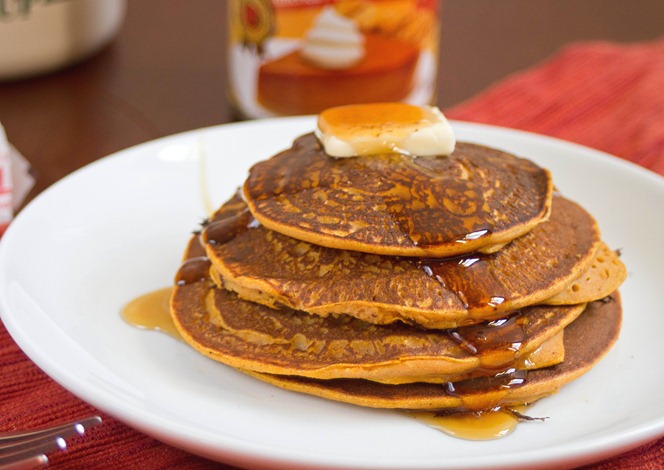
gluten-free pumpkin pancakes plated

If you don’t have pumpkin pie spice just add a little bit of cinnamon and nutmeg to flavor these. You can also use almond extract in place of the vanilla extract for an interesting flavor.

Gluten-Free Pumpkin Pancakes

Prep time: 5 minutes

Cook time: 10 minutes

Ingredients(Makes 2 servings):

  • 1/2 cup + 2 Tablespoons chickpea flour
  • 1/2 cup pumpkin puree
  • 1 large egg
  • 3 Tablespoons cane sugar
  • 1/2 teaspoon pumpkin pie spice
  • 1/4 teaspoon vanilla extract
  • 1/4 teaspoon baking soda
  • ~1/2 cup water

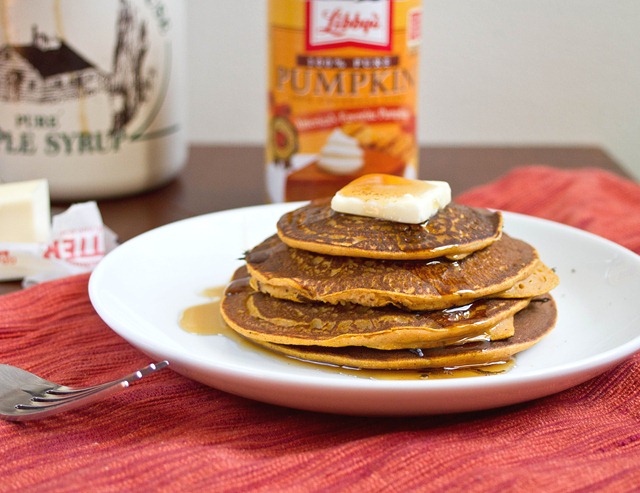
gluten-free pumpkin pancakes finished

Method:

  1. Heat a frying pan over a burner set to medium and grease it lightly.
  2. In a large bowl whisk together the chickpea flour, egg, pumpkin, sugar, pumpkin spice, baking soda, and vanilla.
  3. Slowly incorporate the water until the batter is somewhat runny and easy to pour. If the water doesn’t seem to be enough, slowly add more by the Tablespoon.
  4. Pour about 3 Tablespoons of batter into the pan. Flip when the pancake is bubbly and the sides have set to cook the other side. Make sure to cook long enough so that it’s cooked through the center.
  5. Move the cooked pancake to a serving plate and repeat until all the batter is used up.

gluten-free pumpkin pancakes serving

Make sure to cook the center through even if it looks like they’re starting to burn a little on the outside. Nothing is less appealing than raw chickpea flour. The thinner the pancakes are the easier it is to get an evenly cooked consistency.

Peanut Butter Buckeyes

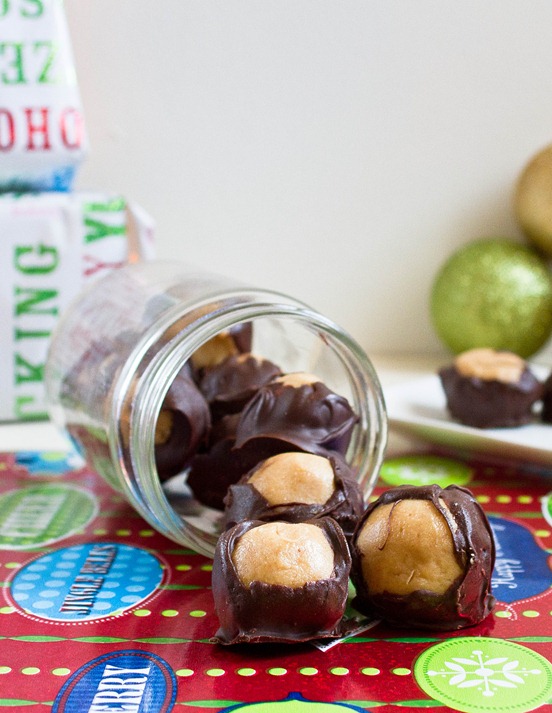
Peanut Butter Buckeyes

Between Christmas shopping, studying, writing papers and taking exams I haven’t had much time to cook or make new recipes lately. The nice thing about having a living room full of Christmas lights, stockings and a tree is it makes it easy to fall back into the holiday spirit after a stressful day.

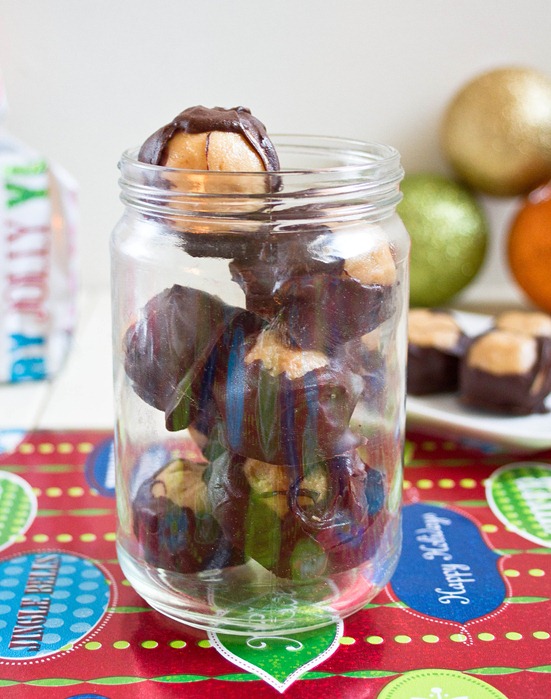
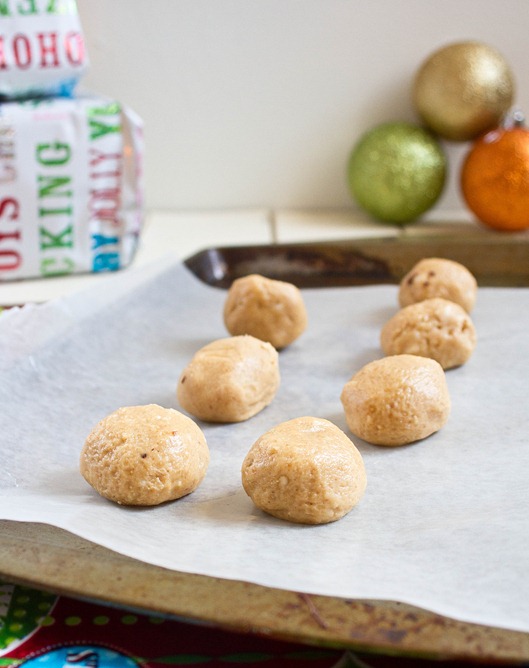
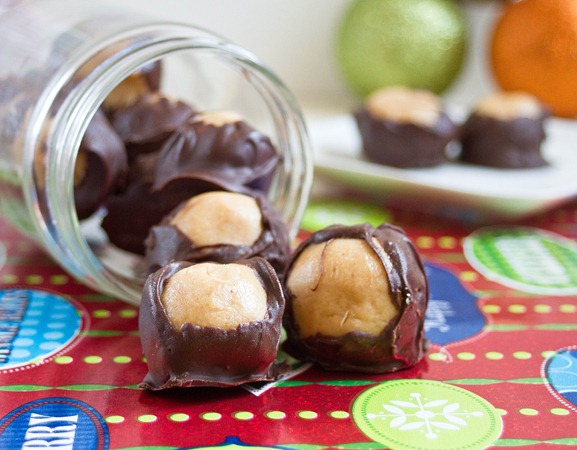
I made these buckeyes last night for myself and my roommates because who doesn’t love a chocolate and peanut butter nightcap? I have to admit that I’ve made recipes like this often enough that I’ve stopped measuring things as I go along. Really you can make this in any proportion as long as the dough comes out the right consistency. They aren’t the prettiest buckeyes but they’re taste makes up for their appearance.

Peanut Butter Buckeyes Yield

If you want to change the flavor slightly add a touch of vanilla or cinnamon.

Peanut Butter Buckeyes

Prep time: 20 minutes

Cook time: 0 minutes

Ingredients(Makes about 20 buckeyes):

  • 1 cup creamy peanut butter*
  • 6 Tablespoons butter, melted
  • 1 1/2 cups powdered sugar, sifted
  • 1 1/4 cups bittersweet chocolate chips OR 10oz bittersweet chocolate, chopped

*If you’re using no-stir peanut butter, melt it in the microwave briefly before mixing it with the other ingredients

Peanut Butter Buckeyes Naked

Method:

  1. In a large bowl mix together the peanut butter, butter and powdered sugar until it forms a dough that sticks to itself. If for some reason your dough is too thin, slowly add more powdered sugar until it’s workable.
  2. Roll the dough into 1-inch balls and place them on a non-stick surface.
  3. Put the peanut butter balls in the freezer to set.
  4. While the peanut butter balls are hardening, melt the chocolate in a microwave or over a double boiler.
  5. One by one dip the peanut butter balls into the melted chocolate to coat their outside and put them back on the non-stick surface.
  6. Refrigerate the peanut butter balls until the chocolate has set. Keep cold until ready to serve.

Peanut Butter Buckeyes Serving