Popular Recipes

Roasted Balsamic Brussels Sprouts

Roasted Balsamic Brussels Sprouts

At some point recently I could feel myself becoming one of those vegetarians who doesn’t actually eat enough vegetables. Its not that I don’t like them—I love them. I’ll order them off of a menu any chance I get. But more often than not I cook for myself, and by cook I mean make oatmeal, open a yogurt container, scramble eggs or microwave a potato.

That’s definitely a habit I need to change. I never regret buying and cooking vegetables when I do, especially not these sprouts. Anything is delicious with some good olive oil and vinegar. I thought I was making a lot at the time but this hardly lasted me two meals.

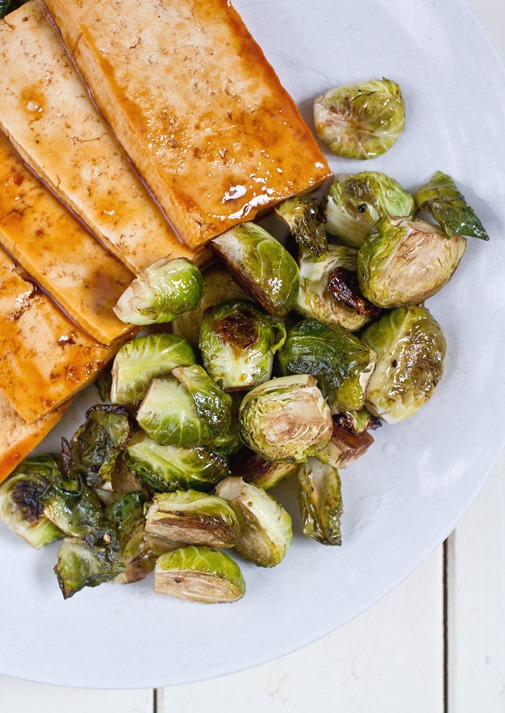
Roasted Balsamic Brussels Sprouts On Plate

If you want to make this fancy, you can add some other roasting vegetables into the mix with the brussels sprouts. These would especially be good with some julienned onions and diced potatoes(the kind not made in a microwave).

Roasted Balsamic Brussels Sprouts

Prep time: 10 minutes

Cook time: 25 minutes

Ingredients:

  • 1lb brussels sprouts, washed and cut
  • 2 Tablespoons olive oil
  • 2 Tablespoons balsamic vinegar
  • 1 teaspoon salt
  • 1/2 teaspoon black pepper

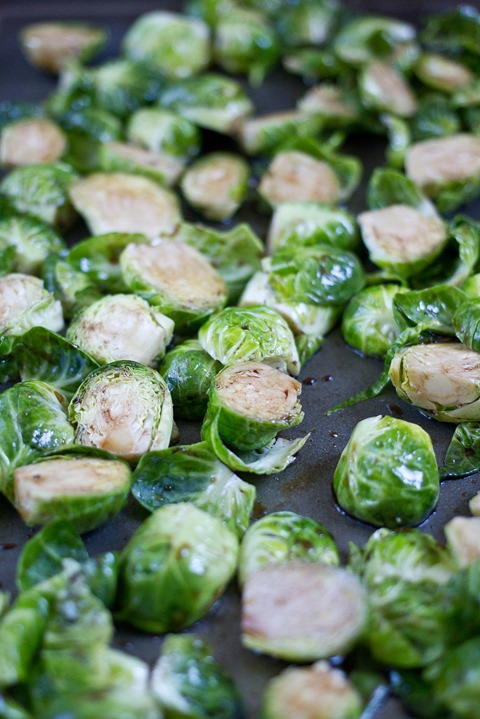
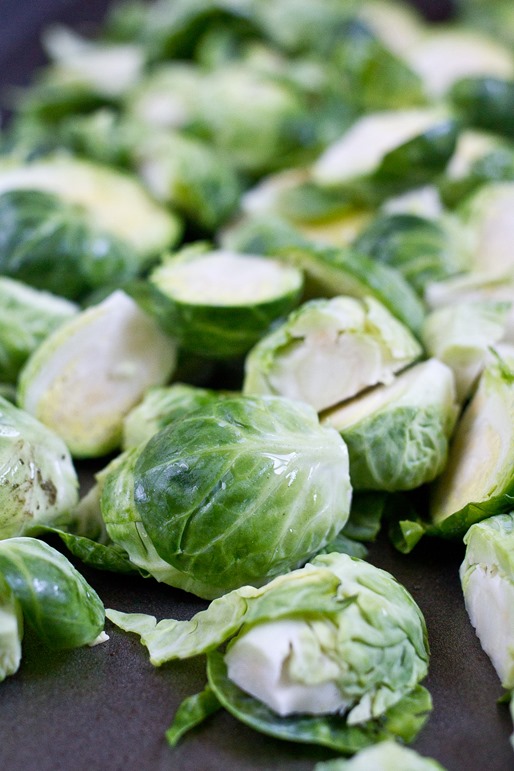
Roasted Balsamic Brussels Sprouts Prep

Method:

  1. Preheat your oven to 375 degrees.
  2. Make sure all of your brussels sprouts are clean and trimmed.
  3. In a large bowl, toss together all of the ingredients.
  4. Spread the sprouts out on a roasting pan.
  5. Roast for 20-30 minutes until the sprouts are cooked and the edges begin to crisp.
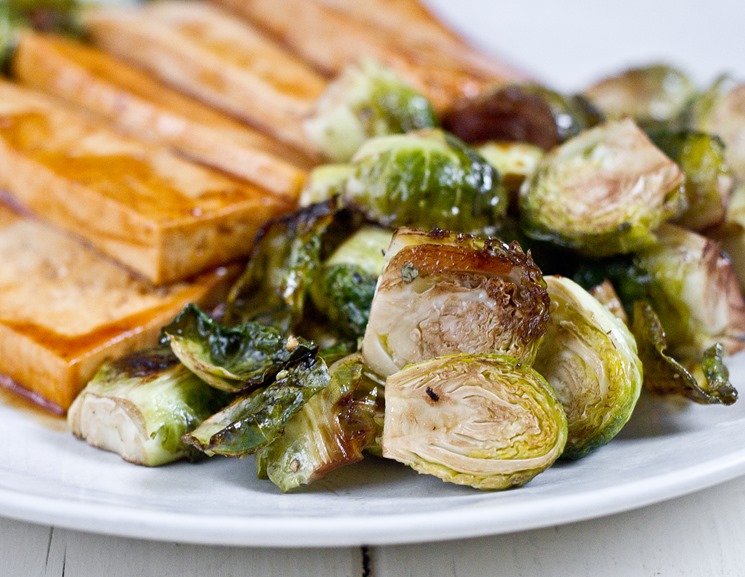
  6. Remove from the oven and serve hot.

Roasted Balsamic Brussels Sprouts Finished

Chocolate Peanut Butter Bars

Chocolate Peanut Butter Bars

It’s been a busy month. This blog(and cooking anything without a microwave in general) have taken a bit of a back seat. Hopefully someday soon I’ll have a more regular schedule and school off my shoulders but right now sporadic will have to do.

Thankfully you can make some pretty great things with a microwave and 5 minutes. I forgot about this recipe for almost a year and just thought of it again when I made a run to a mini-mart to stock up on chocolate and Reese’s cups. They’re probably much cheaper and more delicious than Reese’s cups. So far they’ve made a great study snack and given me something to stress eat at 2am.

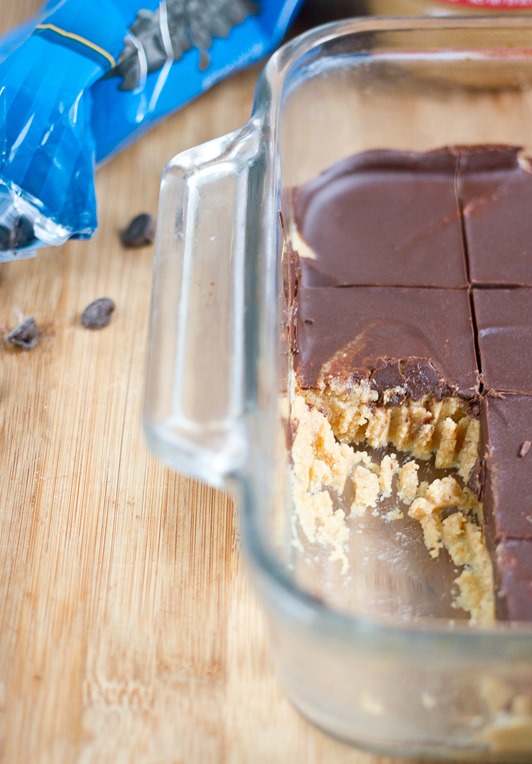
Chocolate Peanut Butter Bars Serving

This recipe is the same as the original post. I tried making it with cane sugar instead of powdered sugar because that’s what I had and—while still delicious—I think the powdered sugar has a much better texture to it. I would also try adding chopped salted peanuts on top of the chocolate if you like a little crunch.

Chocolate Peanut Butter Bars(adapted from Oh Baby Bars)

Prep time: 15 minutes

Cook time: 0 minutes

Ingredients(Makes about 24 servings):

  • 3/4 cup peanut butter, runny or no-stir
  • 7 Tablespoons butter, divided
  • 1 1/2 cups powdered sugar
  • 10oz semi-sweet chocolate chips

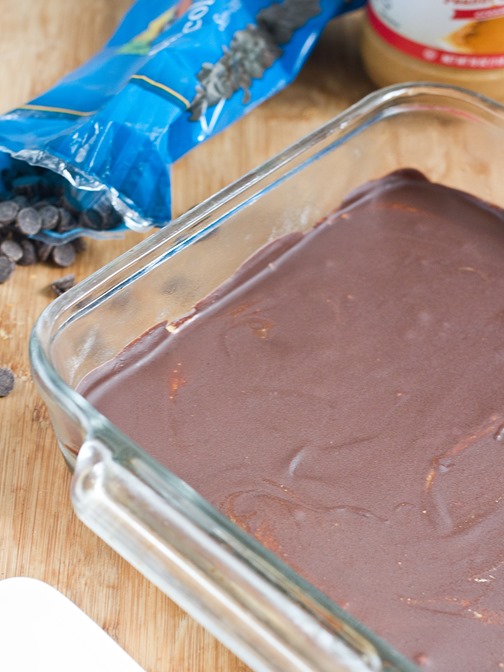
Chocolate Peanut Butter Bars Finished

Method:

  1. In a large bowl, melt 6 tablespoons of butter along with the peanut butter until completely liquid.
  2. Add the powdered sugar into the peanut butter and butter mixture and beat until completely incorporated. Press the peanut butter mixture into a loaf pan or a 9 x 9 pan for smaller portions.
  3. Melt the chocolate chips and remaining tablespoon of butter together and mix. Pour this over the peanut butter layer.
  4. Refrigerate until the chocolate has set. Cut at room temperature into 1 x 1 square servings.

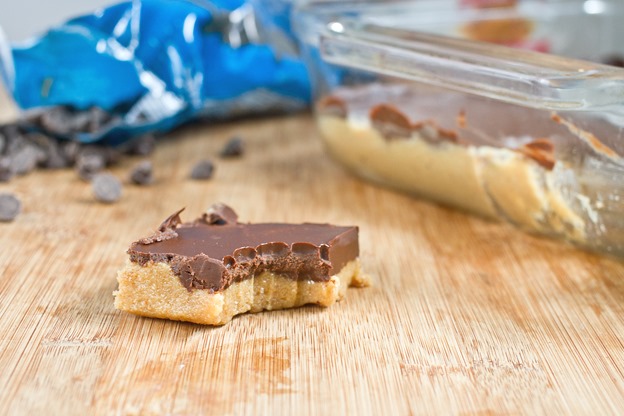
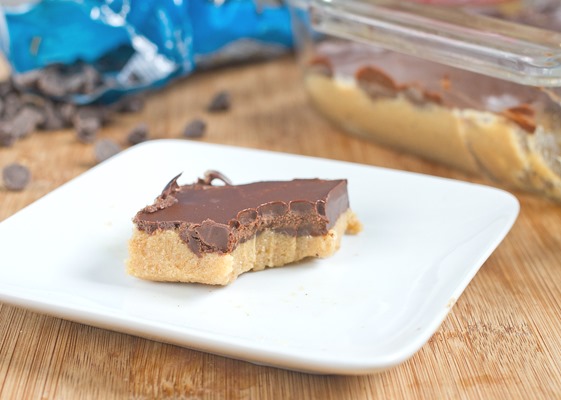
Chocolate Peanut Butter Bars Bite

Vegetarian Nachos

Vegetarian Nachos

If I could eat everyday like it were Cinco de Mayo I probably would. Melted cheese, margaritas, fried food—What else could you ask for?

We had a small party over the weekend. Nothing fancy. Premade margaritas, a piñata we named and so couldn’t hit, and nachos. That was really all we needed.

Vegetarian Nachos Topping

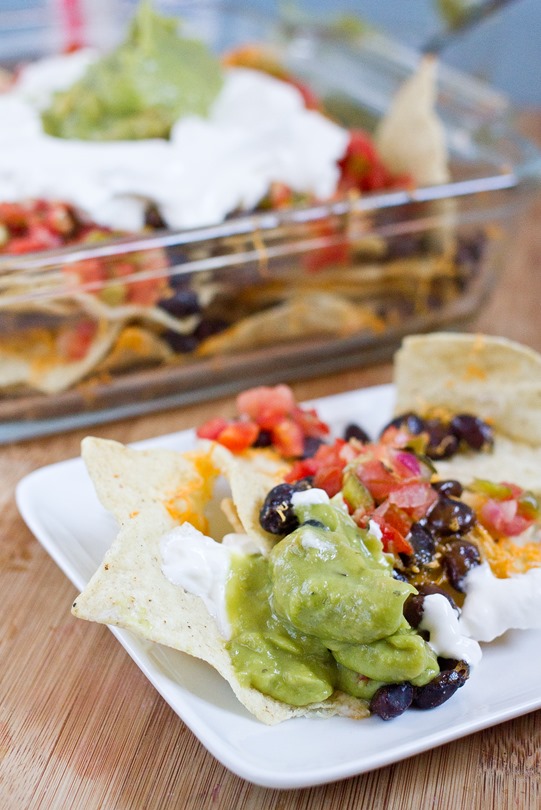
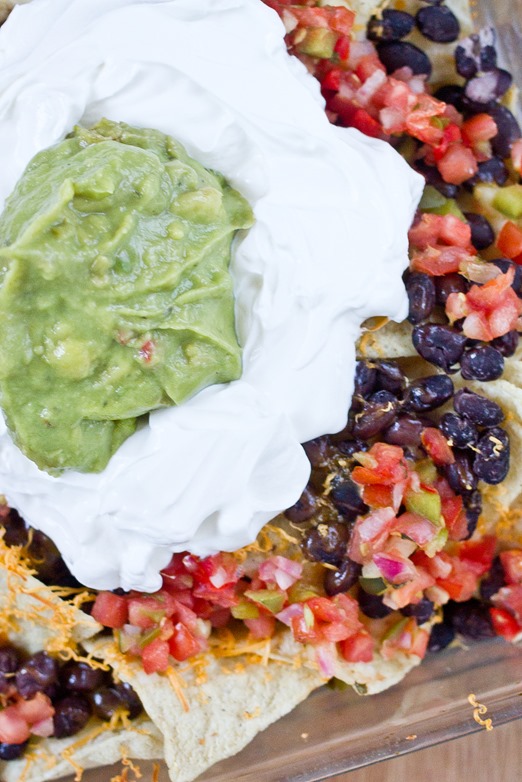
These are so simple you probably could make them everyday. I wouldn’t recommend it if I were a doctor, but as a food blogger I have no reservations. I think the best way to make these irresistible is using high quality salsa, sour cream and guacamole to get the perfect flavor.

Vegetarian Nachos

Prep time: 10 minutes

Cook time: 15 minutes

Ingredients(Serves 4-6):

  • 8oz corn tortilla chips, preferably lightly salted or no-salt added
  • 4oz shredded cheddar or Mexican blend cheese
  • 3/4 cup black beans, rinsed and drained
  • 1/2 cup or more salsa
  • 1/2 cup sour cream
  • 1/2 cup guacamole

Vegetarian Nachos Cheese

Method:

  1. Preheat your oven to 350 degrees.
  2. Put about half of the tortilla chips in a layer on top of a baking pan or in a baking dish.
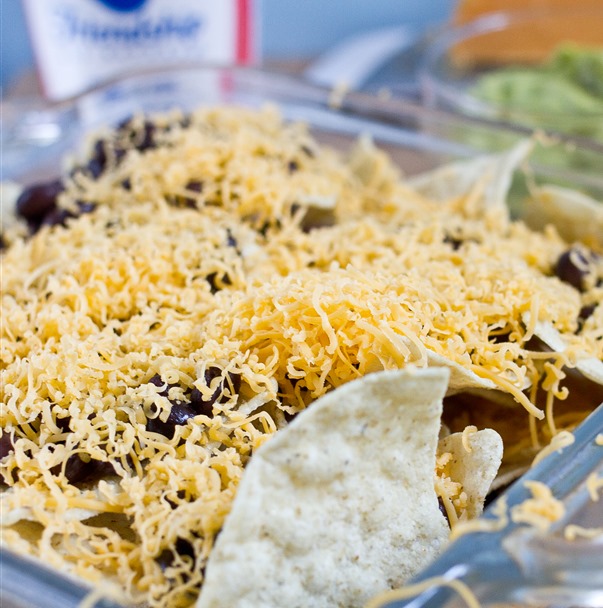
  3. Cover the chips with half of the shredded cheese.
  4. Add another layer of chips.
  5. Sprinkle the rinsed beans on top of the second layer of nachos evenly.
  6. Add the remaining shredded cheese over the bean layer.
  7. Spread the salsa out on top of the cheese evenly over the entire tray.
  8. Bake for about 15 minutes until the cheese has melted completely. Remove from the oven.
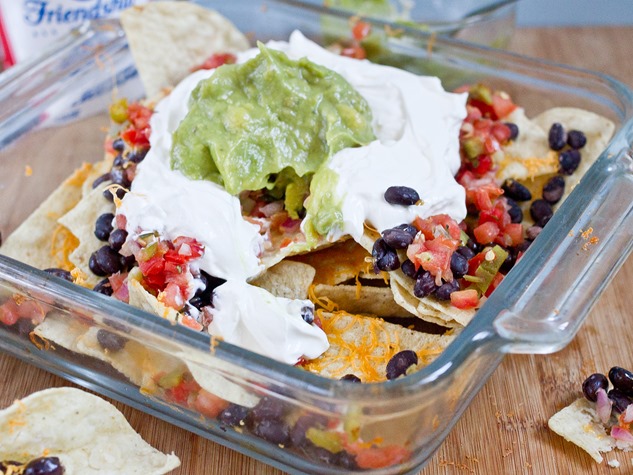
  9. Plop the sour cream and guacamole on top of the hot nachos however you’d like. Serve immediately while still hot.
Vegetarian Nachos Finished   

DIY Photography Reflectors

May 3rd 028-2

Photography is expensive.

Anyone who has picked up photography as a hobby or who does it professionally will tell you that. And my wallet has definitely felt that crunch over the past few years, too. Last May I upgraded my camera to a pre-owned Canon 7D which I absolutely love. At the time I was looking into getting even more photography equipment but my good sense convinced me to stop at the necessities.
Still, good lighting is just as important as a good camera. I always work with natural light, but that’s not so easy when your natural light is one 2 x 4 window on the far wall in your bedroom. These DIY light reflectors have been a saving grace.

May 3rd 016

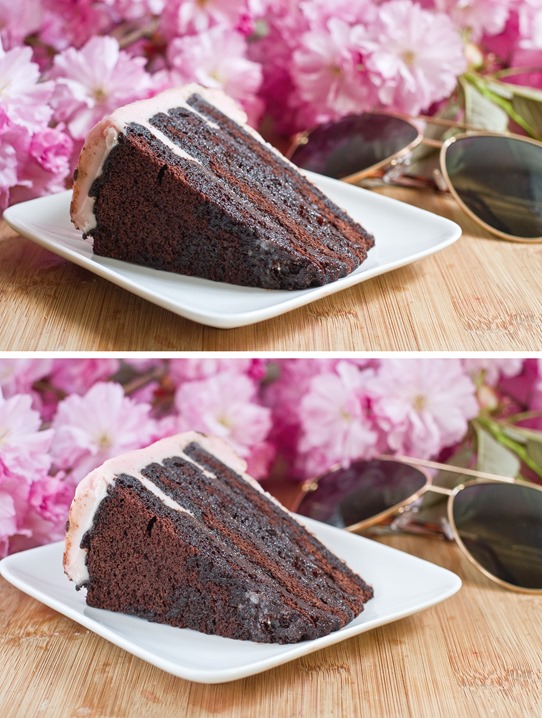
Both of these photos were taken in the same place with the same light source and all of the same camera settings. I edited them slightly but you can still see the huge difference in the shadows between the two. The difference is that the bottom photo had a reflector bouncing light back onto the subject.

You probably won’t believe how simple or cheap the reflector is to make yourself. You probably have all of the materials already.

May 3rd 042

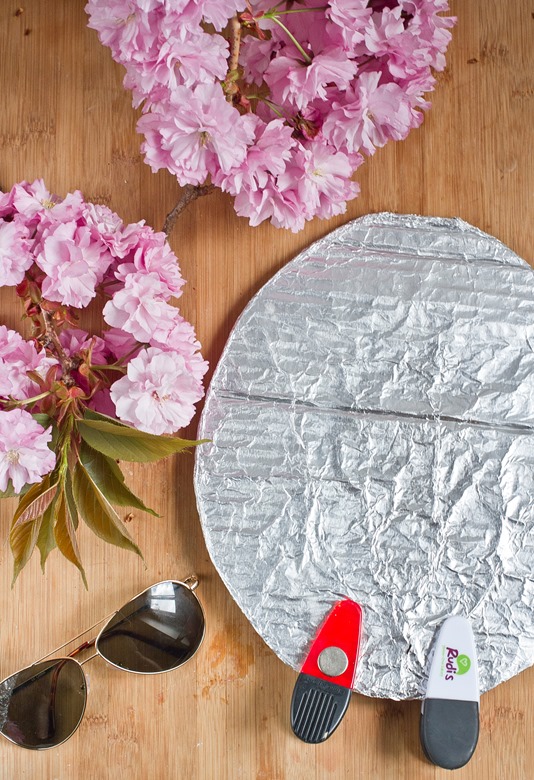
All you need to make a reflector is cardboard, aluminum foil, and tape. That’s it. Simply cut the cardboard into an oval or a rectangle, wrap the aluminum foil around it and tape it into place. For the round one I use 2 chip clips to make it stand on its own but you can use any number of materials. This clearly isn’t rocket science.

May 3rd 032

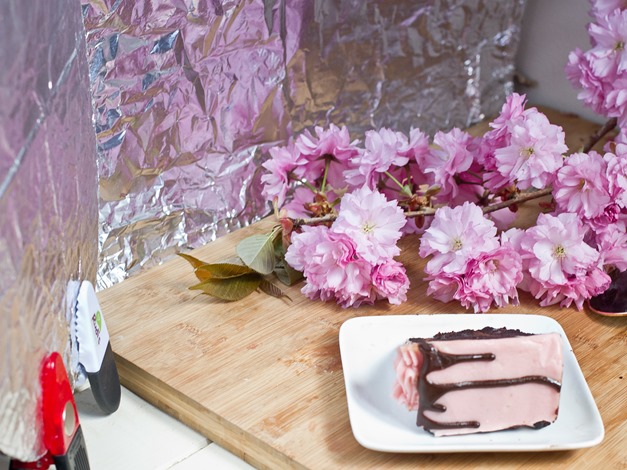
My set up usually involved a large, rectangular reflector on the side facing opposite to the light source and a smaller one I can move around and position to target the focal point or any shadowy areas.

You don’t want a light source too powerful hitting the aluminum foil or else it will look like you’re shining a flashlight onto the food. Just soft, natural light is all you need to make a big difference in your photos.

May 3rd 030

Once again the same photo only without and with the reflectors. It’s incredible what about 50 cents worth of material can do.

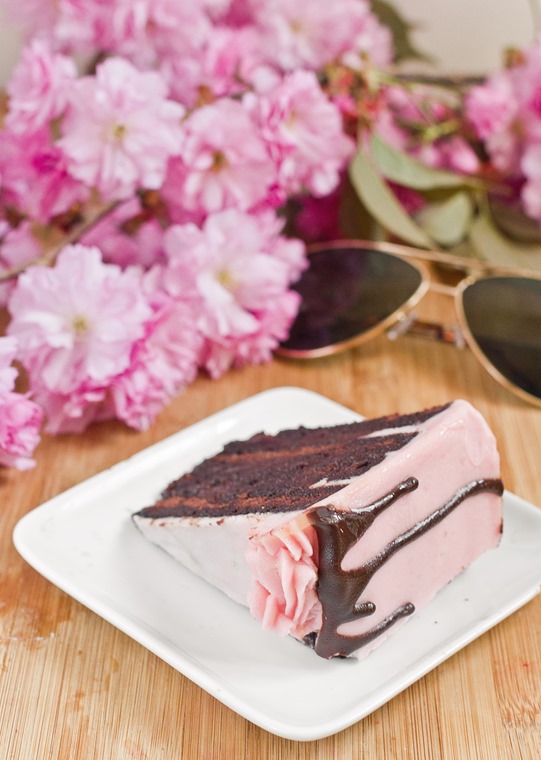
Hope this was helpful! With all of that saved money you can go out and buy yourself a slice of cake.

Whole Grain Banana Cake Squares

Whole Grain Banana Cake Squares

I always grab bananas at the store to throw in smoothies or have for breakfast. This week I guess I forgot to eat them because they were brown and mushy before I knew it. I’d much rather life hand me brown bananas than lemons because bananas are a lot more fun to bake with. I couldn’t decide on making banana blondies or banana bread and ended up settling for something in between.

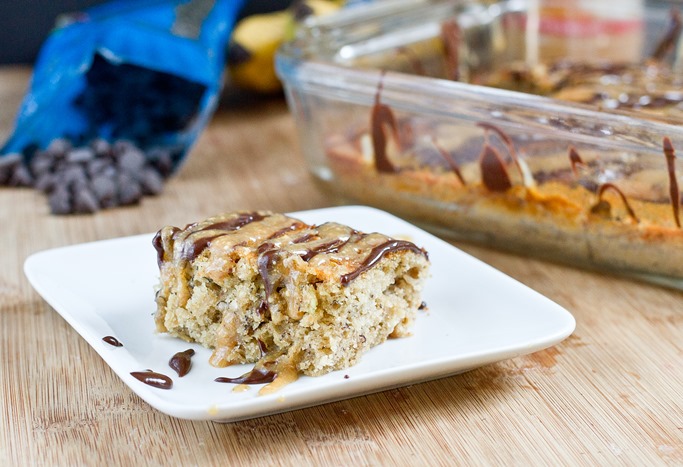
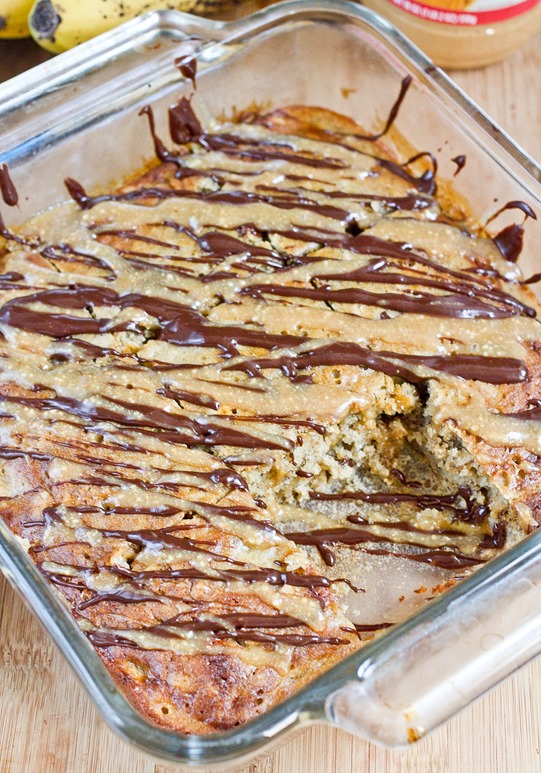
I intended these to be a healthy afternoon snack, but then covering them in chocolate and peanut butter seemed a lot more fun. They actually aren’t bad for you with their whole grains, fiber, natural sugars and a little bit of healthy fats. The squares are definitely sweet enough on their own—adding a drizzle on top just makes them that much better.

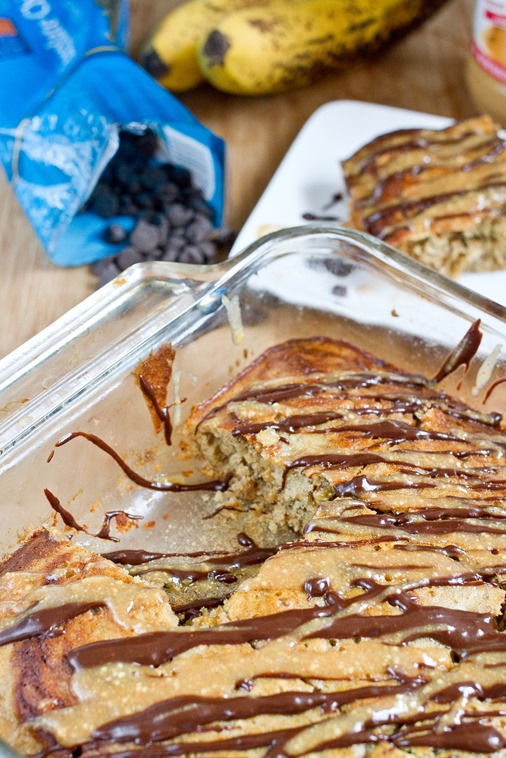
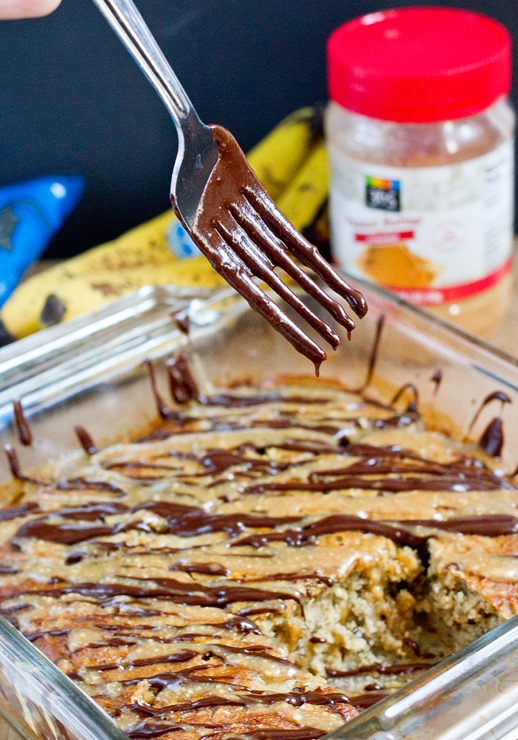
Whole Grain Banana Cake Squares Drizzle

The topping I used was just a chocolate ganache made with 1/4 cup chocolate chips, 2 Tablespoons of maple syrup, and a Tablespoon of water and a peanut butter sauce made with 2 Tablespoons peanut butter, 2 Tablespoons of maple syrup, and a Tablespoon of water all mixed and drizzled on top. This would also be really delicious with a vanilla or peanut butter buttercream.

Whole Grain Banana Cake Squares

Prep time: 10 minutes

Cook time: 30 minutes

Ingredients(Makes one 8 x 8 pan):

  • 1 cup(2 large) mashed bananas
  • 1/2 cup sugar
  • 1/4 cup peanut butter
  • 1/4 cup vegetable oil
  • 2 eggs
  • 1 teaspoon vanilla extract
  • 1/2 cup(80g) brown rice flour
  • 1/2 cup rolled oats
  • 1/2 teaspoon baking soda

Whole Grain Banana Cake Squares Yield

Method:

  1. Preheat your oven to 350 degrees and grease an 8 x 8 baking pan.
  2. In a large bowl, beat together the mashed banana, sugar, peanut butter, oil, eggs, and vanilla.
  3. Add in the brown rice flour, oats, and baking soda and mix well.
  4. Pour the batter into the pan.
  5. Bake for 25-30 minutes until the center has set.
  6. Remove and let cool. Cover with frosting, ganache, or leave plan to serve.

Whole Grain Banana Cake Squares Slice 

Almond Flour Chocolate Chip Cookies

Almond Flour Chocolate Chip Cookies

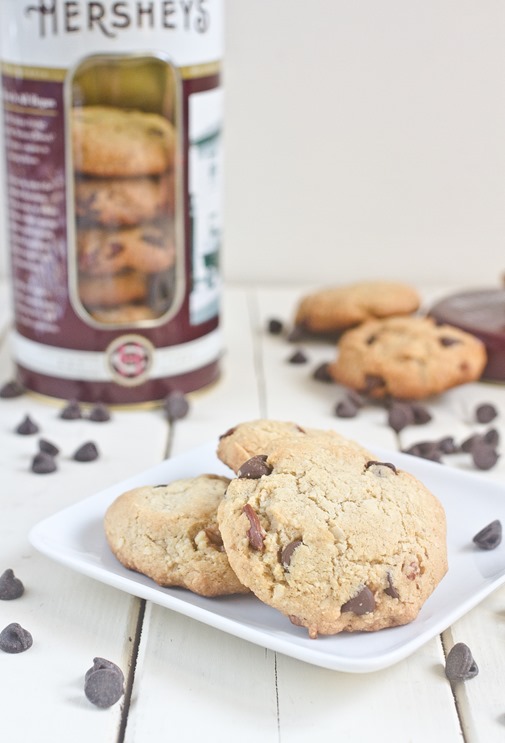
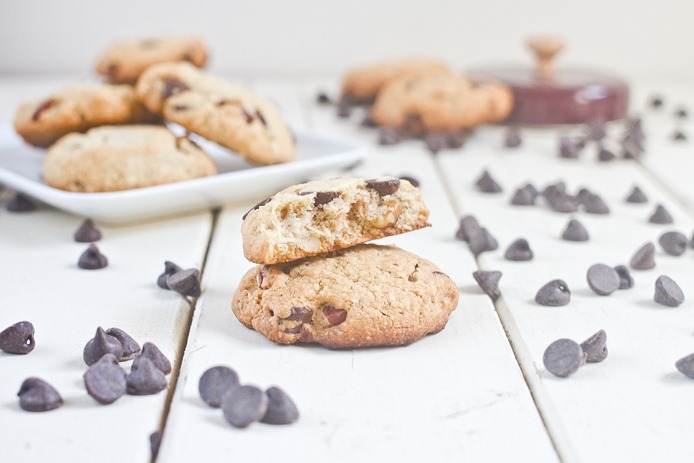
When you find a recipe that just works, you never want to stray from it. This is the third time I’ve posted about these cookies; I didn’t realize that the original recipe post is almost 2 years old until I sat down to write this one. In that time a lot of commenters have made these and enjoyed them and I hope a lot more will continue to.

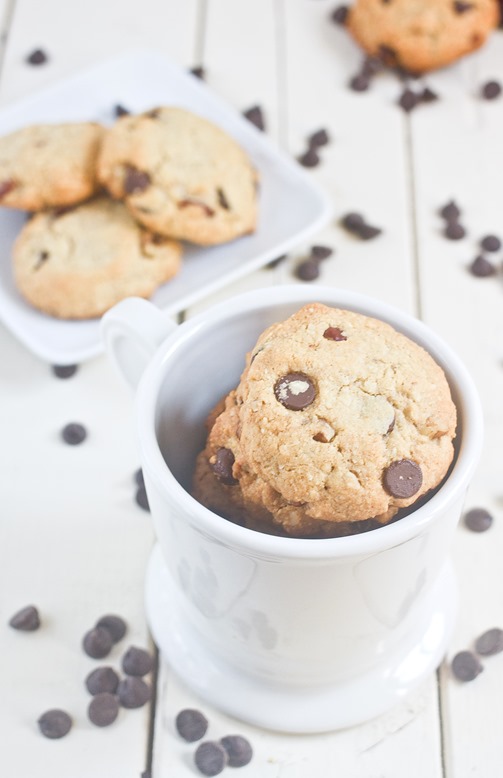
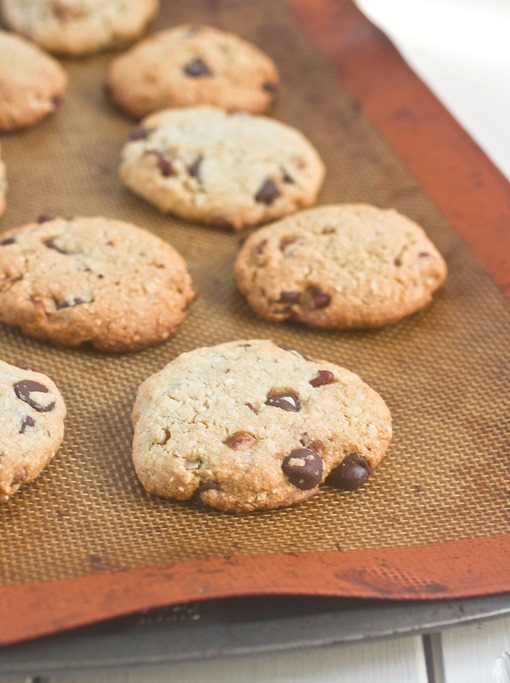
I’ve tried to make other gluten-free cookie recipes in the past and ended up with a tray of flattened, cooked dough; thankfully I’ve never had a problem with these. They bake and spread just like regular chocolate chip cookies. This time I mixed some chopped pecans and walnuts into the batter. I didn’t think that they could actually get better but that proved me wrong.

Almond Flour Chocolate Chip Cookies Cup

I’ve now made this recipe with almond meal(finely ground almonds) and almond flour(finely ground blanched almonds) and can tell you it doesn’t make much of a difference. The ones with almond flour were a little softer as they baked and lighter in color but the end results were pretty much the same.

Almond Flour Chocolate Chip Cookies

Prep time: 10 minutes

Cook time: 12 minutes

Ingredients(Makes about 12 cookies):

  • 1 1/2 cups(6 ounces) almond flour or almond meal
  • 1/4 cup butter, room temperature
  • 1/4 cup sugar
  • 1 egg
  • 1/4 teaspoon salt
  • 1/2 teaspoon vanilla extract
  • 1/4 teaspoon baking soda
  • 1/4 cup chocolate chips
  • 1/4 cup chopped nuts(optional)

Almond Flour Chocolate Chip Cookies Baked

Method:

  1. Preheat your oven to 375 degrees.
  2. In a large bowl, cream together the butter and sugar.
  3. Gradually beat the egg into the butter and sugar mixture.
  4. Add the almond flour, salt, vanilla and baking soda in with the other ingredients and mix well.
  5. Add in the chocolate chips and nuts if using and fold them into the batter.
  6. Roll the dough into 1-inch balls and press them down gently onto a non-stick baking surface.
  7. Bake for 12-15 minutes until the cookies rise and the edges have browned.
  8. Remove the cookies from the oven and let them cool before moving. Store at room temperature in a sealed container.

Almond Flour Chocolate Chip Cookies Serving

Nutella Cheesecake Strawberries

Nutella Cheesecake Strawberries

A jar of Nutella never lasts very long in our kitchen. One of my favorite snacks is to take a spoon and just dig in. That’s probably reason enough to stop keeping a jar of Nutella around all the time.

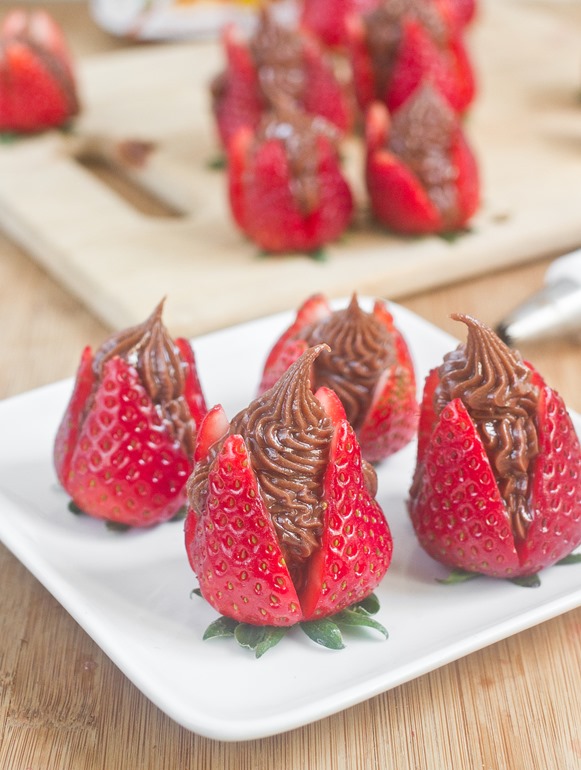
I’ve seen cheesecake-stuffed strawberries online for years now and never tried them before these. I think they’re originally a Paula Dean invention. It’s incredibly convenient if you’re looking for a gluten-free dessert because the strawberries take care of the crust for you; besides, you can convince yourself that a little bit of fruit makes it all healthier.

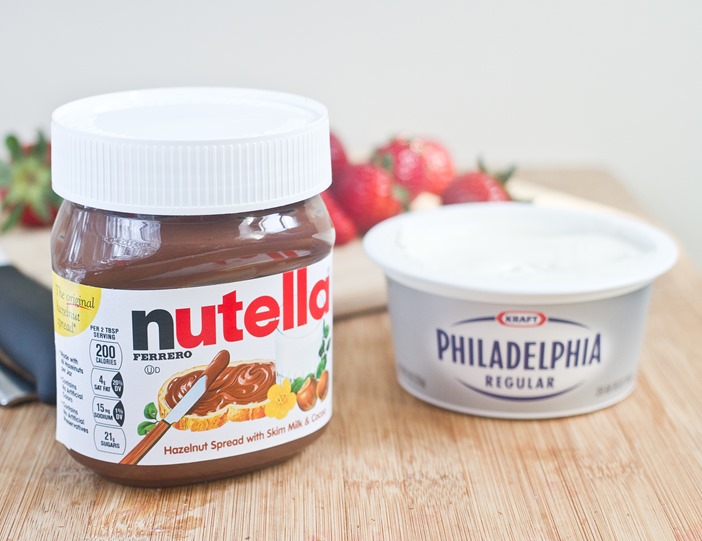
Nutella Cheesecake Strawberries Filling

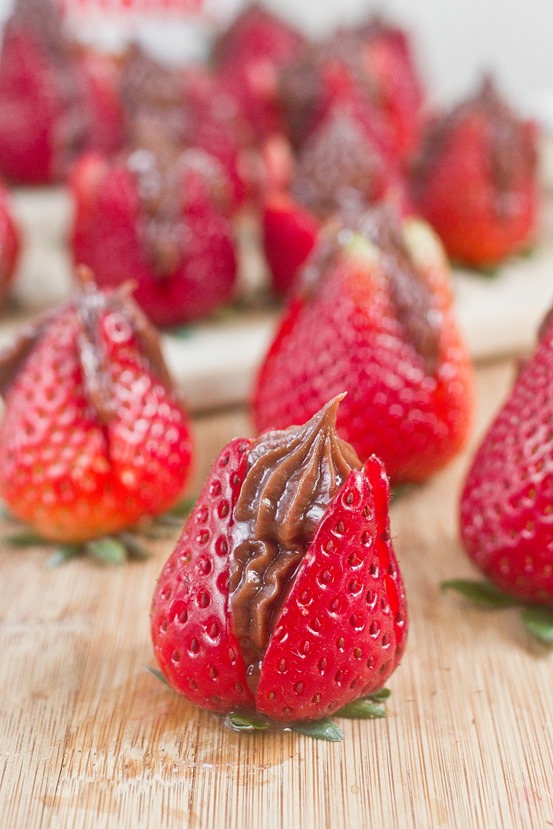
Filling these can be frustrating; a lot of the first ones came out lopsided and a couple of them even got thrown away. But don’t worry! It’s an easy skill to pick up as you do more and more.

Nutella Cheesecake Strawberries

Prep time: 20 minutes

Cook time: 0 minutes

Ingredients(Makes about 24 servings):

  • 1lb strawberries
  • 3/4 cup Nutella
  • 1/2 cup cream cheese, room temperature
  • 3/4 cup powdered sugar, sifted

Nutella Cheesecake Strawberries Ingredients

Method:

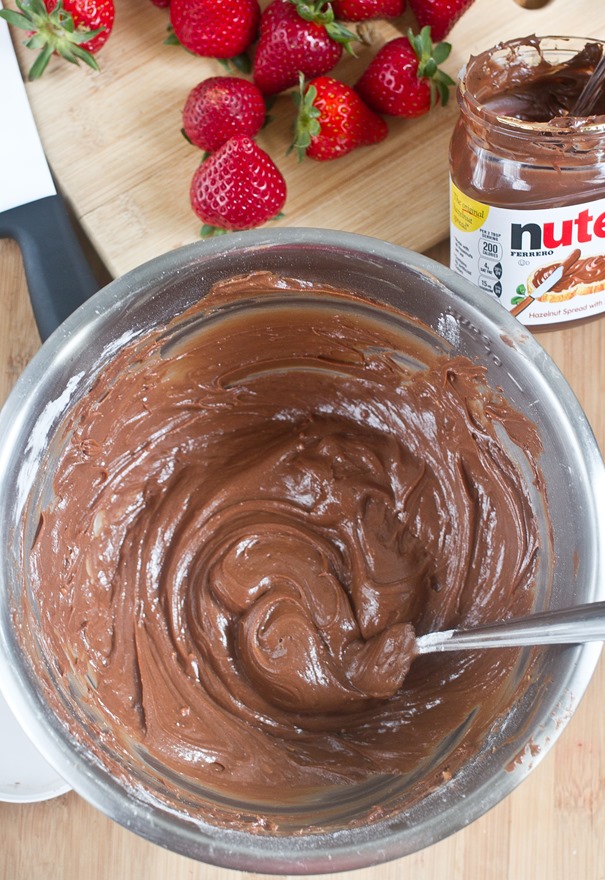
  1. In a large bowl, beat together the Nutella, cream cheese, and powdered sugar until smooth. Move the filling to a pastry bag or Ziploc with a corner cut off.
  2. Using a sharp knife, slice each strawberry twice perpendicularly along the tip almost all the way through, leaving a little bit uncut.
  3. Separate the 4 tips of the strawberry and gently push the filling in until it reaches the top.
  4. Repeat with all of the strawberries.
  5. Store in a refrigerator until ready to serve; leave at room temperature for 30 minutes before eating.

Nutella Cheesecake Strawberries Serving

If you’re scared off by filling them or get too frustrated you can always cut up the strawberries and serve the filling as a dip. That was how I used up the leftover filling and it was just as good.

Strawberry Cashew Granola

Strawberry Cashew Granola

The best thing about Spring so far has been buying produce that’s not potatoes or shipped from the other side of the country at the supermarket. I even got suckered into buying a plant just because it was on sale and comes from a local town; I’m a marketer’s dream.

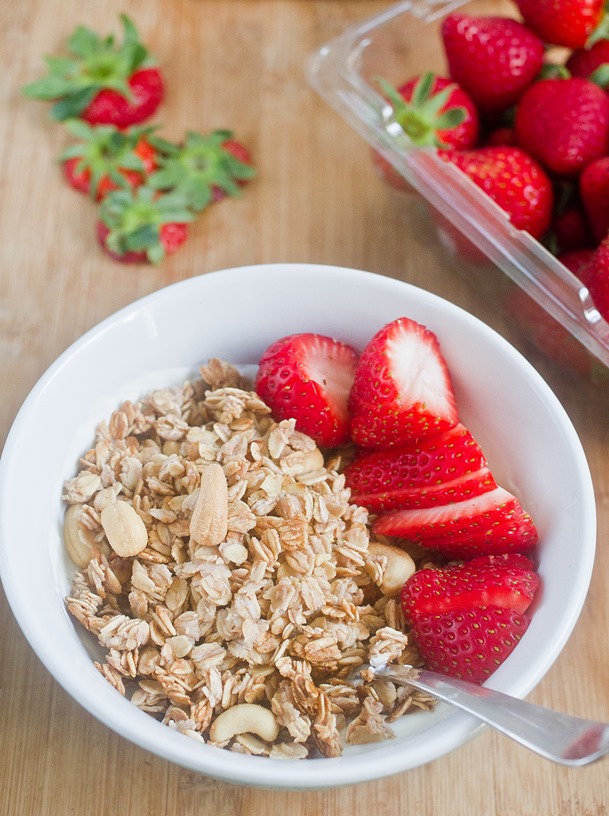
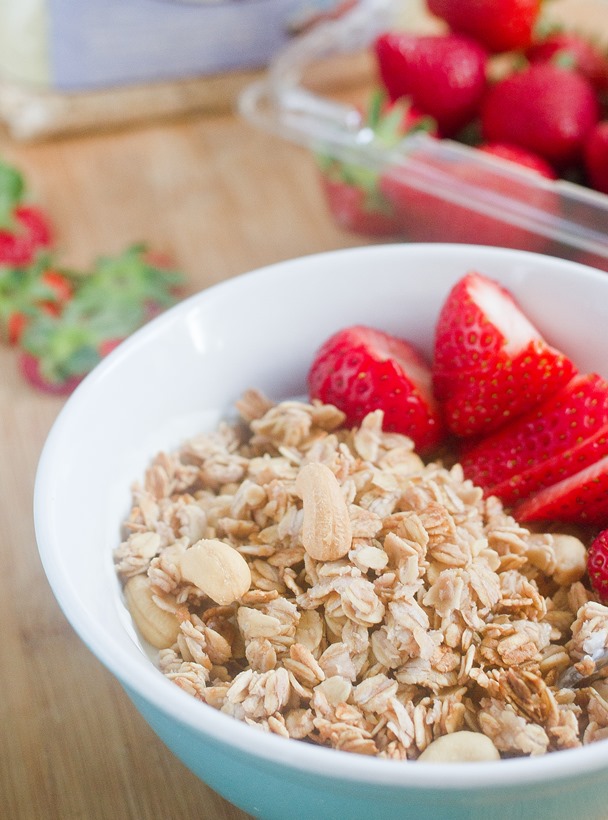
After a long, exciting weekend outdoors I couldn’t bring myself to do much more on Sunday night other than stay in watching TV and making this granola. Thankfully the recipe is simple enough that you can throw it together whenever. The next morning I slept through my alarm for almost an hour and hastily threw together a breakfast of yogurt, fresh strawberries, and this granola. Even on the run it tasted delicious.

Strawberry Cashew Granola Strawberries

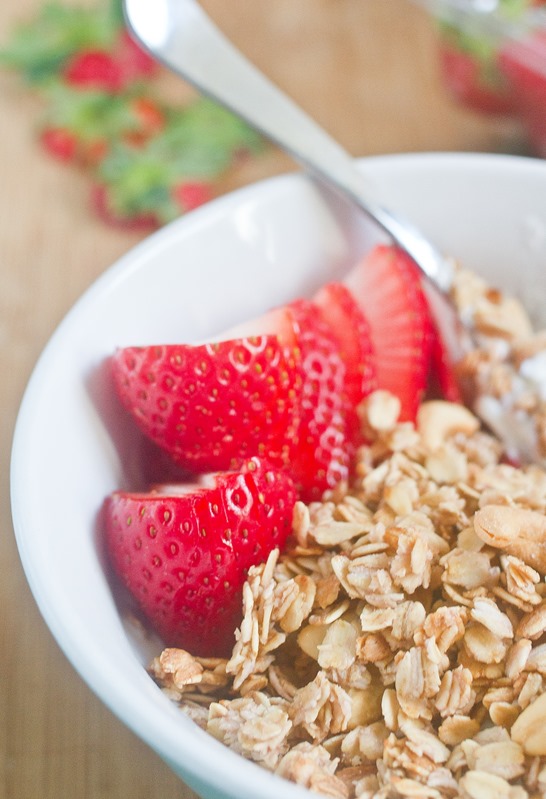
The flavor of this granola is very subtle which is great over plain or vanilla yogurt in the morning before your taste buds really wake up. If you don’t feel like making the strawberry syrup you can also mix 6 Tablespoons of maple syrup with 2 Tablespoons of a good strawberry jam and have the same flavor.

Strawberry Cashew Granola

Prep time: 5 minutes

Cook time: 25 minutes

Ingredients(Makes 2 1/2 cups):

  • 2 cups rolled oats
  • 1/2 cup strawberry syrup
  • 1/4 teaspoon salt
  • 2 Tablespoon vegetable oil
  • 1/2 cup roasted salted cashews

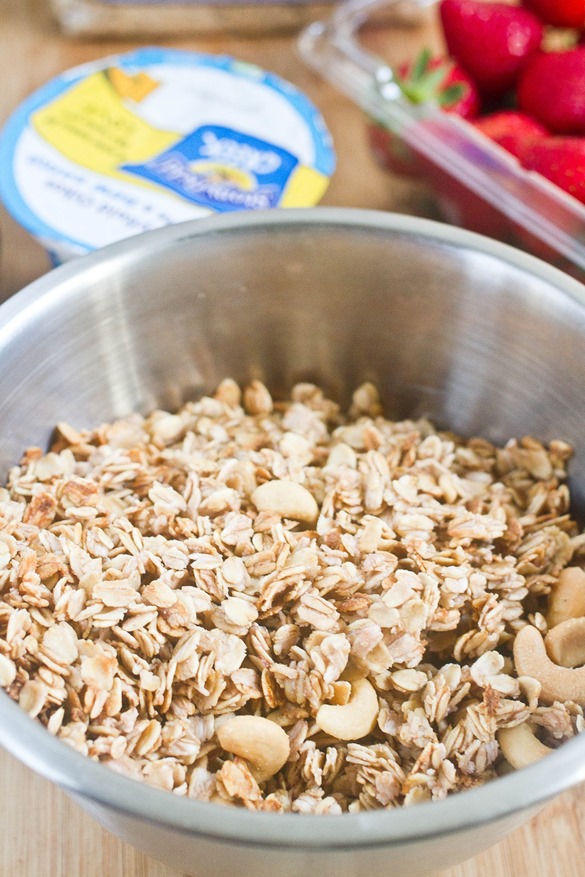
Strawberry Cashew Granola Yield

Method:

  1. Preheat your oven to 350 degrees.
  2. In a large bowl mix together the oats, syrup, salt, and oil.
  3. Spread the oat mixture over a non-stick baking surface in a thin layer.
  4. Bake for 20-25 minutes until the oats are toasted.
  5. Remove from the oven and let the granola cool.
  6. Break the granola apart and toss the clumps with the cashews.
  7. Store in an air-tight container at room temperature.

Strawberry Cashew Granola Serving

Just Photos: Coffee


April 11th 006

Hazelnut Mocha Trail Mix Coffee Bag

Perk-Me-Up-Trail-Mix-coffee

IMG_3092

24 Hours of Peanuts {Giveaway}

April 11th 030

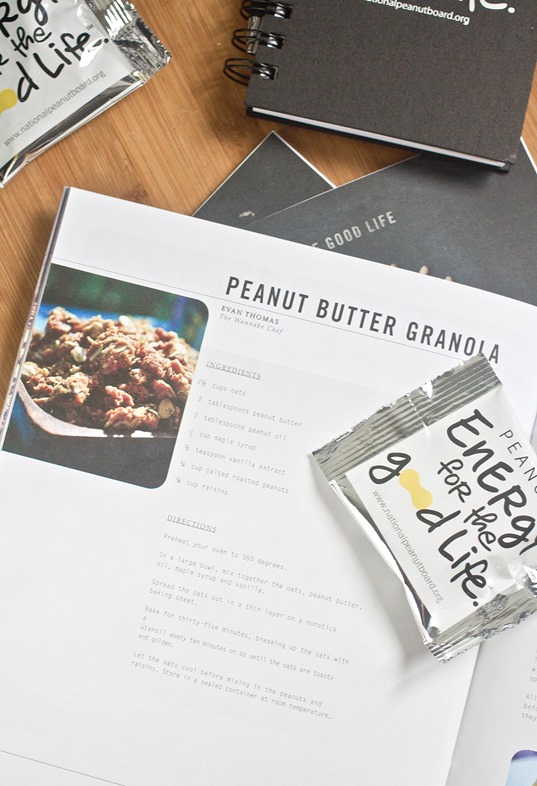
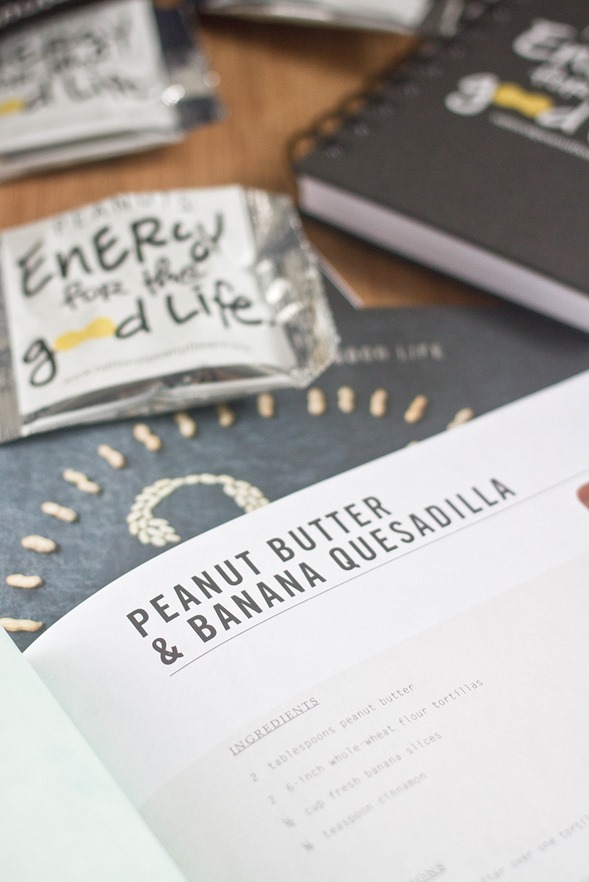
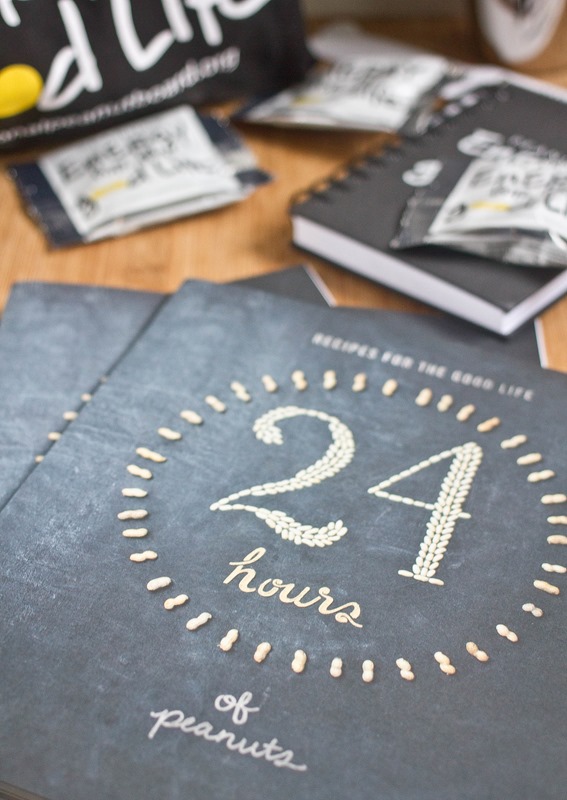
A couple months ago I was lucky to be included in a project the National Peanut Board was making with various food bloggers. Just this month the 24/7 Energy Recipe Resource project has been printed and released and I got a few copies to flip through. The book is filled with peanut facts, ways to snack and recipes that incorporate peanut butter into every meal. Come to think of it I’m sure there have been days when I’ve had peanuts at every meal but never with such a range of flavors and unique ideas for using them.

April 11th 038

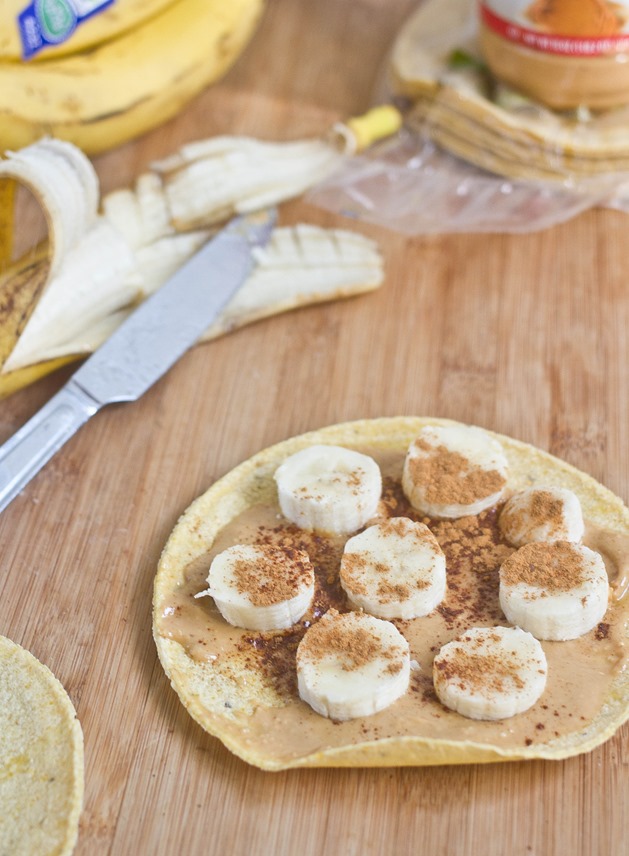
My recipe contribution was peanut butter granola. I love that and need to make it again sometime, but before that I wanted to try some of the other recipes in the book. One of the simplest and most appealing I could find was for a peanut butter banana quesadilla. The recipe calls for whole wheat tortillas but I swapped those out for corn tortillas to easily make it gluten-free.

April 14th 009

It was delicious. I never would have thought to put cinnamon with peanut butters and bananas but the flavors totally worked. I would probably add a drizzle of honey next time because the peanut butter I used had no sugars added to it. Otherwise this was a great snack and there are plenty of soup, sauce, and dessert recipes to try to fill the other 23 hours of the day.

April 11th 025

The National Peanut Board gave me plenty of prizes to share the love of peanuts around. I have a duplicate prize pack of one that I received featuring a recipe booklet, apron, cocktail shaker, notepad, peanut spreader and (of course) peanuts as well as 2 extra recipe booklets to give away, so I’ll randomly pick 3 winners from the comments.

To enter leave a comment with the name of your favorite peanut recipe.

For extra entries

I’ll pick 3 comments at random next Wednesday night, April 24th, and email the winners. Good luck!