Popular Recipes

Oatmeal Peanut Butter Cookies

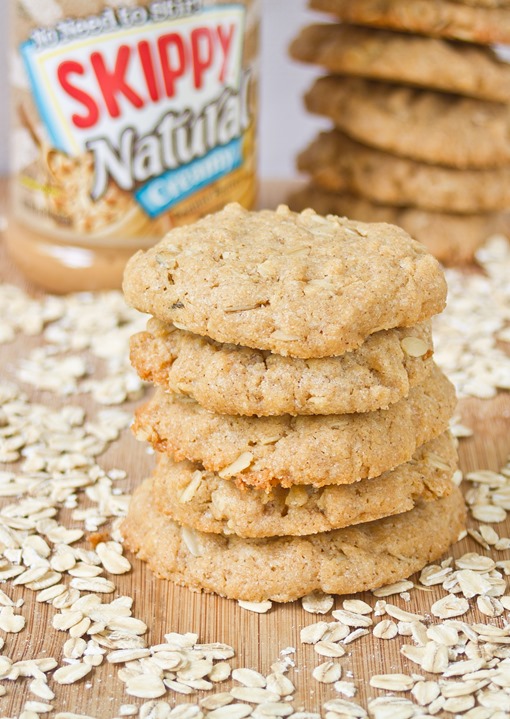
Peanut Butter Oatmeal Cookies

Peanut butter cookies are one of my favorite desserts to keep around the house. That’s probably because I don’t just eat them for dessert; they’re also great as an afternoon snack, crumbled on top of yogurt, right before dinner when you’re feeling snackish—whenever. They’re just the right amount of sweet and nutty to satisfy.

I’m always trying different peanut butter cookies recipes to see how the texture and flavor compares. These are one of my new favorites. Once these cookies cool, they’re the thick and chewy kind. They’re perfect for filling with ice cream and making a cookie sandwich, covering in melted chocolate or filling with a little raspberry jam.

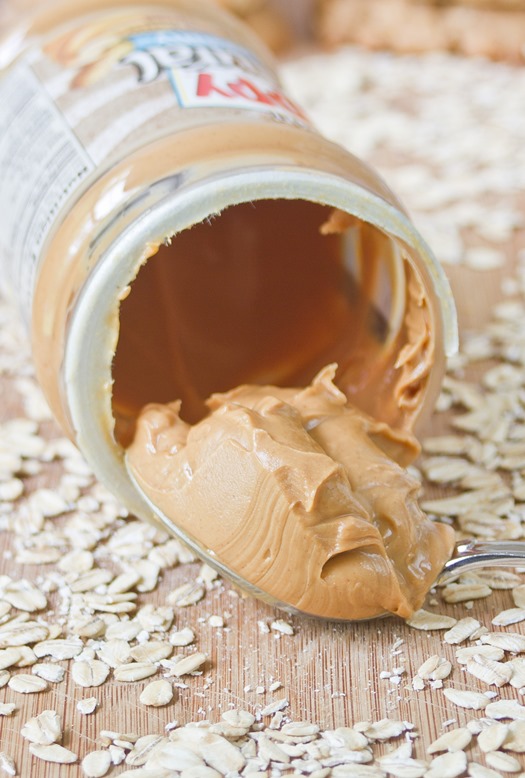
Peanut Butter Oatmeal Cookies Ingredients

I used gluten-free all-purpose flour for these cookies and they came out perfectly. If you use a gluten-free flour I’d recommend a pre-mixed blend for the best consistency. Your cookies should be rollable when all the ingredients are mixed but if the batter is still too thick you can add milk by the Tablespoon until it softens up.

Oatmeal Peanut Butter Cookies

Prep time: 10 minutes

Cook time: 20 minutes

Ingredients(Makes about 18 cookies):

  • 1 cup rolled oats
  • 1 cup all-purpose flour OR 1 cup all-purpose gluten-free flour
  • 3/4 cup cane sugar
  • 3/4 teaspoon baking soda
  • 1/2 teaspoon salt
  • 1/2 teaspoon cinnamon
  • 1/2 cup peanut butter
  • 1/4 cup vegetable oil
  • 1/4 cup milk
  • 1 egg
  • 1 teaspoon vanilla extract

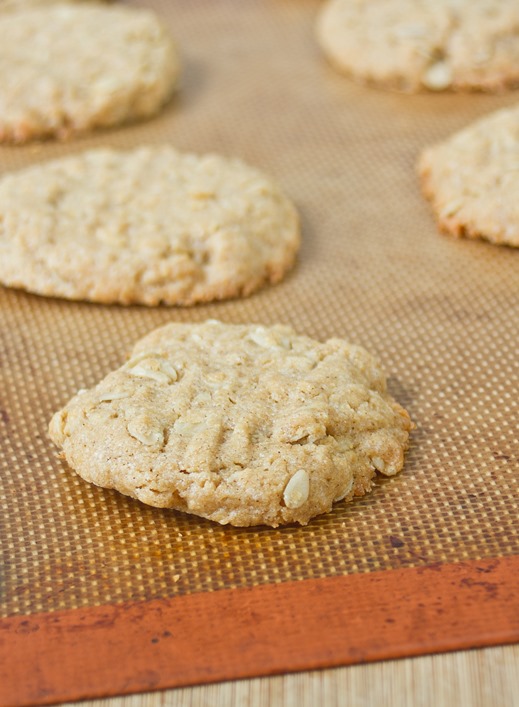
Peanut Butter Oatmeal Cookies Baked

Method:

  1. Preheat your oven to 350 degrees.
  2. In a large bowl, mix together the oats, flour, sugar, baking soda, salt, and cinnamon well.
  3. In a separate bowl, beat the remaining ingredients until they make a homogenous liquid.
  4. Mix the wet ingredients in with the dry until it forms a uniform dough.
  5. Roll the dough into 1-inch balls and place them on a lined baking tray.
  6. Press down on each ball lightly with the tongs of a fork in a criss-cross pattern on top.
  7. Bake for 18 minutes until the center of the cookies are firm and the outsides are golden.
  8. Remove from the oven and let them cool completely before moving.
  9. Store in a sealed container at room temperature.

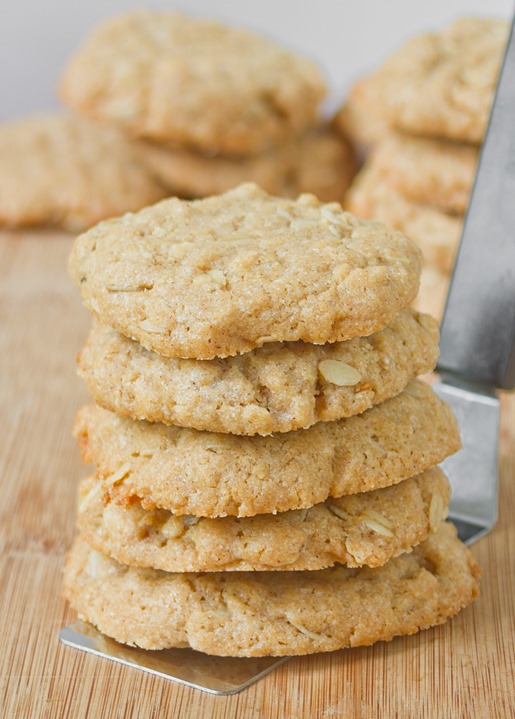
Peanut Butter Oatmeal Cookies Stacked

Almond Flour Dessert Recipes

It’s no surprise that I like making desserts with almond flour. It’s probably my favorite gluten-free flour to use. It’s great whether you’re trying to eat grain or gluten-free, has virtually no flavor, and has a perfect consistency in baked goods. You can buy it at most stores nowadays(I usually get the Trader Joe’s brand almond meal) or pulse almonds in a food processor to make your own at home(just be careful not to accidentally make almond butter).

Here are a few of my favorite dessert recipes with almond flour in them. A lot of them are readers’ favorites, too. You can read the comments on any of these recipes to find out what substitutions and success other readers had trying out these recipes.

The Basics:

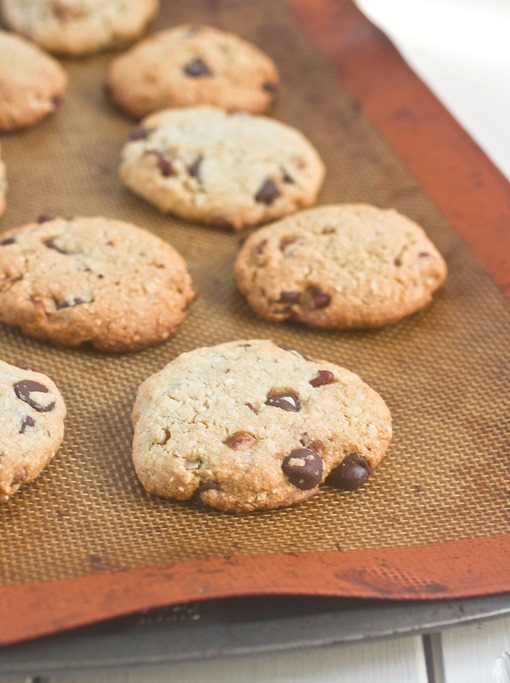
Almond Flour Chocolate Chip Cookies Baked

Almond Flour Chocolate Chip Cookies: Everyone needs a good chocolate chip recipe they can rely on, right? This is definitely the one if you need to follow a gluten-free or grain-free diet. They come out flavorful and with just the right texture to match “regular” chocolate chip cookies. There are over 140 comments on the recipe page so it’s tried and true as well.

Almond Flour Brownies: Another readers’ favorite are these brownies. They’re also one of my favorites, too. I tend to make them or a variation on them monthly whenever I need a good brownie. They’re also gluten and grain-free, but you would never be able to tell from the taste or texture. They’re just a great, fudgy, chocolaty brownie.

A Little Different:

Gluten Free Cookie Dough Truffles newspaper

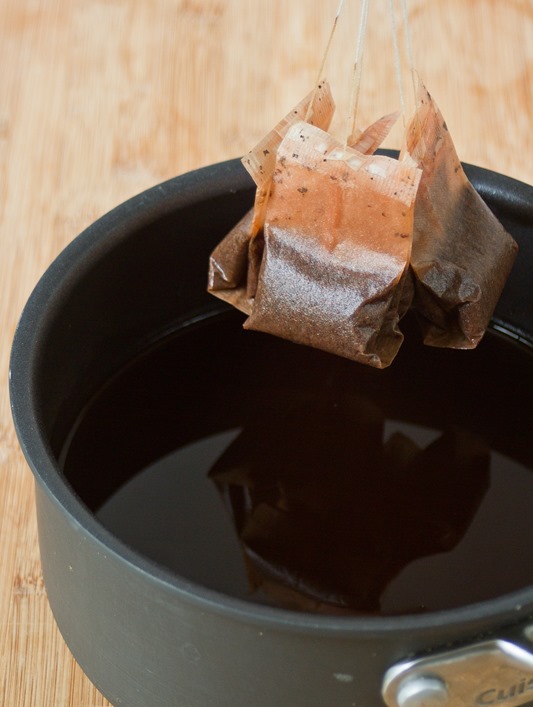
Gluten-Free Cookie Dough Truffles: Who doesn’t love eating raw cookie dough? That’s what these are, except covered in chocolate. And it’s all entirely safe to eat, gluten and grain-free. This recipe’s too good not to share. Almond flour is the perfect flour substitute in this one because the flavor is virtually undetectable.

Almond Flour Banana Bread: Banana bread is one of my favorite snacks when it’s around the house, especially with a cup of tea on a rainy day. This banana bread is very moist and reminds me of the kind you get at Starbucks. If you have a few browning bananas laying around the house this is a great go-to.

Almond Flour + Coconut Flour:

Gluten-Free Thin Mints

Gluten-Free Thin Mints: Until the Girl Scouts start making gluten-free cookies, the best kind are the ones you can make in your oven. Almond flour and coconut flour give these a great texture while chocolate and mint give them that perfect flavor; you won’t be able to taste the difference!

Gluten-Free Chocolate Flag Cake Finished

Gluten-Free Flag Cake: I made this last year and think I might have to make it again. If you’re looking for a good, basic chocolate cake recipe without the grains or gluten this is simple enough for anyone to whip up. Personally I like this with a vanilla cream cheese frosting but you can let your imagination go wild.

Tequila Sunrise

Tequila Sunrise

I can’t remember the last time I actually saw a sunrise. That might be a little embarrassing to admit; I’m definitely a night owl who enjoys sleeping in when I can. This, however, is a sunrise I can get behind.

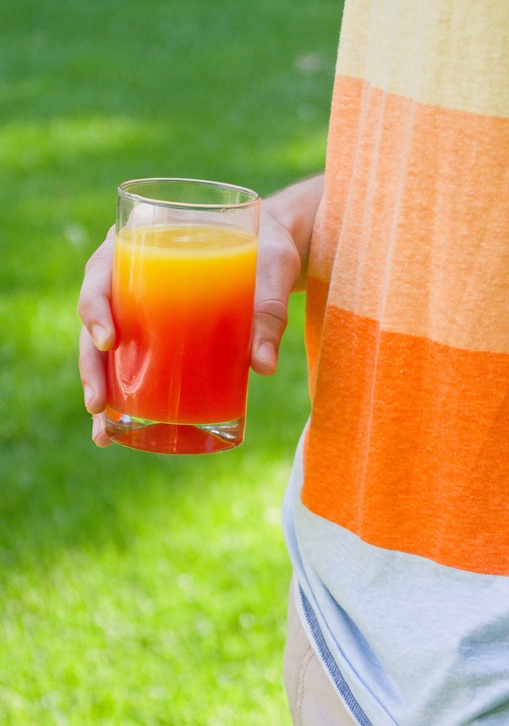
Tequila sunrises are one of my favorite drinks. They’re simple(only 3 ingredients!), delicious, and you can tell yourself they’re healthy because they have juice in them instead of soda. They’re also just a lot of fun to look at; I never get tired of pouring these for myself and friends.

Tequila Sunrise Orange Juice

It’s hard to mess this one up. Just pour with a steady hand and be sure not to stir. If you want to ad a little twist, squeeze a lime wedge in with the tequila for each glass.

Tequila Sunrise

Prep time: 5 minutes

Cook time: 0 minutes

Ingredients(Makes 2 servings):

  • 3 shots white tequila
  • 1 cup orange juice
  • 2 Tablespoons grenadine
  • Ice(optional)

Tequila Sunrise Top

Method:

  1. Add 1 1/2 shots of tequila to 2 1-cup glasses. Add in ice as well if the ingredients aren’t chilled.
  2. Pour 1/2 cup of orange juice into each glass. Do not stir.
  3. Pour 1 Tablespoon of grenadine into each glass right through the center of the top. Do not stir but let it settle at the bottom and gradiate.
  4. Serve and drink cold.

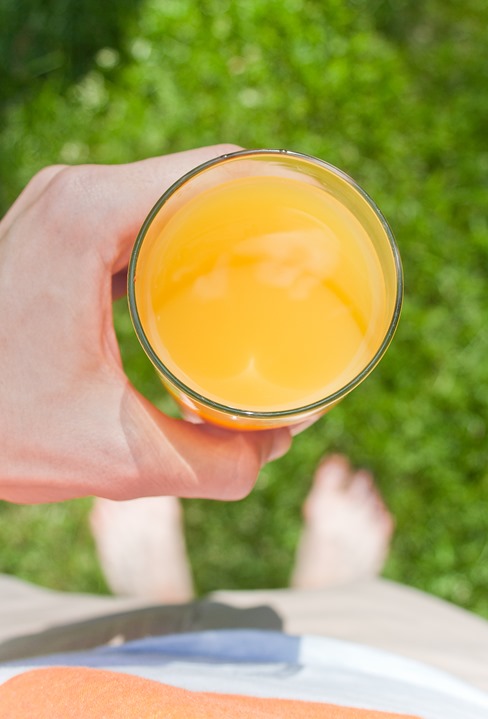
Tequila Sunrise Drinking

Peanut Butter Banana Granola

Peanut Butter Banana Granola

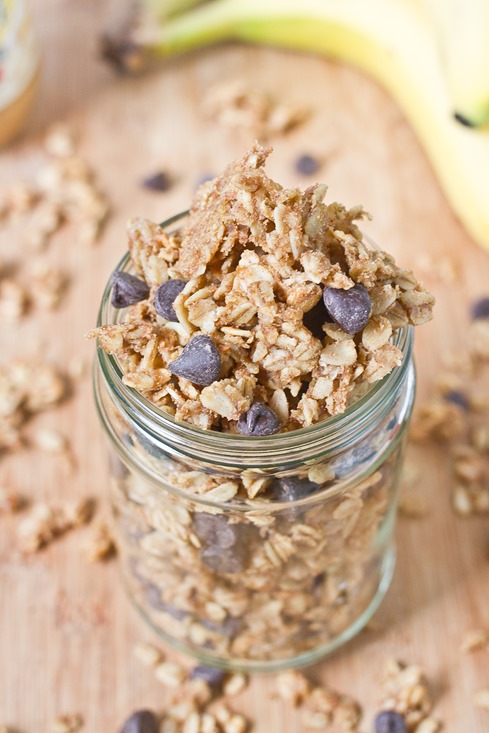
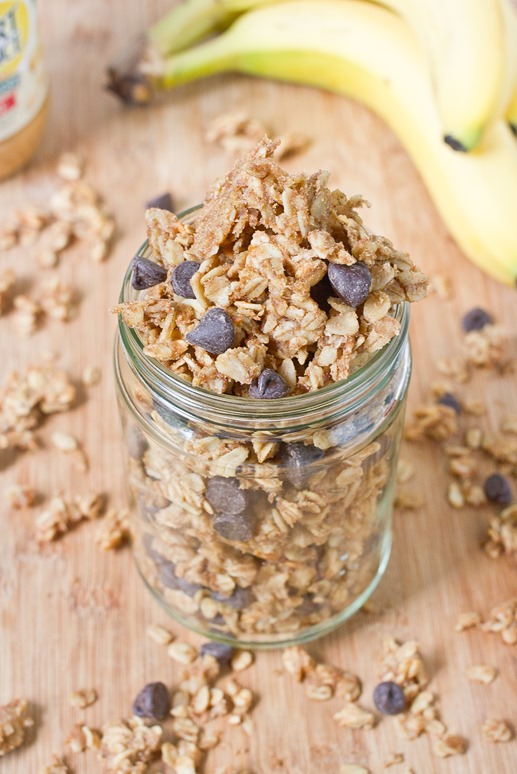
I’ve eaten yogurt, granola and a sliced banana for more meals this past month than I’m willing to admit. I’m not sure if it’s because it’s so good or so easy; it’s probably a bit of both. I never knew if you could cook the banana flavor into the granola until I saw this recipe. That gave me all the confidence I needed to try it out.

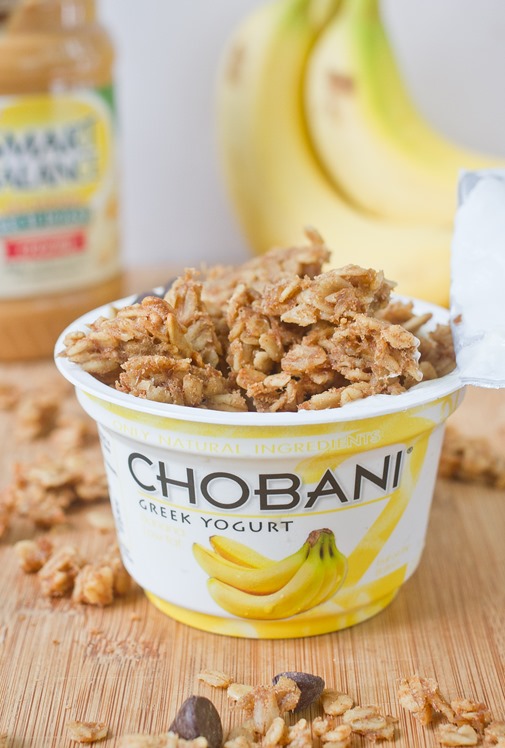
This is the kind of granola I have no trouble eating all by itself. It has every flavor and texture in it you could possibly want. The clusters are slightly softer than normal granola because of the bananas; it reminds me of the crusty outside of slightly overcooked banana bread. It’s great to eat with just about any flavor of yogurt, too.

Peanut Butter Banana Granola Ingredients

This granola tasted fresher than any I’ve tried before. It’s great to make for yourself if you will eat it over the course of a week but might not be the best to give as a gift to someone. Make sure to refrigerate this to keep it its freshest.

Peanut Butter Banana Granola

Prep time: 10 minutes

Cook time: 30 minutes

Ingredients(Makes about 3 cups)

  • 1 banana, mashed
  • 2 cups rolled oats
  • 1/4 cup maple syrup
  • 2 Tablespoons peanut butter
  • 2 Tablespoons oil
  • 1/2 teaspoon cinnamon
  • 1/2 teaspoon vanilla extract
  • 1/4 teaspoon salt
  • 1/2 cup chocolate chips(optional)
  • 1/2 cup chopped nuts(optional)

Peanut Butter Banana Granola Yield

Method:

  1. Preheat your oven to 350 degrees.
  2. In a large bowl, mix together the banana, oats, syrup, peanut butter, oil, cinnamon, vanilla and salt until evenly mixed.
  3. Spread the oats out in a thin layer on a non-stick baking surface.
  4. Bake for 25-30 minutes, breaking up the oats into clusters about 20 minutes into baking.
  5. When the clusters are golden and firm, remove them from the oven and let them cool.
  6. Once the granola has cooled, add chocolate chips or nuts if using. Store in a sealed container in the refrigerator when not eating.  

Peanut Butter Banana Granola Yogurt


Vegetarian Grilling

Vegetarian Grilling On Grill

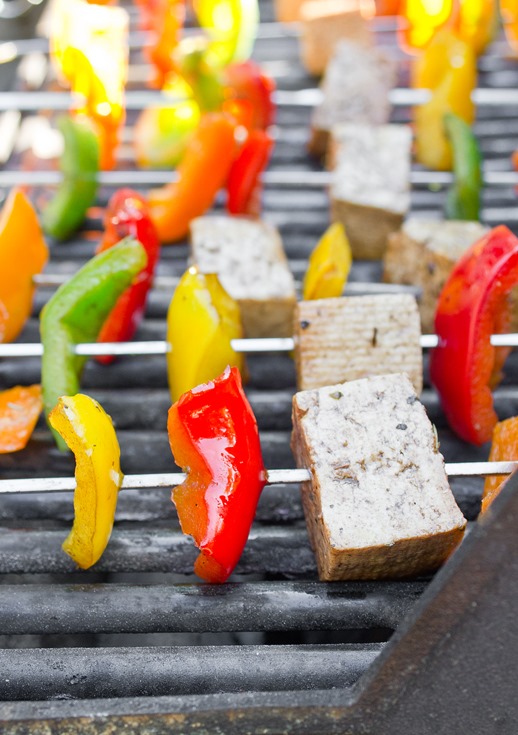
Italian Tofu & Bell Pepper Skewers

Prep time: 2 hours

Cook time: 15 minutes

Ingredients(Serves 3-4):

  • 1 block extra-firm tofu, pressed
  • 4 bell peppers, seeded
  • 1/3 cup olive oil
  • 1/4 cup balsamic vinegar
  • 1 1/2 Tablespoons sugar
  • 1/2 teaspoon salt
  • 1 teaspoon Italian seasoning blend
  • Grilling skewers

Vegetarian Grilling Peppers

Method:

  1. Dice the tofu and peppers into 1-inch squares.
  2. In a Ziploc bag, mix together the rest of the ingredients.
  3. Toss the tofu and bell peppers with the marinade in the bag and let it rest for 2-4 hours.
  4. Preheat your grill to around 400 degrees.
  5. Put the ingredients on the grilling skewers.
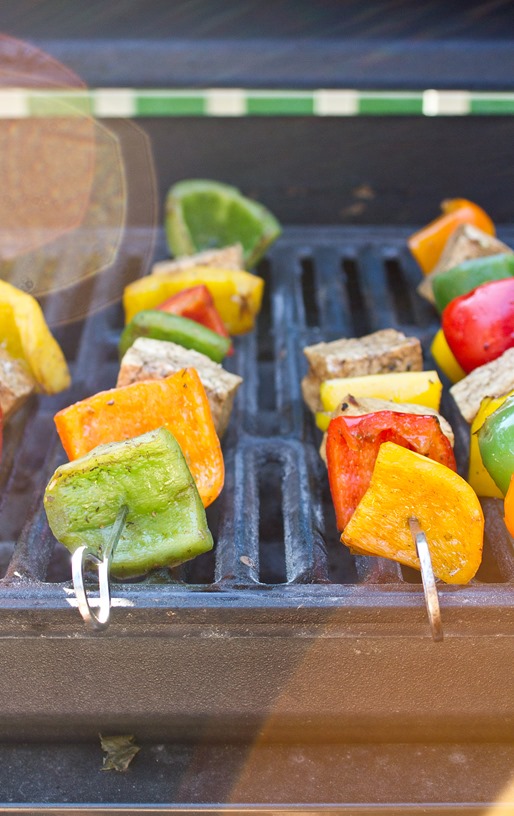
  6. Grill for 10-15 minutes, turning the skewer sticks every few minutes to a different side.
  7. Remove from the grill. Serve hot.

Vegetarian Grilling Skewered


Spiked Thai Iced Tea

Spiked Thai Iced Tea

This food blogger has unfortunately not done much cooking lately; I’ve been busy. I’m starting to get back into the swing of things after a lot of moving and unpacking and can finally get back into the kitchen.

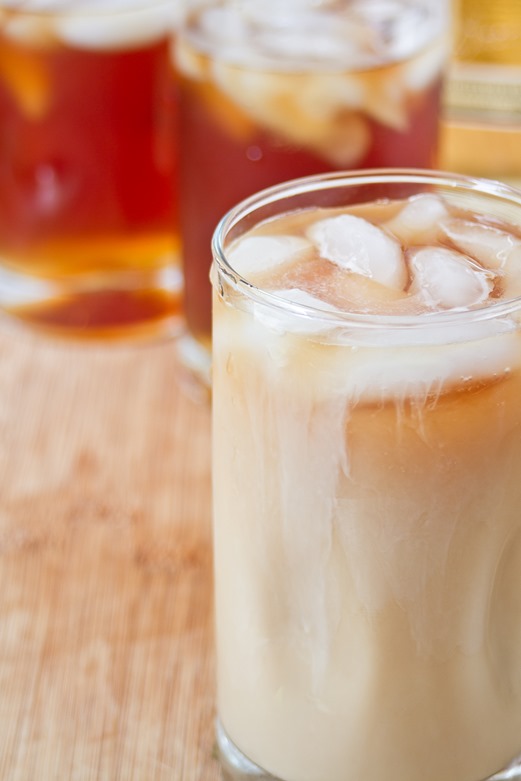
A friend of mine has been looking for Summer drink recipes and it didn’t take much convincing for me to try something new. My last night in Providence we ate at a Thai restaurant and one of my friends took home a Thai iced tea. It was sweet, creamy and a little spicy—perfectly suited for a little bit of rum and something fairly easy to make at home.

Spiked Thai Iced Tea Brewing Tea

Like any drink recipe you should taste as you go along and add less or more to suit your palate. The amounts listed below are more or less suggestions. I tried this with Bacardi but I think it would be terrific with a coconut or similarly flavored rum.   

Spiked Thai Iced Tea

Prep time: 1 hour

Cook time: 10 minutes

Ingredients:

    • 5 black tea bags*
    • 3 1/2 cups water, divided
    • 1 cup sweetened condensed milk
    • 1/2 cup rum or coconut rum
    • Ice
    • Mint to garnish

*For a more authentic flavor used spiced Thai tea bags, which are black tea with anise, vanilla, and cardamom. They are available online and at some specialty stores. 

Spiked Thai Iced Tea Plain

Method:

  1. Bring 2 1/2 cups of water to a boil in a small pot.
  2. Remove the boiling water from the heat and add in the tea bags. Let the tea rest for 30 minute to an hour to cool down to room temperature.
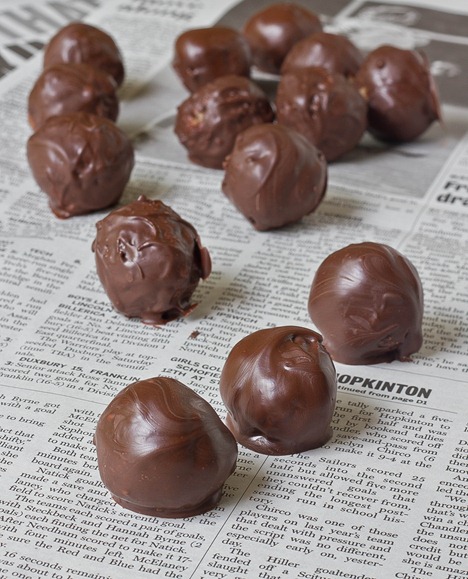
  3. Remove the tea bags and add the remaining water.
  4. Fill 4 glasses 3/4 of the way up with ice.
  5. Pour a shot of rum into each of the glasses.

  6. Fill the glasses 3/4 of the way up with the tea.
  7. Add 1/4 cup of sweetened condensed milk to each glass and stir well.
  8. Garnish with mint if desired.

Spiked Thai Iced Tea Mixing

Just Photos: Graduation

May 26th 029

May 26th 035

May 26th 039

May 26th 036

May 26th 053-2

May 26th 061

May 26th 062

Red, White and Blue Stuffed Strawberries

Red, White and Blue Stuffed Strawberries

When you’re a food blogger, you constantly have to choose between making and blogging a holiday recipe a week in advanced and looking crazy celebrating all by yourself or making a recipe for the actual holiday and posting it a few days later late to the game. Usually I choose the latter but this time I happen to be early to the party; here’s a red, white, and blue recipe a month and a half before July 4th for you.

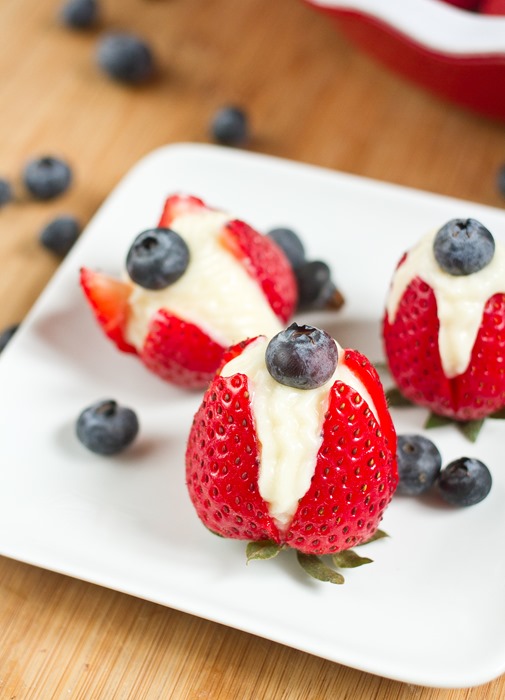
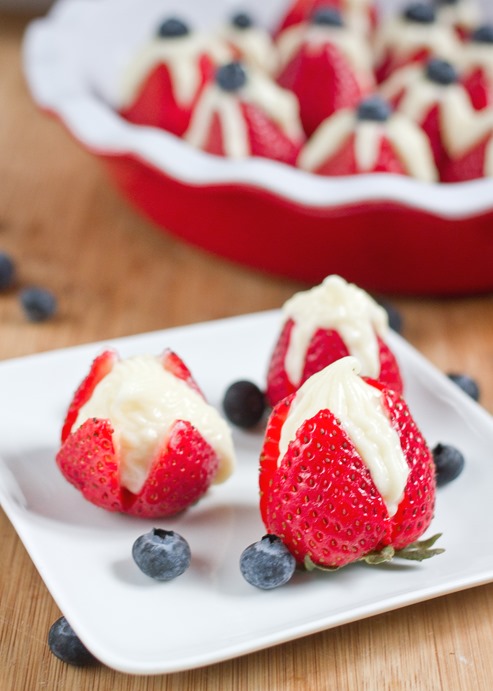
The Nutella cheesecake strawberries I made last month were a huge hit with my friends. I got asked to make them again but I always like trying something new. Instead of Nutella, these strawberries are filled with white chocolate cream cheese. At times I think I like white chocolate more than dark, and this is one of those times. It goes perfectly with the sweet berries.

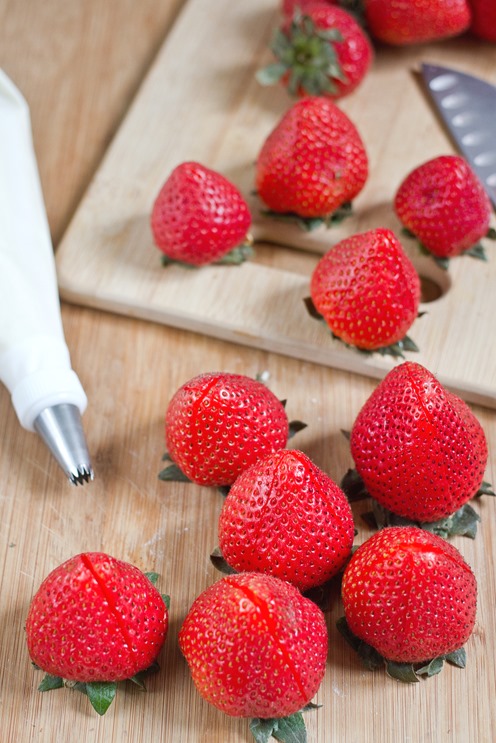
Red, White and Blue Stuffed Strawberries Ingredients

Every time I make these stuffed strawberries, the first half come out looking sloppy and the second half look fine. You just have to get into a rhythm and figure out how to do it best. Getting the filling to the right consistency will also make it easier.

Red, White and Blue Stuffed Strawberries

Prep time: 20 minutes

Cook time: 0 minutes

Ingredients:

  • 1lb fresh strawberries
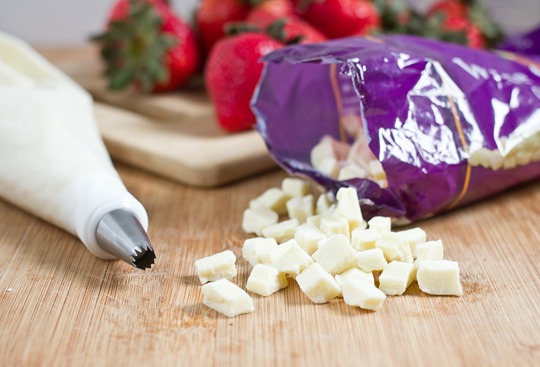
  • 3/4 cup(6oz) white chocolate chips
  • 5 Tablespoons cream cheese, room temperature
  • 2 Tablespoons milk, room temperature
  • 3/4 cup powdered sugar
  • 1/4 cup blueberries

Red, White and Blue Stuffed Strawberries White Chocolate

Method:

  1. In a microwave-safe bowl, melt the white chocolate.
  2. Beat together the melted white chocolate, milk, and cream cheese until smooth.
  3. Beat in the powdered sugar until it’s fully incorporated.
  4. Move the cream cheese mixture into a pastry bag or Ziploc bag with a corner cut off. If the mixture is still runny, put it in the refrigerator for 5-10 minutes to thicken.
  5. Cut the strawberries twice perpendicularly almost all the way through.
  6. Squeeze the filling into the strawberries starting from the bottom and moving the tip up.
  7. Garnish with a blueberry on top.
  8. Keep refrigerated until ready to serve. These won’t last long even in a refrigerator so eat relatively quickly. 

Red, White and Blue Stuffed Strawberries Serving  

Oat Flour Brownies

Oat Flour Brownies

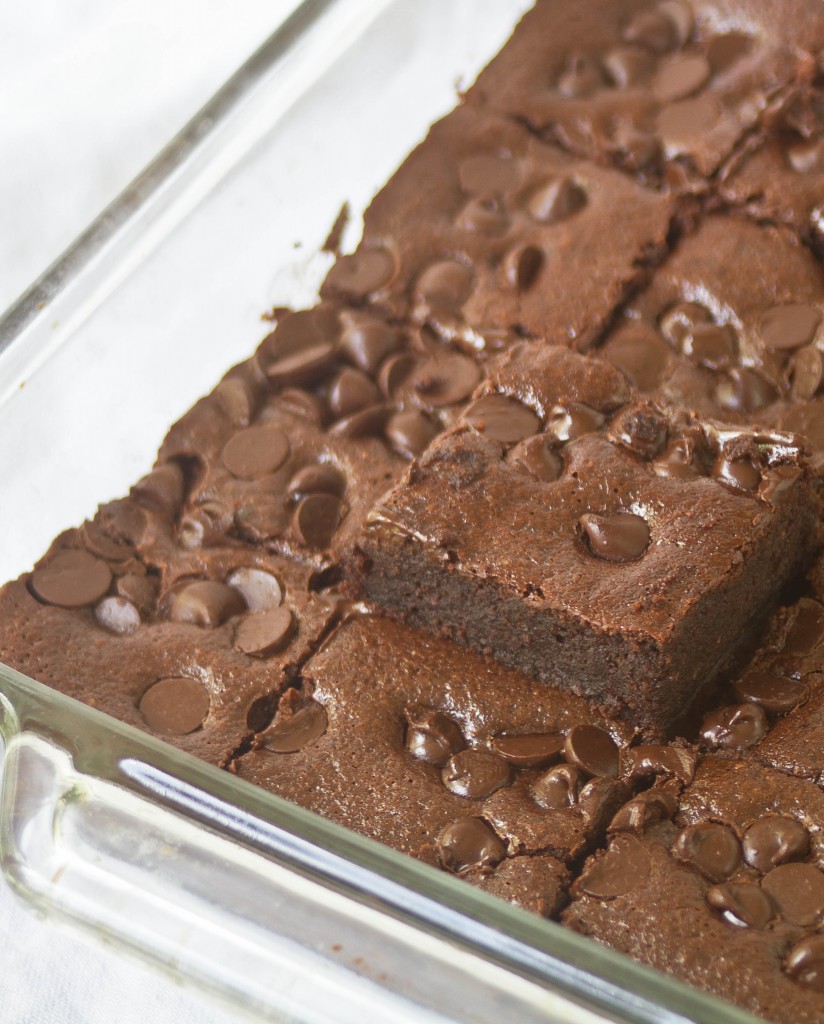
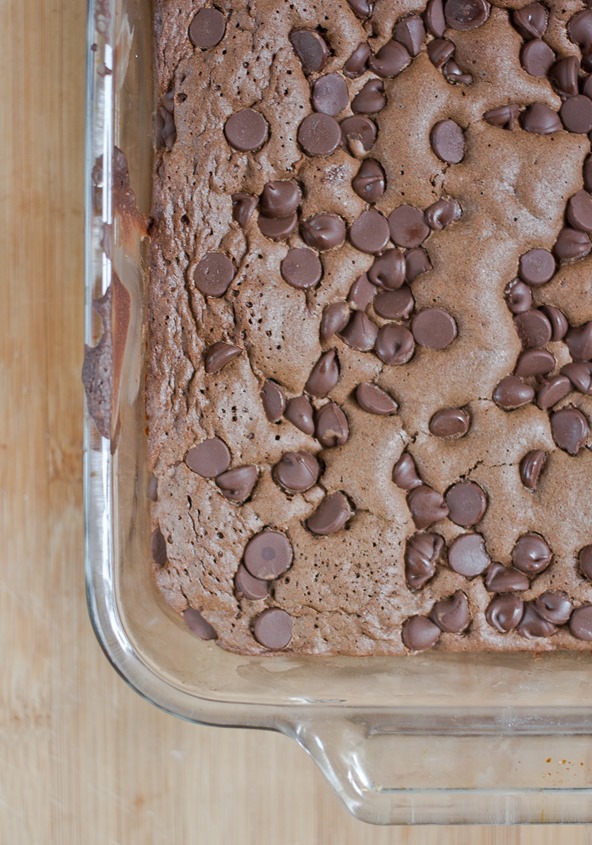
If there’s one thing I could make with my eyes closed, it’s brownies. I think my 6th sense is knowing when brownies are done in the oven without a timer. I can tell this is another brownie recipe I’ll come back to time and time again.

One commenter mentioned that she uses oat flour in recipes that call for almond flour regularly and I wanted to try that for myself with my almond flour brownies recipe. Almond flour is a great gluten and grain-free baking flour but I don’t always keep it handy.

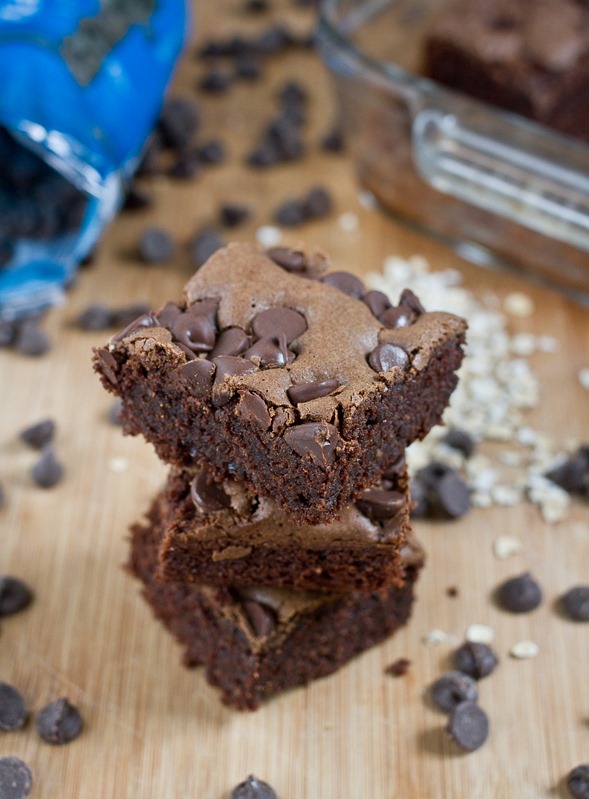
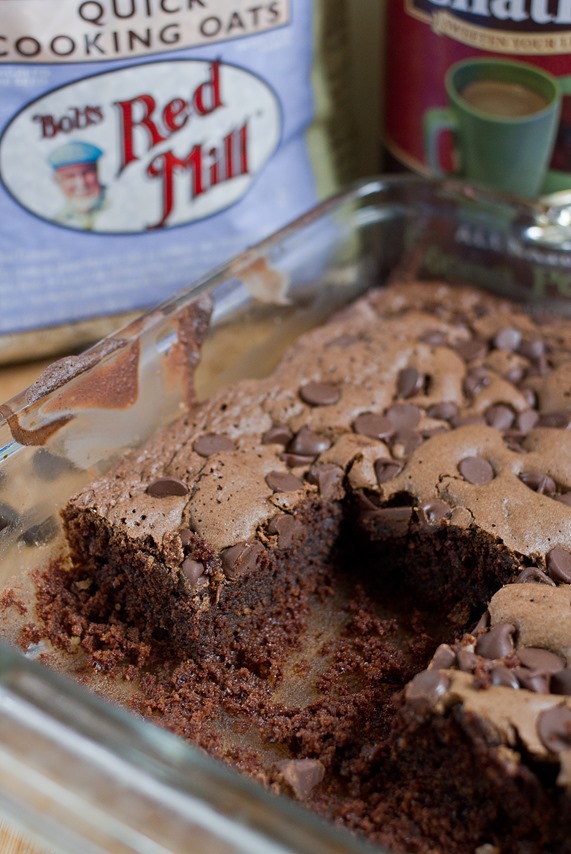
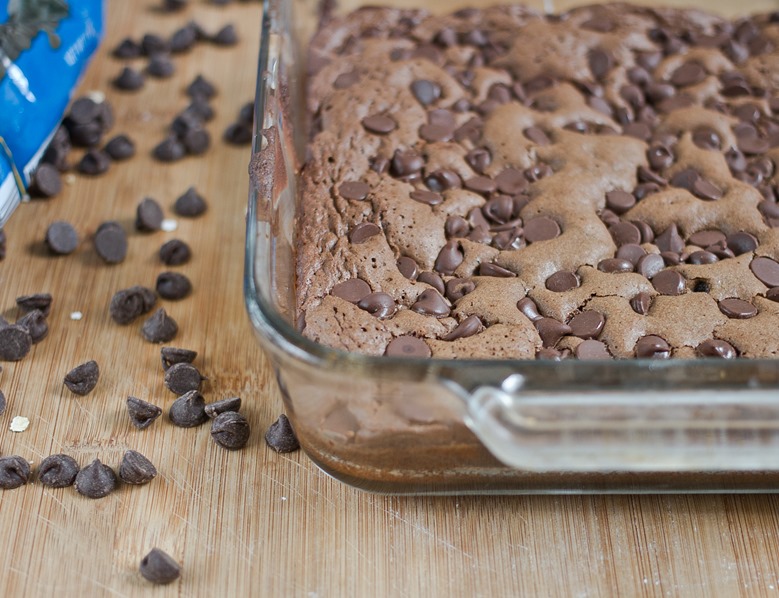
This recipe is basically the same as for almond flour brownies except with a little bit of water added to account for the grains. The brownies came out perfectly moist and chewy. I think the grains made them taste a little bit more like regular brownies than their almond counterpart. They were also slightly cakier than the almond flour brownies but still completely enjoyable for fudgy brownie lovers. Overall these were definitely a winner.

Oat Flour Brownies Overhead

You don’t need to go out and buy a bag of oat flour for this recipe; you can make 3/4 cup oat flour by grinding 1 cup of rolled oats in a food processor or high-speed blender until it’s finely ground. If it’s big enough, you can even use the processor as a mixing bowl and blend the ingredients right in there instead of dirtying more dishes.

Oat Flour Brownies

Prep time: 15 minutes

Cook time: 30 minutes

Ingredients(Makes 1 8 x 8 pan):

  • 3/4 cup oat flour
  • 1/4 teaspoon salt
  • 2 tablespoons unsweetened cocoa powder
  • 1/2 teaspoon baking powder
  • 3/4 cup sugar
  • 3 large eggs
  • 1 teaspoon vanilla
  • 1 teaspoon instant coffee granules(optional)
  • 1/2 cup butter
  • 7oz semisweet or bittersweet baking chocolate, divided OR 3/4 cup chocolate chips
  • 1/4 cup water

Oat Flour Brownies Yield

Method:

  1. Preheat your oven to 350 degrees.
  2. Mix together the oat flour, salt, cocoa powder, and baking powder and set aside.
  3. In a separate bowl, melt together 4 ounces of chocolate or a scant 1/2 cup chocolate chips with the butter.
  4. While the chocolate is melting, beat together the eggs, sugar, vanilla, water, and coffee granules if using.
  5. Slowly pour the melted chocolate and butter into the egg/sugar mixture while whisking until fully incorporated. Don’t go too fast so that the raw eggs don’t cook upon contact.
  6. Add the chocolate mixture in with the dry ingredients and mix completely.
  7. Pour the batter in a greased 8 x 8 pan.
  8. Sprinkle the top with the remaining chocolate and gently press it into the batter.
  9. Bake for 30 minutes or until a toothpick poked into the center comes out clean. Let these cool completely before cutting in.

Oat Flour Brownies Pan

No Google Reader? No Problem.

47

As someone who not only writes a blog but loves reading my share of blogs, too, I worried what would happen once Google announced they’re shutting the door on Google Reader on July 1st. I follow websites through Facebook and Twitter but the majority of blog reading I do comes through RSS feeds. I tweeted out for suggestions and other bloggers gave some great recommendations for a seamless transition.

(Psst, you can click any of these images to be taken directly to that website.)

Follow:

 46

Two simple, pre-existing options to follow this blog are to subscribe to the email subscription or like the page on Facebook where I post all of the recipes from this website. The change in Google Reader and RSS subscriptions won’t affect these at all. 

44

I’ve also started a brand new Google+ page where I’ll post pictures and links to blog post; it’s not very active now since I made it this week but if Google+ ever becomes big it’ll be a nice thing to have. If you use a gmail email account you already have a Google+ account.

Feed Readers:

45

If you’re like me and prefer reading blogs through an RSS reader, there’s still hope. The RSS reader I’ll likely switch to is Feedly. It was incredibly easy to set up and transfer all of my blog subscriptions in just a few minutes with only a few clicks of the mouse. I’ve tested it out by using it for the past few mornings and it seems easy enough to manage and get used to.

If you prefer the look and feel of Google Reader, The Old Reader or Comma Feed seem more traditional in their layout and style. Their only downside is that it takes a few more steps to import your subscriptions from Google Reader than Feedly.

Here’s another great post that gives even more options from Healthy Living Blogs.